
Landscape photography seems easy on paper. You find a big mountain, wait for the sun to do something cool, and press a button. But then you get home, load those files onto your computer, and they look… well, boring. They look flat. They look like the thousands of other "okay" photos living in the digital graveyard of your hard drive.
Don't worry, we’ve all been there. Even the pros at Shut Your Aperture started with blurry horizons and neon-green grass. The difference between a "nice snapshot" and a "fine art masterpiece" often comes down to a few fundamental errors that are incredibly easy to fix once you know what to look for.
If you’re looking for the fastest way to get better at landscape photography, it’s not by buying a more expensive camera. It’s by stopping these seven common mistakes.
1. The Wide-Angle Trap: Standing Too Far Away
Most beginners think "Landscape = Wide Angle." They slap a 16mm or 14mm lens on their camera and try to cram the entire mountain range, the valley, and the sky into one frame. The result? Everything looks tiny and distant. The majestic peak that took you four hours to hike to now looks like a small pebble in the background.
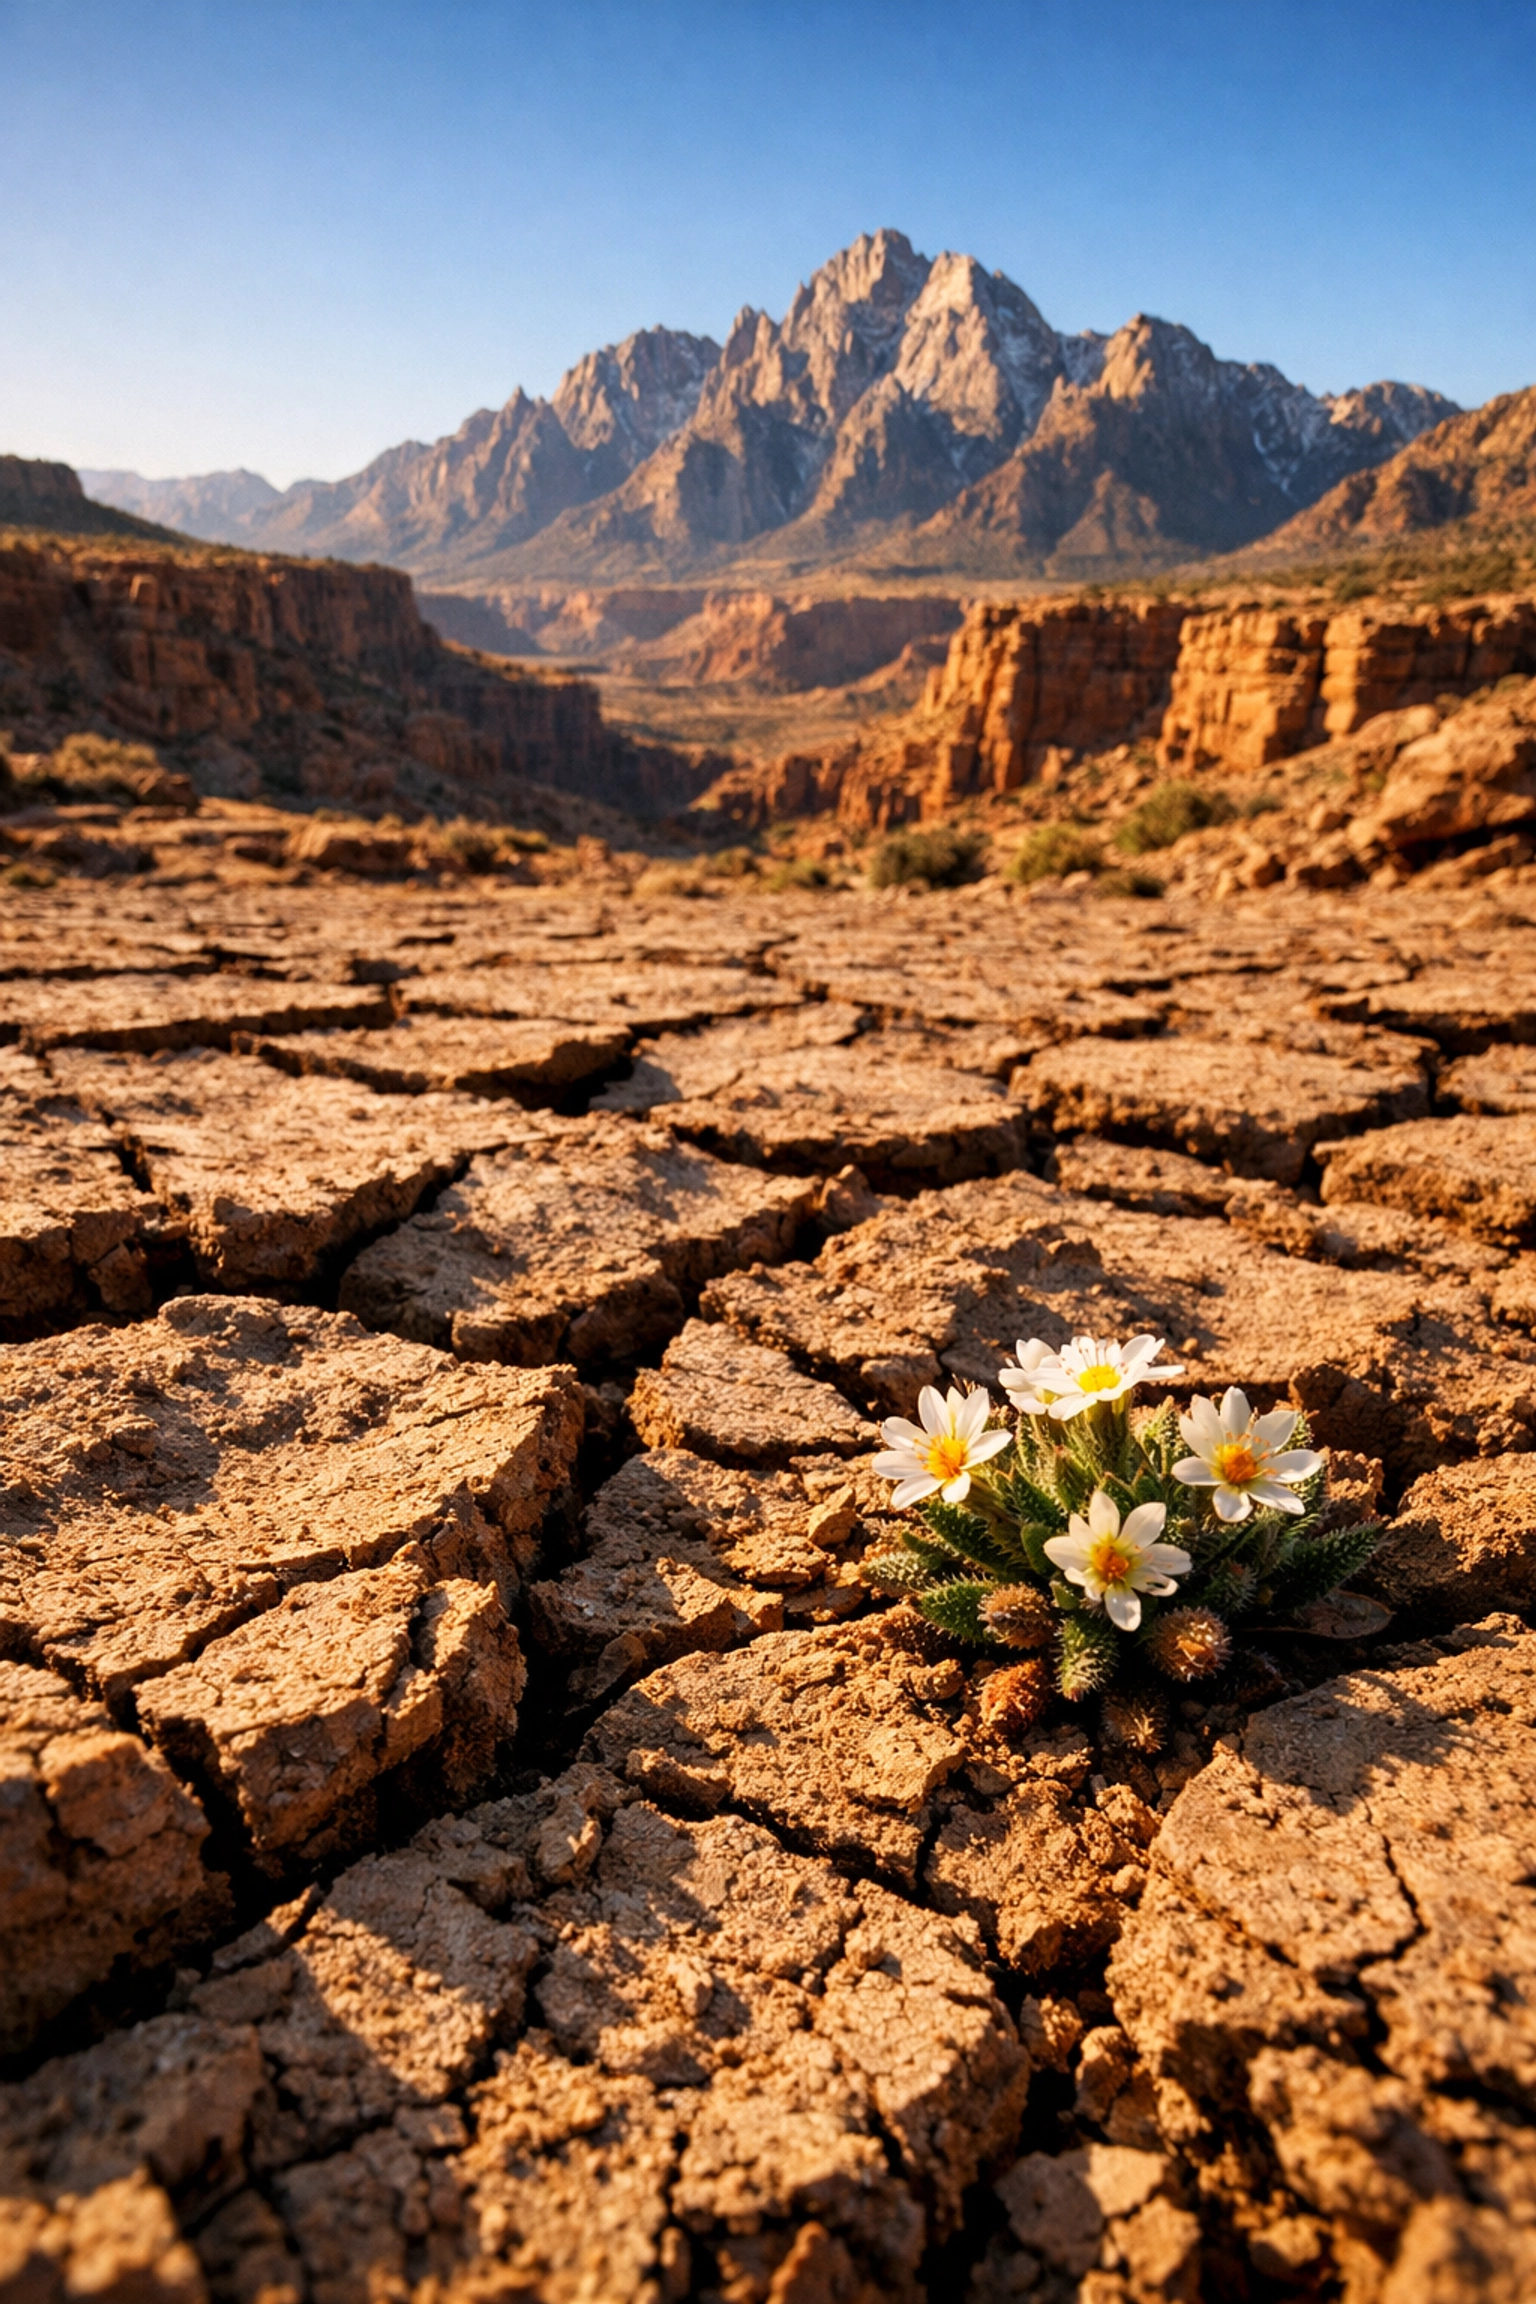
The Mistake: Using an ultra-wide lens to "fit everything in" without a foreground subject. When you stand far back, you lose the scale and the drama.
The Fix: If you’re going to use a wide-angle lens, you have to get low and get close to something in the foreground. I’m talking inches away, not feet. Whether it’s a jagged rock, a patch of wildflowers, or a piece of cracked earth, that foreground element provides a sense of scale and leads the viewer’s eye into the distance.
Alternatively, don’t be afraid to use a telephoto lens for landscapes. Zooming in on a specific ridge or a single tree can create a much more powerful image than a wide shot of "nothing in particular." For more on how to frame these shots, check out some Steve McCurry composition tips to see how masters handle focal points.
2. Fear of the "Small" Aperture (The DOF Problem)
There’s a lot of chatter in photography forums about "diffraction." People get terrified that if they move their aperture past f/8 or f/11, their image will turn into a soft, blurry mess. While diffraction is a real physical limitation of light, it’s rarely the thing ruining your photos.
The Mistake: Shooting at f/4 or f/5.6 because you want the "sharpest" part of the lens, only to realize the flowers in your foreground are blurry while the mountains are sharp. In landscape photography, you almost always want "front-to-back" sharpness.
The Fix: Stop down. Don't be afraid of f/11, f/13, or even f/16. A little bit of diffraction-induced softness is significantly better than a completely out-of-focus foreground. If you really need everything tack-sharp and you're dealing with a subject very close to your lens, look into focus stacking. But for 90% of your shots, a smaller aperture will solve your problems.
If you are using the latest gear, AI-integrated mirrorless cameras often have built-in focus peaking and depth-of-field previews that make this much easier to manage.
3. The "Drunken" Horizon
This is the most "avoidable" mistake in the book, yet it happens to the best of us. You’re racing to catch the last light of a polar vortex sunset, you're shivering, and you're not paying attention to your tripod level.
The Mistake: A horizon line that is slightly tilted. Even a one-degree tilt is enough to make a viewer feel like the ocean is about to leak out of the side of the frame.
The Fix: Use your camera's electronic level (the "virtual horizon"). If your camera doesn’t have one, use the grid lines in your viewfinder. While you can fix this in post-processing, you’ll end up losing pixels and detail because the software has to crop into the image to straighten it. Get it right in-camera. It takes five extra seconds. Your future self: and the people looking at your prints at Edin Fine Art: will thank you.
4. Including Way Too Much "Nothing"
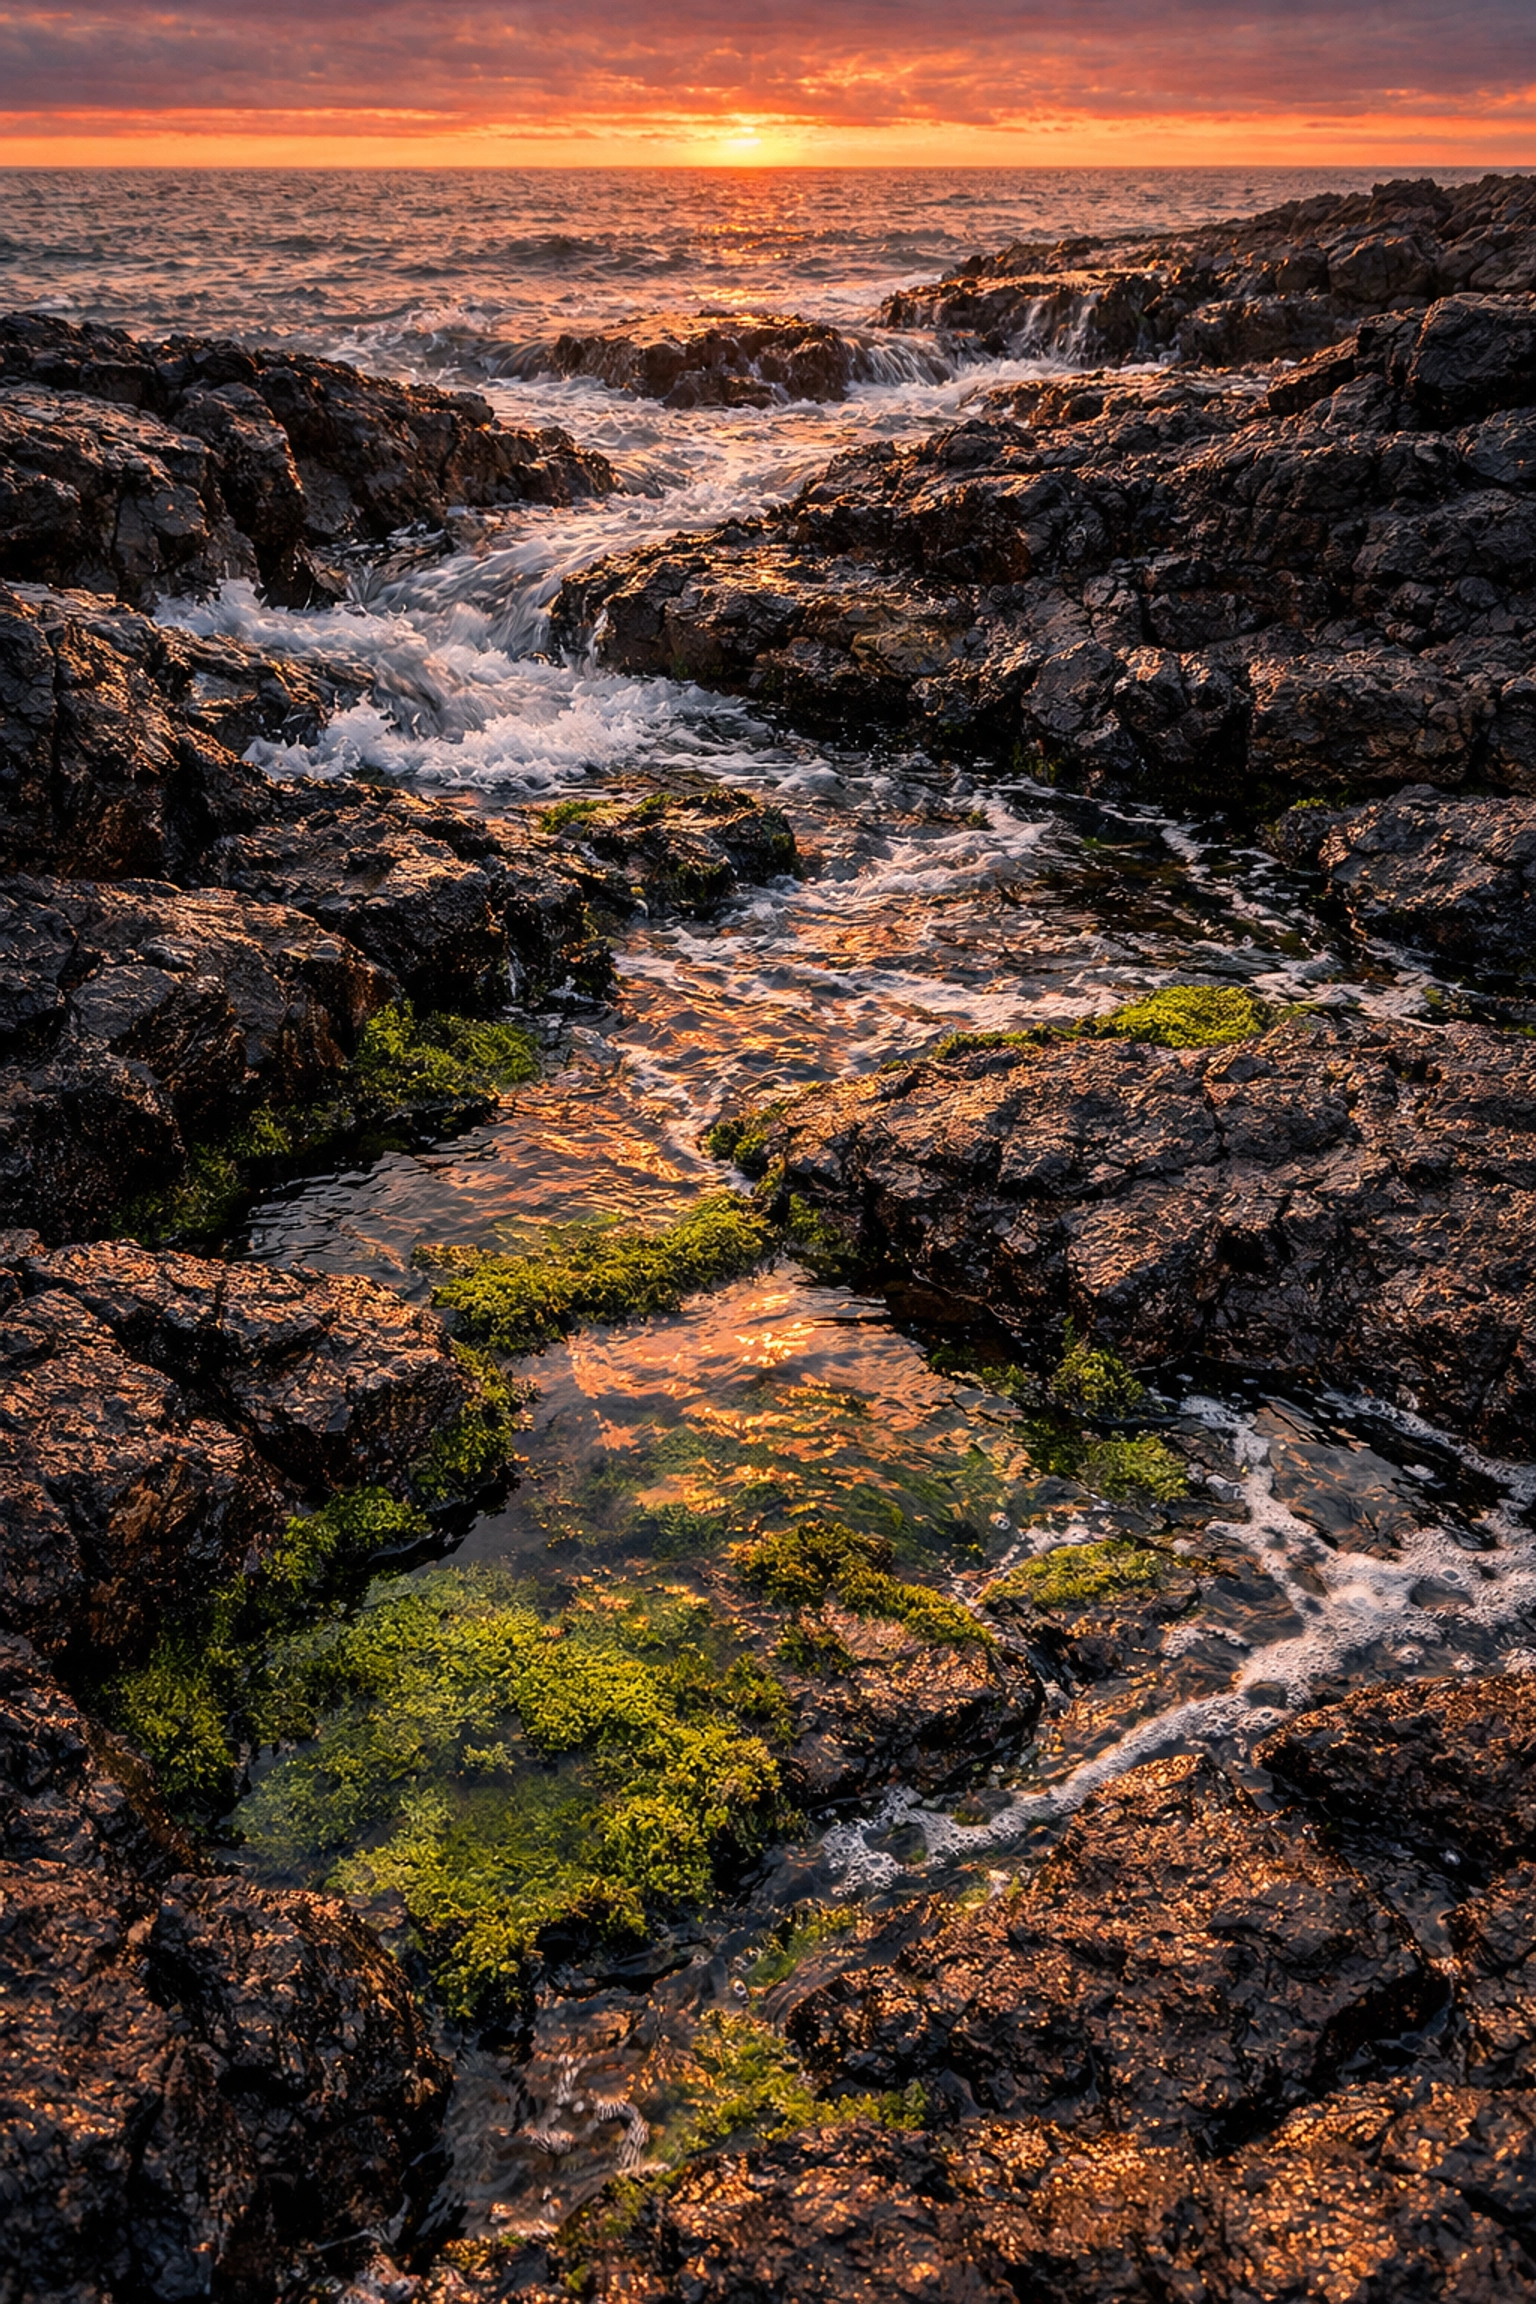
We call this "Negative Space Overdose." You find a beautiful sunset, but the sky is clear blue with zero clouds. You frame the shot with the horizon in the middle, giving half the photo to a blank sky and the other half to a plain field.
The Mistake: Giving equal weight to uninteresting parts of the frame. If the sky is boring, don't give it two-thirds of the photo. If the water is flat and murky, don't make it the focal point.
The Fix: Evaluate the scene. If the sky is doing something incredible (think dramatic storm clouds or a "fire in the sky" sunset), then by all means, drop that horizon low and give the sky the stage. But if the sky is a flat, cloudless blue, move your horizon up. Focus on the textures of the land, the rocks, or the nature and wildlife in the foreground. Every square inch of your frame should have a reason to be there.
5. The "Where Do I Look?" Syndrome
A great landscape isn't just a "view." It’s a story. When someone looks at your photo, their eye should be taken on a journey. If there isn't a clear subject, the viewer’s eye just wanders around aimlessly until they get bored and scroll past.
The Mistake: Photographing a general "scene" without a specific focal point. A mountain range is a setting, not necessarily a subject.
The Fix: Before you click the shutter, ask yourself: "What is the hero of this shot?" It could be a lone tree, a specific peak, a winding road, or a fisherman on a pier. Once you identify the hero, use composition techniques like leading lines or the rule of thirds to point the viewer directly at it. If you need inspiration on how to find subjects in the wild, check out PhotoGuides.org for some excellent field tutorials.
6. The "Nuclear" Edit (Over-Processing)
Editing is where the magic happens, but it’s also where many photographers accidentally kill their images. We’ve all seen those photos on Instagram where the grass looks like it’s glowing with radioactive energy and the sky is a deep, unnatural purple.
The Mistake: Pushing the Saturation and Clarity sliders until the photo looks like a cartoon. High contrast and extreme saturation might get a quick "like" on a tiny phone screen, but they don't hold up as professional work.
The Fix: Practice restraint. If you want to take better photos, you need to learn the "Walk Away" technique. Edit your photo, then leave the room for ten minutes. When you come back with fresh eyes, you’ll usually realize you went too far.
Use tools like Luminar to enhance your images naturally. Luminar has some incredible AI tools that can help with sky replacement or accentuating light without making the whole thing look fake. Focus on the HSL (Hue, Saturation, Luminance) sliders to adjust specific colors rather than cranking the global saturation. If the highlights are blown out, try to recover them gently rather than "crushing" them into a muddy gray.
7. Creating Flat Earth (No Layers)
One of the biggest challenges in landscape photography is representing a 3D world in a 2D medium. When you shoot a distant object with nothing between you and that object, the photo looks flat. It has no depth, no scale, and no "soul."
The Mistake: Failing to create a "Foreground, Midground, Background" sandwich.
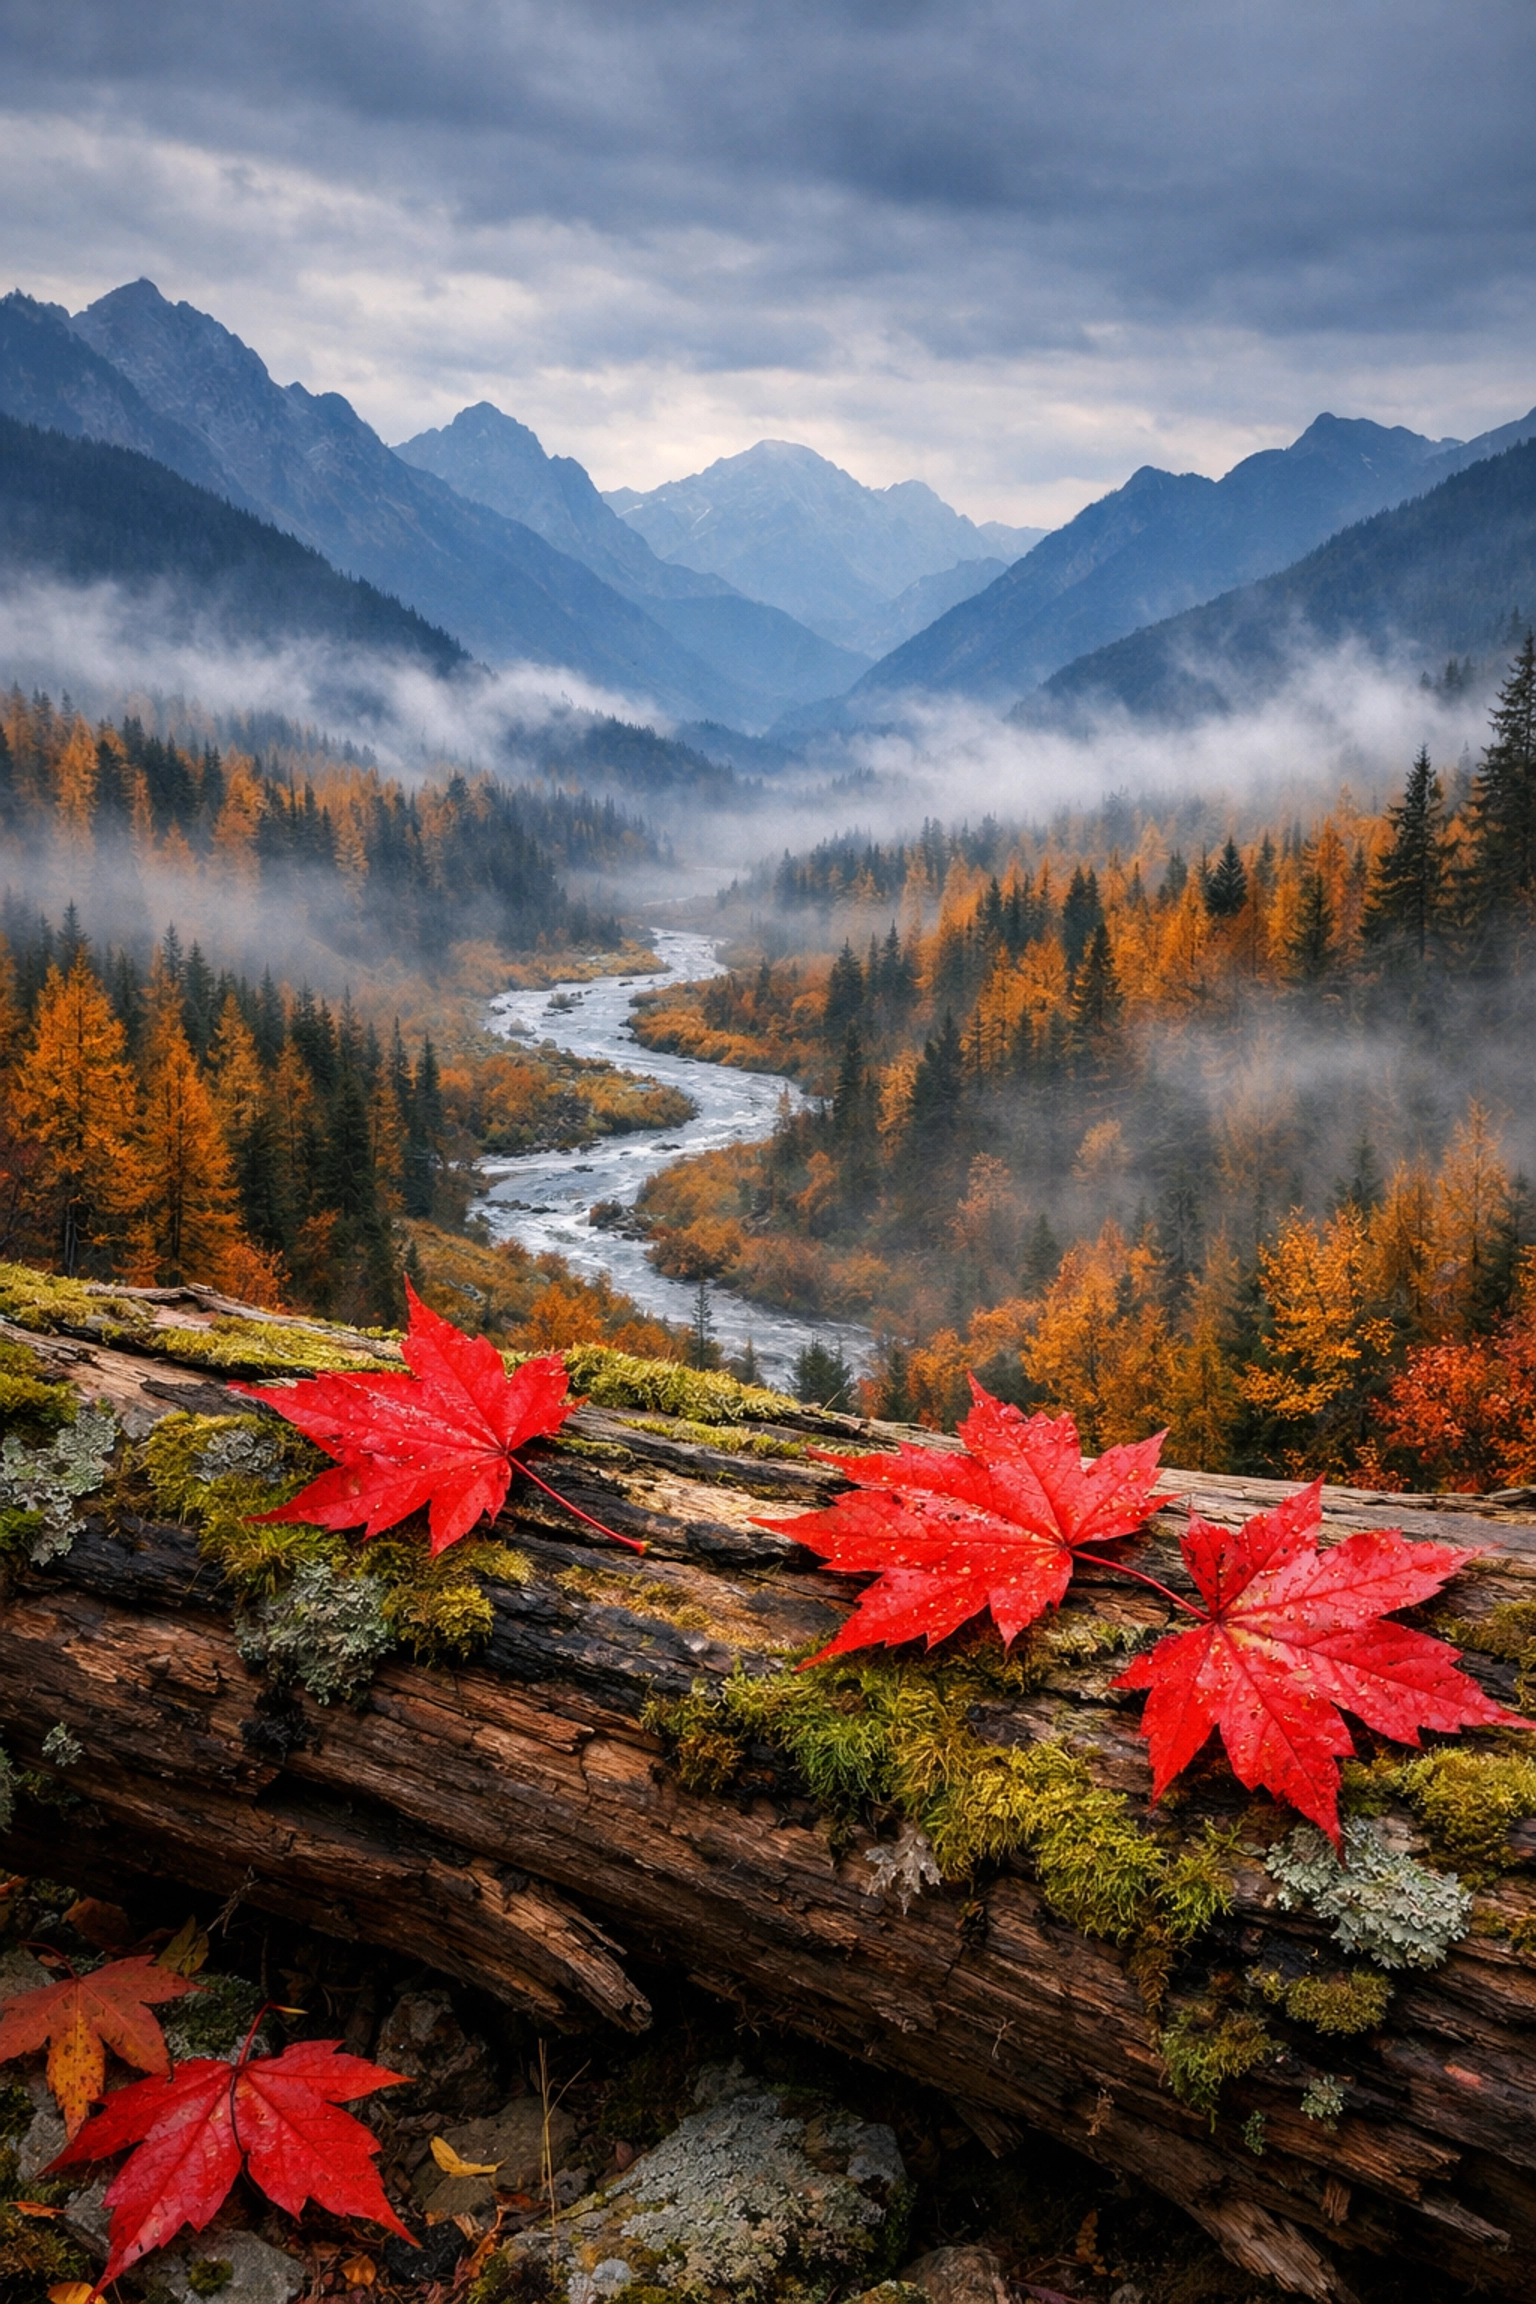
The Fix: Think in layers.
- Foreground: This is your "entry point." It draws the viewer in. (A rock, a stream, some tall grass).
- Midground: This adds context and carries the eye forward. (A valley, a forest, a lake).
- Background: This is the "grand finale." (The mountains, the sky, the setting sun).
When you have all three layers working together, your photo will feel like something the viewer could actually step into. This is how you create an immersive experience rather than just a flat image. For those looking to make a career out of this, learning to master depth is a key step in how to become a freelance photographer.
Why the Latest News Matters
The world of photography is changing fast. From new sensors that handle dynamic range better than ever to AI software that can fix focus issues in post, staying updated is vital. Reading about why the latest photography news will change the way you shoot can give you a competitive edge.
But at the end of the day, no piece of gear or software can replace a solid understanding of composition and light. If you can avoid these seven mistakes, you are already ahead of 90% of the people out there with a camera.
Putting it Into Practice
Next time you’re out in the field, don't just set up your tripod and start blasting away. Slow down.
- Check your level.
- Identify your hero.
- Look for a foreground element.
- Check your aperture.
- Watch your edges for "nothingness."
Landscape photography is a patient man's game. It’s about waiting for the right moment and then having the technical skill to capture it correctly. Whether you're shooting a photo series of the wind or a classic mountain vista, these rules remain the same.
If you want more tips, or if you want to see what the pros are doing, head over to ProShoot.io or check out our latest Shot of the Day features for some daily inspiration. And don't forget to sync up with Sonny, our social media manager, to see how these landscape tips translate into viral content on the Shut Your Aperture socials.
Now, stop reading this and go get outside. The light is waiting.


