Best Aperture for Landscape Photography on Nikon Cameras
~5 min read
Landscape aperture on a Nikon body comes down to one tradeoff: enough depth of field without letting diffraction soften the detail you bought all those megapixels for. Here is the working range and when to step outside it.
The working range: f/8-f/11
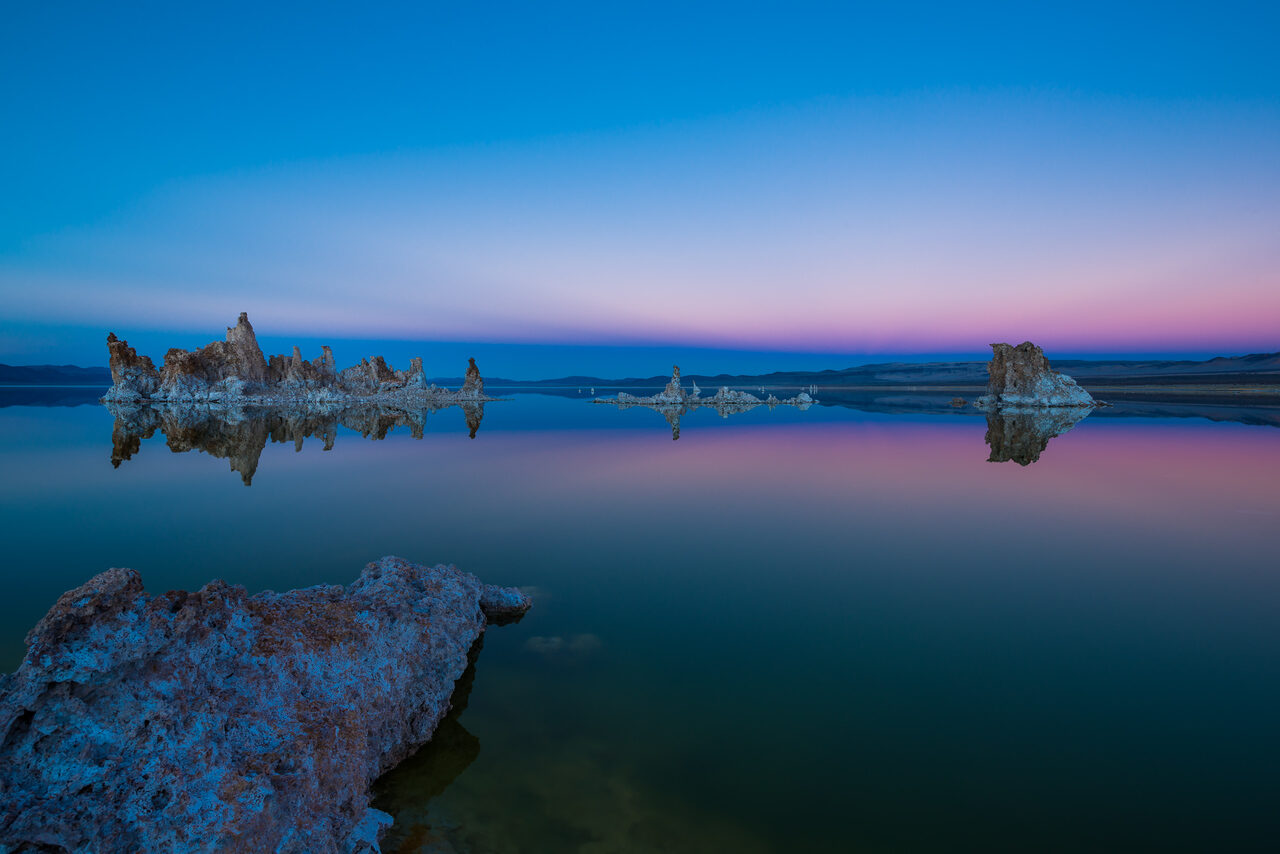
f/8 to f/11 is where landscape lenses earn their keep: wide enough that diffraction has not started biting, stopped down enough that a scene from a few feet to the horizon holds focus with sensible focus placement. On Nikon’s excellent 24-70mm and 14-30mm f/4 zooms, f/8 is reliably the sharpest stop across the frame. Start there, and only move when the scene asks for something specific.
 Save
The high-resolution caveat
On 45-megapixel bodies like the Z7 series, diffraction arrives about a stop earlier than on 24-megapixel sensors – the sensor resolves enough detail to see the softening. Treat f/11 as the practical ceiling and reserve f/16 for scenes that truly need it. On 24-megapixel bodies like the Z6 series, f/16 remains usable in a pinch. Either way, “as small as possible” is not a landscape strategy; it is how sharp lenses make soft files.
Focus placement: the hyperfocal shortcut
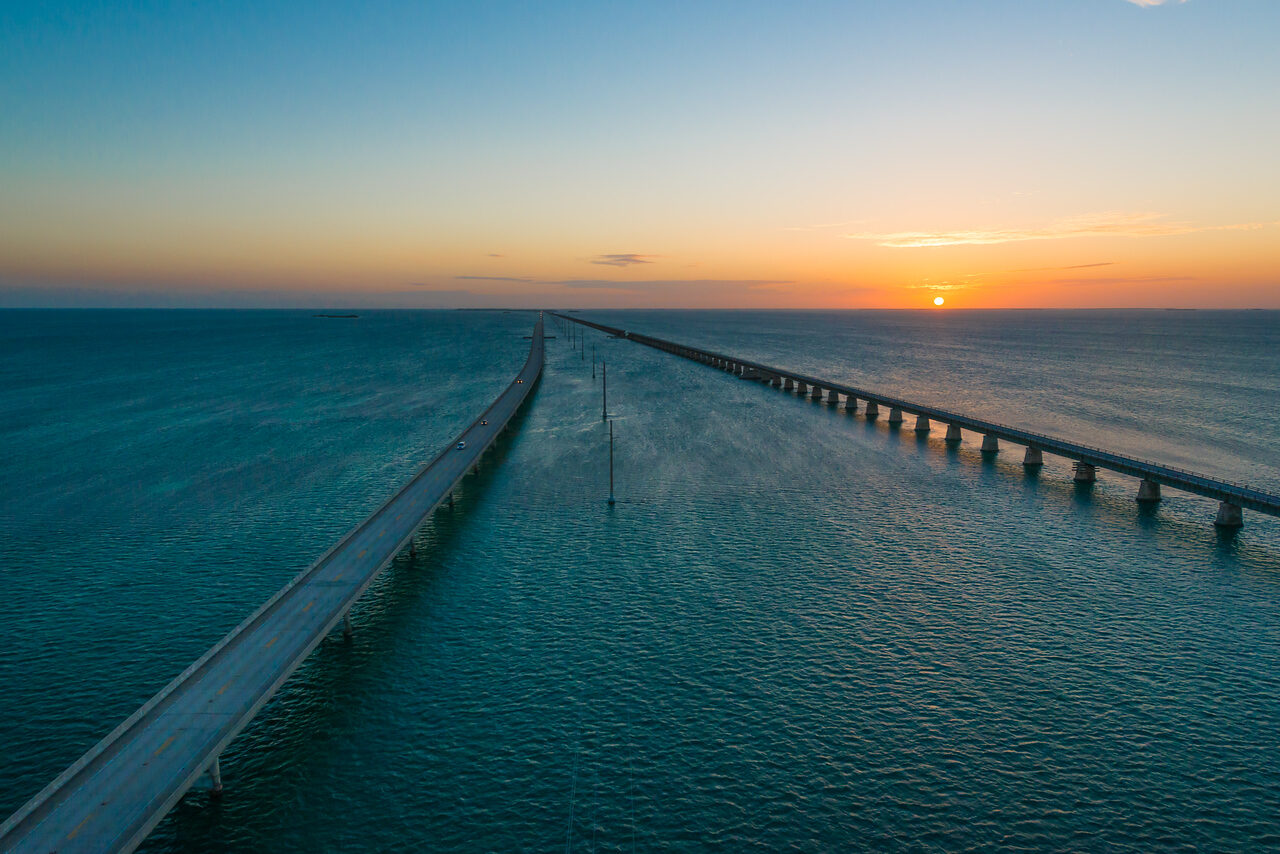
Where you focus matters as much as the aperture. Depth of field extends roughly twice as far behind the focus point as in front of it, so focusing a third of the way into the scene uses the depth you paid for. The simple field version: focus on the nearest object that must be sharp, then nudge focus just past it, and check the background at 100%. Two test frames beats a hyperfocal chart in the wind.
 Save
When to focus stack instead
When a scene needs more depth than f/11 delivers – wildflowers at your boots, peaks on the horizon – shoot three frames at f/8 focused near, middle, and far, then blend them. You get corner-to-corner sharpness at the lens’s best aperture. The catch is movement: wind, water, and fast skies break the alignment. Static scene and patient light, stack; wind or fleeting weather, take the single frame at f/11-f/16 and move on.
Tripod discipline matters more than aperture
More landscape sharpness is lost to camera shake and sloppy setup than to any aperture choice. Tripod, remote release or self-timer, electronic front curtain or full electronic shutter, and VR turned off on the tripod – Nikon’s stabilization can introduce its own vibration when the camera is already still. Get those four right and the difference between f/8 and f/11 is the only variable left to think about.
Frequently asked questions
Is f/16 ever the right choice for landscapes?
Sometimes – when the depth of field genuinely demands it and you have no time to focus stack. A foreground rock two feet from the lens with mountains behind it can exceed what f/11 covers, and f/16’s gentle, even diffraction softness beats a blurry foreground every time. The mistake is using f/16 by default: most landscape scenes fit comfortably inside f/8 to f/11, where the lens is sharper.
Focus stacking or f/16 – which is better?
Stacking, when the scene allows it. Three frames at f/8 focused near, middle, and far give you full depth at the lens’s sharpest aperture, with no diffraction penalty. It fails when things move – wind in the grass, water, clouds – because the frames no longer align. The working rule: static scene and time to spare, stack; wind or a fleeting sky, take f/11-f/16 in a single frame and accept the small sharpness cost.
Does a 45-megapixel Nikon change the best aperture?
It moves diffraction earlier by about a stop. High-resolution sensors like the Z7’s resolve fine enough detail to reveal diffraction softening that a 24-megapixel sensor would hide, so f/16 on a 45MP body shows visible softening at 100% where f/11 still looks clean. The practical shift: treat f/11 as your small-aperture ceiling on high-resolution bodies, and lean on focus stacking when you need more depth.
Keep Learning, Free
Aperture, depth of field, and exposure fundamentals – the Shut Your Aperture tutorials library covers the full craft, free.
Related guides
- Aperture, Explained
- Lightroom Presets: The Complete Guide
- Street Photography: The First Practice Walk
← Back to the tutorials library
Practice these aperture choices with more photography tips at Shut Your Aperture Academy.