Best Photography Spots in Florence: 5 GPS Locations (+11 in the Full Guide)
Updated
~12 min read For practitioners, see our breakdown of lens corrections in Lightroom.
This Florence photography guide maps 5 GPS starting points, including the ticketed Boboli Gardens terrace, with composition ideas and practical settings. Use the locations as a route to scout, then check current site access and return when the light fits your frame. The $47 field guide linked below is a separate, longer planning resource.
 Save
SaveWhy Florence is a photographer’s dream
Florence concentrates more Renaissance masterpieces per square kilometer than anywhere on Earth, and the surrounding Tuscan hillsides provide unmatched late-afternoon golden light over the city’s iconic skyline.
When to go: best months and light in Florence
Light and weather change through the year. Check the forecast for your dates and give yourself a second chance at a skyline if visibility or clouds are poor. A clear sky is not the only useful condition: softer light can bring out detail on stone, water, and streets.
Plan a morning or evening for wide views, then use the middle of the day to scout, photograph details, or work with shade. The best light depends on your position and the weather, so treat the times in this guide as starting points, not guarantees.
5 photography spots with GPS coordinates
The vantage points below are organized roughly in the order a photographer working a half-day in Florence would shoot them — establishing wide on the iconic landmarks first, then mid-distance compositions, then street-level documentary detail. Each entry includes the GPS coordinates so you can pin it on Google Maps before you arrive, plus a brief composition note and recommended focal length. Use this as a shot list, not a script: the best frame is often something you notice once you are standing there. The list keeps you from missing the obvious ones.
| Vantage point | GPS | Notes |
|---|---|---|
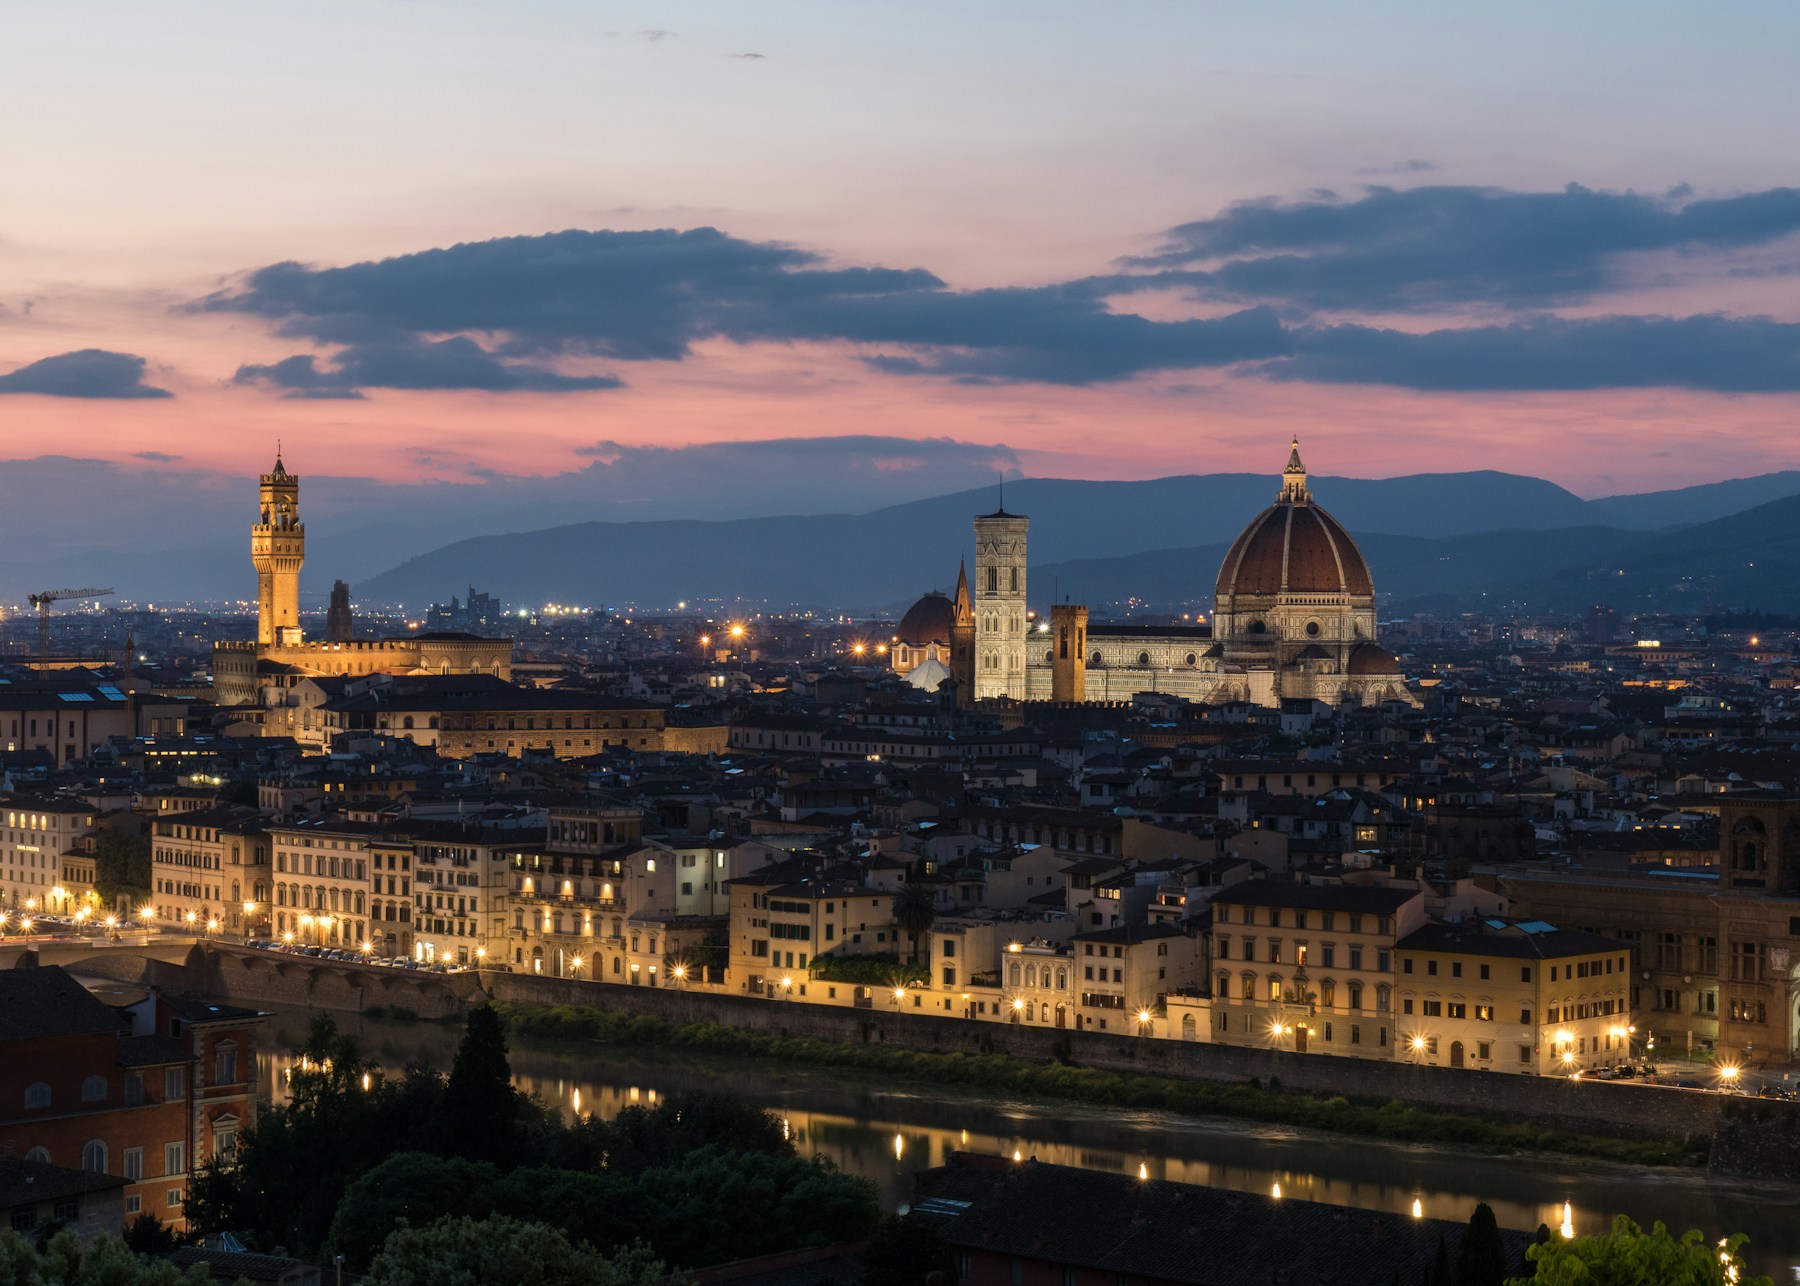
| Piazzale Michelangelo (sunset panorama) | 43.7629, 11.2648 |
Wide view over Florence from Piazzale Michelangelo. Expect other visitors and leave space to move; compare morning and evening light rather than assuming an empty viewpoint. |
| Ponte Vecchio (river views at blue hour) | 43.7681, 11.2531 |
Blue hour from Ponte Santa Trinita for the bridge and its reflections. 24-70mm + tripod. |
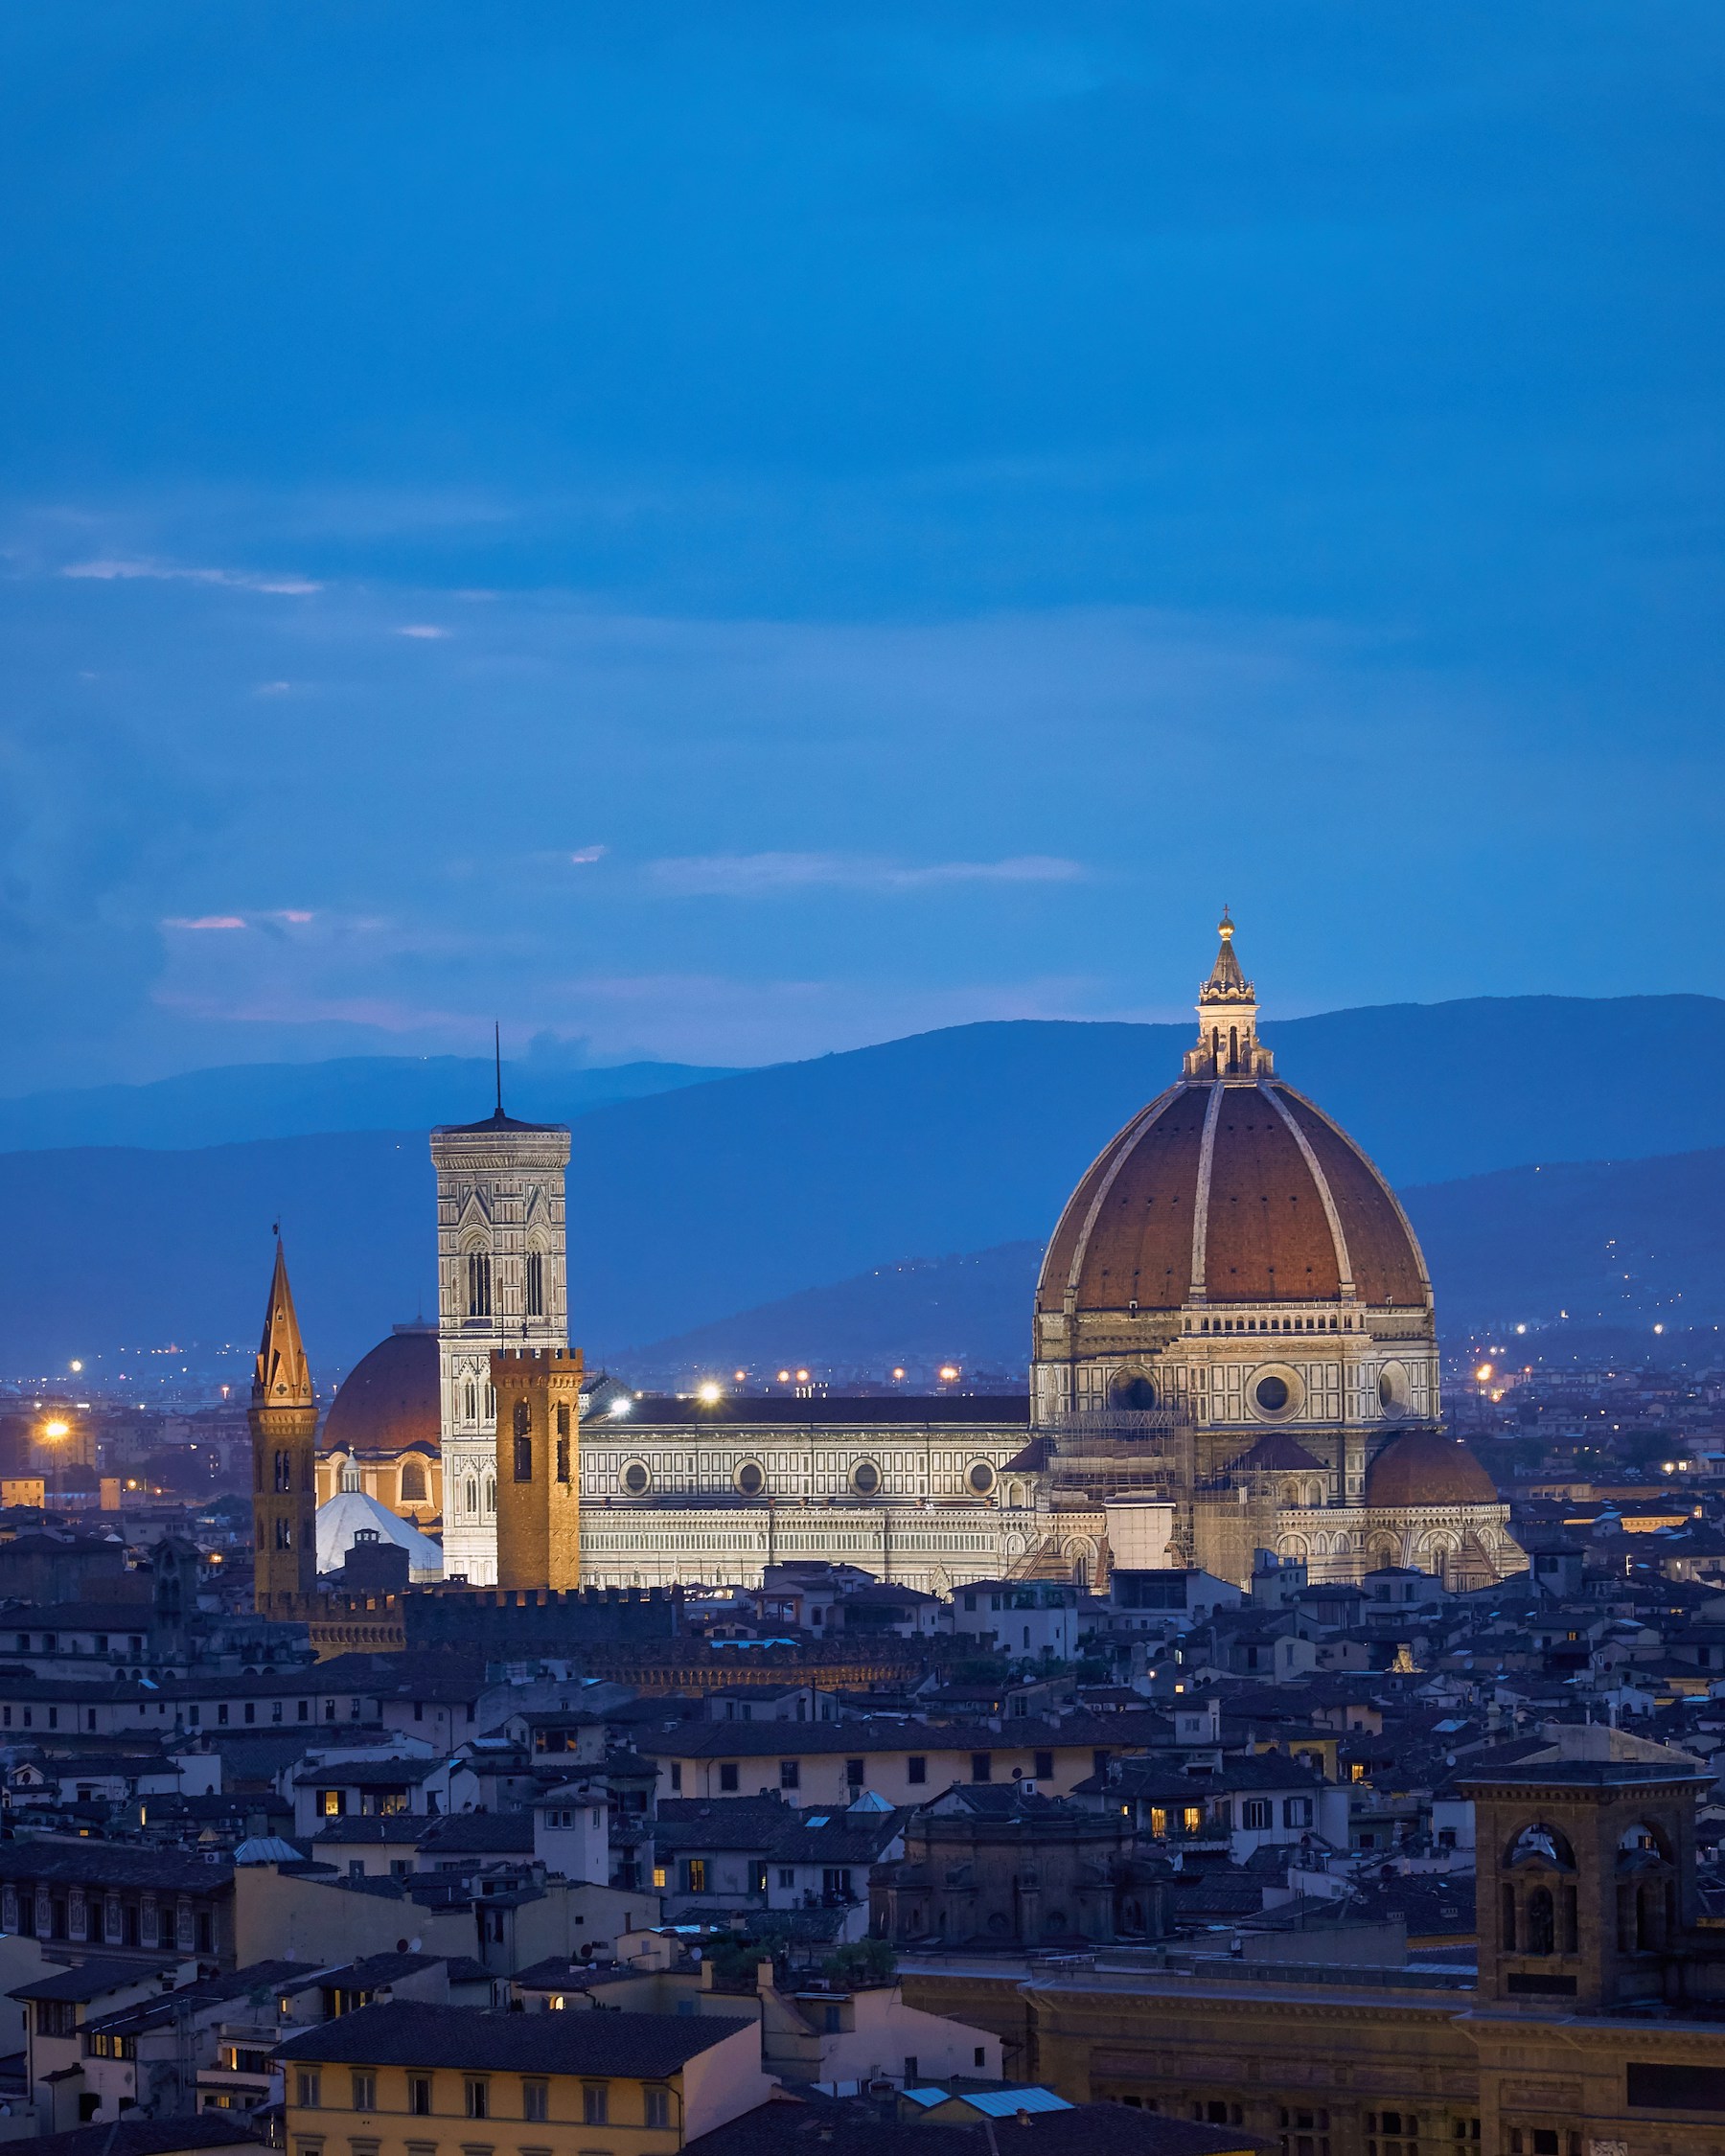
| Duomo (Santa Maria del Fiore) — close-up facade | 43.7731, 11.2560 |
Marble facade detail from the piazza corners; morning light on the east side. 24-70mm. |
| Boboli Gardens terrace | 43.7638, 11.2491 |
Garden geometry with Florence beyond; Boboli Gardens is a ticketed venue, so check current entry hours and photo rules before going. |
| Badia Fiorentina bell tower (Via del Proconsolo area) | 43.77043, 11.25772 |
Look for the abbey bell tower above nearby rooftops from streets around Via del Proconsolo. Pin marks the abbey area, not a promised line of sight from Piazza del Duomo. |
If you have additional time on site, work each vantage point twice — once at golden hour for warm tones, once at blue hour for cooler atmospheric mood. The same composition photographed 90 minutes apart looks like two different locations. That is the city photographer’s edit advantage: light variety from a single trip.
Camera settings cheat sheet
Different scenes call for different exposures. Use the table as a starting point, then check focus, motion blur and highlights on your own camera. Raise ISO when a faster shutter is more important than a perfectly clean file.
| Scenario | Aperture | Shutter | ISO |
|---|---|---|---|
| Sunrise / golden hour landscape | f/8 – f/11 | 1/125 – 1/500 | 200 – 400 |
| Architectural detail (sidelight) | f/8 | 1/250 | 100 – 200 |
| Street / market documentary | f/2.8 – f/4 | 1/250 – 1/500 | 400 – 1600 |
| Dim interior (where photography is allowed) | f/2.8 – f/4 | 1/60 – 1/125 handheld | 800 – 3200 |
| Night cityscape (stable support where allowed) | f/4 – f/8 | 1s – 8s (tripod) | 200 – 800 |
When a bright sky and dark foreground exceed what one frame can hold, try a short exposure bracket and check highlights on the camera. Use a tripod only where it is allowed and does not block others. The numbers in the table are starting settings: adjust shutter speed for moving people, boats, and handheld work.
Lens recommendations
16–35mm, 24–70mm, 35–85mm
For mirrorless shooters: a single body with a 24-70mm f/2.8 plus a 35mm or 50mm f/1.8 prime is a viable lighter kit. The compromise is the long end — a 70-200mm becomes useful when you need to compress distant landmarks against a closer foreground. Most Florence photographers travel with two bodies (one zoom, one prime) and accept the weight for the speed of swapping focal lengths without changing lenses in dusty street conditions.
A polarizing filter changes the look of Florence’s skies, deepens the color of stone facades, and cuts reflection on water and glass. Carry one. For long-exposure work — night cityscapes, river silk, fountain motion blur — a 6-stop or 10-stop ND filter and a sturdy travel tripod are non-negotiable. Carbon fiber under 1.5kg is the right tradeoff between weight and stability for long-distance travel.
Cultural rules and photo etiquette
For close portraits, ask first and accept a refusal. Respect worshippers and posted photography rules inside churches.
Check each site’s posted photography and visitor rules before you set up. Keep tripods out of walkways; in religious spaces, do not interrupt worship or use flash unless the venue permits it.
Getting around Florence
Florence’s historic center is compact enough for a walking route. Group the Duomo and nearby streets together; set aside another light window for the Arno and Piazzale Michelangelo.
Post-processing the Florence look
The dominant aesthetic for Italy photography is restrained warmth — earth tones, lifted shadows, careful highlight retention, and a clear refusal to push HDR-style local contrast that flattens the natural mood of the scene. The destination’s natural palette already does most of the saturation work for you — over-processing pushes it into kitsch. Lightroom’s HSL panel with reduced saturation on greens and neutrals, combined with a slight warm split-tone, produces a cinematic travel look without crossing into postcard territory.
A practical post-processing sequence that works on most Florence RAW files: (1) lens correction and chromatic aberration first; (2) basic exposure with shadows pushed and highlights pulled; (3) HSL desaturation on green and orange (counterintuitive but it lets the warm tones speak), slight saturation boost on blue; (4) split toning warm orange in highlights and a hint of teal in shadows at low intensity; (5) clarity at +10 maximum on a frame, never higher; (6) a subtle vignette to draw the eye in. Save the result as a preset and use it as a starting point for the rest of the trip’s frames.
Related guides
- Travel Photography: The Complete Guide
- Travel Photography Destinations
- Best Photography Spots in Reykjavik
- Aperture, Explained
- ISO in Photography
- Shutter Speed, Explained
← Back to the tutorials library
 Save
SaveFrequently asked questions
What is the best time of year to photograph Florence?
April, May, September, and October Plan around the dry, cool season for the most reliable light and lowest crowds at the most photographed sites.
Do I need a permit to photograph at the major sites in Florence?
Rules vary by location and by equipment. Check the current visitor policy at the exact venue; ordinary street photography and a tripod, flash, commercial setup or drone may be treated differently.
What lens kit should I bring to Florence?
16–35mm, 24–70mm, 35–85mm
Is Florence safe for solo photographers?
Use ordinary travel precautions, keep gear close in crowds, and check conditions for your route and time of day. No citywide safety promise applies to every place or person.
Can I fly a drone in Florence?
Check the current ENAC airspace restrictions and d-flight map before any flight. A venue’s permission alone does not clear airspace, and historic-center restrictions can change.
Plan a Florence outing with Klook
Check the walking route and language before booking. This is a city sightseeing tour, not photography instruction.
What to Pack
A landscape kit built around wide views, steady support, and changing light is a useful starting point. Compare the gear and choose what fits your camera, budget, and conditions. These links lead to B&H Photo Video and Amazon.
| What & Why | B&H | Amazon |
|---|---|---|
Sony 16-35mm f/2.8 GM Check the camera mount before buying. Choose a focal length that fits the photos you plan to make. | Shop B&H → | Shop Amazon → |
Peak Design Travel Tripod Check the load rating, packed size and local tripod rules before buying. | Shop B&H → | Shop Amazon → |
Breakthrough X4 CPL Check the filter type and lens thread size before buying. Use a filter only when the effect fits your photo. | Shop B&H → | Shop Amazon → |
Breakthrough X4 10-stop ND Check the filter type and lens thread size before buying. Use a filter only when the effect fits your photo. | Shop B&H → | Shop Amazon → |
Sony NP-FZ100 battery Use the battery type specified for your camera. Bring a spare if your shooting plan calls for one. | Shop B&H → | Shop Amazon → |
SanDisk Extreme Pro 128GB Check the card format and speed requirements specified for your camera. | Shop B&H → | Shop Amazon → |
Koh microfiber cloths Compare this option with your current kit. Check compatibility and the product details before buying. | Shop B&H → | Shop Amazon → |
B&H and Amazon links are affiliate links. We earn a small commission on purchases at no extra cost to you.