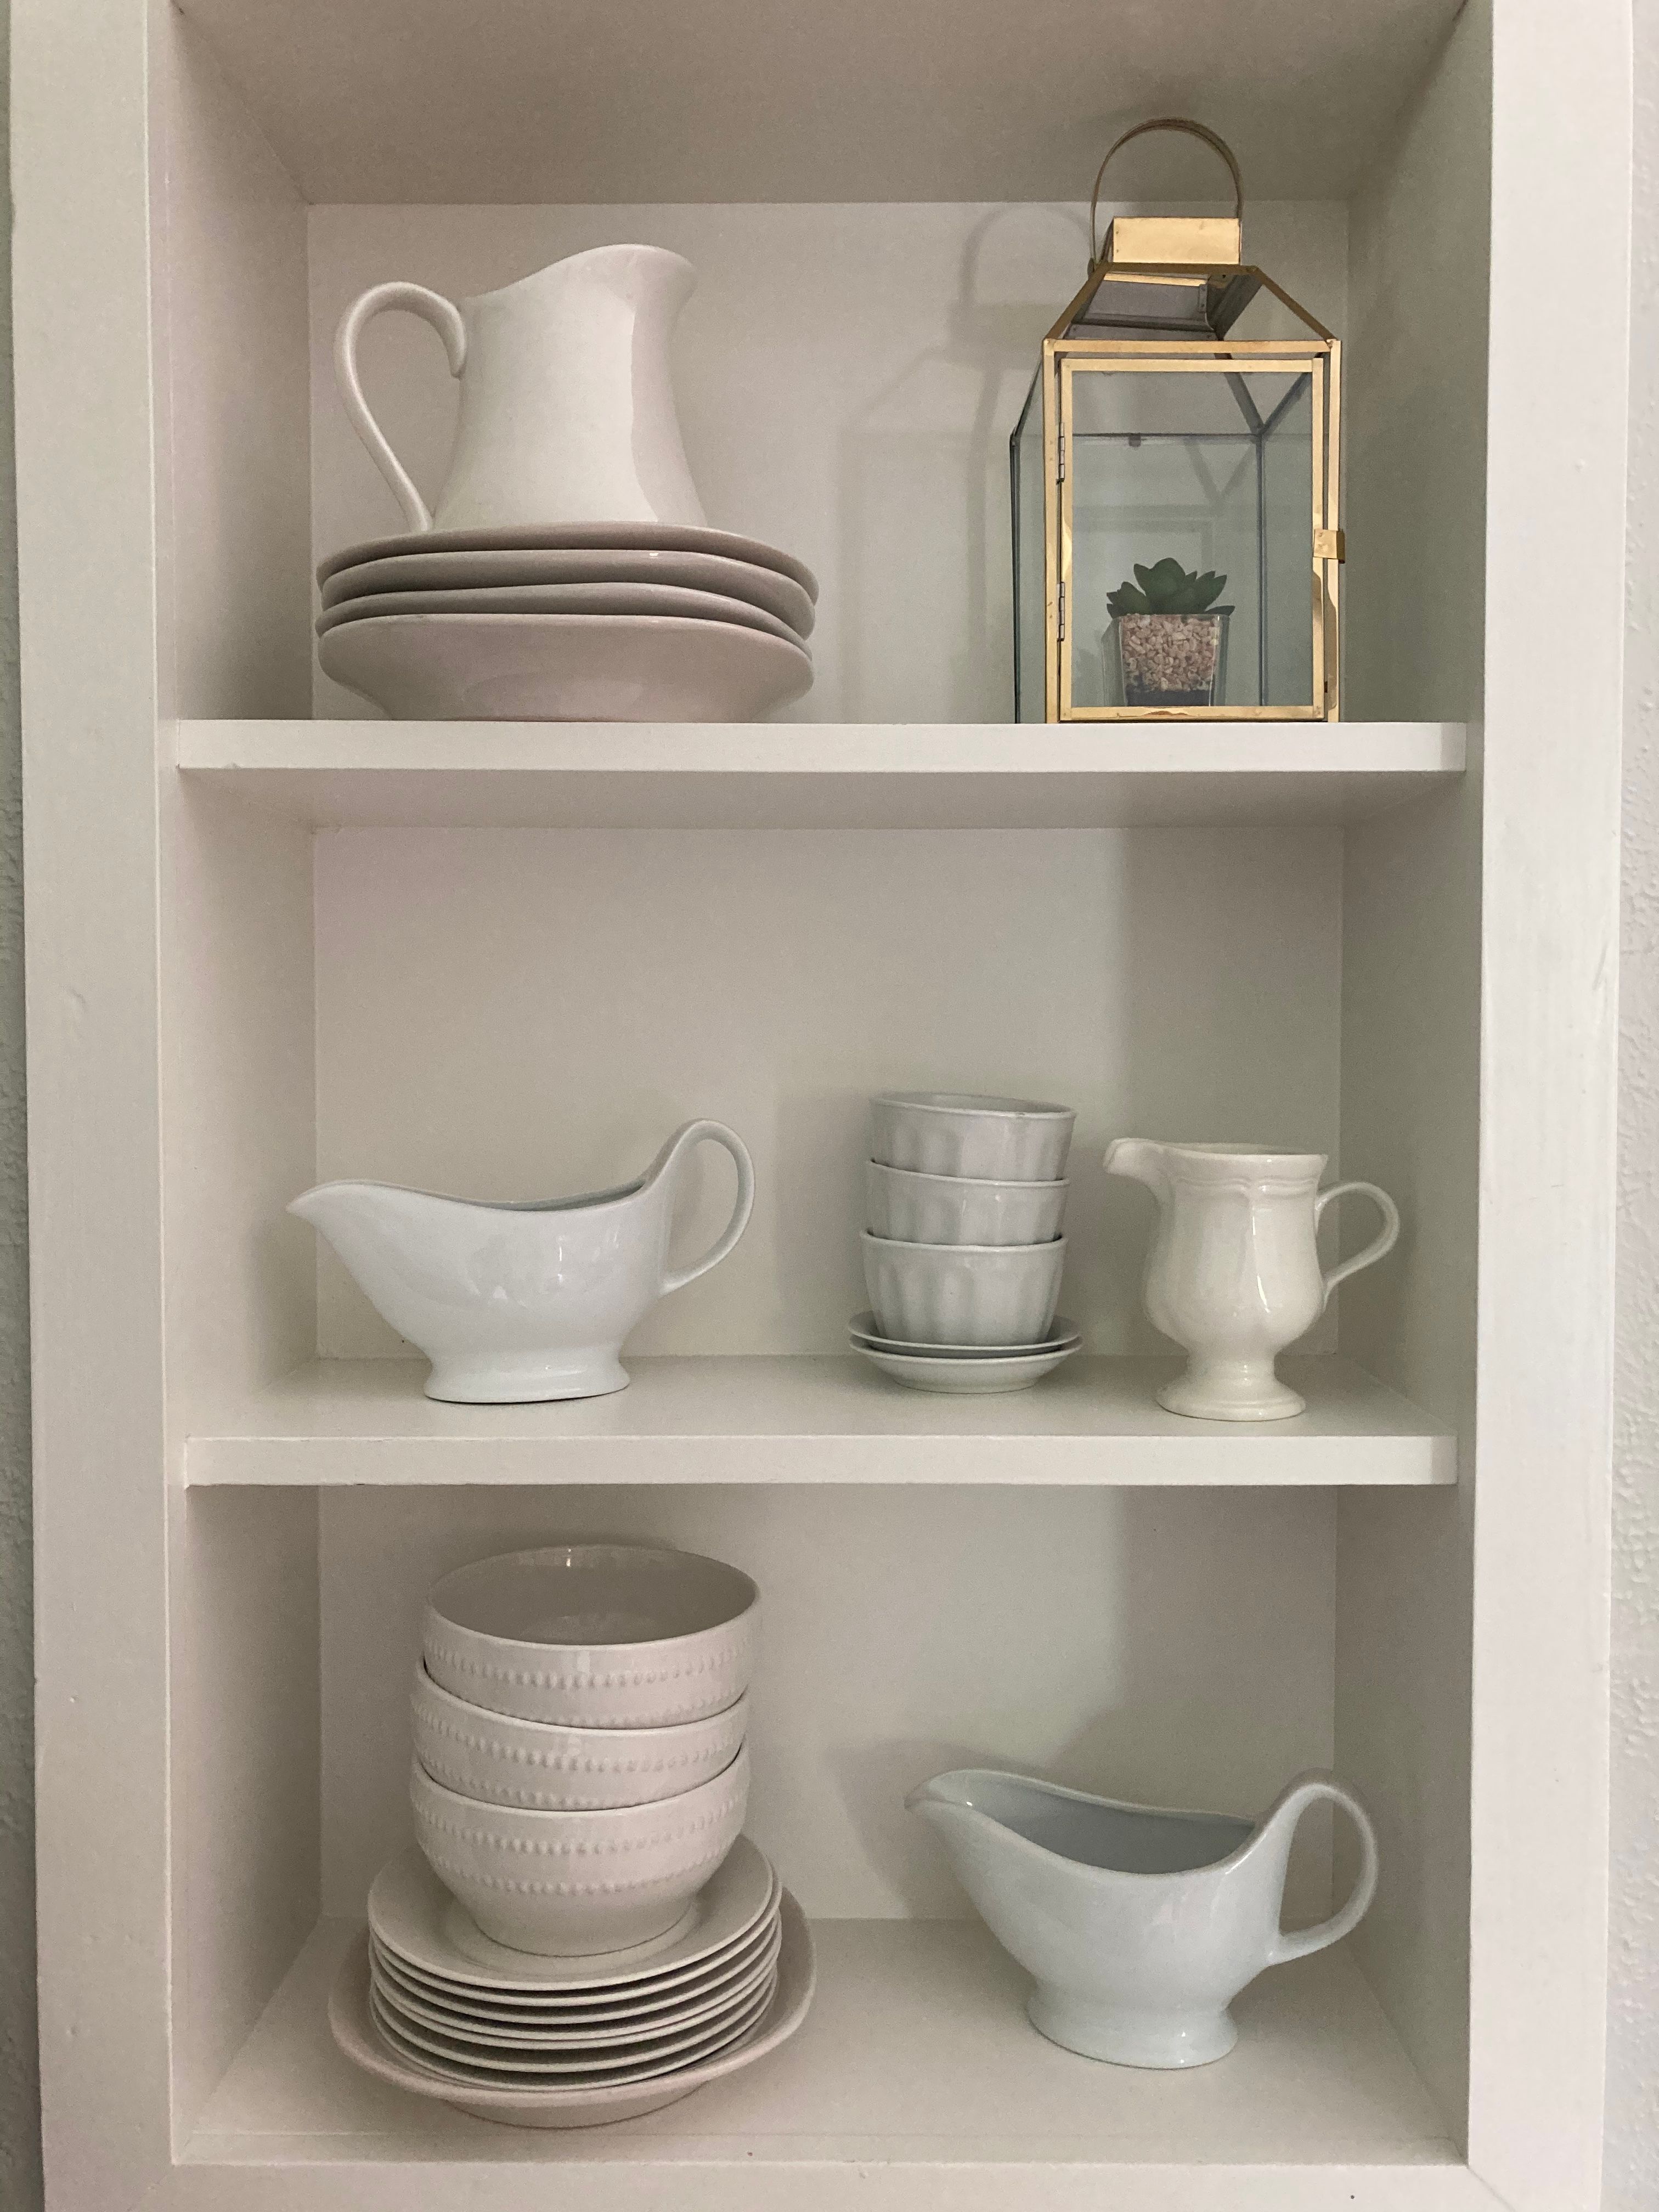
Updated November 2026. Illustrative stock photograph, not an Edin Chavez photograph.
A photograph can show an interesting object without making its relationship to the scene clear. Visual storytelling starts with that relationship: what is happening, what matters in the frame, and what information the viewer still needs.
These seven short field exercises turn those questions into things you can photograph and compare. Use a familiar room, a permitted workspace or a nearby outdoor spot. The stock photographs are separate illustrations, not a record of one project or evidence of the exercises being performed.
Lesson 1: Give one frame a question to answer
Choose a small subject you can observe without interrupting anyone. A table being prepared, a shelf of handmade objects or a plant beside a window gives you enough material. Write a question before taking the photograph: what makes this space useful, what separates this object from its neighbors, or how does the arrangement show a repeated task? Avoid starting with a conclusion such as “this place is lonely.” That asks a picture to prove a feeling you have already assigned to it.
For the first attempt, make one frame that seems to answer the question. Then make a second frame that includes one additional piece of relevant context. That might be the edge of a work surface, the relationship between two objects or the path of light across the room. Do not assume that the wider frame is automatically better. Extra space can explain something, but it can also fill the picture with unrelated furniture. The useful question is what the new information changes.
Keep your camera position and settings simple enough that you can concentrate on the relationship. An automatic or semi-automatic exposure mode is acceptable when it gives you the result you need. Manual exposure is an option, not an entry requirement for making an intentional picture. Review the frame for the subject, the supporting detail and anything competing with them. If a bright patch steals attention from the relevant object, try a different position rather than adding a long explanation afterward.
Your deliverable is a pair of photographs and a single sentence describing the difference. Show the pair without giving your intended answer first. Ask a viewer what they notice and what they think connects the objects. Their response is useful evidence about the frame, not a verdict on your talent. If they cannot identify the relationship, try a more specific question on the next attempt. Keep the unsuccessful version so you can see what the change actually accomplished.
 Save
Lesson 2: Photograph the same subject at three distances
Stay with the subject from the first exercise. Make a wide view that explains where it sits, a medium view that shows its main relationship and a close detail that would be hard to read in the wider picture. This is a coverage exercise, not a requirement to use three particular lenses. Moving safely, changing your framing or using a zoom can all give you options. Respect boundaries and do not climb onto furniture or block someone else’s work to reach an angle.
Each photograph needs a different job. A wide view might show a storage shelf and the table beside it. The medium view could explain how a group of objects is arranged on that shelf. A close view might reveal a worn edge, a repeated shape or the way two materials meet. A tighter version of the same centered object is not necessarily new information. Before making the next frame, say what the viewer will learn that the previous frame could not show clearly.
Check the edges as well as the subject. A close view can hide context that changes the meaning of an object. A wide view can include an unrelated item that seems important simply because it is bright or large. Make a deliberate choice about those details. When you cannot get close enough without intruding, use a different subject rather than treating access as something the exercise entitles you to. A small project works best when it stays within the access you actually have.
Select exactly one view at each distance for your review. Place them side by side and write a short role beside each: location, relationship or detail. If two roles are effectively identical, replace one photograph. The aim is useful variation rather than an arbitrary collection of focal lengths. Professional photo-essay guidance uses establishing views and details for this reason: the photographs contribute different kinds of information. You can practice that discipline with an ordinary shelf before attempting a more demanding event.
Lesson 3: Show a change without inventing its meaning
Find a modest action or change that you can observe safely. Leaves moving near a window, a curtain shifting in a breeze or a person arranging their own materials with permission can work. If people are not part of your project, there is no need to introduce them. Decide which visible change matters and watch before taking a burst of photographs. The exercise is about timing, not about returning with the largest possible number of files.
Keep the frame reasonably consistent and make a short series as the movement changes. Look for an overlap separating, an object becoming visible or a gesture completing a clear action. Review what is actually present in each frame. A hand close to a tool does not establish who owns it, how experienced the person is or whether they enjoy the task. Those may be facts you can learn by asking, but the photograph alone does not give you permission to supply them.
Choose two frames with a meaningful visible difference. Describe that difference in plain nouns and verbs: a leaf crosses the bright background, a curtain clears the window edge, or an object is placed beside another. Avoid turning those observations into unsupported emotional claims. “A careful craftsperson takes pride in the work” adds a motive that the camera did not record. You can make an expressive image while keeping its factual description restrained. Expression and factual context do different jobs.
The review test is whether the chosen moment makes the action easier to understand. If the difference is only a more flattering arrangement of shapes, call it a composition choice rather than a discovered turning point. Both can be worthwhile. Keep a note of anything you still need to verify with the subject. The NPPA ethics code concerns visual journalism specifically, but its insistence on accurate context is a useful boundary when a personal project presents itself as a record of real events.
 Save
Lesson 4: Change one lighting decision and compare
Use a stationary subject so that movement does not hide the effect of light. A plain cup, a folded cloth or a small group of objects is enough. Make a baseline photograph, then change one thing: your position relative to the window, the subject’s position when it is yours to move, or the time of the observation. Do not change everything at once. You want a comparison you can explain rather than two attractive pictures whose differences have several unrelated causes.
Look at what becomes readable. Side light may reveal a surface that looked plain from another angle. A reflection can distract from an edge or explain that a material is glossy. A bright background may separate a dark object, while another position lets it merge into the room. These are decisions to inspect, not fixed emotional codes. Warm light does not prove happiness, and a dark frame does not prove sadness. What light contributes depends on the subject and the surrounding information.
Check exposure while you work. If the camera changes its exposure between frames, note that difference rather than attributing every change to the direction of light. When a consistent exposure helps the comparison, use the controls you understand and inspect the result. Do not preserve a setting merely to satisfy the exercise if important detail is lost. A test becomes useful when you can name both the intended change and the other conditions that affected the picture.
Your deliverable is a two-frame comparison with one observed benefit and one cost. Perhaps texture is clearer but the background is busier, or the subject separates better but a reflection hides its surface. Choose the version that supports the question from Lesson 1. If you move objects or arrange light, describe the work as an arranged study rather than an unaltered documentary moment. This keeps an honest boundary between making an illustrative scene and reporting what happened without your intervention.
Lesson 5: Remove one distraction without removing the context
Return to a frame that nearly works. Identify one competing element precisely: a bright object at the edge, two shapes touching awkwardly or an unrelated sign behind the subject. Avoid treating every untidy detail as a defect. The marks, tools and surrounding space may be the information that makes the subject understandable. The exercise is to reduce competition while keeping the relationship you chose to show, not to turn every real location into an empty studio.
Make three new versions with a small change of position or framing. Try a lower viewpoint, a step to the side or a slightly different boundary. Keep track of what each version loses as well as what it improves. Moving a few inches may separate two objects, but it can also hide the surface that explains where they belong. Before cropping tightly, compare the original. A cleaner picture that no longer answers the question is not necessarily a stronger storytelling photograph.
If you are photographing your own arranged still life, you can also move an object and label the result accordingly. If you are documenting someone else’s work or an unstaged event, do not quietly rearrange it to produce a more convenient account. Editing afterward requires the same distinction. An illustrative composite and a factual record are different kinds of image. Do not remove a relevant object and then present the result as evidence of an unchanged scene.
For review, compare the original with the best new version at the size where you intend to show it. Ask what becomes noticeable first and whether the supporting information is still available. Write down the particular intervention, such as “moved left to separate the handle from the shelf edge.” That is more useful on your next outing than “improved composition.” You are building a record of decisions you can repeat, not collecting rules that require every subject to sit on a particular grid intersection.
 Save
Lesson 6: Build a three-frame sequence with separate jobs
Choose three photographs from the exercises that genuinely belong to the same small project. One can establish the setting, another explain an action or relationship, and the last provide a detail or a closing observation. Those roles are a starting point, not a compulsory formula. If there was no event unfolding, do not manufacture a beginning, crisis and resolution. A quiet study can connect pictures through materials, space or repeated shapes without claiming a dramatic event occurred.
Lay the three frames out in two different orders. In the first, give context before detail. In the second, begin with the detail and reveal the setting later. Compare what each order asks the viewer to assume. A delayed explanation can create interest, but it can also mislead when the missing context changes the meaning of the opening image. Keep chronological order when the order of events is itself a fact you need to communicate.
Remove one frame temporarily and see what disappears. If the remaining pair communicates exactly the same information, the third may be repetitive. If the set becomes confusing, identify the missing connection rather than adding more photographs at random. You may need to return for one specific view. A photo essay is stronger when every image has a reason to be present; it does not become more informative merely because the gallery is longer or the individual pictures share a matching color treatment.
The deliverable is one selected sequence and a sentence explaining each frame’s role. Do not present the unrelated stock photographs in this article as an example of a real sequence captured at one place. They illustrate possible visual subjects only. For your own exercise, keep file references and notes that tie the pictures to the actual project. This lesson concerns a short account of one subject, rather than the broader audience, export and presentation decisions involved in building a professional portfolio.
 Save
Lesson 7: Write a factual caption and test the result
Draft a short caption for each selected photograph. Start with what is visible, then add relevant facts you have verified. A name, place, date or explanation of a process can help, but an unknown detail should stay unknown until you check it. Do not turn a source file’s download date into a capture date. Do not assume that several similar-looking stock images show the same workspace. Specific words help only when they are accurate.
Keep interpretation separate from description. “Three cups sit on a shelf beside a window” reports visible information. A claim about the maker’s patience, financial success or intentions needs a different source. The Boston University caption handout specifically warns against guessing what a person is thinking. Apply that restraint even when the subject is an object: a worn tool does not establish a family history, and an empty room does not establish that its occupants have left permanently.
Now show the sequence and captions to someone who did not watch you make it. Ask what they understand, which frame adds the least and what question remains unanswered. Do not explain every decision before they respond. If they need information you have but did not include, revise the caption or choose a more useful frame. If their question exposes something you never verified, research it or narrow the claim. The review should change a decision, not simply collect encouragement.
Finish with a repeatable note for the next session: one successful choice, one missing view and one fact to check. Keep the original files and the selected edit separately so that your review remains traceable. Basic exposure and color adjustments can help a set read consistently. If Luminar is already part of your workflow, compare its edits with the originals and check that relevant details remain intact. No particular editor is required, and software cannot supply observations or permissions you failed to collect while photographing.
Repeat the exercise, not the same mistake
On the next session, repeat one lesson rather than starting seven new projects. Use the same question with a different arrangement or revisit the same subject after noticing a missing connection. Keep the comparison small enough to review honestly. The useful result is a clearer explanation of why a frame works, what it leaves out and what you still need to learn. You do not need a new camera, an exotic location or a claim that your subject’s life changed between two pictures.
A simple contact sheet can hold the baseline, your alternate and your final choice. Add the question and the reason for the choice beside them. After several sessions, look for repeated habits: missing context, duplicate views, distracting edges or captions that depend on guesses. Choose the next exercise from that evidence. This gives daily practice a purpose without pretending that a fixed schedule, a manual exposure mode or a single composition rule guarantees a better story.
Visual storytelling questions
Do I need manual exposure to tell a visual story?
No. Use a mode you understand and inspect the result. Manual exposure can help a controlled comparison, but it is not a requirement for making an intentional photograph.
Can I practice without photographing people?
Yes. Objects, workspaces, plants and changes in light can give you relationships to observe. Choose subjects you can photograph without interrupting others or crossing access boundaries.
What should a wide, medium and close view add?
Each view should add different information, such as the setting, a relationship or a detail. Three distances are a useful exercise, not a rule that every finished project must follow.
Does warm or dark light establish a subject’s emotion?
No. Light changes what is visible and how a picture feels, but it does not prove what a person thinks or what an event means. Keep factual captions separate from interpretation.
Must a three-frame sequence be chronological?
Use chronological order when event order matters to the account. A study of objects or a place can use another order, provided the sequence does not imply events or connections that did not occur.
What if I do not know a name, place or date for a caption?
Leave the detail out or identify the uncertainty until you can verify it. Do not replace missing context with an assumption or use a stock download date as a capture date.
Are these photographs a sequence from one workshop?
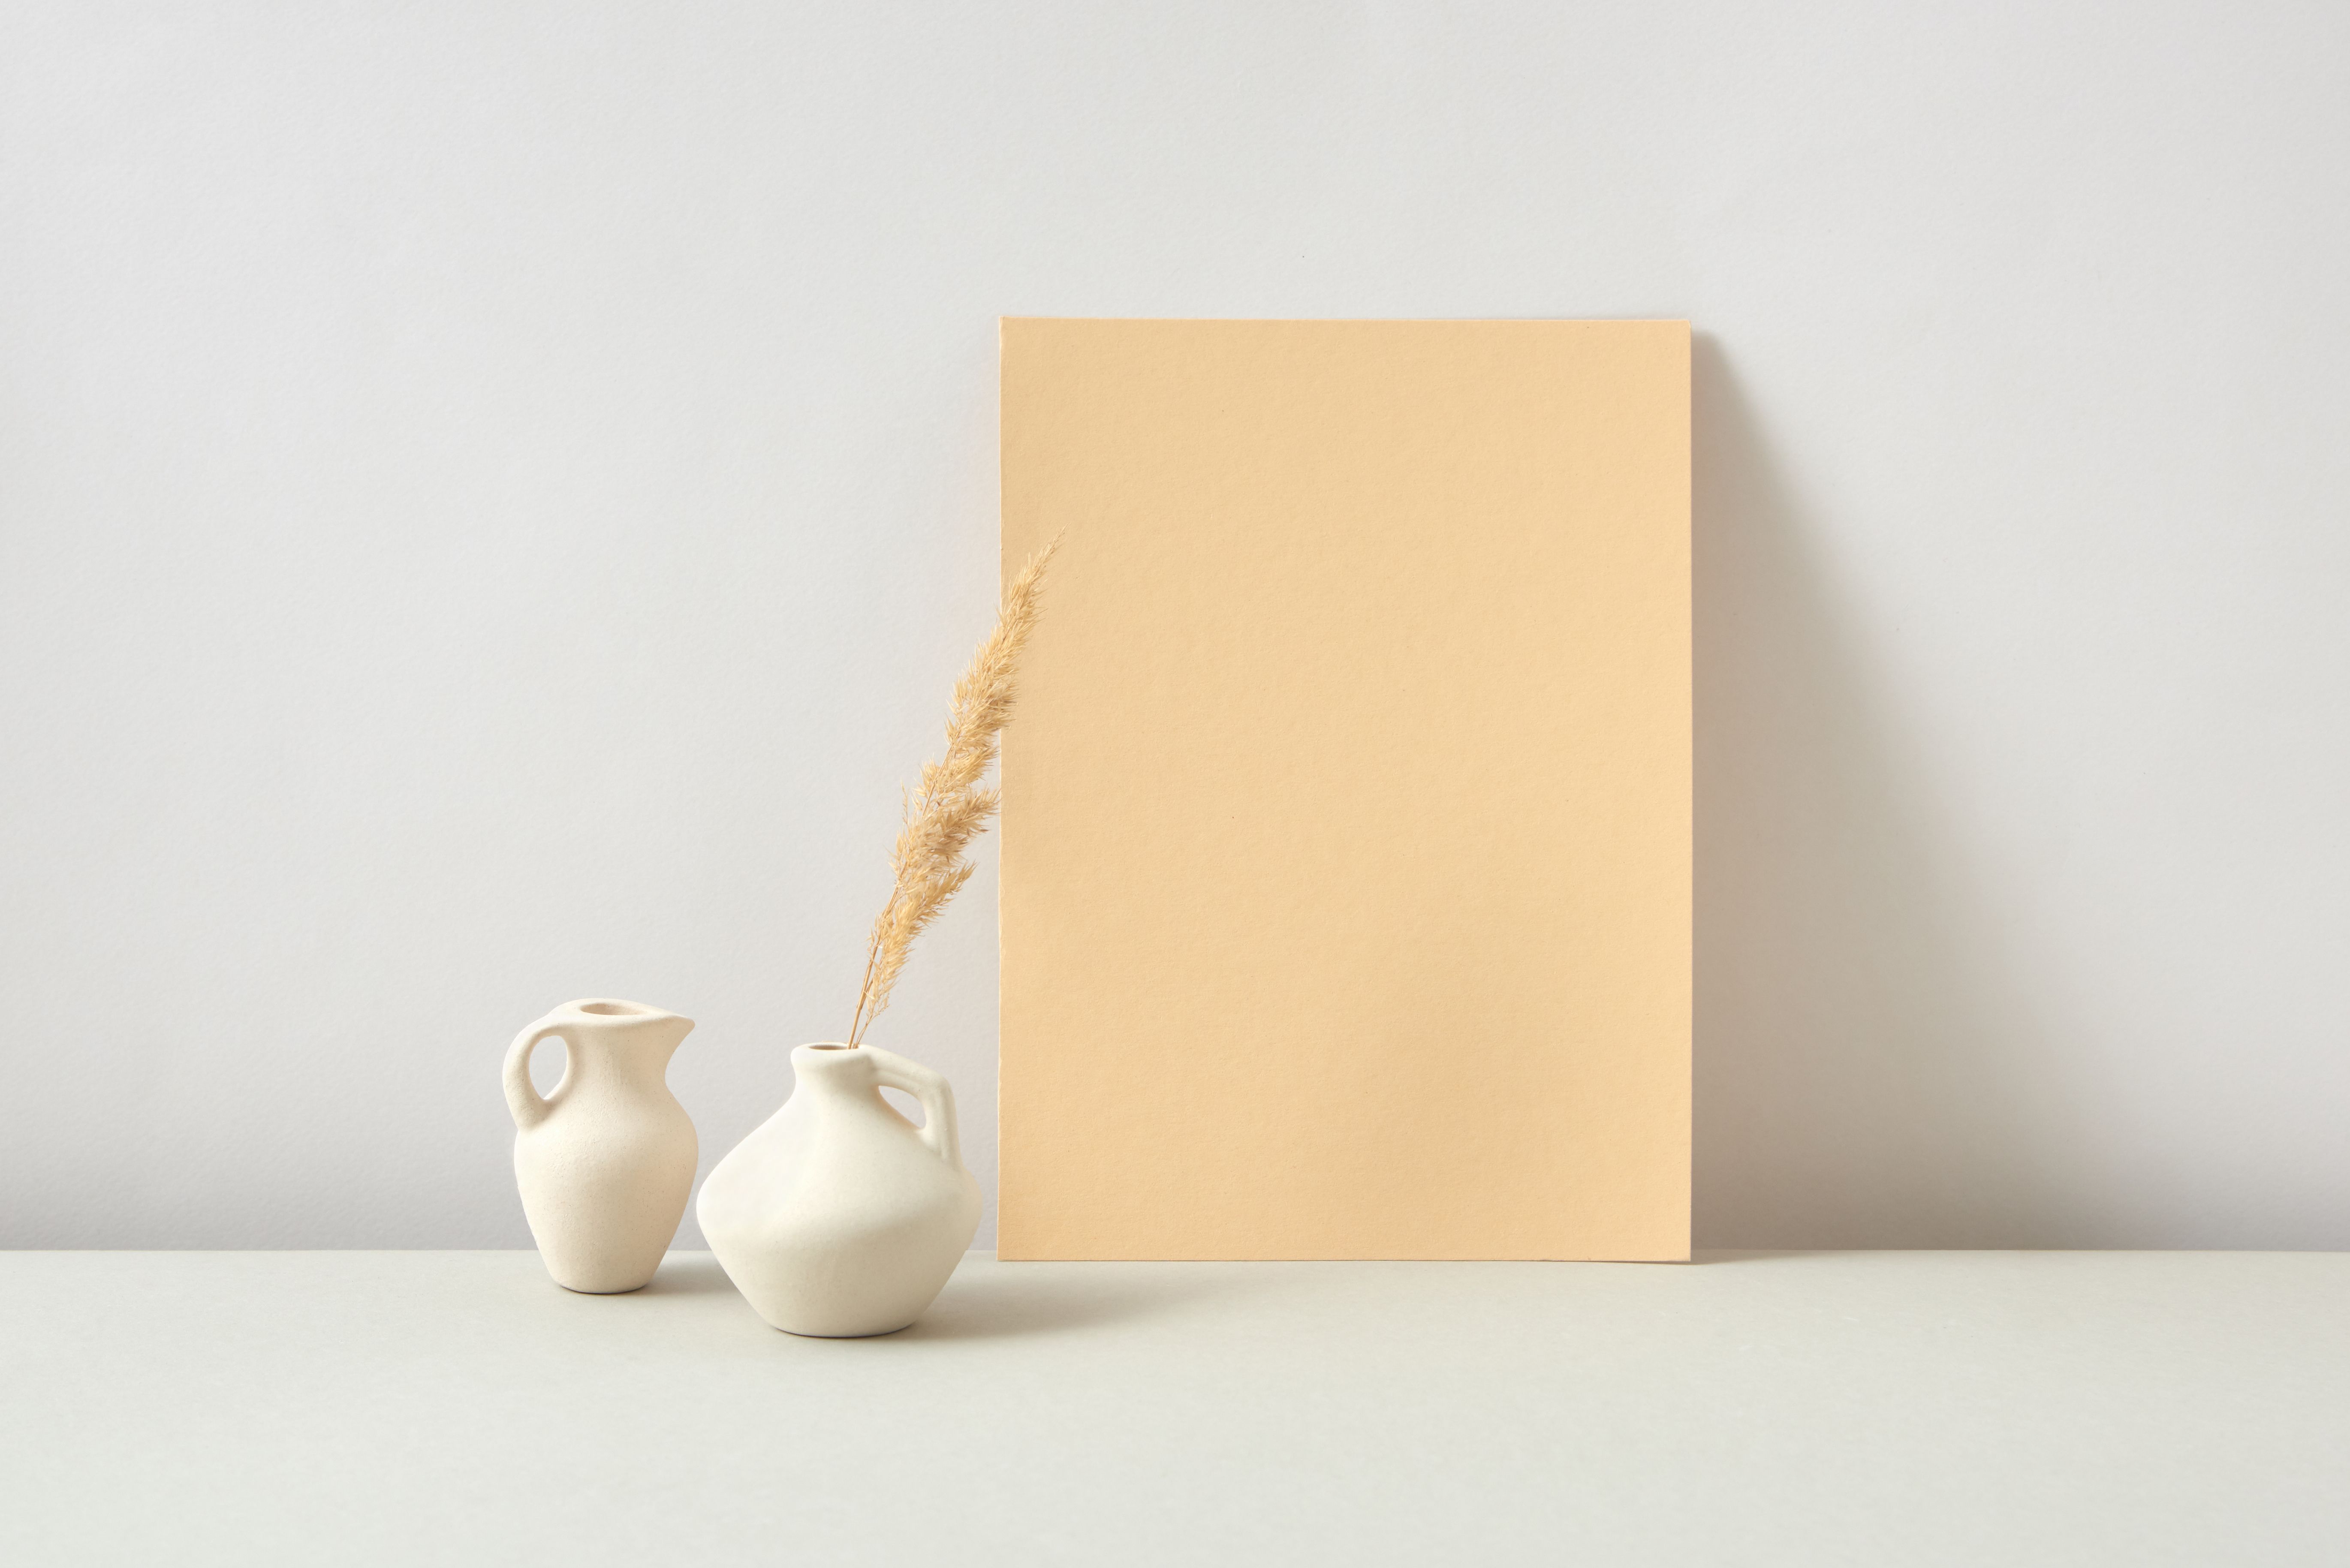
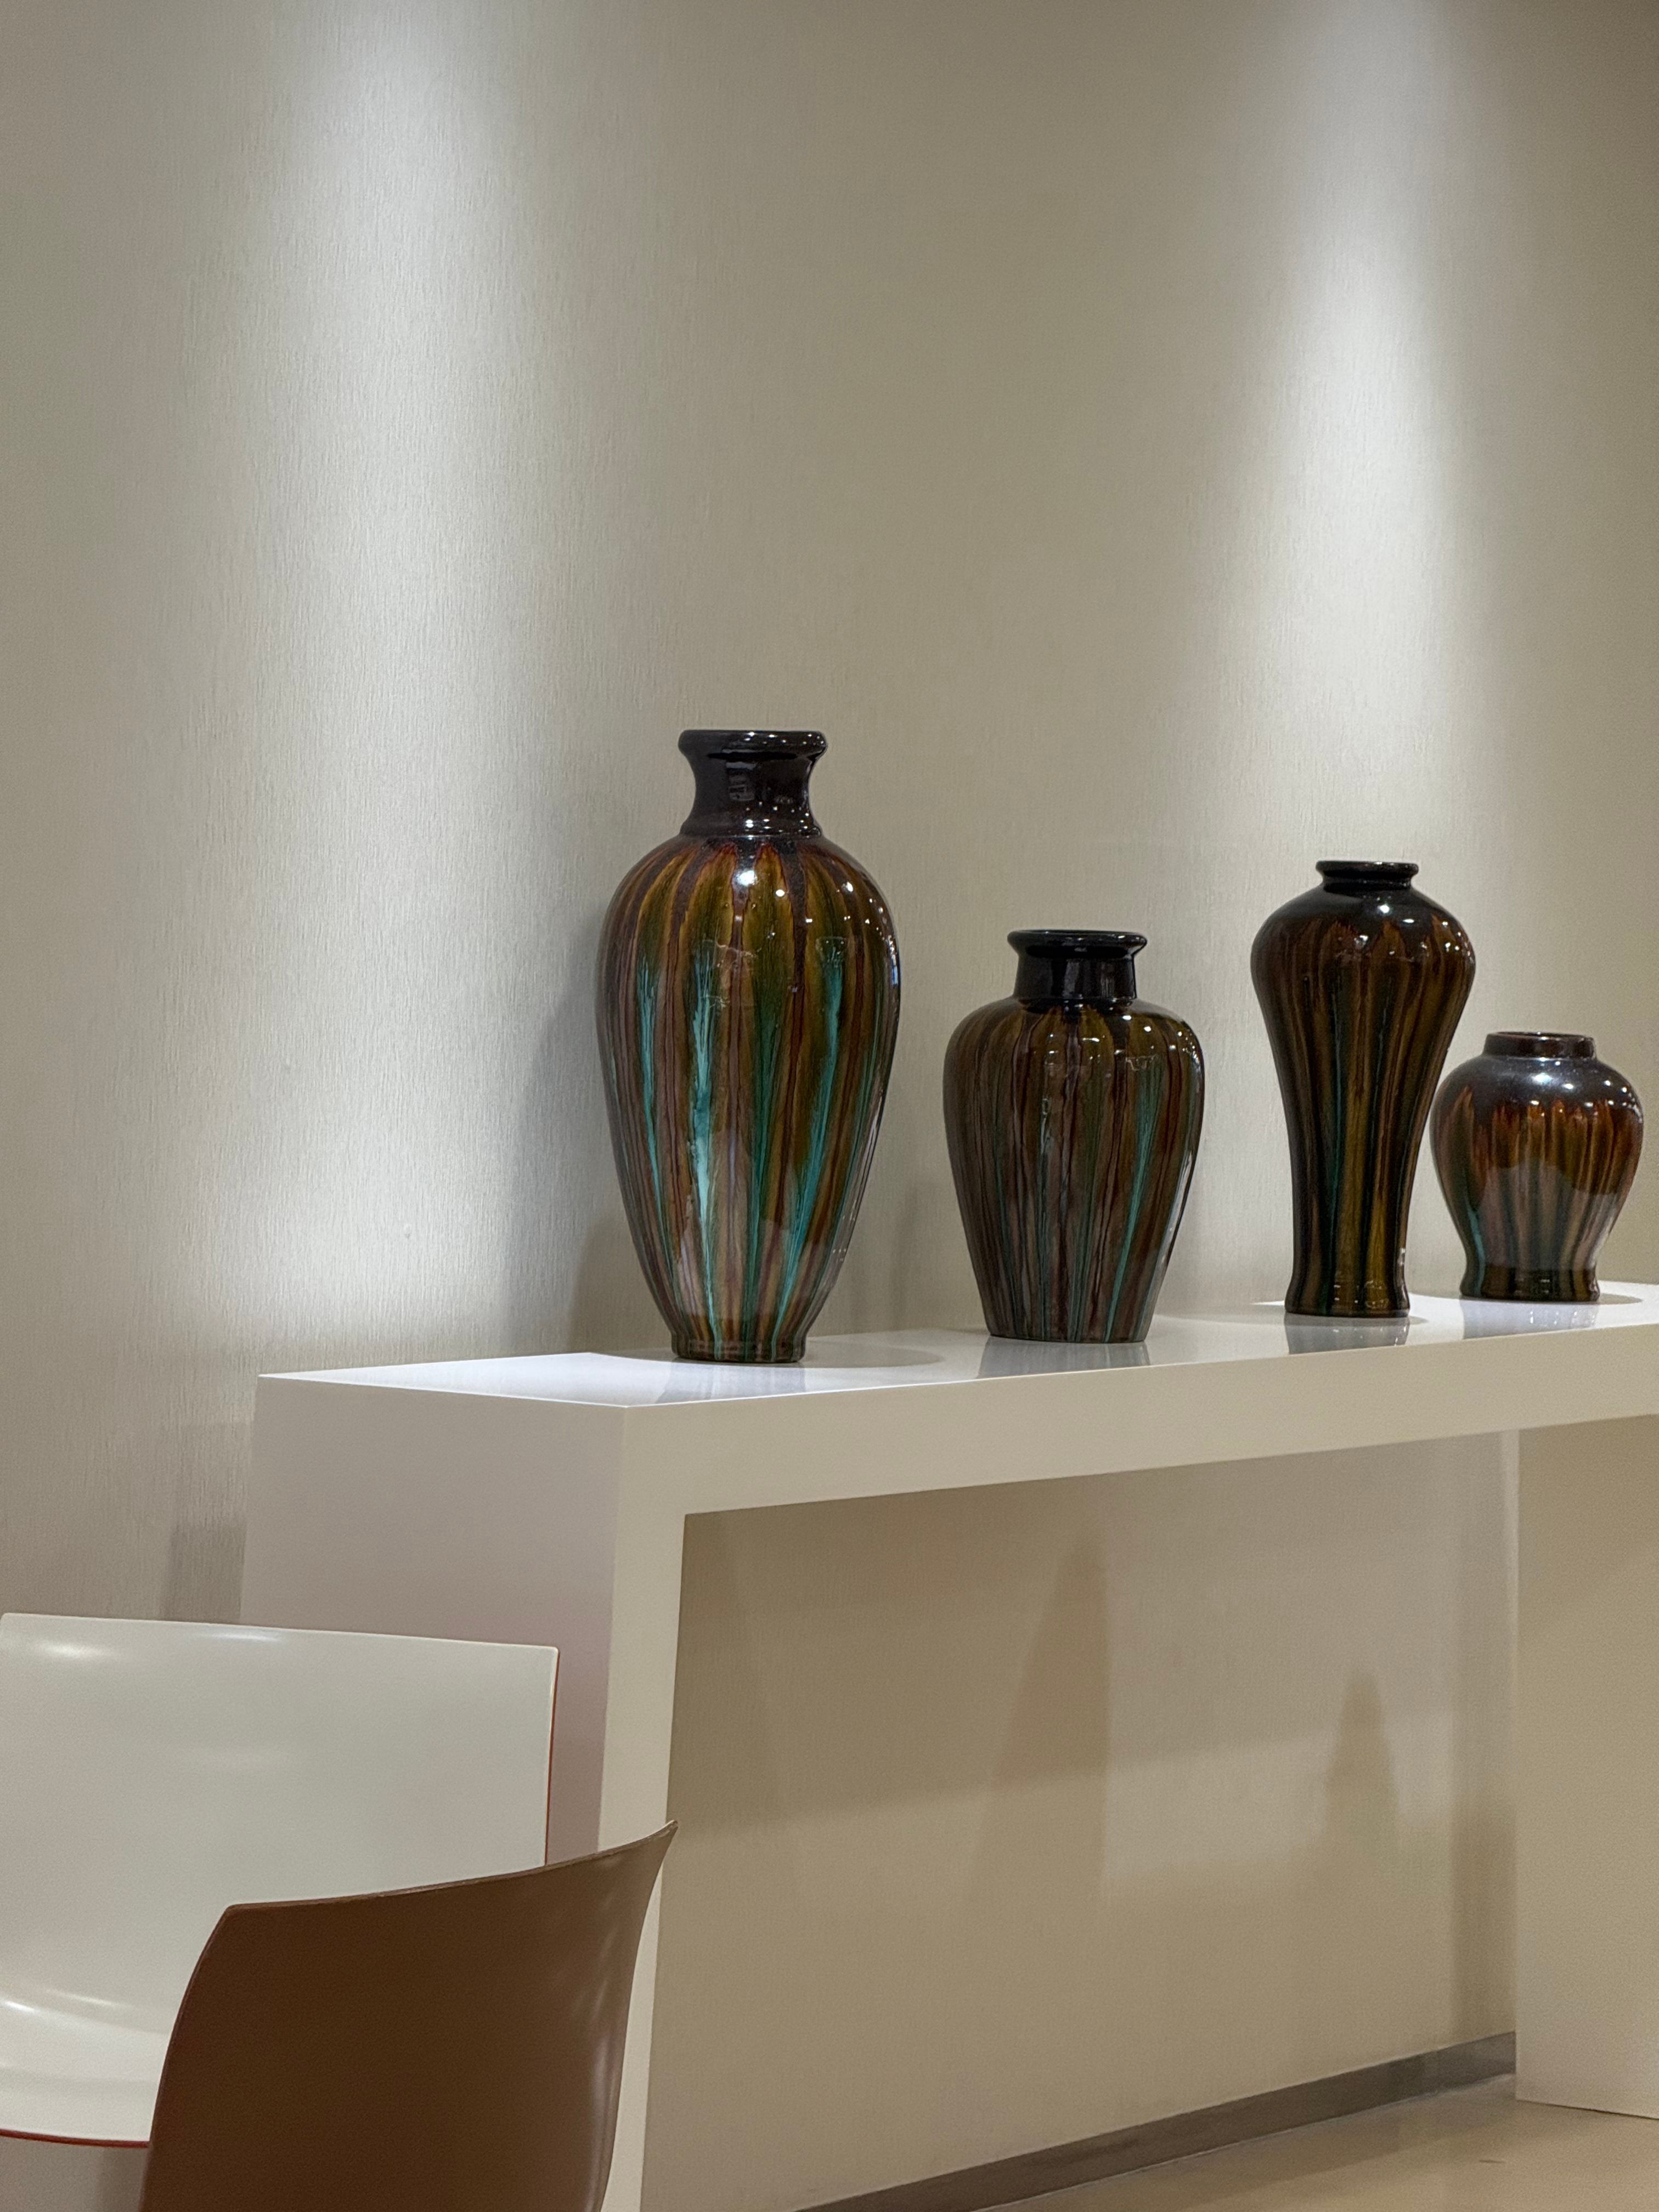
No. They are separate illustrative stock photographs. They do not establish a shared place, date, event, camera setting or editing result, and they are not Edin’s portfolio work.
Keep learning
Choose the references that support the exercise you are repeating. The camera-specific links are optional setup references, not equipment requirements for these lessons.
- Aperture reference
- Photography lesson library
- Shut Your Aperture Academy
- Shutter speed reference
- ISO reference
- Natural-light portrait practice
- Street photography practice
- Sony ZV-E10 II landscape setup
- OM-1 Mark II sports setup
- Portrait photography practice
- Edin Fine Art
- OM-1 Mark II street setup
- OM-1 Mark II room photography setup
- OM System landscape setup
- OM-1 Mark II wedding setup
Sources and scope
The field exercises are a practical synthesis of photo-essay teaching and caption guidance. The NPPA code is specifically a journalism standard, not a rulebook for all arranged art. The photographs here illustrate subjects and framing possibilities, not a single factual series.
- Professional Photographers of America: Master the Photo Essay
- The Passionate Photographer: The Photo Essay, a Framework
- Peachpit: For Stronger Photographs, Think Cinematically
- SLR Lounge: Visual Storytelling Through Photography
- NPPA: Code of Ethics for Visual Journalists
- Boston University: Handout on Captions and Cutlines
Disclosure: This article includes links to photography education and Edin’s fine-art website and mentions Luminar as an optional editor. Photographs are licensed illustrative stock, not Edin’s photographs or documented equipment tests. No shared place, date, event or before-and-after result is implied.