
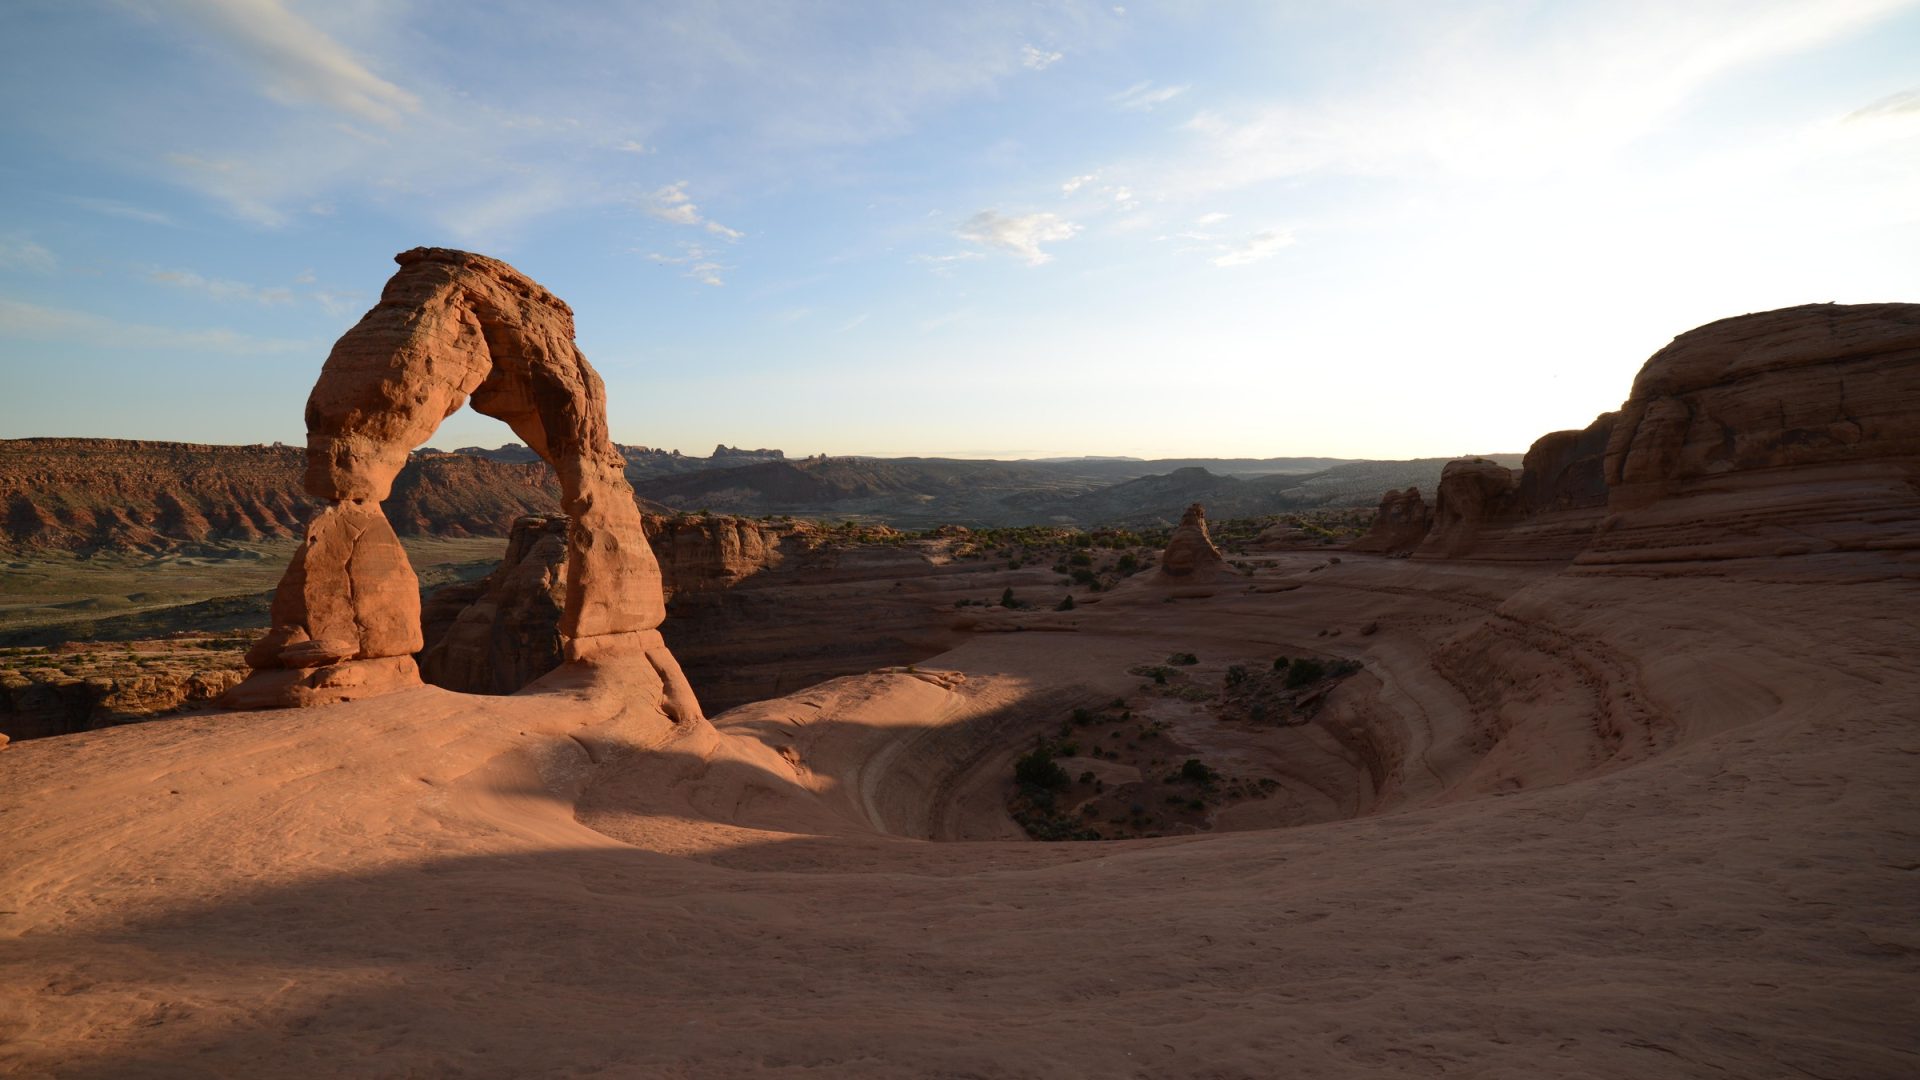
Stock photo, illustrative. Hero: Delicate Arch and its surrounding sandstone bowl in warm light. This image illustrates a composition, not a verified safe camera position or a promise of sunset conditions. Photo: Harrison Haas. Source · Pexels License. Resized; no generative edits.
Delicate Arch photography starts with a hike, not a camera setting. The freestanding sandstone opening makes a strong subject, but the photograph depends on how its shape relates to the sky, distant land and sloping rock around it. Warm late-day light is the familiar starting point. It is not the only useful light, and reaching a particular frame is never more important than safe footing or protecting the park.
This guide covers one location in Arches National Park, Utah. It separates the strenuous trail to the arch from the distant viewpoints, explains the current entrance rules, and gives you a way to work through composition and exposure without copying a fixed recipe. The photographs are credited to their contributing photographers. They are illustrations, not a claim that Edin Chavez made every image or that you should stand exactly where a stock photograph was taken.
Choose the right Delicate Arch visit
The NPS Delicate Arch trail page describes a 3-mile (4.8 km) round trip from the Wolfe Ranch trailhead, rated strenuous. Its listed hiking time is two to three hours. That is a planning estimate, not a promise about your pace, a photography session or the return after dark. The route climbs steep slickrock without shade and has exposure to heights. Near the arch, it follows a narrow rock ledge for about 200 yards (183 m), which can be icy in winter.
Even the park’s own pages differ on elevation: its detailed trail page lists 538 feet (164 m), while its Delicate Arch overview lists 480 feet (146 m). Treat it as a sustained climb, not an easy stroll based on the smaller number. The arch is not visible until the end of the main trail. Consider weather, your fitness, the gear you can carry comfortably and whether you can make the return safely before committing.
The distant viewpoints are a different visit. NPS describes a level 100-yard (91 m) walk at Lower Delicate Arch Viewpoint, where the arch is about a mile away. Upper Viewpoint involves a 0.5-mile (0.8 km) walk with stairs. Do not expect either viewpoint to reproduce the close arch-and-bowl photograph. They can instead support a landscape in which the arch is a small shape within much more land. Choose the route for the experience you can safely undertake, then choose the photograph that fits it.
Check entrance, parking and trail conditions
Arches announced that timed-entry reservations are not required in 2026. Older advice telling every visitor to buy an April-through-October entry reservation is not current for that year. This is a year-specific policy, not a guarantee for later trips. Check the official trip-planning page again near your travel date. Entrance fees still apply, and reservations for other park activities are separate from ordinary entry.
The official fee page lists a $30 private-vehicle entrance pass. Check the pass categories and current terms there rather than assuming every visitor, vehicle or passholder pays the same amount. A pass does not reserve a parking space or a place to put a tripod. The park may delay entry or restrict access when areas fill, even without a timed-entry system.
Use the park conditions page and official trail information before driving to Wolfe Ranch. Follow the park’s signs and map instead of treating a generic map pin as the entire route. At a full lot, follow the NPS traffic guidance: park only in designated areas, do not block traffic waiting for a space, and move on when the lot is full. There is no photography entitlement to roadside overflow or to keeping an entrance lane clear only when convenient.
NPS notes that starting from the Delicate Arch Viewpoint parking area adds a road walk to reach the main trailhead and makes the total round trip about five miles. Do not confuse that with a shortcut between the distant viewpoint and the arch. Reconsider the extra distance, daylight and conditions before changing plans. If you cannot make the visit safely that day, a photograph is a reason to return, not a reason to improvise a route.
Plan for sunset without promising a sunset
 Save
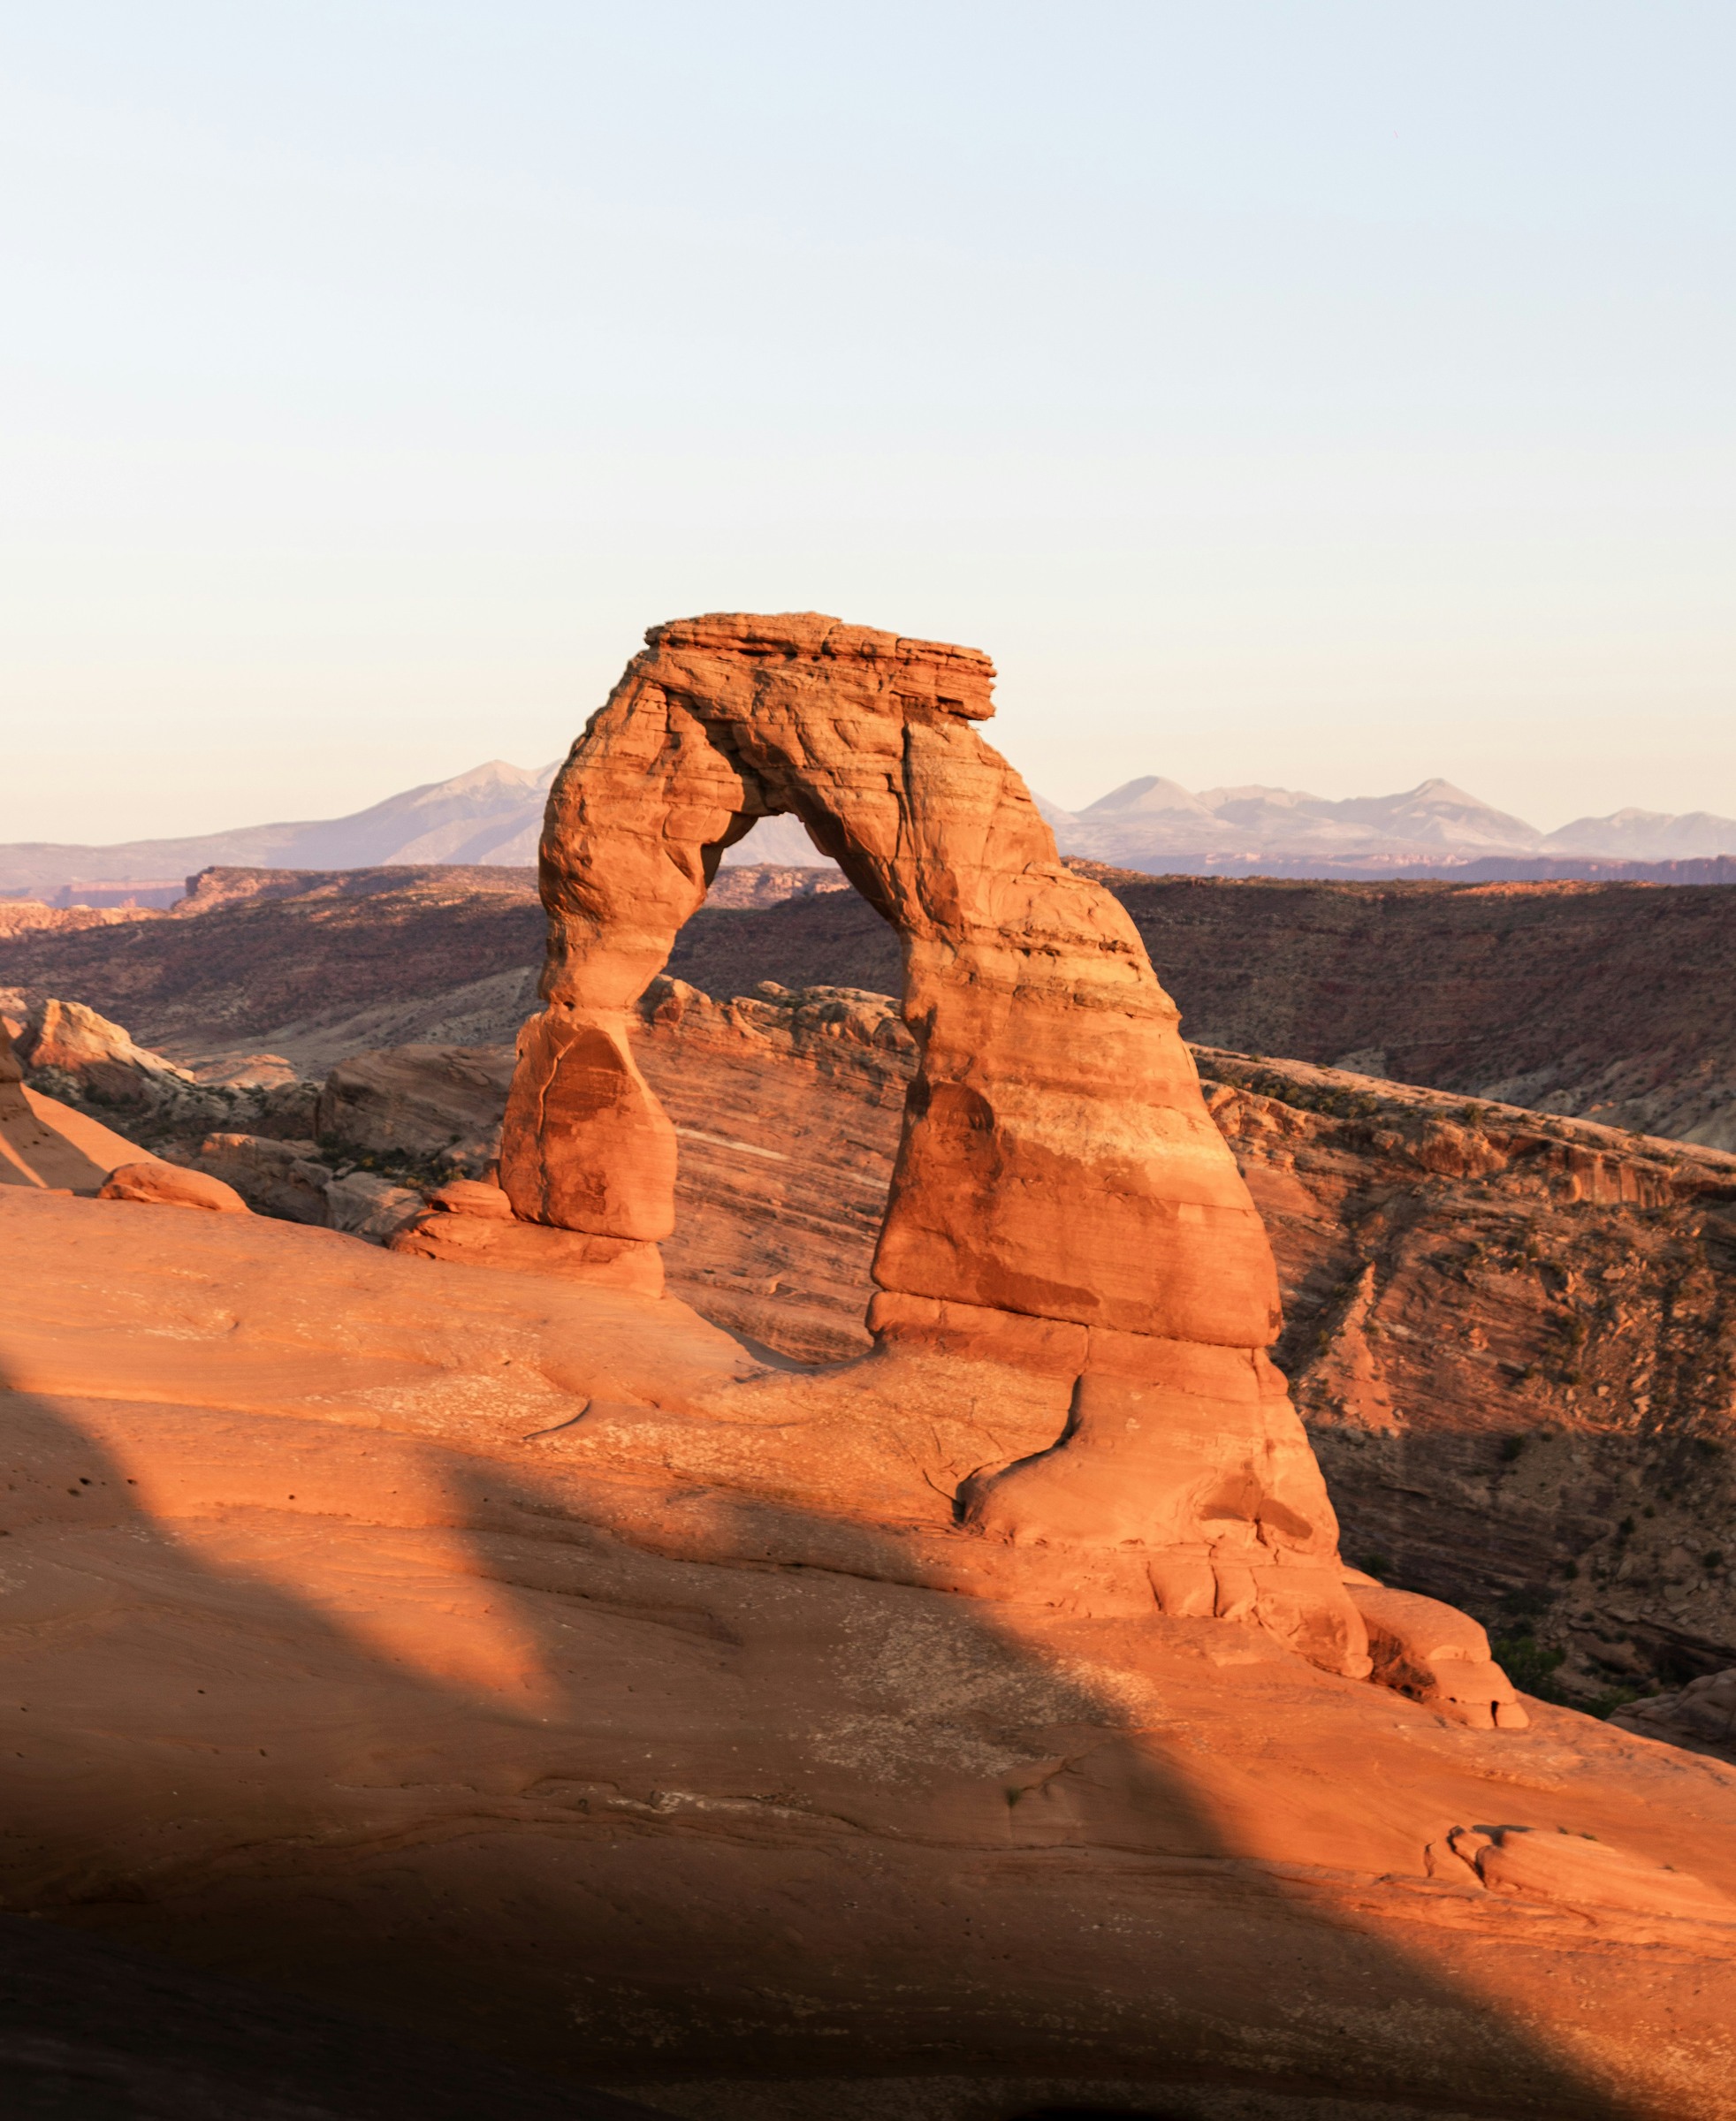
The NPS photography page places Delicate Arch among its late-afternoon subjects. Low-angle light can bring warmth and texture to sandstone, while distant features give the frame depth. Look at the light actually falling on the arch rather than deciding it must glow at a particular minute. Clouds, haze and the season can change the result. A clear horizon does not guarantee dramatic clouds, snow on the mountains or an uninterrupted orange face.
Build your timing around the hike and a safe return, with room to rest, orient yourself and make pictures. There is no universal ninety-minute arrival rule that secures a shooting position. NPS says sunset can draw hundreds of visitors. Sunrise is not a promise of an empty amphitheater either. You are sharing a public place, not reserving a foreground. Keep walkways open, avoid spreading equipment across a narrow passage, and accept that people may appear in your frame.
When the sky becomes more interesting than the rock, let it occupy more space. When the sky is plain, a tighter relationship between the arch and distant terrain may be stronger. Flat light can make a useful study of shape without the distraction of bright highlights. Do not leave simply because the photograph does not match an image you saved at home. Ask what the current light makes readable, then decide whether to photograph, wait safely or start back.
Build a frame around the opening
 Save
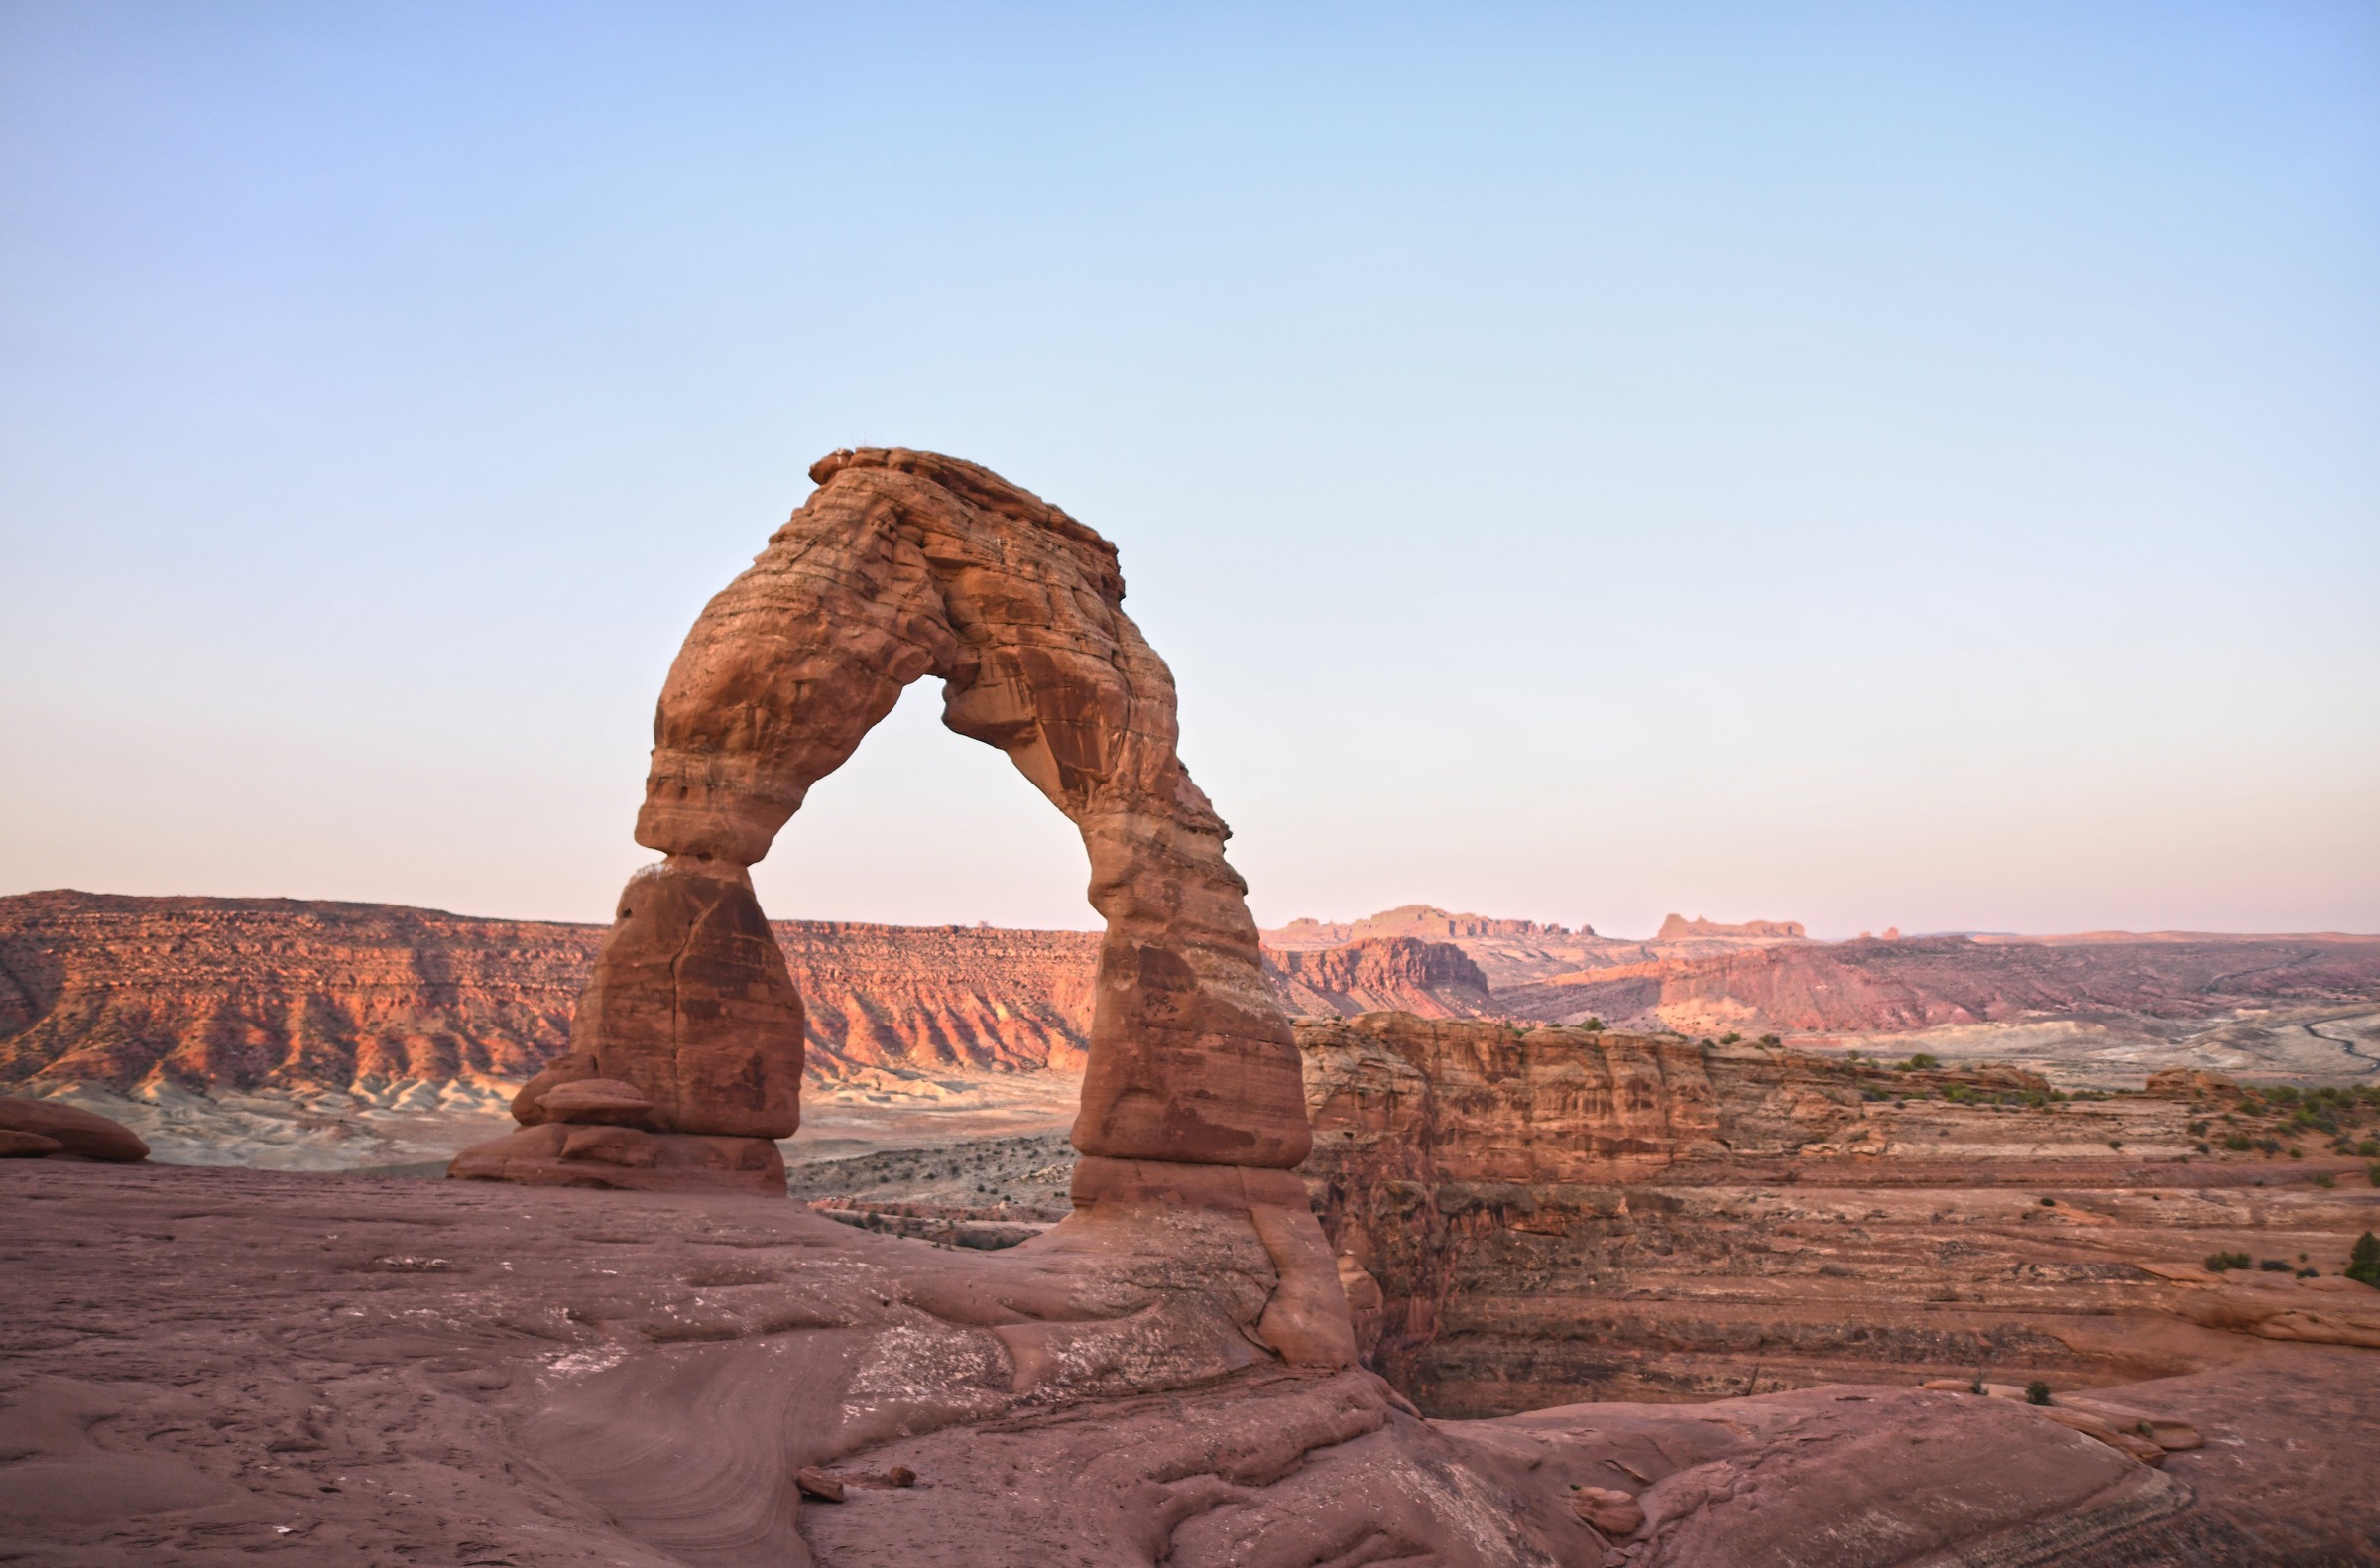
Start by looking at the outline. The opening needs enough separation from the background to read clearly at the size you intend to show the photograph. Distant mountains, dark land or a band of sky may help, but they can also merge with an edge. Check where the horizon crosses the legs and where bright patches sit inside the opening. A small change in framing can simplify these relationships without moving toward a drop or leaving a permitted route.
A wider lens shows the arch as part of the bowl. That can give a better sense of place, but it also makes the arch smaller and includes more foreground. A longer lens can bring attention to the opening, rock texture or the relationship with distant land. Neither choice is automatically wrong. A single focal-length limit confuses one popular composition with every possible photograph.
Work from a safe, stable, permitted position and use focal length or orientation to adjust the frame. Do not step backward while looking through the viewfinder. Before changing position, lower the camera and check the ground and other visitors. A stock photograph cannot tell you whether its camera position is permitted, comfortable or safe on the day you visit. Its value here is showing visual choices, not providing a placement instruction.
Use foreground and shadow deliberately
 Save
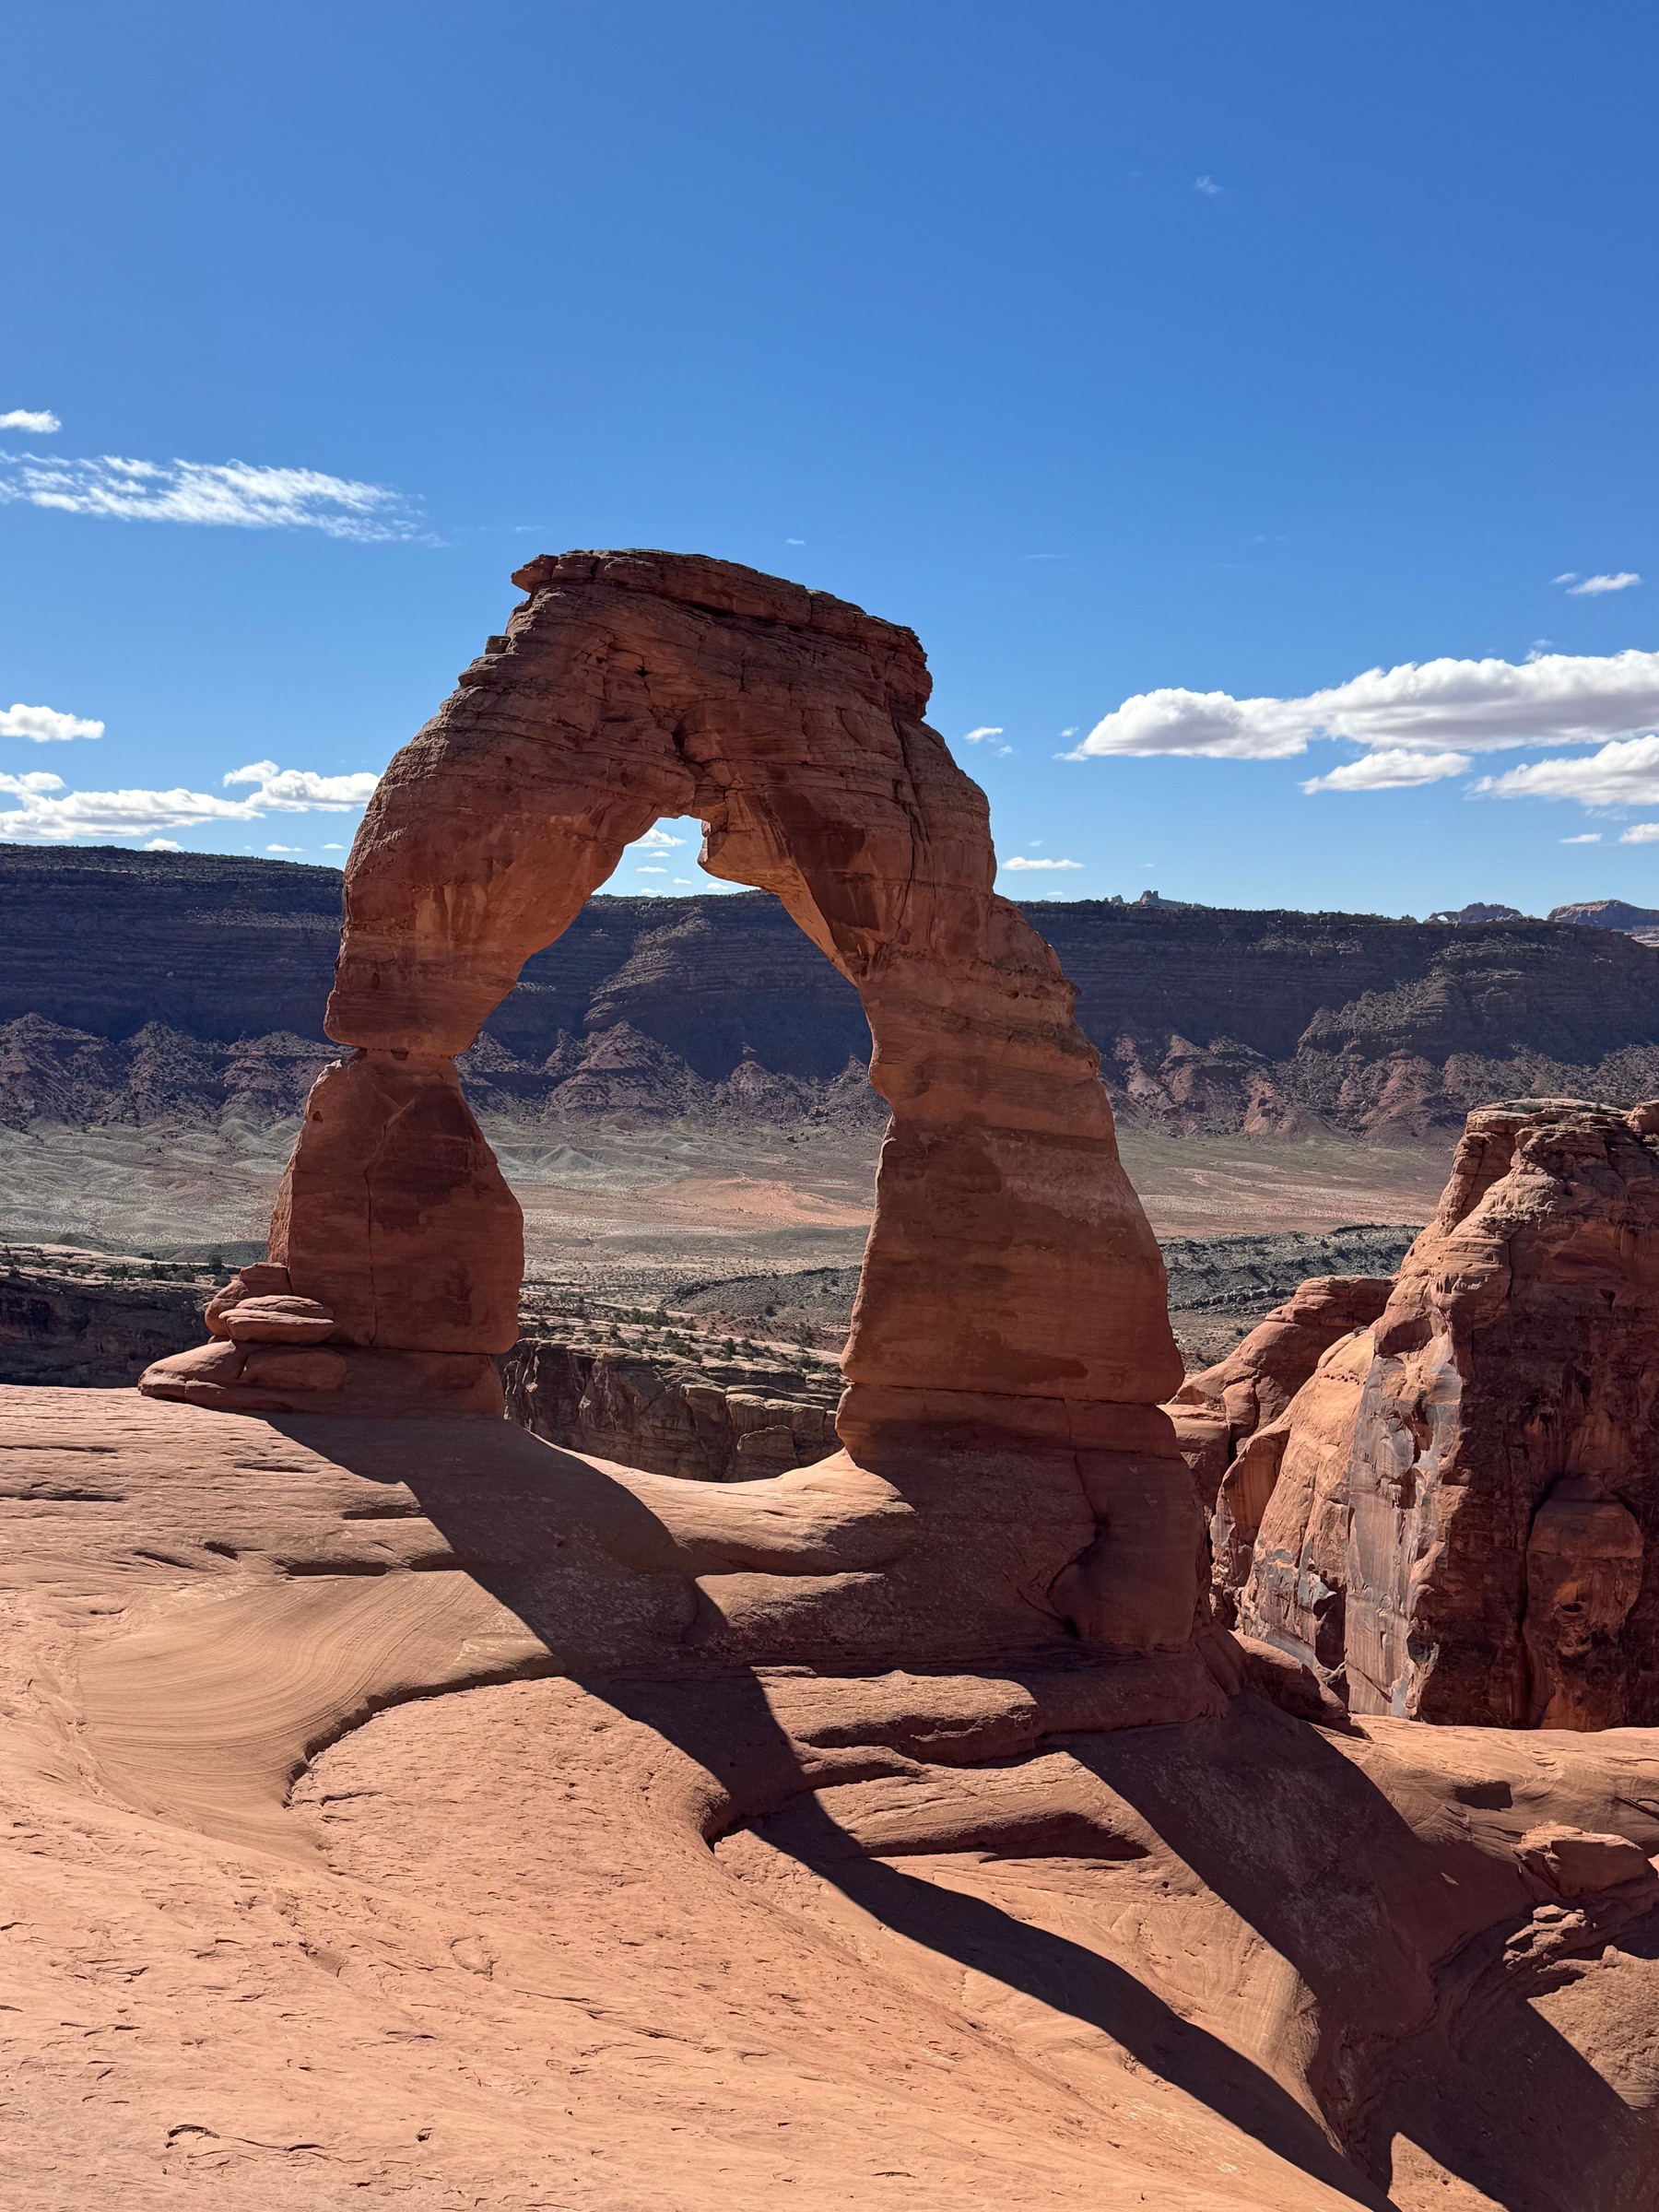
The sandstone foreground can lead the eye toward the arch, establish distance or create a broad area of distracting brightness. Make it earn its place. Look at curves, shadows and the way rock edges enter the corners. If the nearest rock is doing nothing for the picture, include less of it. If it creates the main rhythm of the frame, leave enough room for that shape to finish before the edge.
Strong sunlight can place one side of the arch and much of the bowl in shadow. You do not have to lift every dark area until it matches the sky. Let shade remain shade when it supports depth. Expose with attention to important highlights, then inspect the histogram and highlight warnings. A small patch of bright sky may not matter to your idea; a large area of featureless sandstone often does. Make that choice deliberately rather than applying one compensation value to every scene.
For a still scene within your camera’s limits, a carefully exposed raw file may be enough. If the contrast is too great and the composition stays fixed, exposure bracketing can provide options. Review the files before moving on. People moving through the frame can complicate blending, as can any shift in the camera. A graduated filter is not a required purchase: its straight transition can darken the arch or land unevenly. Decide from the actual scene, not a claim that a two-stop filter always solves it.
Choose settings for depth, detail and wind
There is no Delicate Arch exposure preset. Start with the photograph you want. If both near rock and distant land need to be sharp, choose focus and aperture together, then check enlarged playback. An aperture around f/8 to f/11 can be a useful starting point on many cameras, not proof that the entire scene is sharp. Focal length, focus distance and the amount of near foreground change the depth you need. Stop down further only when it helps the result, and check the trade-off in fine detail.
Use the lowest ISO that still allows a practical shutter speed for the conditions. A tripod can help as light falls, but only where you can set it securely without obstructing people. Wind, awkward footing and a long lens can demand a faster shutter than an exposure chart suggests. Raising ISO is preferable to a blurred file you cannot repair. On a phone, support the device safely, protect important highlights and inspect the result instead of assuming night mode can solve camera movement or extreme contrast.
Before leaving a composition, check the edges, focus and brightest rock. Look for your own shadow, a clipped leg of the arch or a distracting object that a small framing adjustment can fix. Make one deliberate variation: wider context, a vertical frame, less sky or a different exposure. Ten nearly identical frames are less useful than a few that test distinct choices. Keep enough attention on the place around you to know when it is time to pack up.
Respect winter conditions and the return walk
 Save
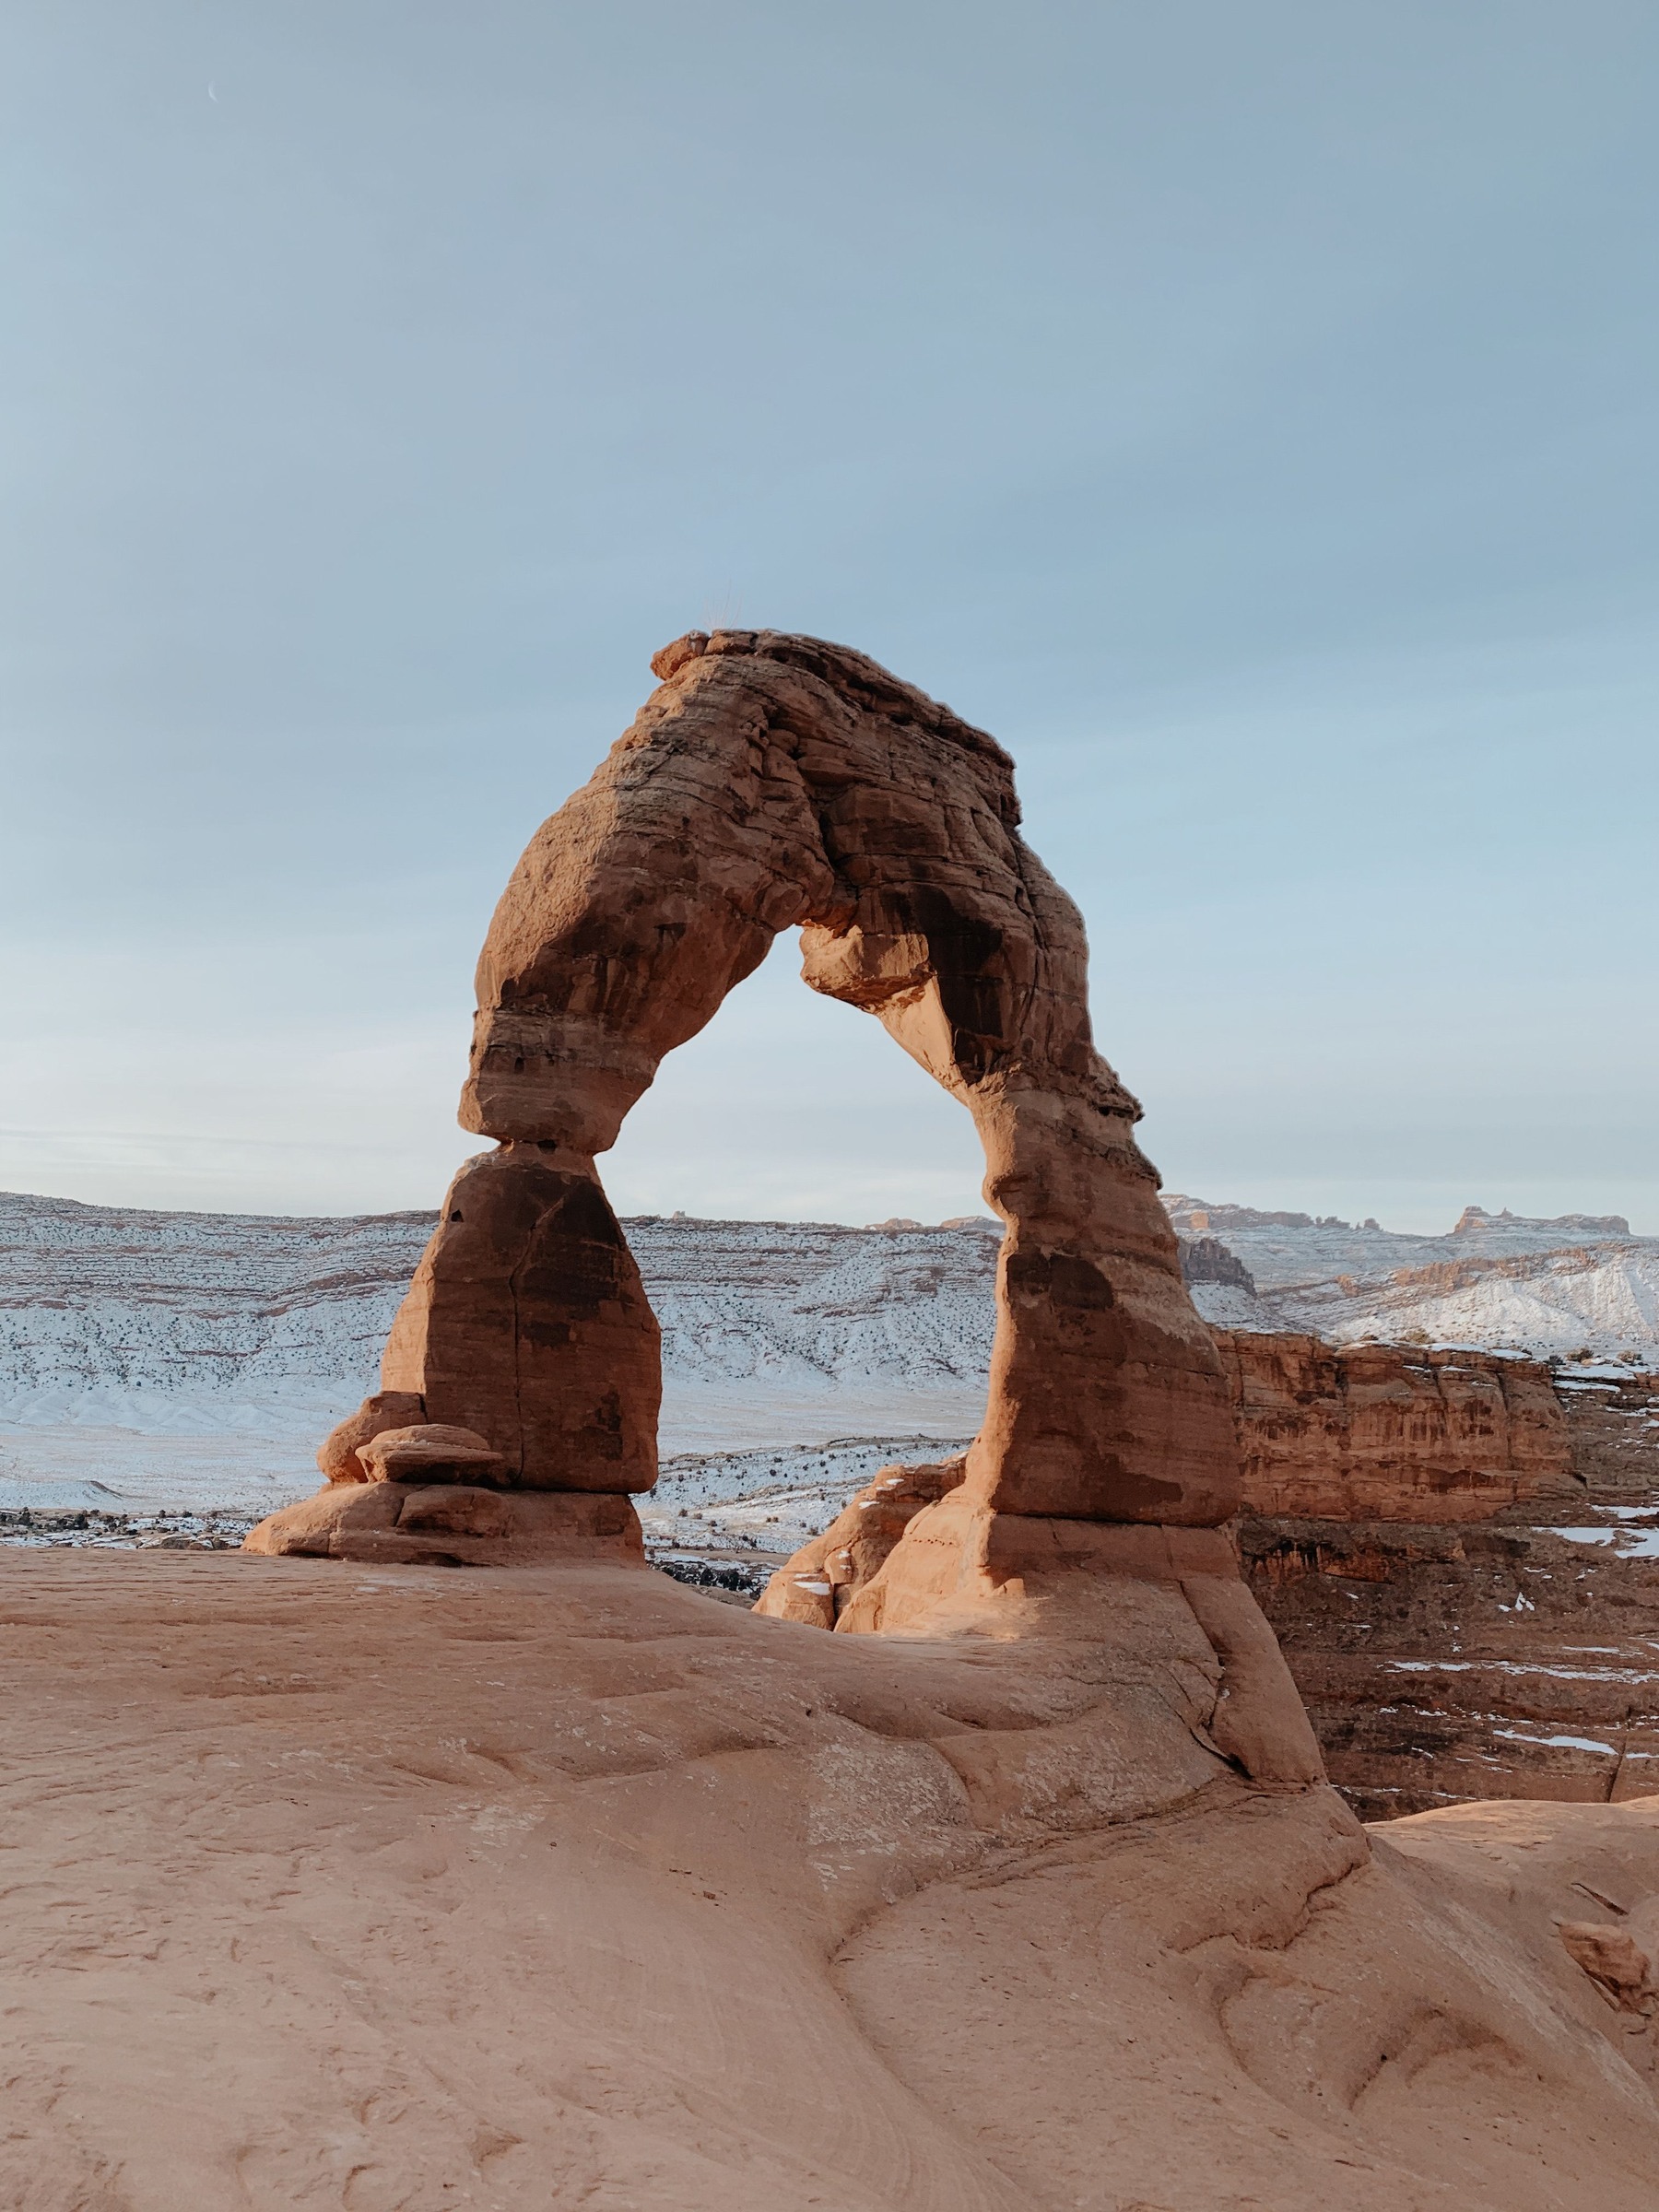
Snow can simplify the background and change the color relationship with the arch. It also changes the visit. The official trail page warns about winter ice on the ledge and recommends traction devices for icy sections. A clear photograph of snowy scenery is not evidence that the route was easy or that it is safe now. Check conditions, carry suitable equipment and turn around when the route exceeds your ability or comfort. Do not treat another visitor continuing as an assessment of your own risk.
There is no drinking water at the Wolfe Ranch trailhead. NPS tells hikers to carry at least two quarts (2 L) per person and to avoid the hike during midday summer heat. That is official minimum guidance, not a guarantee that two liters is enough for every person or every day. Plan for your pace, conditions and extra photography time. Carry supplies rather than assuming the camera bag is the only weight that matters.
For sunset visits, NPS calls for a flashlight or headlamp for each person. Know your return route before the light goes. Keep lighting for safe travel separate from lighting the photograph: the park compendium prohibits using artificial sources to light landscapes, formations or other park features. Route-finding lights are allowed for their intended purpose, not as an excuse to light-paint the arch. Do not depend on a phone screen, a stranger’s lamp or reliable cell service to get back.
Make a quieter photograph without claiming an empty park
 Save
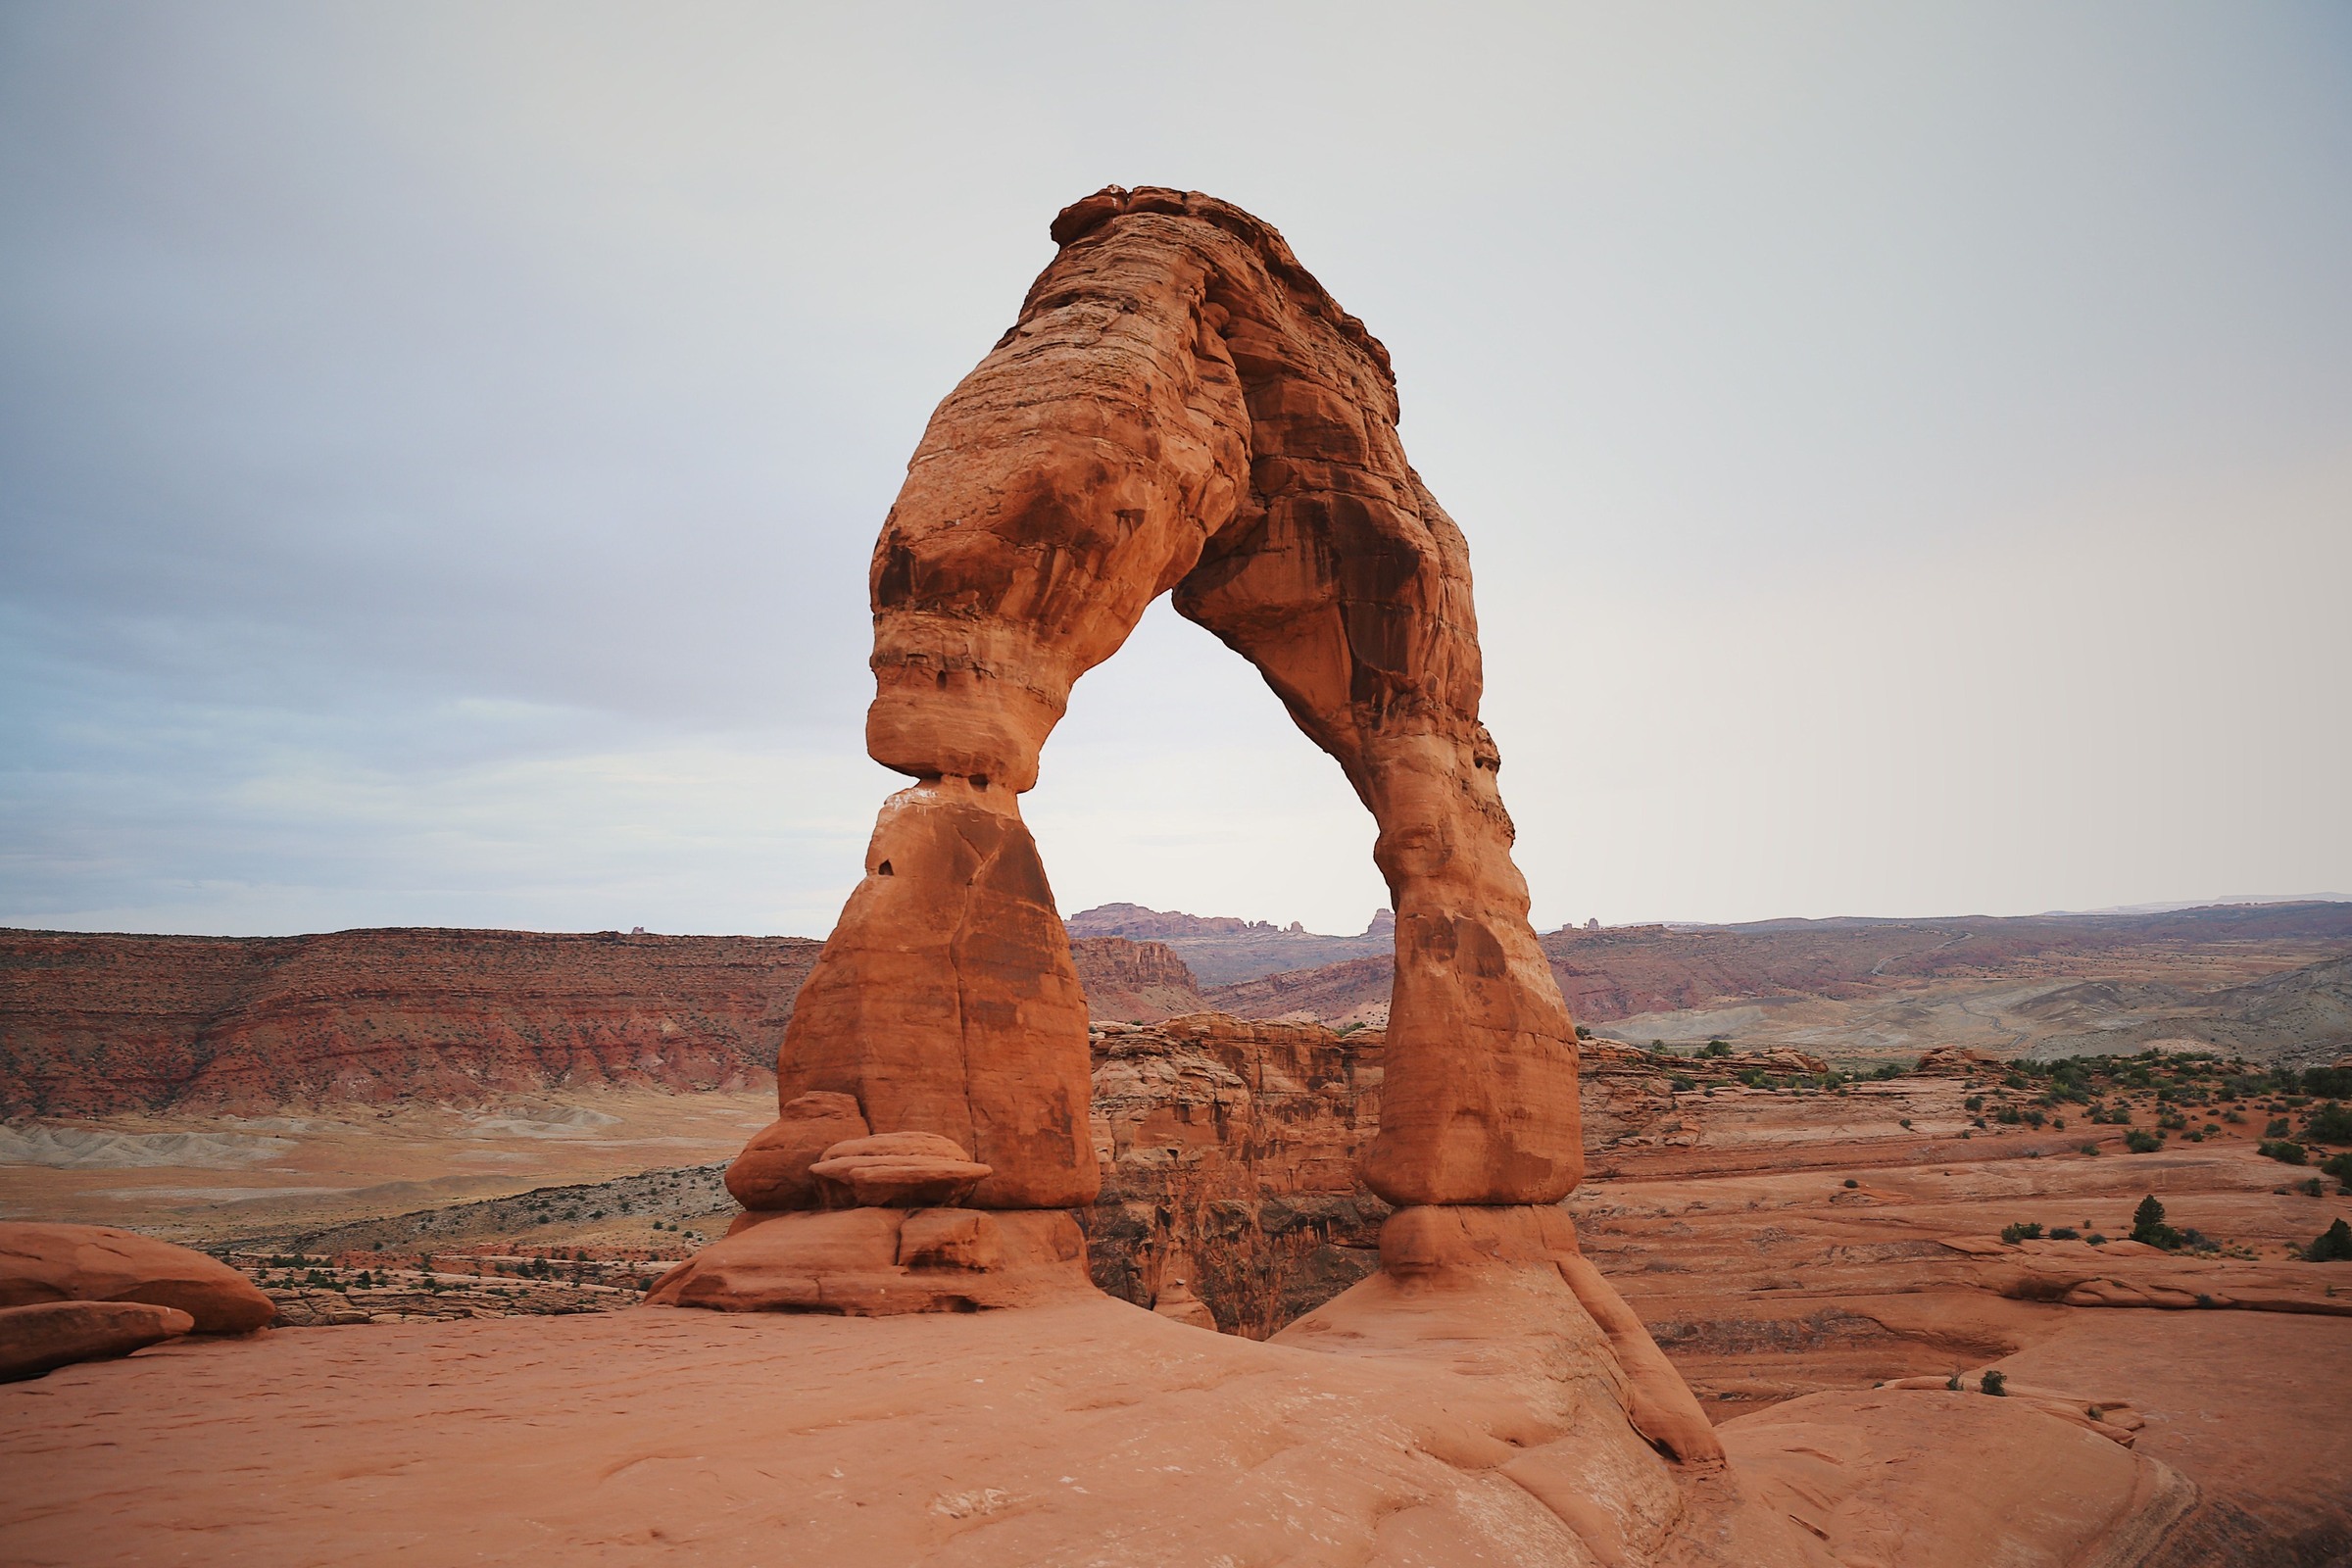
Soft light offers a different photograph from glowing sandstone at sunset. The opening and the outline can remain clear even when the sky is muted and shadows are weak. Pay attention to how much foreground and sky the frame needs. A horizontal composition can connect the arch to distant land; a tighter frame can concentrate on its shape. Make the choice for the conditions in front of you rather than forcing a photograph planned for different light.
You do not need to remove other visitors from the place to make a considered photograph. Wait without blocking the route, simplify your framing or make the people part of the story when that suits your purpose. Never direct strangers toward risky positions for scale. Do not climb, walk or scramble on the arch. Stay on established trails and protect biological soil crust. The most useful improvement to your photograph may be a calmer decision about what is possible from where you can safely stand.
Before an organized shoot or paid workshop, check the NPS filming and photography conditions and the park’s commercial instruction conditions. A small group is not a blanket exemption from every permit rule, and a workshop can require separate commercial authorization. No guide or photography permit gives a group exclusive control of the arch or permission to ignore resource protections.
Frequently asked questions
How long is the Delicate Arch hike?
NPS lists a 3-mile (4.8 km) round trip from Wolfe Ranch, rated strenuous, with a two-to-three-hour hiking estimate. Photography can add time. The trail is exposed, climbs slickrock and includes a narrow ledge near the arch.
Do I need a timed-entry reservation for Delicate Arch?
Arches National Park says timed-entry reservations are not required in 2026. Entrance fees still apply and congestion can delay entry or limit access. Check the official policy again for your travel year.
Can I see Delicate Arch without the strenuous hike?
Yes. NPS describes a level 100-yard walk at Lower Delicate Arch Viewpoint, with the arch about a mile away. Upper Viewpoint has a 0.5-mile walk with stairs. These are distant views, not the close view at the end of the main trail.
Is sunset the only time to photograph Delicate Arch?
No. NPS lists Delicate Arch as a late-afternoon photography subject, but the scene can support other light and compositions. Sunset light, clear mountain views and an empty foreground are not guaranteed.
Can I light-paint Delicate Arch or climb on it?
No. Arches prohibits artificial lighting of landscapes, formations and other park features, apart from lights used for personal route-finding or minimum-impact camping. Do not walk, climb or scramble on the arch.
Do I need a permit for photography or a workshop?
Under NPS guidance, groups of eight or fewer generally avoid filming and photography permits only when all conditions are met: public areas, hand-carried equipment, no exclusive use, no adverse impacts and no likely added administrative costs. Business workshops may need separate commercial use authorization. Ask the park about your activity.
Use the official trail, entry, conditions and permit sources linked above when planning your visit. They govern access; photographs illustrate visual decisions. Guide location: Delicate Arch photography guide, Arches National Park.
What to Pack
A landscape kit built around wide views, steady support, and changing light is a useful starting point. Compare the gear and choose what fits your camera, budget, and conditions. These links lead to B&H Photo Video and Amazon.
| What & Why | B&H | Amazon |
|---|---|---|
Sony 16-35mm f/2.8 GM Check the camera mount before buying. Choose a focal length that fits the photos you plan to make. | Shop B&H → | Shop Amazon → |
Peak Design Travel Tripod Check the load rating, packed size and local tripod rules before buying. | Shop B&H → | Shop Amazon → |
Breakthrough X4 CPL Check the filter type and lens thread size before buying. Use a filter only when the effect fits your photo. | Shop B&H → | Shop Amazon → |
Breakthrough X4 10-stop ND Check the filter type and lens thread size before buying. Use a filter only when the effect fits your photo. | Shop B&H → | Shop Amazon → |
Sony NP-FZ100 battery Use the battery type specified for your camera. Bring a spare if your shooting plan calls for one. | Shop B&H → | Shop Amazon → |
SanDisk Extreme Pro 128GB Check the card format and speed requirements specified for your camera. | Shop B&H → | Shop Amazon → |
Koh microfiber cloths Compare this option with your current kit. Check compatibility and the product details before buying. | Shop B&H → | Shop Amazon → |
B&H and Amazon links are affiliate links. We earn a small commission on purchases at no extra cost to you.