Lake Tahoe rewards a smaller plan. Rock, water, forest and distant ridges can all be photographed within a single area, but access matters as much as light. Sand Harbor has entry rules; Emerald Bay has steep routes and limited parking; some pier photographs depend on private access. Choose the session you can reach lawfully and safely, then work the light that is actually there.
 Save
SavePlan by area, not by the length of a checklist
These are researched planning notes paired with Edin Chavez’s own photographs. Conditions, prices and access can change. The examples show how a place can photograph, not a guaranteed alignment or exact camera position. Check the linked operator before visiting. Admission, permits, transport and third-party costs are separate.
Start with one main subject and a backup. Allow time to find the open route, compare compositions and return before a park or venue closes. A smaller session often leaves more time for useful photographs than a list of distant stops. Check sunrise, sunset and sun direction for your actual date rather than copying the time of another person’s image.
Choose exposure for the scene
Set shutter speed for movement and camera stability, aperture for the depth you need, and ISO to support those choices. Check focus and important highlights at full magnification. No single aperture guarantees sharpness everywhere. A tripod is useful only where it is permitted and where it leaves a safe route for others. At restricted venues, plan handheld rather than hoping a small support will be overlooked.
1. Mt. Rose Highway scenic overlook
This overlook view is on the Mt. Rose Highway approach to Incline Village. Treat it as an overlook stop, not a summit hike. The photograph shows distant shorelines stacked against the mountains, a subject that rewards selective framing rather than the widest possible view.
Composition: Use a normal-to-telephoto lens to separate successive ridges. Place the nearest dark trees low in the frame, then let lighter water and mountains carry the eye into the distance. Make one broad frame and a second tighter frame that removes foreground clutter. Keep the horizon level.
Light and timing: Clear air matters more than a fixed hour. Side light can give the ridges depth; cloud shadows can add structure when the sun is higher. Haze and wildfire smoke can hide the far shoreline. Choose a different subject if visibility is poor rather than trying to force contrast in editing.
Access: Use only a signed, legal stopping area. Do not stop in a travel lane or assume a shoulder is a parking space. Snow, ice and road restrictions can change the approach. Check current road conditions and the signs at the overlook. Scout from the designated public area rather than searching for an exact camera position.
Sierra Nevada Geotourism: Mt. Rose overlook
2. Sand Harbor beach
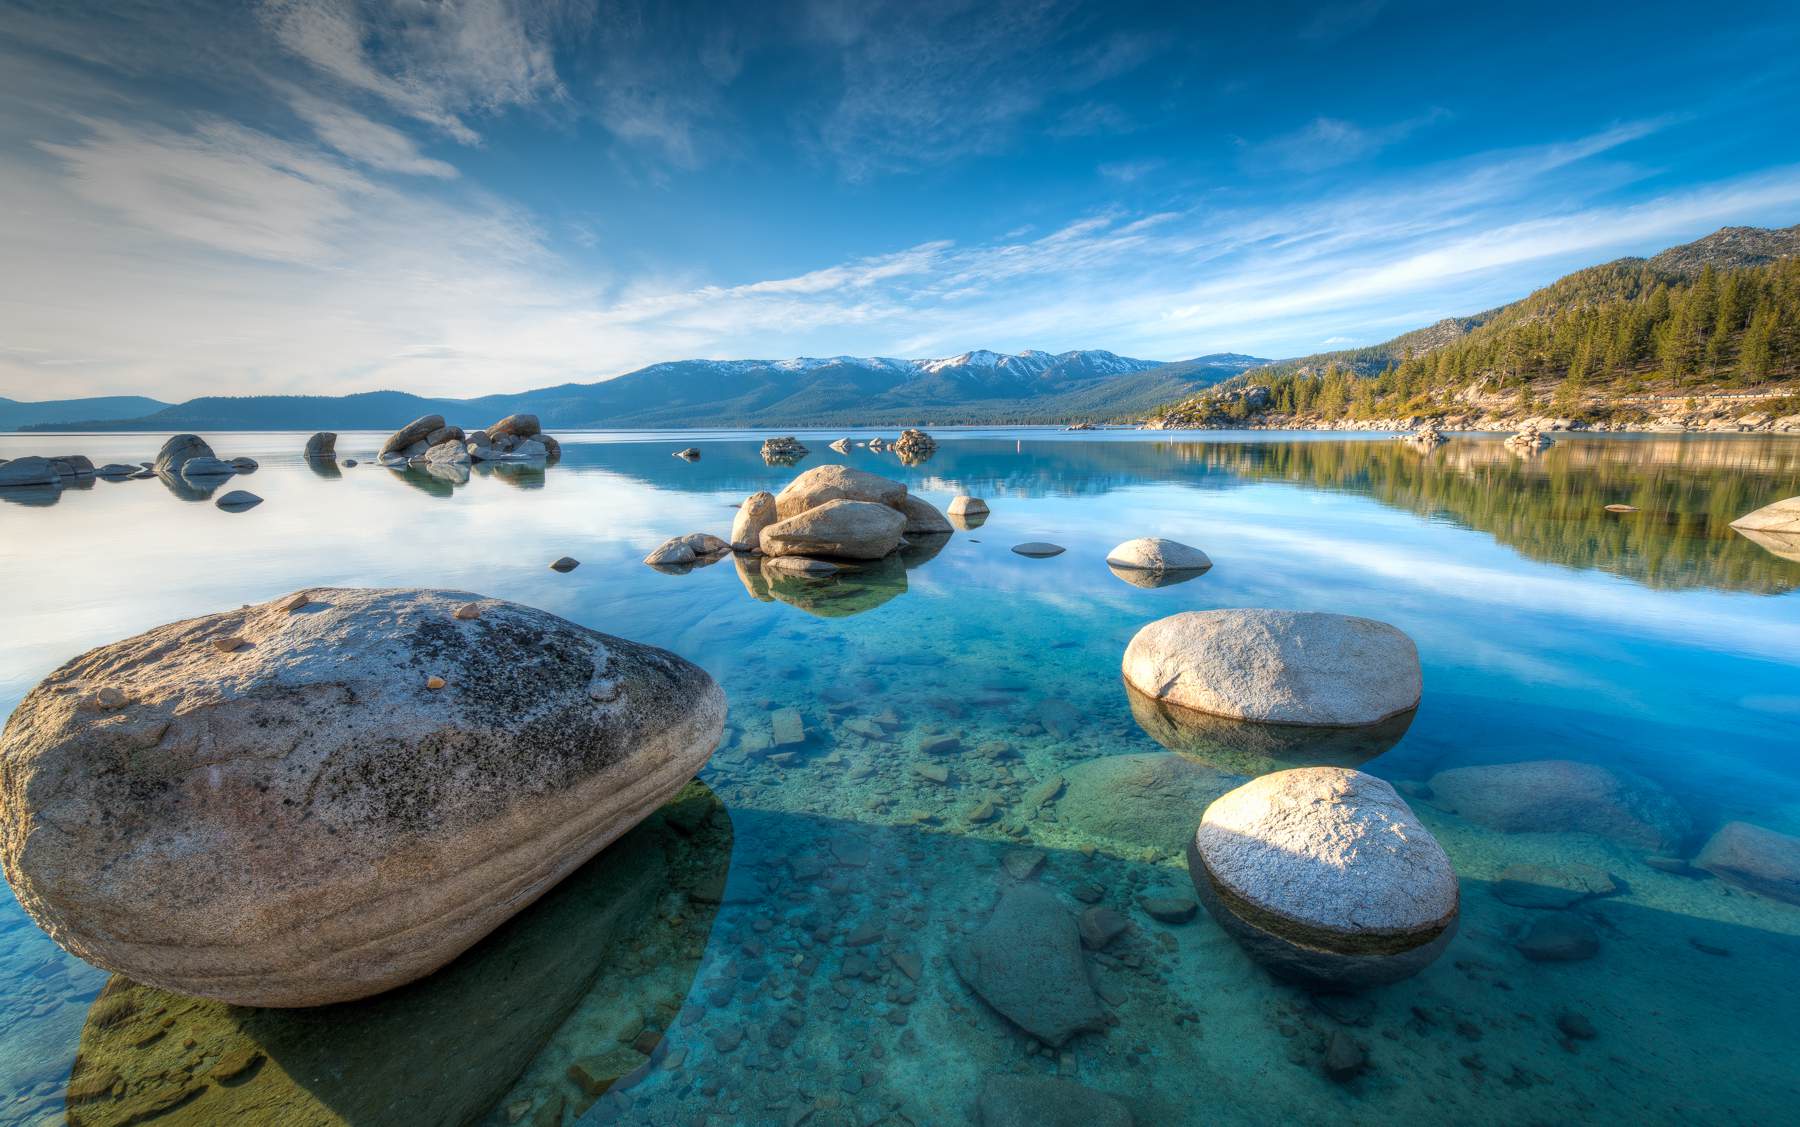
Sand Harbor is the main east-shore park stop in this guide. Rounded granite, shallow water and forested edges give you several subjects without needing to chase an exact tripod position. Edin’s photograph is a reference for composition, not a promise that the same water level or empty beach will be waiting.
Composition: Start with a wide or standard lens. Choose one foreground rock, then move until its outline is separate from the next rock. Look for a diagonal route through the water. A polarizer can reduce surface reflection, but check its effect across the frame before committing.
Light and timing: Compare calm water with small wind-driven ripples. Calm conditions favor reflections and clear views into the shallows. Soft light can make the stone and water easier to balance. Sunset color may work, but do not assume that every evening produces it.
Access: The park lists opening at 8 a.m. and closing one hour after sunset. Vehicle entry is $10 for Nevada vehicles and $15 for non-Nevada vehicles when checked. Seasonal vehicle reservations apply; official pages disagree on parts of the date and morning window. Confirm your exact visit in the reservation system. Do not plan a pre-opening sunrise entry.
Nevada State Parks: Sand Harbor
 Save
Save3. Sand Harbor scenic view
This is a second composition area within Sand Harbor, not a separate park admission. The guide points toward the paths around the concession area. Use the maintained paths and current park wayfinding rather than relying on a business name or an old map screenshot.
Composition: Try a wider frame that places a rock shelf in front of the shoreline trees. Keep foreground branches from cutting through distant trunks. Then use a standard lens for a quieter study of stone, water and forest. Small changes in camera height can make a large difference to overlapping shapes.
Light and timing: Autumn foliage and soft cloud can add separation, while hard light may make the rocks much brighter than the trees. Expose for the important highlights and review the histogram. Do not expect the sample colors in a different season.
Access: The Sand Harbor entrance fees, seasonal reservations and opening hours apply here as well. A reservation does not grant access outside posted hours. Stay on open paths, keep equipment out of the walking line and check temporary closures before heading toward the water.
Nevada State Parks: Sand Harbor
4. Sand Harbor rocky beach and lifeguard stand
Edin’s photographs combine the rocky waterfront with a small lifeguard structure. Structures and seasonal beach equipment can move or be removed. Build a composition that still works with rock, water and sky if the stand is not present.
Composition: Use the boardwalk or shoreline edge as a leading line where public access allows. Avoid cutting the stand against a busy background. Try a second frame without the structure so the shoreline becomes the subject. A wide lens needs a deliberate foreground rather than a large patch of empty water.
Light and timing: Sunset and the permitted period after sunset can give a cooler sky against warm light on the shore. Compare a short exposure that keeps waves textured with a longer exposure that simplifies them. Stop before the park closes; color in the sky is not permission to remain.
Access: Follow Sand Harbor entry rules. Never climb a lifeguard stand, enter a closed rescue area or place equipment where staff need access. Wet granite is slippery. Keep a retreat route away from waves and leave the boardwalk wide enough for other visitors.
Nevada State Parks: Sand Harbor
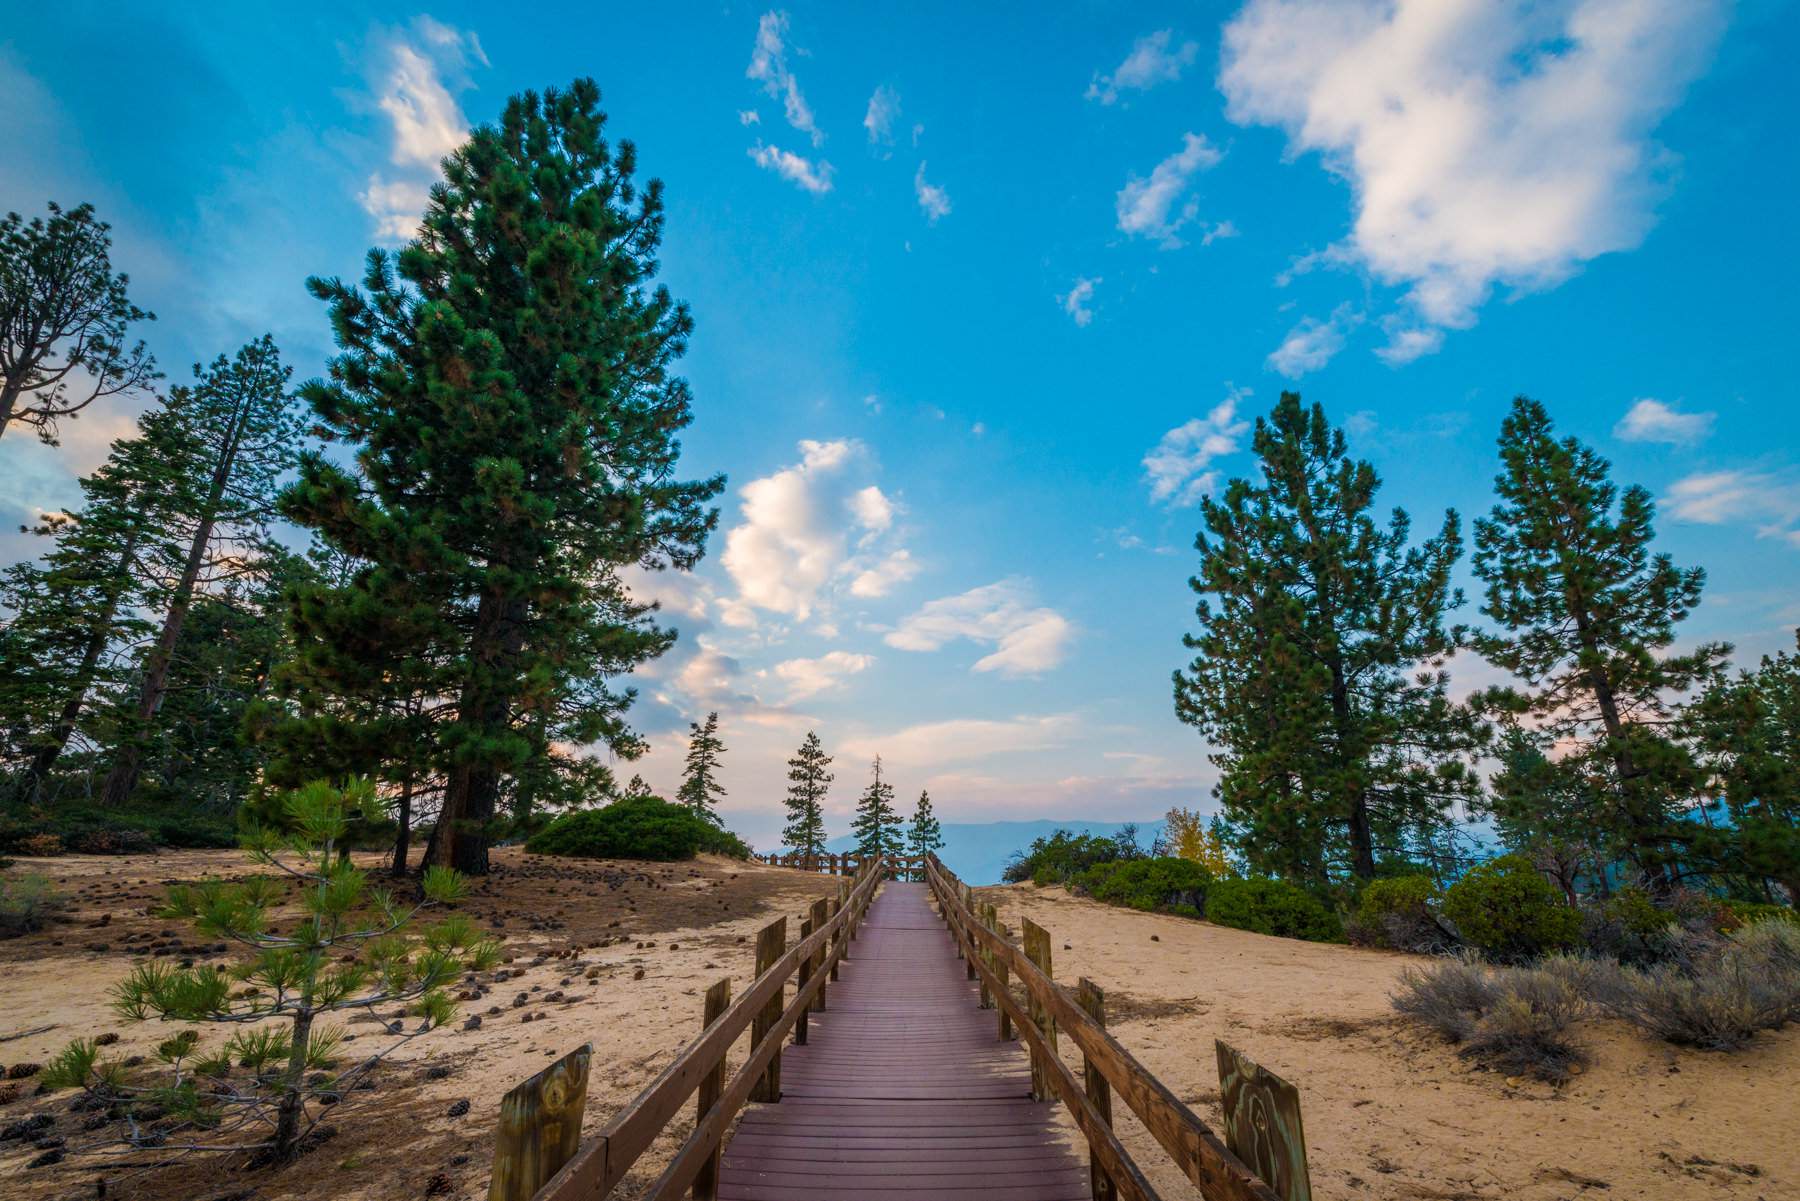
5. Sand Point boardwalk
The boardwalk and maintained path around Sand Harbor offer a different subject from the beach. Edin’s images use the wooden route to draw the eye toward trees and open water. Treat this as a walking composition, not a platform to occupy for a long session.
Composition: Keep the path entering near a lower corner and let its curve guide the frame. A low viewpoint can exaggerate the boards, but watch for converging trees at the edges. Make a more restrained standing-height frame as a comparison. Do not place tripod legs across the full walkway.
Light and timing: Dappled light can become distracting. A passing cloud may give a more even exposure, while late light can pick out the path. Check the brightest sky between trees and protect those highlights. The date and weather determine the light, not the sample image.
Access: Sand Harbor hours and reservation rules apply. Use open boardwalks and signed routes only. Do not step off into vegetation to recreate the angle. In snow or ice, skip a slippery section and choose a safer shoreline frame from an open area.
Nevada State Parks: Sand Harbor
 Save
Save6. Sand Harbor south beach
The south-beach photograph in the guide uses a broad sweep of sand and trees rather than a single foreground boulder. It is useful when the rocky areas are busy or when a cleaner horizon suits the light.
Composition: Begin with a standard lens and decide whether the curve of the beach or the sky is the main subject. Put the horizon off center. Keep bright clothing, bins and beach gear out of the edges where possible, but do not move other visitors or their belongings.
Light and timing: Evening can reduce harsh overhead contrast, though visitor numbers depend on the season. A quiet-looking sample does not mean the beach will be empty. Photograph the interaction of people and scale if removing every person would make the session frustrating.
Access: This is inside Sand Harbor. Pay the appropriate entrance fee and meet the current reservation requirement. Opening at 8 a.m. means some sunrise ideas are unavailable from inside the park. Watch closing time and use designated parking rather than highway drop-offs.
Nevada State Parks: Sand Harbor
7. East-shore rock studies
The guide uses “East Shore” as a broad label. It is not a verified trailhead or parking location. Treat the image as a lesson in photographing rock and water, and select an open, signed public shore access point for your own session.
Composition: Look for a sequence of rocks with clear gaps between them. A standard lens can keep the distant shoreline substantial; a wider lens can emphasize a near rock. Remove bright distractions at the frame edge before adding filters or waiting for better clouds.
Light and timing: Late side light can warm granite and create depth, but the sun angle changes through the year. Check an ephemeris for the date and compare the actual light on arrival. Wind can erase reflections even when the sky looks promising.
Access: Do not interpret this chapter as permission to park anywhere on State Route 28 or descend an informal bank. Choose legal parking and maintained access. Respect private-property boundaries, closures and restoration areas. If the access is uncertain, use Sand Harbor or another clearly signed public site.
Nevada State Parks: Sand Harbor
8. Bonsai Rock
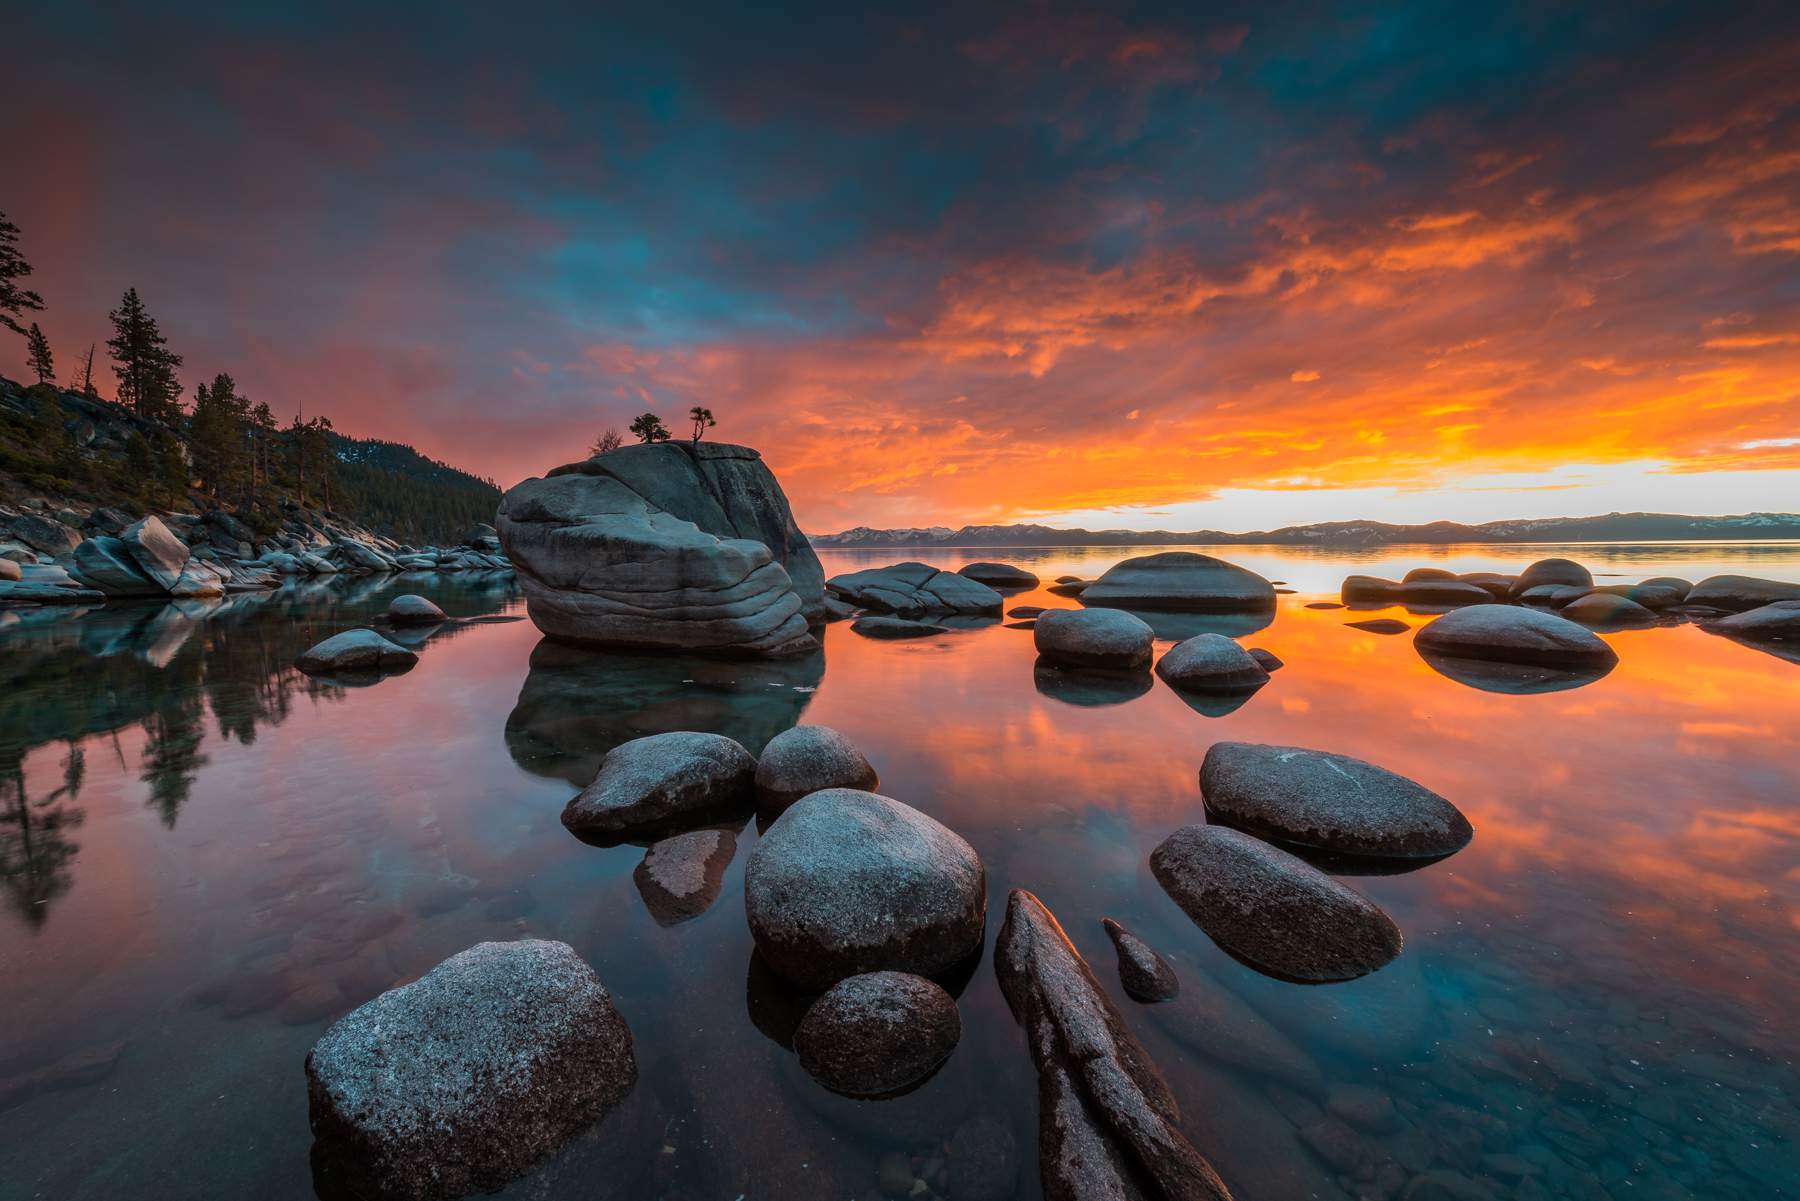
Bonsai Rock is a distinctive rock-and-tree subject on Tahoe’s east shore. Edin’s frames show two different relationships between the rock, water and sun. They demonstrate why returning under different conditions can be more useful than repeating one famous composition.
Composition: Keep the tree silhouette separate from the distant shoreline. Try a wide view with a near rock, then a tighter view in which Bonsai Rock is the only strong shape. Compare water texture at different shutter speeds. Never touch or climb the tree-bearing rock.
Light and timing: The sample sunset frames are examples, not a fixed schedule. Cloud, water level, wind and the seasonal sun position change the scene. Scout the way back in daylight; darkness makes a steep, rocky return harder.
Access: Do not assume that an informal roadside pin identifies legal parking or a maintained, accessible path. Check current land-manager guidance and signs before attempting access. If you cannot confirm legal parking and a safe route, skip the descent and photograph from a managed public shore instead.
Nevada State Parks: Sand Harbor
 Save
Save9. Cave Rock area
The guide groups lake views near Cave Rock under one name. The state park waterfront and the uphill Cave Rock trail are different access points. Decide which experience you want before driving, rather than assuming the boat-launch parking serves the trail.
Composition: For lake views, use a normal or telephoto lens to isolate tree-covered points and receding shorelines. Look for contrast between dark forest and lighter water. A wide view can work when clouds add structure, but do not include a large empty foreground by habit.
Light and timing: Soft light and clear air help distant shorelines separate. Strong wind may make an exposed viewpoint uncomfortable or unsafe. Keep the session short when conditions deteriorate and do not climb higher merely to match an old photograph.
Access: Nevada State Parks states that the trail cannot currently be accessed from Cave Rock State Park; the trailhead is across the highway on Cave Rock Drive. The waterfront day-use fee is $10 for Nevada vehicles and $15 for non-Nevada vehicles when checked. Treat these as separate destinations, follow the actual road route and do not cross the highway casually.
10. Eagle Point treeline
Edin’s images emphasize mist, treetops and mountains near the Eagle Point area of Emerald Bay. Their value is the layered light, not a guaranteed stand of trees at a precise roadside location. Fog is temporary and may conceal both the landscape and the road.
Composition: Use a telephoto lens to compress layers of trees. Leave a small gap between the darkest ridge and the next lighter band. Try a vertical frame if one peak rises above the mist. Watch highlights carefully when sunlight reaches a cloud bank.
Light and timing: Morning mist is possible under suitable weather but is not promised. If the scene is flat, look for one lit edge or a simple silhouette. Avoid repeatedly driving and stopping in unsafe places to chase a cloud.
Access: California State Parks describes Eagle Point as an access point for the Rubicon Trail. Campground access is seasonal and hiking routes can be long. Use current park instructions, legal parking and open trails. Keep the session on open public routes rather than an informal roadside or off-trail position.
California State Parks: Emerald Bay
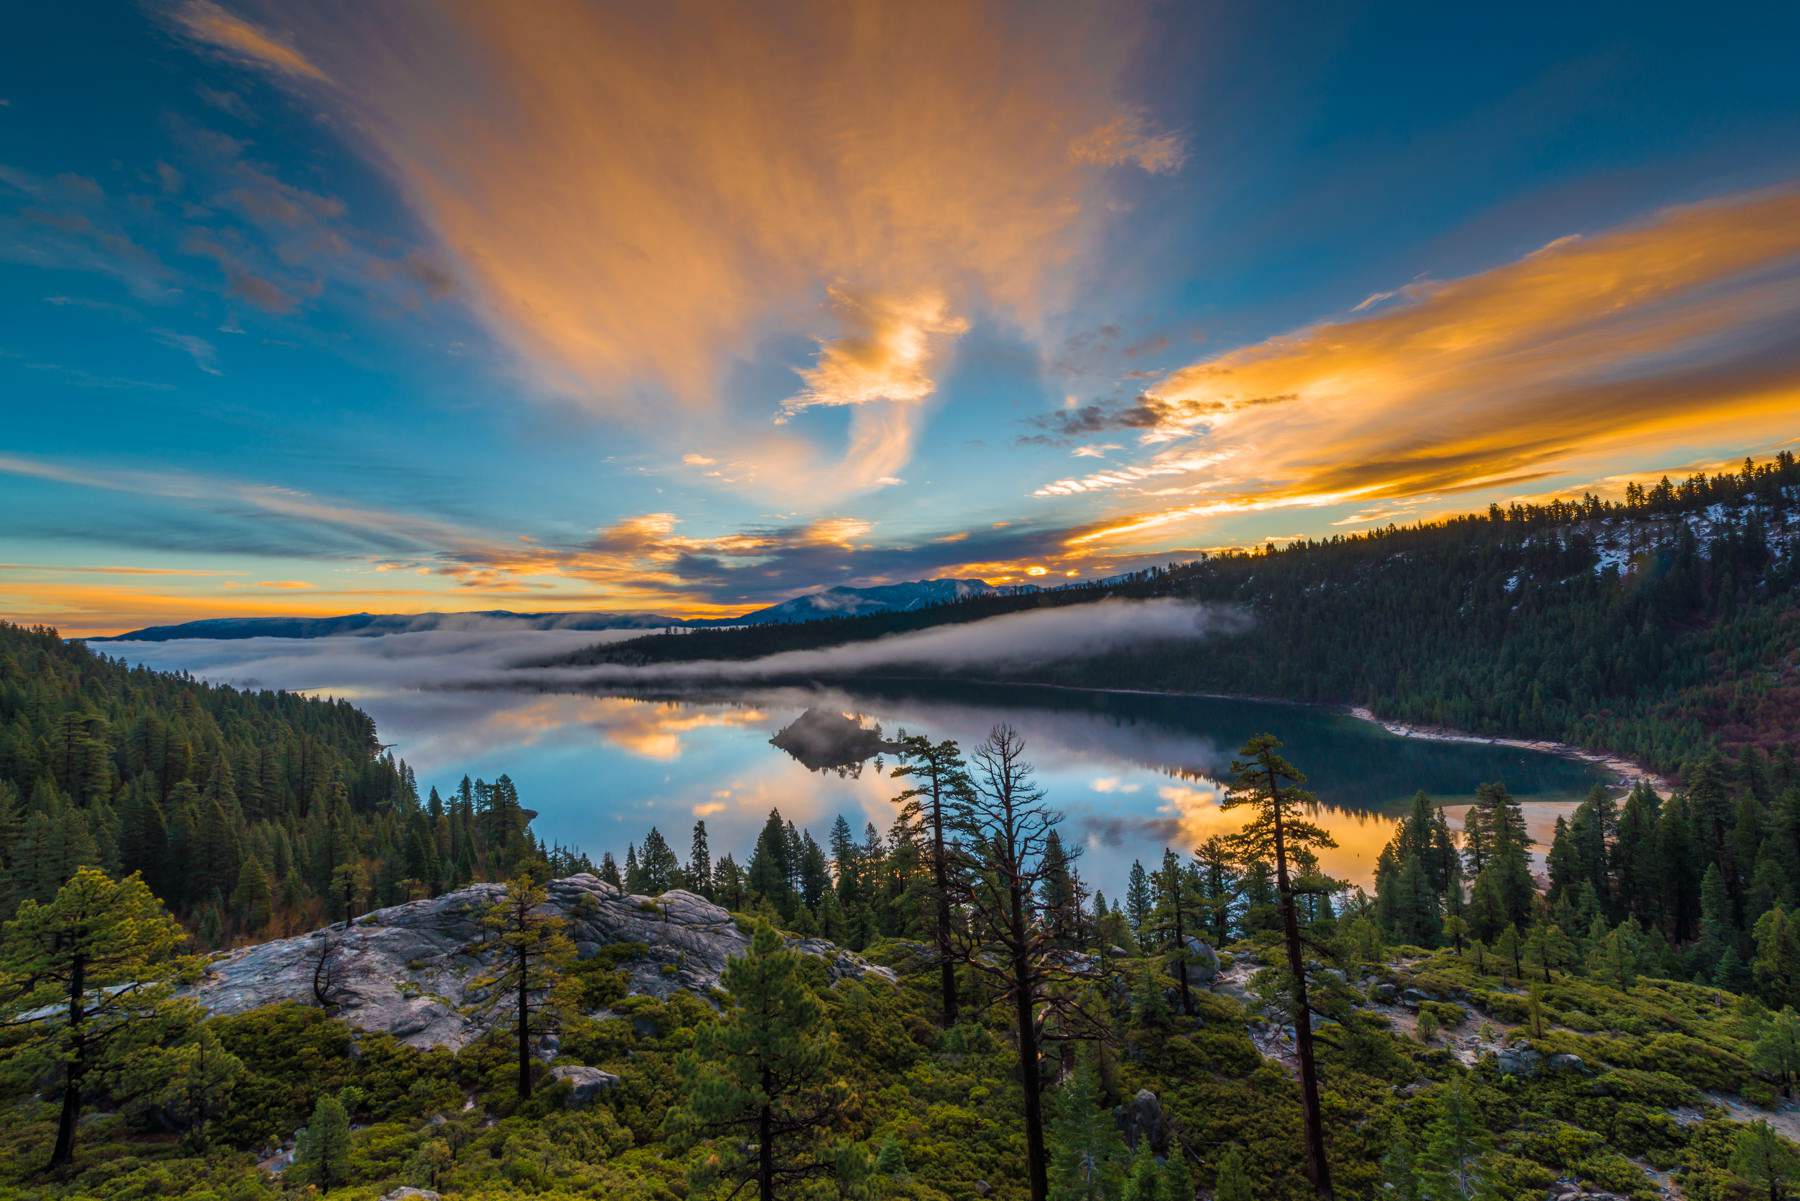
11. Emerald Bay overlook
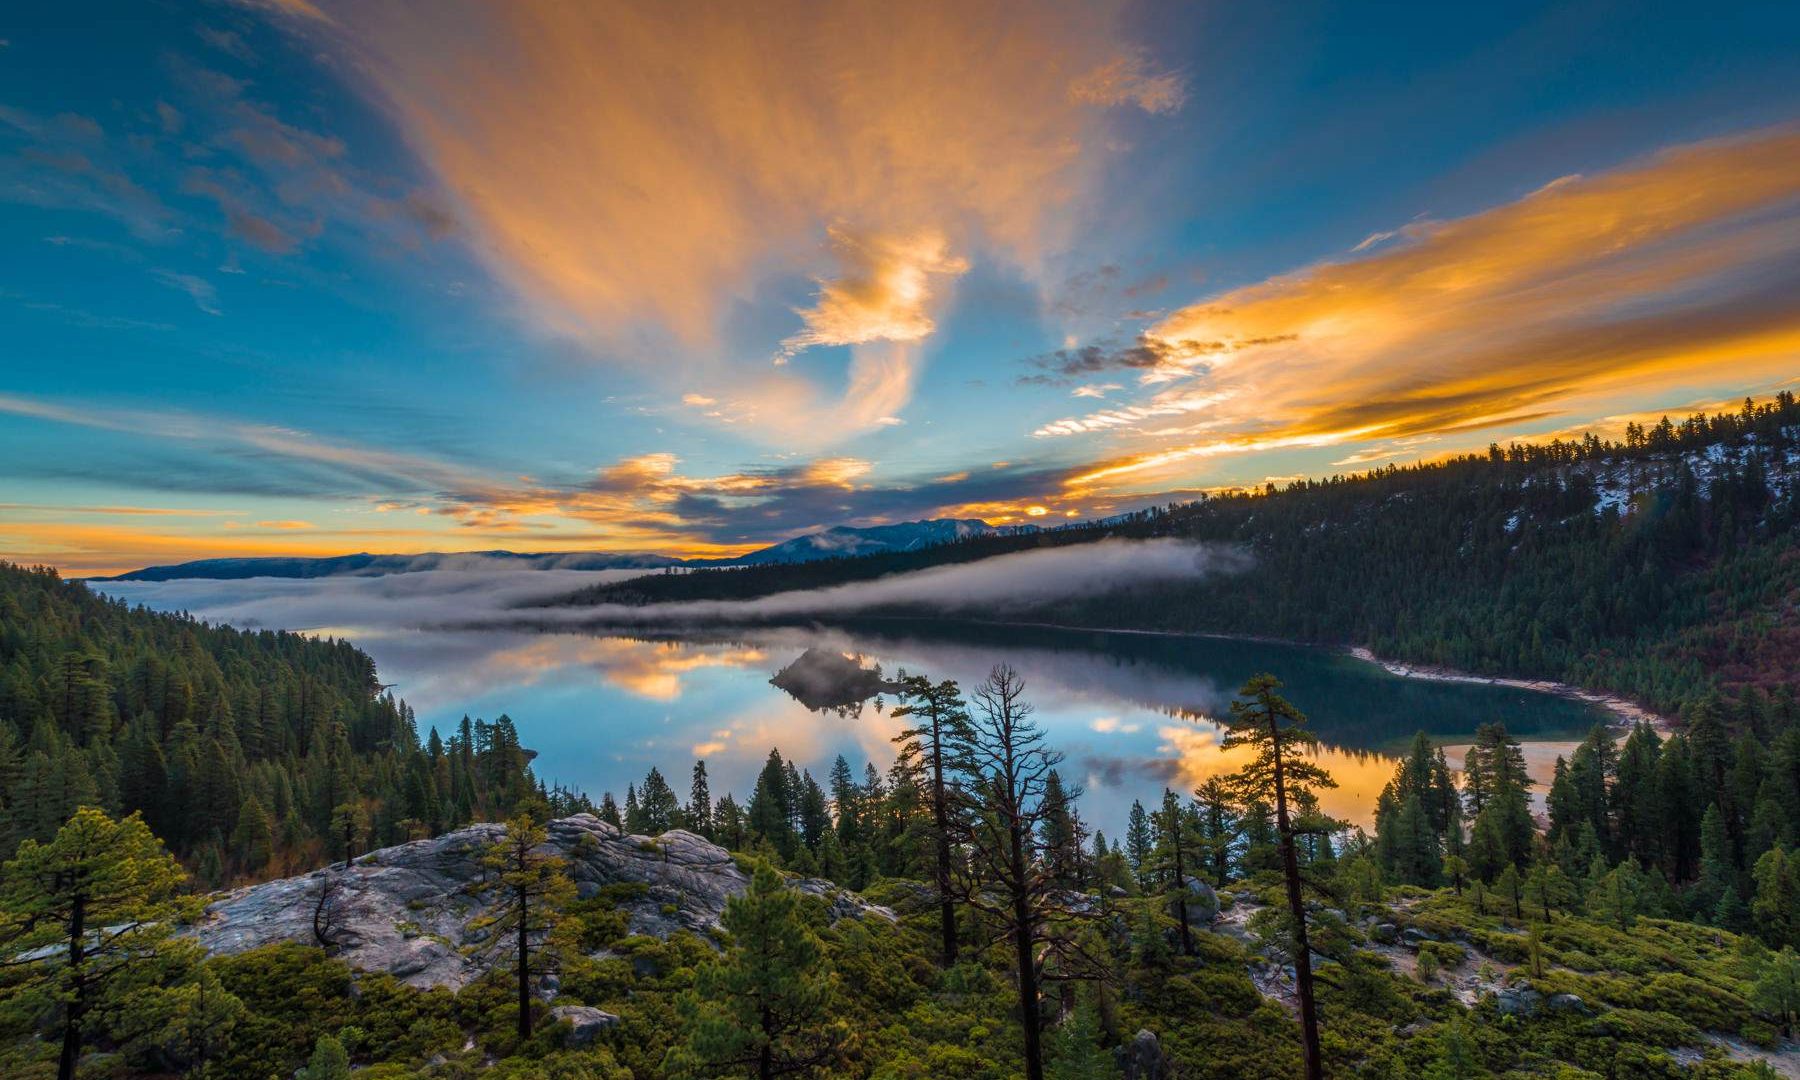
The overlook gives a broad view of Emerald Bay and Fannette Island. Edin’s sample cover photograph shows the strength of a foreground that leads into the bay. Similar light is never guaranteed, so begin by building a composition that works without dramatic color.
Composition: Use a wide lens only when the foreground is doing useful work. Keep the island distinct from shorelines behind it. A standard lens can simplify the view and avoid exaggerating empty foreground. Make a second exposure that protects the bright sky if the contrast exceeds your camera’s range.
Light and timing: Sunrise, clearing weather and autumn conditions can all produce different looks. Check the date-specific sun direction and actual park access hours. Snow, ice and smoke may change the plan. Do not go beyond a barrier for a cleaner frame.
Access: The Vikingsholm parking lot is listed as sunrise to sunset, with no overnight parking. Current posted rates are $10 per vehicle for the day or $3 for one hour. California State Parks warns against parking on Highway 89 and says illegally parked vehicles may be towed. Arrive with a backup rather than forcing a roadside stop.
California State Parks: Emerald Bay
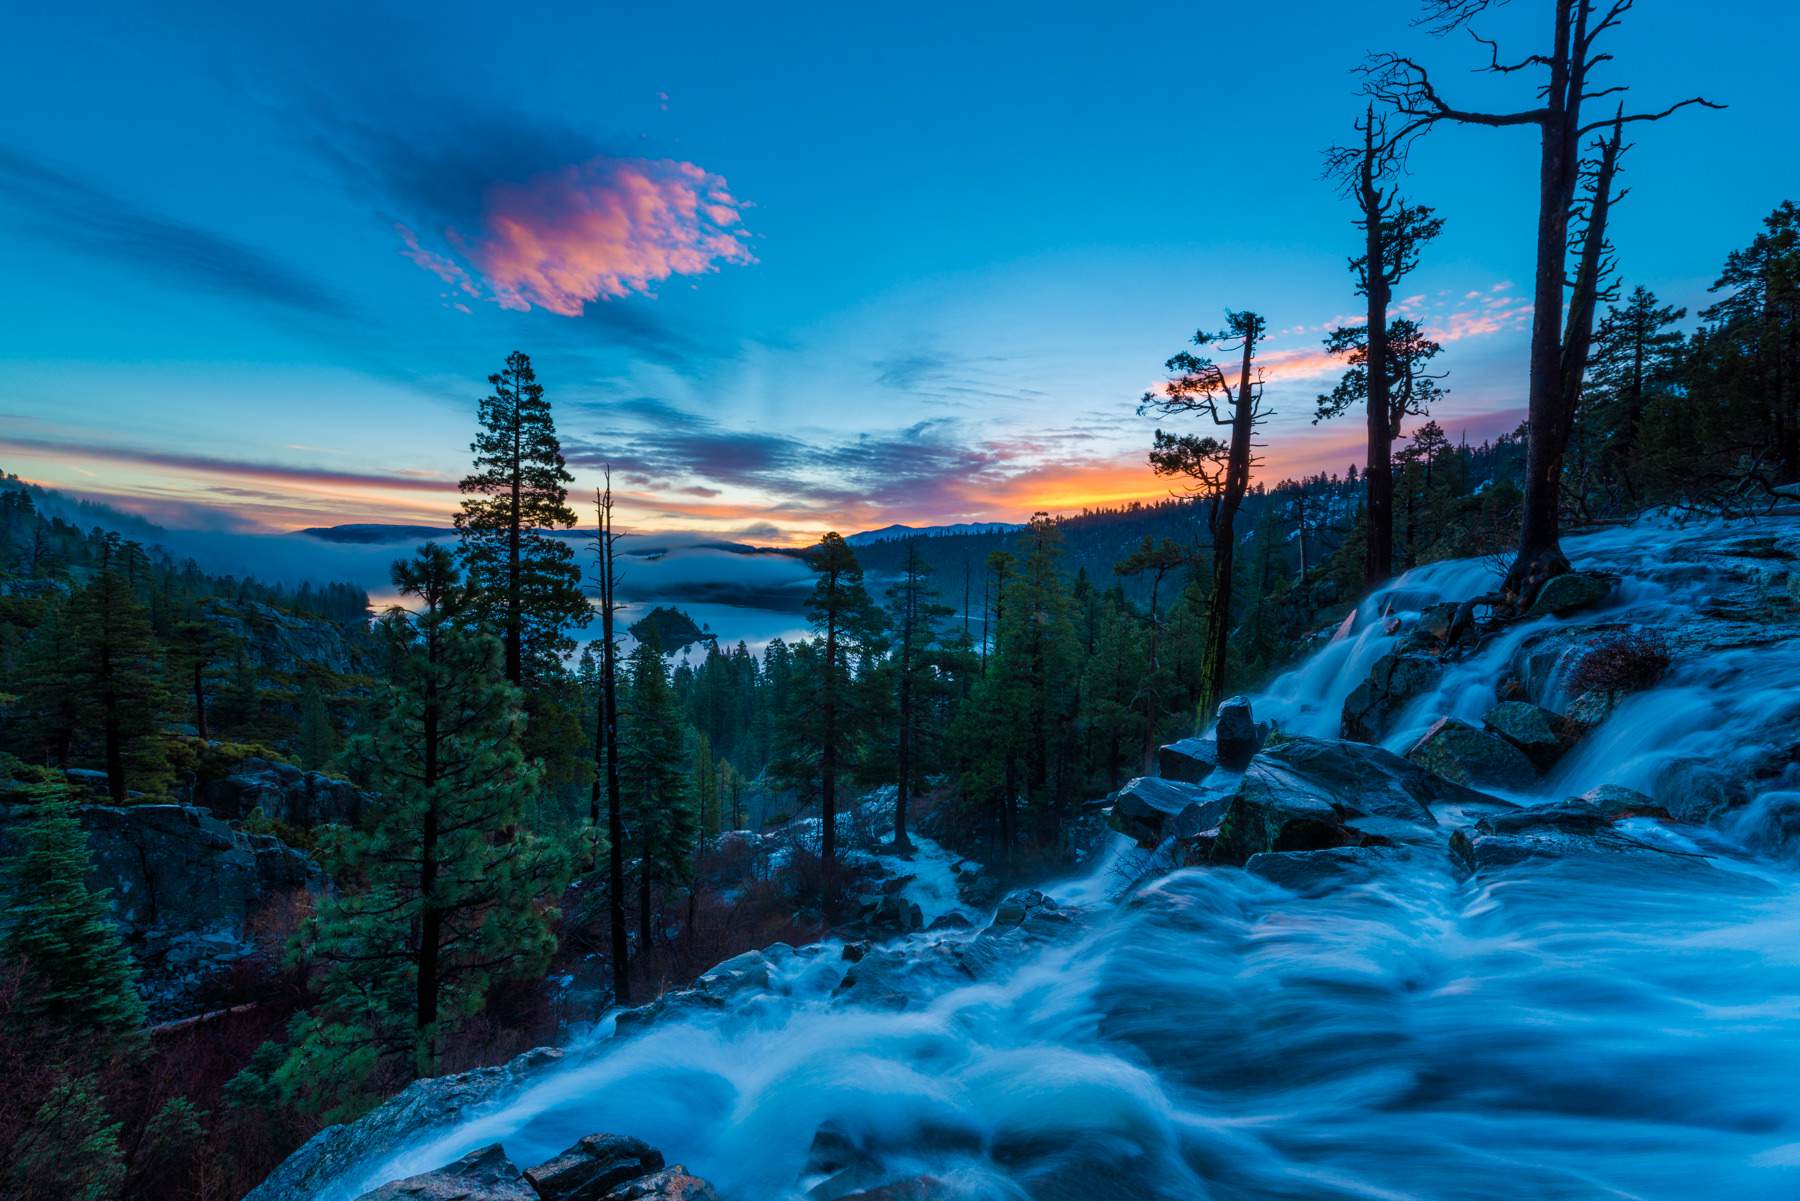
12. Eagle Falls
Edin’s photograph places falling water against the wider Emerald Bay landscape. Upper and lower falls, the trailhead and the roadside viewpoint are not interchangeable destinations. Choose a signed route and do not approach the lip of a waterfall.
Composition: Include enough rock or forest to show scale. Compare a shorter exposure that keeps detail in the water with a longer exposure that softens it. Keep spray off the lens and recheck the frame for droplets. A bright waterfall can clip well before the surrounding forest looks properly exposed.
Light and timing: Flow varies through the year. Snowmelt may strengthen it, while dry periods can leave a quieter subject. Wet rock, ice and sudden changes in footing are more important than getting a particular shutter speed.
Access: The Forest Service lists Eagle Falls Picnic Area and Trailhead on Highway 89 with a $5 vehicle day-use parking fee and seasonal facilities, typically mid-May to mid-October depending on weather. Check wilderness requirements if continuing into Desolation Wilderness. Do not confuse this parking fee with the separate state-park lot across the road.
Forest Service: Eagle Falls trailhead
 Save
Save13. Vikingsholm waterfront
Edin’s frame is a lakeshore composition near Vikingsholm, with a pier and reflection carrying the image. It is not evidence that every pier is open for photography. Photograph from an open public path or beach and respect any restricted structure.
Composition: Let a permitted pier or shoreline edge lead toward the far side of the bay. Calm water gives clean reflections, but even light ripples can add texture. Keep the pier centered only when the symmetry is deliberate. Try an off-center composition with more room for the mountains.
Light and timing: Morning or softer daylight may make the water and forest easier to balance. Do not build a plan around being at lake level before the permitted access window. Allow more time for the uphill return than for the descent.
Access: California State Parks describes the main route from the Vikingsholm lot as a steep two-mile round trip with about 400 feet of climb on return. There is no public vehicle access to the house or lakeshore and no ride out. House tours are separate from reaching the shore. Snow and ice can make the route unsuitable; October to May has no services or drinking water according to the park.
California State Parks: Emerald Bay
14. Fannette Island and tea-house views
Edin’s photographs show Fannette Island from the surrounding bay rather than promising a landing. You can make a strong island composition from shore without treating a boat trip as essential. The small tea-house remains need a clear silhouette and suitable distance to read in the frame.
Composition: Use a standard or telephoto lens to isolate the island from the far shoreline. Reflections can double its shape when the water is calm. Leave room around the tree line rather than cutting through it. Watch the brightest sky above the island.
Light and timing: Mist and low light can simplify the background, but visibility may also disappear. A calm-looking photograph says nothing about water temperature or safe boating conditions. Keep the land-based view as your first plan.
Access: The park says the island is accessible only by watercraft, prohibits swimming to it because of dangerous boat traffic, and closes it in April and May for wildlife breeding. If considering a landing, confirm current restrictions and safe conditions with the operator. This guide does not supply a launch booking, landing authorization or water route.
California State Parks: Emerald Bay
15. Rubicon Bay pier studies
Rubicon Bay pier photographs can work in soft or stormy light, but access must come before composition. The sample images show what can be photographed where permission exists; they are not an invitation to walk onto private beaches.
Composition: Where you have lawful permission, use the pier as a geometric line through the water. A centered frame emphasizes symmetry; an angled frame gives movement. Let the weather determine whether the sky deserves most of the frame. Keep off unstable, closed or privately restricted structures.
Light and timing: Blue hour can unify the water and sky, while storms can give stronger separation. Do not wait on a pier in lightning, strong wind or rising waves. Make the photograph from a safer permitted position if conditions are changing.
Access: The Rubicon Tahoe Owners association states that its beaches are exclusively for qualifying homeowners, cabin renters and eligible guests or family. A road address does not grant beach or pier access. Do not enter association property without permission. Use a managed public shore elsewhere if you have no lawful access; this chapter is not a public camera-pin recommendation.
Rubicon Tahoe Owners: beach access
The Lake Tahoe Photography Guide
The Lake Tahoe Photography Guide brings these 15 photo-led chapters into a black-and-gold PDF, with Edin Chavez’s photographs, composition teaching, light notes and source-linked access checks. The guide is $47. It does not include admission, permits, tours, presets or Academy membership. No exact GPS or exposure guarantees are offered.
Get the Lake Tahoe Photography Guide – $47
Keep learning
For photography lessons beyond this destination, visit Shut Your Aperture Academy. Academy access is separate from the guide.
Questions photographers ask
Can I photograph sunrise inside Sand Harbor?
Sand Harbor lists opening at 8 a.m., so do not plan an entry before opening. Check the current reservation rules and visit hours for your date.
How much does Sand Harbor cost?
When checked October 8, 2026, vehicle day use was $10 for Nevada vehicles and $15 for non-Nevada vehicles. Reservation processing costs and policies are separate and can change.
Can I walk onto the Rubicon Bay piers?
Not without lawful access. The Rubicon Tahoe Owners association limits its beaches to eligible homeowners, cabin renters and guests. A photograph or road address does not grant permission.
Is Vikingsholm an easy drive-down stop?
No. The park describes a steep two-mile round-trip hike with about 400 feet of climb on return, and no public vehicle access or ride out.
Can I swim to Fannette Island?
No. Emerald Bay State Park prohibits swimming to the island because of dangerous boat traffic. The island is accessible only by watercraft and is closed in April and May for wildlife breeding. Check current conditions before planning any landing.
Does the guide include admission or exact camera pins?
No. The $47 guide includes photo-led chapters and planning notes. Admission, permits and transport are separate, and there are no exact camera-coordinate or exposure promises.
Affiliate disclosure: This post includes Amazon and B&H affiliate links. If you buy through them, Shut Your Aperture may earn a commission at no extra cost to you. As an Amazon Associate, I earn from qualifying purchases.