Everglades photography is a lesson in waiting. A still surface takes color, a bird changes direction and a break in cloud creates a picture that was not there ten minutes earlier. You cannot schedule that moment, but you can arrive with a clear subject, lawful access and settings that support it. These six Everglades photography subjects introduce the main-road landscape, forest, wildlife and coastal opportunities without turning the visit into a race to Flamingo.
This article introduces six subjects from the 66-page Everglades photography guide. The paid PDF goes further with 12 photo-led chapters and 24 original photographs, alternative compositions, shot lists and access planning. Start with the light and the kind of picture you want, then choose a route that fits the time and access you actually have.
Plan a session, not a checklist
Royal Palm is a useful first decision point for a wildlife-oriented visit. A landscape session at Long Pine Key or a sawgrass view at Pa-hay-okee asks for different timing and equipment. Mahogany Hammock trades a large sky for shaded forest, while Paurotis Pond depends on current access and nesting restrictions. Flamingo is the coastal end of a long route, not a quick extra stop. Leave room for the drive, daylight, food, fuel, heat and your return. No secret road or historic pull-off is certified by this article.
1. Anhinga Trail: birds at eye level
 Save
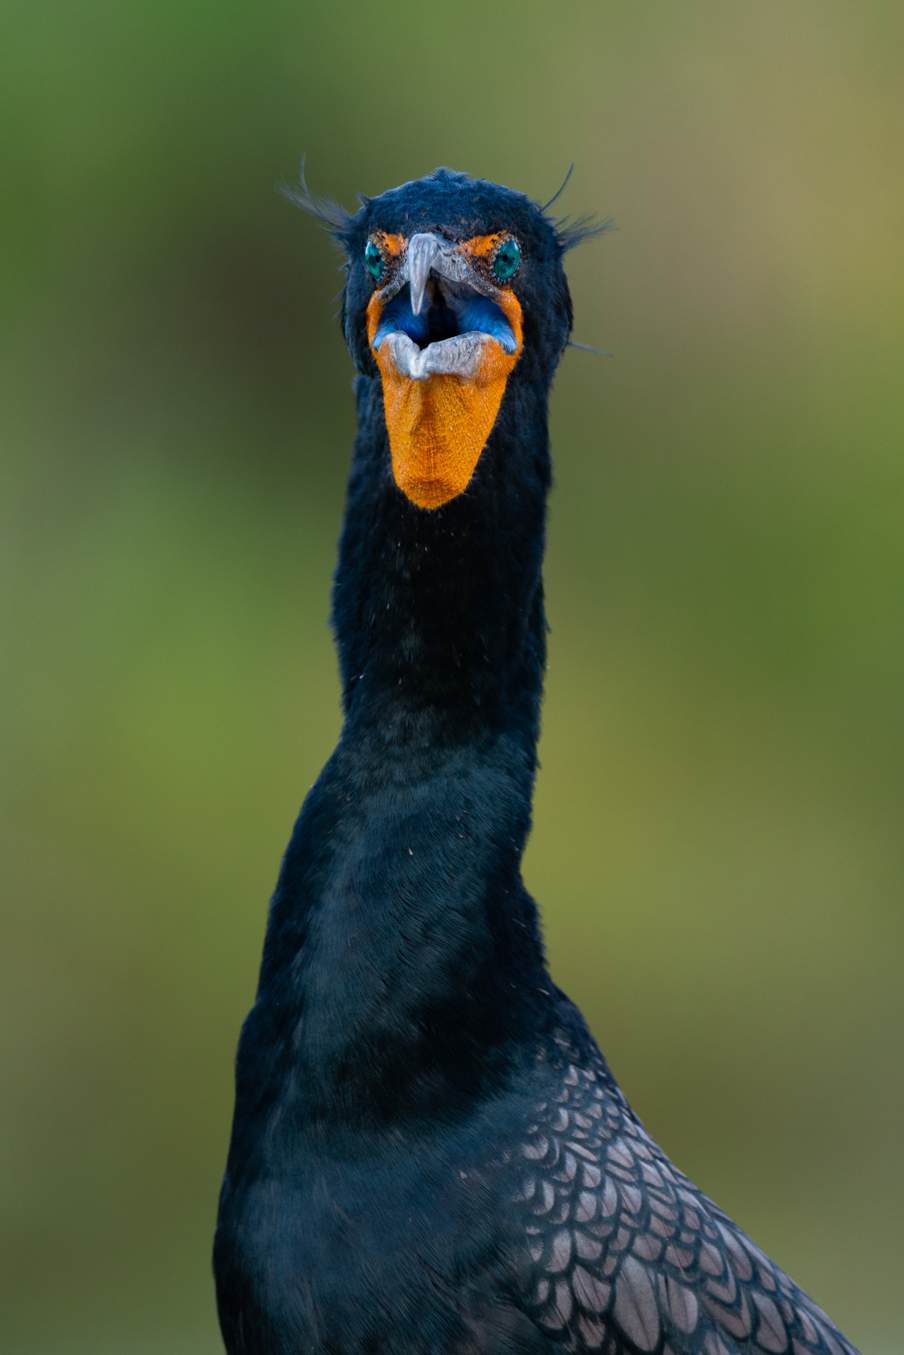
SaveAnhinga Trail starts at Royal Palm, about four miles from the main entrance. NPS describes a 0.8-mile round-trip trail through sawgrass marsh with possible alligators, turtles, anhingas and wading birds, especially in winter. The original guide binds these close wildlife examples to this trail. Animals are never guaranteed; give yourself time rather than treat it as a checklist.
Early or late light can separate a bird from a dark background. Look for light on the face and beak, not just a pretty sky. Dry-season wildlife opportunities can be strong, but water levels and behavior change. A quieter frame in modest light is better than disturbing an animal to imitate a source photo.
Stay on the trail and use a longer lens to simplify reeds. Look for a clear eye, an unobstructed beak and a background that does not split the head. Wait for a head turn instead of moving closer. If the bird fills the frame, leave enough space for its bill and direction of gaze.
Focus on the nearer eye and separate it from bright water. For a perched bird, a sharp 1/500-second frame is a better starting point than a low-ISO blur. Change to continuous autofocus and a faster shutter before a takeoff. Watch reeds that cross the face.
A starting setup for perched bird: 1/500-1/1000 sec, f/5.6-f/8, Auto ISO, 200-600mm. These recommendations are not a claim about the original photograph’s EXIF. Check a test frame and change the settings when motion, focal length or light require it.
Access before the photograph
NPS lists the trail as wheelchair accessible, with no bicycles. Stay on the path and obey current closures. NPS says keep at least 15 feet from alligators/crocodiles, and farther if an animal reacts. Never feed, touch, call or harass wildlife. Keep children close and protect vehicle rubber from vultures without harming them.
2. Long Pine Key: pines and reflected color
 Save
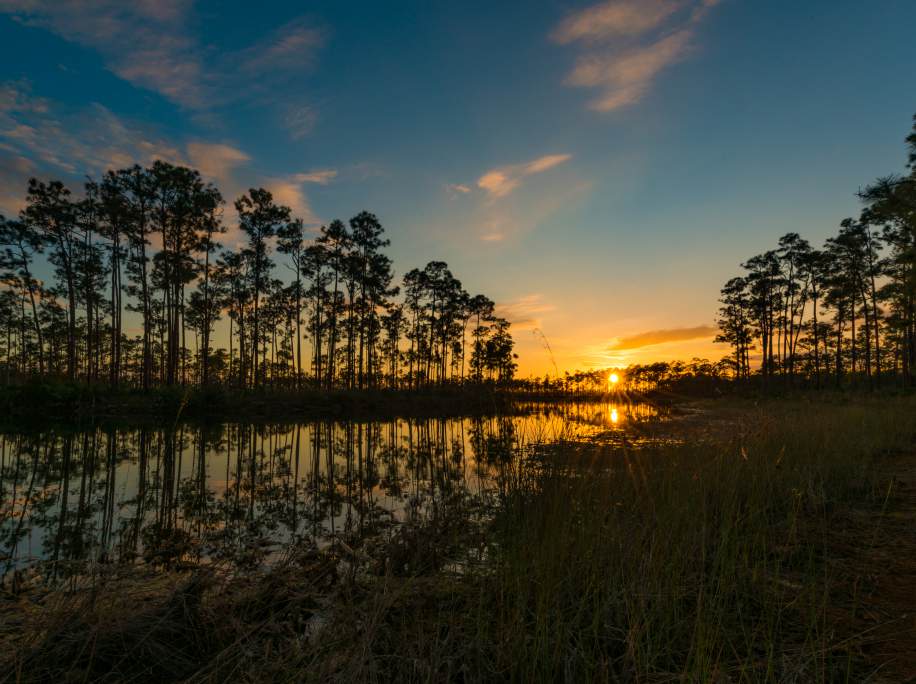
SaveThe original guide binds its pine and water photographs to Long Pine Key. NPS describes connecting trails through pine rockland and hammock, with many starting around the campground. The photos are subject references, not permission to enter an occupied campsite or an unmarked water edge.
Compare first light with late-day color. Pine silhouettes can work when the sky is strong, while side light reveals bark and grass. Wet-season growth changes the foreground and insects can make dawn and dusk uncomfortable. Water reflections depend on the breeze at the exact moment.
Choose a pine group with distinct trunks and enough open sky between crowns. Use one foreground layer to show habitat, not a wall of grass. A reflection can complete the tree shape; if it is broken by wind, tighten to the land instead.
Use a tree trunk or distant bank to judge focus, not a featureless reflection. If the water is still, start with a short exposure before smoothing it. Compare the two at full view: longer is not automatically better. Wind in pine needles can break an otherwise sharp scene.
A starting setup for pine landscape: f/8-f/11, ISO 100-400, 16-35mm. These recommendations are not a claim about the original photograph’s EXIF. Check a test frame and change the settings when motion, focal length or light require it.
Access before the photograph
NPS warns some Long Pine Key terrain has vegetation and branches that require care. Stay on lawful paths, do not drive onto trails and respect campground privacy. Check alerts and ranger advice for water levels and trail conditions. Never assume a shore seen in an old book is currently reachable.
3. Pa-hay-okee: the river of grass
 Save
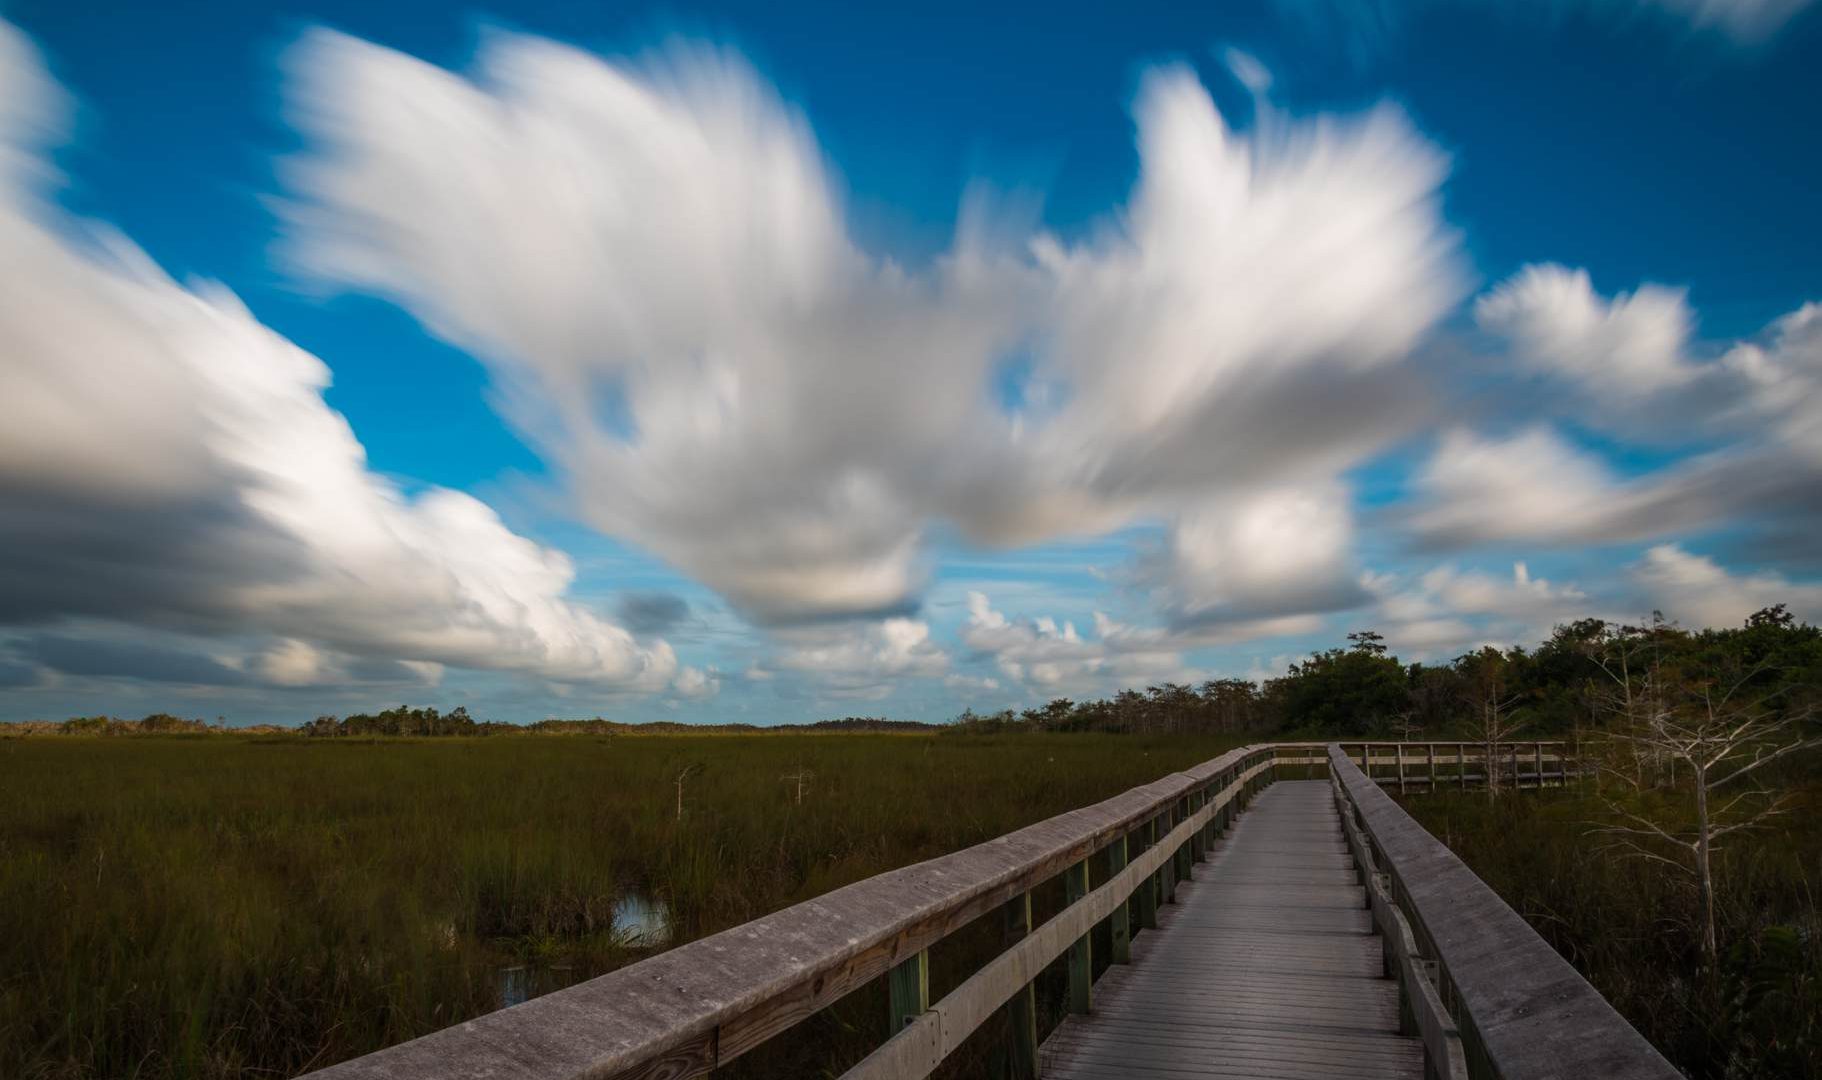
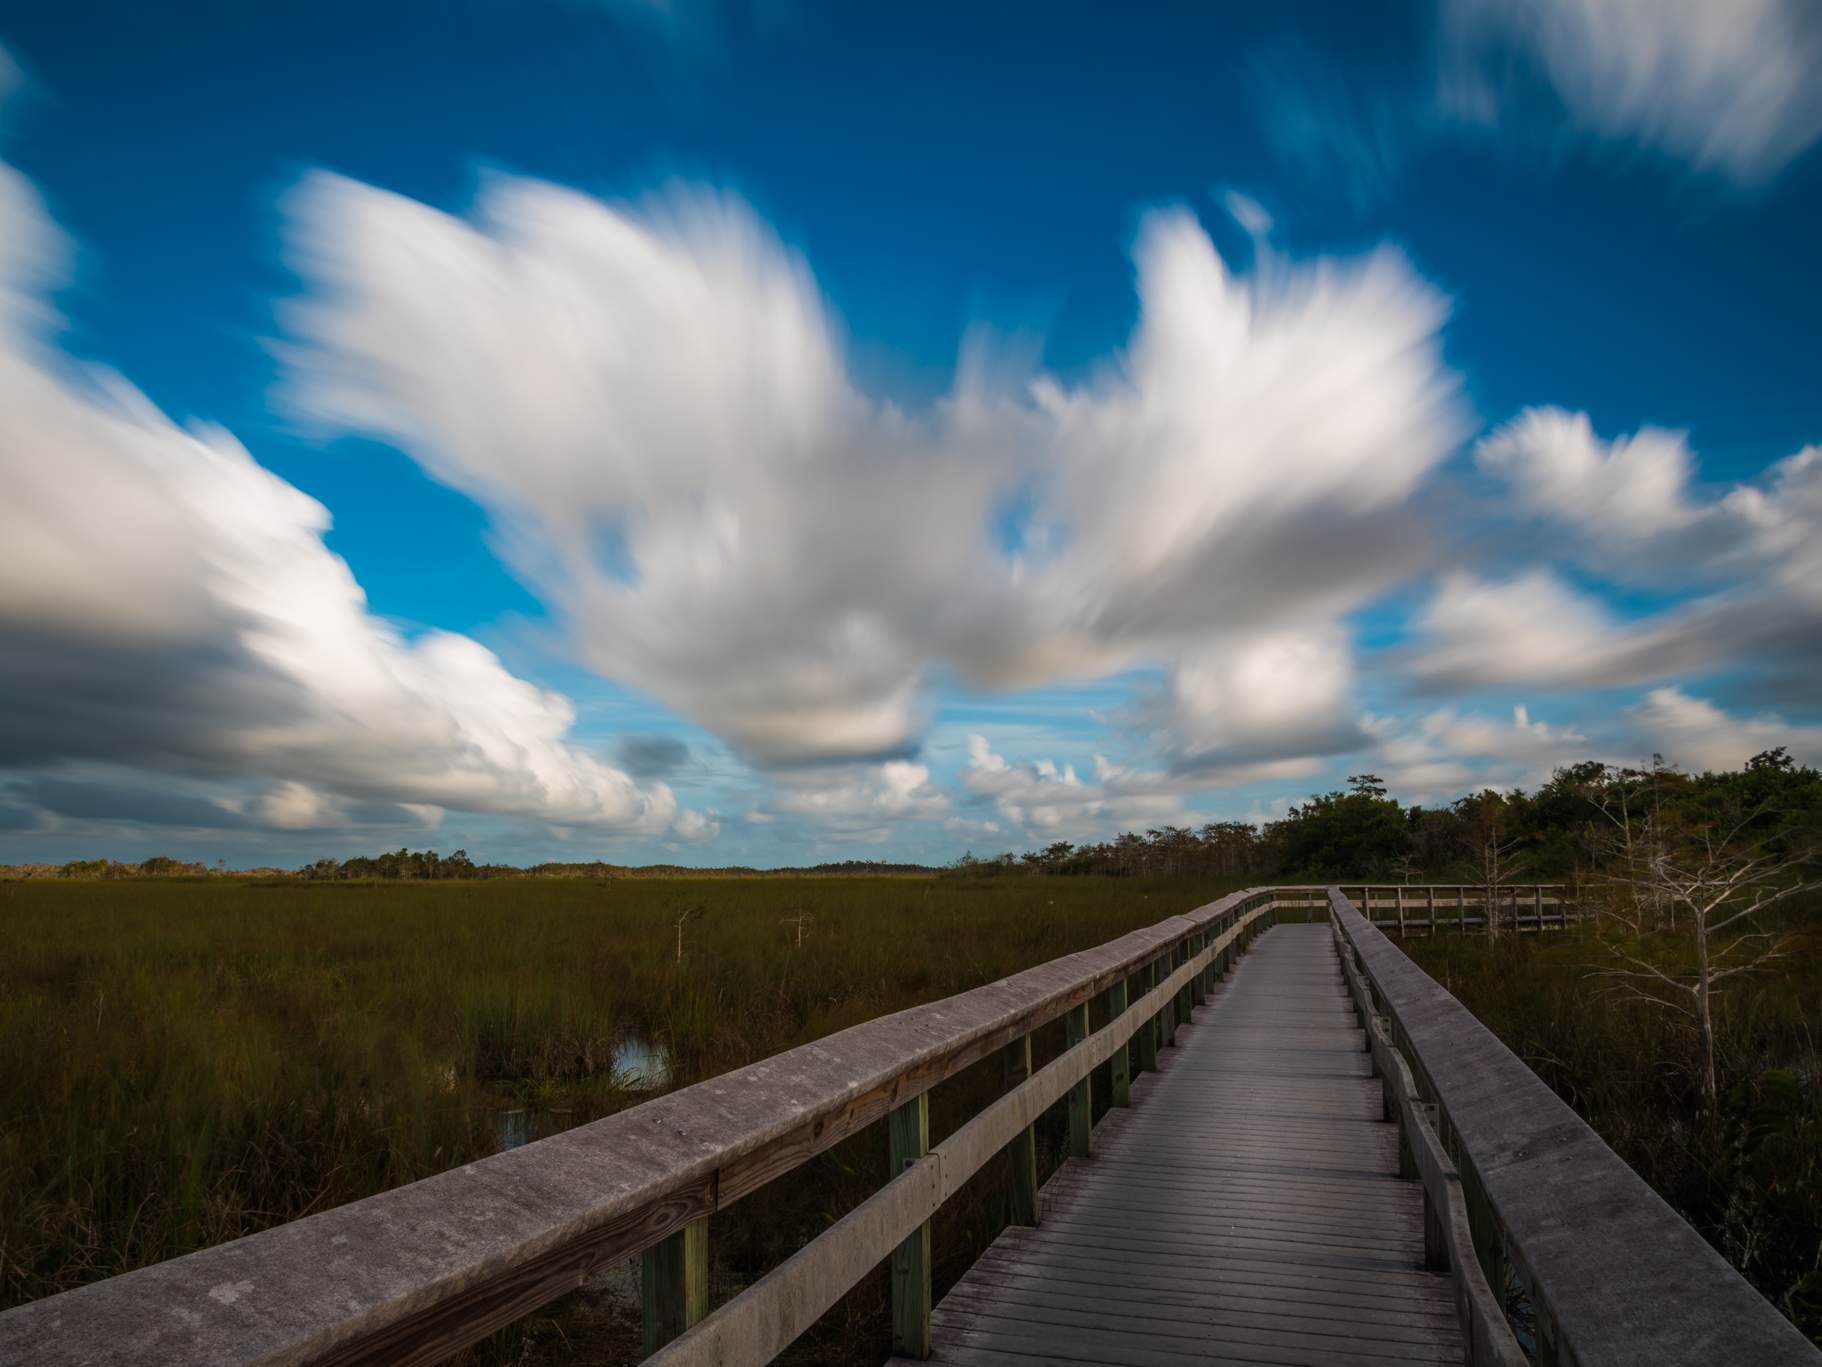
SavePa-hay-okee reopened in winter 2026 after renovation. NPS lists its accessible 0.16-mile round-trip boardwalk and raised platform with broad river-of-grass views. The original book includes boardwalk, landscape and bird examples here. Old images predate the new structure and should not be treated as a current architectural record.
Open sky makes light and weather central. Low sun can outline grass and cypress; clouds can give a flat landscape depth. Bird light may be best in another direction than the wide landscape. Choose one purpose for the visit rather than keep switching lenses through a brief light window.
The boardwalk is a clear leading line when it points toward useful sky. Keep rails tidy and never climb them. For the grass landscape, let a distant tree group establish scale. For a bird, reduce sky and reeds until the animal has a clean background.
A wide lens can make the sky large and the distant trees tiny. Keep the boardwalk edge clean, focus on a useful foreground edge and check far detail. A faster cloud-study exposure preserves shape; a supported longer frame trades shape for movement.
A starting setup for wide landscape: f/8-f/11, ISO 100-400, 16-35mm. These recommendations are not a claim about the original photograph’s EXIF. Check a test frame and change the settings when motion, focal length or light require it.
Access before the photograph
The official March 2026 page supersedes old closure notices, but check alerts again before travel. Stay on the accessible boardwalk, keep other visitors moving and never enter sawgrass for a lower angle. The map reference locates the overlook, not an old camera position.
4. Mahogany Hammock: canopy and owls
 Save
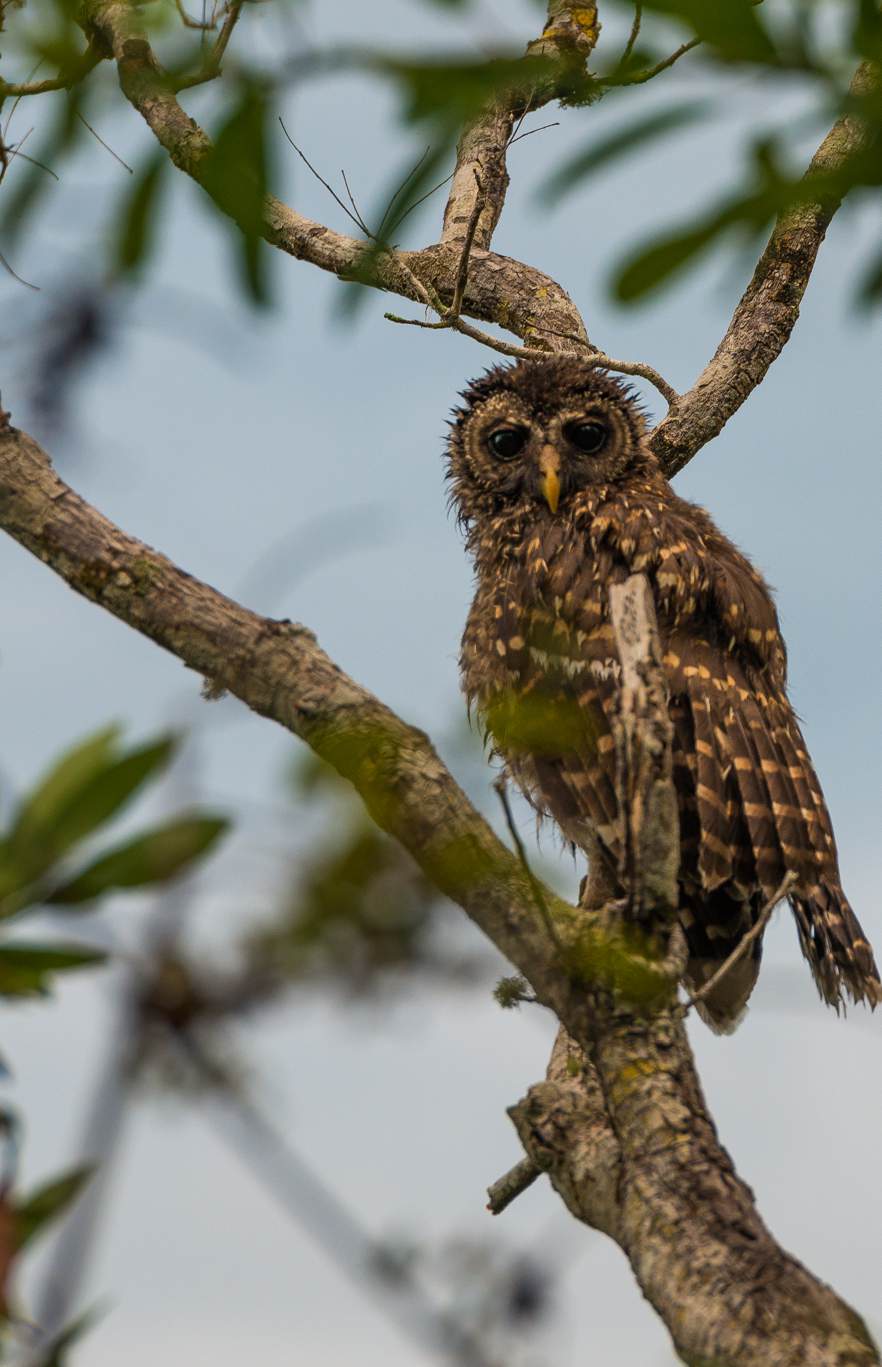
SaveNPS describes a 0.5-mile accessible boardwalk through dense hardwood hammock, about twenty miles from the main entrance. The owner book binds owl photographs to this area. An owl is an opportunity, not an attraction guaranteed to appear on schedule.
Canopy light can be dim even during the day. Watch for a naturally lit face rather than use playback calls or bait to draw an animal out. An overcast day can soften contrast. If no owl appears, the forest layers and air plants still justify a careful visit.
Use lens reach to separate an owl from branches without leaving the boardwalk. Keep the eye visible and avoid a bright leaf directly behind the head. Make an environmental frame as well as a close view. Do not cut off the whole tail merely to fill the image with a face.
An owl in canopy shade needs a shutter fast enough for head movement. Let ISO rise rather than ask stabilization to freeze a living subject. Put one autofocus point on the eye and check that a branch has not stolen focus. Avoid flash and leave the path clear.
A starting setup for perched owl: 1/250-1/500 sec or faster, f/4-f/6.3, ISO to suit. These recommendations are not a claim about the original photograph’s EXIF. Check a test frame and change the settings when motion, focal length or light require it.
Access before the photograph
No owl guarantee. Stay on the boardwalk, do not call, bait, flash or harass wildlife, and avoid disturbing nests. Keep paths clear and follow current closures. NPS lists no bicycles on the trail.
5. Paurotis Pond: flight over the water
 Save
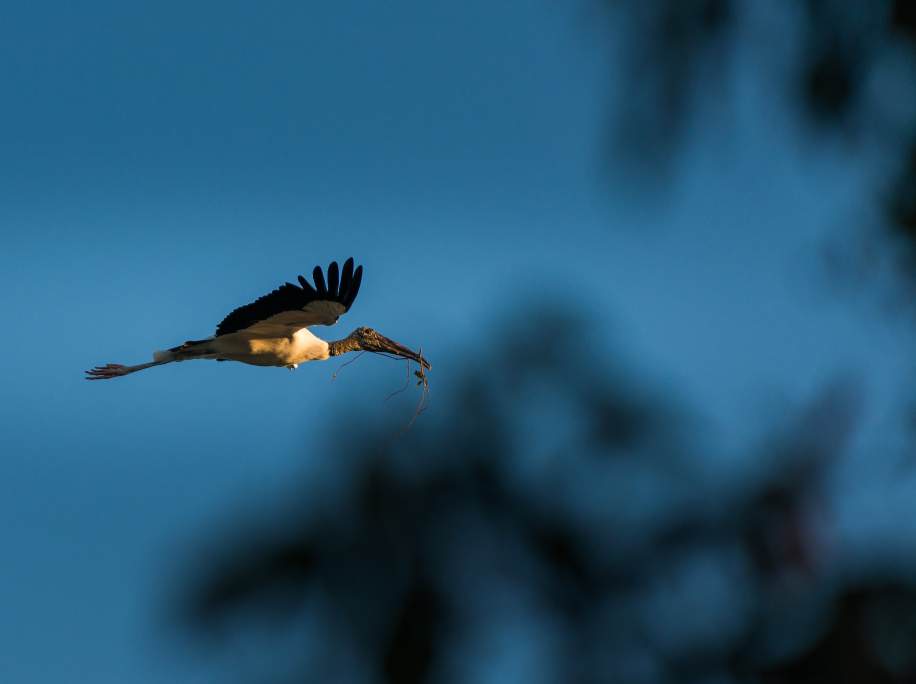
SaveThe owner book binds its flight photographs to Paurotis Pond. Birds use the area seasonally, and NPS may close it during nesting periods as posted. Access protection is part of the story, not an inconvenience to bypass.
Scan the background before tracking a bird. Side light can reveal feather shape; hard backlight can make a useful silhouette. Wildlife timing follows behavior and water levels rather than an appointment. Wait from an open legal viewing area and let birds approach on their own route.
Leave space ahead of flight and keep the horizon from cutting the body. Choose a clean patch of sky or water before raising the camera. Short bursts work better when you anticipate direction; review whether the eye or head is actually sharp, not just whether the bird is large.
For flight, prioritize shutter speed and continuous tracking before aperture. Pan with the bird and leave space in its direction of travel. Bright water can fool exposure; take a test and inspect the bird, not just the histogram. Do not move closer to a nesting area for detail.
A starting setup for flight: 1/1600-1/3200 sec, f/5.6-f/8, Auto ISO. These recommendations are not a claim about the original photograph’s EXIF. Check a test frame and change the settings when motion, focal length or light require it.
Access before the photograph
Check seasonal nesting closures and obey signs. No entry into closed shore or rookery areas, no feeding or calling, and no attempt to move a bird for the frame. Use legal open viewing areas only.
6. Flamingo: the coastal end of the road
 Save
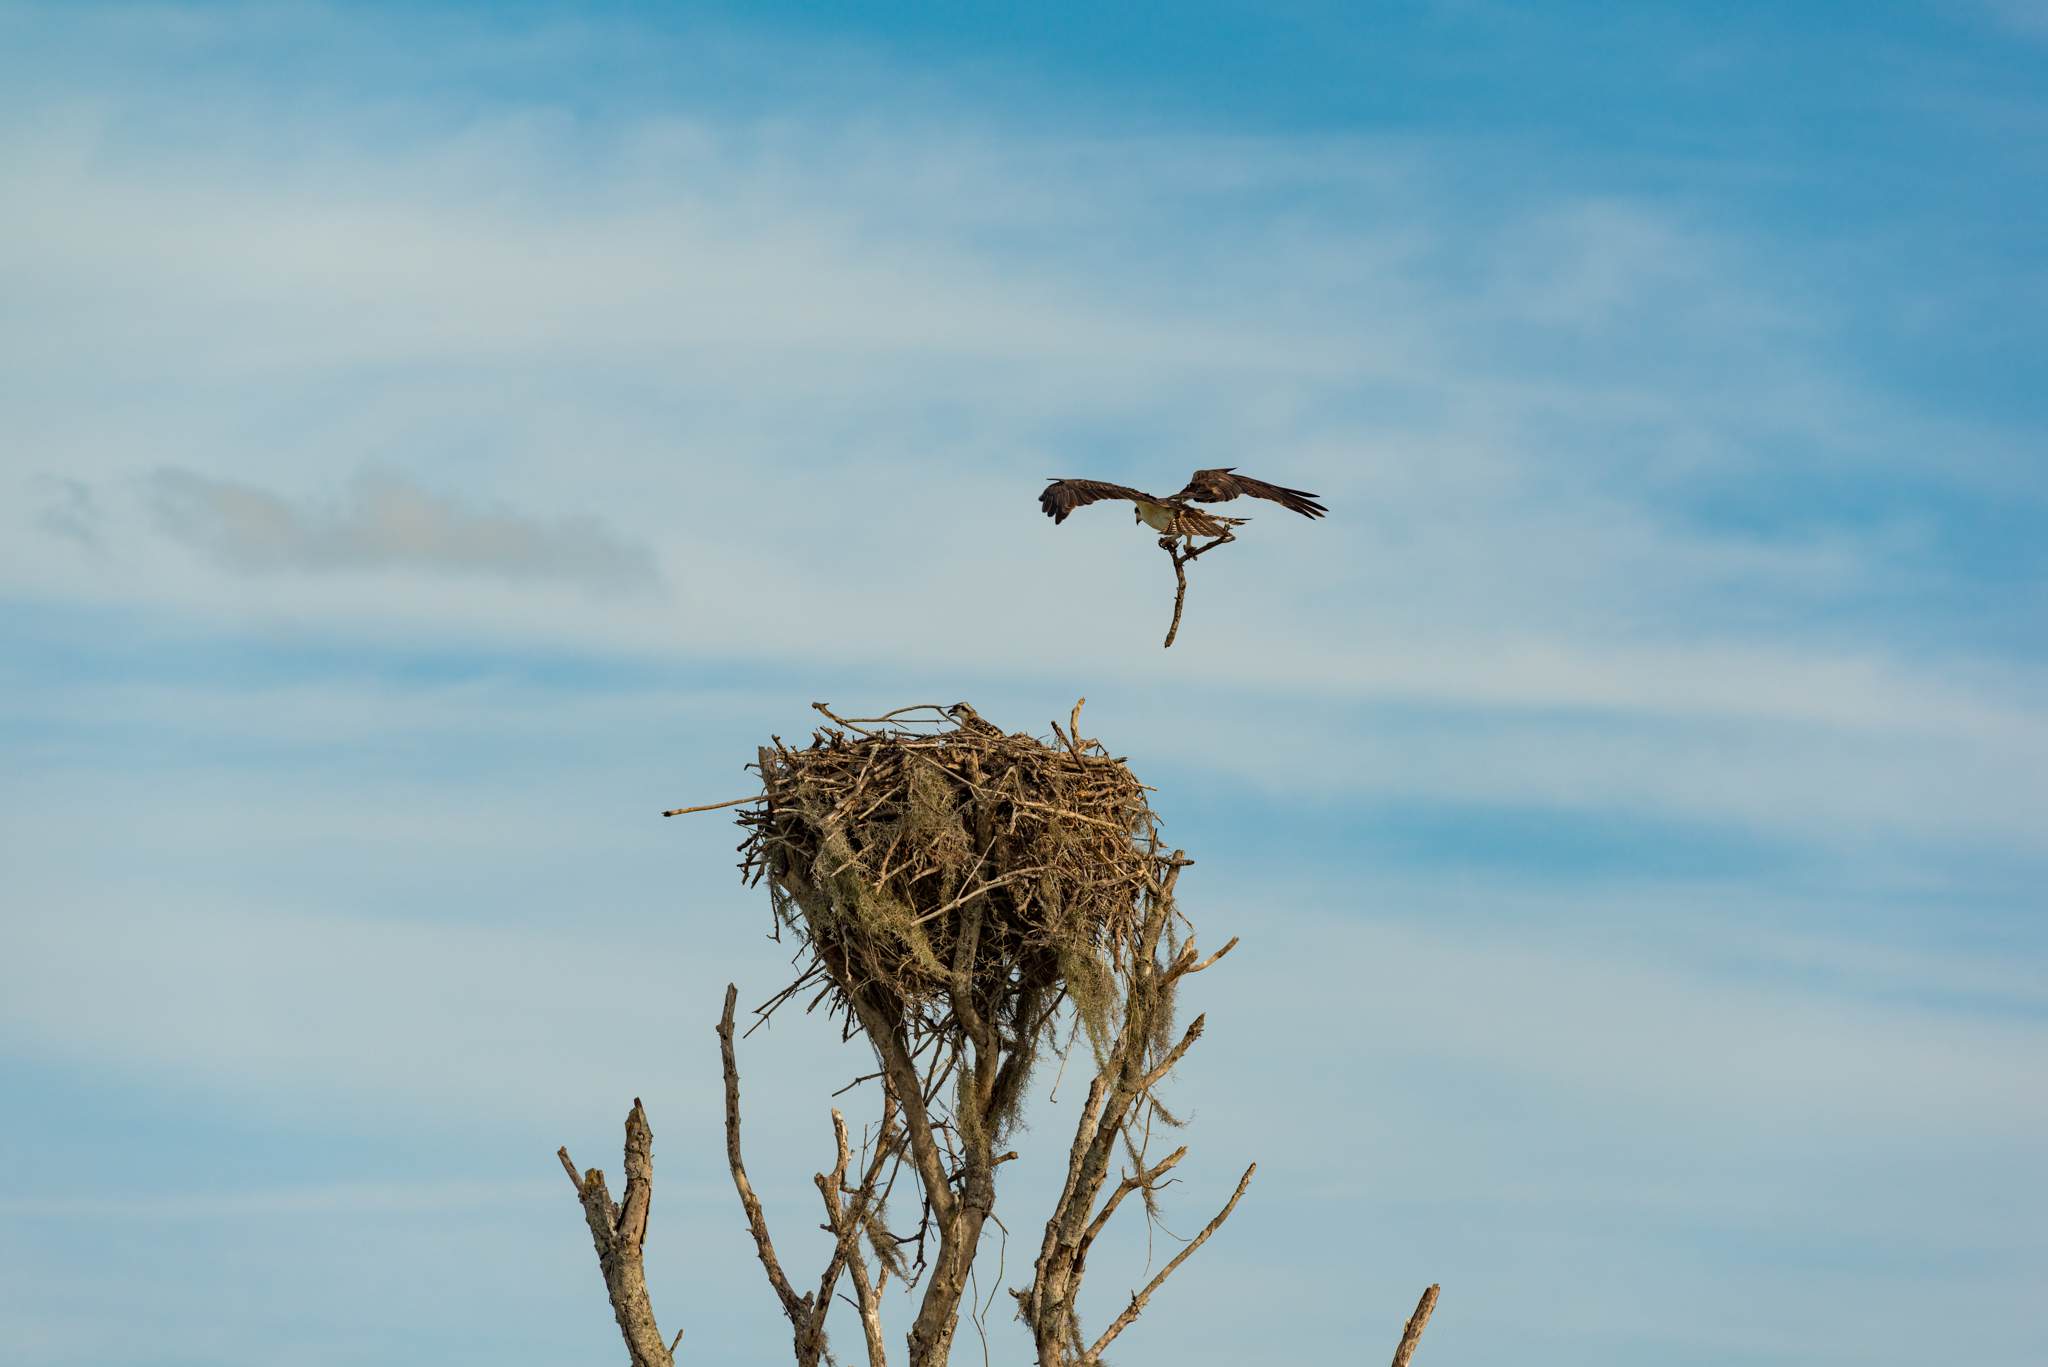
SaveThe source book binds this bird/nest photograph to Flamingo, the coastal end of the main park road. The broad area includes visitor facilities, marina and bay views. The photograph is a wildlife example, not a certified current nest location or proof that the same bird remains there.
Coastal light can be bright and windy. Look for a clean sky behind a bird, or work with a lower sun on habitat rather than chase an animal. Allow time for the long drive and return; visitor facility hours and park entry hours are different.
Leave enough branch or nest structure to explain the bird’s action without letting it dominate. Keep space ahead of flight and check horizon/sky edges. If no wildlife appears, use the bay and mangrove layers from a legal public viewpoint.
Choose whether the picture is a bird, nest structure or coastline. For a moving osprey, faster shutter matters more than perfect low ISO. White plumage and pale sky can clip; make a test before the action. Maintain lawful distance and do not provoke a flight.
A starting setup for bird action: 1/1600-1/3200 sec, f/5.6-f/8, ISO to suit. These recommendations are not a claim about the original photograph’s EXIF. Check a test frame and change the settings when motion, focal length or light require it.
Access before the photograph
Stay in open public visitor areas and respect docks, staff-only areas, nesting closures and wildlife distance. Never approach a nest. Alligators and crocodiles can be present; NPS minimum distance is at least15feet, farther if the animal reacts. Check current Flamingo facility schedules.
Build a small, useful Florida camera kit
A wide-to-normal lens covers most landscape and architectural context. Add a longer lens only when you need reach, background separation or wildlife detail. A familiar camera with a clean lens and a spare card is more useful than a heavy bag of gear you never take out. Choose footwear and drinking water before another filter. Carry a spare battery, a lens cloth, sun protection and a cover for brief rain or spray.
A tripod is a tool for a deliberate picture, not a required badge of seriousness. It can slow you down in a good way when water texture or night exposure matters. It can also block a narrow path, attract attention or violate a site rule. Make a handheld insurance frame first. If a moving subject matters, prioritize shutter speed and accept a higher ISO rather than bringing home a clean-looking file with no sharp subject.
Before buying accessories, check your actual camera, lens and bag dimensions. Card formats and recording speed requirements vary by camera. A filter fits a lens or holder, not a city. The guide does not ask you to replace a functioning setup just to photograph Florida. Work out which limitation you hit in real pictures before spending money.
Three decisions that make the frame stronger
First, choose the subject. Say what the picture is about before changing a setting. Is it the bird’s eye, the shape of a bridge, the color of a sign or a reflection? A frame that tries to give everything equal importance often has nothing to look at. Make one wider picture for context, then remove distractions until the intended subject feels clear.
Second, protect the important motion. Buildings can stay sharp while palms move. A boat can drift while the skyline is still. A bird can turn its head even when its feet never move. Stabilization can help with your own movement; it cannot freeze the subject. Choose shutter speed from the thing that must be sharp, then use aperture and ISO to support it.
Third, inspect before leaving. Enlarge the useful detail, look for clipped color, inspect the edges and check your horizon. A little review while the light is still there is cheaper than an hour of editing later. Make one simple alternative without the risky filter, complicated foreground or long exposure. That backup is often the photograph you keep.
Weather, safety and access belong in the plan
Florida weather can change during a short session. Check current warnings and do not treat dramatic storm clouds as permission to remain beside exposed water. Lightning, heat, slick surfaces and sudden rain can make a familiar location unsafe. Build a retreat into the route and leave when conditions stop supporting the photograph. No sunset is worth being trapped at a closed gate or unstable shoreline.
A historical photograph shows what the photographer saw, not a public right of entry. Structures, park edges, businesses and posted rules change. Public paths do not give access to private docks, hotels, roofs or closed areas. A ticket does not necessarily cover professional production. Check the operator for your actual activity and keep pedestrian and emergency routes clear.
Everglades photography questions
When should I visit for Everglades photography?
NPS describes the dry season as generally November through April and the wet season as May through October. Conditions vary within those seasons. Water levels, heat, insects and wildlife opportunities change, so check current alerts and forecasts instead of expecting an identical scene from a photograph.
What does it cost to enter?
As checked October 8, 2026, NPS lists private-vehicle entrance at $35 and an additional $100 per person for non-US residents aged 16 and over unless covered by an applicable Annual or America the Beautiful Pass. A nonresident annual pass is $250. Check current eligibility and pass terms with NPS before purchase; rentals, tours and camping can cost extra.
Will I see owls, alligators or nesting birds?
There is no guarantee. Keep a safe distance and do not feed, approach or disturb wildlife to make a picture. Stay on open visitor routes and use a longer lens when distance is required. A historical image is not a promise about today’s wildlife or nesting access.
Is Pa-hay-okee open?
NPS reports that Pa-hay-okee reopened in winter 2026. That does not remove the need to check current alerts immediately before a trip. Temporary conditions, visitor facilities and individual routes can still change.
Can I fly a drone or photograph anywhere at night?
NPS prohibits launching, landing or operating drones from park lands or waters without written superintendent approval. General 24-hour entry is not permission to enter a closed area or ignore facility rules. Scout lawful night access by day and leave when weather or conditions are unsafe.
Does a tour replace the photo guide?
They do different jobs. A guided trip can provide logistics and interpretation, while the PDF helps with photographic choices. Confirm the real route, transport, conditions and equipment rules with the operator. No wildlife encounter, light or exact camera position is guaranteed.
Go beyond these six subjects
The full PDF adds Gumbo Limbo, Pine Glades Lake, Nine Mile Pond, West Lake, Main Park Road, Night sky. Each chapter has a real photograph, a reason to shoot the scene, light and composition decisions, recommended starting settings, four shot ideas, common mistakes and an orientation reference. The guide is built for choosing a workable session, not promising an identical photograph.
66 pages. 12 photo-led chapters. 24 original source photographs. $47 for the guide PDF only. Admissions, transport, permits, tours, presets and Academy membership are separate.
Get the Everglades photography guide – $47
Understand the decisions behind your settings
A location guide helps you choose where and how to work. Understanding exposure makes that plan adaptable. If aperture, ISO or shutter speed still feels like a recipe to memorize, start with one variable and a repeatable assignment. Photograph the same scene with two shutter speeds or two apertures, then compare the result rather than assuming one number is correct for every photograph.
Explore the FRAMEHAUS Photography Academy for structured fundamentals and genre lessons. Academy access is not included with the guide PDF.
Current planning references
- NPS current conditions
- NPS fees and passes
- NPS safety
- NPS hiking trails
- NPS weather
- Edin Chavez Everglades photographs
Plan the shoot
A naturalist-led hiking and kayaking day can handle logistics for a separate Everglades visit. This is not a photography workshop or a promise of wildlife; check the route, transport and equipment restrictions before booking.
Check guided trip options on GetYourGuide
Affiliate disclosure: this article contains affiliate links. If you buy or book through them, Shut Your Aperture may earn a commission at no extra cost to you. Tours and gear are not included in the guide PDF.