Updated Nov 2026. The film and its credits above are kept as they were. Sources, background and photography notes follow below.
Adrift is Simon Christen’s time-lapse of fog crossing the Golden Gate Bridge and the ridges around San Francisco Bay. In the filmmaker’s original account, he spent roughly two years watching weather conditions and making early trips to the Marin Headlands for the right footage. Jimmy LaValle of The Album Leaf composed the score. The Vimeo page and player respond and identify Christen. The filmmaker’s description says this work is copyrighted and licensing is rights-managed; do not reuse footage or stills without permission. An unrelated pooled Chicago skyline image was removed.
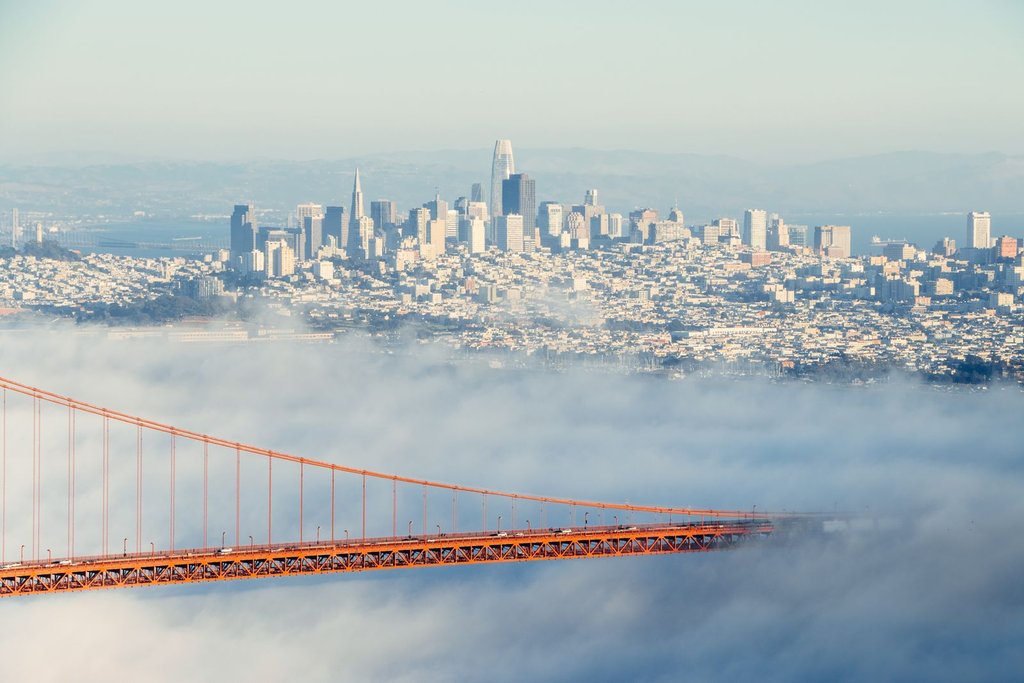
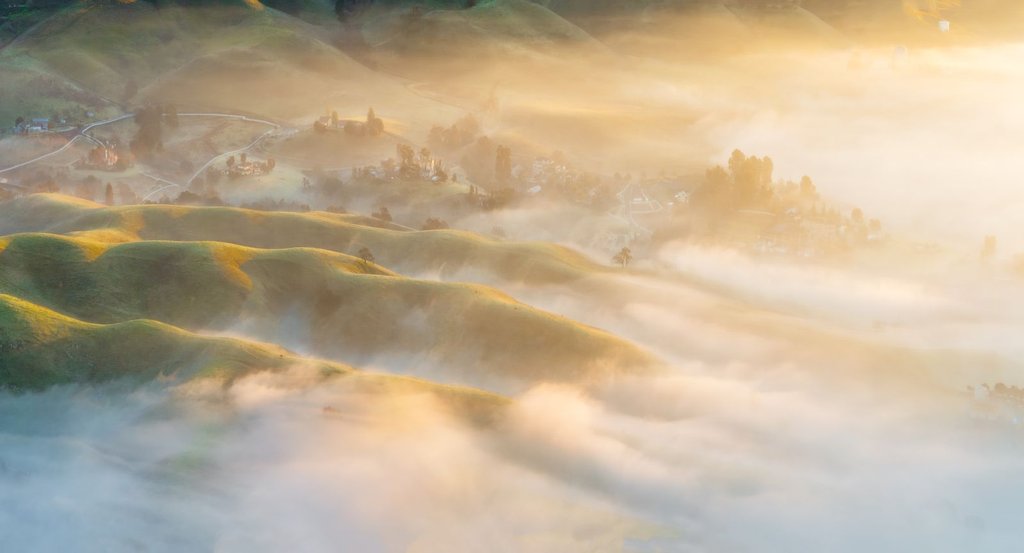
Header photo: Griffin Wooldridge via Pexels. Illustrative still of a bridge and city rising from fog, not a frame from Adrift. The extra pictures below are also stock images by other photographers.
About the film
Adrift is a short time-lapse film by Simon Christen, an Oakland photographer, about fog moving through the San Francisco Bay Area. Christen calls it a love letter to that fog. The film follows the soft mist as it crosses the ridges of the California coast and the Golden Gate Bridge. The film above is embedded from its Vimeo page. This page does not host or copy any of the footage, and the filmmaker states that the work is copyrighted and rights-managed, so please do not reuse its footage or stills without permission.
The facts on this page come from public sources. They are the film’s page on Simon Christen’s site, the Colossal write-up from July 2013, the Gizmodo article from the same week and the KQED post, posted July 1, 2013. Where we add general photography advice, we label it as general advice and not as something Christen said.
Two years of waiting
The most striking fact about Adrift is how it was made. In his own words, Christen chased the fog for over two years. He had finished his earlier time-lapse film, The Unseen Sea, about three years before and had been collecting new footage from around the Bay Area since then. While hunting for the right fog, he found a kind of magic that only happened over the first ridge of the Marin Headlands and the Golden Gate Bridge. That is where Adrift began.
He had seen photos of fog flowing into the bay, but he wanted to show the movement. He says he soon learned how fickle this fog is. The weather has to be right for the fog to glide over the hills and under the bridge. So he built a system. He checked the weather forecast, satellite images and webcams several times a day. If conditions looked promising, he set an alarm for 5 a.m., checked the webcams again and made the 45-minute drive to the Marin Headlands.
Many of those mornings failed. He writes that he hiked in the dark only to find that the fog was too high, too low or already gone. Once in a while, the conditions were perfect. The film is a collection of his favorite shots from those trips. Colossal describes it as a few seconds of usable footage on the lucky days, and Gizmodo says the finished segments were pulled from sessions that spanned about two to four hours each.
 Save
One memorable morning
On his film page, Christen describes one morning in detail. He planned to arrive an hour before sunrise, which meant waking around 4 a.m. At the base of the Golden Gate Bridge, all he could see was thick fog. He kept driving up a winding road above the bridge and finally broke through the fog into clear sky with a few small clouds. It was a surprisingly warm morning for the season, and a foghorn was sounding below.
He parked, took his backpack and headlamp, and hiked down a small trail to one of his favorite spots. Both bridge towers were peeking out of the mist, and slow waves of fog splashed onto the bridge. The lights on the towers lit the fog in a way that reminded him of boiling lava. He set up two cameras, checked the settings and started shooting.
As the sun neared the horizon, the clouds above lit up. The fog spilled into different valleys of the Marin Headlands, touched the hillsides and sank back into itself. When the sun rose, it lit the mist gold and cast long shadows onto the fog itself. He lay in the tall wet grass and watched. Three hours later he packed up and went to work. The story is a good reminder that a long film can come from a handful of mornings.
How the shots were made
The Gizmodo article gives some technical detail. According to that article, Christen shot with a Canon 7D and a Canon 40D, at the highest resolution possible, and tried to capture as much footage as he could each day. He told Gizmodo that, depending on the exposure time, he probably took a photo every two to 10 seconds. That interval kept the frames close enough to join smoothly while still allowing a lot of footage to be captured. Each segment in the film is shorter than the original session.
That is how time-lapse works. A camera takes a still picture at a set interval, and the stills are played back as video at a normal frame rate, so minutes or hours are compressed into seconds. At 24 frames per second, one second of film uses 24 stills. At a 5-second interval, those 24 stills take 2 minutes to shoot. This is a general calculation, and it shows why a one-minute scene can need hours of shooting.
The film page also lists a shot breakdown with 27 numbered clips, each with a short name and a length. They range from about five seconds to just over two minutes. The list shows how the film was built from many separate mornings instead of one long take.
 Save
Why fog is hard to photograph
Fog changes fast. The edge of a fog bank can move across a hillside in minutes, and the light on it changes as the sun rises. That is what makes fog beautiful, and also why it is hard to plan. Christen’s webcam and satellite routine is a practical response to that problem. Few photographers need to be that systematic, but the idea applies to any weather-dependent scene. Check the conditions, decide in advance when to go, and accept that some trips will fail.
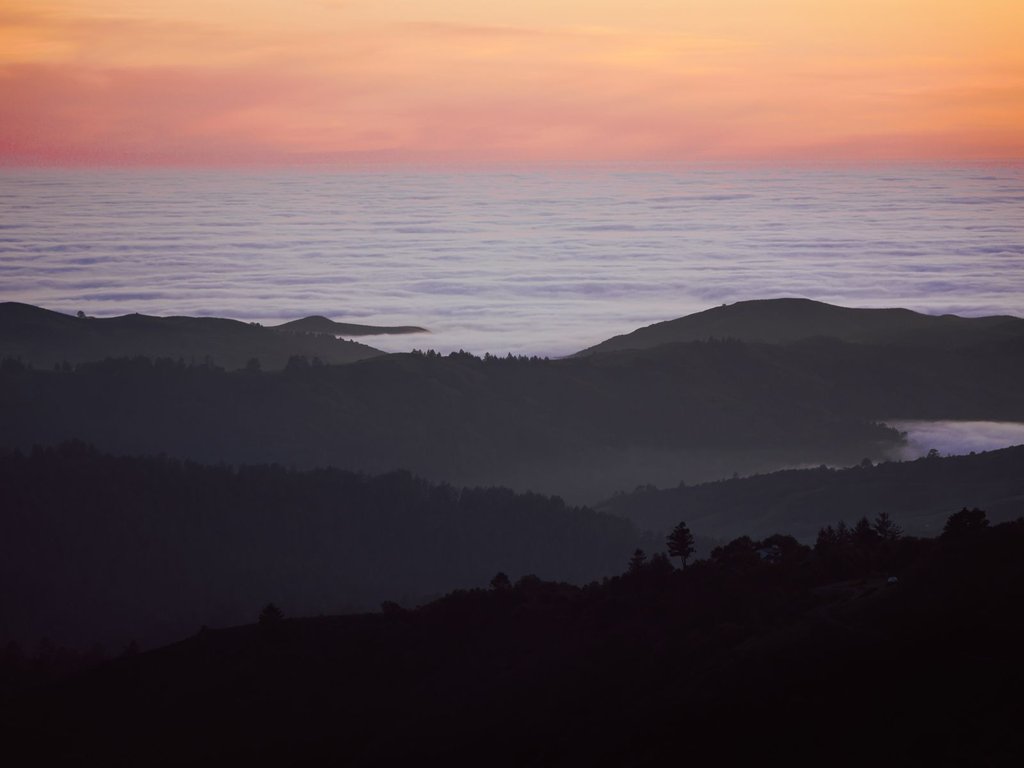
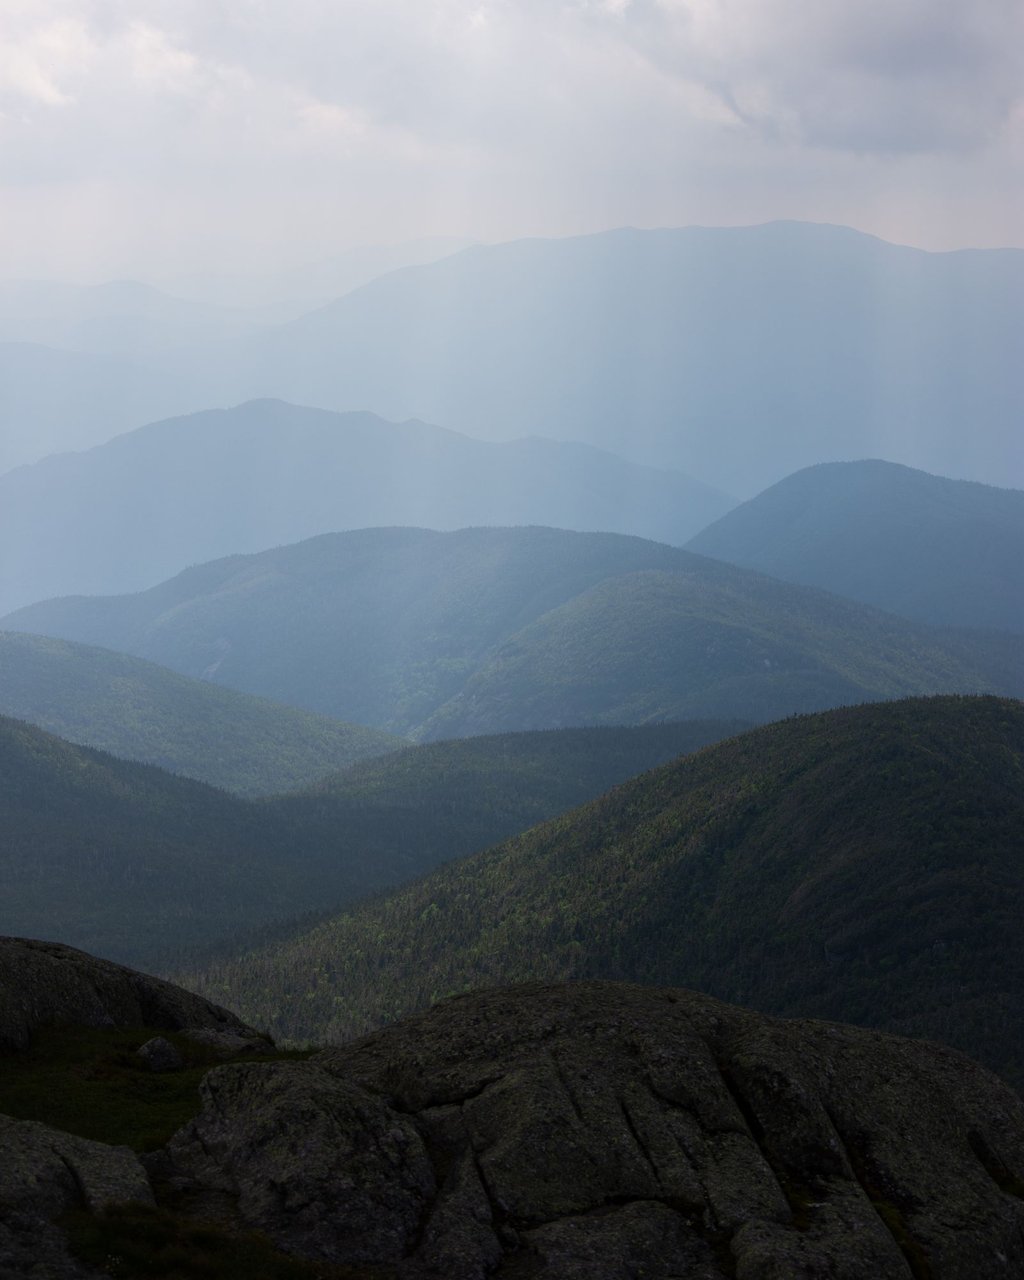
General advice for fog photography follows, and it is not taken from the film. Fog scatters light, so pictures can look flat and gray. Look for a dark shape, such as a ridge or a row of trees, to set against the pale mist. Layers help. When several ridges fade into fog at different distances, the picture gains depth. Backlight from a low sun makes the fog glow, but it also raises the risk of flare, so shade the lens.
Exposure needs care too. A camera meter may try to make a bright, foggy scene look average, which can turn white fog into gray. Many photographers add a little exposure compensation in these conditions and check the histogram. Shooting raw files gives more room to adjust the result later.
 Save
Planning a time-lapse of your own
A time-lapse needs three things: a steady camera, a consistent exposure and a plan for the interval. A sturdy tripod is the first requirement, because any movement shows up in the final film. Set the camera to manual exposure and manual focus so that settings do not change from frame to frame. Set white balance manually as well, so the color does not shift.
Gear note: a programmable intervalometer takes the guesswork out of the interval. One option for Canon cameras with the sub-mini remote connector is the Vello ShutterBoss II Timer Remote Switch (Canon) at B&H. It showed as in stock at $49.95 on November 8, 2026. We have not used it. Christen does not mention it, and it is not part of his process. Check that your camera model uses the same connector, since price and availability change.
The interval depends on the subject. Slow clouds can work with an interval of a few seconds, while a fast-moving fog bank might need an interval at the shorter end of the range Christen mentions. If your subject moves quickly, a shorter interval gives smoother motion. If it moves slowly, a longer interval compresses more time. A test run for a few minutes is a good way to check the result before committing to a long session.
Think about the battery and the memory card. A shoot of two to four hours at one frame every few seconds produces thousands of files. Start with a full battery, bring a spare and use a card with plenty of space. Turn off any automatic image review on the camera screen to save power.
 Save
From stills to a finished clip
After the shoot, the stills need to become a film. This is general workflow advice, not a description of Christen’s process. Import the raw files and adjust one frame to set the look. Copy those settings to the whole sequence so that every frame matches. Export the frames as images, then load them into video software as an image sequence and set the frame rate. Most people choose 24 or 25 frames per second for a film look, or 30 for a smoother feel.
Flicker is the common problem. Small changes in exposure from frame to frame show up as a pulsing brightness in the clip. Manual exposure reduces it, and many editing programs also include a deflicker tool. If you shoot a sunrise, the light will change a lot, so some photographers adjust exposure gradually during the shoot, while others fix it in editing.
Camera movement is the next step up. Christen’s film has scenes that feel alive with motion, and a slow slide or pan can add that feeling to a time-lapse, though it requires extra gear and careful planning. A simple way to add movement without gear is to shoot at a higher resolution than you need, then pan or zoom slowly inside the frame while editing. A 24-megapixel still is far larger than a typical HD or 4K video frame, so there is room to move.
Reading fog in the sky
This section is general background and not from the film. Fog forms when air cools enough that its water vapor condenses into tiny droplets near the ground. Over hills and water, the air can move in layers, which is why a fog bank can fill one valley and leave the next one clear. Wind pushes it, and rising sun warms it, so it often thins out as the morning goes on. Photographers who shoot fog regularly learn to watch for these patterns in forecasts and webcams, which is the same habit Christen describes.
One practical consequence is that your position matters. Standing above the fog gives a view of the top of the layer, with ridges poking through. Standing inside it gives soft light and short visibility. Both can make a good picture, but they need different lenses and different expectations. Higher ground often shows the shape of the fog, while low ground shows its mood.
Watching and learning from the film
When you watch Adrift, you can use it as a study. Notice how long each shot lasts and how the film moves from one scene to the next. Watch how the fog moves across the frame, and how the light changes as the sun rises. Pay attention to the way each shot has a clear foreground, middle ground and background, because that layering is what gives the fog its sense of scale.
Then ask a few questions. Which shots are static and which have camera movement? Which scenes show the fog moving toward you and which show it moving across the frame? How does the music change the pace of the film? The score was composed for the film by Jimmy LaValle of The Album Leaf, and Christen says it captures the mood perfectly. Music has a large effect on how a time-lapse feels, and a slow score can make a fast process feel calm.
A small exercise
You do not need a famous bridge to try this. Choose a view from a window or a hill near you and plan a morning. Check the forecast the night before and look at a webcam or satellite picture if one is available. Set up early, and shoot a test sequence of 20 frames. Look at the pictures and adjust the exposure. Then let the camera run for an hour, and assemble the frames into a short clip. Even a clip of ten seconds will teach you a lot about patience and planning.
 Save
Respecting the work
Adrift is a rights-managed film. That means its footage is licensed by the maker, and permission is needed before reuse. When you share or write about a film like this, link to the maker’s own page, credit them by name and do not copy their frames. The embed above plays the film from its Vimeo page, and the link to the filmmaker’s site is the best place to learn more about his work.
Takeaways
Adrift shows what patience can produce. Two years of early mornings, a routine of checking the weather and webcams, a handful of perfect days and careful editing made a short film that people still talk about. For a photographer, the lessons are practical. Study the conditions, plan your visits, keep your camera settings fixed and be ready to leave with nothing. When the light and the fog line up, you will be there.
Frequently asked questions
Who made Adrift?
Adrift is a time-lapse film by Oakland photographer Simon Christen. Jimmy LaValle of The Album Leaf composed the score.
How long did it take to shoot?
Christen says he chased the fog for over two years, driving to the Marin Headlands before dawn whenever conditions looked promising.
What cameras were used?
According to Gizmodo, Christen shot with a Canon 7D and a Canon 40D at the highest resolution possible.
How often did he take a photo?
Gizmodo reports roughly one photo every two to 10 seconds, depending on the exposure time.
Can I reuse footage or stills from the film?
No. The filmmaker states that the work is copyrighted and rights-managed. Ask him for permission first.
Are the pictures on this page from the film?
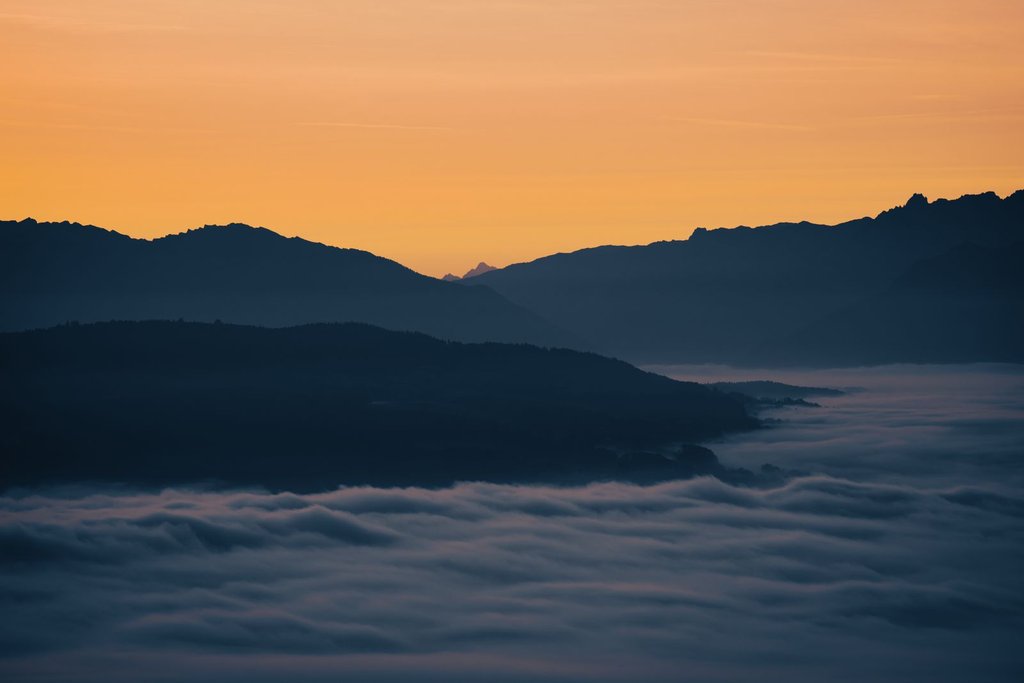
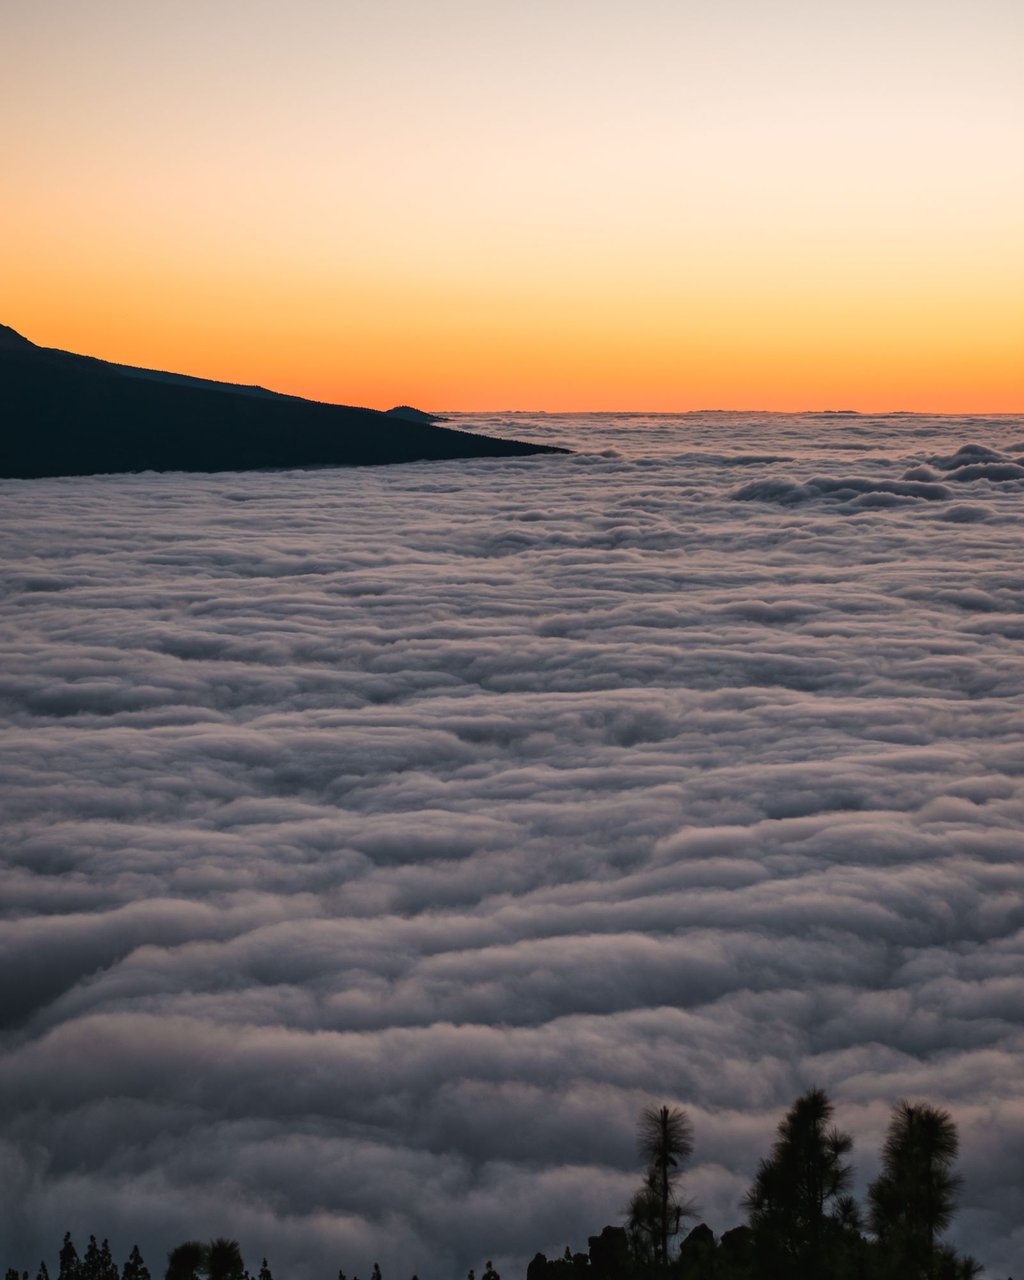
No. They are stock images by other photographers, credited in each caption.
Do I need special gear for a time-lapse?
A steady tripod and manual settings matter most. An intervalometer helps if your camera does not have a built-in interval timer.