By Edin Chavez | Updated November 2026
Ancients is a night-sky time-lapse film by Nicholas Buer, made around San Pedro de Atacama in northern Chile. This page originally shared the film in 2014. The idea behind it still makes a useful photography exercise: follow a landscape as daylight fades, stars become visible, and morning brings the ground back into view. The landscape anchors the frame while the light changes its character.
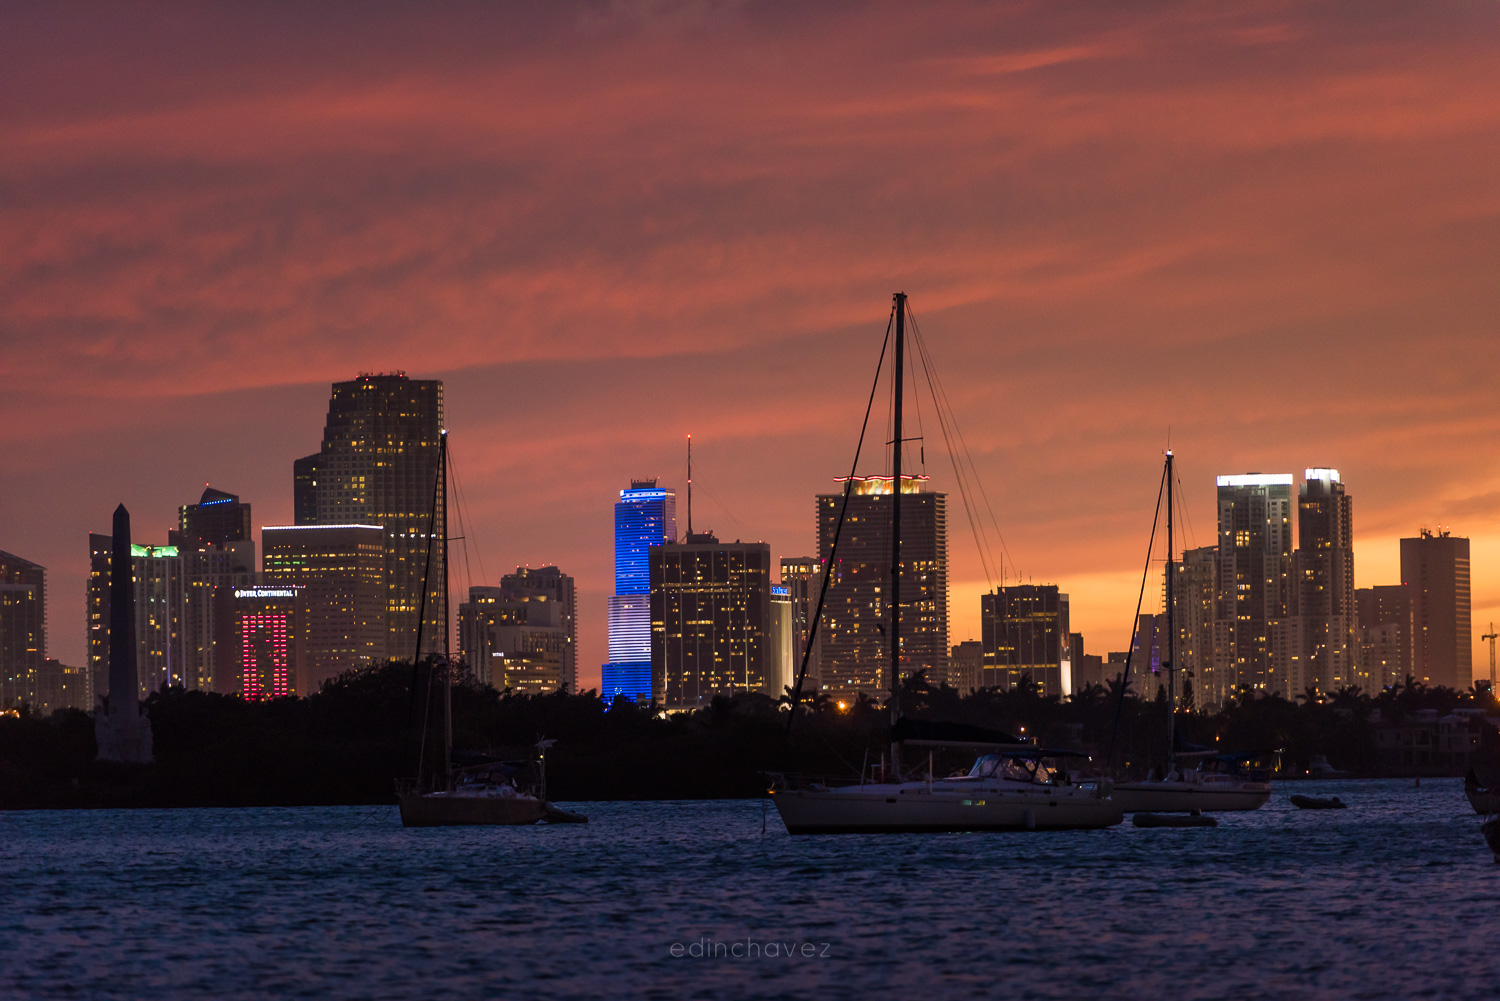
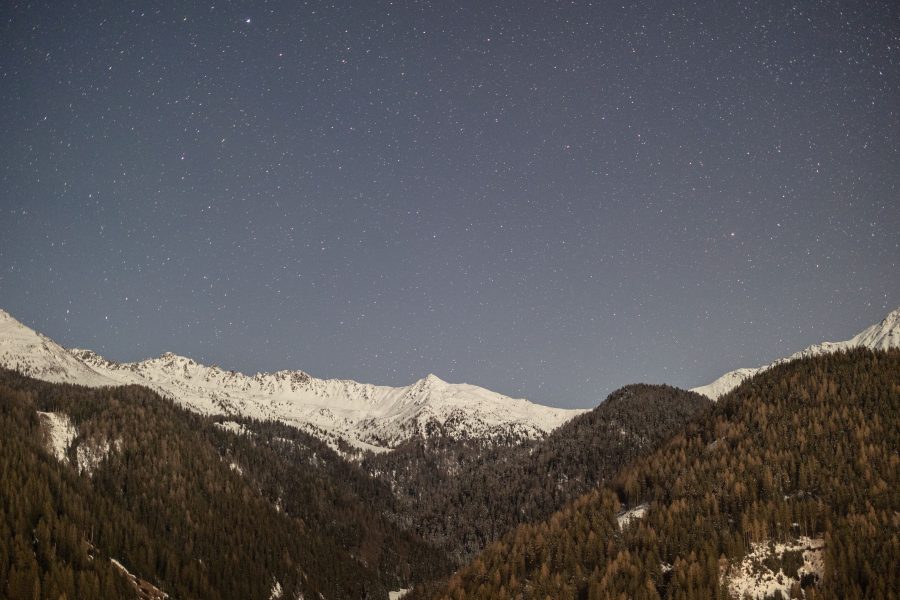
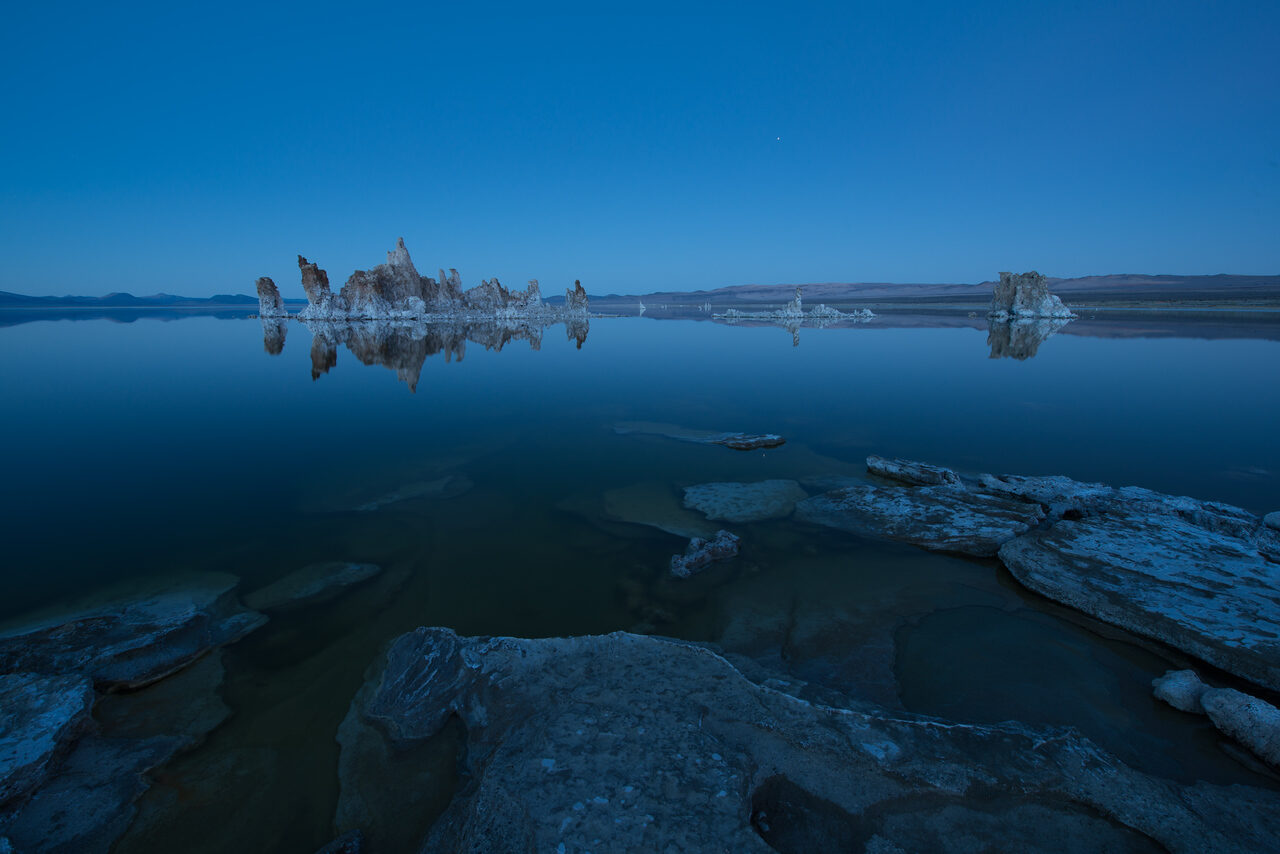
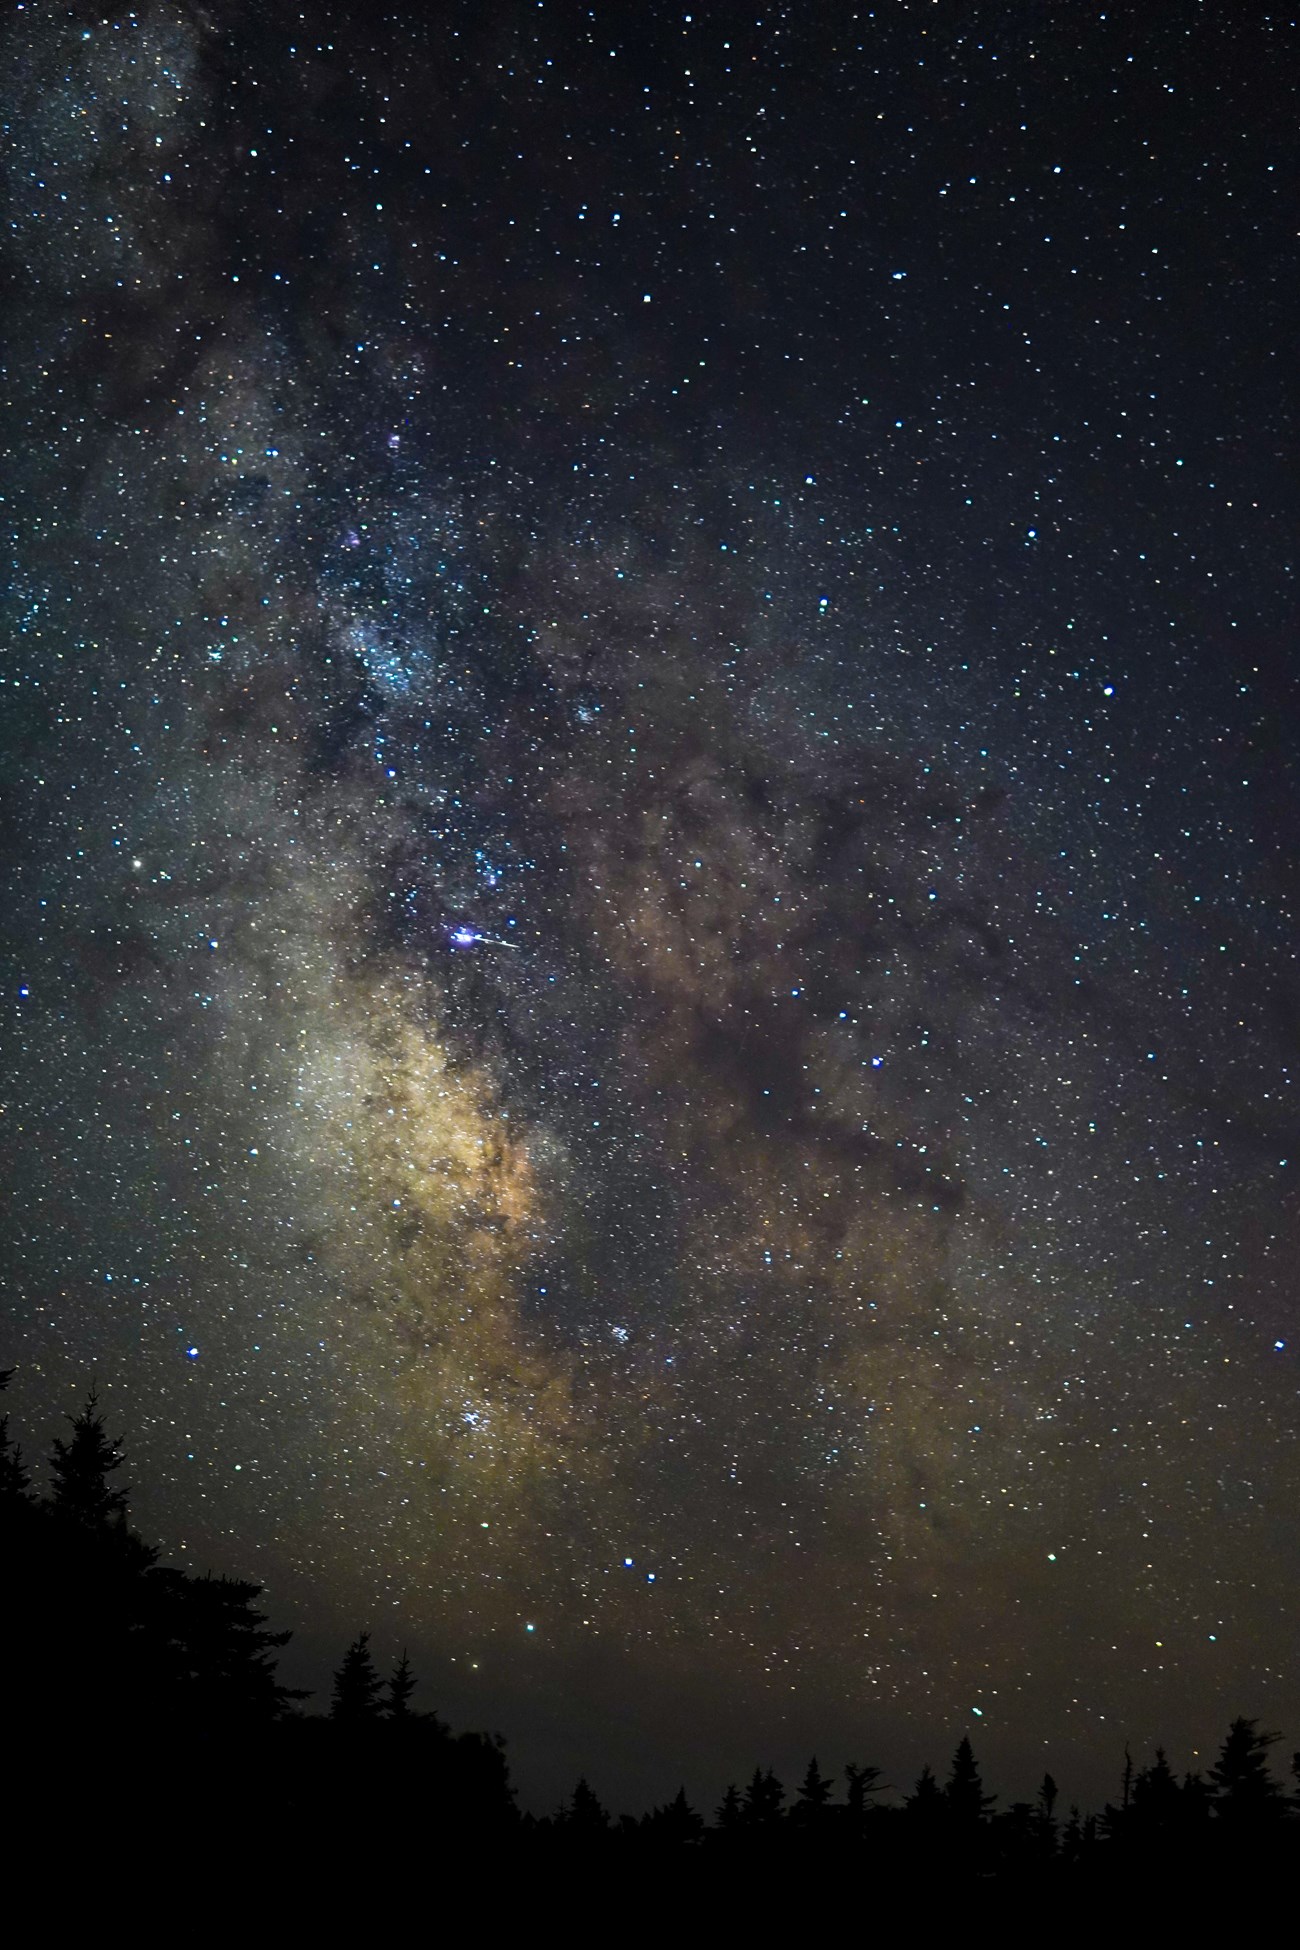
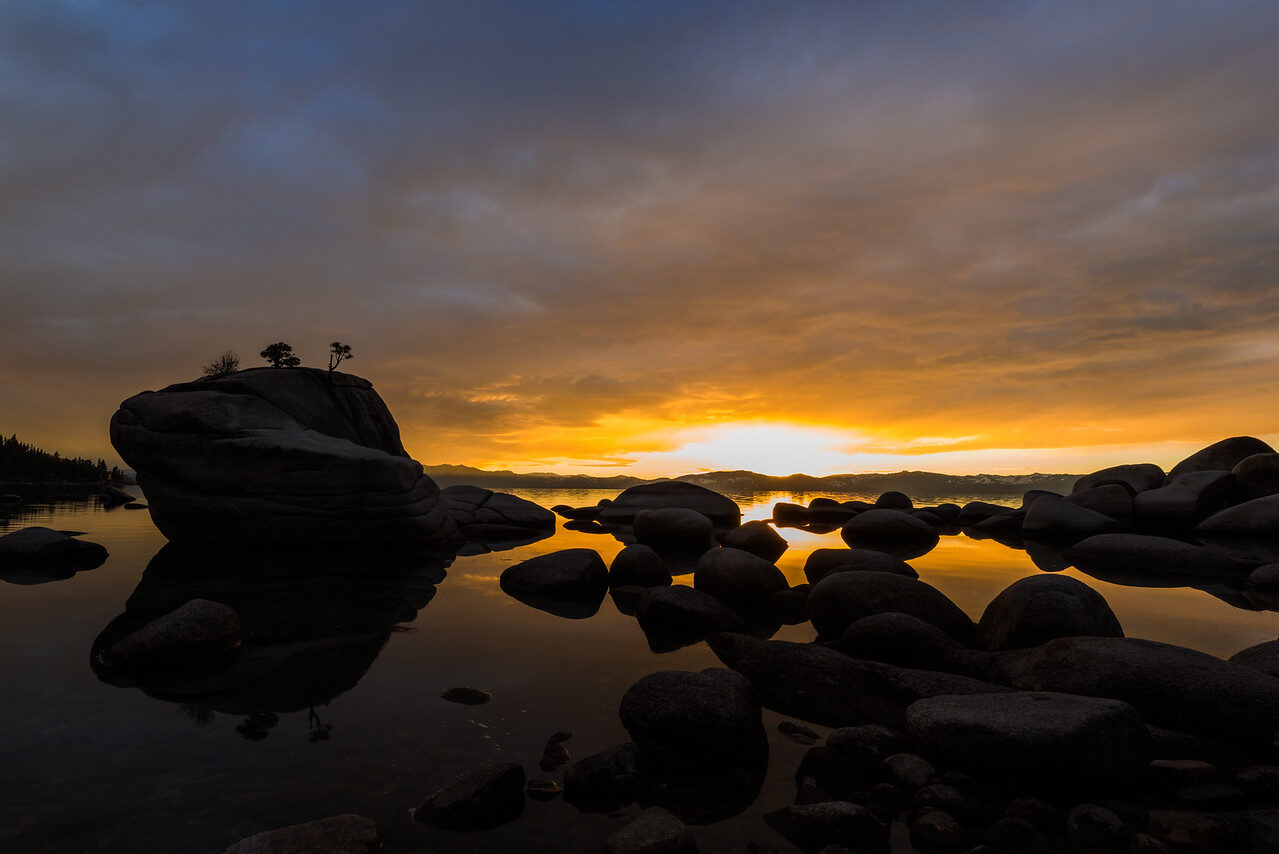
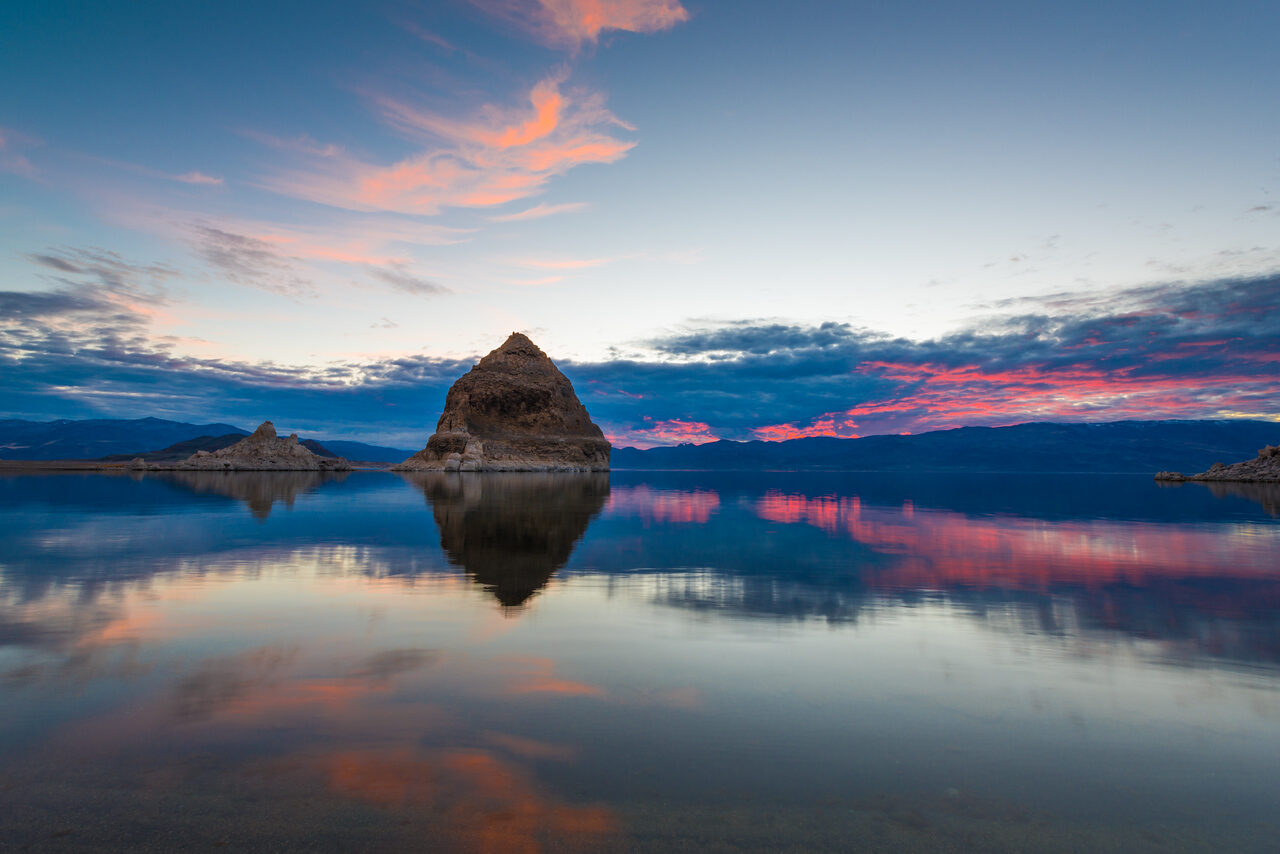
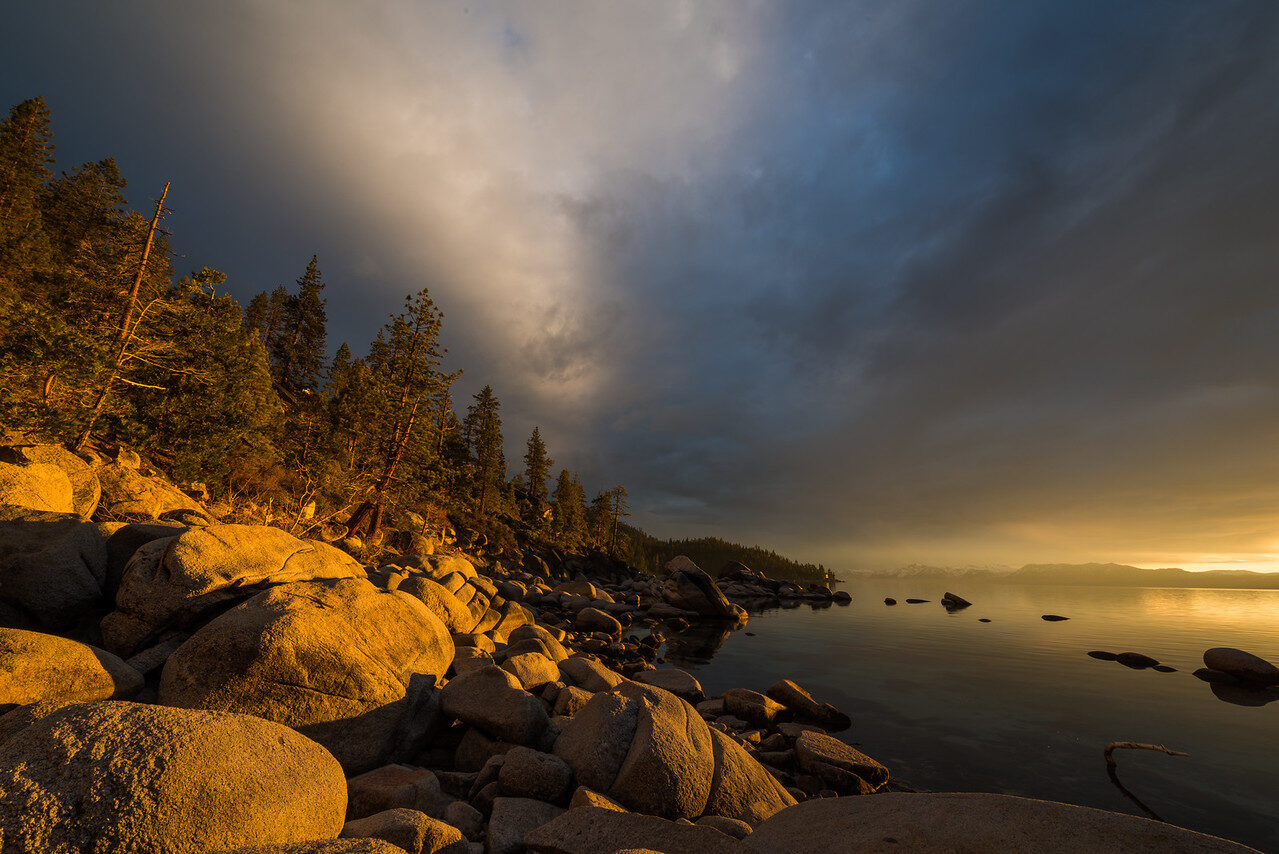
Nicholas Buer made the film. You can find the original Ancients film on Vimeo. Availability and playback depend on Vimeo. The photographs below are separate examples from California, Nevada and Maine, not frames from the film or photographs of Chile. Use them to think about silhouettes, reflections and changing light rather than as proof of conditions in the Atacama.
You do not have to travel to the Atacama or buy a motion-control rig to start exploring this approach. You need a safe location, a stable camera, a clear plan for the light, and enough time to check your results. Start with one strong still photograph. Once that works, build a short sequence. A convincing night-sky time-lapse starts with good frames, not with a dramatic soundtrack covering poor focus.
What Ancients can teach you about a night landscape
Independent coverage from Slate’s Phil Plait identifies Buer’s Atacama setting and discusses the Milky Way and other southern-sky features in the film. Learn Timelapse also identifies the film, its maker, location, and music by Shudan. Those are historical production details, not a forecast of what you will see on a trip today.
The useful visual principle is a fixed relationship between earth and sky. A rock formation, ridge, or tree gives your eye somewhere to settle. Clouds and stars then supply movement. Without that anchor, a sky sequence can feel like an astronomy record rather than a landscape photograph. With too much foreground, the sky becomes a thin strip. Decide which part carries the story before you set the tripod down.
Do not copy a film’s timing without checking the sky for your own date and location. Moonlight, the position of the Milky Way, weather, and local lighting change the result. A bright moon can help reveal the ground while making faint sky detail harder to record. Neither condition is automatically wrong. They are different photographs.
Plan the sky and the ground together
The National Park Service’s night-sky photography guidance names weather, moon phase, viewing direction, celestial positions, and light pollution as planning factors. Check all of them instead of relying on a single dark-sky map. A dark location under heavy cloud is not a clear night, and a clear forecast does not tell you whether a floodlight shines directly into your composition.
Use a sky-planning app or map to check the direction and timing of your intended subject. Then check whether the foreground faces that direction. A beautiful west-facing overlook may not suit the part of the sky you want at the hour you can safely stay. Scout in daylight, identify your return route, and choose a second composition nearby so one unexpected light does not end the whole session.
Look at moonrise and moonset as well as the phase. You might have a dark window during part of a moonlit night. Twilight also matters: the moment after sunset is useful for silhouettes and color, but it is not the same as full darkness. Build your plan around the actual light you want, not a vague instruction to arrive after sunset.
 Save
Start with a simple, stable setup
A camera with manual exposure control and a wide-angle lens is a useful starting point. A wide aperture helps collect light, while a sturdy tripod keeps the camera still. A remote release, interval timer, or short self-timer reduces the chance of moving the camera when an exposure begins. Learn those controls at home. Trying to find a buried menu in the dark is a poor use of the best light.
Keep the tripod low enough to remain steady and avoid extending the center column unless the composition needs it. Test the surface under each foot. Loose sand, moving water, and a narrow rock edge create different problems. Make sure the camera plate is fully secured. If wind moves your strap or a hanging bag, remove or secure the moving item rather than assuming extra weight always improves stability.
Bring charged batteries and enough storage for the sequence you intend to make. Long sessions can use more power and space than a short still-photo walk. Protect spare batteries from conditions that reduce their performance, and check the camera’s power-saving settings before recording. Do not let an unfamiliar sleep timer silently stop your interval sequence halfway through.
Focus before you commit to the sequence
Autofocus can struggle when the scene contains little contrast. Use a bright distant target or star and magnify the live view if your camera offers that option. Adjust manual focus until the point looks as small and crisp as you can make it. Do not assume the infinity mark on the lens is the exact setting for every situation.
Take a test photograph and inspect it at high magnification. Look at stars near the center and near the edges, and check the foreground that matters to your composition. A frame can look sharp on a small preview while showing obvious problems when enlarged. If your foreground is very close, one focus setting may not make both the ground and distant sky equally sharp. Simplify the frame, change position, or make separately focused exposures with an honest editing workflow.
Once focus is set, avoid bumping the ring. Recheck after changing a lens, moving the camera, or making a major setup adjustment. A whole sequence of slightly soft frames is much harder to rescue than one soft test shot. This is the step worth slowing down for.
Use exposure settings as a test, not a recipe
The NPS introduction to photographing Acadia’s night skies suggests experimenting with exposures around 10 to 20 seconds and a wide aperture. Treat that as a starting range, not a universal guarantee of pinpoint stars. Lens focal length, camera resolution, where you aim, and how large the final image will be all affect how visible movement becomes.
Start with a wide aperture, a shutter duration short enough to keep the sky detail acceptable, and an ISO that produces a usable file. Inspect the result. If stars stretch more than you want, shorten the exposure. If the image is too dark, consider aperture and ISO changes within your equipment’s limits. If the ground is still invisible, recognize that the scene may need different light or a separate exposure rather than pushing one file indefinitely.
Watch bright areas as well as dark ones. A distant town, the moon, or a campsite lamp can clip long before the rest of the frame looks bright. Check the histogram and highlight warnings, then inspect the photograph itself. Keep useful detail where the picture needs it. There is no reward for choosing a dramatic ISO number if the resulting frame does not hold together.
 Save
Build a short time-lapse you can finish
A time-lapse turns a series of still photographs into a moving sequence. The interval controls how often you take a photograph, while the final playback rate controls how many photographs appear each second. Start small enough that you can review every stage. A short, consistent sequence teaches more than hours of files with changing focus and missing frames.
For example, 240 photographs played at 24 frames per second make ten seconds of finished footage. If those frames are captured every five seconds, the sequence takes about twenty minutes. Your exposure and the camera’s time to finish writing must fit the interval your camera actually uses. Manufacturers define intervals differently, so test whether the setting measures time between exposure starts or a delay after each exposure.
Use consistent framing and avoid touching the camera once recording begins. Manual focus and a steady white-balance choice help reduce unwanted changes. Exposure is more complicated when daylight fades. A fixed exposure can work for a stable night scene, but a sunset-to-night transition changes brightness dramatically. Learn exposure adjustments or a suitable ramping workflow on a short practice sequence before relying on it during a once-only trip.
Check how long-exposure noise reduction behaves on your camera. If it adds processing time after each exposure, that can alter the available cadence. Make a trial sequence and verify the spacing of the frames. Do not switch unfamiliar settings simply because a checklist tells you to; understand what changed and whether it improves the result you need.
Compose for movement without forgetting the still frame
Leave room for the movement you expect, whether that is cloud crossing, a rising moon, or stars moving through the frame. Keep bright edge distractions out of the composition. A branch that barely enters the frame may become more distracting when wind moves it across many photographs.
Reflections can give the sky a second shape, but moving water introduces its own rhythm. Decide whether that movement supports the sequence. If the ground is the anchor, choose an element that stays visually strong after its color disappears. A recognizable rock shape often survives darkness better than a complicated patch of vegetation.
 Save
Respect the place and everyone sharing the dark
Night photography does not remove access rules. Check the current land manager’s information for hours, closures, parking, camping, and any restrictions on artificial lighting. Do not assume that an online photograph proves a location is open or that the technique used there is allowed now.
For example, Arches National Park’s photography page prohibits artificial lighting of landscapes, rock formations, and other park features, while allowing lights for personal route-finding and minimum-impact camping. Rules differ by location. That is why a general light-painting tip should never become permission to illuminate a protected feature.
The Death Valley night-exploration page advises bringing a flashlight and water and notes that summer nighttime temperatures can still exceed 100 degrees Fahrenheit. Darkness does not guarantee cool conditions. Check the weather and route, let someone know your plan, and do not push beyond a safe return time for one more sequence.
Keep necessary light low and directed away from other people’s eyes and cameras. Use enough light to move safely, but avoid sweeping bright beams across a shared scene. Do not walk into another photographer’s foreground without checking. The best night session leaves the place and other people’s experience intact.
Edit the sequence without inventing a different trip
Back up the original photographs before making major changes. Review the sequence for soft frames, unexpected headlights, and gaps. Apply a consistent starting treatment, then inspect the sequence in motion. A set of photographs that looks fine individually can reveal flicker or color jumps when played together.
Work on believable contrast and color rather than making every star and shadow equally bright. If you combine exposures made at different times, disclose that when the distinction matters. A composite can be an intentional artwork, but it should not be presented as a single untouched exposure or evidence of conditions that never occurred together.
 Save
A short field test before the full night
My suggested exercise is deliberately small: make one locked-off sequence from a place you already know, then review it before planning a longer outing. Begin while you can still see the tripod, the ground and the path home. Choose a frame with one simple foreground shape and leave some space around it. That gives you a clear way to judge whether movement in the sky adds anything to the photograph.
Record a test frame before starting the interval timer. Write down the aperture, shutter duration, ISO, focus method, white balance and interval setting. These notes are not a recipe for someone else. They give you a record of what your own camera did under those conditions. If a sequence goes wrong, a short record is much more useful than trying to reconstruct the settings from memory several days later.
Make a brief test sequence before committing the rest of the evening. Watch the camera long enough to understand when each exposure starts and finishes. Then step back without touching the tripod or crossing the foreground. If the camera pauses unexpectedly, end the test and investigate rather than leaving it unattended in the hope that the problem will fix itself.
Review the result as individual files and as moving footage. A soft photograph suggests a focus or stability problem. A sudden jump in framing suggests movement of the camera. A changing color cast may point to a setting that varied between frames. Do not change everything at once on the next test. Pick the most obvious fault, make one adjustment and compare the new result with the first sequence.
Keep the unsuccessful test as well as the improved version. Comparing them helps separate a real technical improvement from a more attractive sky. The goal is a repeatable process: a frame you can compose, focus you can check, an interval you understand and files you can edit consistently. Once those steps work, a longer sequence becomes a measured extension of something you have already done, rather than an expensive experiment on a distant trip.
Turn inspiration into a repeatable practice
Make your next session a specific exercise: one location, one composition, one short sequence, and one technical skill to improve. Note what failed and what worked. Did focus hold? Did the interval stay consistent? Was the foreground still readable after sunset? Those answers give you a better plan for the next outing.
The Shut Your Aperture Academy is a useful next step if you want to build the exposure, composition, and editing skills behind stronger landscape photographs. Use structured practice to connect camera choices with finished results instead of collecting settings that worked for someone else’s scene. Start with the foundations you need, then bring those skills back into your own field work.
A portable support option: Peak Design Aluminum Travel Tripod
A tripod earns its place when you need repeatable framing and long exposures. This aluminum travel model folds compactly and is one option for a camera kit you carry on foot. Check the current retailer specifications, your camera and lens weight, plate compatibility, and the conditions you actually shoot in. A travel tripod is not a promise of perfect stability in strong wind.
Affiliate links may earn a commission. Retailer prices and availability can change.
Who made Ancients?
Nicholas Buer made Ancients around San Pedro de Atacama in northern Chile. This page shared the film in 2014; it is not an Edin Chavez production.
Do I need to visit Chile to make night-sky photographs?
No. Start at a safe, legally accessible location with a suitable view and limited unwanted light. Check weather, moon timing, and the direction of your intended sky subject.
What shutter speed should I use for stars?
Test a starting exposure around 10 to 20 seconds with a wide-angle lens, then inspect star movement and brightness. There is no single shutter duration that suits every lens, camera, and final image size.
Can I light-paint any night landscape?
No. Check the current rules for the specific place. Some parks, including Arches, prohibit lighting landscape features; necessary route-finding lights are a separate use.
How many photographs make a ten-second time-lapse?
At 24 frames per second, ten seconds uses 240 photographs. Capture time depends on the interval, exposure duration, and the camera’s processing behavior.
Is this a firsthand account of making Ancients?
No. The film is by Nicholas Buer. This page uses named sources to introduce it and adds separate photography exercises by Edin Chavez. Its still photographs are credited illustrations, not frames from the film.
Should I use automatic exposure for a sunset-to-night time-lapse?
A changing scene needs a tested exposure workflow. Fixed settings may suit a steady night scene, while sunset-to-night brightness changes can require controlled adjustments or ramping. Test a short sequence before relying on it on a trip.
Featured illustration: Mono Lake, California, photographed at blue hour. Not a frame from Ancients or a photograph of Chile. Photo: Edin Chavez. Copyright Edin Chavez. Body photographs are credited beside each image.
Disclosure: these are affiliate links. If you buy through them, Shut Your Aperture may earn a commission at no extra cost to you.