The majestic stillness of a mountain range, the serene expanse of a desert, or the tranquil horizon where the ocean meets the sky — landscapes offer moments of beauty that beg to be captured and preserved. In an age dominated by digital technology, the art of shooting landscapes with film cameras retains an allure that is both nostalgic and deeply authentic. This essay will guide you through the nuances of choosing the right film camera, understanding the varied palette of film stocks, mastering the interplay of light and exposure, composing shots with intention, and finally, processing that magic you’ve caught on film. Whether you’re a seasoned photographer or a curious beginner, the journey of creating stunning landscape photographs with film starts here, with the basics, and leads you to the mastery of tangible images that digital cameras often fail to emulate.
Choosing the Right Film Camera for Landscapes
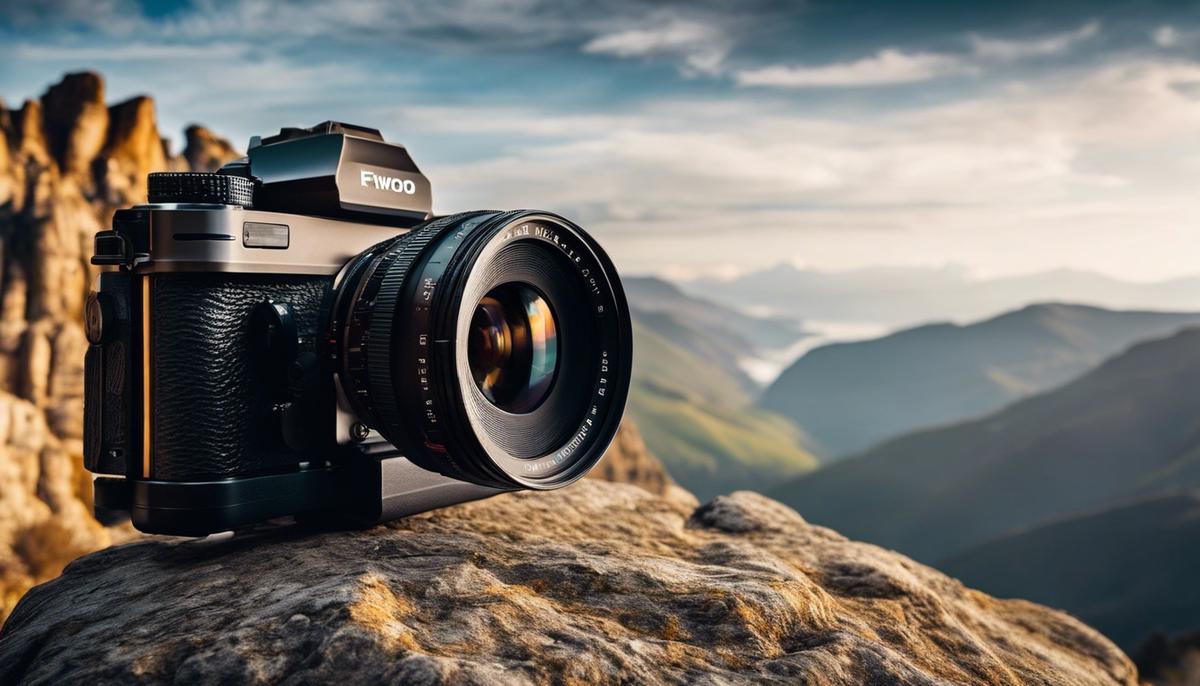
When it comes to capturing the breathtaking beauty of landscapes, the right film camera can transform a simple snapshot into a masterpiece. To find the perfect film camera for landscape photography, here are the crucial features to consider:
Sturdy Construction and Weather Resistance: Nature is unpredictable. That’s why a film camera that’s built like a tank and can handle a bit of weather is a trusty companion. You’re looking for something that won’t let a little rain or dust stop the shoot.
Large Film Format: Size does matter—at least when it comes to film format. The larger the negative, the better the resolution and detail in those sweeping vistas. Medium format is great, but if you can go large format, your images will be even more stunning.
Manual Controls: The ability to control every aspect of your camera means you can adjust for the perfect exposure, even in tricky lighting. Aperture, shutter speed, and focus should be at your fingertips for precise adjustments.
Good Range of Lenses: Landscape photography is not just about wide-angle shots. Sometimes you need a telephoto lens to capture that far-off mountain range in detail. A camera that can adapt to different lenses is a must-have.
Reliable Metering: Although seasoned photographers can judge exposure by eye, a reliable light meter takes the guesswork out of the equation, especially in those high-contrast dawn and dusk scenes.
Tripod Mount: As steady as one’s hands might be, nothing compares to the stability of a tripod. Look for a camera with a tripod mount to eliminate camera shake and guarantee those razor-sharp horizons.
Mirror Lock-Up Feature: This is a little more advanced, but it’s a lifesaver. Mirror lock-up prevents camera vibration from the mirror’s movement, which is vital for long exposures that capture the smooth flow of a waterfall or the calm of a still lake.
The perfect film camera for landscape photography is not really just a tool. It’s the bridge between the epic beauty of the outdoors and the final, framed work of art that hangs on the wall. Choose wisely, and the results will surely be picture-perfect.
 Save
SaveUnderstanding Film Choices
Capturing the Great Outdoors: The Impact of Film Type on Landscape Photography
Hello, landscape shooters! When you’re out there among rolling hills and towering mountains, looking to snag that perfect shot, your choice of film can make a world of difference. With digital cameras dominating the scene, some might forget the unique charm that film brings to our images. So let’s dive into how film type can add that extra bit of magic to those sprawling outdoor scenes.
First off, color film or black and white? That’s a question worth pondering before you hit the trails. Color film breathes life into landscapes with its range of hues, capturing the blues of a crisp sky or the fiery oranges of a setting sun. If you’re aiming for a natural look, you’ll want a film that offers fine grain and vibrant colors. For those dreamy sunsets and sunrises, consider slide film. It’s revered for its rich saturation and contrast, making those golden hour shots truly pop.
But hey, don’t overlook black and white film! It’s not just for the old-school crowd. This classic medium can convey mood and texture like no other, emphasizing the dramatic interplay of light and shadow. Plus, it adds a timeless quality to your landscapes, making them stand out in a sea of color snaps.
Film speed, or ISO, is key when you’re out and about. Lower ISO films, like ISO 100 or 50, are great for those clear, sunny days or if you’re aiming for silky smooth results. Higher ISO options come into play in low-light conditions or when you’re going without a tripod and need a faster shutter speed. Just remember, higher ISO films come with more grain, which can give your image a gritty feel. That’s not always a bad thing, but it’s a choice you’ll want to make intentionally.
Grain isn’t the enemy, though. It adds character! Different films have different types of grain, and that texture can be pretty neat in your landscape photos. Think of it like adding a filter that gives your shot an artistic touch. So don’t shy away from films known for their grainier look – they might just surprise you with how they underscore the rugged beauty of nature.
The response of various films to light and color is another fascinating consideration. Some films exaggerate certain colors, while others render them more naturally. Ever notice how some films give greenery a lush, vivid pop, while others are subtler? Or how a particular film can make blues deeper and more dramatic? Experimenting with different brands and types will show you the array of artistic possibilities at your disposal.
Finally, let’s talk about film’s dynamic range – that’s the span from the darkest to lightest details it can capture. Films with a wide dynamic range are champions at handling the extreme brightness of an open sky and the deeper shadows of the land below. They aid in capturing all the fine details without losing them to pure white highlights or pitch black shadows.
So, enthusiastic landscape photographers, remember: the film is not just a medium; it’s part of your creative voice. By selecting the right type based on the qualities discussed – color versus black and white, ISO speed, grain quality, color rendition, and dynamic range – you’ll be ready to translate the awe of nature into your very own stunning work of art. Now, load up that camera, seek out those breathtaking views, and let your chosen film type speak volumes in your landscape images!
 Save
SaveMastering Light and Exposure
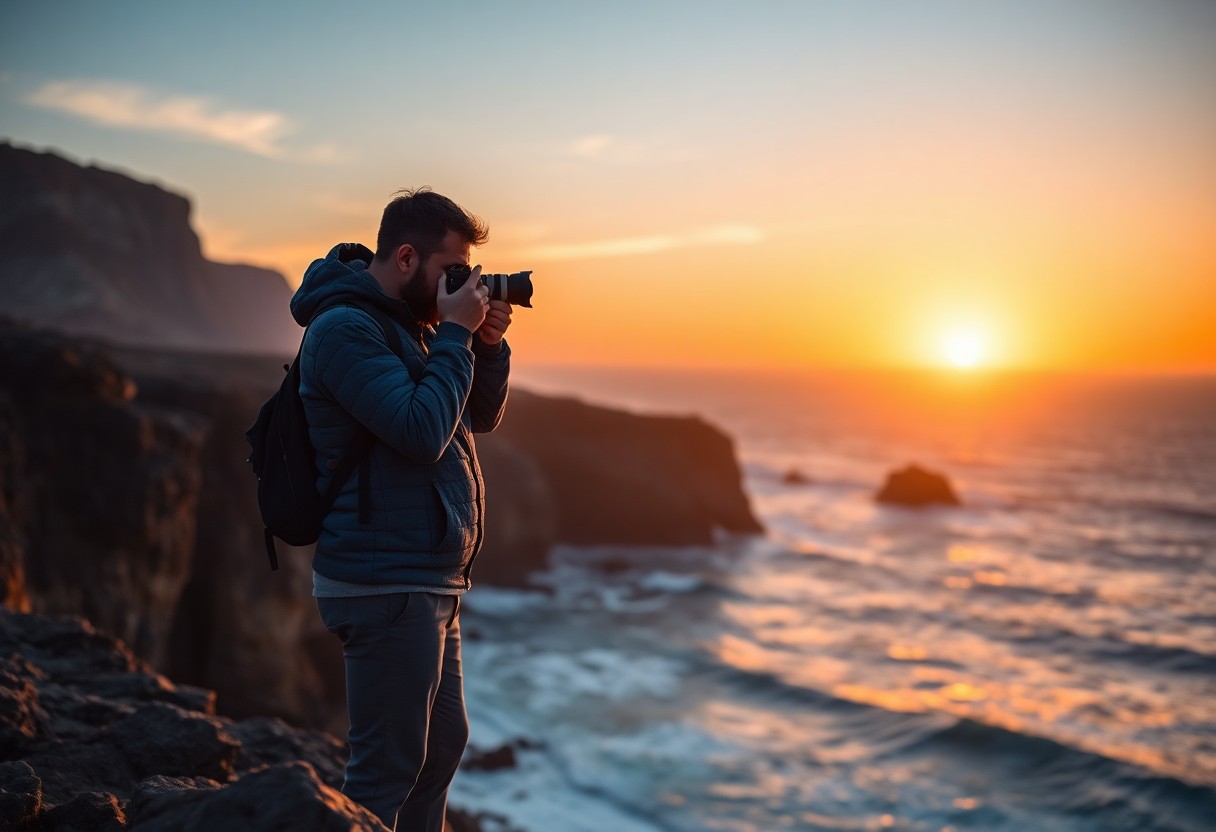
Diving deeper into the realm of perfect film exposure for landscape photography, knowing when to click the shutter is just as crucial as what is within the frame. When it comes to mastery, timing and light are your secret ingredients for awe-inspiring shots. The time of day, believe it or not, can either make or break a photograph.
First things first: the ‘Golden Hour’. This is the hour after sunrise or before sunset when the light is softer and warmer, lending the landscape a certain magic that no other time of day can match. Capture a scene in these moments and watch as it takes on a golden, ethereal quality that’s hard to replicate.
But how does one tackle harsh midday light? That’s where understanding exposure comes into play. The beauty of manual exposure on your sturdy film camera, with its expansive dynamic range, is you can control exactly how light or dark the image will be. Overcast days can be a boon for landscape photographers as the cloud cover acts like a giant diffuser, softening the light and shadows, helping avoid overexposed skies or underexposed foregrounds.
Another secret is to master the art of using filters. A polarizing filter is a landscape photographer’s best friend; it deepens the blue of the sky and reduces the glare off water and foliage, making for a picture with great contrast and pop. Neutral density filters, on the other hand, are dream-makers, allowing for long exposures even in broad daylight, resulting in silky water and clouds streaking across the sky.
Let’s not neglect composition – it’s the backbone of any striking image. Strive to find balance in the frame by using tried and true techniques like the rule of thirds, leading lines, or the inclusion of a focal point to draw the eye. But rules are made to be broken, right? Sure, but get comfortable with them first, then feel free to experiment.
And lastly, patience is not just a virtue; it’s a requirement. Waiting for the moment when the light is just right, when the clouds part to bathe the landscape in sublime light, that’s part of the thrill. Sometimes, this means visiting a location multiple times, or standing poised with finger on the shutter button, ready for that split second when everything aligns.
In pursuit of the ultimate landscape photograph on film, embracing these ‘secrets’ with the tips previously discussed – like selecting the right film and utilizing manual controls – will take your work from snapshots to masterpieces. Remember, each roll of film is another chance to portray the world in your unique vision, so shoot deliberately and with purpose. Happy shooting!
 Save
SaveComposition and Perspective
Composing masterful landscape photographs using a film camera involves more than a deep understanding of equipment and the idiosyncrasies of film itself; it extends into the artistry of capturing the natural world. With the mechanics and preferences around film covered, let’s dive into another crucial aspect of landscape photography – the composition.
Begin with the end in mind – envision the print. Picture how the elements within the frame come together to tell a story. Does the mighty mountain in the distance dominate the scene, or do the delicate wildflowers in the foreground steal the show? Composition is about balance, intention, and guiding the viewer’s eye.
Framing is key. Use natural elements to frame the main subject. Trees, rock formations, or even a window created by branches can help focus attention and add depth to the shot. Moreover, it’s not just what you include in the frame, but also what you leave out. Simplify where necessary to avoid cluttered or confusing compositions. Remember, less can sometimes be more.
Depth of field is another tool at your disposal. With a film camera’s manual settings, adjust the aperture to control the focus. A smaller aperture (higher f-stop number) will give a greater depth of field, keeping more of the scene in focus – perfect for vast, sweeping vistas. For a softer touch, or to highlight a particular element like a single tree or rock, a wider aperture (lower f-stop number) will narrow the depth of field, softening the background and foreground.
Leading lines and geometric shapes within a landscape can guide the viewer’s eye through the photograph. A river winding into the distance, a trail dappled with light, or the angular jut of a mountain ridge – these elements become natural pathways that draw the viewer in, creating a sense of journey and exploration within your photograph.
Also, dare to go beyond the usual. While classic composition techniques are foundational, unique perspectives can be surprisingly compelling. Get down low to exaggerate features in the foreground or find an elevated vantage point for a broad, revealing landscape. Reflections in water can offer symmetry and doubling of beauty, adding layers of interest to your scene.
Finally, continue mastering the film being a creative voice in your photography journey. Explore the realms beyond the conventional, whether through double exposures, intentional camera movements during exposure, or even light leaks for a vintage effect. Each frame is a canvas awaiting your signature touch, making not just a photograph, but a piece of art.
The alchemy of composing with a film camera lies in the convergence of skill, patience, and creative vision. In that careful deliberation and anticipation before the shutter clicks lies the magic of film landscape photography – a curated slice of the world, infused with the soul of the place and the spirit of the moment.
Embrace the process, revel in the waiting, and always chase the light. In the dance between technology and nature, treat each frame as a precious opportunity to witness and capture the world in its grandeur – purely, beautifully, authentically.
 Save
SaveDeveloping and Printing Film
Venturing into the red-hued glow of the darkroom is where the final, magical steps of film landscape photography come alive. After carefully crafting the shot outdoors, using every ounce of knowledge about timing and composition, it’s here, amongst the enlargers and trays, that the image transforms from a latent vision on film to a tangible piece of art.
The darkroom process is a dance of precision and intuition, filled with chemical potions and timed exposures. Developing film is the first crucial step. Immersing the exposed film in a chemical developer reveals the image, stored invisibly on the emulsion. It’s like watching a sunrise in reverse, the landscape’s contours emerging from the darkness. The developer’s duration and temperature dictate the image’s contrast and midtones, demanding careful observation and adjustment for the best tonal range.
After developing, a stop bath halts the process abruptly, preserving the image’s current state. This is followed by a fixer, ensuring the image won’t be altered or fade over time; it’s the safeguard of timelessness for each captured horizon. Timing and chemical balance here influence clarity and longevity–key considerations for any true hobbyist dedicated to the craft.
Washing the film comes next. Water, free of impurities, rinses away residual chemicals to protect the image and prevent any unwelcome aging or spots on the future print. It’s a simple, yet critical, purification.
The print-making phase is where creativity resurfaces. Decisions on paper type set the stage: glossy for sharpness and reflection, matte for a more subdued and textural feel. And, naturally, a wide range of specialty papers can add unique textures and tones, just as choosing the right film once did under the sky’s vast canopy.
Enlarging is next. Selecting the appropriate lens and aperture on the enlarger impacts sharpness and depth, delicately balancing the image exposure. The focused light passes through the negative, casting an image onto the selected paper beneath. Contrasts can be manipulated here, dodging and burning by hand, to lighten or darken areas, reminiscent of painting with light – a reminder that photography is indeed an art form.
The exposed paper is submerged in a developer, once again marveling as the latent image blooms to life. Yet with printing, the impact of timing is even more immediate. A second’s difference might alter a shadow’s depth or a cloud’s highlight. The stop bath and fixer follow, echoing the initial film development’s routine and finalizing the print’s appearance.
The last flavors of magic? Toning and drying. Toning can change a picture’s mood, sepia for warmth, or selenium for richer blacks and longevity. Drying, while seemingly mundane, not only finishes the process but can influence the print’s final texture.
What truly shapes a hauntingly beautiful landscape photograph isn’t just a perfect scene or a masterful exposure; it’s the individual touch, the hobbyist’s devotion, and the transforming rites performed in the darkroom’s dim light. In these shadows, there is an alchemy that transcends the simple capture of light, a place where the Earth’s majestic beauty takes a new form, ready to tell its story through the photographer’s eyes and hands.
”
 Save
SaveEmbarking on the quest to capture the grandeur of landscapes with a film camera is both a demanding and rewarding pursuit. From understanding the technical aspects to appreciating the chemical interplay that develops your final image, each step is infused with an opportunity for growth and creativity. Your camera, your choice of film, and your approach to light and framing are the tools through which you interpret the world — and the photographs you create are as much a reflection of yourself as they are of the nature you seek to capture. As you emerge from the darkroom with your prints in hand, whether they are imbued with stark contrasts or subtle tonal graduations, remember that each image is a testament to the enduring art of film photography — an art that captures not just landscapes, but the very essence of time and place.
Luminar Neo’s Sky AI, atmosphere AI and SuperSharp are designed for landscape work — replace flat skies, add depth, and recover detail in seconds. Tagged as affiliate per FTC.