
Updated October 2026
The original Hasselblad CFV-50c digital back gives a V System camera a digital capture path without turning it into a modern mirrorless camera. You still choose the lens, focus manually, work with the camera’s shutter and pay attention to the order of operations. The back records the photograph. It does not remove the need to understand the body carrying it.
That is the appeal, and it is also the used-buying risk. A working back alone does not prove that your camera, lens, battery, cables and computer will work together. Build the whole chain before spending. This guide covers the first CFV-50c announced in 2014, not the later CFV II 50C or a 907X kit. The landscape photograph introducing the guide illustrates the kind of deliberate composition this workflow encourages; it is not presented as a test image made with this back.
Identify the original back before comparing listings
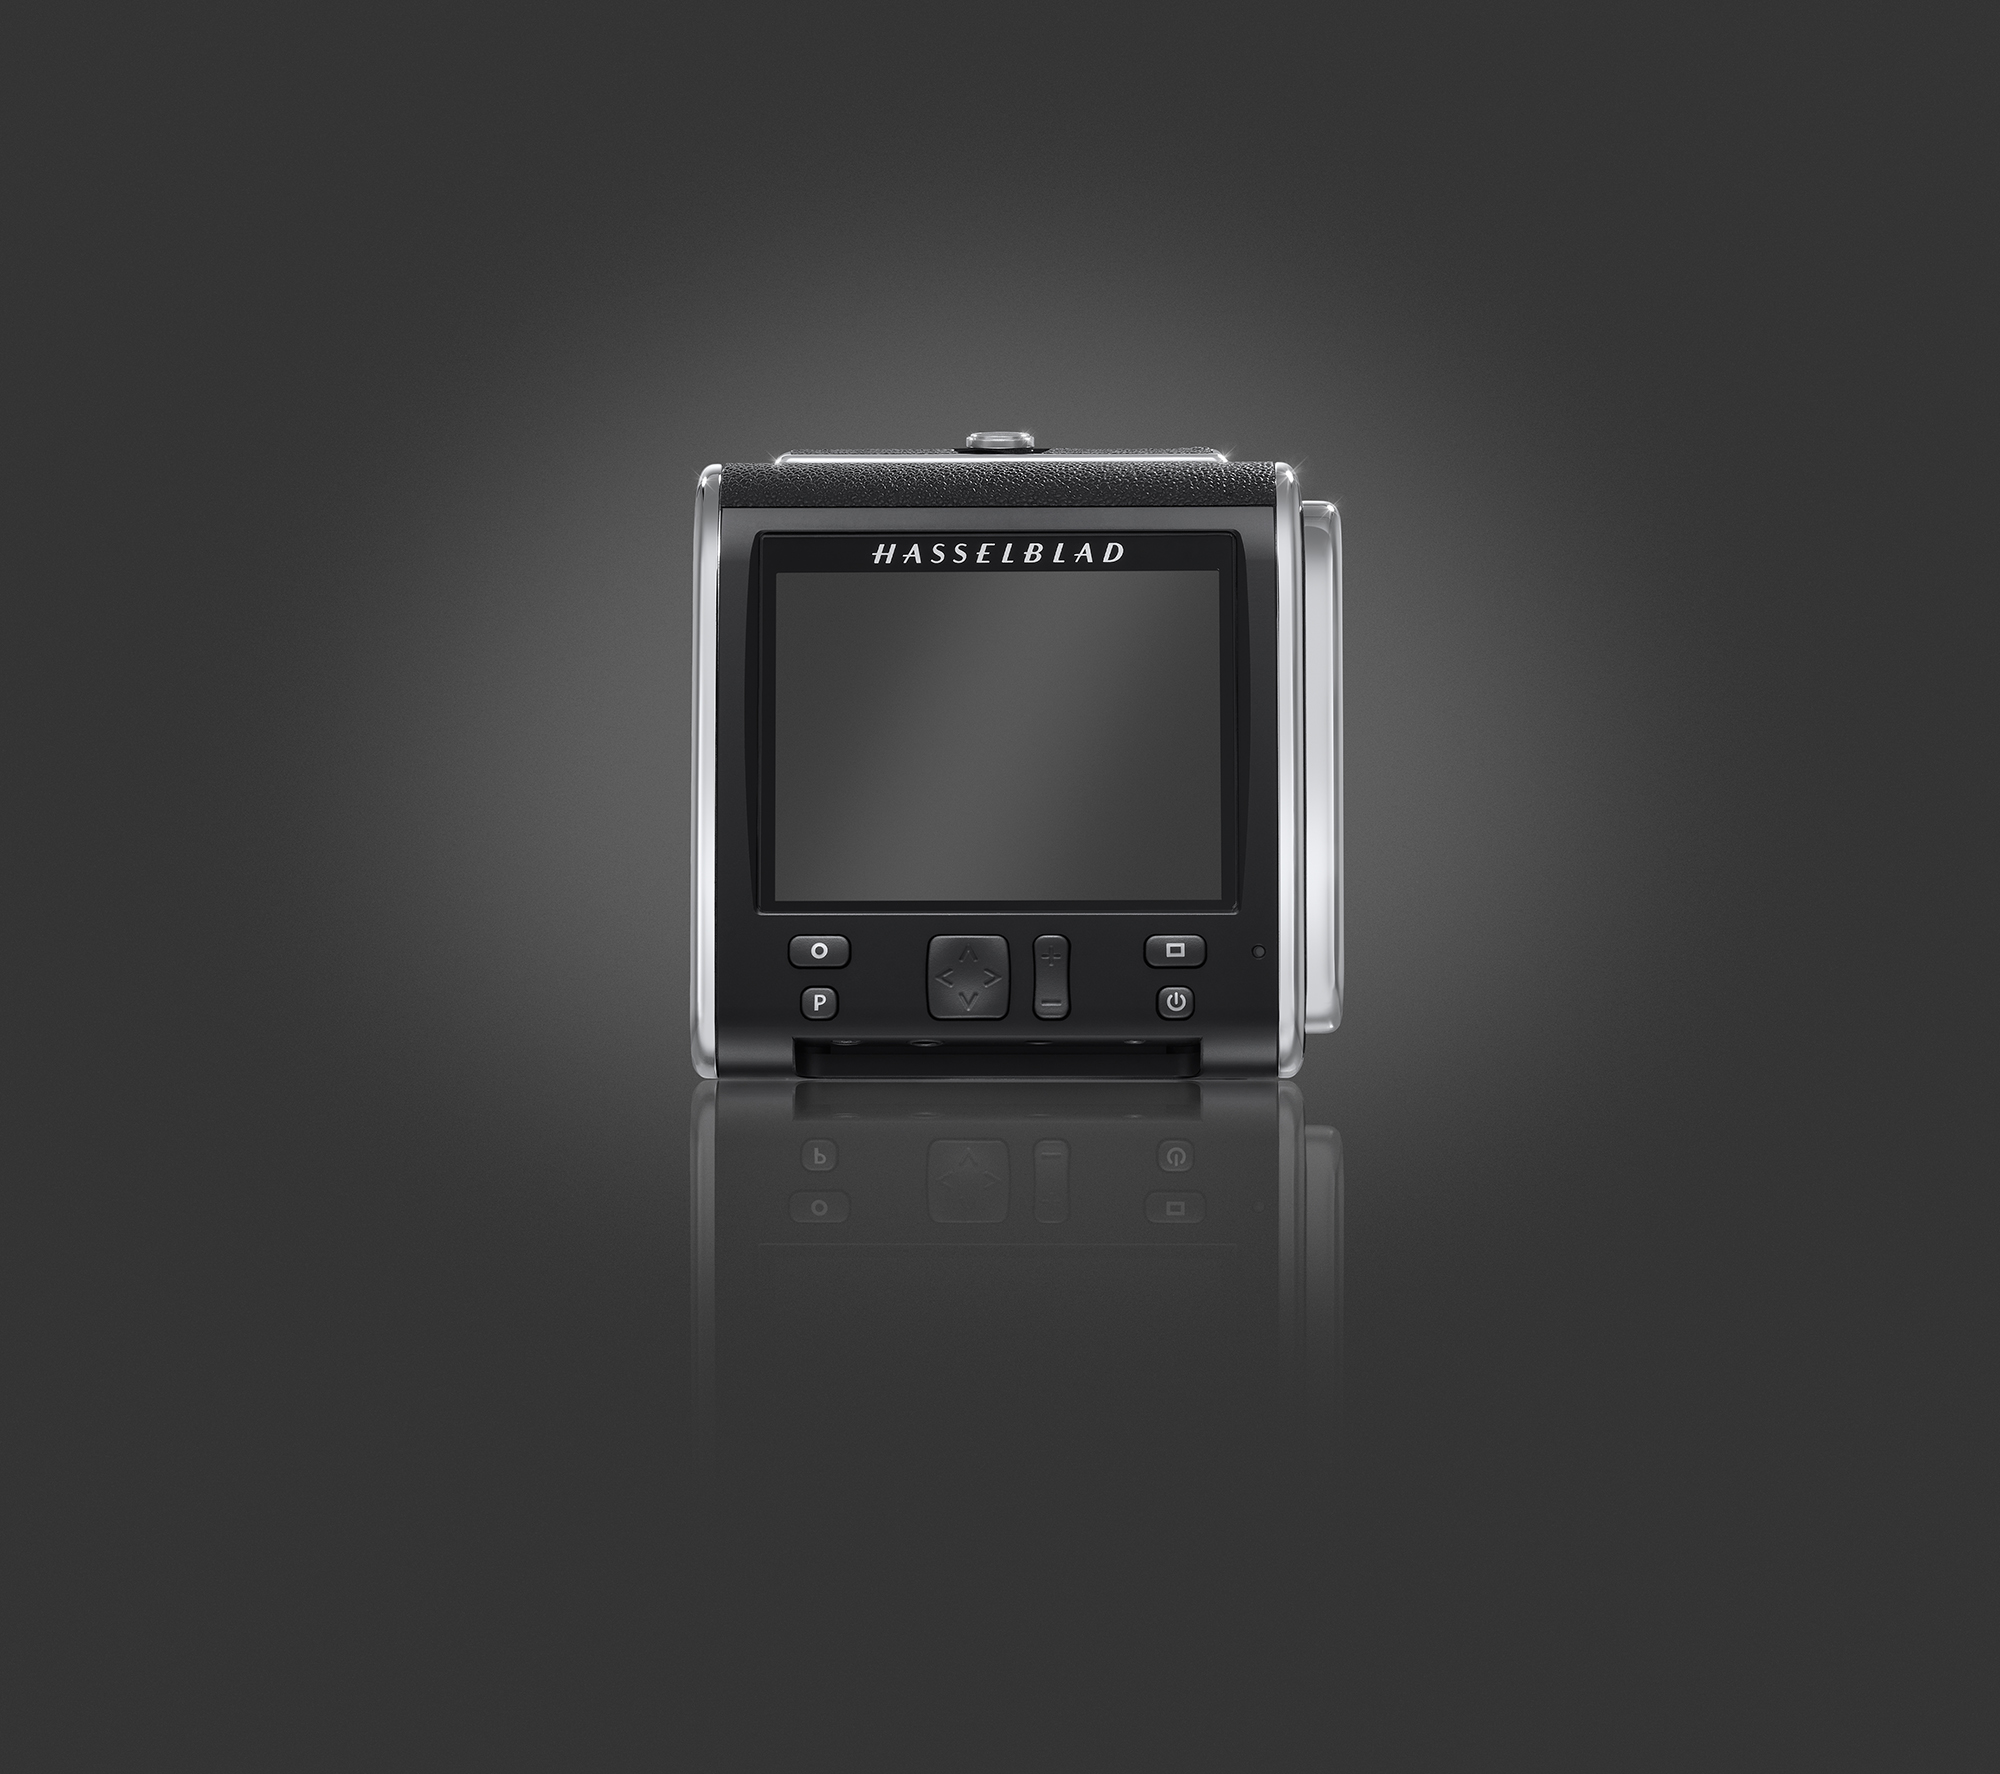
Start with the model label and photographs of the actual unit. The original CFV-50c uses CompactFlash storage, a FireWire computer connection and an externally attached battery. Do not apply a CFV II tutorial simply because both names contain 50C. Instructions for newer touchscreens, USB-C connections or different storage do not describe this model.
Ask for clear views of the rear controls, ports, battery mounting area and camera attachment. A listing that mixes photographs from several generations needs clarification. Request the firmware information from the actual back, not a stock specification sheet. Accessories shown in a photograph should also be listed in writing. A sync cable or battery adapter can be part of the working setup rather than an optional convenience.
Hasselblad’s original manual is the starting point for operation. Current download pages are the place to check software and available firmware. Neither an old launch price nor a historical bundled-software offer establishes what a used purchase includes today. Price, repair access and return rights need checking for that particular listing.
Understand the sensor and the framing change
The CFV-50c has a 50-megapixel CMOS sensor measuring 43.8 by 32.9mm, with a recorded pixel grid of 8272 by 6200. This is a rectangle inside the area a 6×6 film camera was designed to expose. Your lens does not change focal length, but the recorded field of view is narrower than the full film frame. An 80mm lens does not become physically longer when you attach the back.
The waist-level finder can show more than the sensor records unless you have the appropriate digital-format markings. Check the focusing screen and learn the capture boundary before putting important details close to an edge. Make a simple scene with objects near all four boundaries, photograph it and compare the file with what you saw in the finder.
A square crop can suit the V System’s visual rhythm, but it uses less of the rectangular capture. Do not assume a square export retains all 50 megapixels. For a landscape, decide whether the wider rectangle or a square better separates the foreground from the horizon. The shape should serve the photograph, not nostalgia.
Resolution makes focus and camera movement easier to inspect. It does not guarantee a sharp photograph. Check a full-size file instead of trusting a small rear-screen preview. For static work, a stable tripod and careful release matter more than adding accessories without solving the actual source of blur.
 Save
SaveMatch the back to the exact body and lens
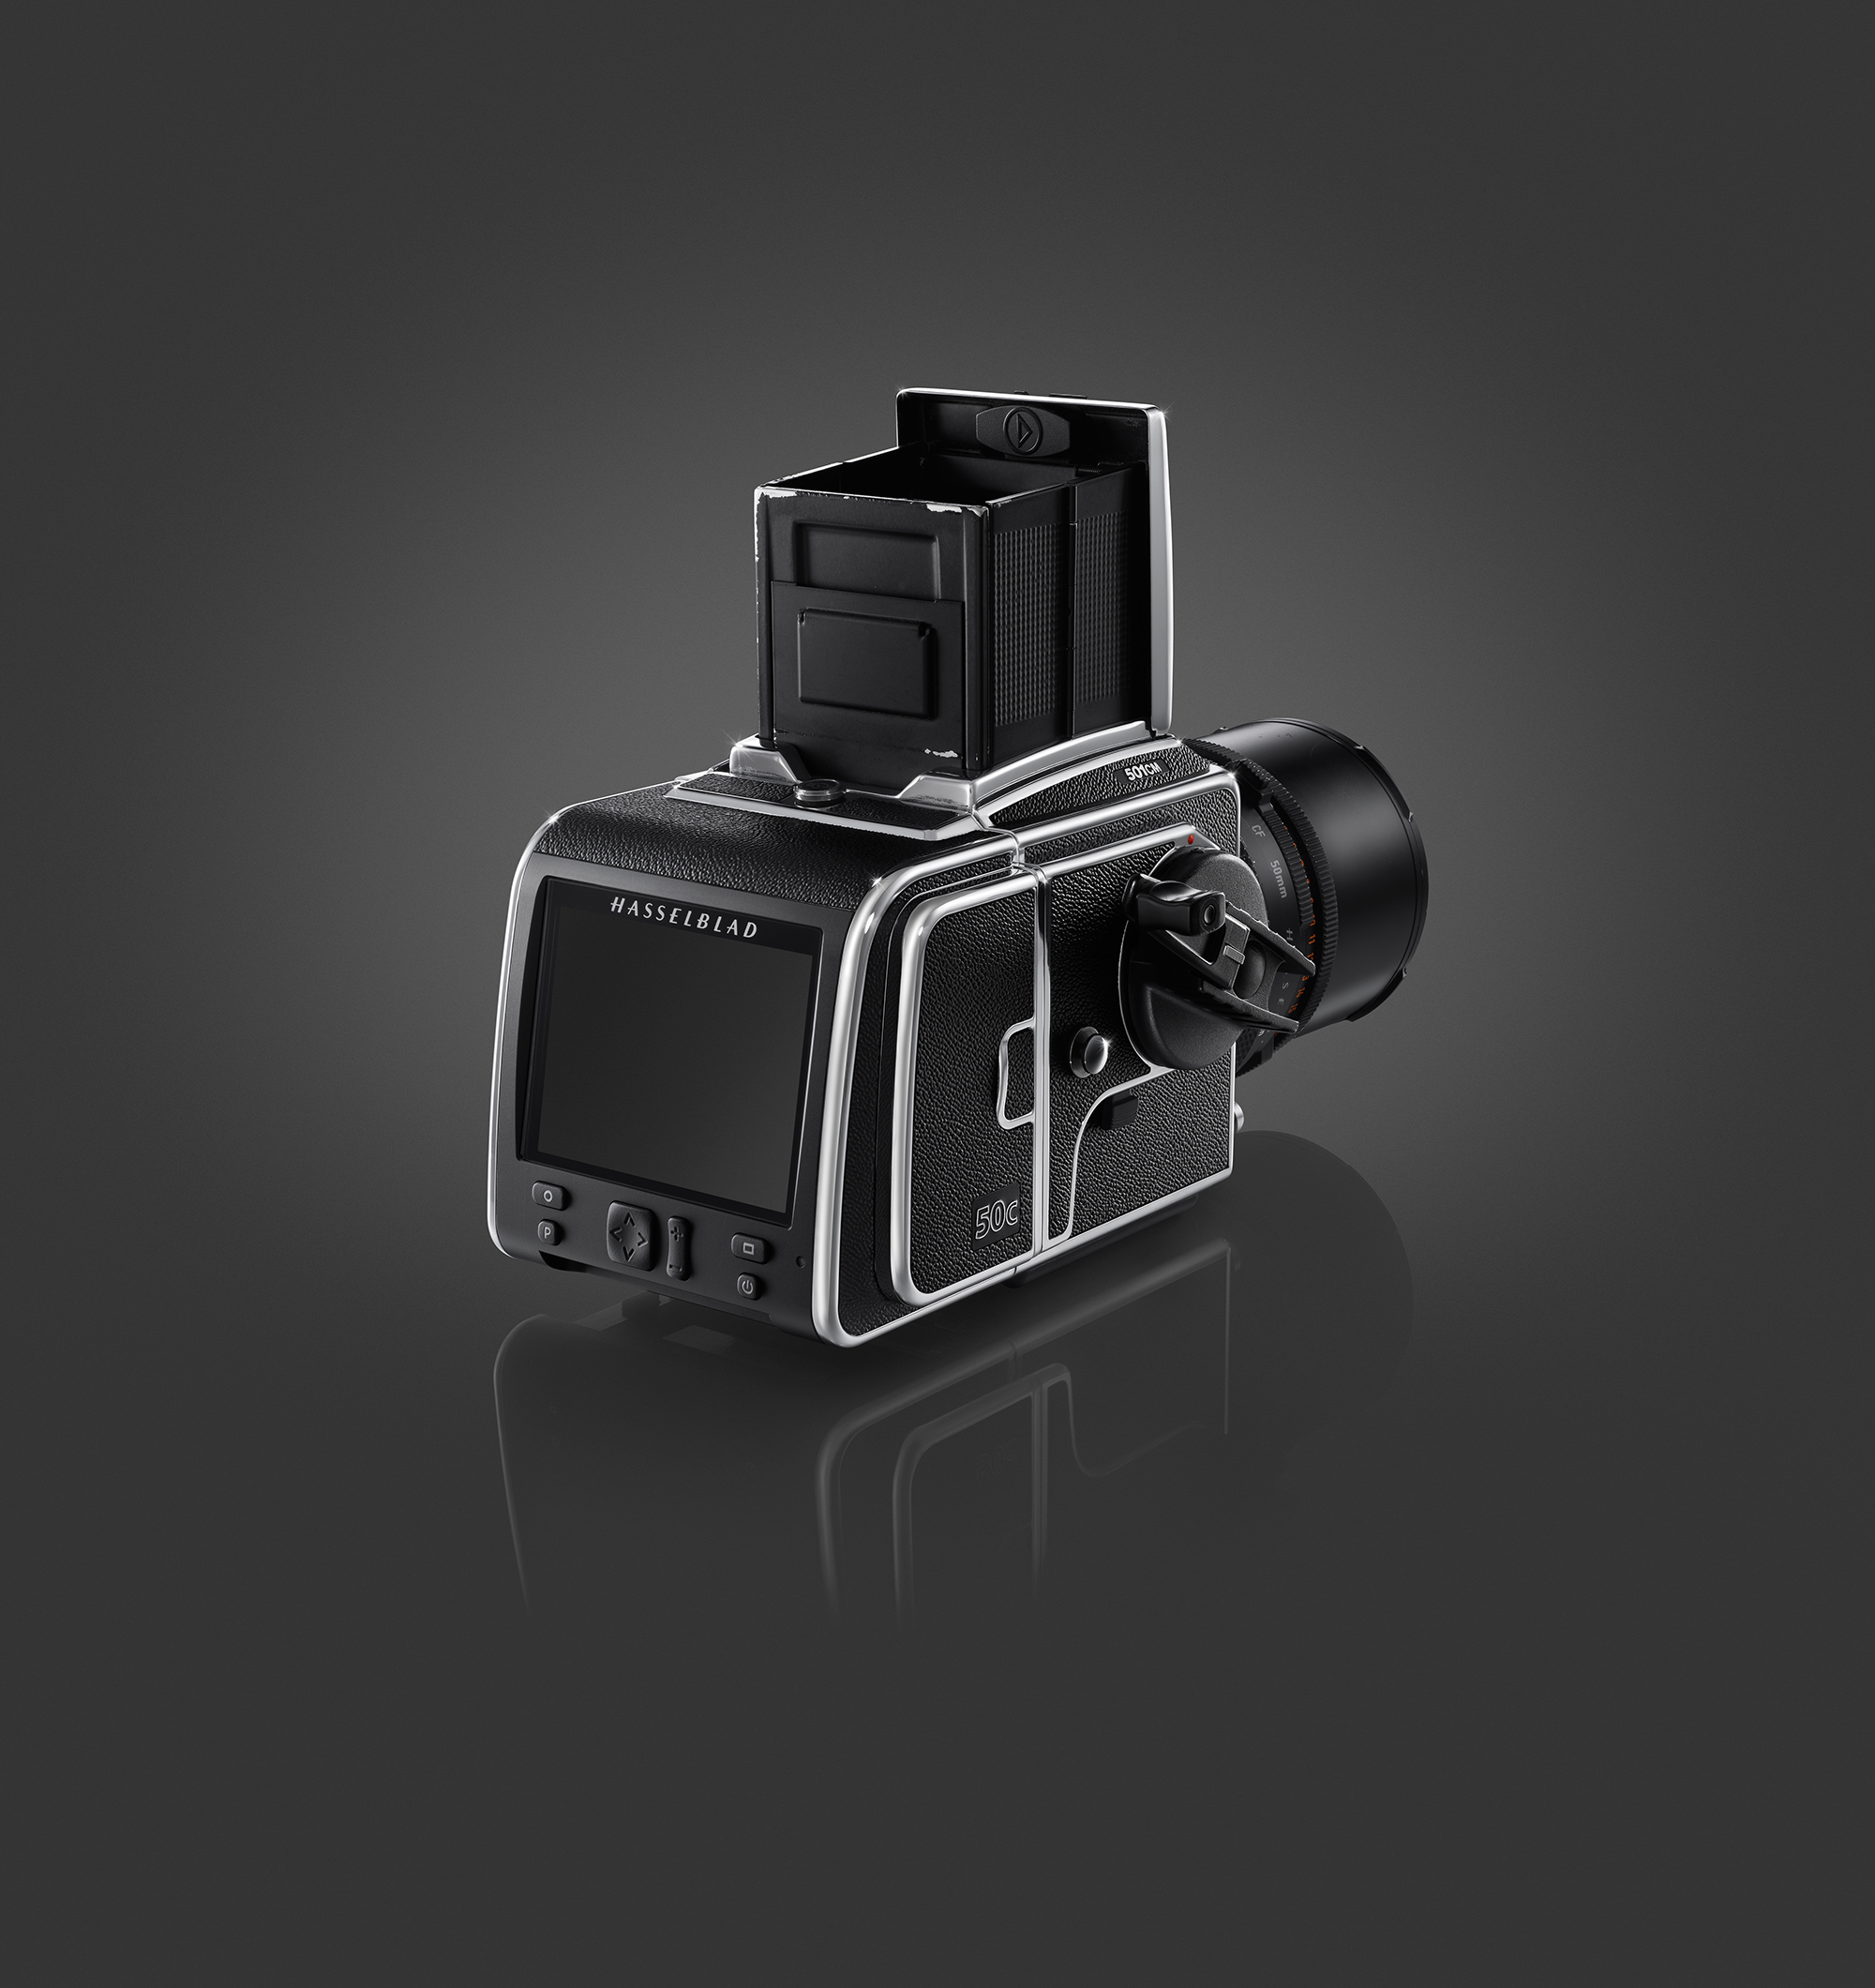
The broad phrase “V System compatible” hides important differences. The manual groups the 500C/CM, 501C/CM and 503 CX/CXi/CW/CWD bodies under the 500 camera setting. A straightforward 500-series setup is a different proposition from a motorized body, an unmodified 200-series body or a view camera.
For the basic 500 group, select the matching mode under Menu, Settings, Camera. Change that setting when you change camera bodies. A correct mechanical fit does not prove correct capture synchronization. Test normal exposures and any slower shutter speeds you plan to use.
Motorized EL bodies need their own settings and, for portable use, the battery adapter specified by Hasselblad. The manual identifies adapter 3054668 for the 555ELD, 500EL/ELM and 500/553ELX, and for the SWC arrangement. Some ArcBody positions can also require it. Verify the actual clearance rather than assuming a battery will fit behind every camera.
The unmodified 200-series routes shown in the connectivity chart use C-type lenses in C mode with a flash input cable. Modified 202, 203 and 205 combinations have a separate route for F-type lenses and CF lenses in F mode. Do not buy a seller’s phrase “modified for digital” without evidence of what was modified and a successful capture using the intended lens. This is not a DIY modification guide.
View cameras require the proper V System adapter and synchronization arrangement. The SWC’s Biogon lens also has specific image-quality warnings in the manual, including edge softness and color effects in some situations. A photograph of the back attached to a camera is not a substitute for checking that combination’s files.
Set the exposure window, not just the lens shutter
This is the mistake to understand before your first serious shoot. The shutter speed on the lens and the exposure-time setting on the back are related, but they are not the same control. In the manual’s applicable camera modes, the back’s setting determines its maximum capture window.
The default 1/8-second setting covers exposures from 1/8 second through faster speeds within the stated range. That does not give your particular lens a 1/2000-second shutter. Your lens and camera still determine the shutter speeds physically available. If you select a slower exposure, the back needs the appropriate longer window or the manual’s sync-cable route.
For long exposures, Hasselblad warns that light reaching the sensor before or after the selected capture time can cause strong color casts or other artifacts. Its guidance includes increasing the back’s window by roughly 10 to 20 percent while retaining the chosen lens shutter time. The manual’s example pairs a five-second exposure with a six-second back setting. It also describes the flash input sync cable as the preferred way to avoid needing specific long-exposure window settings in that arrangement.
Follow the section for your body and lens rather than trying random cable combinations. The 2015 version-four manual describes settings up to 34 minutes, while earlier documents quote shorter limits. Check the firmware and available settings on the actual back before planning a long exposure. A number copied from a launch article does not prove that a used unit is configured for it.
Begin with a normal daylight exposure, then test a slower one. Inspect the complete files for framing, color and truncation. Do this at home, not while good light is disappearing. If a capture fails, return to the body mode, power and synchronization steps before deciding that the sensor is defective.
Use live view with the mechanical camera in mind
Live view is useful for precise focus, but this is not a modern camera that continuously shows the scene through an electronic finder. The optical path must be open. The original manual describes setting the camera to B, using a lockable cable release and activating B before pressing the P button programmed for Live View.
In that mode, the back adjusts the preview exposure automatically. The manual notes that the lens must be stopped down, and the aperture can change the preview level. Use the zoom control and navigation buttons to select the area you want to inspect at 100 percent. Focus on a meaningful detail rather than whatever happens to sit at the center.
When finished, turn live view off with the same P button and deactivate B. Restore the shutter and aperture settings needed for the photograph. Leaving a setup step half-finished is an easy way to lose a frame. A short written checklist is useful while learning the sequence.
Live view consumes more battery power than normal operation. Use it where it improves the photograph, then turn it off. On a tripod, compare the final capture with your focus check, especially after moving the camera or changing a lens. Finder alignment, camera movement and technique are separate things to test.
 Save
SaveBuild a dependable power and card routine
The original back uses a Sony InfoLithium L-type battery, with the manual giving the NP-F550 as an example, or suitable power through FireWire. Buy an exact compatible battery and charger, not any pack advertised as “Sony style.” Confirm that the battery latches properly and that any required adapter clears the camera body.
A tired battery can turn a good back into an unreliable setup. Test startup, playback, live view and several captures on battery power. If the seller only demonstrates it tethered, the portable power path remains untested. Inspect the contacts and mounting area for damage without trying to bend, bridge or repair them yourself.
Storage is CompactFlash. CFexpress and CFast are different formats despite similar-looking names. Hasselblad’s manual recommends UDMA type 4, 60MB/s or 400x cards or better and lists specific historical cards. Choose a genuine card supported by the back, then test both capture and card-reader transfer. A large advertised capacity alone does not establish compatibility.
Back up everything needed before formatting. The manual calls for formatting a card in the CFV-50c before first use and warns that formatting erases its contents. Insert cards in the correct orientation without forcing them. Do not remove a card while the back is writing or its ready light is blinking.
At the end of a shoot, copy the files to two independent storage locations and open samples from each copy. A folder full of filenames is not proof of a good backup. Keep the card intact until the copies are checked. Carry enough working power and storage for the session rather than relying on an old battery-life claim.
Prove the computer workflow before buying
Untethered captures use Hasselblad 3FR RAW files, with an option for RAW plus JPEG. The original manual describes importing and processing 3FR files through Phocus into 3F files with the .fff suffix. Current software is not identical to that historical workflow: Hasselblad’s current Phocus page describes direct 3FR editing and selectable import formats in the PC 4.1 update.
Check the release notes for the version and operating system you will actually use. Ask the seller for an original 3FR file and open it on your computer. Adjust white balance and exposure, inspect full-size detail, and export a file in the format your work requires. That test is more useful than a general statement that RAW files are supported.
Phocus includes digital lens correction for classic V System lenses using manual settings. Choose the correct lens information where required. A vintage mechanical lens does not necessarily supply automatic electronic metadata. Keep exposure notes when those details matter, and do not label a correction profile as proof of what lens made an unidentified photograph.
Tethering is a separate test from importing a card. The original back uses FireWire, not USB-C. An adapter chain that physically connects to a modern computer is not proof that drivers, software, power delivery and camera control work. Verify the entire setup with a real capture saved to the intended folder.
Remote release through Phocus is limited to the camera and accessory combinations in the original connectivity chart. It does not add autofocus or motorized winding to a basic mechanical body. For studio flash, follow the manual’s diagrams for the exact tethered or untethered configuration; incorrect flash/computer connections carry equipment and personal-safety risks.
 Save
SaveA used-copy inspection that goes beyond appearance
Inspect the sensor’s protective IR filter in good light without touching it. Scratches or damage can appear in every photograph. Hasselblad warns that the sensor itself is not accessible for user maintenance. Ask about cleaning and service history; do not assume a visible mark is something you can safely wipe away.
Check the attachment lock, cover, card slot, rear buttons, display, ports and battery latch. The manual says to use the locking button when attaching the back or protective cover rather than snapping it into place. A protective cover matters when the back is off the camera and during transport.
Make files with the body and lens you intend to use. Include a detailed subject for focus, a plain surface to inspect persistent marks, and a slower exposure to test synchronization. Review the files on a computer. A single attractive sample supplied by a seller can hide problems outside that one shooting situation.
Ask what happens if the back fails your compatibility test. Verify the return period, excluded conditions and shipping responsibility. Confirm service options with a qualified provider for the exact model and fault; do not infer current repair availability from a historic dealer network. The best used purchase is the one whose full workflow you can demonstrate, not simply the cheapest back with clean leatherette.
Frequently asked questions
Is the original CFV-50c the same as the CFV II 50C?
No. This guide covers the 2014 back with CompactFlash, FireWire and an external battery. Use the correct manual and accessories for the exact generation.
Does it record the whole 6×6 film frame?
No. Its 43.8 by 32.9mm sensor records a smaller rectangle. Use appropriate finder markings and confirm the captured boundaries with test files.
Can I attach it to any V System camera without a cable?
No. Body, lens and modification status matter. The manual separates cable-free 500-series operation from combinations requiring sync cables, battery adapters or verified modifications.
Why can a slow exposure have strange colors?
The back’s capture window may not match the exposure sequence. Follow the model-specific settings and long-exposure sync guidance in the original manual before diagnosing a sensor fault.
Can I use CFexpress or a USB-C cable?
Not as direct substitutes. This original back uses CompactFlash and FireWire. Test any computer adapter arrangement separately for real tethered capture.
What should I test before buying used?
Test the exact body and lens, battery operation, card recording, live view, slow exposure synchronization, full-size files and your RAW software. Verify accessories, returns and service options before committing.
Build a working CFV-50c support kit
These are retailer search links, not claims of current stock, price or universal compatibility. Check the exact listing and return terms against your back and camera.
Affiliate disclosure: Some links are affiliate links. If you buy through them, Shut Your Aperture may earn a commission at no extra cost to you. As an Amazon Associate, we earn from qualifying purchases.
Find practical photography tips at Shut Your Aperture Academy. Work on light, framing and timing alongside the technical setup. A working camera gives you options; your choices make the photograph.
References: original CFV-50c manual, legacy specifications, current Phocus information and Hasselblad downloads.