

Updated October 2026
This Lightroom HDR tutorial explains a current built-in exposure-merge workflow using Adobe’s documentation, with capture planning and careful inspection at each stage. The older page pointed to a Lightroom 5 and Photomatix video, a coupon, and plugin links. Those are not carried as current instructions or verified offers. The useful starting point is a set of bracketed photographs of the same scene, not an expired discount.
HDR merging combines exposure-bracketed source photographs into one image with more useful tonal information. It is not the same as making every shadow bright, adding a dramatic preset, or converting one poorly exposed file into detail it never recorded. The goal is to preserve important highlights and shadows while keeping a convincing scene.
I want the viewer to notice the photograph before the processing. A merge is successful when it supports the light, composition, and subject. It is less successful when halos, strange edges, or flattened contrast become the main thing you see. Slow down at the preview stage, inspect the final file, and keep the originals so you can try a different edit.
Know which Lightroom product you are using
Adobe publishes separate guidance for Lightroom desktop and Lightroom Classic. Both documented workflows include selecting bracketed photographs and using Photo>Photo Merge>HDR, but interface details and options can differ. Check the matching page for your installation instead of assuming every version has an identical screen.
The source links at the end of this article point to Adobe’s own pages and a Lightroom Classic explanation by Julieanne Kost. This text does not claim a hands-on test of every current release, operating system, or camera file format. If your installation differs, the matching documentation should guide the exact control names.
Also separate exposure merging from HDR display editing. A merged scene and a display-output mode are related topics, but they are not interchangeable steps. Before changing export or display behavior, know what the destination supports and inspect the output on a suitable device.
Step 1: decide whether the scene needs a bracket
Look at the light before deciding to merge. If one exposure holds the important range well enough for your intended output, a careful single-file edit may be simpler. A bracket is useful when the important bright and dark areas cannot both be recorded satisfactorily in one frame.
Choose what matters. A small specular reflection may not need the same treatment as a bright textured cloud or a window that is central to the scene. The purpose is not to preserve every possible value at any cost. It is to give the finished photograph the information it needs.
Keep the composition deliberate. HDR does not fix an accidental crop, a weak foreground, or an awkward relationship between subjects. Make those choices before taking several exposures, otherwise you will spend more time merging a picture that still needs a better frame.
Keep the bracket consistent
Adobe recommends minimizing movement and using a tripod for bracketed photographs. A stable camera position helps the software compare the same structures across frames. It does not stop leaves, water, traffic, or people from moving inside the scene.
Keep framing and focus steady, and use a consistent aperture when the scene allows it so depth of field does not change between the sources. Read your camera’s automatic exposure-bracketing instructions rather than assuming the same control sequence works on every body. Test the chosen settings before a difficult scene.
Make the sequence efficiently while watching for changes in light and movement. A long delay between frames can introduce a difference that alignment alone cannot solve. Do not move into traffic, onto an unstable surface, or past a closed boundary just to keep a bracket together.
Choose the sources for the actual tonal range
Adobe’s guidance says the aim is to capture each important part of the scene well exposed in at least one source. More photographs are not automatically better. Extra sources can add movement and alignment problems without adding useful information.
Inspect the darkest frame for important highlights and the brightest for the shadows you need. Check more than the overall thumbnail. A bright sky that is still blown out in every source cannot be recovered simply by merging them. A shadow with no useful information in any frame is the same kind of problem.
 Save
Do not turn a common three-frame bracket into a rule for every scene. The source documentation gives exposure-spacing guidance, but the actual scene and source quality still matter. Keep a middle exposure where it is useful for a single-frame alternative or the merge, rather than discarding it by habit.
Step 2: select the matching photographs
Import the originals and identify one bracketed sequence. Check that the files show the same composition and belong to the same attempt. A neighboring frame from a different viewpoint can look similar at small size and still be the wrong source.
Use your file organization to keep sequences clear. Capture time, thumbnails, and a sensible grouping can help, but verify visually rather than trusting a filename pattern alone. If you made several brackets, inspect which set has the best subject position and least distracting movement.
Select the intended sources together in the matching Lightroom product. Adobe documents Photo>Photo Merge>HDR as a menu route. Open the merge preview before assuming the result is ready. This is a review stage, not just a button you press to generate a larger file.
Step 3: inspect the HDR merge preview
Read the whole preview first. Does the scene still make sense? Are the horizon, foreground, and major structures aligned? Then examine details where movement or alignment problems are likely. A preview that looks fine at a small scale may still have a distracting doubled edge.
Adobe documents Auto Align as useful when sources have slight camera movement. It may be unnecessary with a steady tripod sequence, but the decision should follow the preview. Enabling an option is not proof that the software has solved every mismatch.
Adobe also documents Auto Settings as a way to apply initial tone adjustments in the preview workflow. Treat an automatic starting point as something to judge. The software does not know which part of the scene you want to emphasize or how much darkness belongs in the photograph.
Deghosting is for actual movement
Adobe explains that moving areas can appear unnaturally semi-transparent in a merged image. Deghosting attempts to address those differences. Inspect leaves, ripples, moving people, cars, and other changing subjects rather than choosing a high amount automatically.
The documented choices include None, Low, Medium, and High. Adobe advises starting low and increasing based on the preview, and avoiding deghosting when there is no ghosting to correct. Use only what helps the actual scene. An option should not be enabled merely because it sounds protective.
In Lightroom Classic, the deghost overlay can help you see the areas affected. Check those regions carefully after merging as well. A solution in one part of the scene can produce a different look elsewhere, so the preview and final-file inspection belong together.
When the bracket is not a good candidate
Some scenes change too much between frames. A moving subject, a quickly changing reflection, or different light across the sequence can make the sources hard to combine convincingly. Do not force the merge simply because you captured a bracket.
Compare the result with the best single exposure. It may be the stronger photograph even if it contains less recoverable range. A clear moment can matter more than a technically wider tonal envelope. Choose the file that serves the image, not the process you planned earlier.
Keep rejected merge attempts separate from the source originals. You may revisit them later, but do not confuse an experimental output with the approved final. Clear version names reduce the risk of exporting the wrong file or overwriting a useful starting point.
Step 4: edit the merged photograph with restraint
Once the merge is complete, check exposure and white balance in the context of the scene. Preserve a readable difference between bright and dark areas. An HDR merge does not require equal brightness everywhere. The direction of light should still be believable.
 Save
Adjust highlights and shadows for useful detail, then step back. Ask whether a dark area should stay dark and whether a highlight still feels luminous. Extreme recovery can make a picture look flat or introduce edge problems that become more obvious at larger output sizes.
Use local adjustments deliberately rather than trying to solve every problem with a global slider. Keep an eye on transitions around buildings, trees, mountains, and people. A halo can draw attention away from the subject even when the rest of the edit looks attractive.
Color should support the light
Check neutral areas and important subject colors. A dramatic sky or warm foreground can be appealing, but stronger saturation is not automatically a better result. Watch for colors that look disconnected from the rest of the scene or clip into featureless patches.
Compare the edit with an earlier restrained version. The purpose is not to make every output identical to an unedited source, but to notice when processing has become the subject. If a strong choice is intentional, make it coherent with the whole image.
Keep color and brightness judgments tied to the intended destination. A file viewed on a small bright screen can look different from a large display or print. Do not assume an attractive thumbnail proves that all the gradients, textures, and transitions are ready.
Step 5: inspect detail before export
Examine the final merged file at a useful enlarged view. Look for doubled branches, broken outlines, strange semi-transparent areas, inconsistent water texture, and halos. Then return to the full composition. Both detail and the whole image need to work.
Check the outer edges after alignment. You may need a considered crop rather than leaving awkward corners or narrow empty strips. A crop should still serve the composition. Do not preserve an original frame boundary only because it was the one you captured first.
Review the subject’s important detail separately. The merge may handle the background well while leaving an issue on a person or object that matters more. If the result is not convincing, try a different source set or a simpler single-file edit instead of declaring the problem acceptable because most of the frame looks fine.
Export for a known destination
Decide the required file type, dimensions, color handling, and sharpening for the intended use. Check the matching software guidance and the destination’s requirements. A social post, a website image, and a print file may need different outputs even when they share one master edit.
Open the exported file and inspect it. Export success is not a visual check. Look at the actual image at its intended size and confirm that the right version was produced. A problem can appear after resizing or sharpening even if the working view looked good.
Keep the edited master and source brackets. The small finished export is not a replacement for them. A future crop, display change, or print request may need information and choices that are no longer available in a compressed output.
Do not invent a before-and-after pair
This page does not show a fake comparison made from unrelated photographs. A useful before-and-after pair must come from the same frame or documented source sequence and be labeled honestly. Without that evidence, text-only instruction is more useful than a misleading visual demonstration.
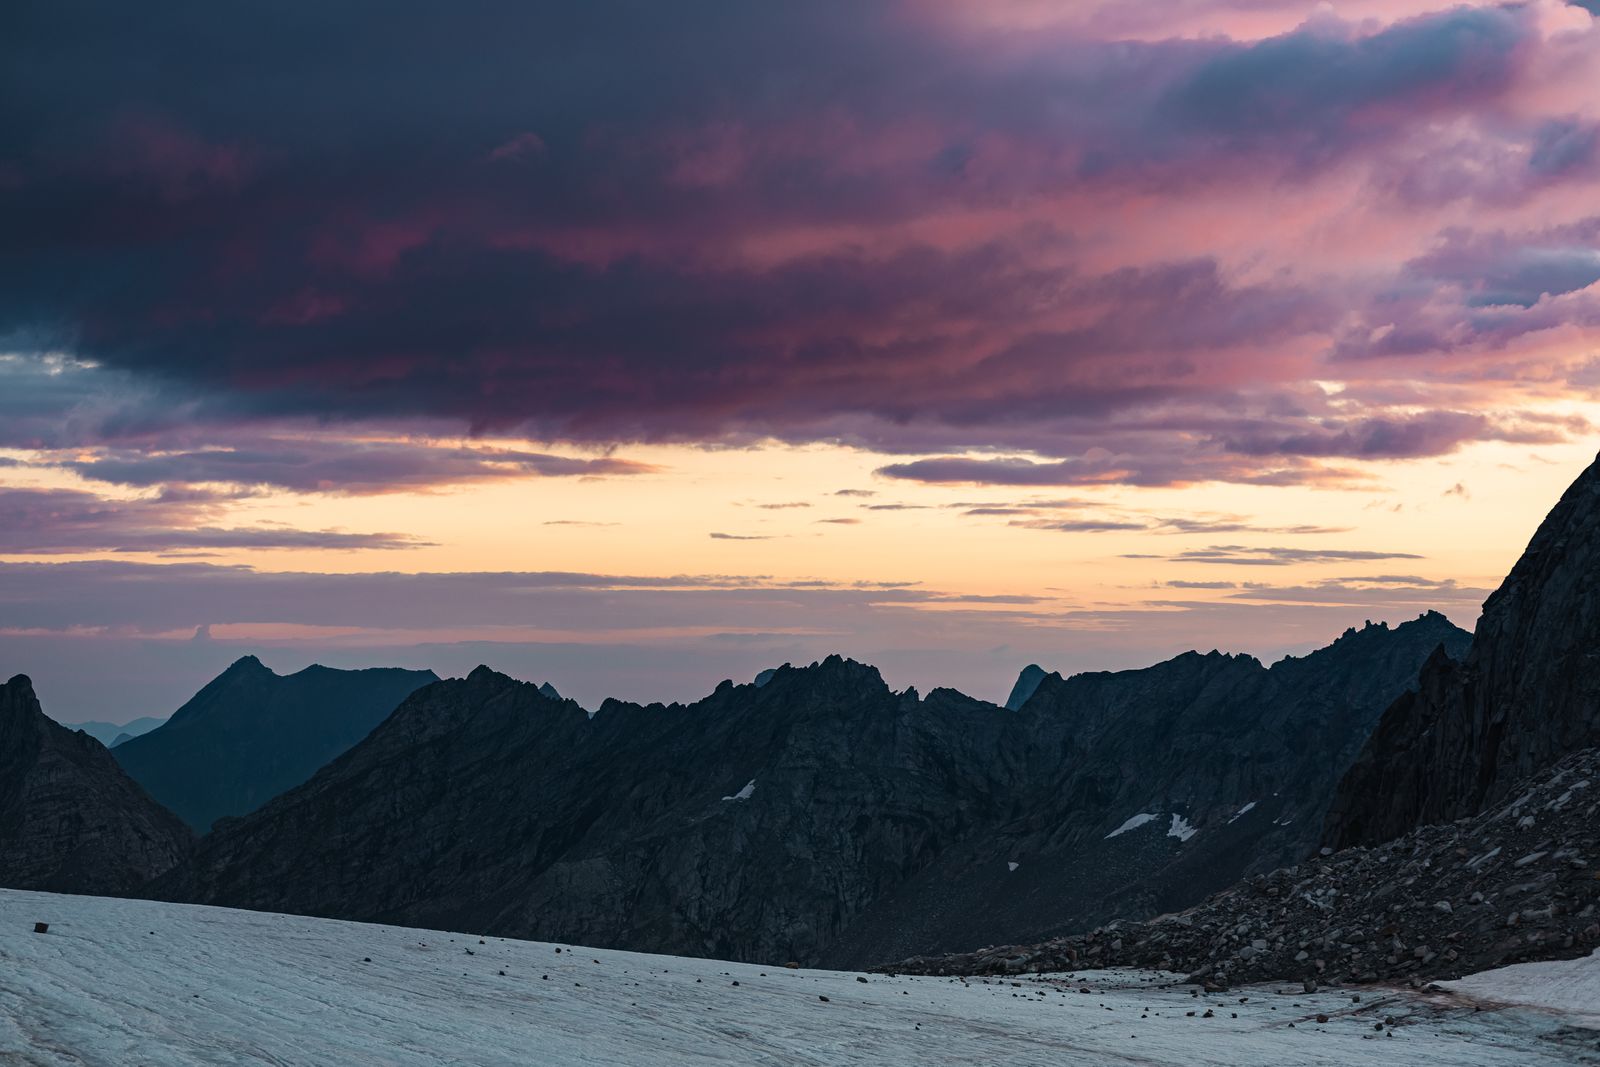
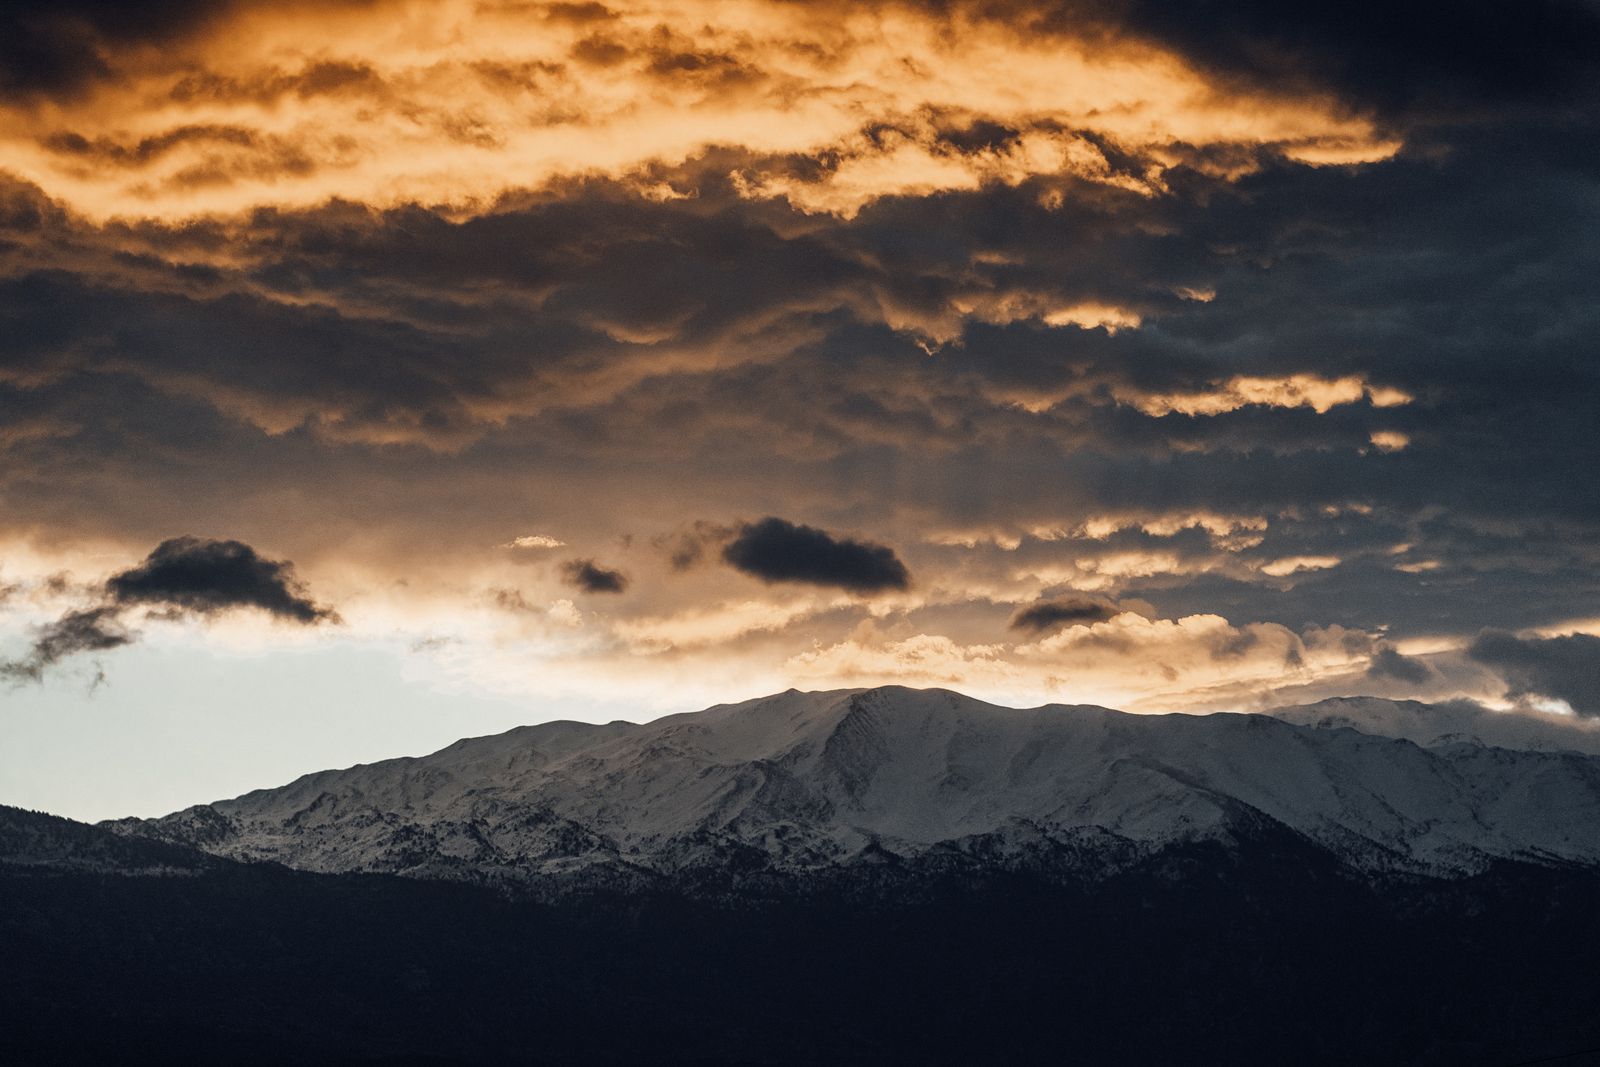
A finished landscape can illustrate a subject or mood without proving an HDR workflow. Do not call it an HDR sample unless its making is documented. The same rule applies to software screenshots: a screenshot from one product or release should not silently become a claim about another.
 Save
When you share your own example, preserve the sources and record the important steps. Show the comparison at a scale where the relevant difference is visible. Tell the reader what changed without pretending the method will create the same result in every scene.
Keep a repeatable archive
Store source brackets, merged outputs, working edits, and exports in a clear structure. Use names or groups that help you find a sequence without confusing it with the next one. A simple repeatable system is better than a complicated one you stop using.
Maintain an independent backup before clearing cards or deleting older attempts. An external working drive alone is not a complete backup. The storage option below can support a working copy; it is not equipment claimed to have been used for a demonstrated HDR example on this page.
The best outcome is a photograph with convincing light and clear structure. Exposure merging is one way to get there when the sources and scene support it. Use the tool deliberately, inspect the result, and be willing to choose the simpler file when it is the better picture.
To build a more deliberate approach to composition, light, and editing, explore the Shut Your Aperture Academy. Equipment and references can help you get started. Practice helps you decide what belongs in your frame, recognize distracting choices, and make an image that serves your own idea.
Frequently asked questions
What sources do I need for Lightroom HDR merge?
A matching sequence of exposure-bracketed photographs with useful information in the important bright and dark areas.
Should I always use the maximum deghost amount?
No. Adobe advises starting low when movement creates ghosting and avoiding deghosting when the preview has no such problem.
Are Lightroom desktop and Classic identical?
No. Check the matching Adobe documentation for your product and installation; interface details and options can differ.
Can the merge recover detail missing from every source?
No. The important scene information needs to be recorded usefully in at least one source photograph.
Does this page show a verified before-and-after example?
No. It provides text instruction without inventing a same-frame comparison or attributing an undocumented HDR process to a finished photo.
Source note: Adobe Lightroom desktop merge guidance; Adobe Lightroom Classic HDR guidance; Julieanne Kost’s Lightroom Classic explanation. No old coupon, download promise, plugin promotion, or unverified before-and-after is carried.

