
Featured image: Dark leaf shadows across a yellow wall with a blue band and a small vent. Photo by Jan van der Wolf / Pexels. Pexels License. (Stock photo, illustrative.)
Start with a small set, not every camera setting
Essential photography for beginners is easier to learn when a practice session has a finish line. Choose one nearby subject, make a few deliberate variations, and bring home a small set you can explain. A flower beside a wall, light on a curtain, or a familiar corner can give you enough material. The aim is not to collect impressive locations. It is to connect a visible result with a choice you made, then repeat the useful part on your next session.
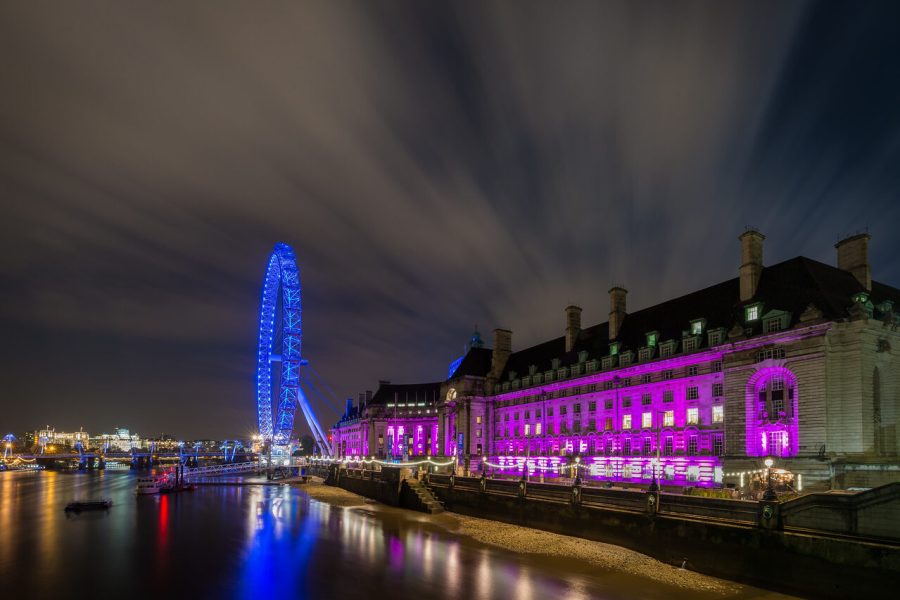
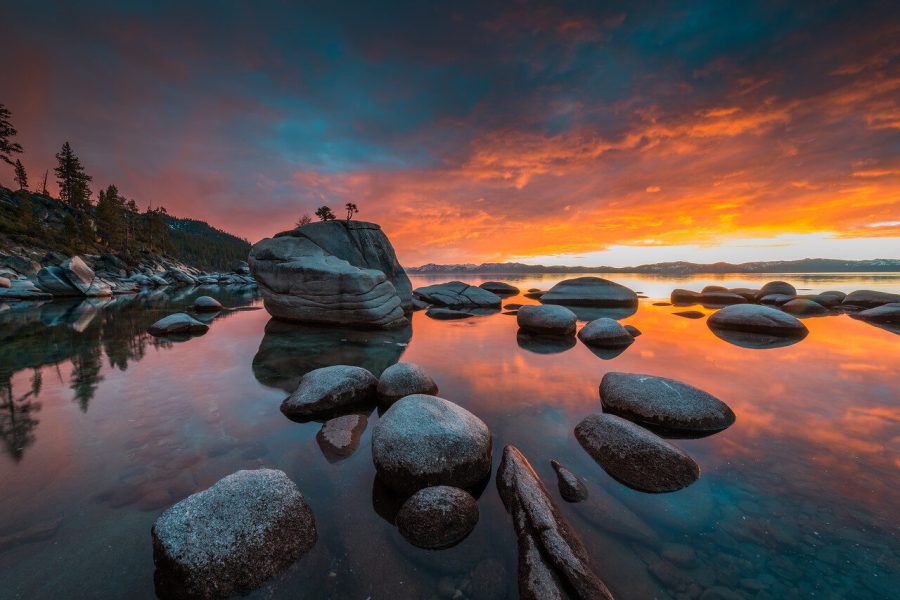
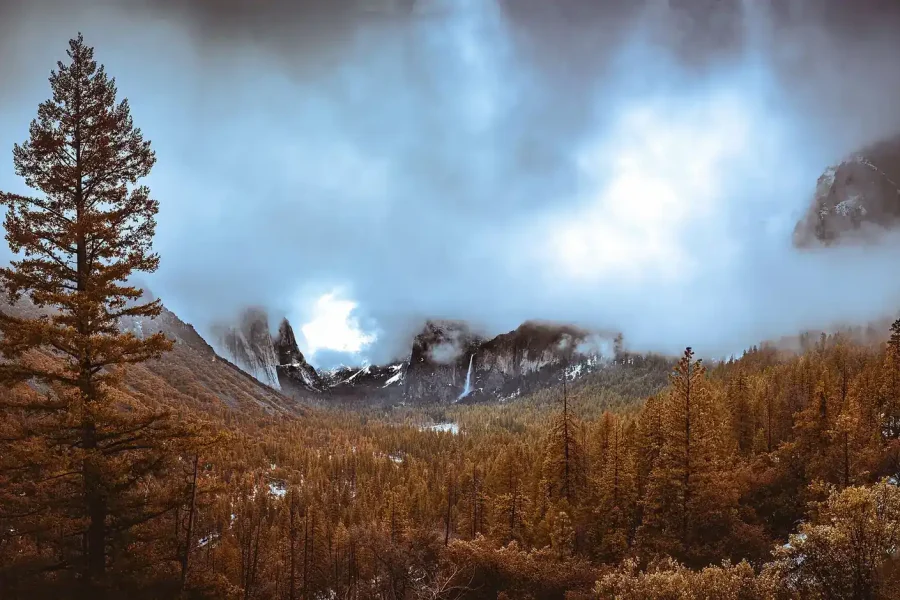
This guide follows that first session from preparation to a finished photograph. It is a practice plan, not a test of the cameras or settings used for the stock photographs. Those images illustrate separate ideas and were made by different photographers. You can follow the exercises with a camera you already own, using the controls it provides. Where a control is missing, concentrate on light, distance, timing and framing instead. You do not have to buy a new lens or master manual exposure before beginning. For an overview of the wider subject, see our digital photography beginner guide. The exercises here keep the scope smaller: finish one session and identify one repeatable improvement.
Prepare the camera for a session you can repeat
Before leaving, check the battery, available card space and the way you will copy the files afterward. Take one test photograph and play it back. Find the exposure mode, focus controls and image-quality setting in your own manual, since labels and available options differ between models. If you have inherited a camera or changed settings while exploring, inspect the important controls rather than assuming the previous setup suits today. A strange color, delayed shutter or unexpected focus area can make a simple exercise needlessly confusing.
Choose a comfortable way to carry the camera and check its attachment instructions. Keep the session local enough that you can return without a complicated trip. Work from a stable, permitted position, stay clear of traffic and paths, and avoid stepping backward while looking through the viewfinder. Weather and changing access may end the exercise early. That is fine. Returning with a few understandable files is more useful than staying out for a photograph that requires a risky position or creates a problem for someone else.
Give one ordinary subject a clear job
Pick a subject you can name in a short sentence. Perhaps the photograph is about the shape of a leaf, a bright doorway against a dark wall, or the way sunlight divides a room. Then ask what needs to remain visible for that idea to work. A close detail may remove the surroundings, while a wider view may explain them. Neither is automatically better. Make a reference frame first so you have a record of the starting position before you begin changing things.
Now inspect the edges and the background. Look for a bright patch that competes with the subject, an object that seems to grow out of it, or an awkward fragment at the border. Change your position a little and look again. Nikon’s framing advice recommends scanning the whole frame and repositioning when distractions interfere. Use that as an observation habit, not a demand for an empty background. Useful context can stay. The question is whether each visible element supports the photograph you are trying to make.
 Save
Notice the direction of light before changing settings
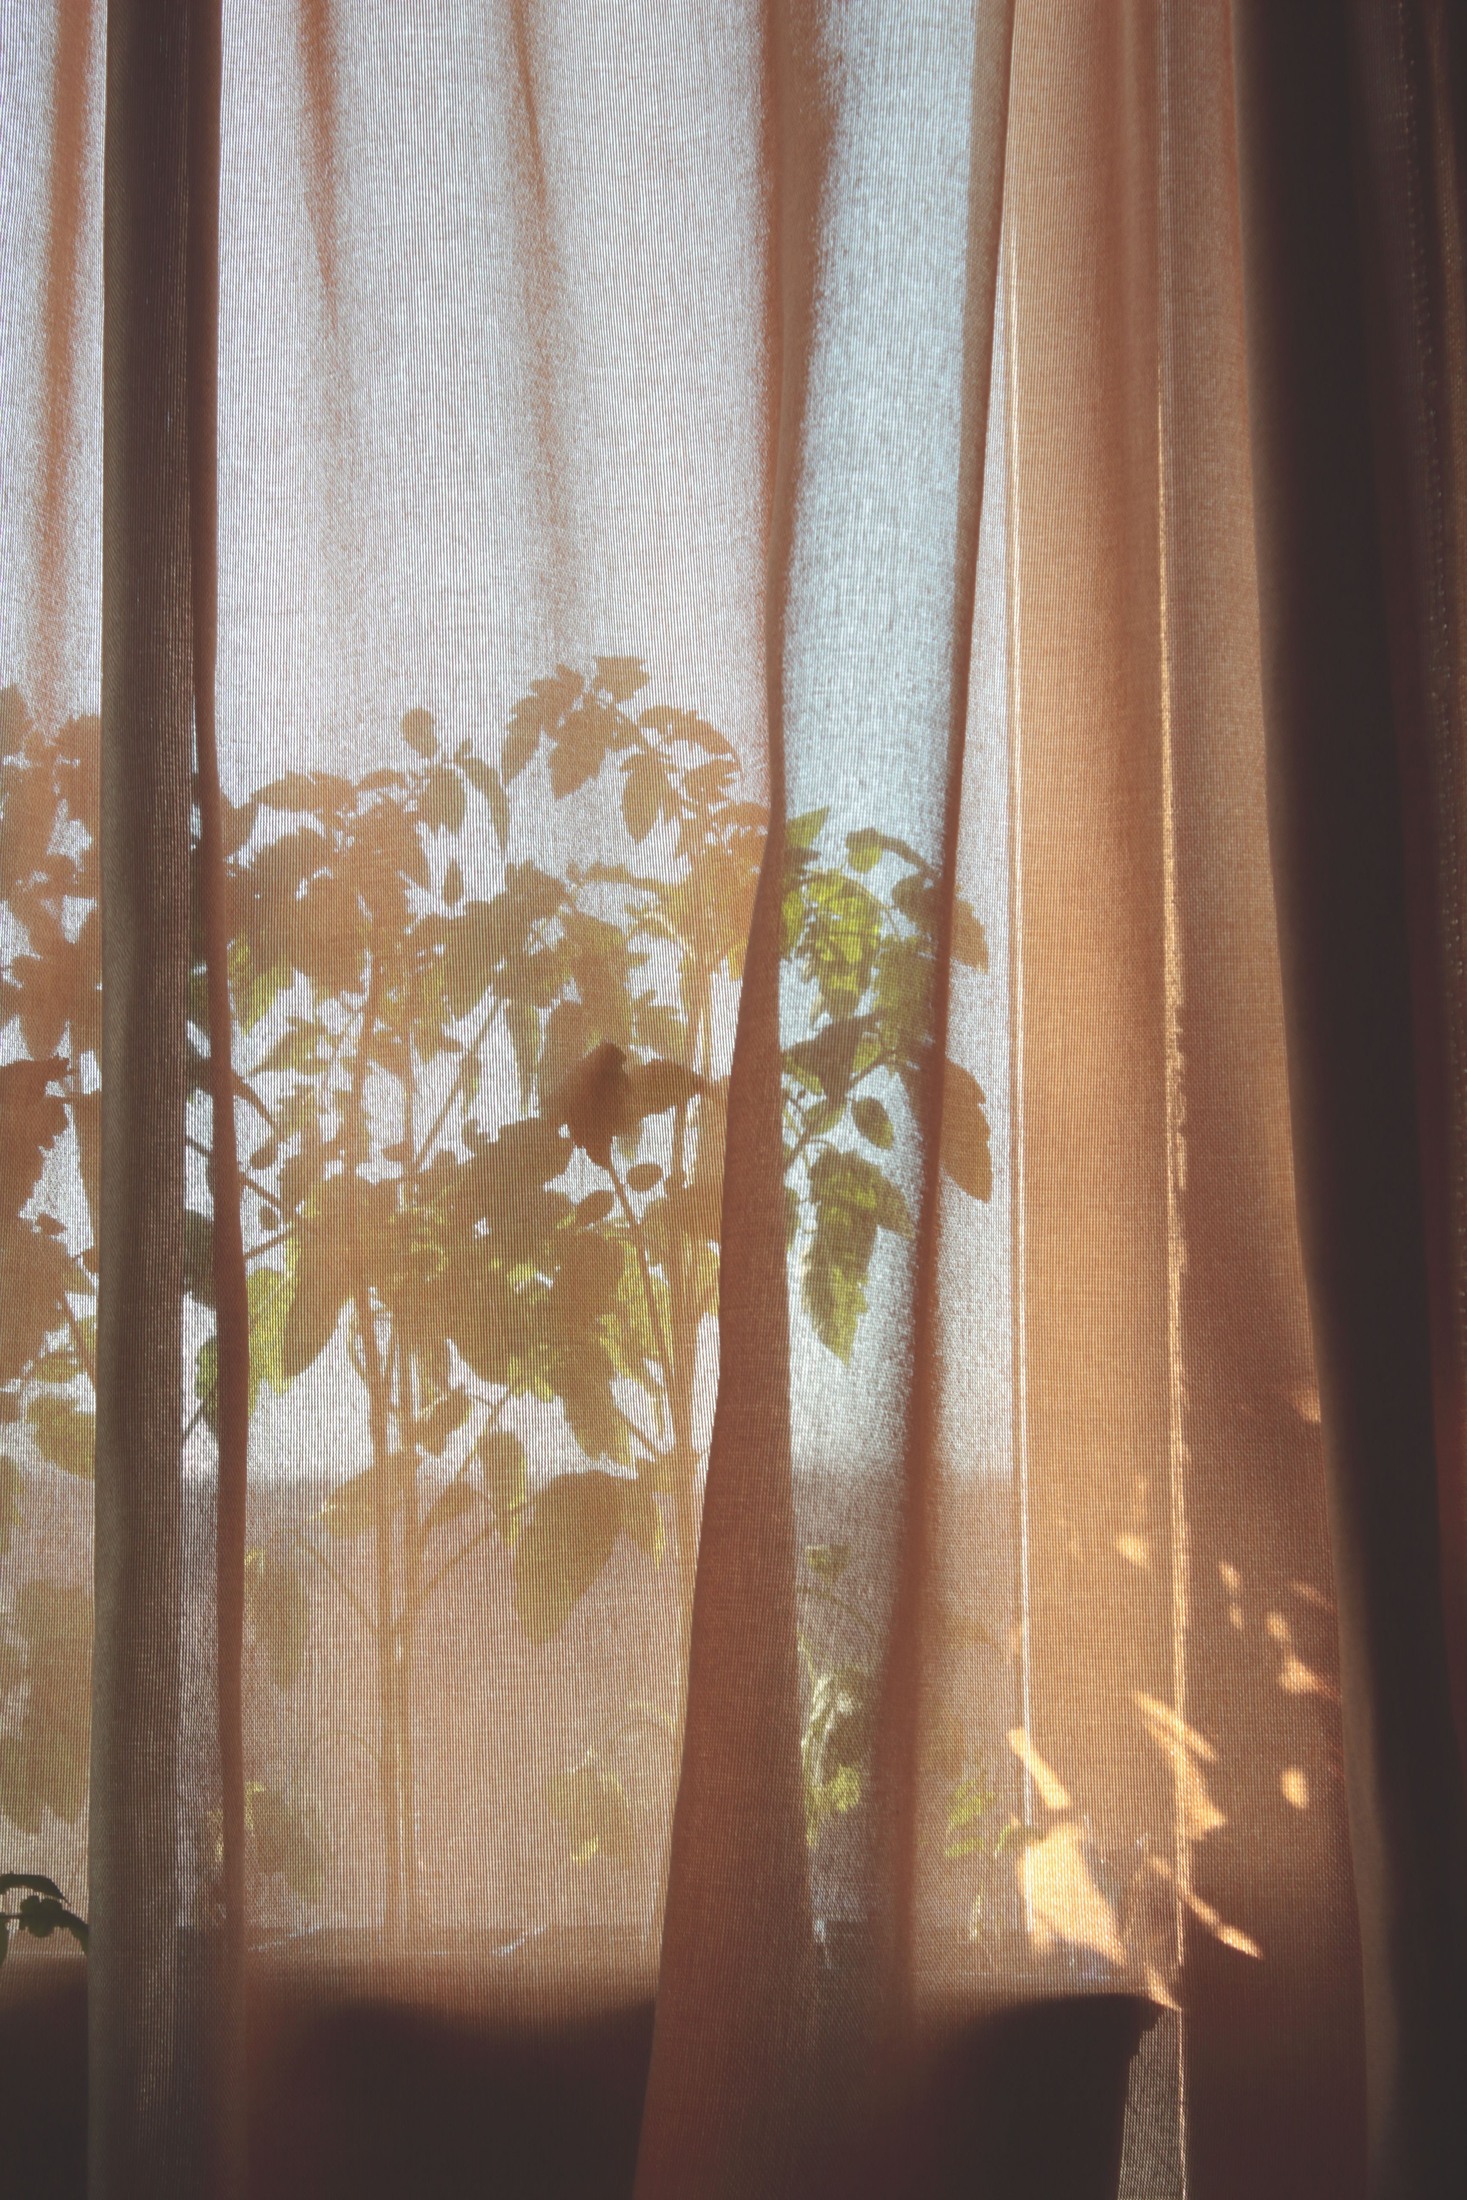
Walk around the subject only where it is safe and allowed. Compare the side facing the light with the shaded side, and watch how the background changes with your position. Side light may make texture easier to see; light coming from behind may emphasize an outline while leaving the front dark. A different position can change the photograph more than an elaborate adjustment in a menu. Do not stare into the sun or point an optical viewfinder at it to perform this exercise.
If the contrast is difficult, choose an easier subject or a softer patch of light rather than treating the scene as a camera failure. Take a second reference when clouds or other conditions change. Two photographs made under different light are not a clean test of one setting, even if the subject looks similar. Keep a brief note about what changed. This makes the later review honest and helps you recognize which differences came from your choices and which came from the conditions.
Use an exposure mode that matches the question
Auto or Program mode can give you a starting frame while you work on subject and composition. Aperture priority is useful when you want to explore how much of the scene appears acceptably sharp. Shutter priority is useful when you want to explore motion. Manual exposure is another control method, not a higher rank of photography. REI’s camera guide and Canon’s beginner guide explain these modes, but consult your manual for their exact behavior, especially when Auto ISO or a scene mode is involved.
Change one intention at a time and watch the other settings the camera selects. Aperture and exposure time affect how much light reaches the sensor. ISO affects how the camera renders the recorded signal and the brightness you obtain; it does not open the lens or extend the exposure. A higher ISO can help you retain a needed shutter speed, though noise and detail still need review. Avoid a fixed setting recipe for every subject. The right compromise depends on the light, motion and result you want. For a closer look at each control, use our aperture, shutter speed and ISO guides. Return to the session with one question rather than trying every chart at once.
 Save
Place focus where the photograph needs it
Choose the detail that must look sharp, then check whether the camera is focusing there. An automatic focus-area choice can prefer a nearby branch or a stronger contrast edge instead of your intended subject. A smaller selectable area may make your intention clearer. For a stationary subject, use the appropriate single-focus option if your camera offers it. For a moving subject, a continuous or tracking option may be useful. Names and supported combinations differ, so use the autofocus section of your model’s manual.
After taking the photograph, enlarge the important area during playback. Check that the intended detail is sharp enough for the intended use, rather than judging only from the whole-screen view. If the wrong distance is sharp, revise the focus choice. If the entire frame looks smeared, inspect camera movement and shutter speed as well. Autofocus and manual focus can both work; neither guarantees success. Canon’s autofocus explanation is useful background, but the actual file is the evidence that your particular attempt worked.
Explore depth with a stationary subject
For a depth-of-field exercise, choose a stationary subject with something visible behind it. Keep your position, framing and focus target as consistent as you can. In aperture priority, make a frame with one aperture, then choose a different aperture and compare the result. A smaller f-number means a larger opening. Depth of field also depends on subject distance, focal length and how the photograph is viewed, so do not credit every difference to the aperture alone. Check the selected shutter speed as light changes.
You are looking for a useful relationship between subject and surroundings, not the blurriest possible background. A little context may explain the scene; too much blur can remove something you wanted the viewer to understand. Conversely, stopping down does not guarantee that every distance becomes sharp or that the frame improves. Inspect the foreground, subject and background together. Keep the version that expresses your idea more clearly and write down why. This turns an abstract setting into a decision you can recognize again. If the slower shutter selected by the camera produces movement, do not count that file as a successful depth comparison until you have checked the important detail. Choose a stable subject and enough light to make the exercise understandable. Repeat a frame when a gust or an accidental shift has introduced a new variable.
 Save
Separate subject movement from camera movement
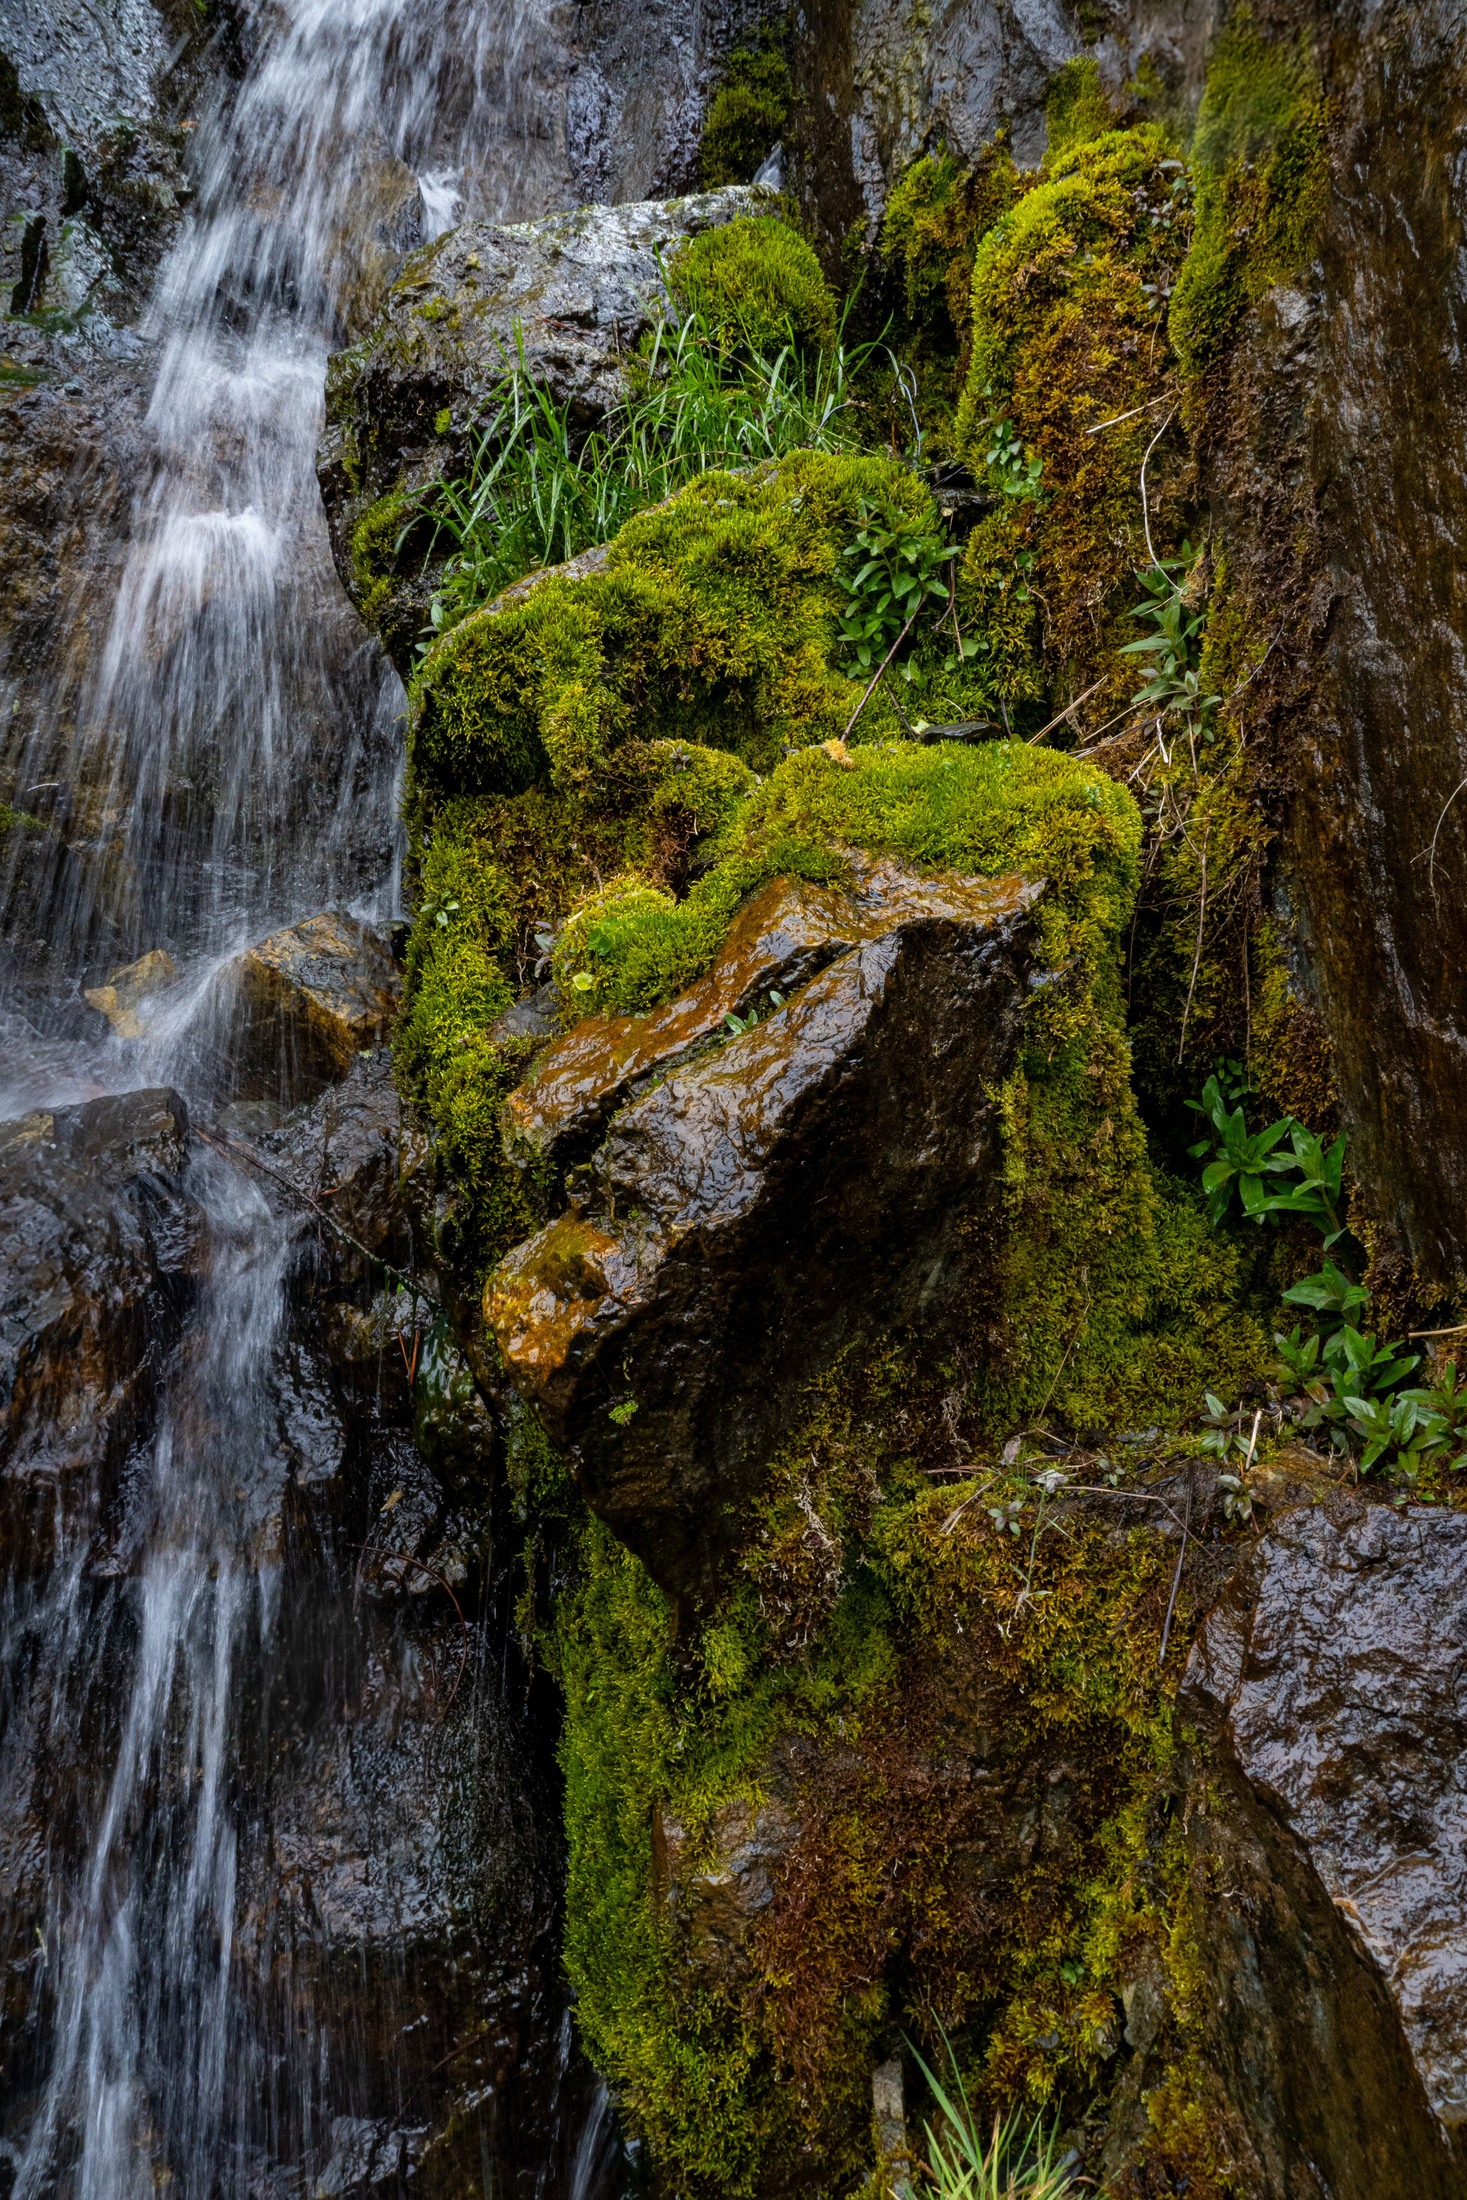
For the motion exercise, use an accessible subject such as water or leaves moving in a breeze. Stay on firm ground and do not approach slippery edges for a better view. Make a frame, choose a different shutter speed if your camera allows it, and inspect how the moving detail changes. The speed needed to show or reduce blur depends on the subject’s movement, distance and direction. A number borrowed from another photograph is a starting experiment at most, not a promise of the same result.
A secure hold or suitable support can reduce camera movement, but it does not stop the subject. Image stabilization has the same basic limitation: moving water, branches or people can still blur during the exposure. Look for stationary details in your frame when diagnosing the result. If those are clear while the water is blurred, that is different from everything being blurred together. You may want either a crisp or a flowing rendering. Judge whether the motion supports your picture rather than treating all blur as a mistake.
 Save
Make a framing alternative without a rulebook
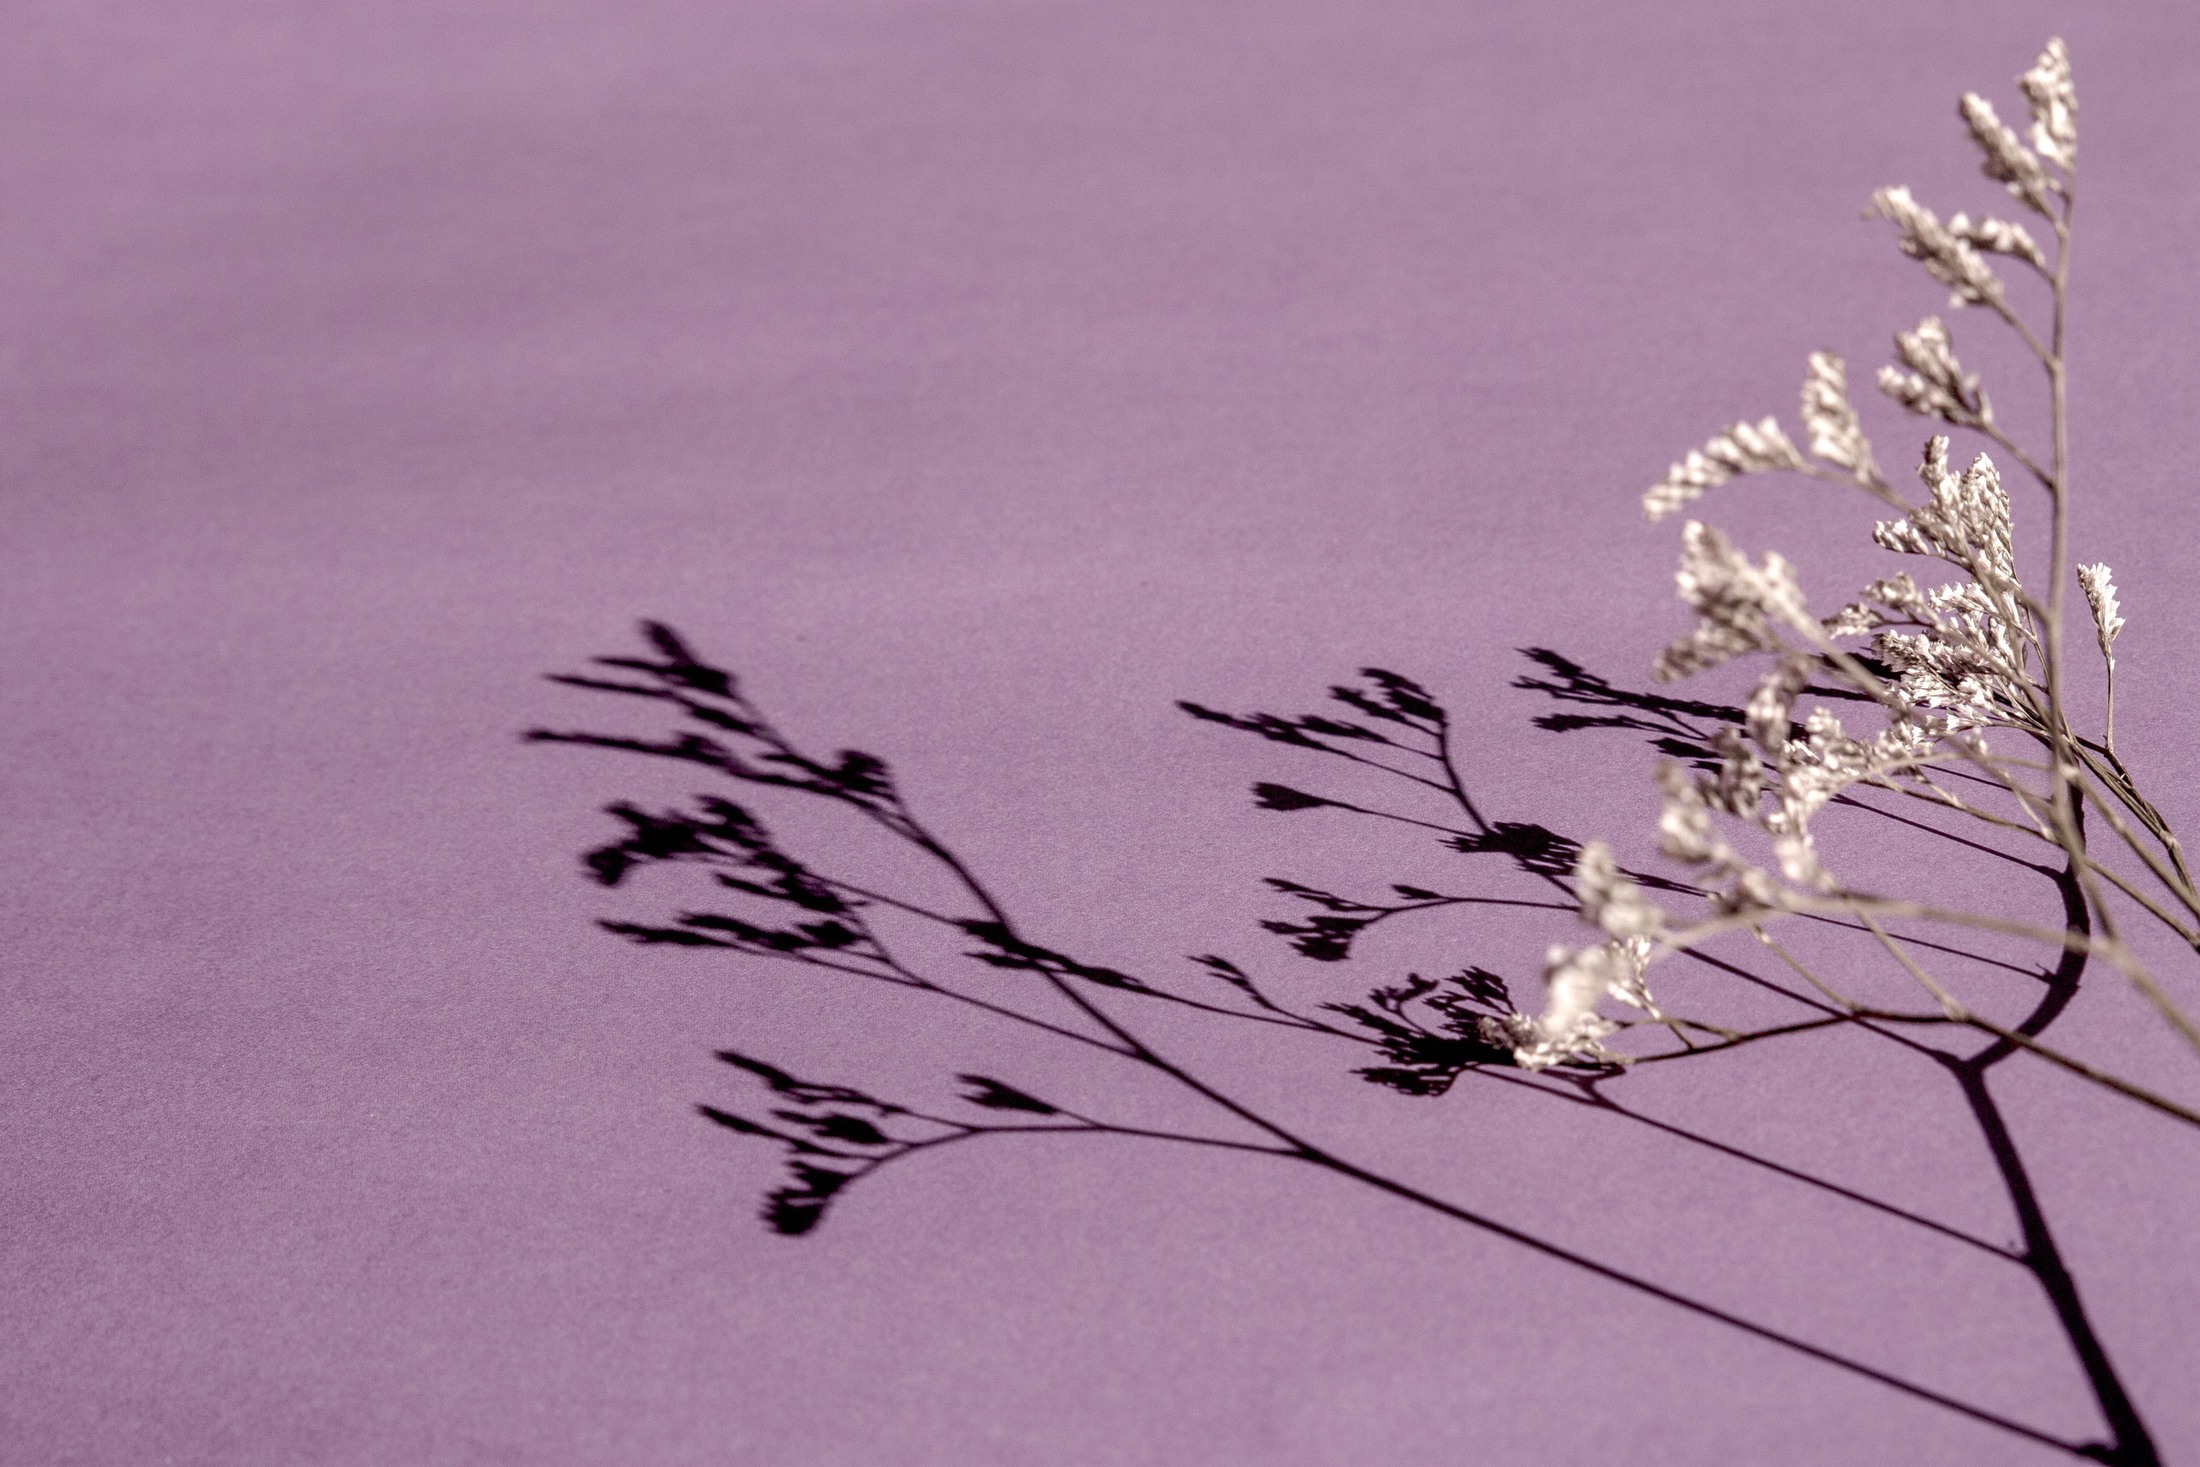
Return to a simple subject and make two purposeful compositions. In one, let the surroundings explain where it is. In the other, remove something that competes with it. You can move, change orientation or adjust the focal length when the equipment allows it, but note which choice you changed. Check the border after every adjustment. A stronger composition is often the result of noticing an unwanted overlap or choosing a clearer viewpoint, not applying a grid to an otherwise unresolved scene.
The rule of thirds can suggest an alternative placement, while symmetry may support a centered subject. Lines can guide attention or pull it away. None of these ideas decides the picture for you. Compare the actual alternatives with the grid hidden and ask where your eye goes first. If both work, describe their different effects rather than declaring one universally correct. For this first session, one useful comparison is enough to give you a next step.
Keep files that support the way you work
Choose JPEG, RAW or both according to the tools you can actually use. JPEG gives you a readily viewable processed photograph and generally smaller files. RAW retains camera data for processing in compatible software and can provide more room for some adjustments. It also adds a processing step and storage needs. Check compatibility before a session you cannot repeat. RAW is not a substitute for focus, adequate exposure or sound timing, and it cannot reliably recover detail that was never recorded.
Copy the photographs to a clearly named session folder and make another copy on a separate suitable destination before clearing the card. Open files from the copies to check that they are usable. Keep the originals while you learn so an aggressive edit does not become your only version. A folder name containing the date and subject helps you find the exercise later. The important habit is a repeatable route from camera to protected files, not an elaborate naming system you abandon after the first outing.
Select and edit a small finished set
Review the photographs in groups that answer the same question. Compare focus attempts together, depth variations together and framing alternatives together. Start with technical failures that prevent the photograph from doing its job, then choose among the usable files for subject, timing and composition. Keep one frame that works and one near miss that teaches you something. You do not need to publish every variation. A small selection makes it easier to see what improved and avoids confusing volume with progress.
Begin editing with orientation, crop, brightness and color balance. Make small changes and compare them with the starting version. Canon’s editing guidance explains that processing can change overall brightness and tones, but cannot change the aperture, shutter speed or ISO used at capture. Check important highlights, shadows and fine detail as you work. Strong noise reduction or sharpening can damage texture or create artifacts. Stop when the adjustment supports the photograph; a dramatic slider position is not evidence that the file needed it.
Finish one photograph and choose the next exercise
Export a copy for a specific use, such as viewing on a phone, sharing privately or making a print. Check the destination’s requested dimensions and file requirements rather than assuming one export suits everything. Open the exported file itself, inspect the crop and important detail, and view it at a realistic size. The editing preview and the delivered file are not necessarily the same thing. Keep the original and editing version separate from that output so you can make a different export later. Before sharing, also check whether the picture contains anything you did not intend to disclose, such as an address, a private screen or another person. That review belongs with the export check, not after the file has reached its audience.
End the session with a short note: what you wanted, which version worked, what interfered and what you will repeat. Choose one next exercise, such as more accurate focus or a cleaner background, instead of promising to improve everything at once. Photograph the same ordinary subject again if that makes comparison easier. Progress is being able to make and explain a useful choice with less guessing. A few completed photographs and a clear next question are a better foundation than a long list of settings you have not yet connected to a result.
Beginner photography questions
Do beginners need to use manual mode?
No. Auto, Program and priority modes can support deliberate practice. Choose a mode that gives you control over the question you are testing and review the resulting files.
Should I buy a new camera before learning?
Not necessarily. Begin with the camera you have and the controls it offers. Identify a specific limitation through practice before treating new equipment as the solution.
What should I focus on first?
Choose one clear subject, check where focus lands and inspect the important detail after capture. Add other controls as you can connect them to visible results.
Does stabilization stop a moving subject?
No. It can reduce camera movement, but subject movement can still blur during the exposure. Review stationary details and moving details separately.
Is RAW always the best beginner format?
No. RAW needs compatible processing software and more storage. JPEG can suit a simple workflow. Choose a format you can copy, open, edit and protect.
Can editing repair every exposure or focus mistake?
No. Editing can change brightness, color and presentation, but it cannot reliably restore missing capture detail or make every out-of-focus subject sharp.
Are these photographs a controlled beginner test?
No. They are separate illustrative stock photographs by different photographers, not before-and-after results from the exercises or proof of particular settings.
An optional camera carry accessory
A black Peak Design Slide Lite camera strap, model SLL-BK-3, is one carry option between photographs. Check the camera attachment points and full camera-and-lens weight before buying. Follow the attachment instructions and inspect the anchors. This optional accessory link is separate from the photography tips above. Compare the current retailer specifications; no hands-on test, price or stock promise is being made here.
Compare Peak Design Slide Lite Camera Strap Black SLL-BK-3 on Amazon | Check Peak Design Slide Lite Camera Strap Black SLL-BK-3 at B&H
Affiliate disclosure: We may earn a commission from qualifying purchases through these gear links at no extra cost to you. As an Amazon Associate, Shut Your Aperture earns from qualifying purchases.