Best Photography Tours in Hong Kong: Night Walks and Skyline Routes
Updated
Updated September 2026.
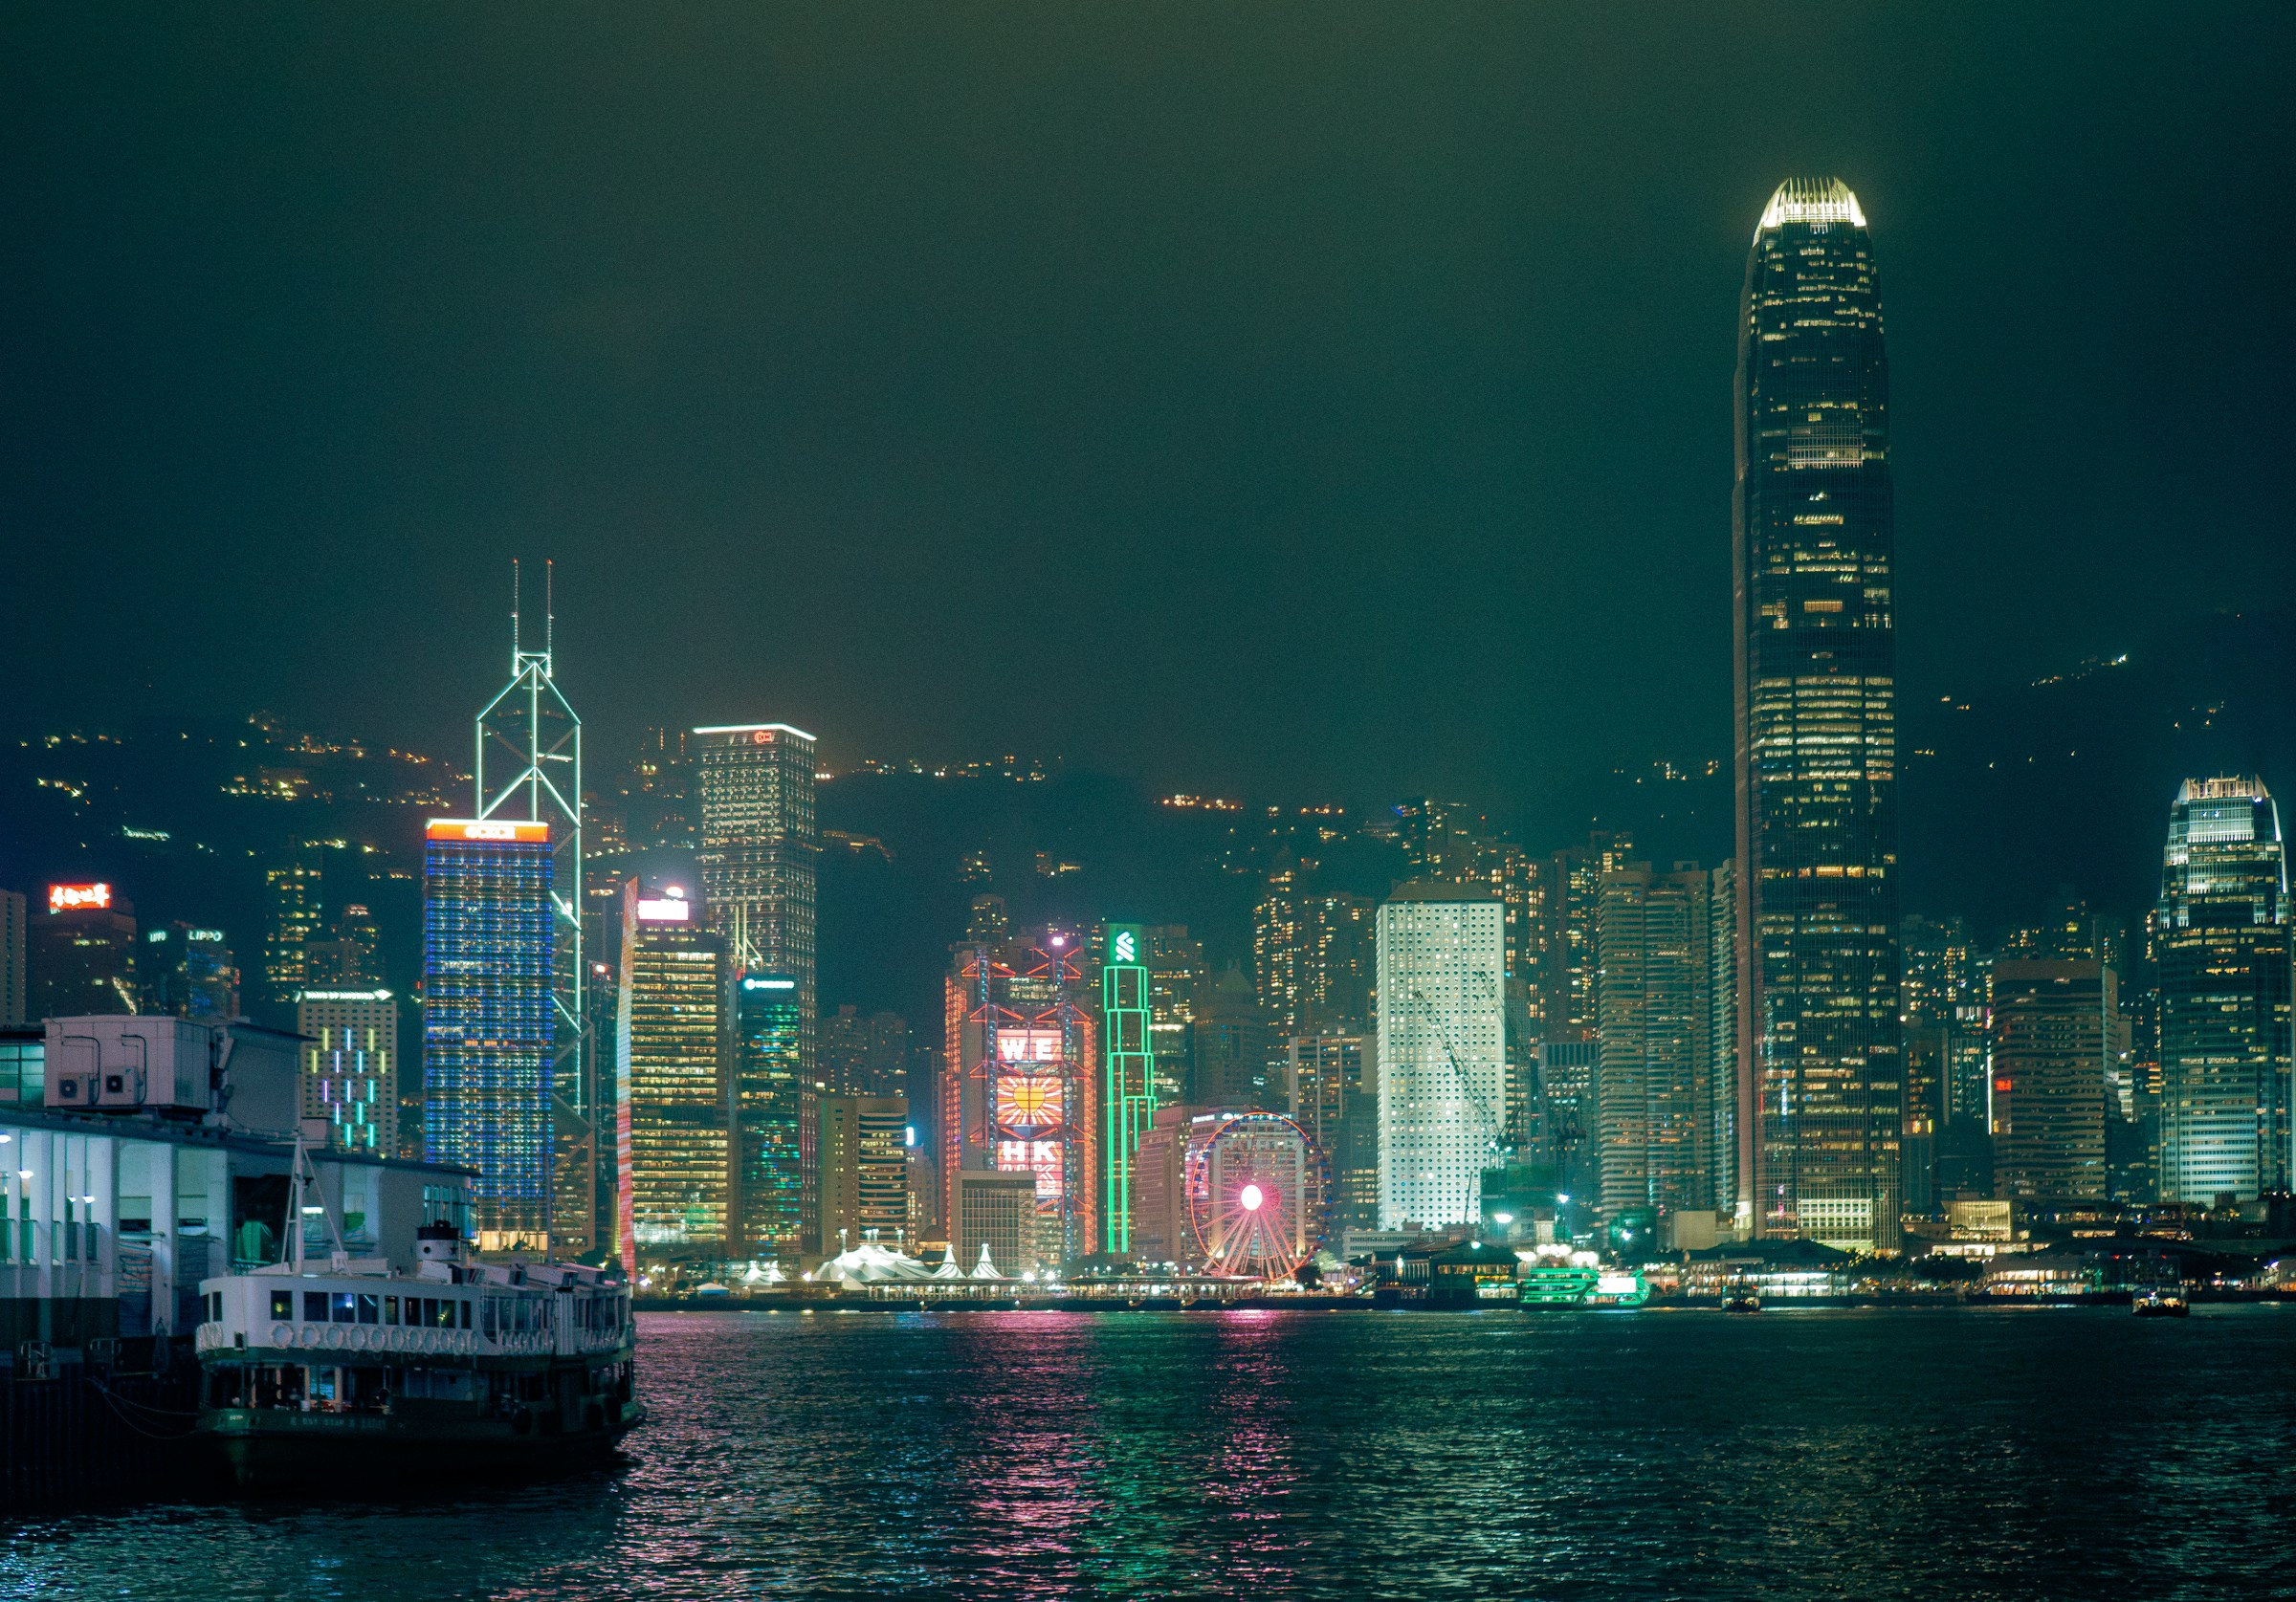
Finding the best photography tours in Hong Kong means knowing what the word “photo” actually buys: a guide taking portraits of you, a night sightseeing route that passes lit landmarks, or unhurried time at the rail with someone who knows the light. Hong Kong changes every few blocks: dense street layers, transport, harbor light, and a skyline best photographed with time to watch it change. A local guide can help you cover ground, but none of the listings below guarantees a photographer-instructor. Choose based on route and access, not a promise of camera coaching.
 SaveSave
Check the Hong Kong option on Viator See the Hong Kong option on GetYourGuide
Two useful routes
Best Instagram Spots, private custom city walk
A roughly four-hour personalized walking route with a local host, adjusted to the visitor’s interests. Tickets and transport are extra. A photo-minded route, NOT a guaranteed technical workshop.
Night walk, tram, and Victoria Peak
An evening guided walk through Central Market, Tai Kwun, a ding-ding tram ride, then Peak Tram to Victoria Peak. The operator lists tram admission in inclusions; check whether a particular Peak viewing-area ticket is included before buying.
A custom walk leaves room to ask for narrower street subjects. Tell the host what you want to photograph, rather than expecting a fixed set of postcard stops. The night route gives you a sequence of transport and viewpoints; its listed Peak stop is about 20 minutes, so it may not give you time for a careful tripod setup. At blue hour, expose for lit buildings while retaining color in the sky. For glass or tram windows, move the lens close to the pane and avoid on-camera flash. Check shooting rules where you stand.
Private custom after-dark walk (Viator)
A four-hour personalized evening walk with a local host offers a different compromise from the fixed tram-and-Peak itinerary. The operator invites you to shape your route around your interests and names Prince Edward MTR as the standard meeting area, with changes possible through its Experience Planners. Two drinks are listed, while attraction tickets, extra food, and transit are not included. Hong Kong after-dark custom walk.
A photographer might request time around night markets, neon, or quieter side streets, rather than use four hours to tick off monuments. Do that before the tour, not after the host has built the route. This is a local-host walk, not a technical photography class; the host may be able to help navigate and suggest neighborhoods, but instruction is not promised. Check current route, extra fares, and the date-specific total before booking.
Victoria Harbour night cruise (Viator)
 SaveSave
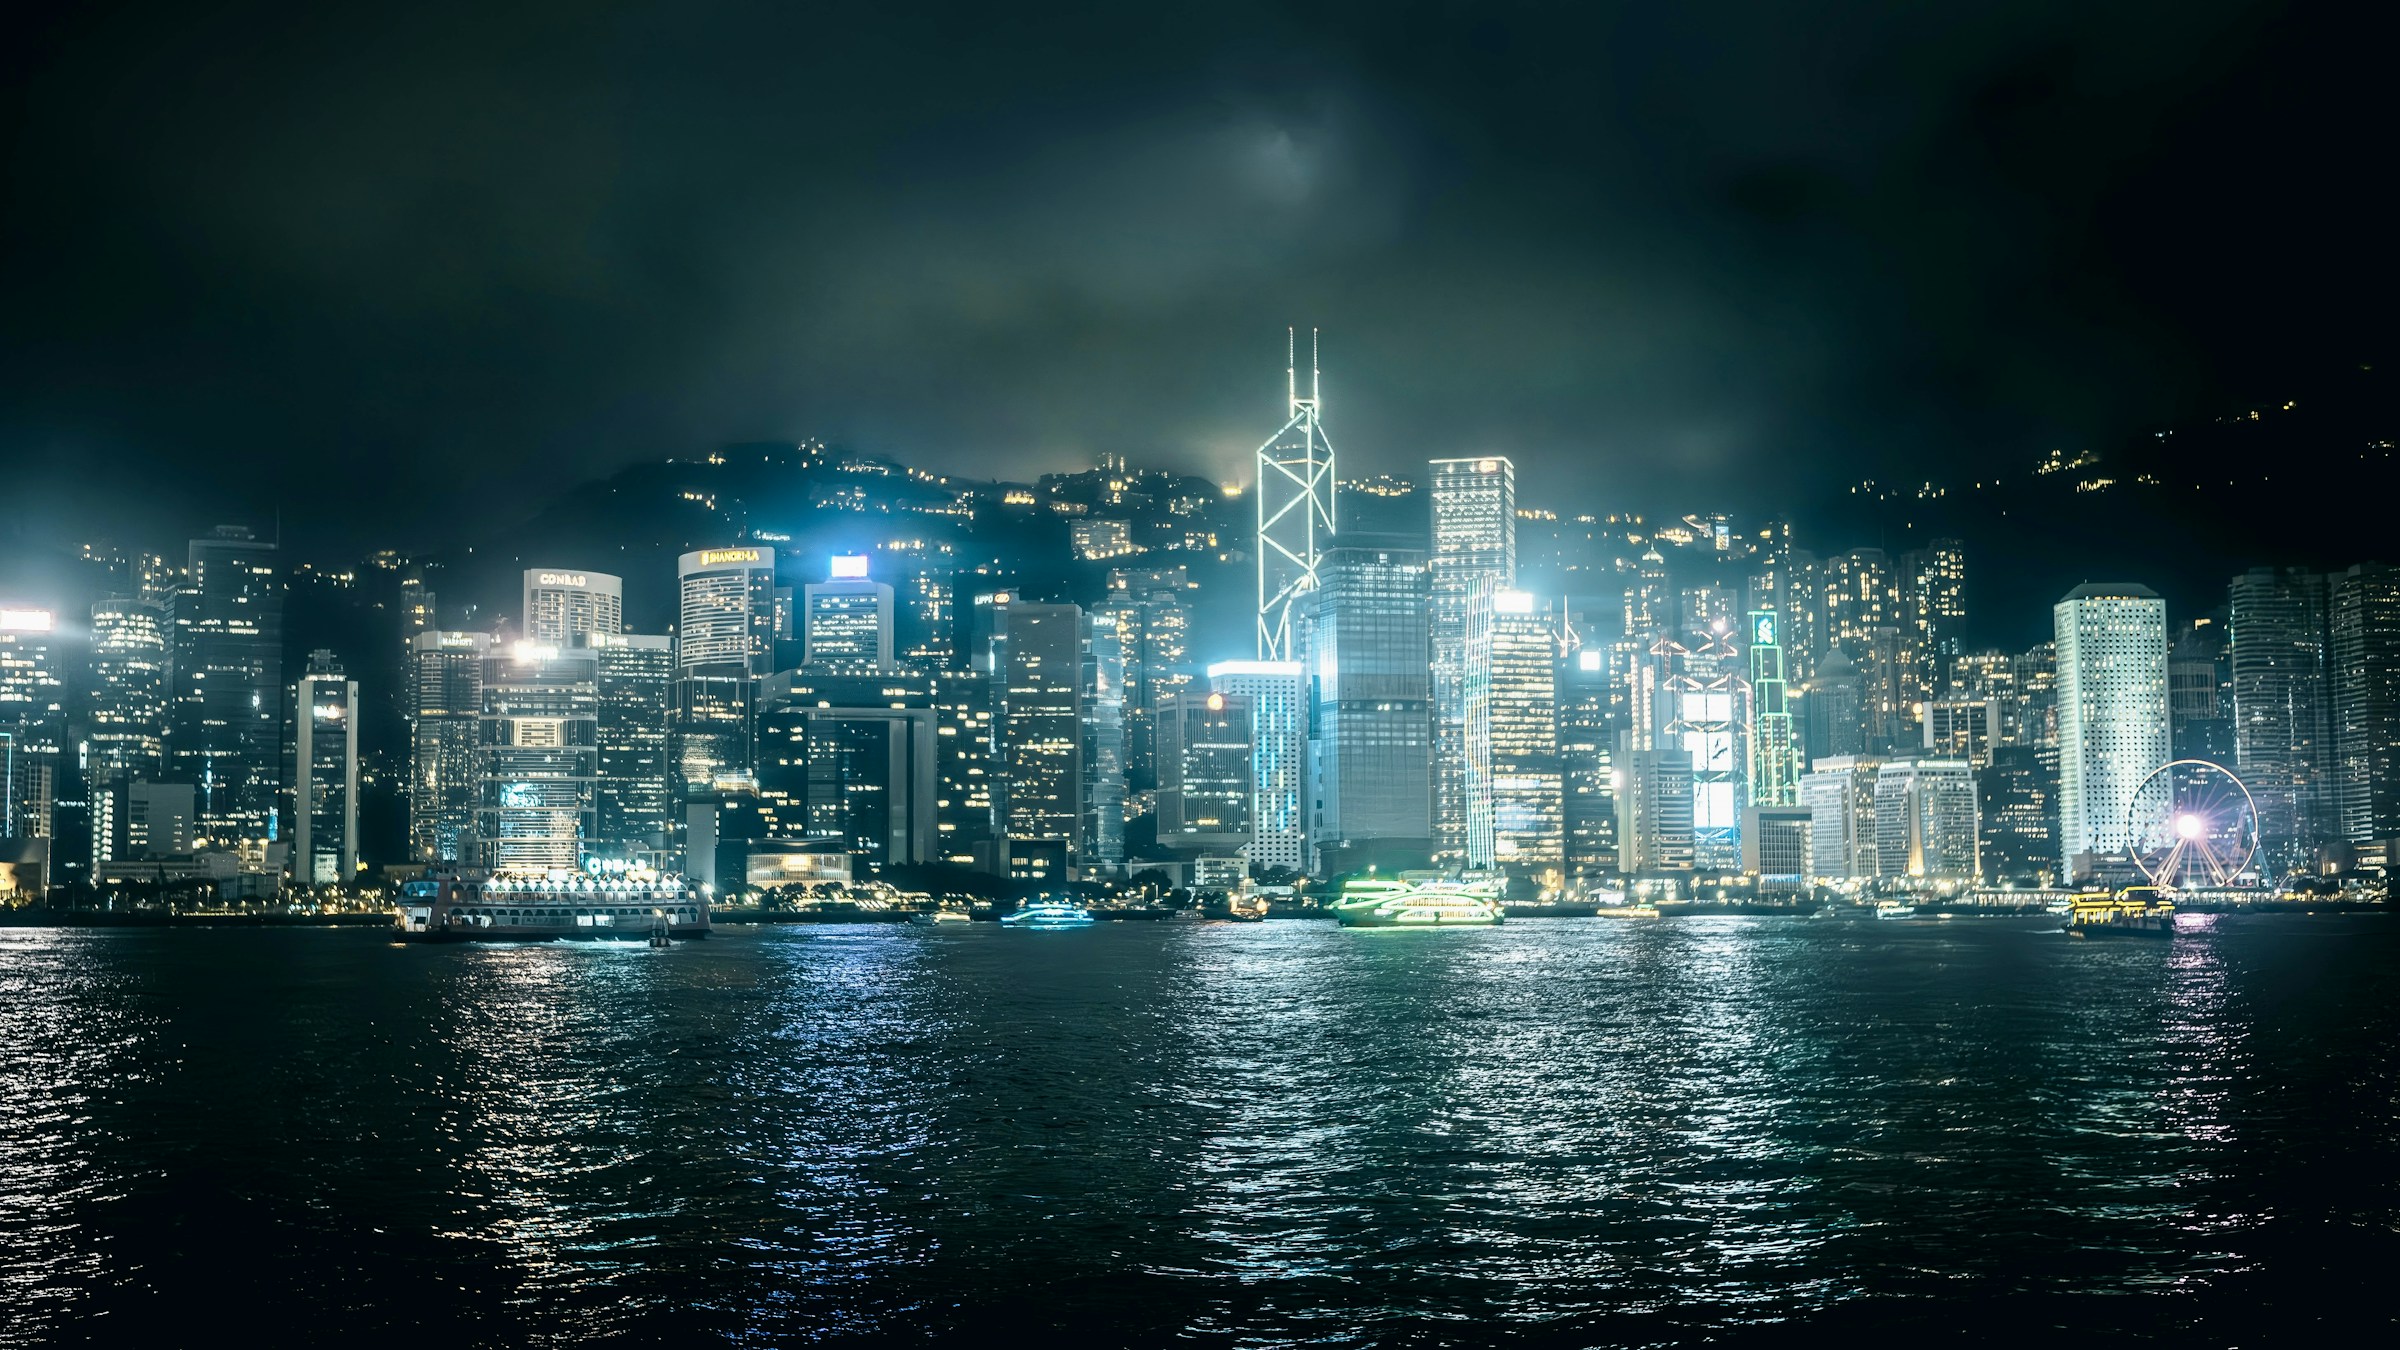
The DREAMER listing describes a roughly 45-minute yacht trip during the Symphony of Lights show from the Kowloon Public Pier. It advertises a professional photography helper, snacks, and drinks. That helper does not turn the boat into a full camera workshop. A photographer chooses it for a harbor vantage and the lit skyline, not for a long stationary exposure. Hong Kong harbour night cruise.
Confirm the actual vessel, boarding pier, selected sailing, and what the helper does before paying. On a moving deck use a faster shutter and accept some ISO noise rather than trying to make every building perfectly sharp at 1/10 second. A short cruise can be a useful complement to the private street walk, but a cloudy or hazy sky and other passengers change the frame. Do not promise the exact light-show view as a personal guaranteed image.
Another option on Klook
Klook lists a private Hong Kong tour with a photography-loving local host. The description covers Kowloon street scenes, Sham Shui Po, Nathan Road neon and a harbor ferry for views of Hong Kong Island. Stops can vary, so check the listing for the current itinerary.
See the Hong Kong private photo tour on Klook
Route, season, and kit
Hong Kong’s main choice here is not ‘photography tour versus no photography tour’ but whether you need a local host, transport-led orientation, or a water-level skyline view. The custom walk is for neighborhoods and pacing. The GYG night route is for seeing Central and Peak transit in one evening. The harbor cruise is for looking back at shore from the water. If you buy more than one, choose different subjects rather than repeat a Peak view.
Use weather and visibility on your own travel date to decide which skyline evening to reserve; neither catalog listing proves a clear horizon weeks ahead. In humid or wet conditions keep a lens cloth handy and give a camera time to acclimate before shooting through glass or from air conditioning. A fast normal lens helps street scenes; a compact zoom is more flexible for a crowded boat or a limited Peak stop. Don’t set a tripod in a path, tram, or boat without the operator’s permission.
The Viator photo-stop walk starts in Central by the Statue of Sir Thomas Jackson; the after-dark walk names Prince Edward MTR unless a different point is agreed. The GYG Peak outing names Central Station Exit C. The cruise names Kowloon Public Pier. Those routes cover different sides of the harbor. Check the address in the current confirmation and allow time to cross the water if your day’s earlier shoot is on the other side.
What the operator offers: private custom Instagram-spots walk on Viator
The name suggests a ready-made list of photogenic stops, but the stronger feature is flexibility. This is described as a private four-hour walking experience with a local host, with a possible central hotel meet-up and a customizable route. The listed meeting point is the Statue of Sir Thomas Jackson in Central, and the operator says an Experience Planner can adjust it after booking. Transport, food, and attraction tickets are not promised as included; budget separately if you want a tram, ferry, or paid viewpoint. .
A photographer can turn this into a useful scouting session by naming the desired subject before the date: compressed street layers, architecture against hillside density, or a harbor edge with ferry movement. Ask the host to leave a little time at fewer locations rather than racing through a checklist. The host is a local, not explicitly a photography instructor, so technical camera critique is not a guaranteed inclusion. The listing describes a private-group format. Confirm display currency and your actual total before purchasing.
This is a good pick for someone with limited time who wants a tailored route and local orientation. It is weaker for someone who already knows Hong Kong and needs only an exact blue-hour tripod setup. In that case use the location guide, revisit independently, and spend the money on the viewpoint or transport you actually need.
What the operator offers: night walk, trams, and Victoria Peak on GetYourGuide
 SaveSave
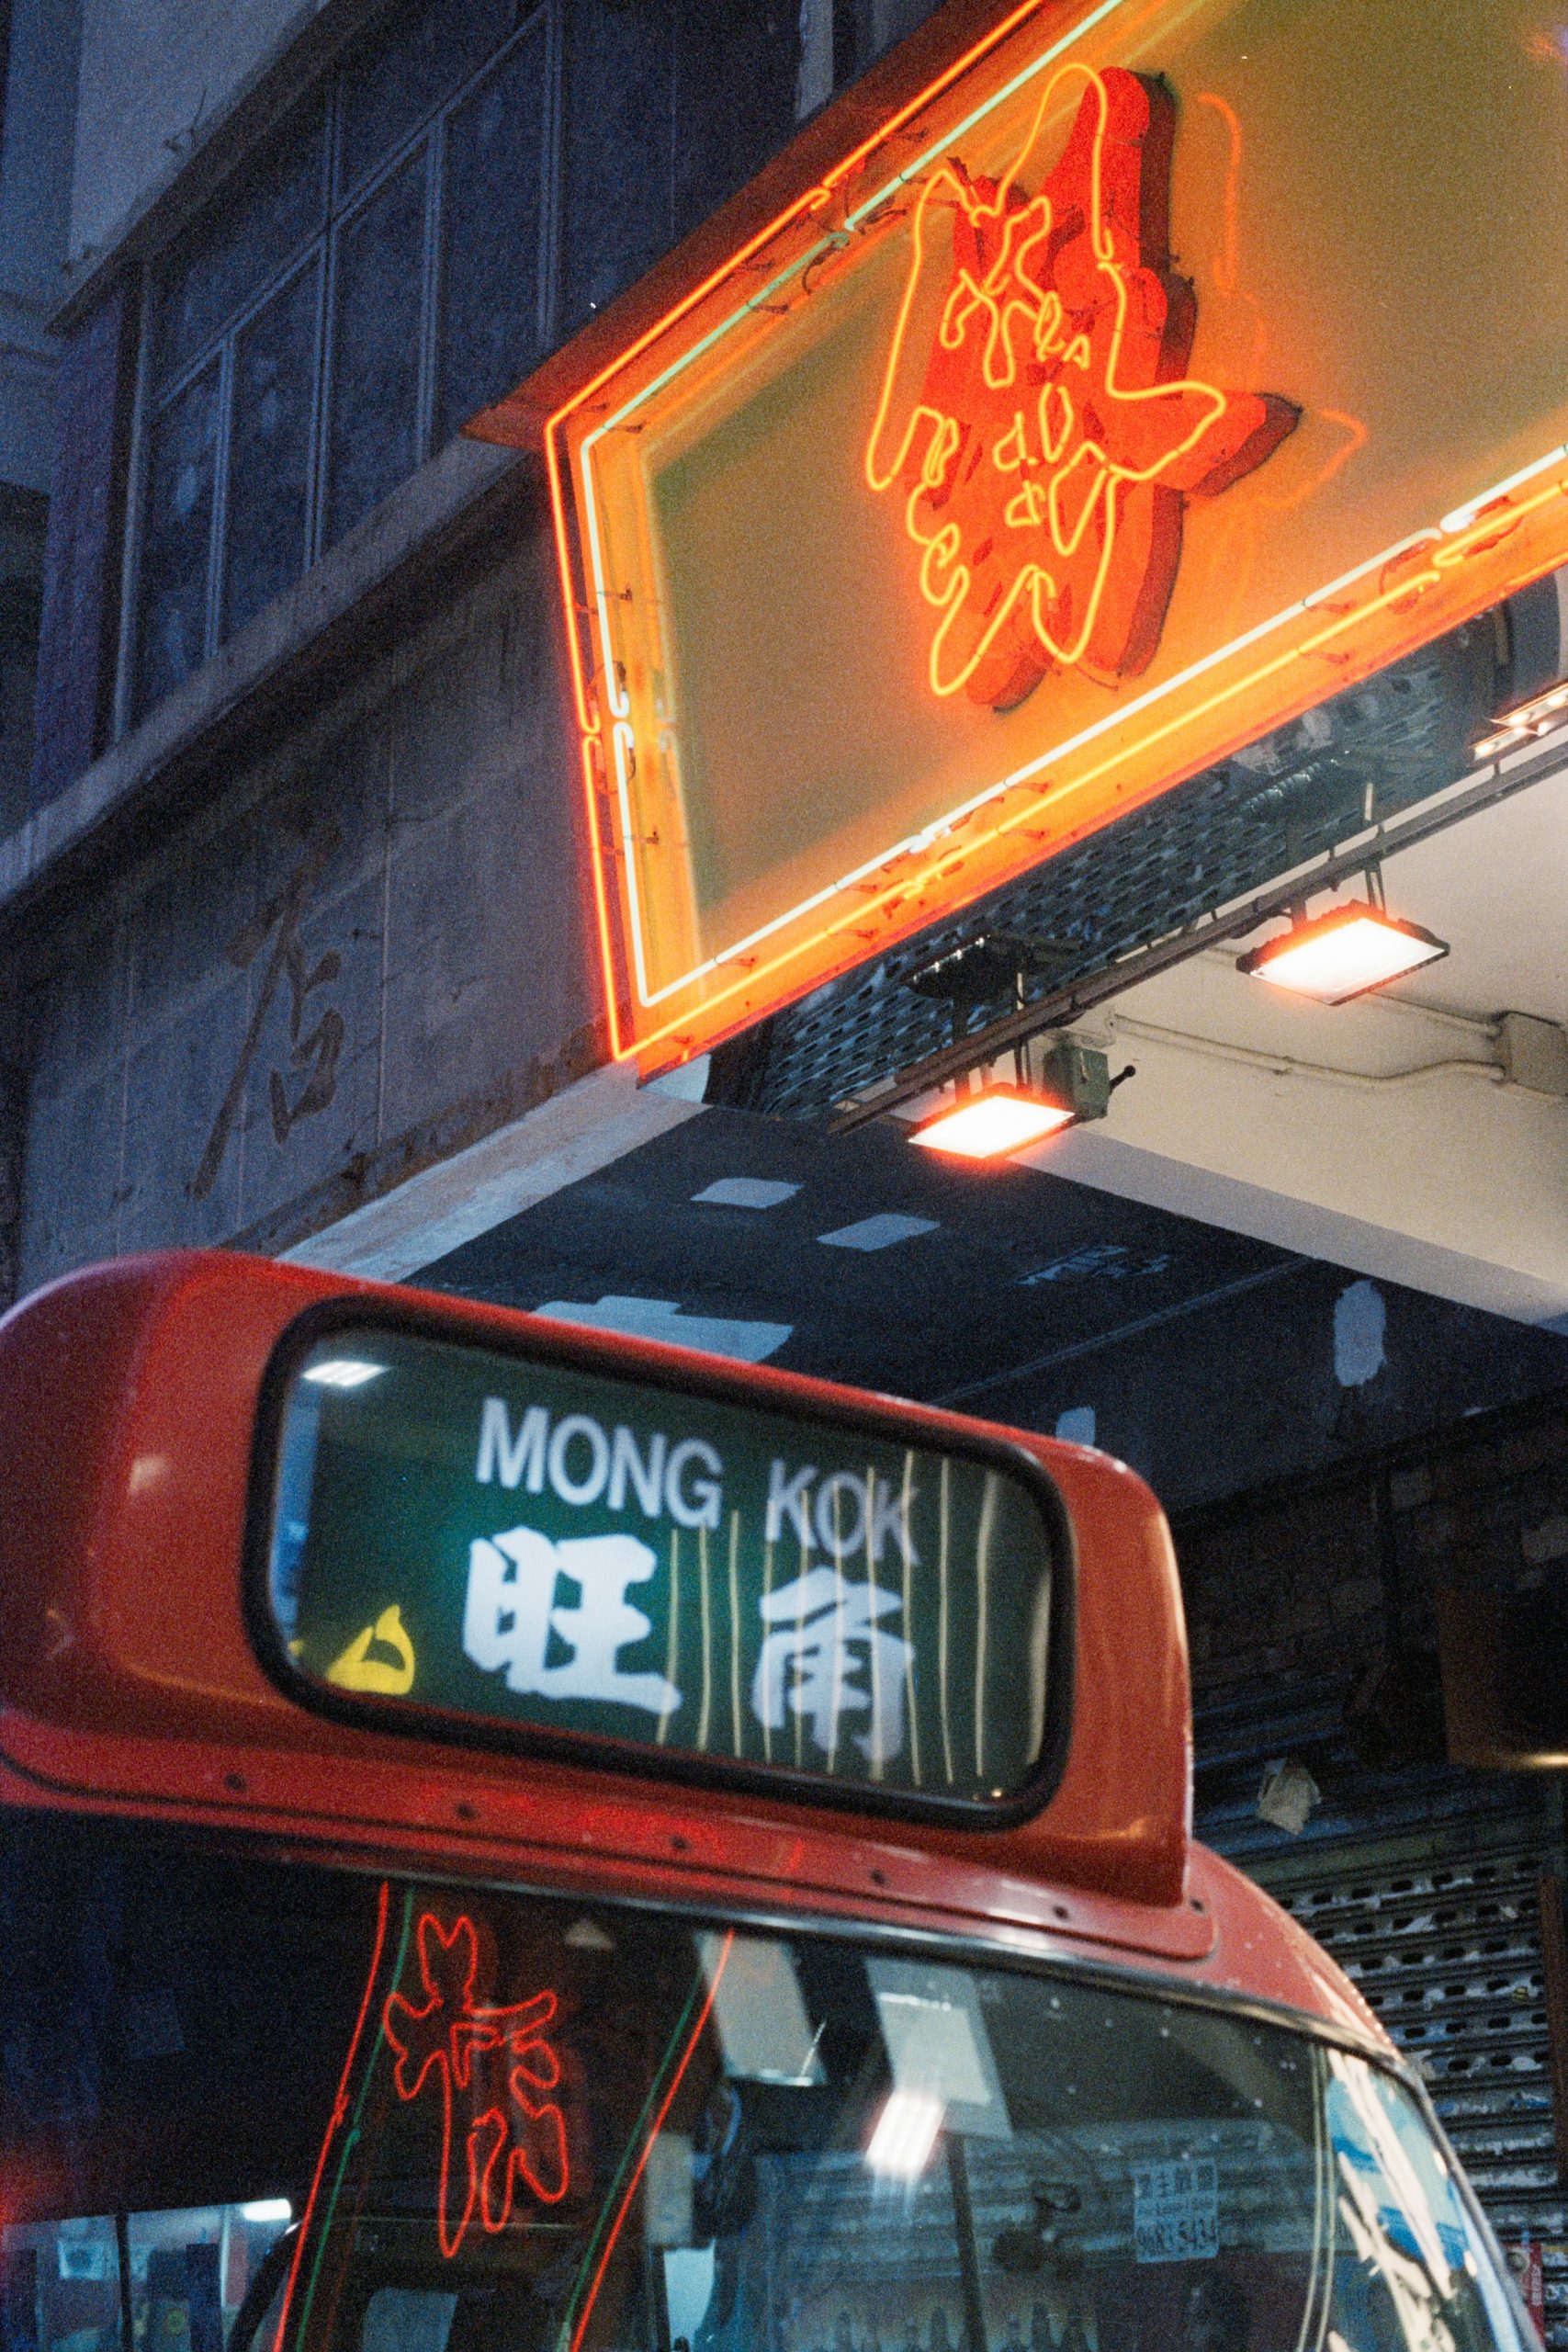
This evening sightseeing route moves through Central Market, the Mid-Levels Escalator, Tai Kwun, a ding-ding tram, the Peak Tram, and Victoria Peak. The itinerary lists about 20 minutes at the Peak; it can give you a preview of the skyline but may not leave room to wait through blue hour or work a careful panorama. The listing describes an English-speaking guide and included tram admissions. Check whether your chosen option includes any separate viewing-deck access, and do not confuse the Peak Tram ride with a guaranteed spot at a specific deck. .
The listing did not show a reliable group cap or one simple stated total duration in the text we read; the itinerary suggests an evening ending around 20:00, but you should confirm your selected departure and actual finish. It marks the route unsuitable for some mobility needs. Buy it to learn the transport route and see several types of Hong Kong night light, not to receive camera coaching. A moving tram calls for a fast shutter; the Peak may offer only a brief handheld scouting frame.
Turn an overview into a photo plan
On a custom walk, choose one subject per district. Look for repeated forms in signs and windows, then wait for a person or vehicle to break the pattern. Keep your camera ready without photographing people who clearly do not want to be photographed. Ask before making close portraits. On public transport, mind other passengers and do not block doors or walkways for a frame.
On the night route, distinguish light sources before choosing settings. A bright sign behind a dark subject is an exposure problem; a glass reflection is a position problem. Move away from the reflection or put the lens close to the glass rather than adding more ISO. At a skyline stop, get a clean horizon first, then look for a foreground to give scale. No tour can promise clear weather or an empty viewpoint.
Use the tour to get oriented, then use the guide when you can stand still until the frame works.
Hong Kong tour FAQ
Is the Instagram-spots walk a photography class?
The operator promises a private customizable tour with a local host, not a technical photography instructor. Ask the operator before booking if teaching is important.
Are attraction tickets and transit included in the private walk?
The listing does not list them as included and says transport can be arranged at additional cost. Confirm each paid stop in your plan.
How long is the Victoria Peak photo stop?
The GYG itinerary displays around 20 minutes there, subject to changes. It is a scouting window, not a guaranteed uninterrupted sunset shoot.
Does the night tour include Peak Tram tickets?
The listing names Peak Tram admission among inclusions. Check the exact selected option and whether any separate terrace ticket is included.
Can I use a tripod?
Neither tour promises tripod access or a long enough Peak stop. If that is your priority, verify viewpoint rules and plan a separate return.
An honest price comparison
The four-hour custom photo-stop walk displayed a starting price in Canadian dollars on the fetched Viator page, while the separate four-hour after-dark custom walk displayed a US-dollar starting price. Comparing the bare numerals would be misleading. Both can add transit, admissions, or food beyond what is included. The fixed GetYourGuide tram-and-Peak walk showed a lower US-dollar starting price, but the tradeoff is an itinerary with about twenty minutes at the Peak, not four hours of personalized photography. A harbor cruise is shorter still, about 45 minutes, and its on-board photography helper is not a personal instructor. Compare total selected-date cost, inclusion, and actual shooting time instead of ranking by an unconverted ‘from’ price.
Three different skyline attempts
A harbor boat gives a low, moving viewpoint; the Peak gives a high, brief overview; a return on foot allows you to wait without the tour group’s clock. These are three separate photographic jobs. For the boat, choose a shutter speed that holds building edges despite motion. At the Peak, first check whether haze or reflections make a long skyline frame worthwhile. For an independent return, use the mapped guide to pick a shot and give it enough time. Night-city photography is often less about finding the tallest point and more about controlling foreground clutter and light. Do not promise the Symphony of Lights as a perfectly exposed picture: a show can run while the boat moves and crowds block part of the rail.
What about a photography instructor?
None of the vetted Hong Kong products clearly promises camera instruction. The Instagram-spots tour has a local host, the night route a sightseeing guide, and the cruise a photography helper. Readers who want manual-exposure teaching should ask operators directly or choose a different verified course rather than mistake a marketplace ‘photography’ category for a workshop.
Return on your own clock
Use the free Hong Kong photography guide for your first shot list. A tour can help you find a frame; the strongest version may happen on your second visit.
A second night with a clear goal
If you have a second evening, return to just one district rather than repeat the entire guided route. Pick either layered street light or a harbor view, not both in the same hour. For street scenes, find a safe spot where a sign, window, or staircase gives structure. Wait for a person to enter and leave the frame, then compare the versions. For the harbor, take one exposure that protects the brightest building signs and another that retains the darker water. Review the pair at full size before deciding whether to bracket again.
When visibility is poor, avoid promising yourself a distant skyline. Work closer: ferry wakes, tram reflections, or the meeting of warm indoor light with cooler street light. This is also a reason not to buy a second tour solely for its Peak stop. The guided itinerary may be useful for finding your way, but the strongest image often needs a patient return when you can move a few meters to clean up the foreground.
Recommended Gear for a City Photography Tour
If your tour allows personal camera gear, a small kit can help with low-light streets and changing weather. Check the operator’s tripod policy and your camera mount before buying. B&H Photo Video and Amazon options are linked below.
| What & Why | B&H | Amazon |
|---|---|---|
Fujifilm X100VI Compare this option with your current kit. Check compatibility and the product details before buying. | Shop B&H → | Shop Amazon → |
Sony FE 35mm f/1.4 GM (Sony E-mount) Check the camera mount before buying. Choose a focal length that fits the photos you plan to make. | Shop B&H → | Shop Amazon → |
Peak Design Aluminum Travel Tripod Check the load rating, packed size and local tripod rules before buying. | Shop B&H → | Shop Amazon → |
OP/TECH USA 18-inch Rainsleeve Compare this option with your current kit. Check compatibility and the product details before buying. | Shop B&H → | Shop Amazon → |
B&H and Amazon links are affiliate links. We earn a small commission on purchases at no extra cost to you.