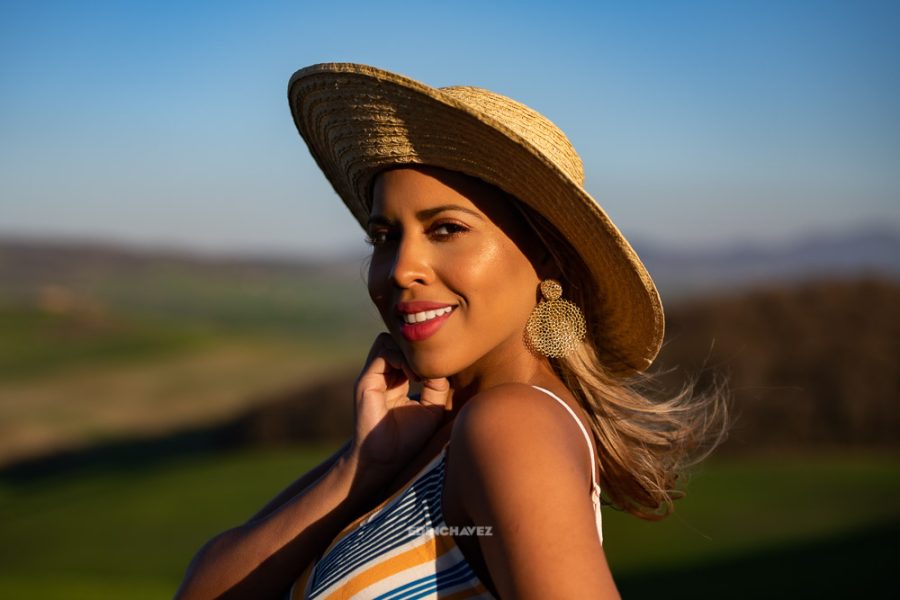
Drama happens in the local adjustments
Updated October 2026
This post started life in 2014 as a quick pointer about adjustment brushes in Lightroom 5. The tool has grown up since then – in current Lightroom Classic everything local lives inside the Masking panel, and the brush is joined by linear and radial gradients plus AI-powered subject and sky selections. The core idea has not changed at all: a global edit makes a photo correct, and local adjustments make it dramatic. Here is the full guide this post always deserved.
Every technique below works in current Lightroom Classic and Lightroom (cloud). The names in parentheses are the ones older versions used, in case you are following along on an older install.
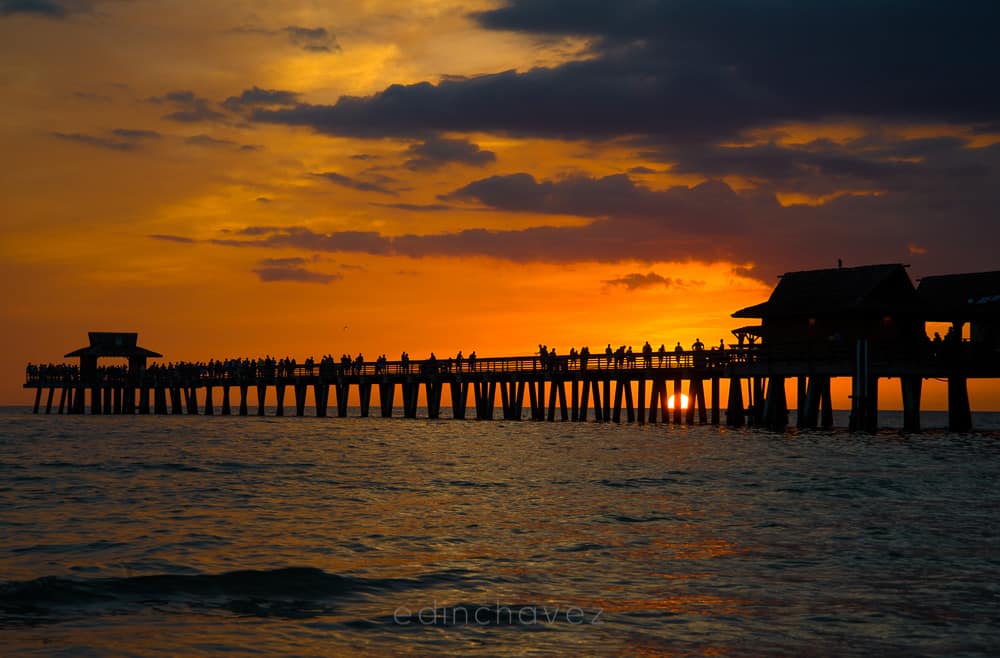 Save
SaveGlobal first, local second
Before you touch a brush, get the base file into honest shape with the global sliders in the Basic panel. Set white balance, pull highlights back until the sky holds detail, open shadows until the foreground reads, and set your white and black points. This is the exposure foundation everything else sits on.
The reason for this order is simple: local adjustments in Lightroom stack on top of the global edit. If the base file is two stops too dark, you end up fighting that with brushes, and brushed-on exposure never looks as clean as exposure captured in camera or set globally. Get the frame to a decent, slightly flat neutral first. Flat is fine at this stage. Flat is the canvas.
A useful target: the histogram should touch neither edge hard, the sky should show structure, and the frame should look a little boring. Boring is what you fix with local tools. If you want a refresher on the exposure side of this, the guide to aperture, shutter speed, and ISO covers the capture half of the equation.
The three local tools and when each one wins
Lightroom’s Masking panel gives you three manual tools. Each one shapes light in a different geometry, and picking the right geometry is most of the battle.
The Brush (Adjustment Brush)
The brush paints an adjustment exactly where you put it: exposure, shadows, clarity, texture, saturation, white balance, sharpness, and more. This is the tool for dodging a subject brighter, burning a distraction darker, adding texture to a rock or a cloud, or warming one patch of a scene. It is the most precise of the three and the easiest to overdo.
The Linear Gradient (Graduated Filter)
The linear gradient applies an adjustment that fades out along a straight line – built for skies. Drag it from the top of the frame down to the horizon, and whatever you dial in (darker exposure, deeper saturation, more contrast) falls off naturally with distance from the edge, the way a real sky does. It is also the right tool for lifting a foreground: drag up from the bottom edge instead.
The Radial Gradient (Radial Filter)
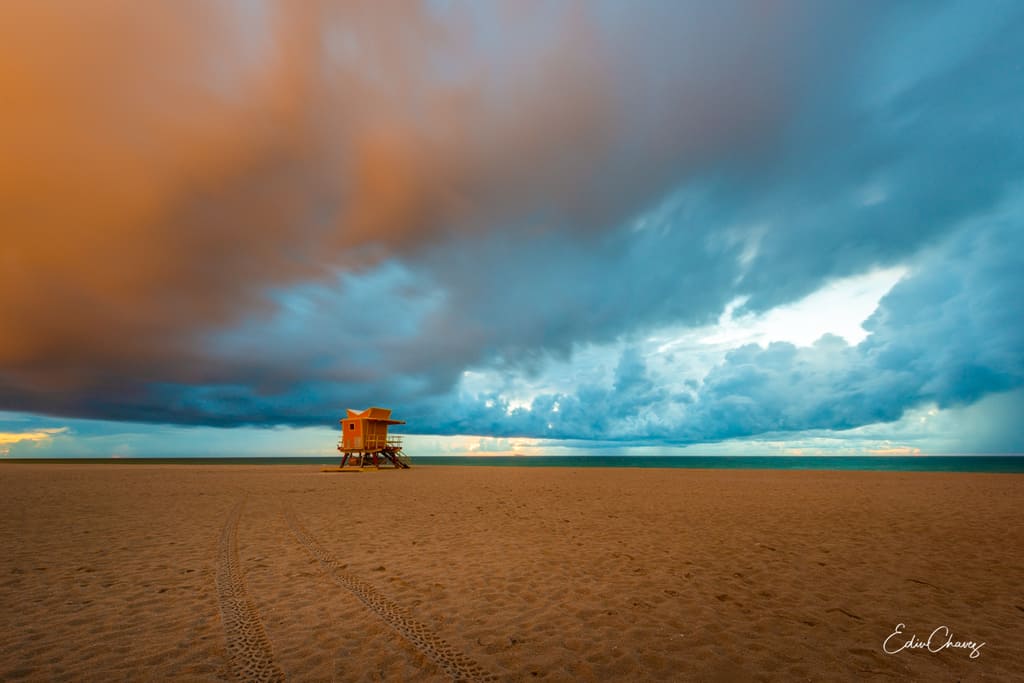
The radial gradient draws an ellipse and applies the adjustment inside or outside it, feathered at the edge. Use it to put a soft pool of light on your subject – a lifeguard tower, a person, a building – or to darken everything outside the subject into a natural vignette. It mimics the way your eye is drawn to the brightest part of a frame.
 Save
SaveWhat about the AI masks?
Current Lightroom can select the sky or your subject for you with one click, and those AI masks are genuinely good – use them as the starting shape whenever they fit. The reason to still learn the three manual tools is control: an AI sky selection stops at the skyline, but it cannot know that you want only the left half of the sky darker, or that the glow should pool around the sun and fade outward. The drama is in the geometry you choose, not the selection the software guesses.
The drama recipe, step by step
Here is the workflow that turns a flat frame into one with weather in it. Treat every number as a starting point, not a rule – every file is different, and the sliders are cheap to move.
Step 1: Base edit. Neutral global edit as described above. Slightly flat, detail everywhere.
Step 2: Darken the sky with a linear gradient. Drag from the top edge down to just past the horizon. Start around -0.5 to -1 stop of exposure, pull highlights down a touch, and add a small bump of contrast and saturation. The sky should gain weight and structure without turning into a thunderhead you did not photograph.
Step 3: Lift the foreground with a second linear gradient. Drag from the bottom edge up. Start around +0.3 to +0.7 exposure and a small shadows lift. The ground, water, or sand should read clearly without matching the sky’s brightness – the sky is allowed to be the star.
Step 4: Dodge the subject with the brush. Paint over your subject with +0.3 or so of exposure and a whisper of clarity or texture. Use a soft, feathered brush and low flow (more on flow below) and build up in passes instead of one heavy swipe.
Step 5: Add a radial gradient over the subject. One soft ellipse, inverted so the adjustment applies outside it, pulled down slightly – a gentle natural vignette that pushes the edges of the frame back and the subject forward.
Step 6: Clean up. Zoom to 100%. Look for halos along the horizon where your sky gradient overlaps dark foreground elements, and for bright edges where the brush spilled. Every mask can be refined after the fact – click it, and use the Subtract mode with a brush to erase spills.
Watch the difference local adjustments make
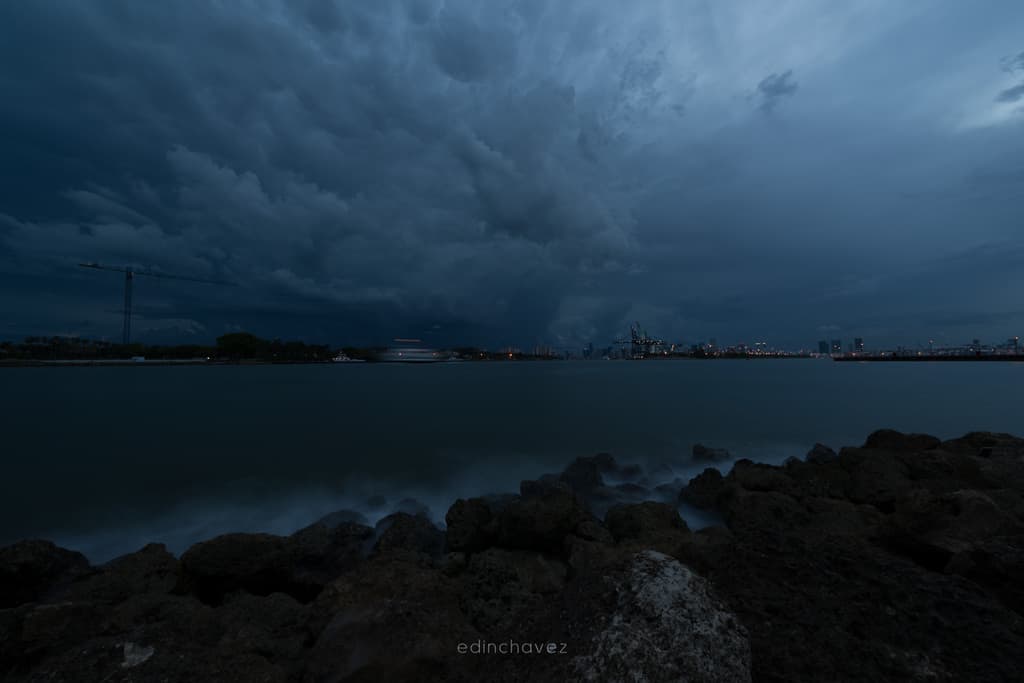
This storm frame is the same file twice. The first version is closer to the raw capture: dark, flat, and gray, with the clouds over the Miami shoreline mushed into one layer. The second version is after a Lightroom local-adjustment pass – a brighter, more saturated frame with real structure in the clouds, a lifted glow where the water meets the horizon, and a cooler teal-blue grade across the whole frame.
 Save
Save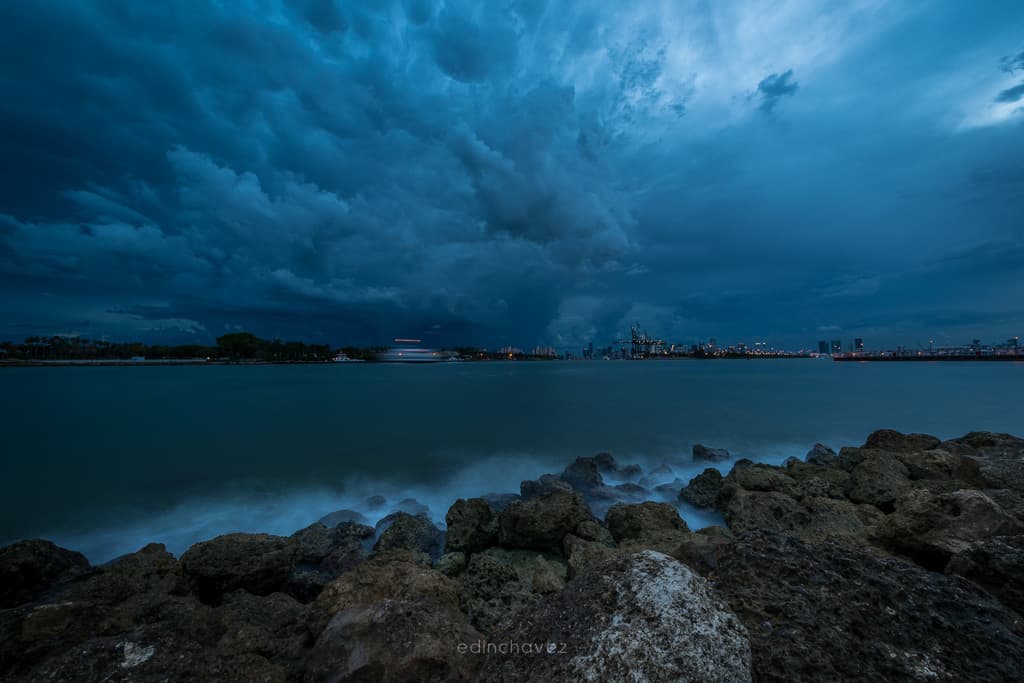 Save
SaveTo build a similar look, think in layers rather than one magic slider: a linear gradient to hold the sky down, a second gradient to open the water, and brush work to separate the clouds. This pair comes from a storm-editing walkthrough on my fine art site, How to Edit a Storm in Lightroom, if you want to watch a storm edit like this in motion.
Brush settings that decide whether it looks real
Four small settings at the bottom of the brush section decide whether your work is invisible or obvious.
Flow is how fast the adjustment builds up as you paint. Keep it low – somewhere around 10 to 30 – and build effect with repeated strokes. One pass at 100 flow looks painted on; five passes at 20 look like light.
Density is the ceiling on how much effect the brush can ever lay down in one mask. Leave it high for most work and control strength with the effect sliders instead.
Feather is the softness of the brush edge. Drama edits need big, soft edges – hard edges are what create the telltale glowing outline around a dodged subject. When in doubt, go softer and larger than feels right.
Auto Mask snaps the brush edge to detected edges in the photo. It is handy for tight work along a horizon or a building line, and a liability in skies and water, where it creates patchy, crunchy edges. Turn it off for anything atmospheric.
Where drama edits go wrong
The line between dramatic and fake is thinner than it looks on a small screen. The most common ways these edits fall apart:
Halos. A sky gradient or clarity brush that crosses the horizon leaves a bright rim along dark buildings, mountains, or trees. Fix it by subtracting from the mask along the edge with a small auto-mask brush.
Texture and clarity abuse. Global clarity on a sky turns clouds into gravel. Keep heavy texture and clarity inside brush masks, on things that actually have surface detail – rock, sand, fabric, bark.
Fighting the light. If the sun is clearly on the left of the frame and your dodged-bright subject is on the right, viewers feel the lie even if they cannot name it. Local adjustments should amplify the light that was there, not invent a second sun.
Radioactive skies. Saturation on a sunset sky climbs fast. If the sky is the loudest thing in the room by a mile, back the gradient’s saturation off until it looks like evening again. Good composition gives drama somewhere to live; saturation alone never will.
Take it further
If you want the full Lightroom workflow taught start to finish – import to export, with every panel in between – my Lightroom course at Shut Your Aperture Academy covers it. Check the Academy for current access options – then you can move from this guide into the complete editing library whenever you are ready.
One last habit worth building: after every local pass, toggle the Masking panel off and on and watch the frame. If the “before” already looked better, you went too far. The best drama edit is the one a viewer never notices happened.
Then go shoot something with weather in it. Storm light, blue hour, a sunset with actual clouds – drama is much easier to edit into a frame when the sky gave you something to work with in the first place.
 Save
SaveFrequently asked questions
Where is the adjustment brush in the current Lightroom?
In Lightroom Classic, open the Develop module and click the Masking icon (the dotted circle) in the toolbar under the histogram – the Brush, Linear Gradient, and Radial Gradient all live inside that panel. In the cloud-based Lightroom, the same tools are under the Masking icon in the edit stack. Older versions called them the Adjustment Brush, Graduated Filter, and Radial Filter.
What is the difference between a brush and a preset?
A preset applies a saved recipe in one click. Many presets are global-only, but current Lightroom versions also include AI-powered adaptive presets that apply Subject or Sky masks, so a preset can carry local adjustments too. What a preset never gives you is precise control over where the adjustment lands – that is what the brush and gradients are for. Presets are a starting point; manual local adjustments are how you shape light in one part of the frame without touching the rest.
What is the difference between flow and density on the brush?
Flow controls how quickly the effect builds with each stroke – low flow means you paint the same spot several times to reach full strength. Density sets the maximum strength the brush can apply within that mask no matter how many strokes you add. For natural-looking edits, keep flow low and density high.
Why do my edits leave glowing edges or halos?
Halos come from a mask that crosses a high-contrast edge – usually a sky adjustment spilling onto a dark horizon line, or a hard-edged brush around a subject. Fix them by selecting the mask, choosing Subtract, and erasing along the edge with a small brush, and keep your working brushes heavily feathered.
Do adjustment brushes work on JPEGs?
Yes – every local tool works on JPEGs as well as raw files. You just have less room to push: raw files hold more highlight and shadow information, so big exposure changes stay cleaner. On a JPEG, keep local exposure moves modest and lean on contrast, texture, and color instead.
Can I use adjustment brushes in Lightroom Mobile?
Yes. Lightroom Mobile on iOS and Android has the same Masking panel with Brush, Linear Gradient, and Radial Gradient. The interface is touch-based, but the tools, settings, and stacking logic are the same as the desktop versions.