Updated October 2026
Industrial architecture is easier to photograph than to explain. A row of towers can look dramatic at night, but a photograph full of bright lights does not necessarily help the viewer understand the structure. A useful short sequence gives each image a different job: establish the setting, show scale, follow a visible connection, then isolate a detail that adds information.
You do not need to enter a plant to attempt that sequence. This guide is about exterior photographs made from places where you are allowed to stand. It is not an invitation to explore abandoned buildings, walk railway tracks, climb fences, or get closer to operating equipment. If the permitted view cannot deliver the photograph, change the photograph.
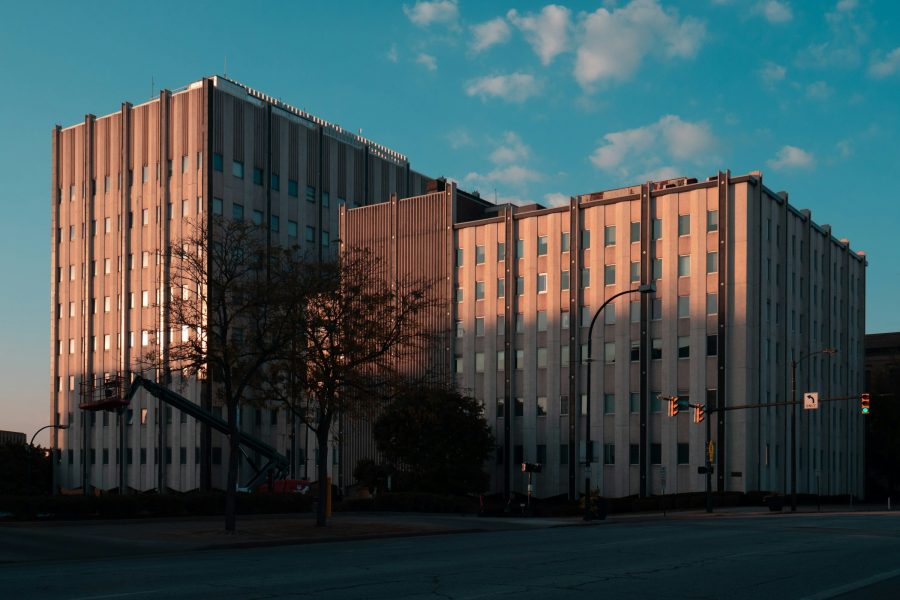
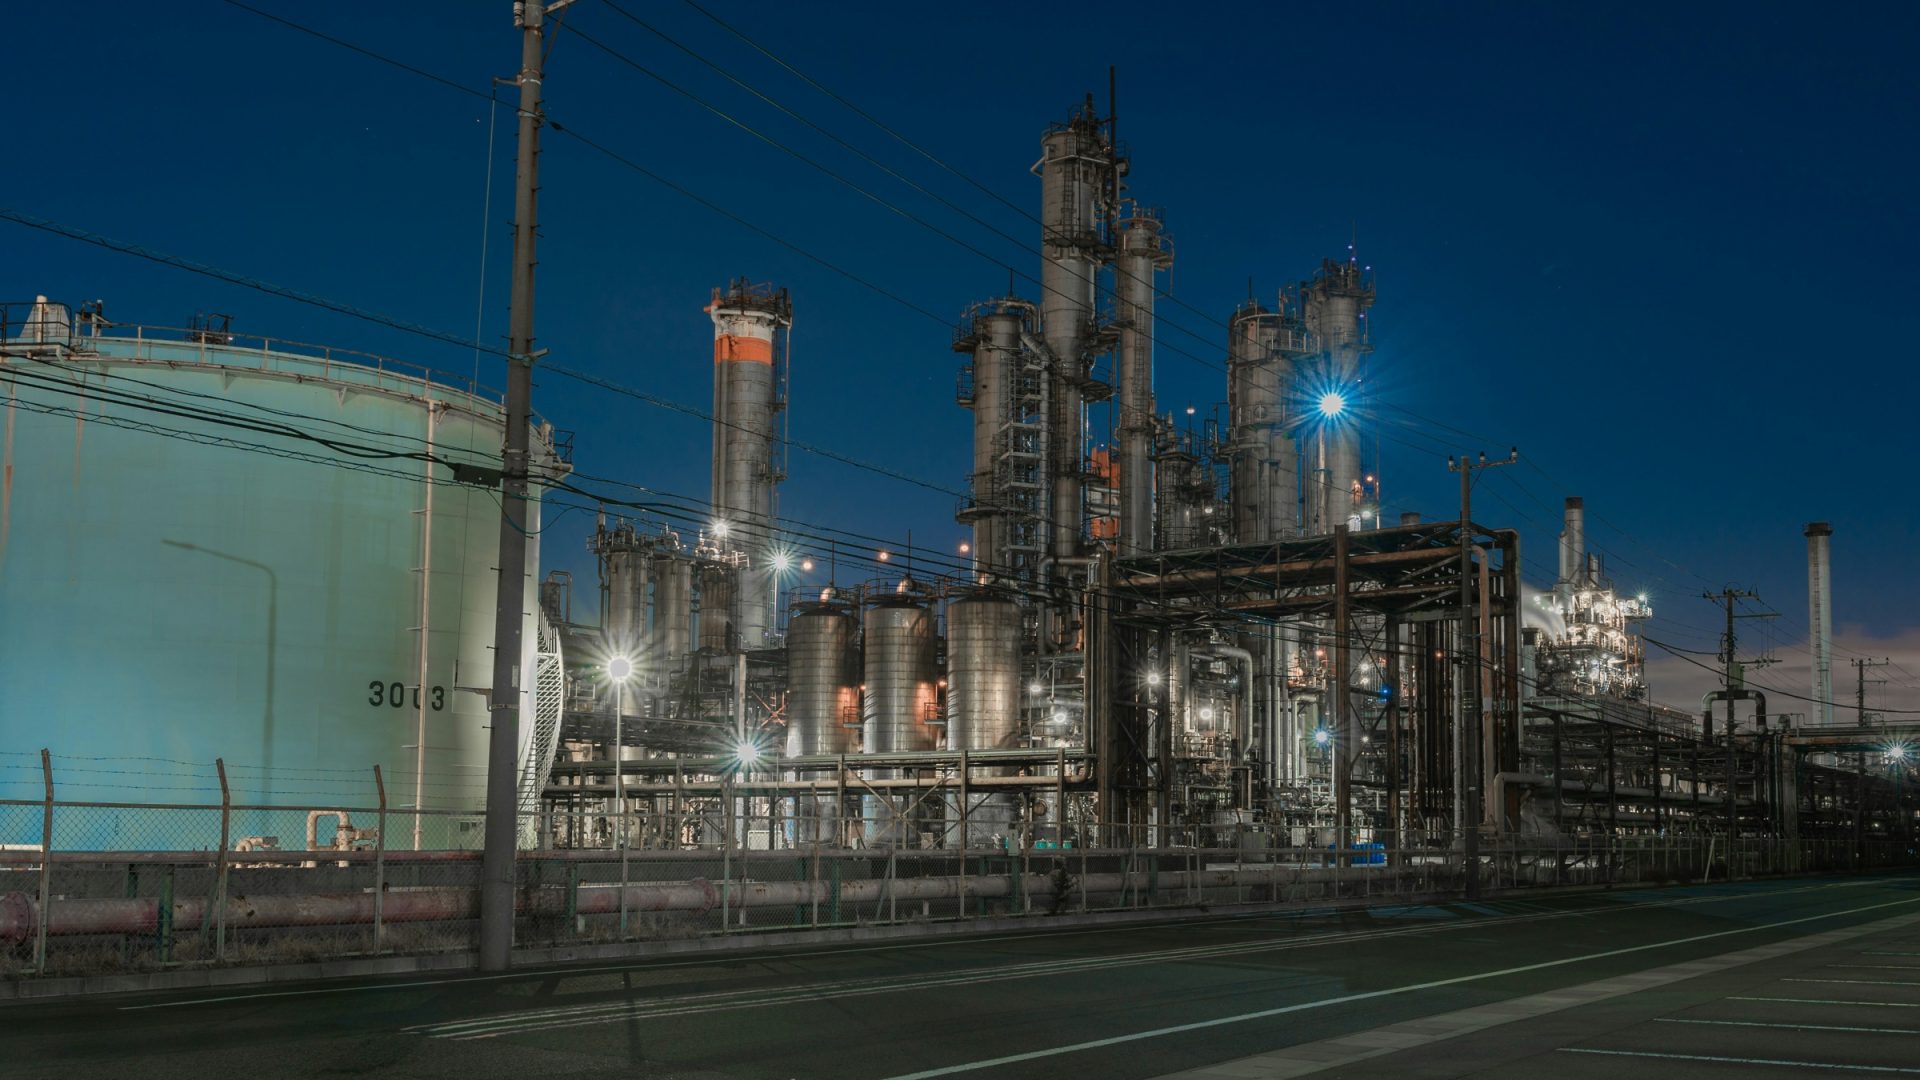
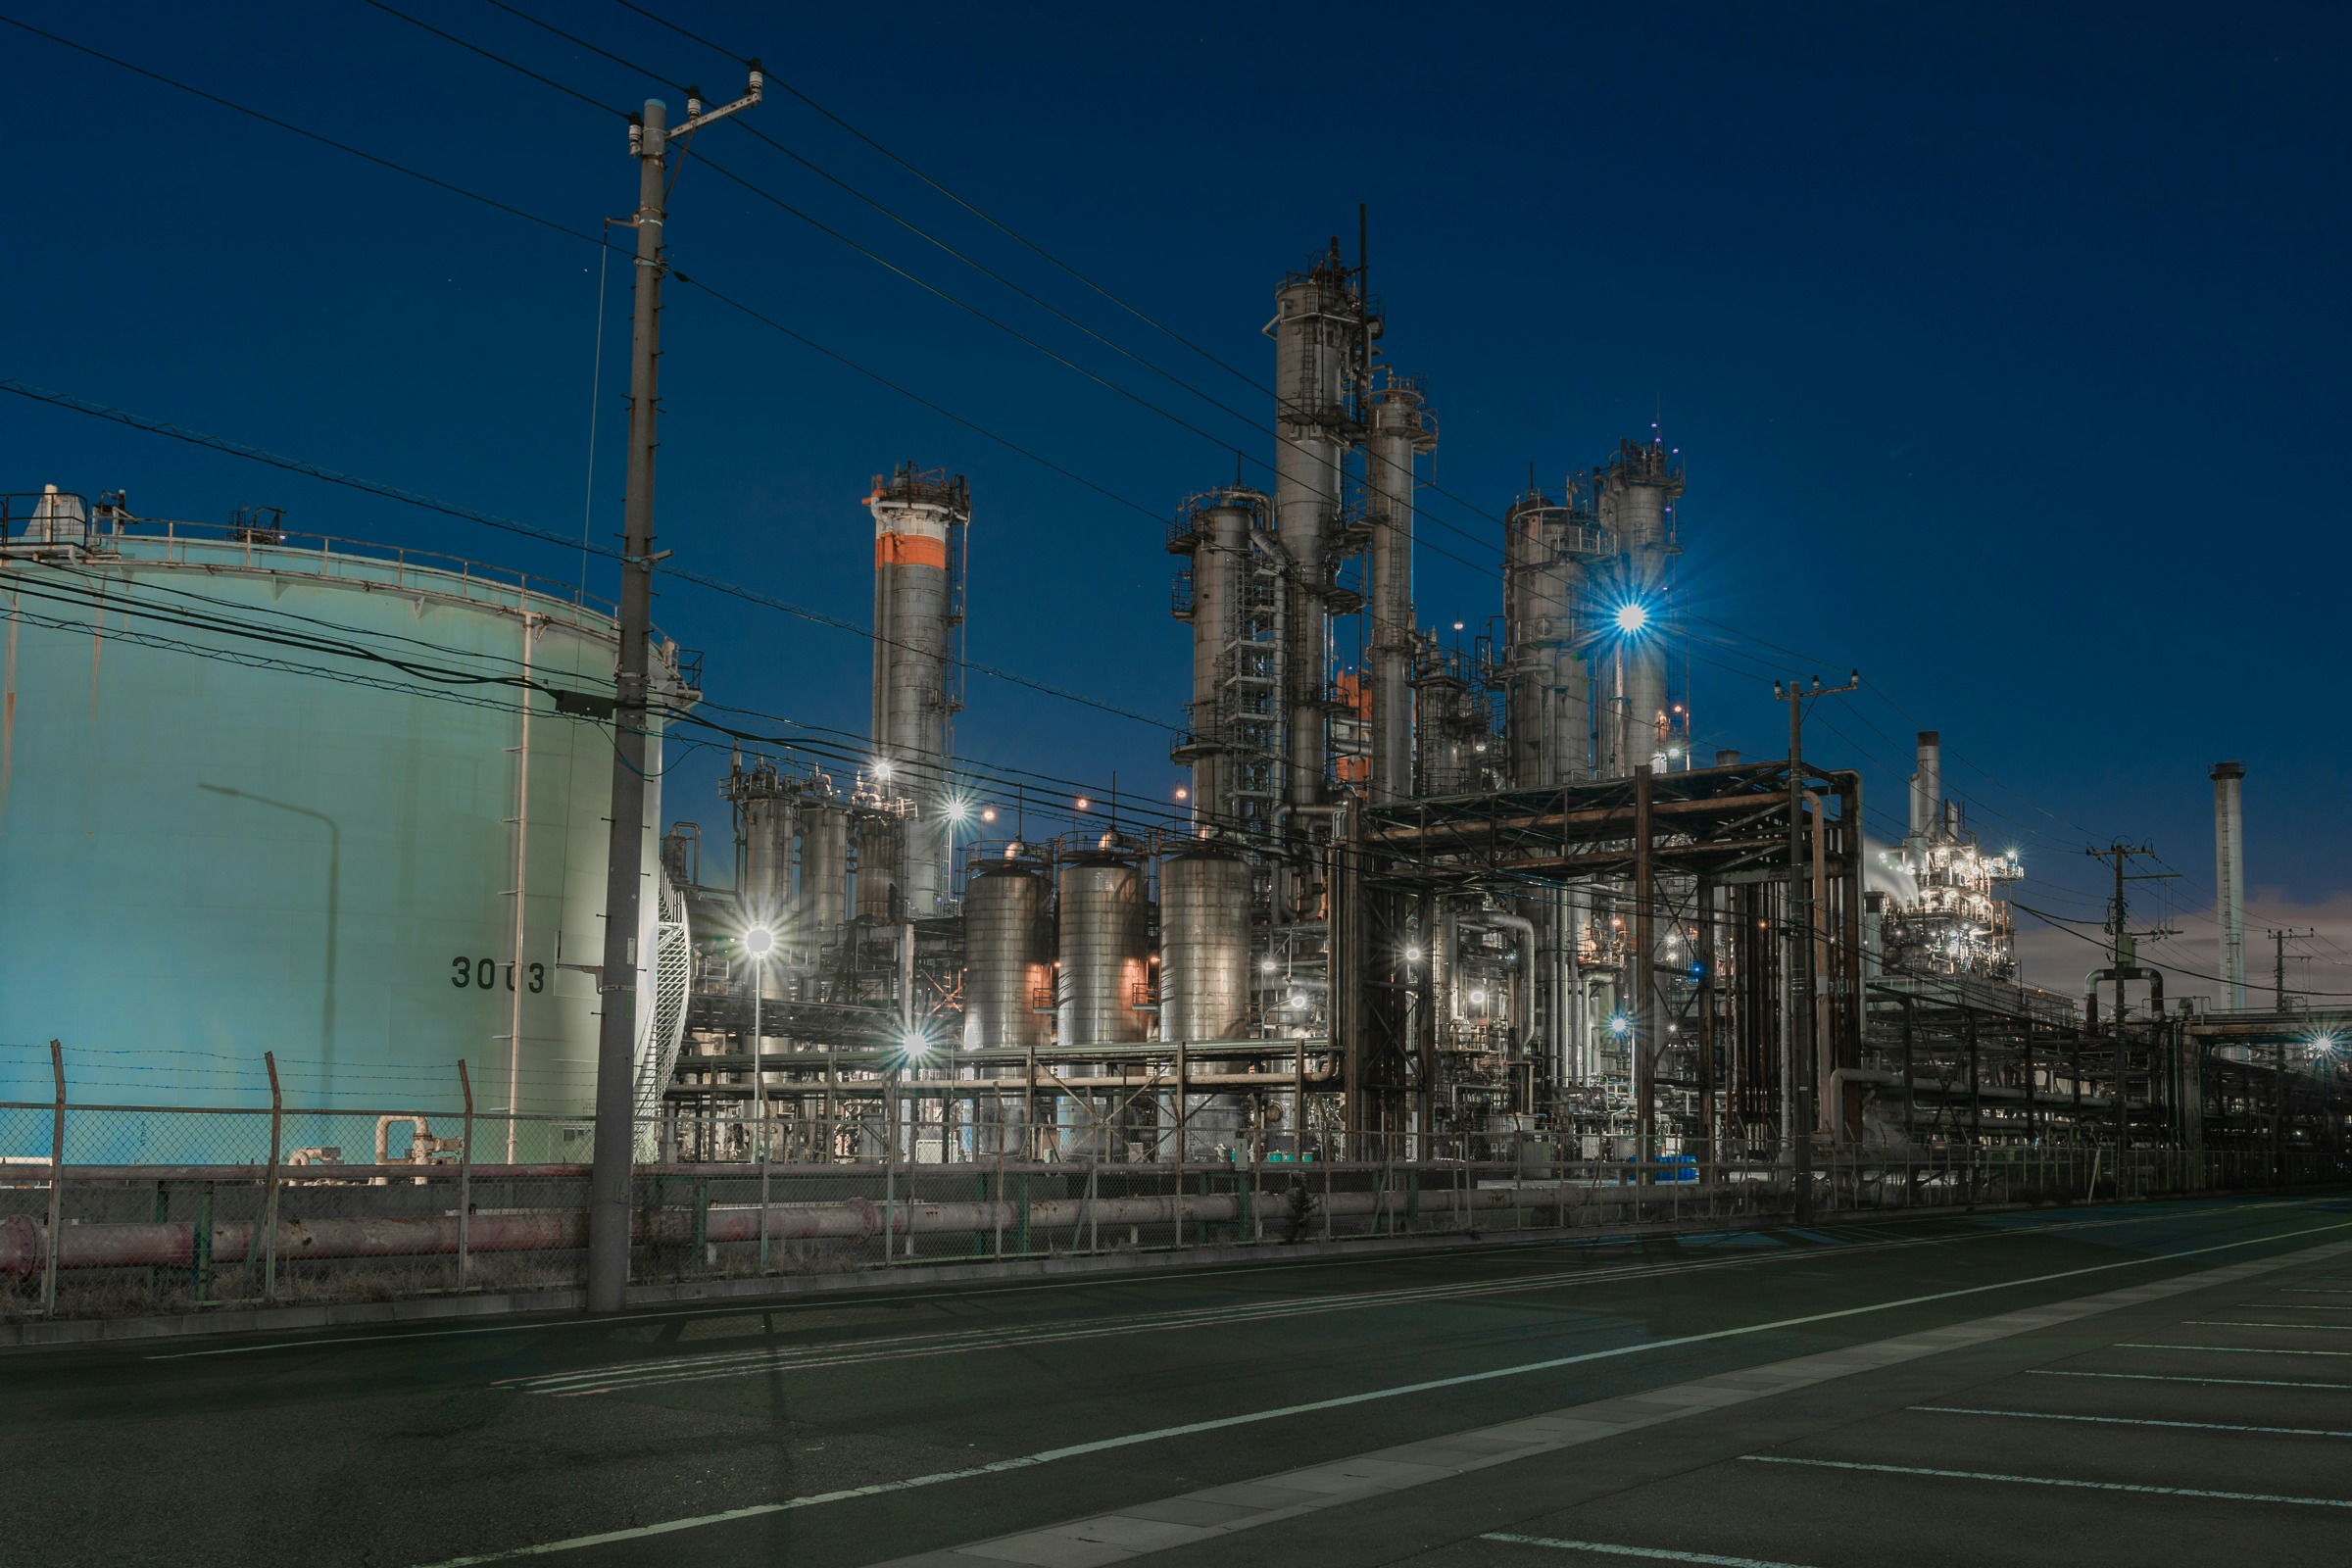
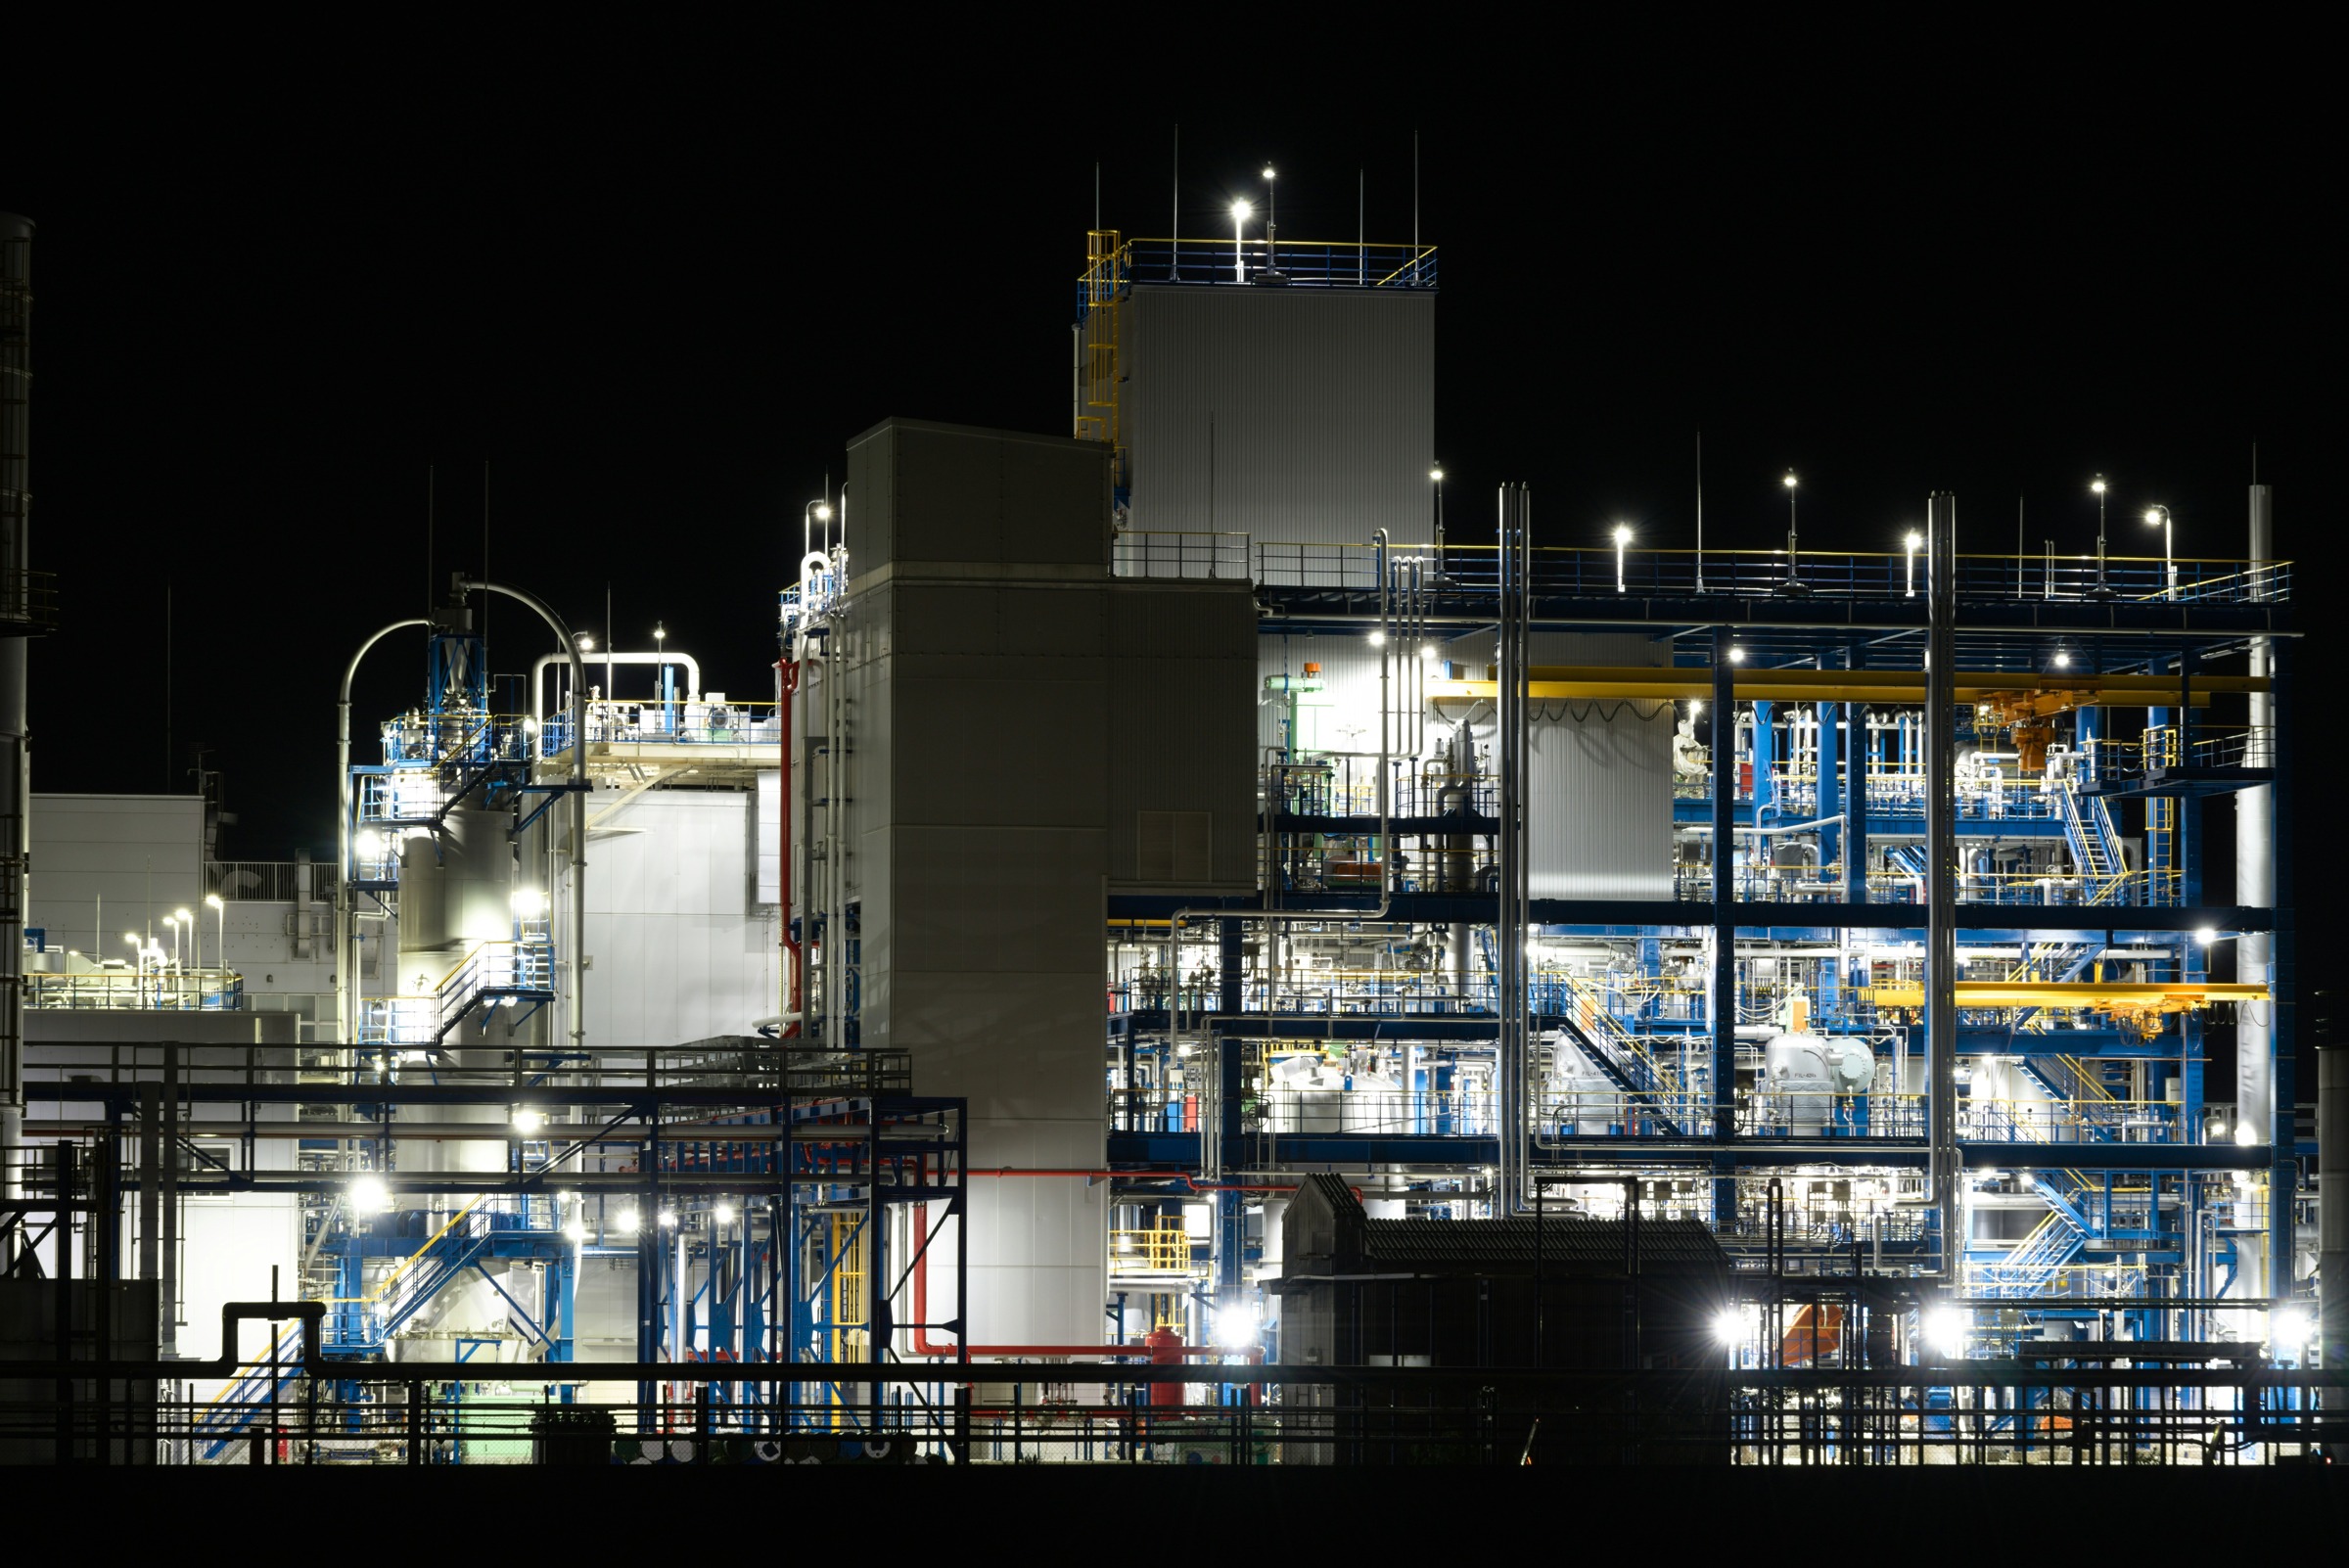
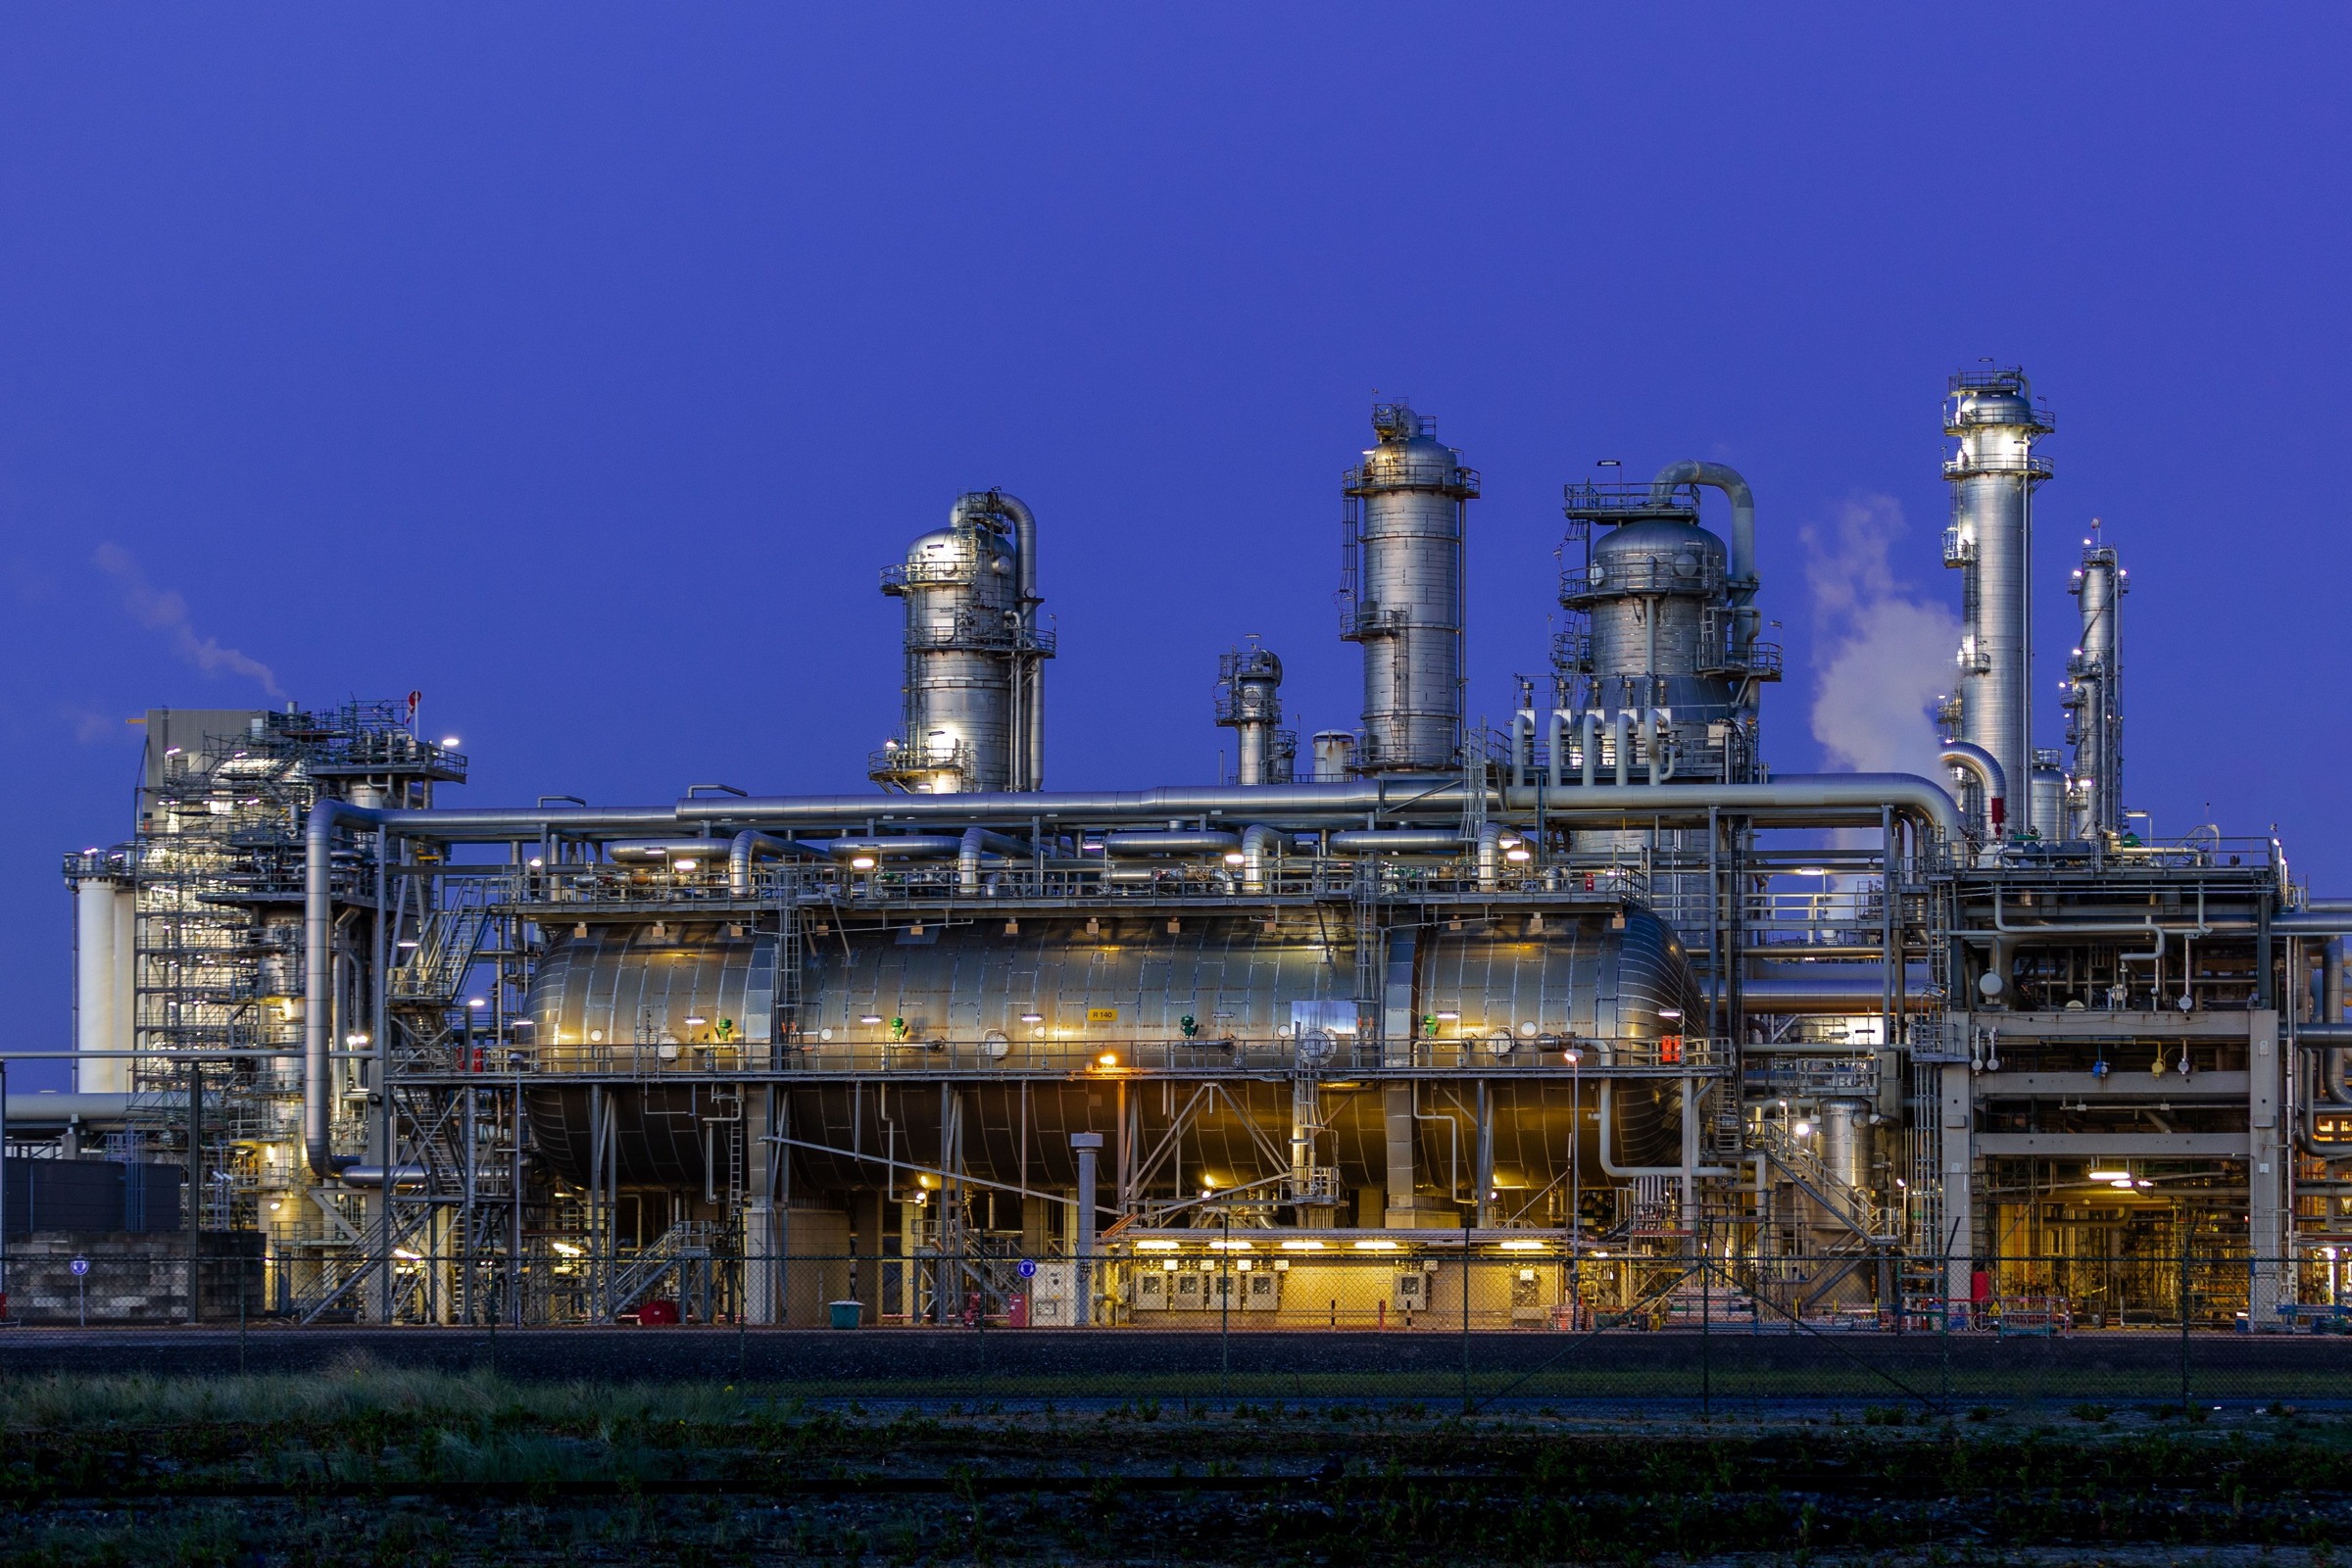
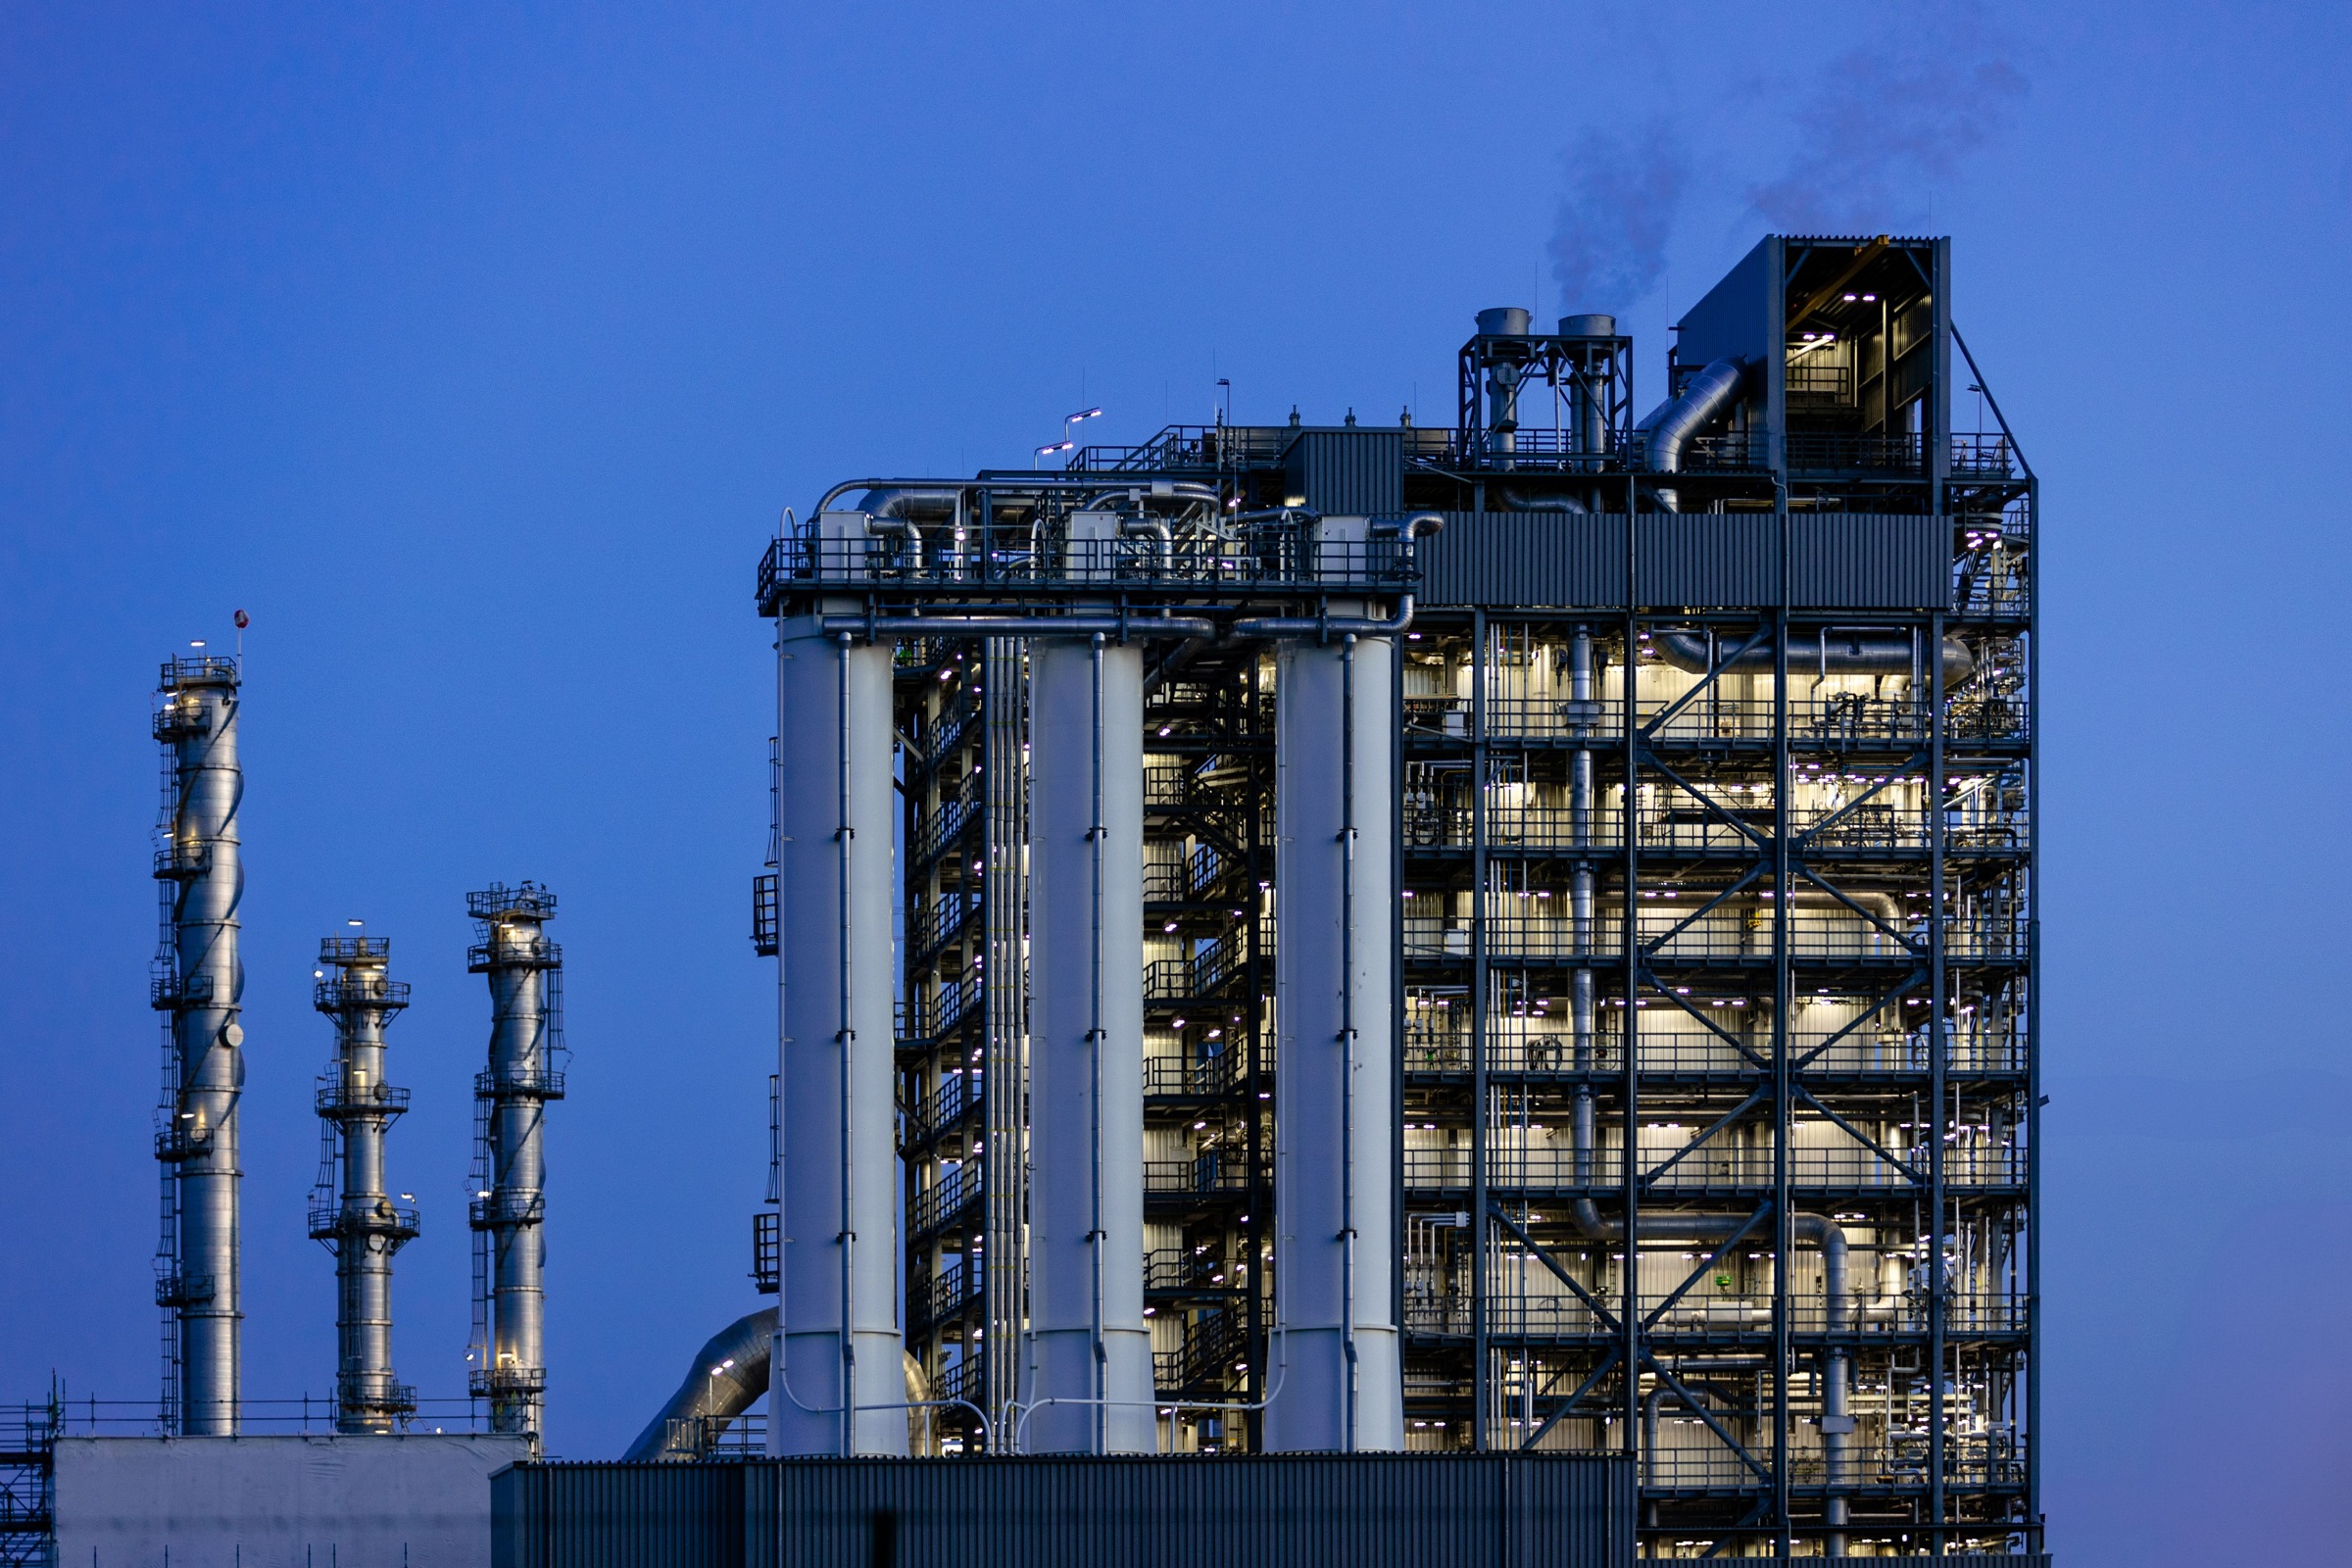
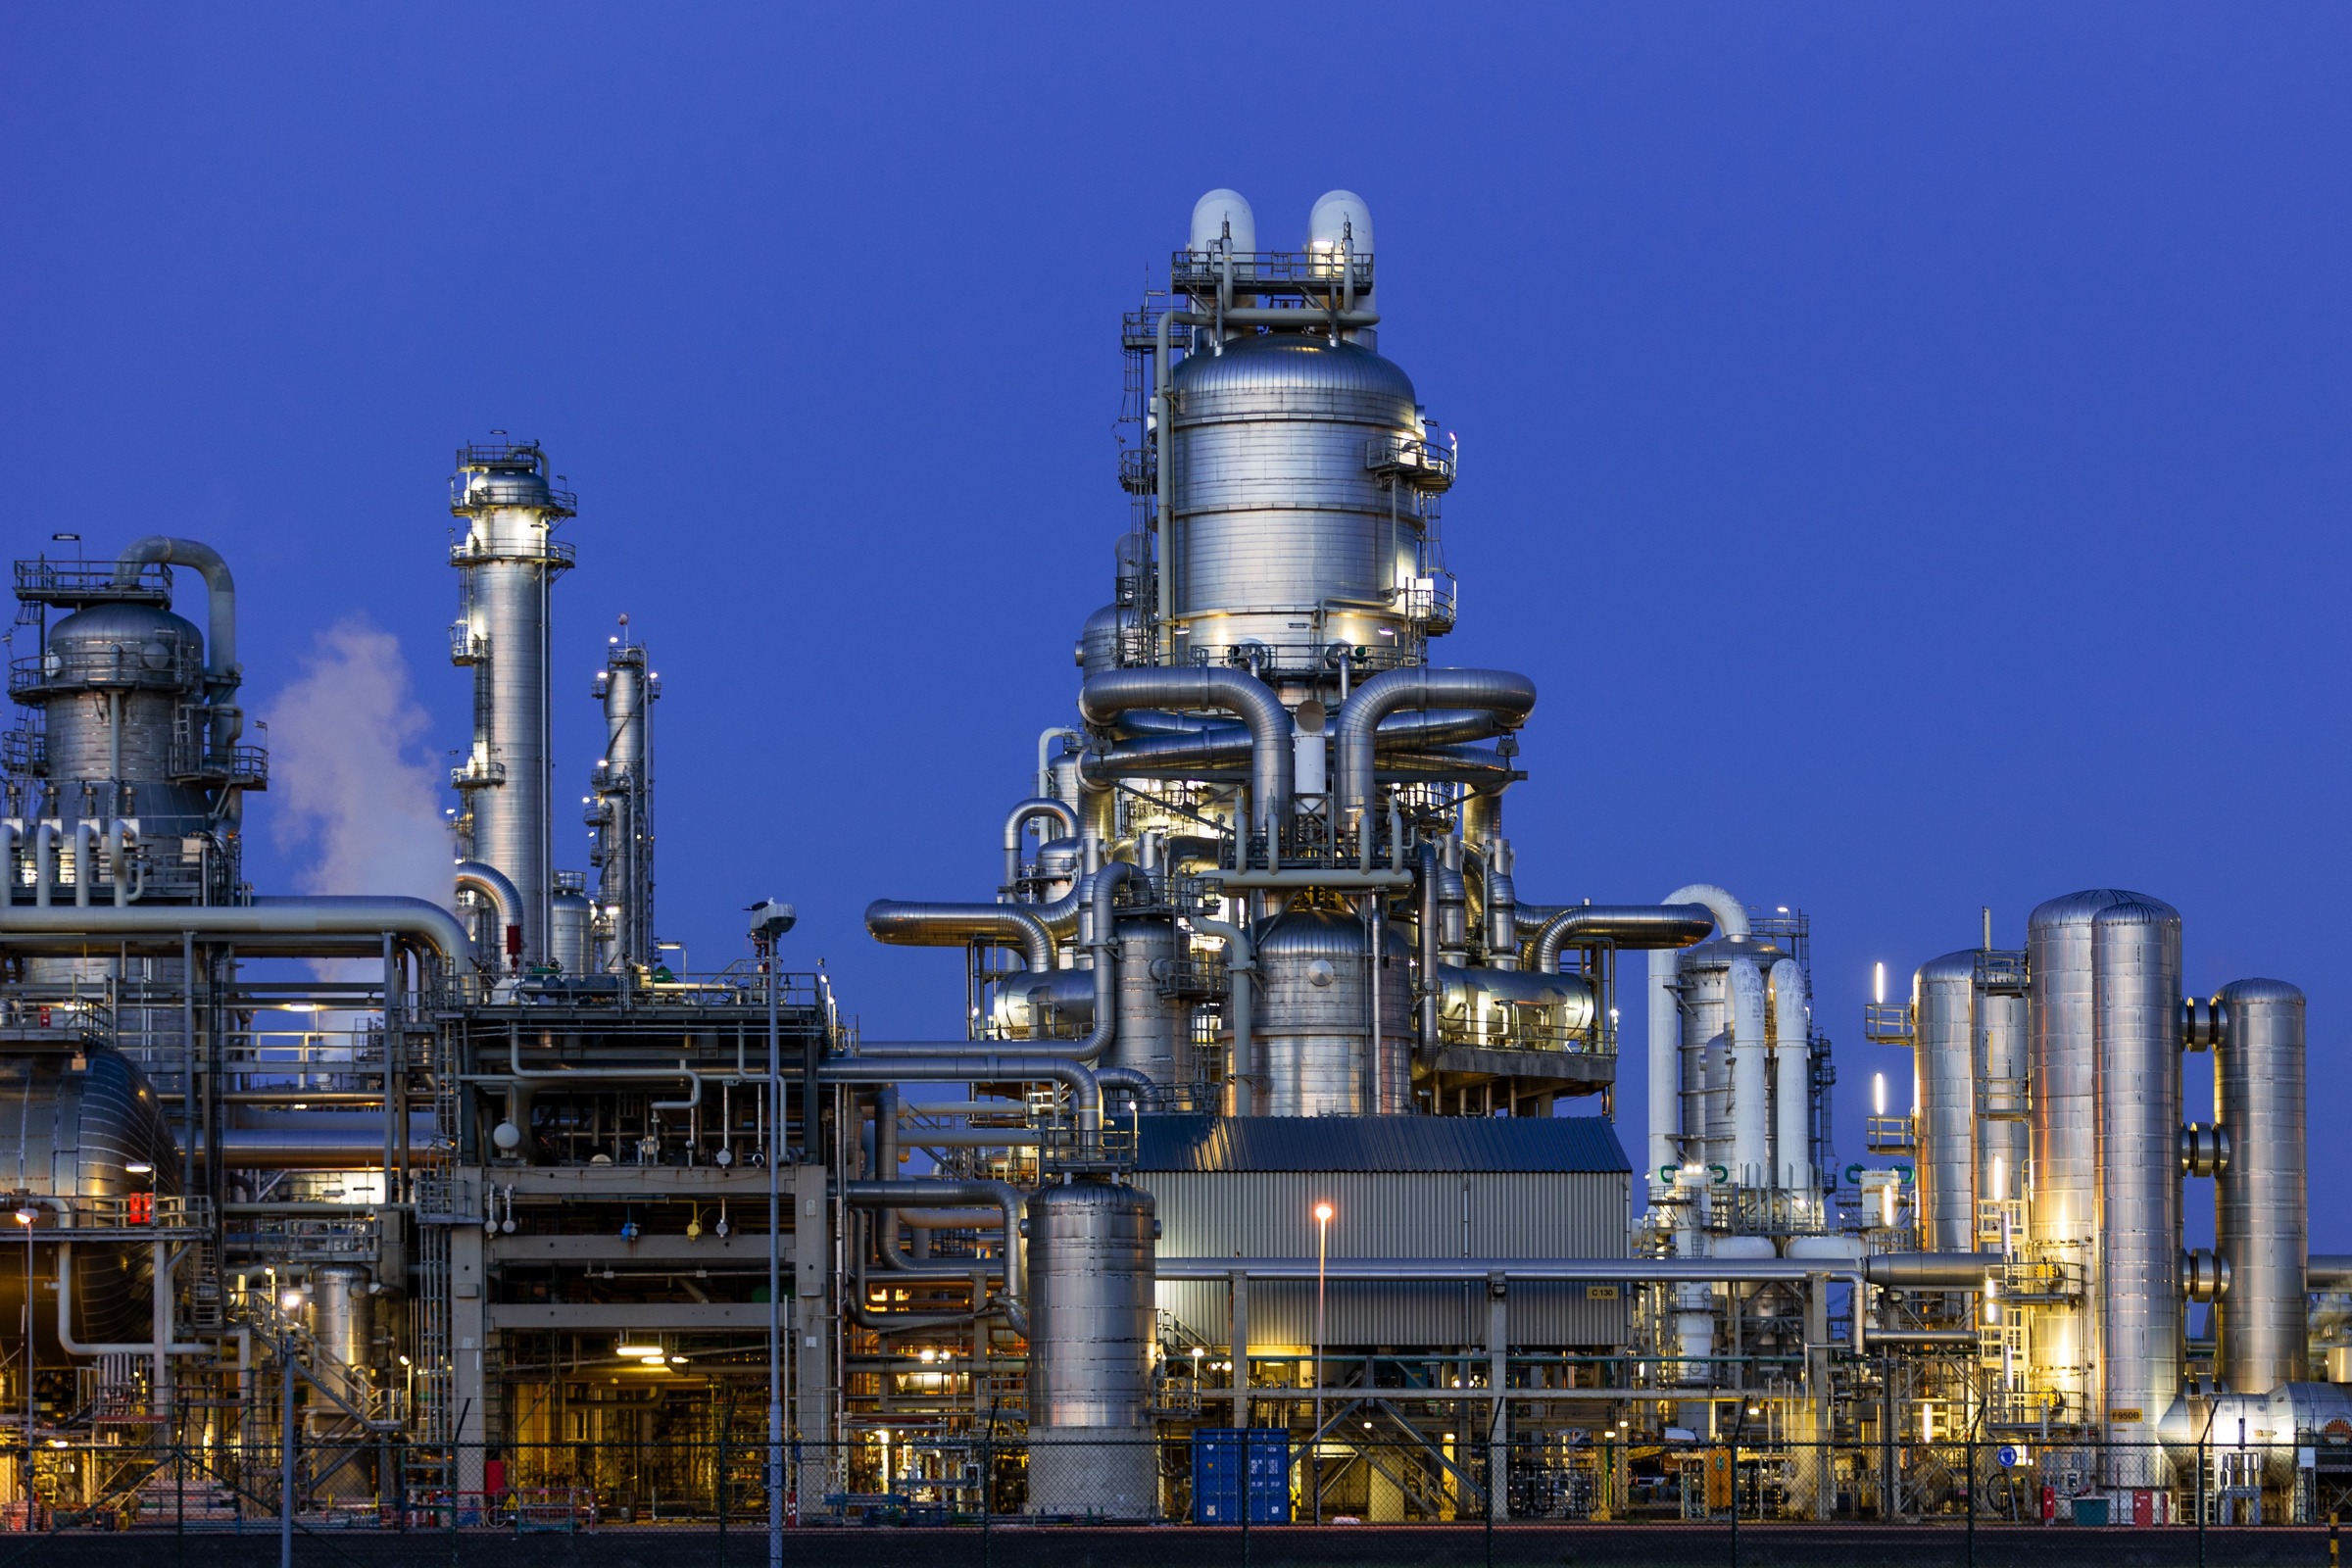
The photographs in this article are separate illustrative architecture views from Kawasaki, Tonami, and Zuid-Holland. They do not document one test shoot, establish the photographers’ access arrangements, or prove that the Rotterdam views show different facilities. Use them to study visible relationships, not as directions to a shooting position.
Start with a visual question, not a list of camera settings
Choose one structure or a connected group of structures that you can see from an allowed exterior position. Your question might be: “How do the tall elements relate to the lower buildings?” Or: “How does this overhead connection join two parts of the site?” Those questions are small enough to answer with photographs.
A broad goal such as “show the power of industry” is harder to work with. It encourages dramatic treatment without asking what the image actually explains. Bring the goal down to a visible relationship. Height, enclosure, repetition, spacing, and connections give you something concrete to look for.
Separate what you can see from what you know. You can describe a cylindrical form, an external stair, a steel frame, or a pipe-like connection without knowing its precise role. Calling something a distillation column, conveyor, or cooling system needs a reliable source. An interesting shape is not evidence of a process.
Keep a short fact note alongside the plan. Record the name and location you have verified, the source for any stated function, and anything still uncertain. If the function remains uncertain, frame and caption the visible architecture instead. You can make an informative sequence without pretending to be the site’s engineer.
 Save
Confirm where you may stand before planning the sequence
Check the rules for the actual viewpoint and the jurisdiction before you go. A publicly visible building can sit behind a privately managed boundary. A path that looks open in an old photograph may now be closed. Industrial operations, construction, and security arrangements can change the available view.
For a United States example, the ACLU of Southern California explains the distinction between photography from public places where you are lawfully present and photography on private property, where the owner can set rules. That is not a worldwide permission slip. Check local requirements rather than applying an American summary to another country.
A location guide is useful when it names a viewpoint and describes its boundaries. The Metropolitan Expressway’s Chidori-cho guide describes Kawasaki’s factory views and explicitly says its staff did not enter the visible railway tracks. It also states that entering the tracks is forbidden. A line appearing in a photograph is not an invitation to stand on it.
Do not turn this into an interior-access project. A working facility may regulate recording equipment under its own procedures, as the Galveston Bay refinery’s photography policy illustrates. This exercise stays outside. Safety equipment, a confident manner, or a camera bag does not authorize entry.
Once you have checked access, write down the allowed positions and the route between them. Keep entrances, pavements, loading areas, and vehicle routes clear. If you cannot confirm that a position is allowed, leave it out of the plan. Do not rely on the fact that somebody else once took a photograph there.
Frame one: establish the structure in its setting
Your first image should make the subject easy to locate. Include enough surrounding information to show how the industrial structure sits in the scene. That may be a lower building beneath taller elements, a boundary at the edge of the site, or another part of the same visible group.
A wide frame does not have to include every part of the horizon. If half the image is empty foreground and the structure is only a thin strip, the viewer may struggle to read the subject. Tighten the framing from your allowed position, or choose a clearer view. Do not solve the composition by stepping into a prohibited area.
If you have a verified operator or heritage source describing the structure’s purpose, use that information carefully. If you do not, keep the caption literal. “Illuminated industrial structures in Kawasaki” is honest when the location is verified. A claim about what is being produced that night needs more evidence.
A city skyline behind the subject can be context, but it is not a substitute for industrial architecture. If the buildings dominate and the industrial structure is unclear, choose another frame. The sequence has a specific subject, and the opening photograph needs to show it.
Frame two: show scale through a visible relationship
Scale becomes easier to read when different elements appear together. A staircase beside a tall enclosure, a series of platforms around a vertical form, or a lower building under a steel frame can help the eye compare sizes. Those relationships are often more useful than an isolated silhouette.
Do not invent dimensions. A photograph can suggest that one element is larger than another, but perspective can change their apparent relationship. Unless you have a trustworthy measurement, avoid claims such as “a hundred-foot tower” or “the tallest structure on the site.”
You also do not need a person for scale. This guide does not depend on photographing workers or passersby. Architectural features can provide a relationship without bringing somebody into the image, and without turning an exterior architecture exercise into a people assignment.
Check whether the scale frame adds something to the opening view. If it is simply the same broad shot with a slightly different crop, consider another relationship. The point is to make the viewer notice something new about the structure, not to deliver a set of near-duplicates.
 Save
Frame three: follow a connection you can actually see
Industrial architecture often becomes more readable when you isolate the relationship between two parts. Look for an overhead link, a continuous run of pipework, a repeated support frame, or a passage between larger forms. Give the connection enough space that the viewer can see where it appears to begin and end.
Choose a position that separates the connection from the background without leaving the permitted area. A small change along an allowed path may prevent several elements from overlapping. If the path ends before the view becomes clear, stop there. The missing angle is a limit of the project, not a problem to fix by crossing the boundary.
Keep the description within the evidence. You can say that a visible horizontal element links two parts of the composition. You cannot infer which material moves through it, in which direction, or whether it was operating when the photograph was made. Those are separate facts.
Watch for confusing mergers. A distant pipe can line up with a nearer support and look like one object. Review the frame at a useful size, and avoid writing a caption that depends on a relationship the picture does not clearly show. When in doubt, describe the visible form rather than the supposed engineering.
 Save
Frame four: choose a detail that earns its place
A useful exterior detail gives the viewer information the wider photographs could not show clearly. It might be a pattern of braces, a transition between an enclosure and a support frame, or the repeated levels around a vertical structure. The detail should belong to the visual question you started with.
Do not assume that a detail requires you to stand close. Use the framing available from your allowed position. If the photograph is too distant to make the relationship readable, choose a larger visible detail or leave that part of the sequence unfinished. A long lens does not change the boundary, and a fence does not become optional because it blocks the frame.
Keep enough surrounding form to make the detail understandable. An isolated patch of metal may have texture, but it may explain nothing about the structure. A slightly wider view can show how that texture, brace, or joint sits within the larger arrangement.
A detail is also a place to be careful with sensitive information. Avoid making the exercise depend on readable security equipment, access codes, operational displays, or people. You are studying exterior architecture, not documenting how to enter or interfere with the site.
 Save
Let the permitted viewpoint set the technical limits
Before making the sequence, take a test frame from the allowed position and review it. Is the important relationship readable? Are bright lights overwhelming the structure? Does a dark foreground hide the part you meant to show? Answer those questions before collecting many versions of the same unclear view.
Night lighting can separate industrial forms, but it can also make the scene difficult to read. A glowing light does not need to retain the same detail as the structure around it. Concentrate on whether the towers, connections, and framing remain understandable in the photograph.
Use support equipment only where it is permitted and where it does not obstruct others. Do not place a tripod in a vehicle route or spread its legs across a narrow passage. If support is not allowed, adapt the photograph to handheld work or choose a different permitted time and view.
This article does not prescribe universal exposure settings or a lens shopping list. The right settings depend on the light, distance, camera, and required output. For the broader composition problem, see our guide to photographing large structures. Here, the main decision is what each exterior frame contributes.
Stop when the conditions no longer support the plan
A permission check is not a promise that nothing will change. A closure, a new barrier, congestion, a staff instruction, or an unsafe route can remove a planned position. Stop photographing from that position and reassess the remaining allowed views.
Do not enter railway corridors, abandoned industrial sites, or plant grounds to complete the set. Do not climb or reach past a boundary for an unobstructed camera angle. A short sequence with a missing detail is a better outcome than a finished sequence made by ignoring access or safety.
Keep a note about the limit. For example: “Connection frame not completed because the permitted path did not offer a clear view.” That record tells you what remains unresolved. It is more useful than returning home with an attractive photograph and forgetting why it does not answer the brief.
If the subject cannot support the plan from allowed positions, choose another subject. The method is flexible. The boundary is not.
Select and caption the sequence without adding a story it cannot prove
Lay the photographs together and assign each its job. Keep the frame that establishes the subject, the frame that adds scale, the frame that makes a connection clear, and the detail that adds information. Remove pictures that repeat the same role without improving it.
Write captions from the fact note, not from the mood of the photograph. Include verified place names and visible architectural features. Attribute technical function to a reliable source when you have one. Do not infer ownership, production, pollution, age, or current operation from lighting, smoke-like plumes, or weathered surfaces alone.
Keep the illustration limit visible when using photographs from different sources. This article’s pictures are references for studying architecture. They are not evidence of a single visit, a public access route, or a completed four-frame test. A reader should be able to understand that distinction without hunting through a footnote.
 Save
Industrial exterior sequence FAQ
Do I need to enter an industrial site to photograph it?
No. This exercise is limited to exterior views from places where you are allowed to stand. If those views cannot support the sequence, change the subject or leave the missing frame unresolved.
Does a photograph prove that its viewpoint is public?
No. Pixels and location metadata do not establish permission. Check the actual viewpoint’s rules and current access conditions separately before using it.
What should each frame contribute?
Use different roles: establish the setting, show scale through a visible relationship, follow a connection, and isolate a meaningful exterior detail. Remove near-duplicates that add no information.
Can I identify a plant process from pipes and towers?
Do not assume so. Describe visible forms unless a reliable source verifies their function. A photograph alone cannot prove material flow, operating state, ownership, or production.
What if the only clear angle crosses a fence or railway line?
Do not use it. Stay within allowed positions and choose another framing, another subject, or an incomplete sequence. Never enter rail corridors or restricted grounds for this exercise.
Do these five photographs document one shoot?
No. They are separate illustrative views from Kawasaki, Tonami, and Zuid-Holland. They do not establish one session, distinct facilities, public viewpoints, or access permission.
Sources and further reading
- ACLU of Southern California: public and private photography distinctions in a United States context
- Metropolitan Expressway: Chidori-cho industrial views and the railway boundary
- Galveston Bay refinery: a site-specific photography and recording policy
- Shupe Studios: planning and visual clarity in industrial photography
- Blanc Creative: industrial photography and the limits of a working site