By Edin Chavez | Updated November 2026
A meteor photograph starts before the streak appears. You choose a patch of sky, make the stars sharp, and keep the camera working while the night unfolds. Most frames may contain no obvious meteor. That does not mean the setup failed. The useful goal is a repeatable sequence with good focus, suitable exposure and few avoidable gaps, rather than a promise that a particular number of pictures will deliver a keeper.
The film that inspired this page is Meteor, Thomas O’Brien’s 2014 reel, published as tmophoto. Its creator describes seven years of footage from the Perseid, Geminid and Leonid showers. That long collection period matters: this is an edited body of work, not a forecast of what one evening will look like. Watch the film for its rhythm, changing skies and relationship between the landscape and stars, then build a practical plan for your own location.
Watch Thomas O’Brien’s Meteor
Meteor by tmophoto / Thomas O’Brien. Copyright 2014 tmophoto. Embedded third-party film, not footage made by Shut Your Aperture. The creator names LRTimelapse and GBDeflicker in his processing notes. Those credits describe his production; they are not a requirement to buy particular software before you photograph the sky.
Choose a shower, then check your actual night
Meteor showers occur when Earth encounters streams of debris associated with comets or, for some showers, asteroids. Their names usually refer to the constellation near the apparent origin of their paths, called the radiant. The Perseids, Geminids and Leonids in O’Brien’s film are different annual showers, not three names for the same event. Use an astronomy calendar for the year you plan to shoot rather than copying a peak date from an old tutorial.
Read the observing window in the context of your location. A peak expressed in universal time is not automatically the same calendar date on your clock. Check the radiant’s visibility, the Moon’s rise and set times, cloud cover and the site’s legal opening hours. A strong advertised shower is not a guarantee of a strong photograph. Moonlight, haze, the part of the sky you frame and chance all affect what the camera records.
Darkness and access beat an elaborate setup
Choose a safe location away from direct lights, with a broad view of the sky. Scout the ground before darkness if possible. Check where headlights might sweep across the lens, whether a tree blocks the composition and where you can stand without walking into another photographer’s frame. Permission and night access come first. A beautiful view behind a closed gate is not a usable plan.
Keep your own light under control once people are working. Dim the camera screen, shield a headlamp and avoid shining a bright beam across the scene. If the Moon is up, look for a composition that keeps it outside the frame and reduces flare, while accepting that the sky may still be brighter. Do not compensate for a poor location by promising that editing will recover every faint meteor.
 Save
Understand the radiant without centering it by habit
The radiant helps you understand the direction of a shower, but you do not have to aim directly at it. Meteors close to that point tend to look shorter because of perspective. A wide composition some distance from the radiant can show longer tracks while leaving room for a foreground. Treat suggested angles as planning aids, not a rigid formula that overrides the actual clear, dark part of the sky.
Build a photograph that works even before a meteor arrives. A simple ridge or observatory can give the stars scale without taking over the frame. Leave enough sky that the lens covers a useful area. Then decide whether you want a recognizable place, mostly sky or a sequence suitable for time-lapse. Moving the tripod repeatedly to chase every streak you see usually sacrifices continuity without guaranteeing that the next meteor follows the same path.
Start with a stable camera and a suitable lens
A camera with manual exposure and manual focus, a stable tripod and a wide lens are a useful starting kit. A wide view covers more sky, though lens speed and image quality also matter. You can start with equipment you already own. A narrower or slower lens changes the framing and the brightness of the meteors you are likely to record; it does not make the night worthless.
Prepare spare power and enough card space for a long sequence. Test the release cable or built-in interval timer before leaving home. Secure loose cables so they cannot pull the camera, and keep bags away from the tripod legs. If condensation is likely, plan for it rather than discovering a wet front element after an hour. Follow the equipment maker’s instructions for a lens heater and its power supply.
Focus on a star, not an infinity symbol
Switch to manual focus and magnify a bright star in live view if your camera supports it. Adjust until the star is as small and defined as you can make it. Take a test frame, enlarge the result and inspect several stars rather than trusting the small preview. The infinity mark can get you close, but it is not proof that the recorded image is sharp.
Check focus again after changing focal length, touching the lens or noticing a change in image quality. Do not let autofocus search for every new frame in a dark sequence. The right balance is to leave a successful setup alone while making occasional short checks for a real problem. If a frame is soft, find the cause before restarting hundreds of exposures: missed focus, camera movement and moisture need different fixes.
Use exposure numbers as tests, not promises
For a wide lens on a fixed tripod, you might test exposures around 10 to 20 seconds, a wide aperture and ISO 1600 or 3200. These are trial settings, not a universal recipe. The useful exposure depends on the lens, camera, sky brightness and the amount of star movement you will accept. Inspect the result and change one setting at a time so you understand what improved it.
Look for a sky with usable tonal information, controlled bright areas and stars that meet your intended output. A brightly lit foreground can clip before the sky looks bright. Raising ISO does not make the lens collect more light, and simply extending the shutter time can add more sky brightness and star movement. A meteor is brief; a longer exposure does not keep that same streak shining for the whole time the shutter remains open.
 Save
The 500 rule is a rough guide, not a sharpness guarantee
You will often see 500 divided by focal length offered as an exposure limit. It is a convenient starting estimate associated with full-frame shooting, but it does not account for every camera or viewing condition. High-resolution files can reveal movement that a small preview hides. Sensor size, pixel density, the part of the sky you frame and your final display size all affect the practical result.
Use a suitable calculator if it helps, then judge a recorded test at a useful magnification. Shorten the exposure if the stars stretch more than you want. Do not preserve a formula at the expense of the picture. Conversely, if you deliberately want star trails, say so and plan that result rather than calling the movement a focusing failure. Sharp-star photographs and star-trail sequences are different creative choices.
Set the interval by what your camera actually does
The word interval can mean the time between exposure starts or the waiting time after an exposure ends. Nikon documents this distinction in its interval-timer guidance. Read your own camera or controller instructions and test a short sequence. Watch whether the next frame begins when expected, whether frames are skipped and whether the camera has enough time to finish the exposure and save the file.
Avoid copying “exposure plus one second” into every device. That can describe a start-to-start interval on one setup and create a much larger gap on another. Use the shortest reliable spacing your equipment supports, with room for its actual operation. Long-exposure noise reduction may introduce an additional dark-frame wait, so check that setting before a continuous meteor sequence. Keep any separate dark-frame plan distinct from the exposures intended to catch meteors.
Rehearse the sequence before the useful window
Run a short sequence while you still have time to fix it. Confirm that several files reach the card, open them at a large preview size and check that the framing stays still. A timer showing an active countdown is not enough: the saved files are the evidence that the setup works. Note how the display behaves between exposures so you can recognize a stalled sequence later without repeatedly pressing controls in the dark.
Make a separate test of your power and storage plan. Estimate space from the actual files your camera produces, not a card’s advertised capacity alone. Check that a connected power bank really supplies power in the mode you intend to use. If you expect to replace a battery, choose a moment to stop deliberately, protect the tripod from movement, and check focus and timing again after restarting. A small planned interruption is easier to understand than an unexplained gap discovered at home.
Let the sequence run, but keep an eye on real problems
Once focus, exposure and timing work, give the camera time. You cannot reliably press the shutter after seeing a brief meteor and expect to catch the event that just ended. Continuous prepared shooting improves coverage, but it does not justify a fixed claim about one successful image per twenty frames or any other guaranteed rate. Your eyes and your camera also cover different portions of the sky.
Check occasionally for a stopped timer, a depleted battery, a full card, dew or clouds. Keep checks short enough that the camera spends most of the useful window recording. A change in weather or a blocked view is a reason to reassess; an empty frame is not. Record the location, general conditions and sequence times so the files make sense when you return home.
 Save
Review neighboring frames before naming a streak
Aircraft, satellites and lens flare can all put bright marks into night photographs. When you find a candidate, inspect the original and the frames before and after it. A slow-moving track continuing through several frames is an important clue that it may be a satellite or aircraft rather than a brief meteor. Flashing aircraft lights can make a dotted trail. Shape or color alone is not a reliable identification test.
Consider the direction of a possible shower meteor relative to its radiant, while remembering that unrelated meteors also occur. Do not label every streak captured on a Perseid night as a Perseid. Keep uncertain identifications uncertain in the caption. A careful description such as an unidentified trail is better than turning an attractive photograph into a confident astronomical claim the evidence cannot support.
Edit the photograph without inventing the event
Begin with a restrained RAW adjustment for white balance, brightness and contrast. Inspect the sky and foreground separately where needed, but do not turn a dim nighttime landscape into daylight by default. Keep noise reduction and sharpening under control. Fine stars are easy to damage with strong processing, and a smooth-looking sky is not necessarily a more accurate or more detailed sky.
If you combine meteors from different frames, identify the result as a composite. Explain whether the images came from one session and whether the foreground was captured separately when that distinction matters. Aligning a sky and adding trails is a different claim from presenting one exposure. Keep the source files so you can describe the process honestly, and do not add synthetic meteors to an image presented as documentary photography.
 Save
Turn a sequence into time-lapse with realistic expectations
A set of still frames can become a time-lapse showing the changing sky, even when only a few pictures contain meteors. Consistent framing, focus and white balance make the sequence easier to assemble. Review it for abrupt brightness changes and accidental camera movement before export. A meteor present in only one source frame may pass very quickly in the finished video; slowing or otherwise altering it is an editing choice worth describing when relevant.
O’Brien’s reel demonstrates the value of collecting and organizing material over time, not the necessity of reproducing his exact equipment. Keep a clear folder for each session, preserve the original sequence and note any processing that changes how an event appears. A short, honest film from your own night is a better starting point than trying to imitate years of footage in one outing.
Make a small plan you can repeat
Before the next session, write down the location, access arrangements, weather check, Moon timing and a backup plan if the sky closes. Pack warm layers, water and a charged phone. Tell someone where you will be when you are going somewhere remote. Leave yourself an easy route back over ground you have already checked, and do not trade safe footing for a slightly better foreground.
Afterward, record what worked: the lens, tested exposure, reliable interval setting and any focus or dew problem. Change the weak link next time rather than replacing everything. For more structured practice, the Astrophotography course at Shut Your Aperture Academy includes meteor-shower work, while Night Photography covers wider low-light subjects. Use the Lightroom editing course for the later processing stage, not as a substitute for careful capture.
Gear box: meteor photography starting points
These are research starting points, not rankings. Check current specs, reviews and prices before you buy.
- A wide, fast lens: Browse lenses at B&H or on Amazon.
- An intervalometer: See intervalometers at B&H.
- A sturdy tripod: Browse tripods on Amazon.
- A red-light headlamp and hand warmers: See headlamps on Amazon.
Frequently asked questions
What settings should I use for meteor photography?
Start with manual exposure and focus, a wide lens, a wide aperture and RAW files. A test around 10 to 20 seconds and ISO 1600 or 3200 can be useful, but inspect star movement, sky brightness and clipping before choosing the final settings.
Should I point directly at the radiant?
You do not have to. Meteors close to the radiant appear shorter through perspective. Choose a clear, dark patch of sky and a composition that works; a wide view away from the radiant can show longer tracks.
Does the 500 rule guarantee sharp stars?
No. It is a rough starting estimate associated with full-frame shooting, not a guarantee for every sensor or viewing size. Inspect an actual test frame and shorten the exposure if the stars stretch more than you want.
What interval should I set between exposures?
Check what interval means on your camera or controller: start-to-start timing and a wait after the exposure are different. Test a short sequence, allow the camera to save reliably and use the shortest reliable gap rather than a universal copied number.
How many meteors will my camera capture?
There is no reliable fixed count for a particular number of frames. The shower, location, sky conditions, framing, lens and chance all matter. Keep a working sequence running, but do not treat an advertised observing rate as a camera guarantee.
How do I distinguish a meteor from a satellite?
Inspect neighboring frames as well as the candidate image. A track continuing across several frames suggests a slower-moving object such as a satellite or aircraft. Direction, shape and color can help, but keep uncertain identifications uncertain.
Can I combine meteors from different frames?
Yes, as an editing approach, but identify the result as a composite. Explain the session and any separately captured foreground when relevant. Keep the source files and do not present an assembled sky as a single exposure.
Source notes: NASA meteor photography, Space.com field technique, Sky & Telescope capture guide, Nikon interval timing, PetaPixel on star sharpness, Space.com trail identification. Check a current astronomy calendar for the year and location of your session; this guide does not supply a dated peak-night forecast.
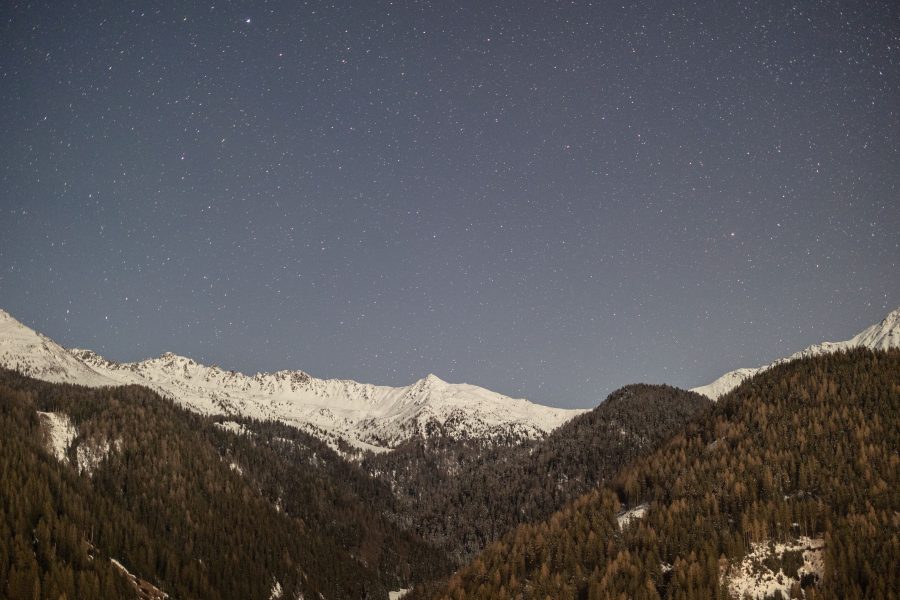
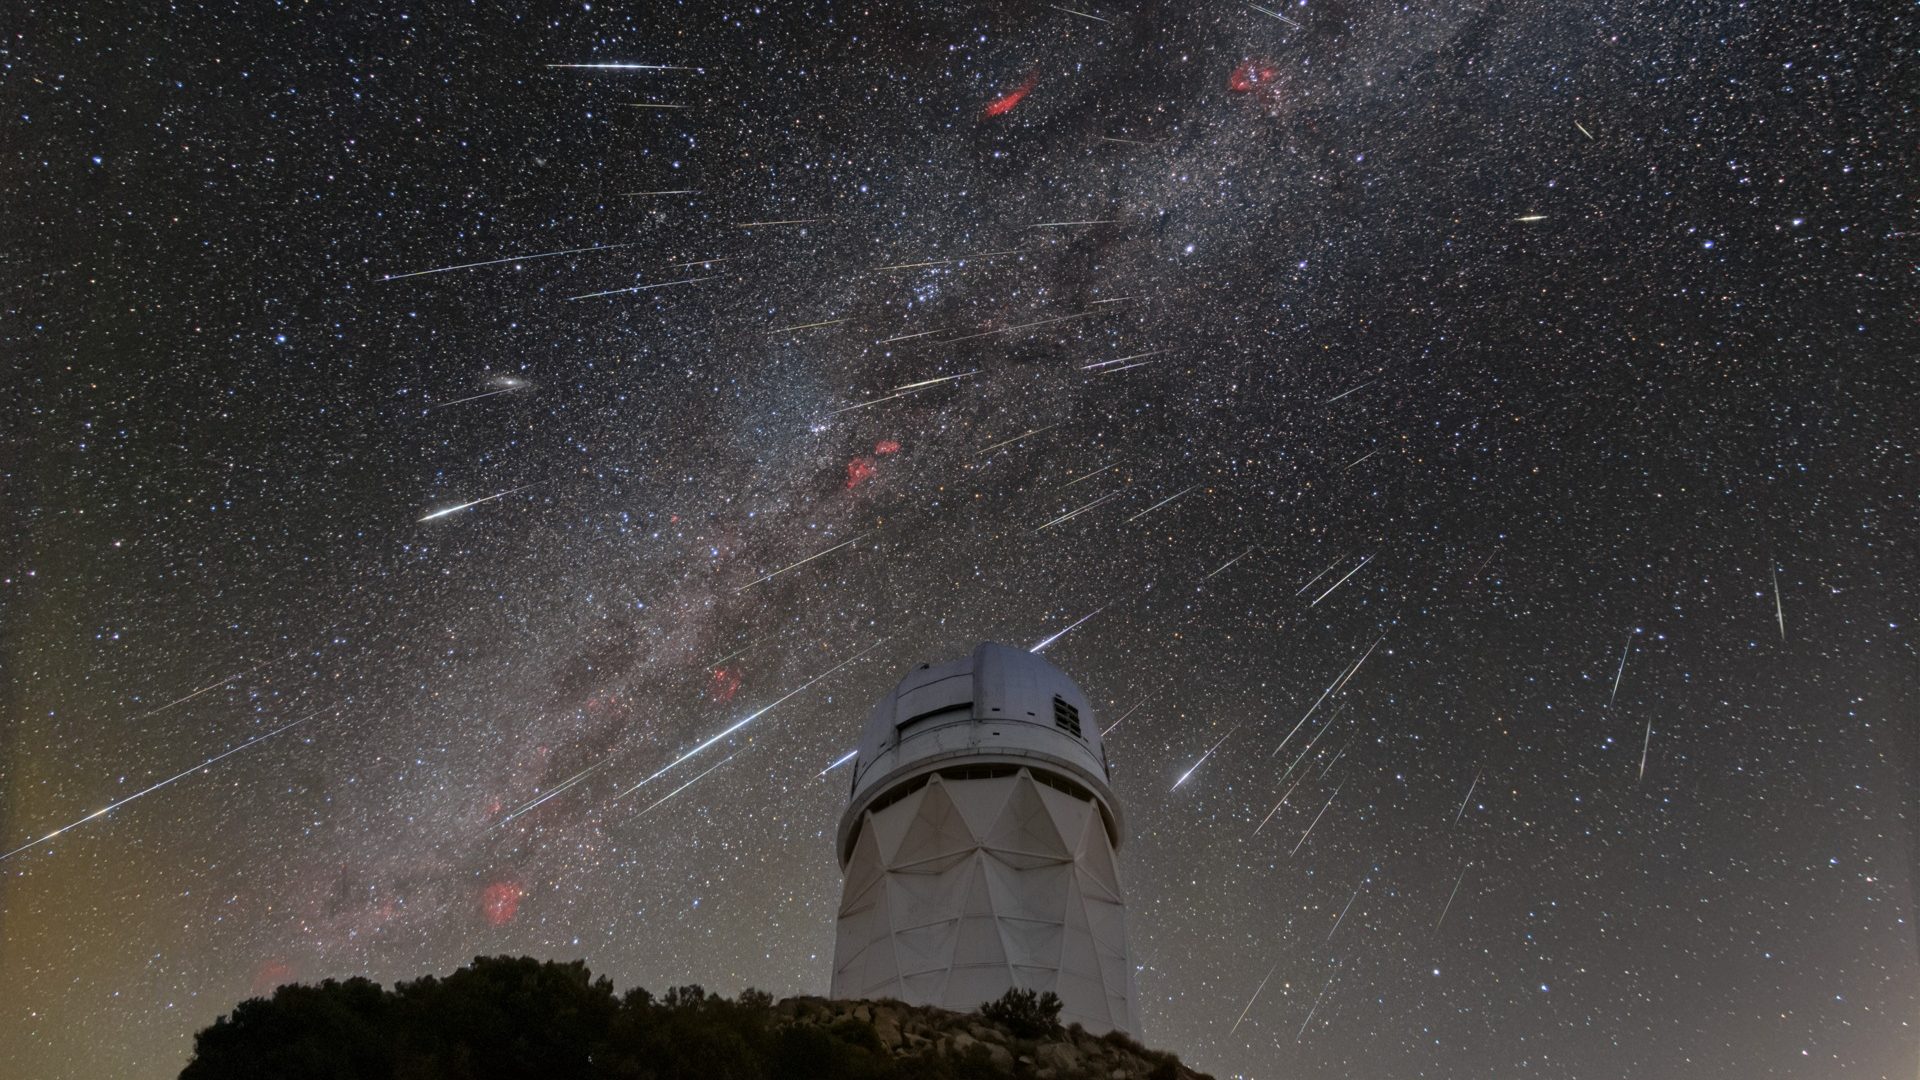
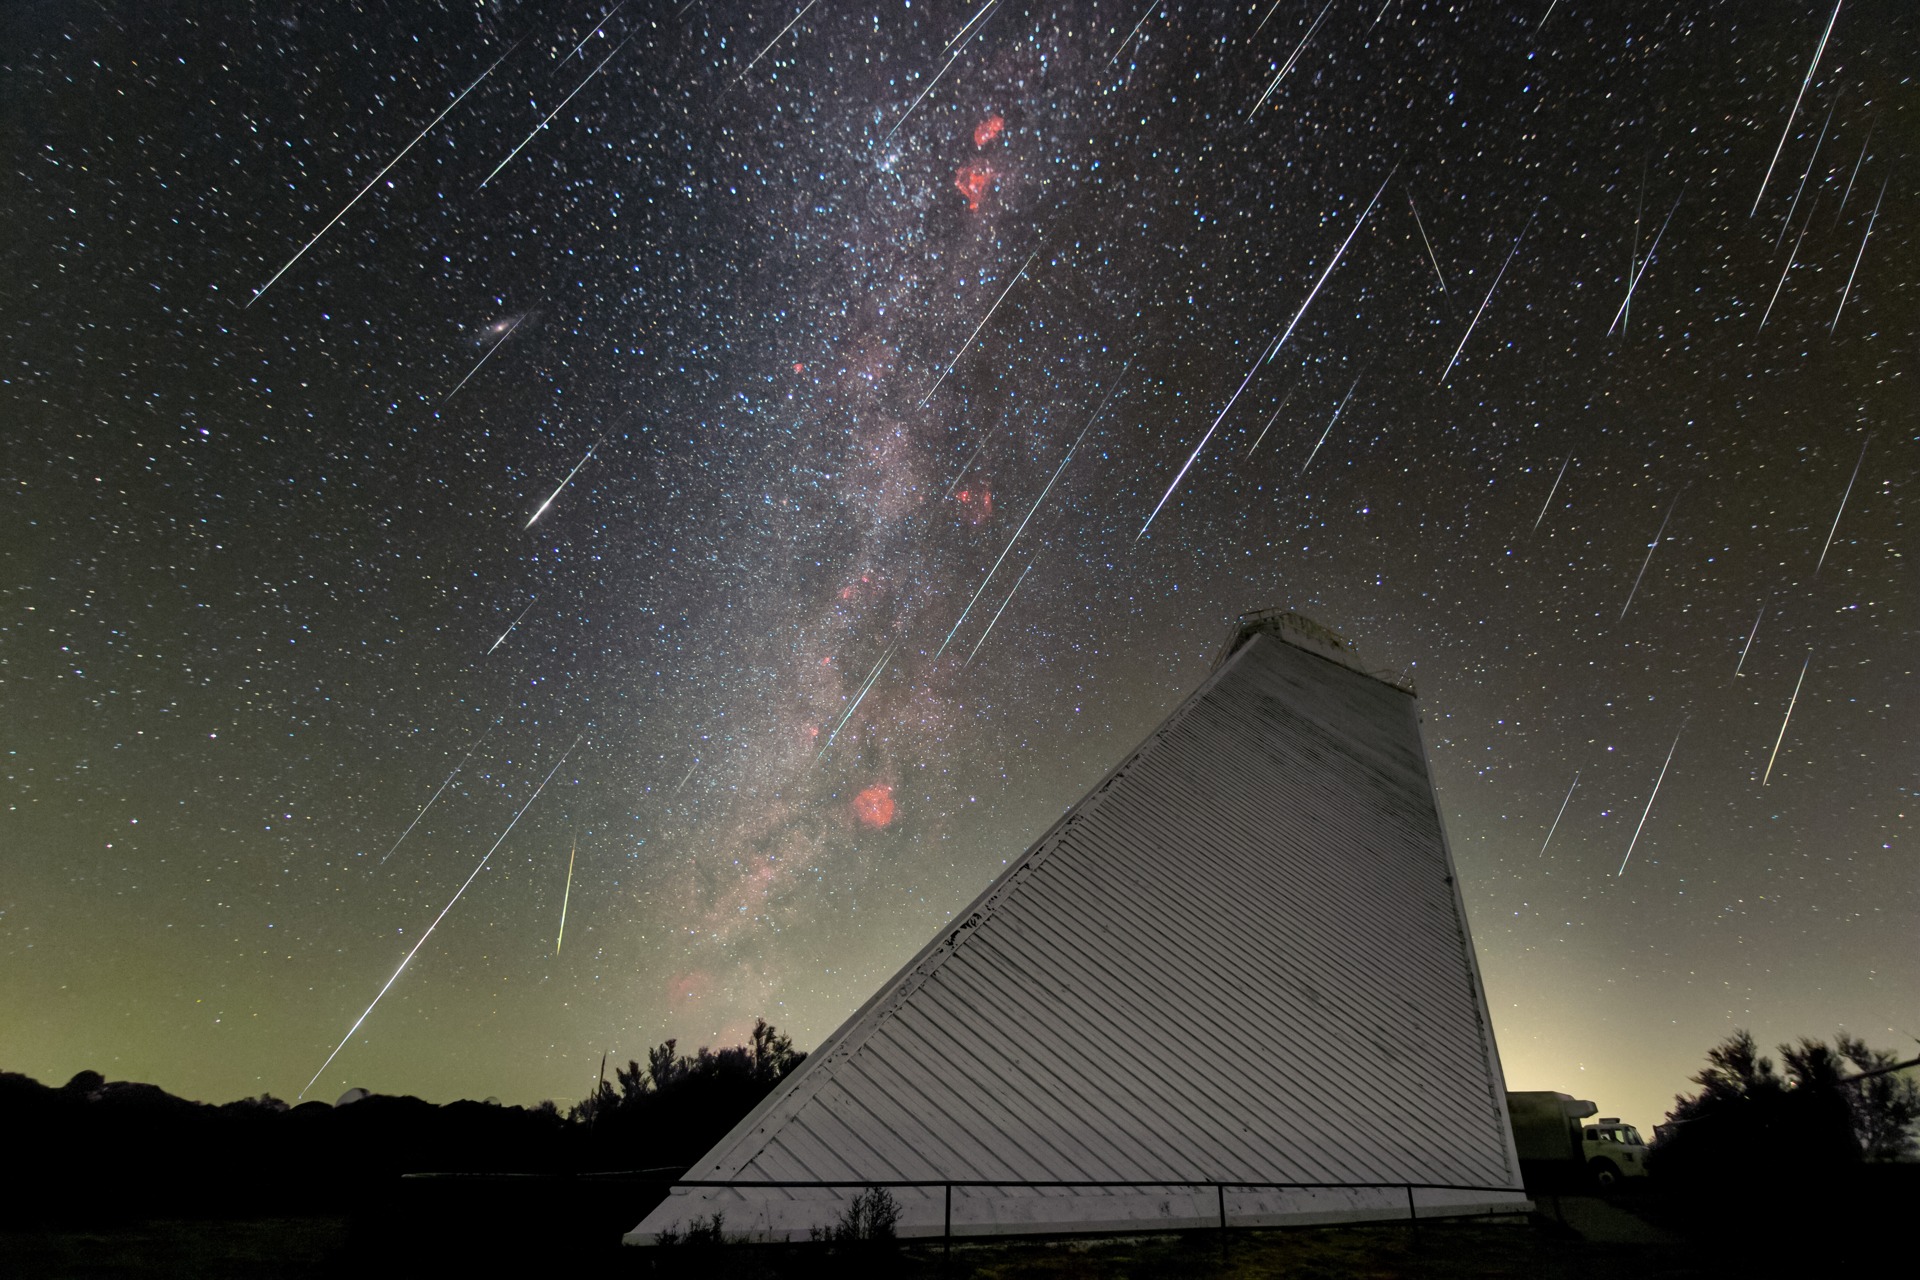
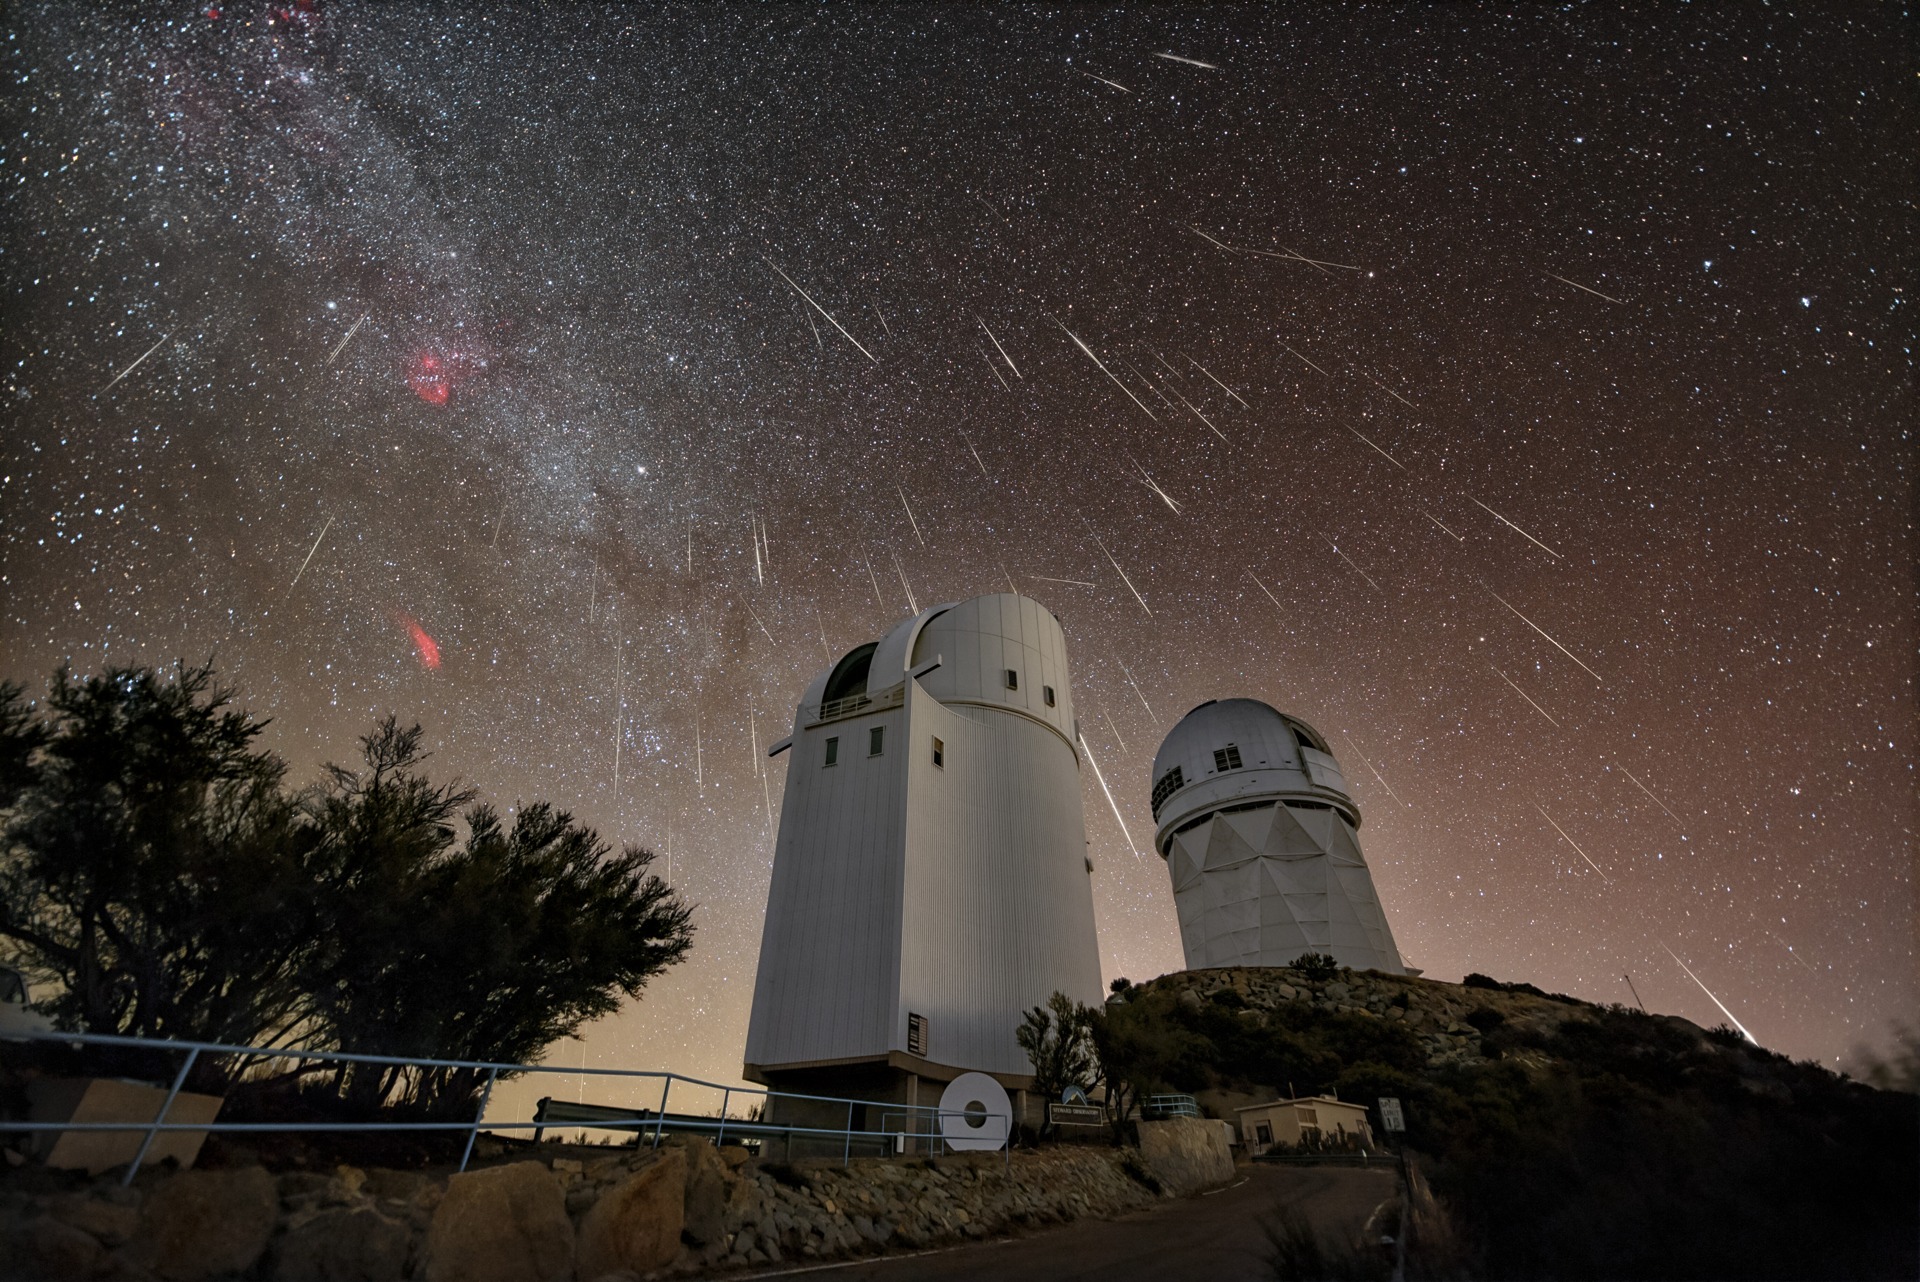
Featured photograph: Geminids above the Mayall telescope at Kitt Peak, captured December 14, 2023. The source identifies a composite stacked from a two-hour sequence, with foreground and background stacked separately. Photo: KPNO/NOIRLab/NSF/AURA/R. Sparks (NSF NOIRLab). CC BY 4.0. Resized; no crop or content change. Body photographs have separate credits beside each image. These are independent illustrative photographs, not stills from Thomas O’Brien’s film. Their use does not imply endorsement of Shut Your Aperture or the linked products.
Affiliate disclosure: some links above are affiliate links. If you buy through them, Shut Your Aperture may earn a small commission at no extra cost to you.