
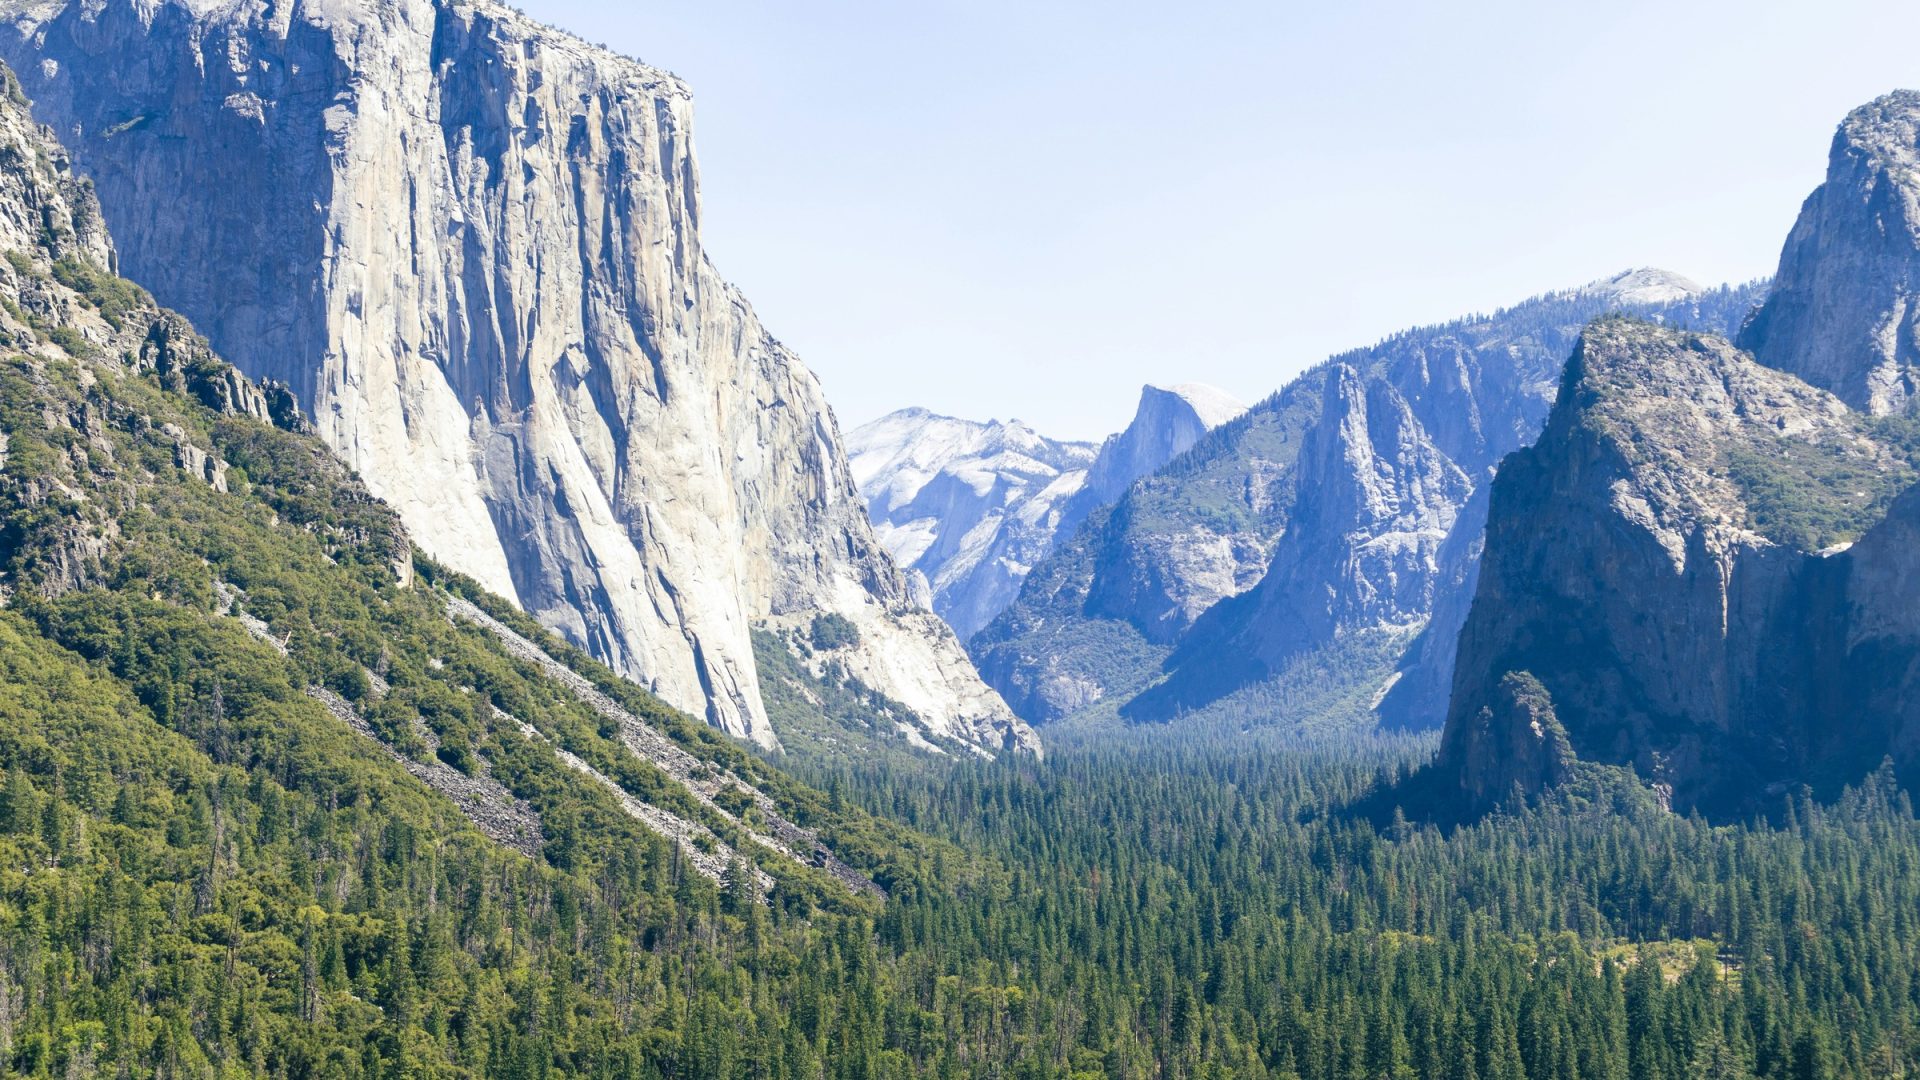
Stock photo, illustrative. Hero: Sunlit El Capitan and distant Yosemite peaks at Tunnel View. Weather and visibility vary; this is not a forecast or a camera-placement instruction. Photo: Franky Magana. Source · Unsplash License. Resized; no generative edits.
Tunnel View photography is an exercise in arranging a familiar landscape under unfamiliar conditions. El Capitan, Bridalveil Fall and distant Half Dome give the scene its recognizable structure. The photograph you bring home depends on what the light reveals, what clouds conceal and how you fit those shapes into the frame. A famous viewpoint is a starting point, not a guarantee of a finished picture.
This guide covers the roadside Tunnel View overlook in Yosemite National Park, California. It explains access and current entrance rules, then works through light, framing and exposure choices. It is not a list of different Yosemite photography spots. The six landscape photographs are credited to their contributing photographers and show possible conditions, not a claim that Edin Chavez made every image or that a pictured position is safe to copy.
Find the overlook, not a different valley viewpoint
The NPS viewpoints page places Tunnel View at the east end of the Wawona Tunnel on Wawona Road, Highway 41. It describes El Capitan and Bridalveil Fall rising from Yosemite Valley, with Half Dome in the background. Use that official location when planning the drive. A photograph labeled only “Yosemite Valley” might have been made somewhere else and may not show the view you can reach here.
The park’s Tunnel View page describes vehicle access year-round, designated accessible parking spaces and views from the parking area or a short paved walk to the pedestrian viewing area. It also identifies a bronze tactile model of Yosemite Valley near the overlook. This is a roadside visit rather than a required mountain hike, but an accessible viewpoint does not remove weather, traffic or icy-surface concerns. Check current conditions before setting out.
Make parking and walking part of the plan. Use designated parking, follow signs and keep track of moving vehicles rather than composing through a viewfinder while walking. Keep tripods, camera bags and other equipment out of circulation routes and accessible spaces. If you cannot stop legally or work without blocking others, return when conditions allow. A fixed instruction to arrive 45 minutes early cannot guarantee a space or solve a busy overlook.
Check Yosemite entry rules for your travel year
Yosemite’s official entrance-reservations page says the park is not using a timed reservation system in 2026. That is a year-specific policy, not a permanent promise. Entrance fees still apply, and the announcement describes active traffic management rather than guaranteed immediate access. Check the official page again for your trip year, especially if you are planning beyond 2026. Lodging, camping and other activities can have their own requirements.
The current fees page lists a $35 standard entrance fee for a private non-commercial vehicle with 15 or fewer passenger seats, valid for seven consecutive days. It also states that non-US residents aged 16 and older pay an additional $100 per person unless admitted with an Annual or America the Beautiful Pass under the listed rules. The vehicle price alone is therefore not everyone’s total. Check the current fee and pass category that applies to your party instead of relying on an old screenshot or a blanket “park entry only” estimate.
Before driving, read the park’s current conditions and road information. A viewpoint described as reachable year-round can still be affected by a temporary closure, snow, ice, fire or traffic controls. Do not treat another visitor’s recent photograph as clearance for today’s route. Leave room in the day for delays and for deciding not to continue if conditions are outside your experience.
Read the light before choosing a composition
 Save
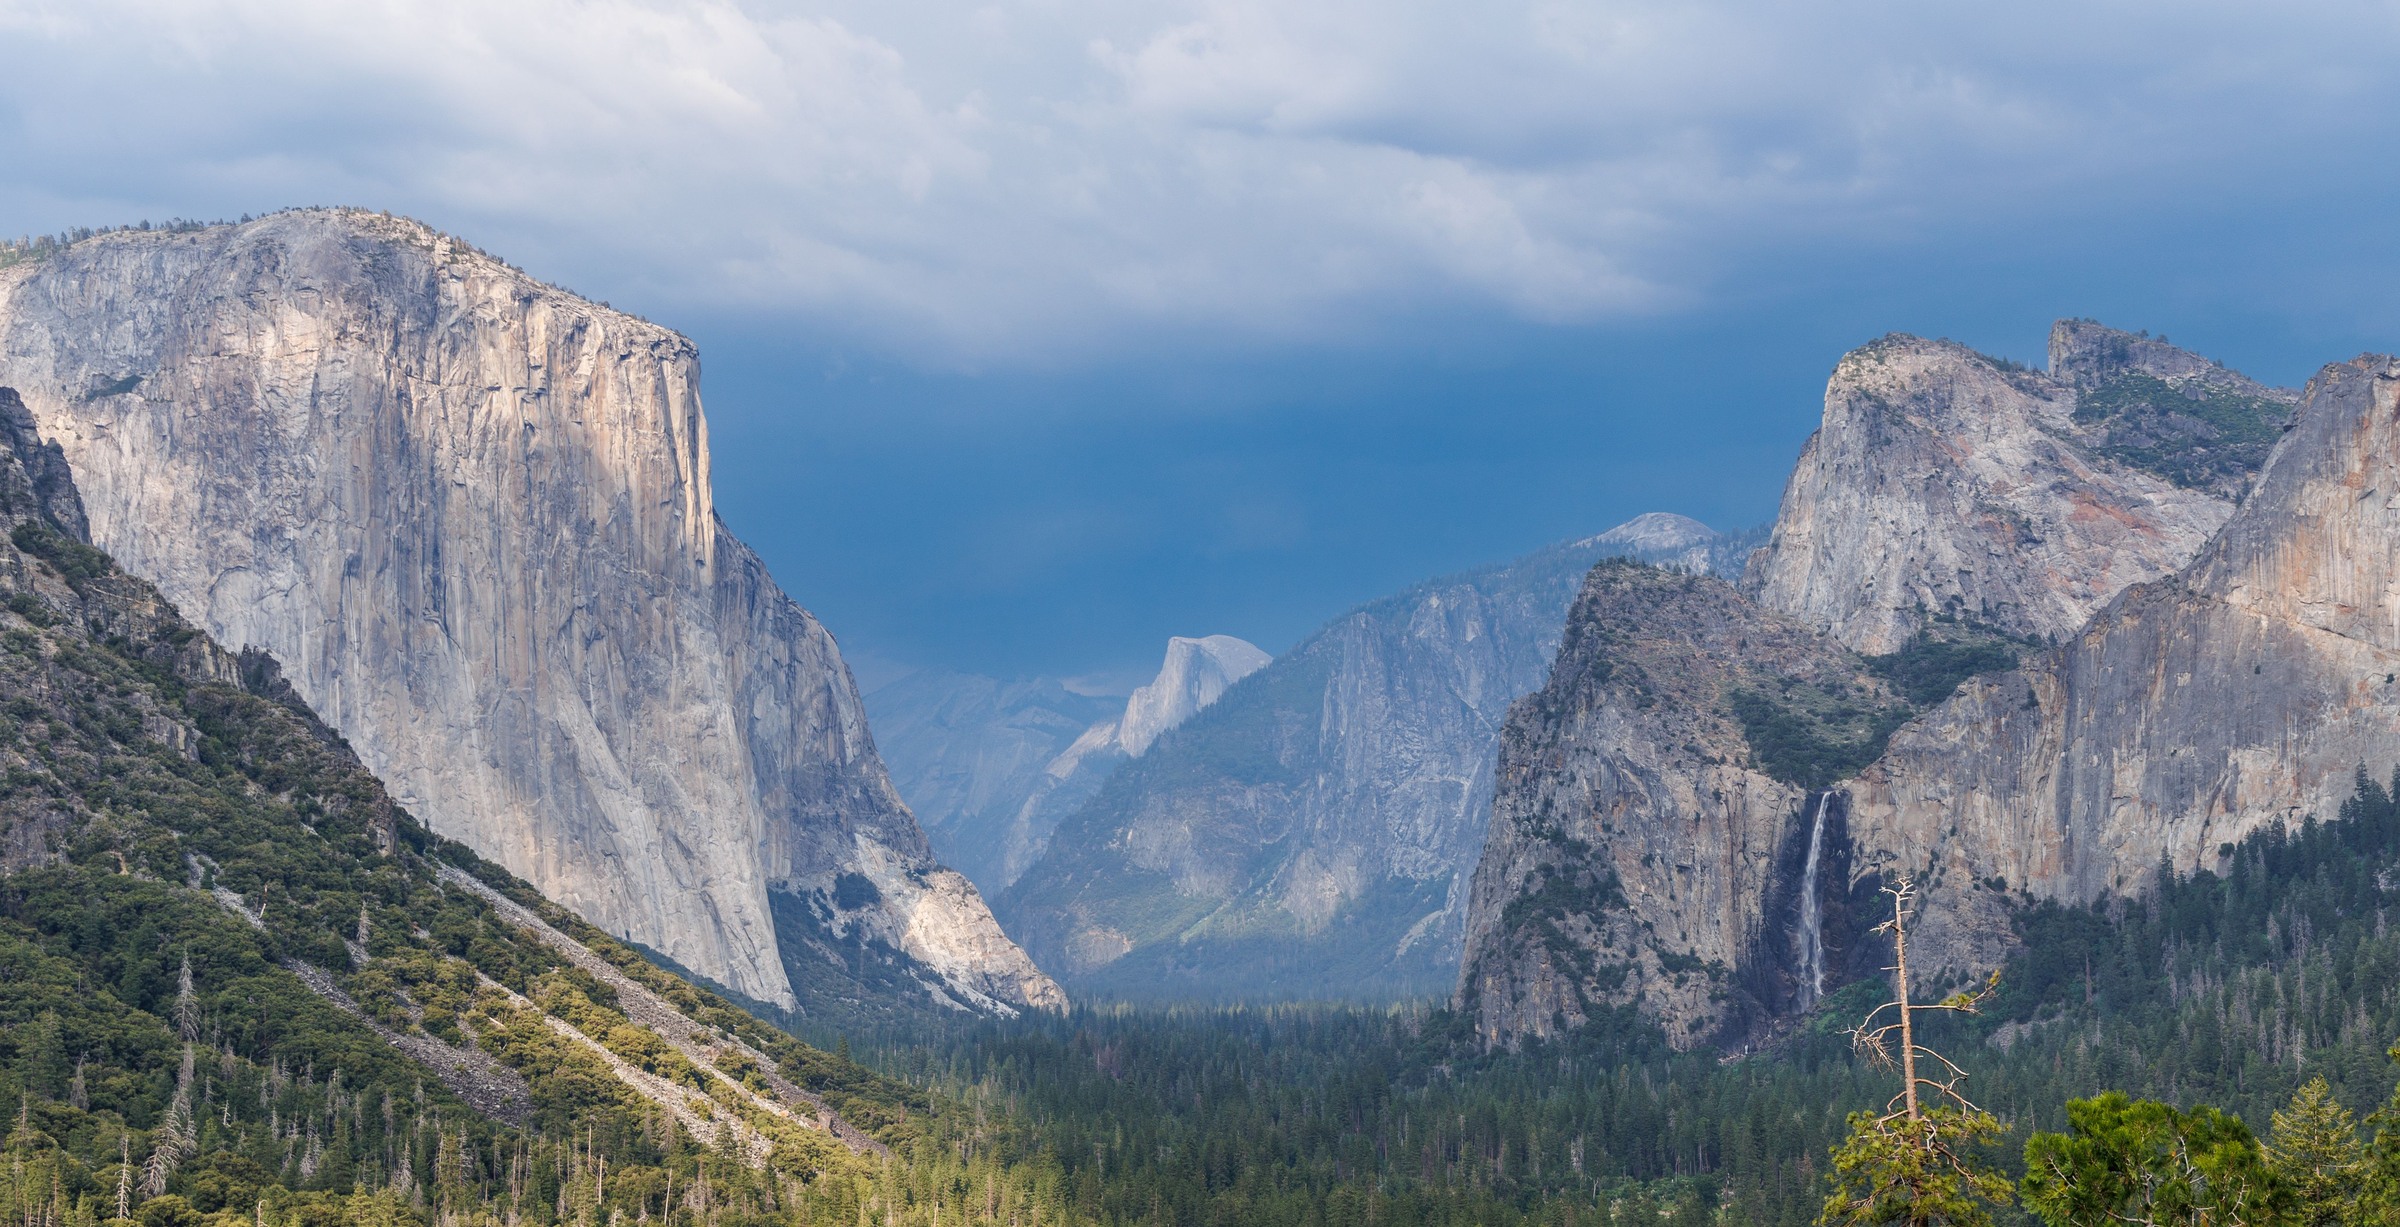
NPS calls Tunnel View spectacular at sunset or after the clearing of a storm. Those are useful possibilities, not appointments the landscape keeps. A storm can remain closed in; broken cloud can hide a distant formation while revealing another; a clear evening can produce less color than you expected. Arrive with enough flexibility to work with what is visible rather than measuring the visit against a photograph made on a different day.
Start by identifying the brightest important area. It might be a sunlit granite wall, a small cloud edge or the sky above the valley. Then look at the darkest area you want to retain. That relationship matters more than the word “sunrise” or “sunset” in an itinerary. Ask whether the light gives the large rock forms separation from the background and whether the forest supplies a useful base or simply a heavy dark band.
Do not dismiss midday or overcast conditions automatically. Soft light can make the arrangement of cliffs easier to read without deep shadow, while a clear sky may favor a tighter study of rock and forest instead of a sky-heavy panorama. If the sky is not contributing, include less of it. If cloud is the subject, leave room for it and accept that the familiar distant peak may not be visible in that frame.
Build a wide frame with clear relationships
 Save
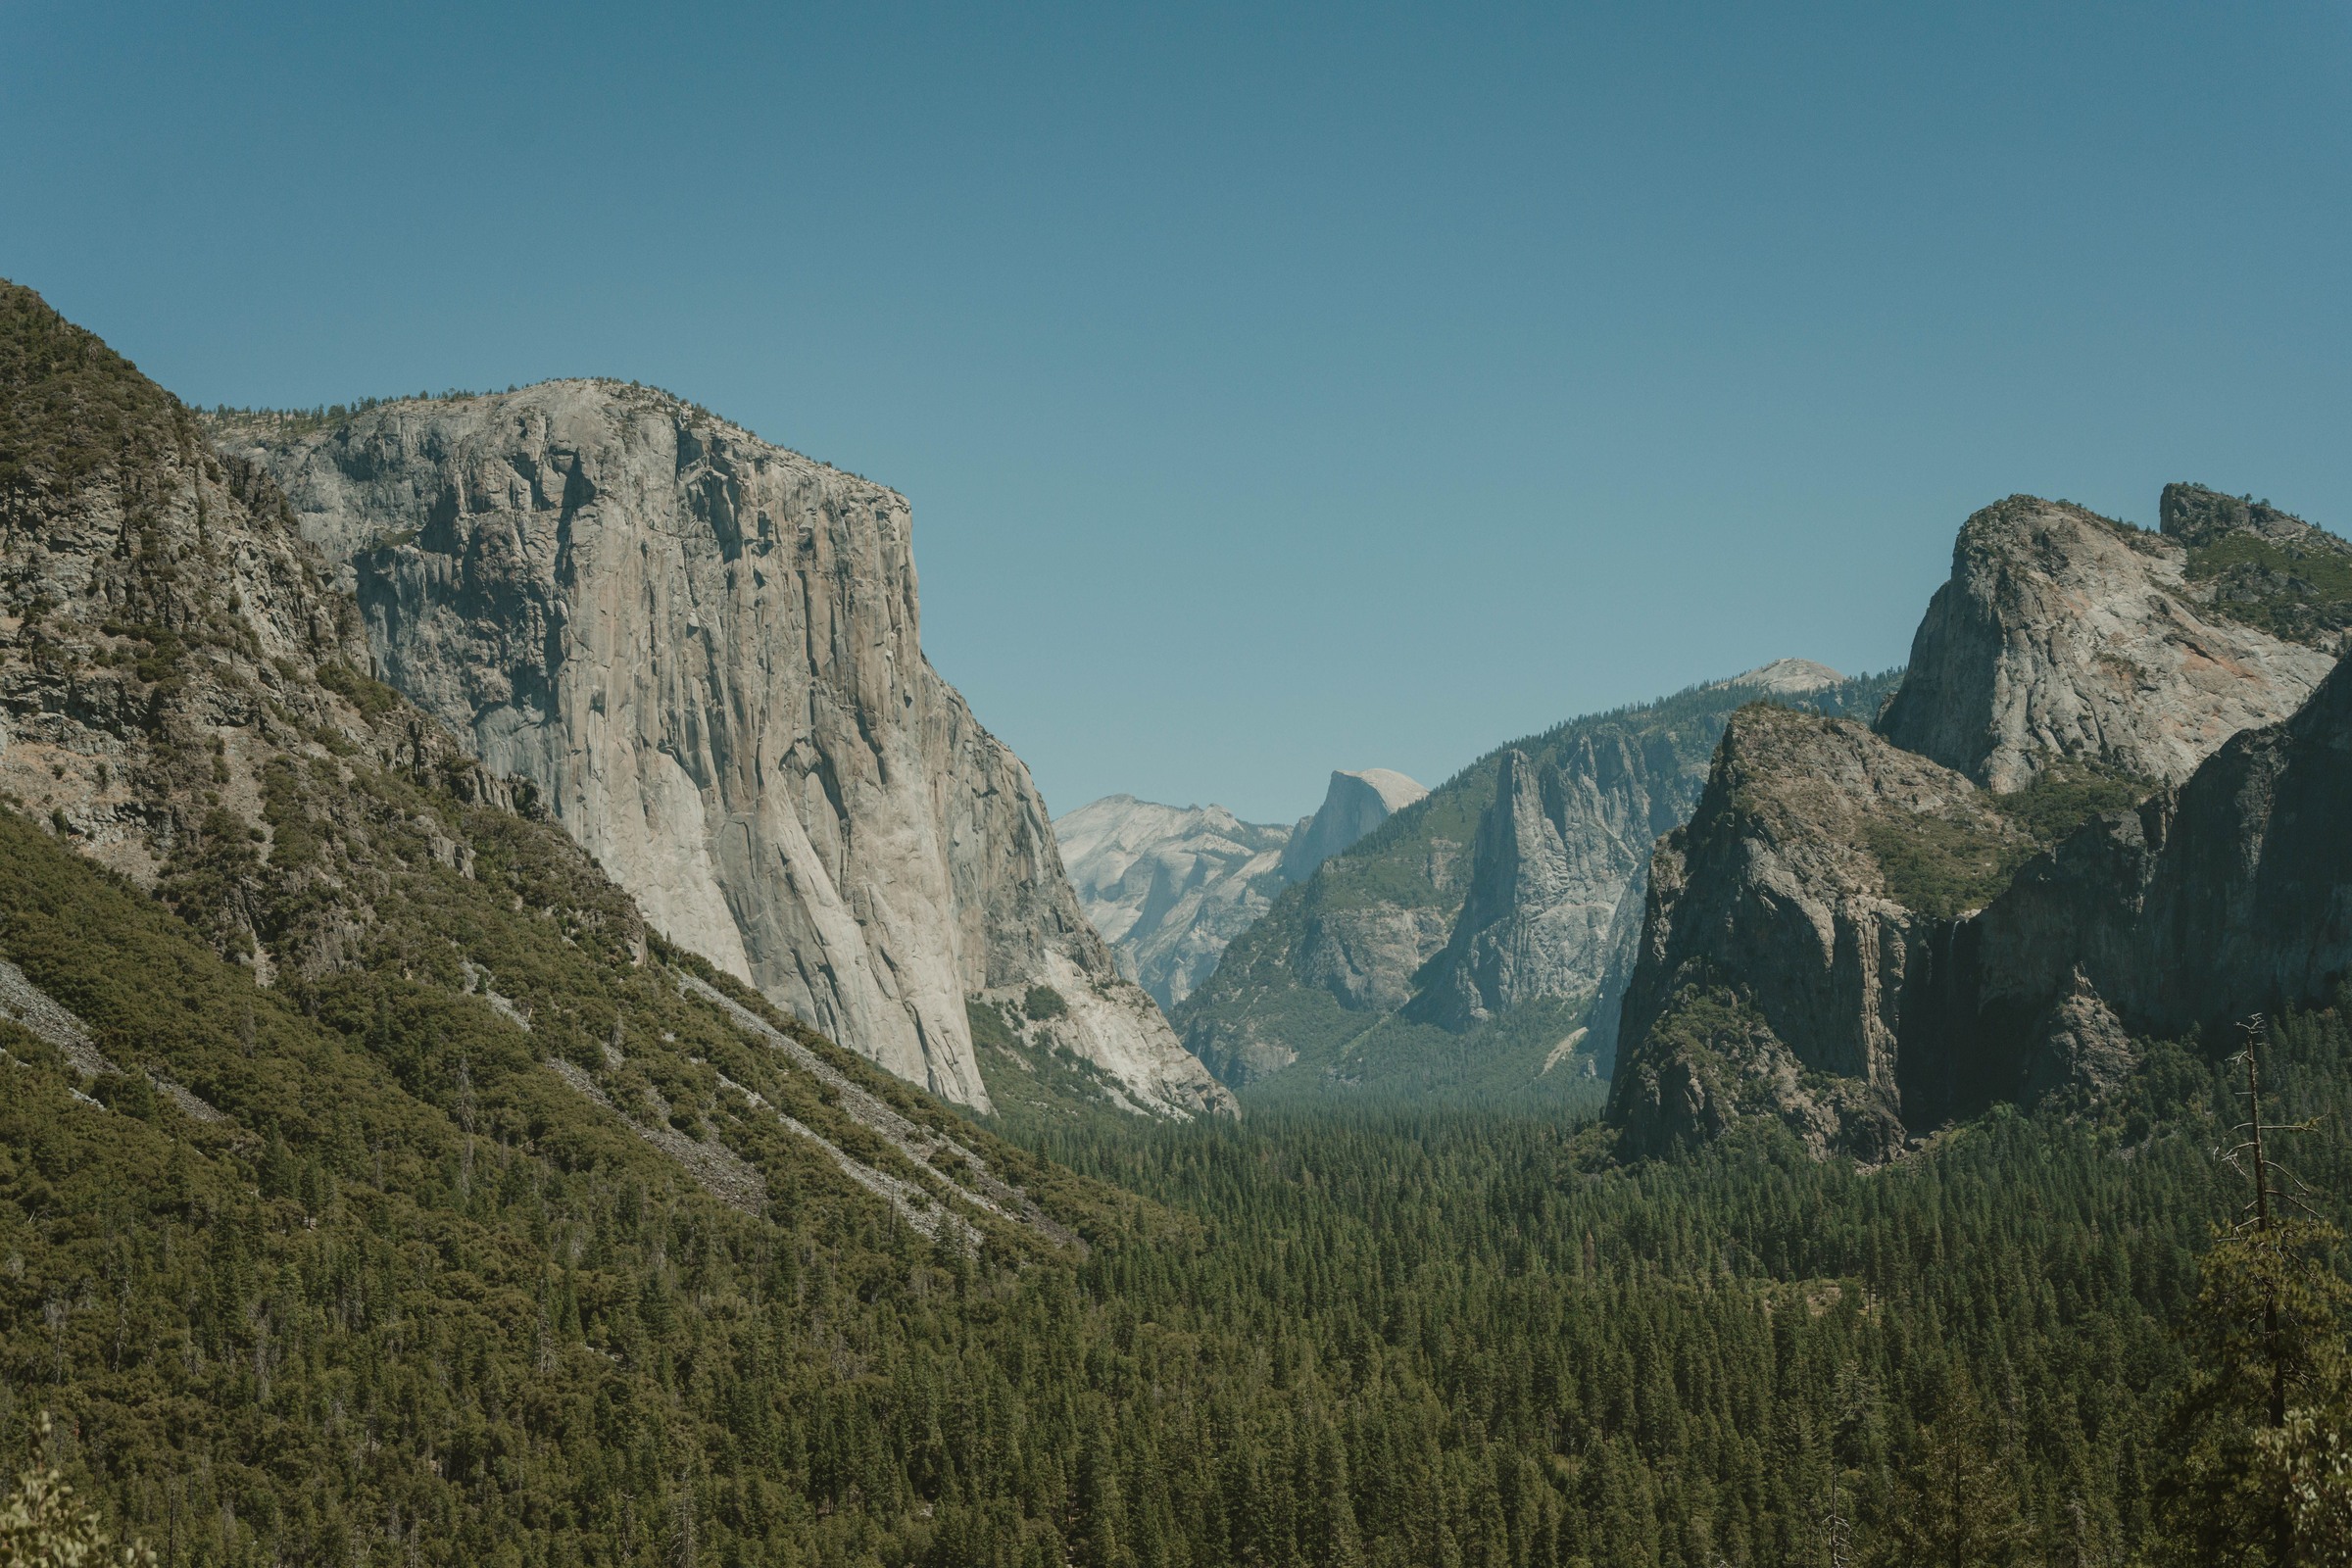
The familiar wide photograph works because the nearer walls lead attention into the distance. Begin with a simple version: enough of El Capitan to establish its mass, enough of the opposite wall to balance it and enough room for the valley to lead inward. Check the frame edges before adding more foreground. A clipped rock shape or a bright corner can draw more attention than the distant subject you intended to emphasize.
A wide-angle lens is useful when the whole arrangement matters. It is not mandatory, and the widest setting is not always the strongest choice. More width can add empty sky, intrusive nearby vegetation or a foreground that does little for the picture. Try a modestly tighter frame from the same stable, permitted position. Watch how the distant forms become more prominent and how the relationship between the walls changes.
Check the horizon and vertical impression, but do not force every natural line to behave like architecture. The cliffs are irregular, and lens correction can change the edges of a wide composition. Make an exposure with a little breathing room if you expect a modest straighten later. Do not rely on heavy cropping to rescue a frame whose main relationships were never clear.
Make a second photograph, not ten copies of the first
 Save
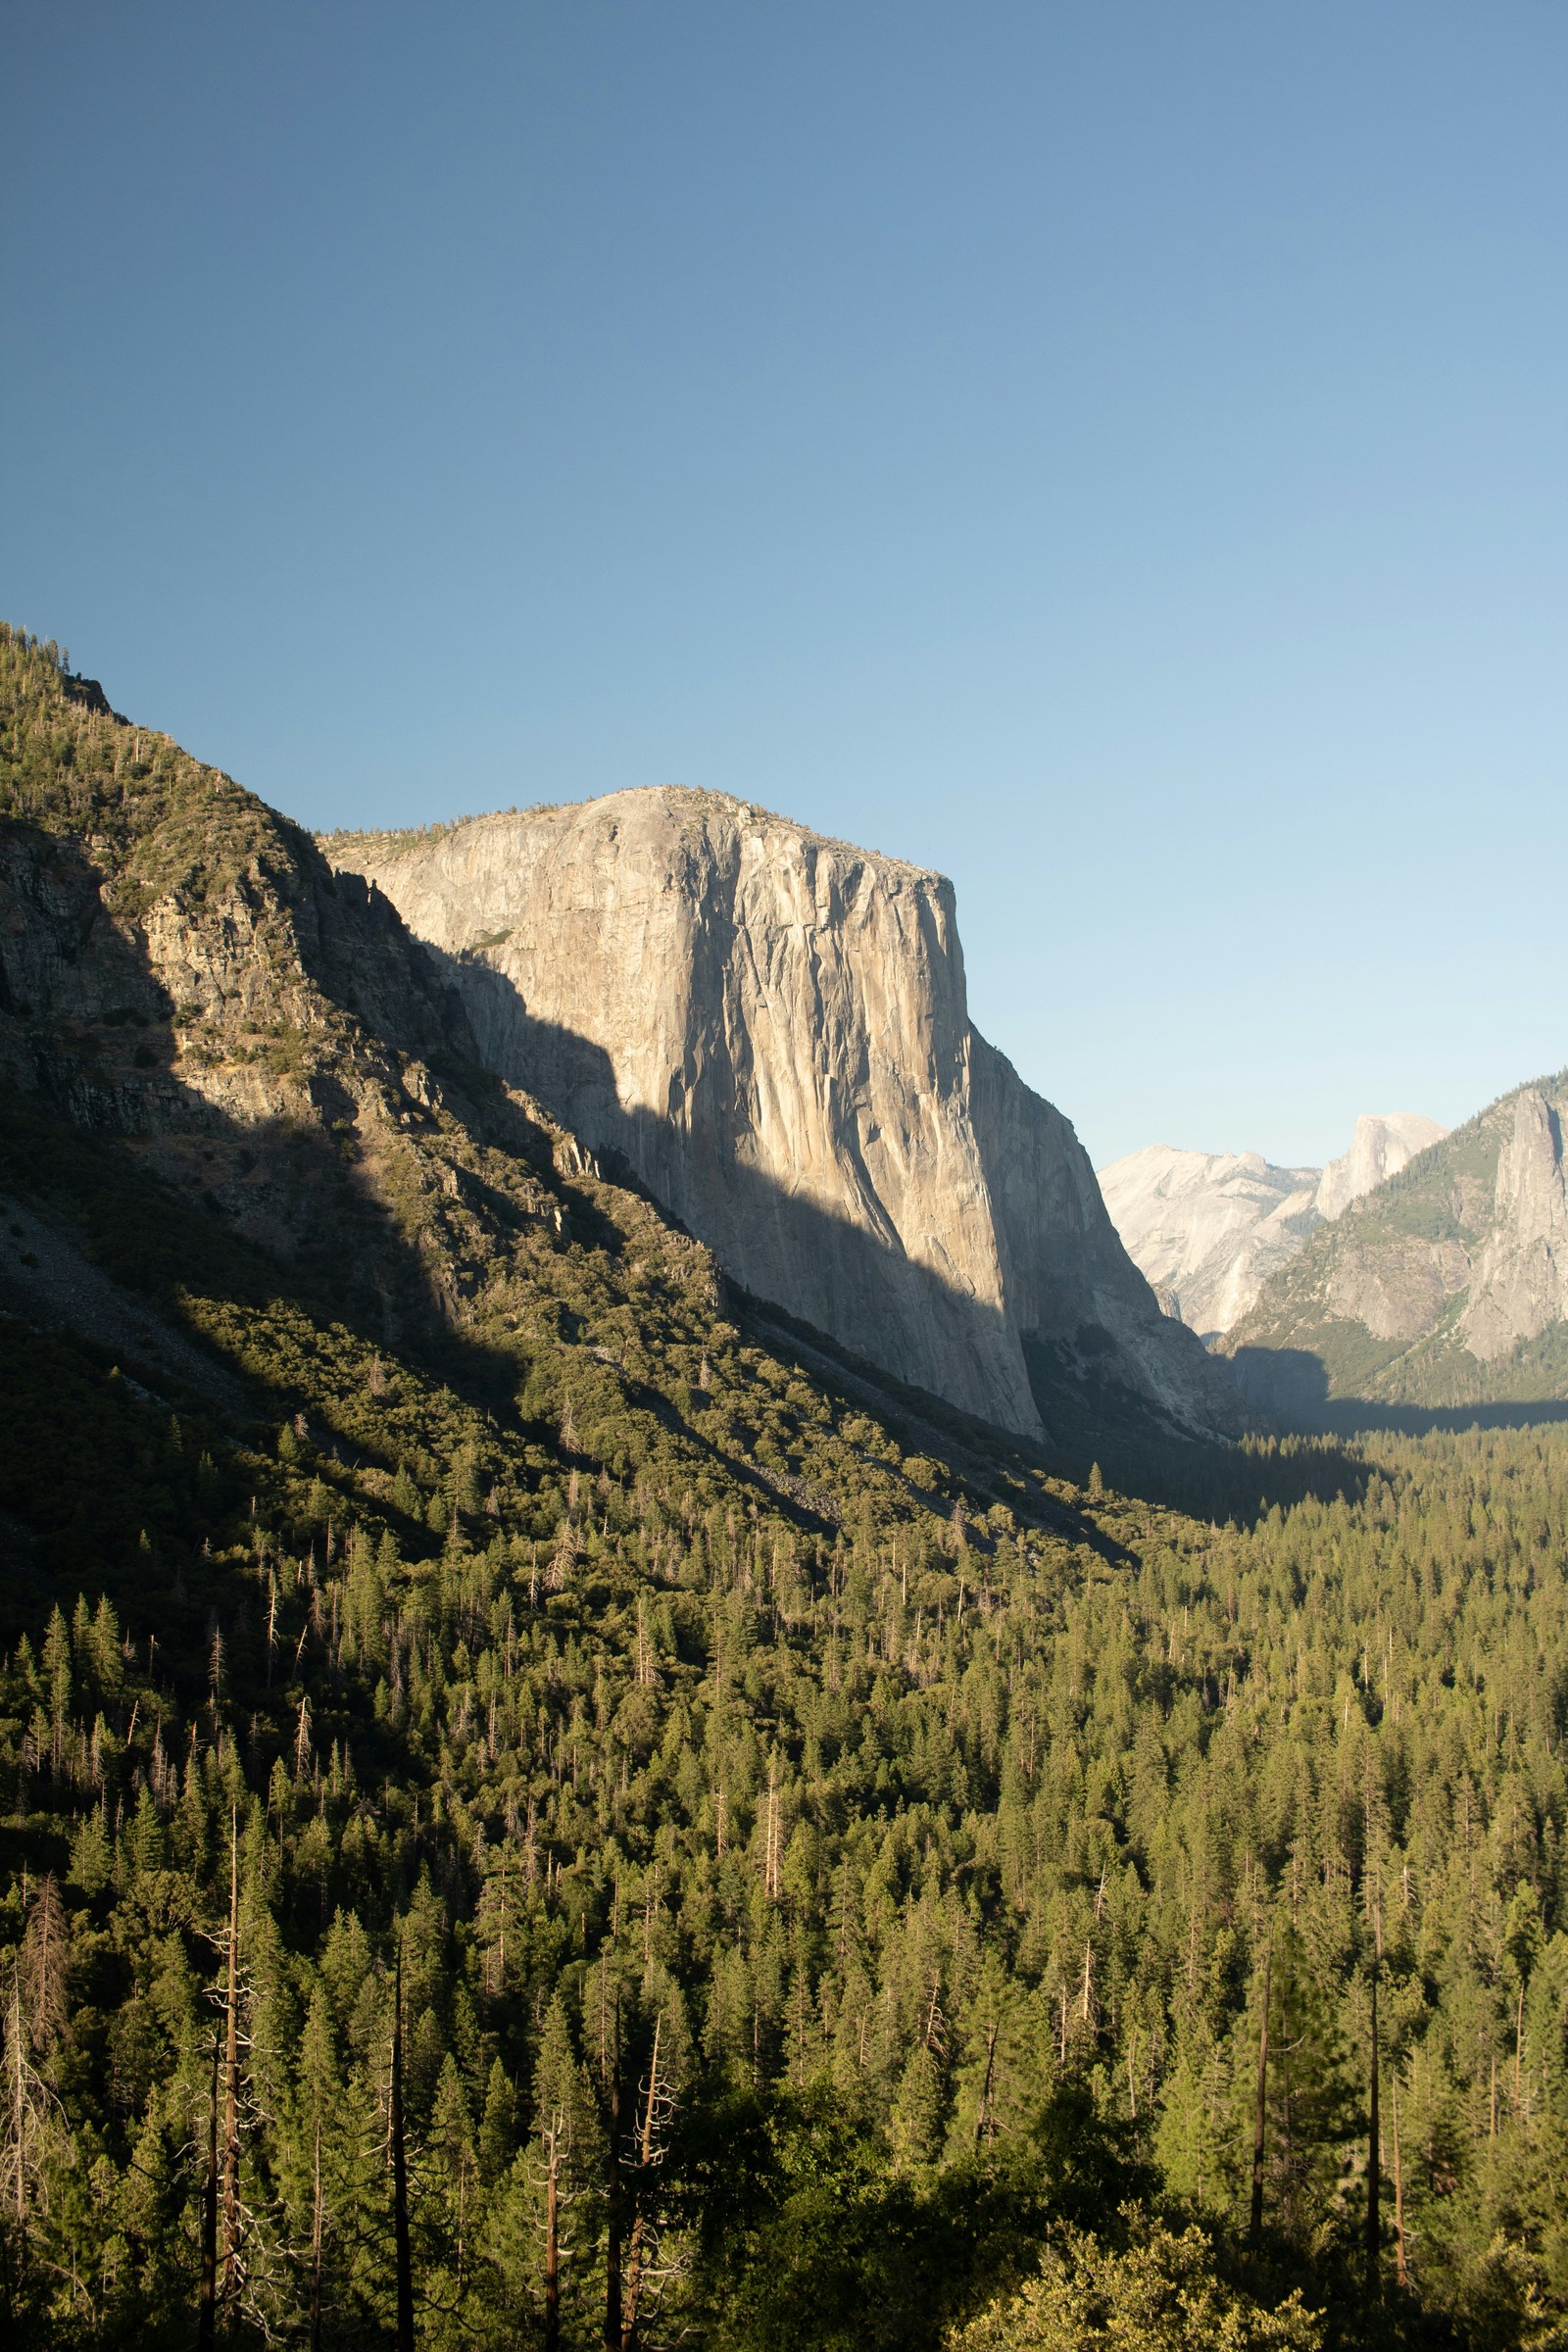
After the broad view, look for one different idea. A quieter sky, a change in the brightness of a wall or a narrow band of light can justify a tighter photograph. A longer focal length can isolate a relationship between distant rock and nearer cliffs without asking you to leave the viewing area. Adjust framing with the lens when possible; never step backward toward traffic or awkward footing while looking through the camera.
Try a horizontal frame with less forest or a vertical frame that connects a foreground tree to the distant valley. Neither orientation is a rule. The test is whether every included area helps the picture. If a foreground tree blocks rather than anchors the view, choose a different frame from a permitted position. Do not cut, bend or move vegetation to make the photograph cleaner.
Give subtle light time to work, but keep watching the scene rather than only the screen. Make a deliberate variation, check it, then look up. Photographing every few seconds does not guarantee that you notice a meaningful change. A small set with different framing and light often tells you more about the place than a large set of almost identical exposures.
Treat fog and waterfalls as conditions, not promises
 Save
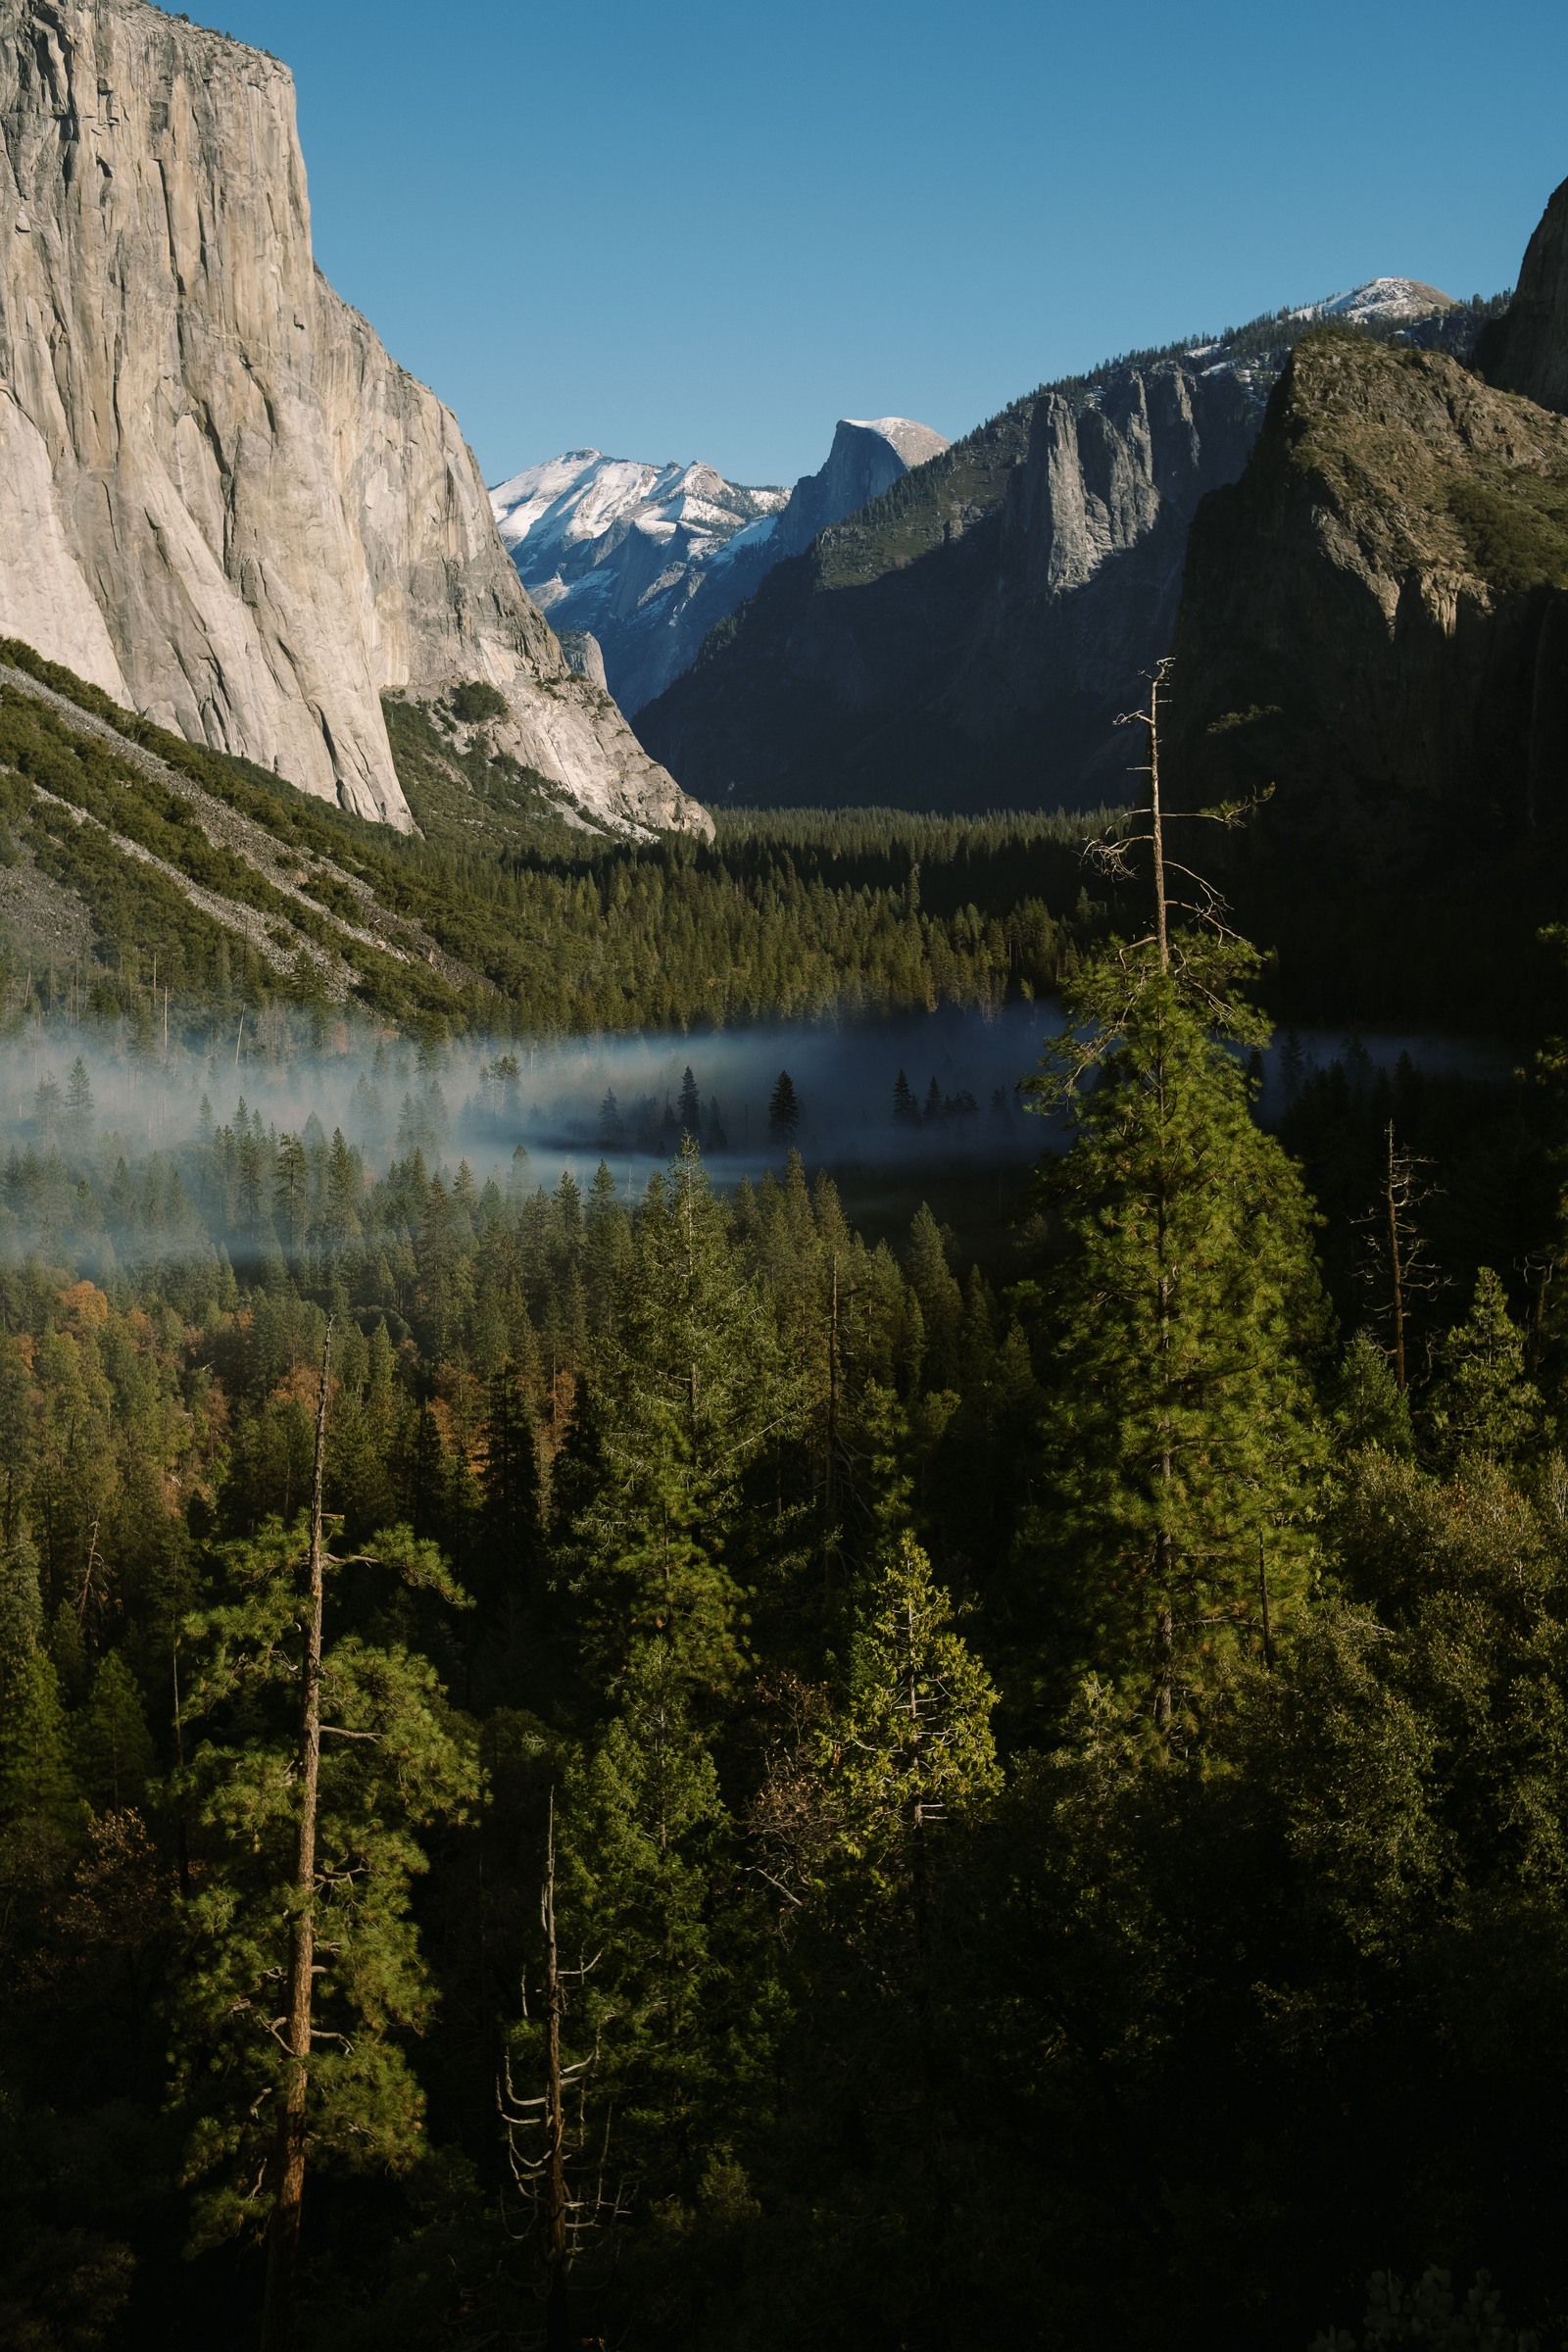
Low cloud or fog can separate the forest into layers and simplify a busy valley floor. It can also erase the distant view entirely. A photograph with a narrow band of mist is evidence of one moment, not proof that spring or fall mornings reliably produce a sea of clouds. Check the weather for planning and safety, but do not turn a general forecast into a guarantee of a particular fog height or a clear Half Dome.
When mist is present, decide how bright it should appear relative to the rock and trees. A fixed exposure adjustment such as +0.7 stops is not reliable across different cameras, meters and compositions. Inspect the histogram and highlight warnings, then protect the bright areas that matter to your image. Keep the tonal difference between nearby forest and distant layers rather than adding so much contrast that every layer looks equally heavy.
Bridalveil Fall is part of the view, but its appearance changes. The NPS waterfalls page describes spring snowmelt as the strongest general waterfall season and notes that Bridalveil flows all year, with peak flow in May. That seasonal pattern is not a prediction of a particular day’s volume or how clearly the fall will appear from the overlook. If the waterfall is small in your wide frame, consider a tighter composition rather than assuming the location has failed.
Choose settings for detail, contrast and stability
Choose aperture for the depth your frame needs, not because one number is supposedly the Tunnel View setting. A scene composed mostly of distant land may not need the same approach as one with nearby branches. Focus deliberately and inspect an enlarged image, including important areas away from the center. A small aperture can provide depth, but stopping down as far as possible is not automatically the sharpest result.
Use a shutter speed that suits your support, focal length and conditions. A tripod can help in low light when there is a safe place to set it without obstructing anyone. Wind and unstable footing can undermine a slow exposure even on a tripod. Raise ISO when necessary to keep the file sharp. On a phone, brace it safely, keep important highlights under control and inspect the result rather than assuming an automatic night mode will solve every problem.
For a scene with bright sky and dark forest, first decide which detail matters. Do not deliberately blow important sky detail simply because the valley is darker. If the contrast exceeds what one exposure can hold, bracket from a stable setup while watching for changes in cloud or vegetation. Blending is an editing option, not a reason to ignore exposure in the field. If movement makes a blend distracting, a single frame with honest shadow may work better.
A graduated filter can sometimes help with a bright sky, but an uneven skyline can make its effect obvious on the cliffs. Compare with and without it instead of treating it as required gear. Finish the field check with the basics: clean lens, no accidental clipped edge, correct focus and a usable shutter speed. These checks are more valuable than copying another photographer’s complete settings without their light or camera position.
Plan winter access and share the overlook
 Save
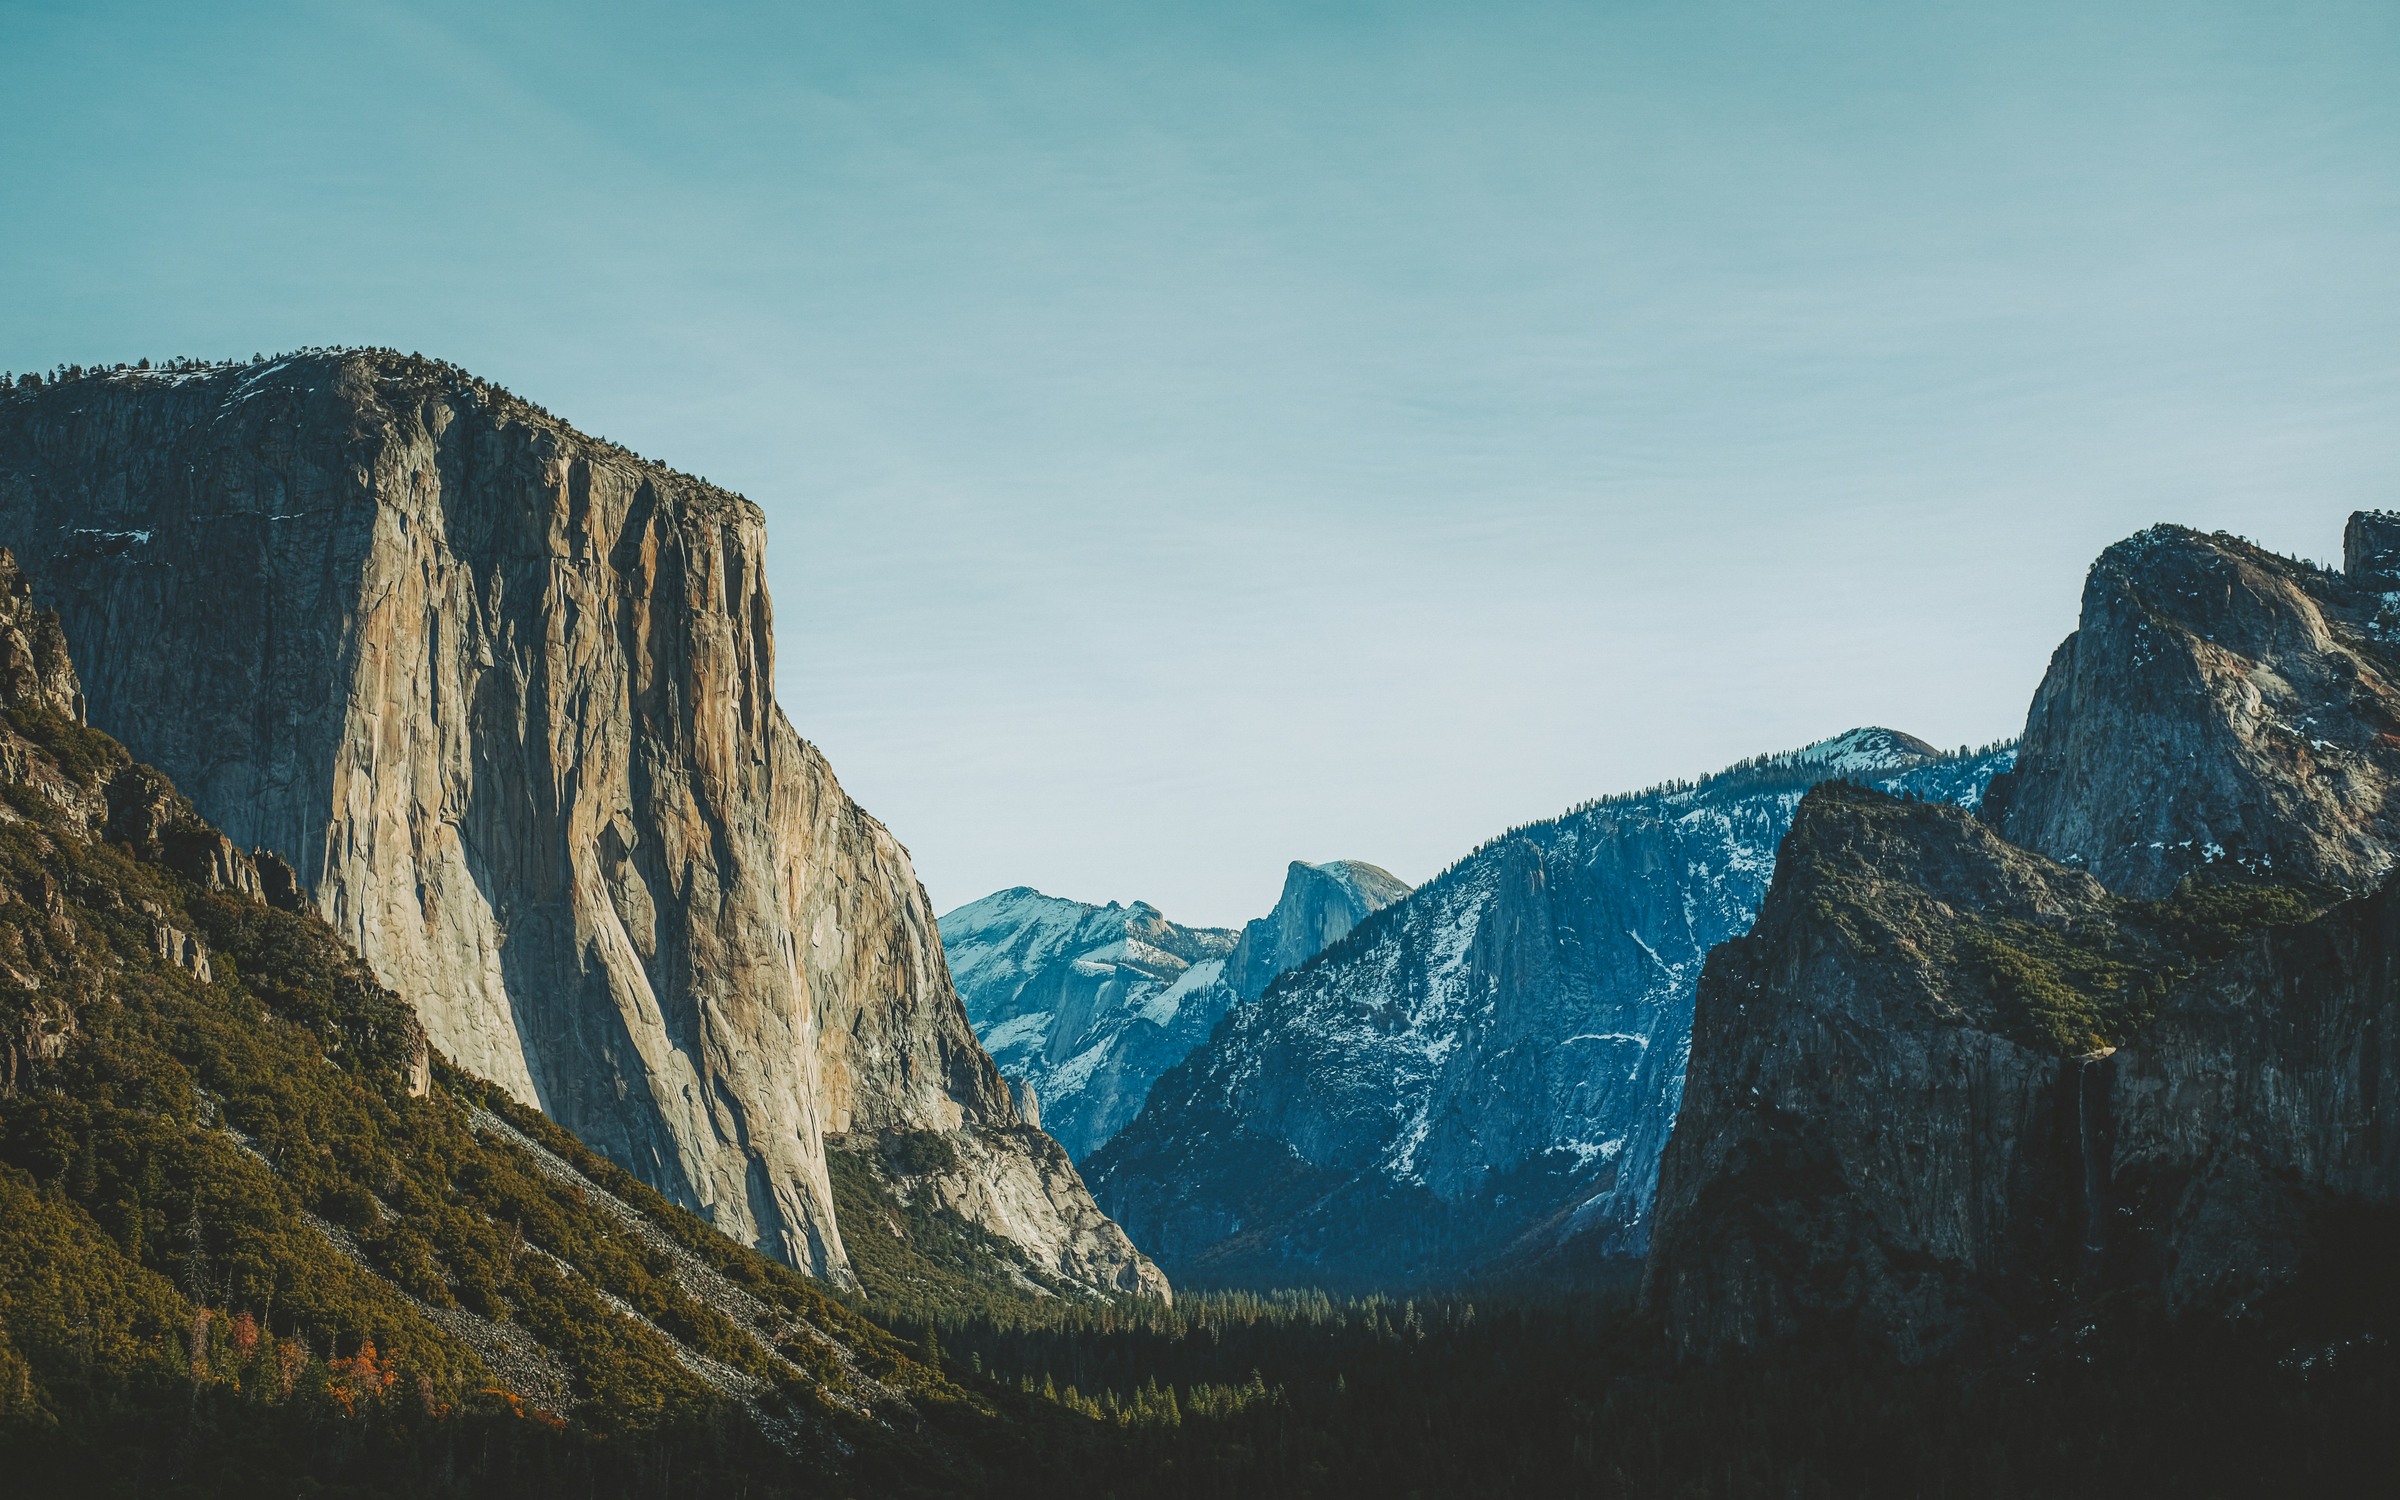
Snow can emphasize the outlines of the cliffs and change the color balance, but a winter photograph says nothing about the current road surface. Yosemite’s tire-chain guidance says to expect chain requirements from November through March, with controls possible outside those months. When chain controls are in effect, all vehicles must carry chains, including four-wheel-drive and rental vehicles. Whether you must install them depends on the signed control level and your vehicle, not simply on having all-wheel drive.
Check the park’s road recording at 209-372-0200, then select 1 and 1, for updated conditions inside Yosemite. Read the current instructions and know how to use equipment that fits the vehicle before reaching a control point. If the vehicle or rental terms do not allow the required equipment, resolve the transport plan before driving. The view is not worth improvising a winter-road decision at the last moment.
At the overlook, keep the shared nature of the place in mind. A tripod does not reserve a section of railing, and waiting for light does not give anyone exclusive use. Give other visitors room to see the valley, keep gear compact and avoid asking people to move toward unsafe places for a clean frame. You can simplify a composition or return another time without treating ordinary visitors as a problem to remove.
For an organized shoot, check the park’s filming and photography rules. The current guidance says groups of eight or fewer generally avoid permit and fee requirements only when all conditions are met: public areas, hand-carried equipment, no exclusive use, no adverse impacts and no likely added administrative costs. Photography workshops may require commercial use authorization. Do not read “no hiking required” as “no rules apply.” Ask the park about the activity if it goes beyond an ordinary visit.
Frequently asked questions
Where is Tunnel View in Yosemite?
NPS places Tunnel View at the east end of the Wawona Tunnel on Wawona Road, Highway 41. The roadside overlook looks into Yosemite Valley, with El Capitan, Bridalveil Fall and Half Dome among the visible features when conditions allow.
Do I need to hike to Tunnel View?
No mountain hike is required for the roadside overlook. NPS describes views from the parking area or a short paved walk to the pedestrian viewing area, with designated accessible parking. Weather, traffic and surface conditions still matter.
Is a Yosemite entrance reservation required?
Yosemite says it is not using a timed reservation system in 2026. Entrance fees still apply and traffic controls may affect access. Check the official policy for your travel year; other activities and overnight stays can have separate requirements.
How much does entry cost for a Tunnel View visit?
The current Yosemite fees page lists $35 for a standard private non-commercial vehicle entrance pass valid for seven consecutive days. It also lists an additional $100 per non-US resident aged 16 or older unless admitted with an Annual or America the Beautiful Pass under the stated rules. Check the fee and pass category for your party.
Is sunrise or sunset better for Tunnel View photography?
NPS describes Tunnel View as spectacular at sunset or after a clearing storm. Other light can work too. Fog, color, clear distant peaks and available parking are not guaranteed; choose a composition for the conditions you actually find.
Do I need chains or a photography permit?
These are separate questions. In a designated chain-control area, all vehicles must carry chains, including four-wheel-drive and rental vehicles; installation depends on the signed controls. For photography, groups of eight or fewer generally avoid permits only when all NPS conditions are met. Workshops may need commercial use authorization. Check the park rules for your trip and activity.
Use the official entrance, fees and conditions pages linked above when planning your visit. Photographs illustrate visual decisions, not current access or safe placement. Guide location: Tunnel View photography guide, Yosemite National Park.
What to Pack
A landscape kit built around wide views, steady support, and changing light is a useful starting point. Compare the gear and choose what fits your camera, budget, and conditions. These links lead to B&H Photo Video and Amazon.
| What & Why | B&H | Amazon |
|---|---|---|
Sony 16-35mm f/2.8 GM Check the camera mount before buying. Choose a focal length that fits the photos you plan to make. | Shop B&H → | Shop Amazon → |
Peak Design Travel Tripod Check the load rating, packed size and local tripod rules before buying. | Shop B&H → | Shop Amazon → |
Breakthrough X4 CPL Check the filter type and lens thread size before buying. Use a filter only when the effect fits your photo. | Shop B&H → | Shop Amazon → |
Breakthrough X4 10-stop ND Check the filter type and lens thread size before buying. Use a filter only when the effect fits your photo. | Shop B&H → | Shop Amazon → |
Sony NP-FZ100 battery Use the battery type specified for your camera. Bring a spare if your shooting plan calls for one. | Shop B&H → | Shop Amazon → |
SanDisk Extreme Pro 128GB Check the card format and speed requirements specified for your camera. | Shop B&H → | Shop Amazon → |
Koh microfiber cloths Compare this option with your current kit. Check compatibility and the product details before buying. | Shop B&H → | Shop Amazon → |
B&H and Amazon links are affiliate links. We earn a small commission on purchases at no extra cost to you.