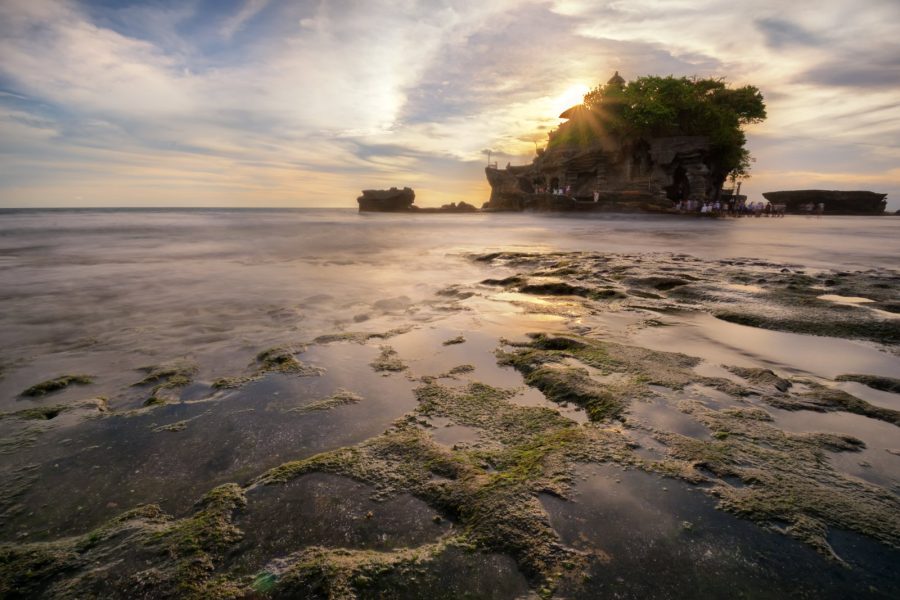
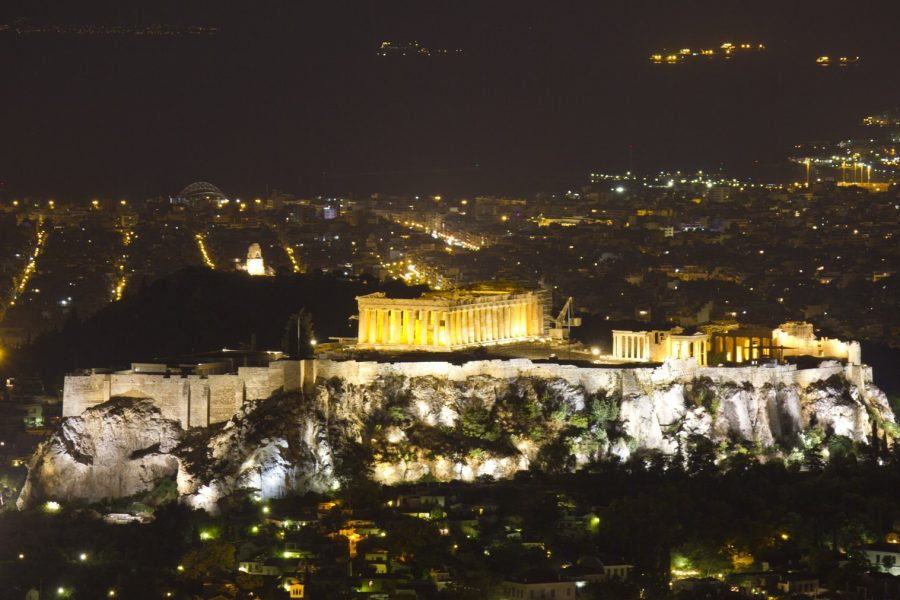
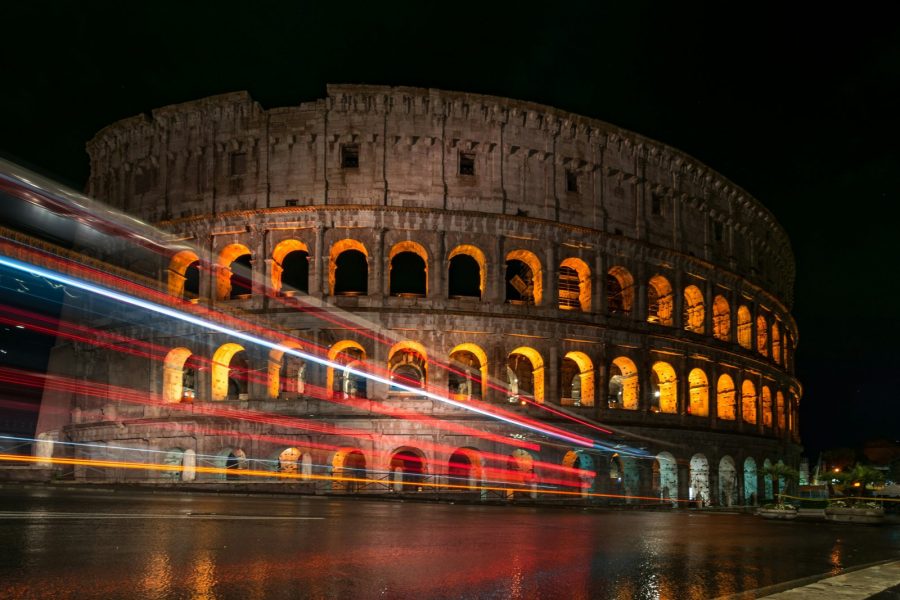
Holbox gave me plenty to photograph before I had even made a plan. Sandy streets, painted walls, shade huts, a pier, and that beach at sunset. On my original visit, the island reminded me of Burning Man on the beach. Not the same thing, obviously, but the relaxed atmosphere and colorful details had that kind of energy.
These are the eight subjects I picked out on that trip, with my original photographs kept here. The places are the starting point. What makes the photograph is the light, the angle, and what you leave out of the frame. You do not need to race around the island collecting every location. A short walk with a camera can give you several different kinds of pictures if you slow down and look.
This is a photography guide built around my 2018 visit, not a promise that a sign, mural, pier, or business still looks exactly like these photographs. Check access and local conditions when you arrive. Use the old images for ideas, then photograph the island you actually find.
1. The Holbox sign on the beach
The colorful Holbox sign was one of the easy subjects to find on my visit. I headed from the main plaza toward the beach and looked along the waterfront. In the photograph, the missing letter gives somebody a place to stand and become part of the sign. That is a detail from the original visit, not a guarantee about its current arrangement.
For a clean photograph of a sign, start with the background. Move until the letters sit against a simple area of sky or water rather than a clutter of umbrellas and people. Watch the edges of the frame too. A pole creeping in from one side can draw more attention than the subject you came to photograph. You can often fix that by moving a few steps, with no editing required.
If somebody is posing for you, give them time to settle and ask before taking the picture. Do not hold up other visitors while you try twenty variations. Make a wide frame that includes the beach, then a tighter frame where the lettering does more of the work. Those two pictures tell different stories even when you are standing in almost the same place.
 Save
Save2. The beach at sunset
Sunset was an obvious choice, and it is still one of the strongest reasons to take a camera to the beach. On my visit, plenty of people had the same idea. Walking away from the busiest patch gave me more room to look for a composition. A quieter frame does not have to mean an empty beach. It means the things inside the frame have a purpose.
Find the foreground before the sky reaches its best color. A boat, a line in the wet sand, or a small stretch of water can give the viewer somewhere to enter the picture. The sunset photograph here has boats and water under a colorful sky. Those elements hold the scene together. A sky by itself can be beautiful, but it does not always give a photograph enough structure.
Watch the bright parts of the sky when setting exposure. If the highlights have gone completely blank, making the shadows brighter later will not bring that color back. Take a test frame, inspect the brightest area, and adjust. On a phone, use its exposure control after choosing your focus point. On a camera, check the histogram or highlight warning if available. Let silhouettes stay dark when that suits the scene.
Stay for the changing light rather than leaving immediately after the sun disappears. The mood can shift from warm and direct to soft and quiet. There is no guaranteed color show, so make the photograph work even when the clouds do not do what you hoped.
 Save
Save3. Shade huts and palm shadows
The shade huts surrounded by palms were another favorite from the trip. They are simple subjects, but the shadows and repetition give you a lot to work with. Instead of treating a hut as an object to record, look at the relationship between the roof, the beach, and the lines of the palm shadows.
A wider view can show the setting. A tighter view can turn the roof shape or a shadow into the subject. Be careful with an extremely wide lens: it may include your own shadow or too much empty sand at the bottom. Check the corners before pressing the shutter. If the palm trunk is almost touching the edge, either give it room or crop it decisively.
Bright beach light does not automatically ruin the picture. It changes the kind of picture you can make. Strong sunlight can give you clear shapes and bold contrast. Softer light may work better for delicate color and detail under the roof. Pick the approach that matches what is in front of you rather than trying to make every scene look like sunset.
Use public access and leave people their space. A shade hut may be occupied or belong to a business. Do not move furniture, step into a private area, or assume an empty-looking place is available to use.
 Save
Save4. Painted walls around town
Downtown gave me colorful artwork on the walls. The original mural photograph shows how much a single wall can add to a travel series. It brings the story away from the beach and into the streets. Walk slowly enough to notice doors, bicycles, textures, and the way a painting fits into the building around it.
Keep the camera level when you want a straight view of a wall. Tilting upward can make the building lean, which may be useful for a dramatic frame but distracting in a simple mural photograph. Move back if there is safe room, or use a less tilted angle. A clean, front-on composition is often stronger than a complicated one.
Artwork is somebody else’s work. A travel photograph of a mural is not permission to treat the painting as your own design or to use it commercially without checking the rights. For a travel story, show its setting when that helps explain the place. If you learn the artist’s name from a reliable local source, keep that information with your notes rather than guessing from a signature you cannot read.
Avoid making identifiable people into background decoration without thought. Ask for portraits. If somebody does not want to be photographed, move on. There are enough walls, colors, and details to make a good set without bothering anyone.
 Save
Save5. The pier at sunset or blue hour
The pier was busy during the day on my visit. I liked it around sunset and the transition into blue hour. A pier gives you a strong line leading into the scene, so start by deciding where that line should take the eye. Placing it straight through the middle makes a different picture from putting it along one side.
The sunset pier photograph here uses the boards as a foreground path toward the water and sky. Check where the horizon crosses the structure. A small change in camera height can separate shapes that otherwise merge together. You do not need an unusual camera position to see the difference. Make one frame at normal standing height, then another from a safe lower position.
If the exposure becomes long, a stable camera helps. Use a tripod only where it is allowed and where the legs will not block people. Do not assume a pier is motionless; footsteps and wind can affect a long exposure. Review a frame at a useful magnification before making several more with the same setup. A sharp-looking thumbnail is not enough to judge fine detail.
Stay off closed or damaged sections. Leave room for pedestrians and working boats. A photograph is not worth interfering with somebody’s route or leaning over an edge for a slightly cleaner angle.
 Save
Save6. Walk around the pier for another angle
My second pier view looks different because the position changed. That is the whole point of including both images. When you find a subject that works, do not stop at the first obvious frame. Walk around on accessible ground and see what happens to the background, the silhouette, and the balance of the picture.
A side view may reveal a roof or structure that barely matters in the first image. Moving farther away can give the subject more space. Moving closer can make a detail dominate. Compare the frames instead of assuming one is better because it required more effort. The best position is the one that makes the photograph clear.
Keep your lens choice connected to the composition. A wider lens includes more surroundings; a longer view can isolate the structure from a busy area. Neither choice guarantees a better photograph. If the scene is cluttered, try moving first. A different position may solve the problem more cleanly than changing equipment.
 Save
Save7. The beach in the morning
A morning walk gives you another version of the beach. The original morning photograph has small boats, water, and posts rather than the dramatic sunset color from the evening frame. That quieter subject matter is useful. A travel set becomes repetitive if every picture relies on the same orange sky.
Look for a simple arrangement of near, middle, and far elements. A rope or a row of posts can lead toward a boat. Keep enough space around the boat that its shape reads clearly. Watch for a post crossing the hull or a rope running awkwardly out of the frame. Those details are easier to solve while you are standing there than after the trip.
The pale beach and water can make exposure tricky. Review the lightest areas and keep important detail. Do not automatically darken the whole scene because it is bright, and do not force every shadow to match the sky. The photograph should still feel like the light you saw.
Do not wade into an unfamiliar area simply to copy an old angle. Check the footing, water movement, weather, and local advice. Photograph from accessible ground when conditions are uncertain. The boats are working objects too, so leave ropes and equipment alone.
 Save
Save8. The streets and everyday color
The streets were full of things to photograph: golf carts, painted buildings, people moving through town, and little details that made the place feel different. In the original account I described the sandy streets and relaxed atmosphere. Keep that as the memory of a visit, not a claim that traffic or local life never changes.
For a street scene, choose a background and wait briefly for the frame to settle. You may want an open stretch of street, a cart passing through, or a person who has agreed to a portrait. Do not stand in the road to get the composition. Stay aware of moving traffic and give everyone room.
A wide street view can establish the place. Details such as a door, a painted sign, or a pattern of shadows can finish the story. Mix those scales when choosing your final photographs. Eight wide views will often say less than a small set with a strong wide frame and a few well-chosen details.
 Save
SavePlan the walk, not an impossible shot list
Build a small route around what is accessible when you visit. Start with the streets and nearby beach, then leave time for one sunset subject. If the pier is crowded, work with a beach view instead. If a mural has changed, look for a new subject. These photographs are references, not instructions to recreate every frame.
For mainland access, Holbox Express lists passenger ferry service between Chiquilá and Holbox. Check the operator’s current departures and rates before traveling. Do not build a sunset session around an old timetable or leave your return plan until the last minute. Weather and service conditions can change. I am not quoting a fare here because it belongs to your actual travel dates, not my old visit.
Carry less than you think you need. One camera or phone, a lens range that suits your pictures, spare power, and a safe way to carry the kit can cover a lot of ground. Sand and water are reasons to protect equipment, not reasons to change lenses every few minutes. Keep the bag closed when you are not using it and clean equipment according to the manufacturer’s instructions.
Back up the photographs when you can and keep a few notes about the places. Write down a verified location or permission while it is fresh. Do not invent a name later because a caption looks unfinished. The useful record is what you actually know.
Learn faster with a plan. The ShutYourAperture Academy has 22 photography courses, from the fundamentals of aperture, shutter and ISO to genre courses like landscape, portrait and street.
Frequently asked questions
What are good subjects to photograph in Holbox?
My original set includes the beach sign, sunset beach, shade huts, town artwork, two pier angles, the morning beach, and the streets. Check their current appearance and access on arrival.
Do I need an expensive camera?
No. Light, position, exposure, and a clear composition matter more than buying a new kit for this walk. Use the camera or phone you already know.
Are these current location photographs?
No. These are photographs from my original 2018 visit. They show ideas and history, not a guarantee that each location looks the same today.
Can I use a tripod at the pier?
Check current local rules and access first. If permitted, keep the legs out of pedestrian routes and do not enter closed or unsafe areas.
Where should I check ferry information?
Check the ferry operator for current departures, fares, and service updates before traveling. Do not rely on the timetable from an old travel article.
See Holbox from the water
For a boat-based outing beyond the village, consider the Punta Mosquitos, Yalahau and Pasion Island Boat Tour. The route includes coastal scenery and birdwatching opportunities. It is not a photography workshop. Confirm the current stops, tides and weather with the operator; do not approach or disturb wildlife for a photograph.
Tour links are affiliate links. I may earn a commission if you book through them, at no extra cost to you.
Gear for a Holbox photo walk
Start with your current camera and a safe viewpoint. These are comparison searches, not promises of stock, price, or compatibility. Check the exact product before buying.
Straps and camera bags: verify load capacity, fit, and room for the complete kit. Compare on Amazon | Compare on B&H
For more work on the photograph itself, visit Shut Your Aperture Academy.
Affiliate disclosure: As an Amazon Associate I earn from qualifying purchases. Purchases through Amazon and B&H links may earn a commission at no extra cost to you.