From the Shut Your Aperture archive (2014): the original iframe returns a sign-in/access response in an automated check. This version links the original film rather than claiming a confirmed playable embed. Historical licensing and workshop pitches were omitted.
Shaped by Time by Enrique Pacheco
Enrique Pacheco’s timelapse film uses eroded landscapes to show how wind, water, frost and geological time shape terrain. Vimeo’s public metadata identifies the film and credits Enrique Pacheco. View Shaped by Time on Vimeo; playback may depend on account or region.
Updated Nov 2026. The film above is a 2014 piece and the original post was short. This update adds a plain guide to two things the film is about: how rock and soil get worn down, and how photographers turn slow change into a short clip. The photographs on this page are illustrative stills of eroded terrain and are not frames from the film.
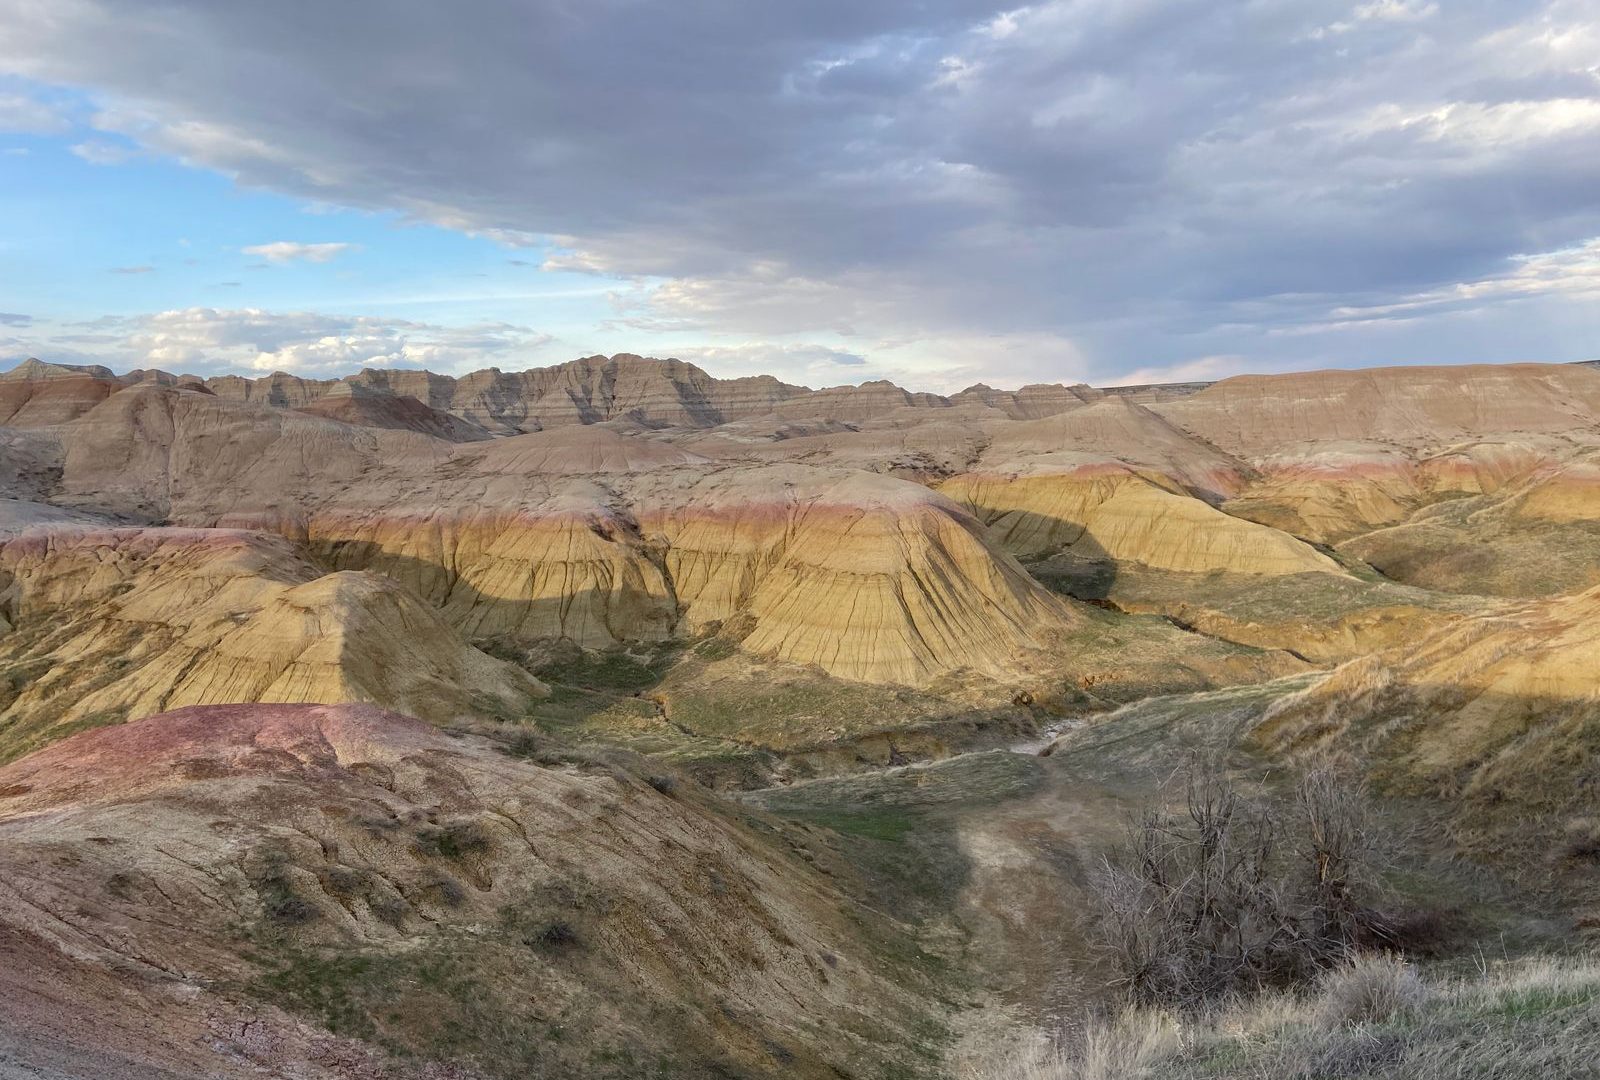
Header photo: Tom Fournier via Pexels. Illustrative still of badlands formations, not a frame from the film.
What the film sets out to show
“Shaped by Time” is a timelapse film by Enrique Pacheco. According to Enrique Pacheco’s own page for the film, it explores the power of nature through the erosion of different landscapes. The same page says wind, volcanic eruptions, rain, frost and river water have shaped these places over thousands of years and turned them into something close to artwork on a monumental scale. Gizmodo covered the film in July 2014 and made the same basic point in its own words: if you let time run its course, the face of the Earth changes into forms that hardly look like they belong to this world.
That is a neat idea for a short film, and it hides a small trick. The landscapes in the film do not visibly change while a camera watches them for an afternoon. Rock does not crumble on cue. What the camera does record is everything that moves on the faster clock: clouds, shadows, light, water, drifting dust. The slower story, the one about erosion, is carried by the choice of places. Each location is a record of long change, and the timelapse gives it a pulse. This page walks through both halves, the geology first and the photography second.
None of this is a review of the film and none of it is a claim about how the film was made beyond what its maker has published. Pacheco’s page credits the music to Péter Nanasi and says the film was shot with a Sony A99 and a Sony A7 with Zeiss lenses supplied by Sony Spain, plus a motorized slider from Kietacam. Everything else below is general background from public sources, which are linked as we go.
Weathering and erosion are two different jobs
People often use the two words as if they meant the same thing. The National Park Service separates them in its write-up on Scotts Bluff National Monument in Nebraska, and the split is useful for anyone trying to read a landscape. Weathering is the breaking down of rock material. Erosion is the removal of the pieces. The pieces that weathering produces, such as sand, silt, gravel and loose fragments, are then carried off by erosion.
Think of a cliff face. Weathering loosens the surface and cracks it. Erosion takes what has loosened and moves it somewhere else. If weathering runs ahead of erosion, you see piles of broken rock at the foot of a cliff. The Park Service points to exactly that at Scotts Bluff, where scattered heaps of broken rock at the base of sheer faces are described as evidence of weathering. If erosion keeps pace, the slope stays cleaner and the surface keeps retreating. Most real landscapes sit somewhere between the two, and the balance shifts with climate, rock type and season.
The Park Service also splits weathering into two families. Physical weathering breaks rock without changing what it is made of. Chemical weathering changes the rock or its minerals. Its examples are familiar: acid in rain can dissolve rocks such as limestone, and oxygen can corrode the iron found in many rocks, which is a slow form of rusting. Both families work together, and a crack opened by one gives the other more surface to attack.
 Save
Heat, cold and growing crystals
Physical weathering sounds dull until you read how it works. The Park Service explains that every time the sun heats a rock it expands, and every time the rock cools it contracts. Repeat that for long enough and cracks form and the rock begins to crumble. At Scotts Bluff the agency links this to rockfall in fall, winter and spring, when heating and cooling cycles are common.
Crystals do a second kind of damage. The agency notes that the foreign crystals can be minerals such as salts, or they can be ice. When they grow inside small openings, the pressure is enough to widen cracks and push tiny particles off the surface. Frost is the best known case. Water gets into a crack, freezes, and the ice takes up more room than the water did. The rock is levered apart from the inside. That is the frost Pacheco’s description lists alongside wind, rain and river water, and it is the reason a bare cliff in a cold climate can shed stone every year.
A third cause is simple collision. Pieces of rock that move, whether in a rockslide or a stream, knock into one another and chip each other smaller. The Park Service lists this beside heating and cooling and crystal growth as one of the physical processes. Sand grains in a river and gravel in a flood have been through this repeatedly, which is why they tend to be rounder than the fragments that fall off a cliff.
Wind and water do the carrying
Erosion needs something to carry the load. The Park Service calls wind and moving water the two most common agents and says both are prominent at Scotts Bluff. The material in question there is clay, silt and fine sand. Those are the sizes a breeze can pick up and a creek can move without much trouble.
Water works in channels, and the channels are not fixed. The agency describes how a channel adjusts its width, depth and number of branches as the slope, the volume of water and the sediment load change. One example it gives is the North Platte River, which it describes as sitting somewhere between a young and a mature river. In the last 10,000 years it became overloaded with sediment and adjusted by splitting into braided channels, which the agency says move material more efficiently than one large channel would. A braided river is easy to spot from above, and a timelapse of one would show the channels shifting through a flood season.
Wind has its own set of rules. The U.S. Geological Survey describes how wind moves particles in three ways. Small particles, generally under about 0.2 millimeters across, can be held up in the air as dust or haze. Sand-size grains move by saltation, a series of hops that the survey says normally lifts a grain no more than one centimeter above the ground and travels at roughly one-half to one-third of the wind speed. Larger grains creep along the surface. A hopping grain hits other grains and knocks them into the air, so a steady wind can set a whole surface of sand moving.
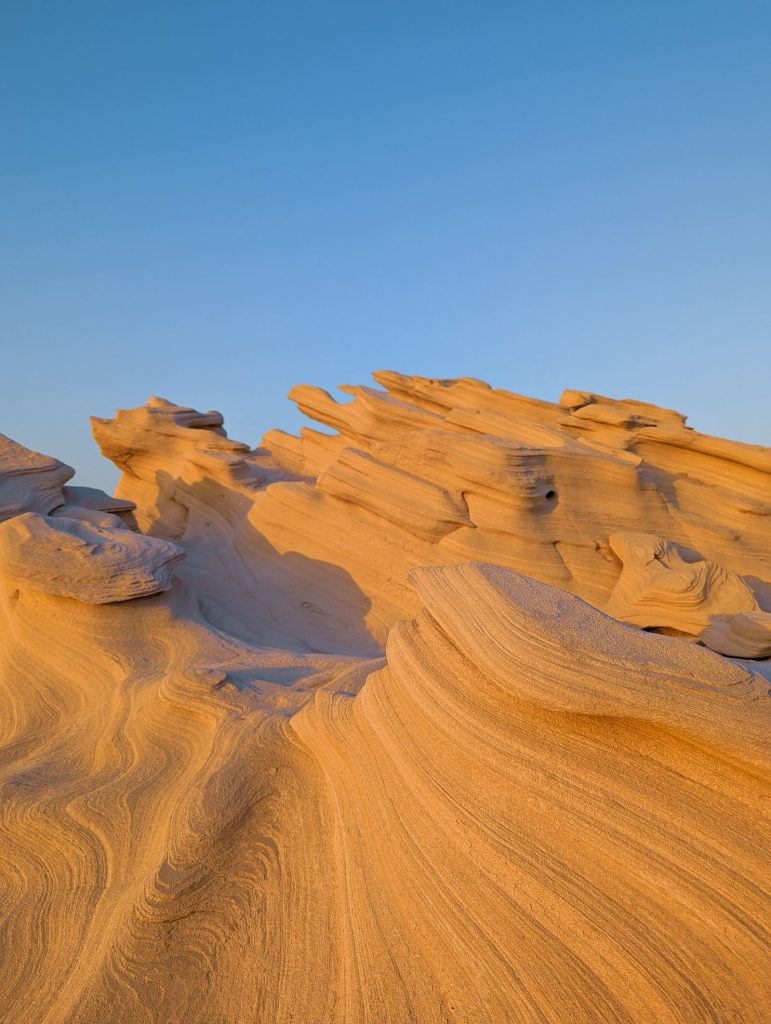
The results of that process are everywhere in dry country. The survey describes wind ripples, which form crests and troughs with their long axes at right angles to the wind. It describes dunes, which have a gentle slope facing the wind and a steeper lee slope called the slipface. Grains climb the gentle side, pile up at the brink, and when the pile gets too steep they slide down the slipface in a small avalanche. Repeat that grain by grain and the whole dune moves downwind. The survey also describes yardangs, which are streamlined landforms carved by desert winds, some of them tens of meters high and kilometers long. The same survey notes that the Sphinx at Giza may be a modified yardang.
 Save
How slow is slow?
The pace of erosion is the part that makes a film like this possible and also the part that defeats a camera. The Park Service gives a number that is hard to forget. It shows a pipe at Scotts Bluff that was level with the top of the bluff in 1933, and it says the bluff has eroded about 18 inches in the 75 years since. That is a very small figure for a very large stretch of time, and it is typical of how bare rock behaves. The dramatic events, such as a rockslide, happen quickly. The agency says you may see the results of many of them but that hardly anyone witnesses the events themselves.
That gap between the speed of the process and the speed of human attention is the whole reason the genre exists. A shooter cannot wait 75 years to record 18 inches. What a shooter can do is visit many places that have each been worked on for a very long time, then use motion in the scene to give the viewer a sense of the weight behind it. A canyon wall in changing light, a river braided across a gravel plain, a dune crest throwing sand in a steady wind: each one is a snapshot of an ongoing process, and a camera that moves slowly through a set of them can make the process feel visible.
There is also an honest limit here. A timelapse of a landscape shows weather and light. It does not show erosion happening, with a few exceptions such as a flooding river or a collapsing ice edge. If a film like this one works, it works because the viewer fills in the long story from the places on screen. That is a fair thing for a film to ask. It is worth knowing the difference when you read the caption, though, and it is why we lean on geology sources for the geology and leave the film to do what film does.
Why photographers go to eroded places
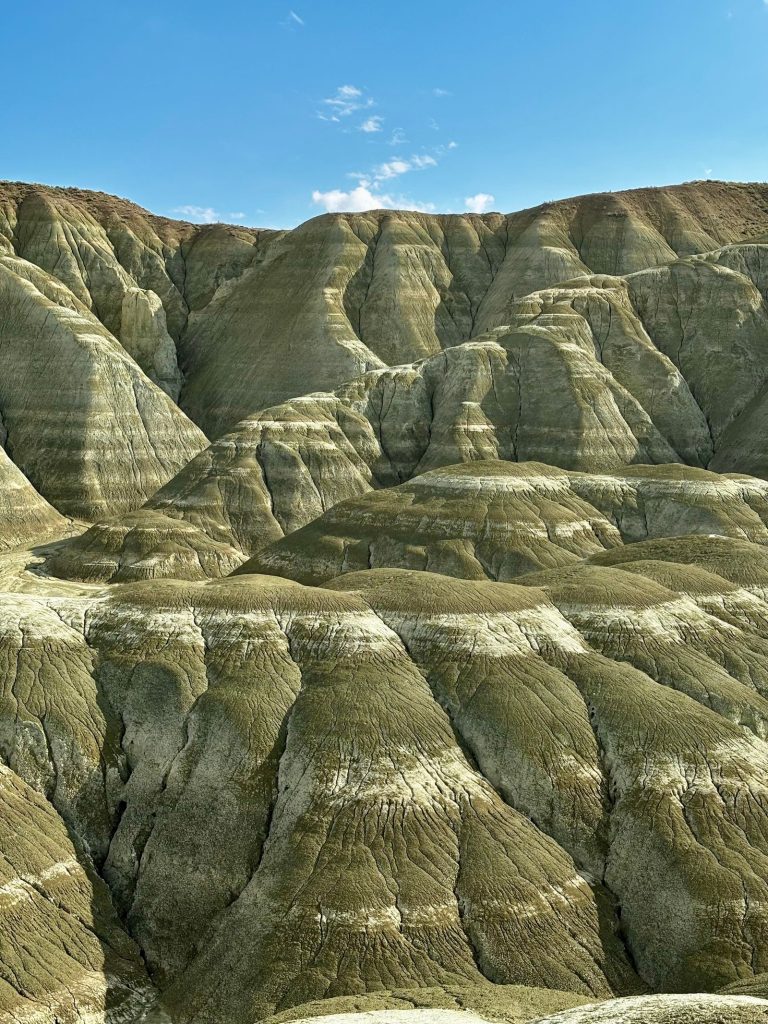
Eroded terrain is a gift to anyone who shoots landscape. Layered rock gives you lines that lead the eye. Wind-worn surfaces catch low light and throw long shadows. Gullies and ridges create depth, and river corridors give you moving water against fixed stone. The photographs on this page come from badlands, desert sandstone, a mossy canyon with a waterfall, a stream below a cliff and a frosted field, and in every one of them the shape of the ground is the subject.
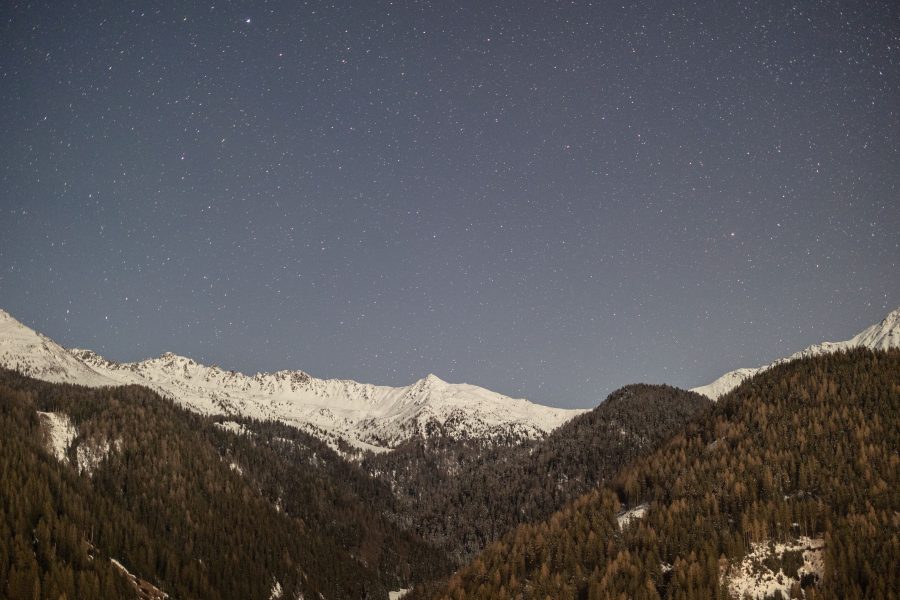
The best light for this kind of ground is low and angled. When the sun sits near the horizon, even a small ridge throws a shadow, and the texture of weathered rock becomes obvious. At midday the same surface can look flat. That is one reason timelapse shooters favor sunrise and sunset sequences, and it is also why a scene can change so much in a single hour. A badland slope that looks dull at noon can turn banded and gold at the end of the day.
Eroded places also reward patience in a different way. Because their shapes were made by long-running processes, they rarely change on the scale of a shoot. A rock formation will be in the same place when you return, and that makes it a dependable fixed subject. All the movement in the final clip then comes from the sky, the light and the water, which are the things you can plan around.
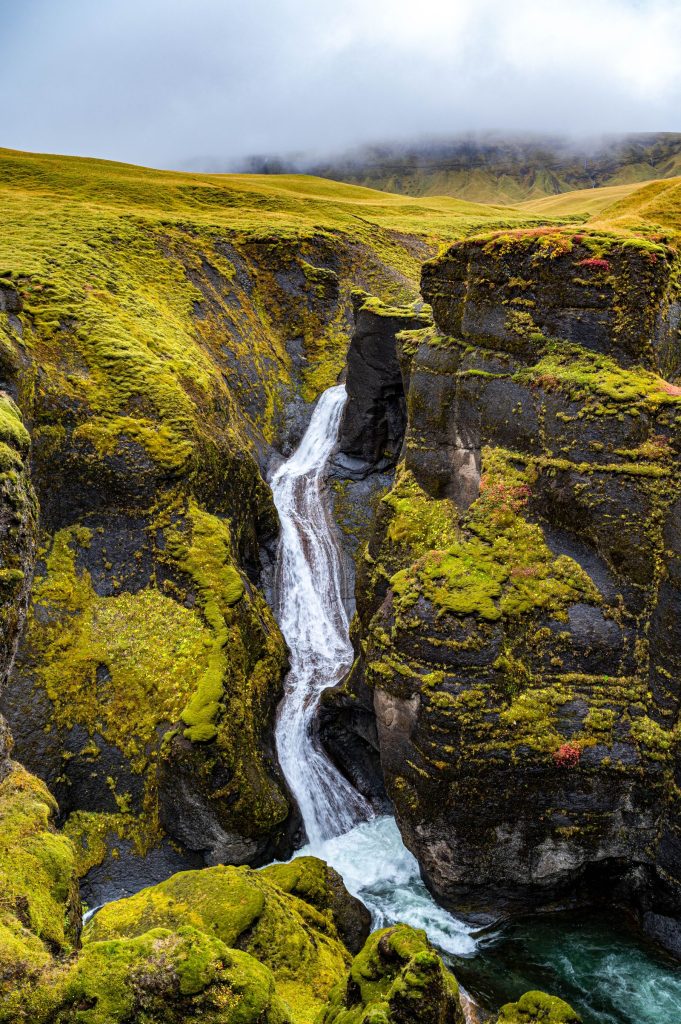 Save
From erosion to timelapse: the basic method
A timelapse is a sequence of still photographs taken at regular intervals from a fixed position and played back at normal video speed. Because many seconds of real time pass between photos, things that move slowly look fast when you play them back. That is how a cloud bank sweeps across a ridge in a few seconds of screen time. The camera does not move. The change is all in the scene.
The idea is simple and the details are where the work lies. The Tomer Azabi guide to timelapse photography for landscape and wildlife describes the exposure settings as quite similar to stills, with a few extra considerations. It favors manual exposure with a constant ISO, aperture and shutter speed for the whole sequence, which gives smooth light transitions and consistent depth of field. It describes aperture priority as the other option and warns that the camera’s automatic adjustments can cause visible flicker in the finished video.
Focus is the other thing to lock down. The same guide advises focusing before you start, then switching the lens to manual focus so it cannot hunt during the sequence, and it also suggests turning off image stabilization. If a camera shifts focus halfway through, every frame after that point is soft and there is no fixing it afterward. The guide also stresses that the tripod or slider must be perfectly stable before shooting starts, because any wobble will show up as a jitter in the final clip.
A small point that catches people out: some cameras have a safety feature that stops continuous shooting after a set number of frames. The Azabi guide mentions that some Nikon cameras disable continuous shooting after 100 consecutive frames and tells readers to check their own camera and turn the feature off if they want longer sequences. Whatever you shoot with, read the manual for any such limit before you travel to a remote location.
Choosing an interval
The interval is the time between one photo and the next, and it sets how fast the scene seems to move. Hyperlapse Photography explains it with a pizza delivery joke, but the idea is serious. A short interval gives more detail and can feel painfully slow. A long interval makes things move faster and can make the audience unsure what it just saw. The aim is to match the interval to the speed of the subject.
The same article gives starting points for clouds. Cumulus clouds, the big puffy ones, move slowly and call for a longer interval or the clip will look like paint drying. Cirrus clouds are thinner, higher and quicker, and the author suggests 3 to 5 seconds. Storm clouds change fast, and the suggestion there is 1 to 3 seconds. Azabi gives a similar example: for fast clouds moving between mountains, he suggests a short interval of about 2 or 3 seconds. These are starting points and not rules, and both authors say the right number depends on the scene.
The article also explains how interval and shutter speed relate. The interval is the time between the start of each photo, and the shutter speed is how long each exposure lasts. The shutter does not wait for the interval to start counting. If the interval is two seconds and the exposure is one second, the camera fires every two seconds regardless. A good rule of thumb from the article is to set the shutter speed to about half the interval, which gives natural motion blur on moving subjects such as water or clouds. If you cannot get there in bright light, a neutral density filter is one way to lengthen the exposure.
Water is a good case. A river that you want to look silky needs a long exposure in each frame, and a long exposure in each frame needs a longer interval to match. That is one reason variable neutral density filters and intervalometers show up in landscape timelapse kits. Neither one is required, but both make the settings easier to hit.
Gear note: if you want to try interval shooting, one option is the Vello Shutterboss Pro Wired Time Remote Switch at B&H. B&H lists it for interval shooting, exposure duration and delay control, and this listing is for cameras with a Nikon 10-pin connector, so check the connector for your own camera first. It showed as in stock at $89.95 on November 8, 2026. We have not used it, and price and availability can change.
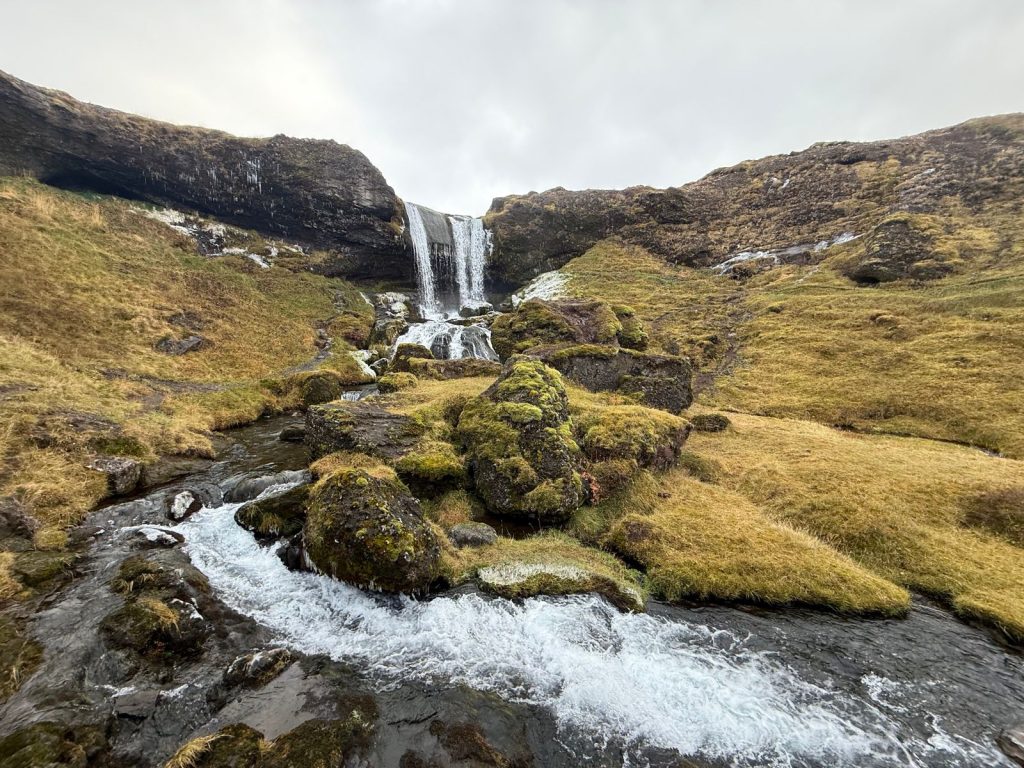 Save
Counting frames and planning the clip
The arithmetic is short and worth doing at home. Azabi gives the example that 240 frames at 24 frames per second makes a 10 second video. A usable sequence is usually at least a few seconds long so you can join it with others, so even a modest edit needs hundreds of frames. If you shoot every 2 seconds, he notes, you get 30 frames a minute, which means a 10 second clip takes about eight minutes of shooting.
Longer intervals mean longer waits. For a scene where clouds move slowly, a 10 second interval and the same 240 frames means 40 minutes at the tripod. For a night sequence it can be hours. Azabi notes that when the exposure itself runs 20 to 40 seconds, as in astrophotography, there is usually no need to set a separate interval at all, since the long exposures already produce a good motion speed. He also points out that planning matters: the time you have to shoot limits your options, and a Milky Way sequence in particular can need several hours.
Plan the light, too. A sunrise or sunset sequence changes exposure quickly. Photographers call this a holy grail timelapse, and the hard part is keeping the exposure smooth while the light moves through several stops. It is one case where a beginner is better off shooting simple scenes with steady light first.
Composition: let the ground stay still
Composition for timelapse is close to stills, with one addition. You have to think about where the moving things will go. Azabi gives the example of the Milky Way: check which direction it travels so it does not leave the frame at the start of the sequence. The same applies to clouds, shadows and light. If a shadow will sweep across your foreground, put the interesting rock where the shadow will reach it.
The advantage of eroded terrain is that the foreground holds still. A fixed rock, ridge or canyon wall anchors the frame, and the sky or water supplies the motion. That contrast is why this kind of landscape works so well. Your eye reads the stone as old and heavy, and the movement above it as brief and light, and the clip says something about time without a word of narration.
A slider or other motion adds a second layer. Pacheco’s page names a motorized slider in the gear he used, and that is a common tool in landscape timelapse because it moves the camera by tiny steps between frames, so the foreground shifts against the background. The effect is a gentle parallax that gives flat terrain more depth. It also raises the difficulty, since the slider has to be level and its steps have to match the interval.
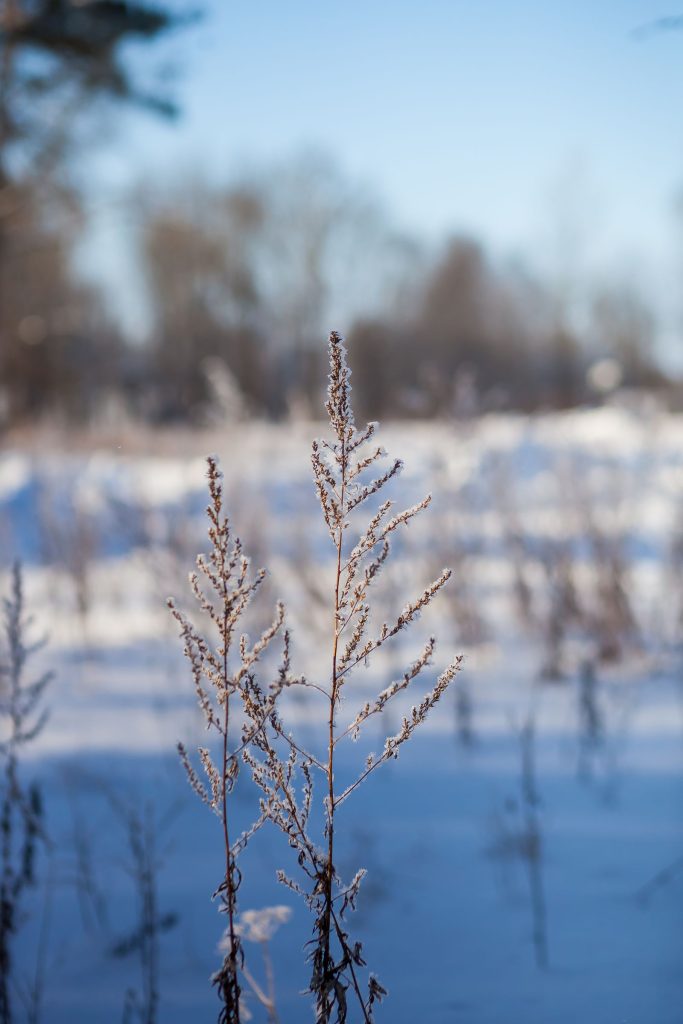 Save
From stills to a finished clip
After shooting, the frames go into software that assembles them into a video. Azabi lists several options, including Lightroom with a timelapse plugin, Panolapse, Adobe Premiere, DaVinci Resolve and PowerDirector, and he notes that some are free and some cost money. The important choice is the frame rate, because it decides how many photos you need for each second of the final video. Common values are 24, 25 or 30 frames per second.
Most shooters also do some work before assembling. They correct exposure and color on one frame and apply the same adjustments to the whole sequence so the clip does not flicker. If the light changed a lot, they may smooth the brightness across frames. Then they export the sequence at the final resolution and check it at full speed. Problems that are invisible in a single photo, such as a dust spot on the sensor, can become a distracting dot in motion, so it is worth cleaning the sensor before a long shoot.
Finally, think about what the clip will be used for. A short sequence works well as a cut inside a longer film, and that is how most landscape timelapse is used. Pacheco’s film is a good example of the form: a sequence of places, each held for a few seconds, strung together with music to give a rhythm. A single clip of a ridge in changing light can be lovely, and it becomes more meaningful when it sits beside a river, a dune and a cliff that all tell the same story at different speeds.
Safety and respect for the place
Eroded terrain is often unstable by definition. The same weathering that makes it beautiful loosens the edges of cliffs, undercuts overhangs and fills gullies with loose stone. The Park Service says rockslides are common at Scotts Bluff even though they are rarely witnessed. That should shape how you plan a shoot: stay back from edges, avoid standing under overhangs, and pay attention to recent rain or frost, which can loosen rock and soil.
Weather matters just as much. A dry canyon floor can flood from rain far upstream, and a coastal ledge can be swept by a wave. If you plan to leave a camera running unattended for an hour or more, make sure the spot is safe for the camera and for you, and follow any rules the land manager sets for equipment, drones and off-trail travel. Many parks restrict where you can walk for good reason, since fragile surfaces such as crusted soil and soft rock take a long time to recover from foot traffic.
What to take away
The film is a pleasant way to spend a few minutes, and the ideas behind it are easy to hold on to. Weathering breaks the rock and erosion carries the pieces. Heat, frost, crystals, wind and water do the work, and they do it slowly, often too slowly to see in a lifetime. A timelapse cannot show most of that directly, but it can show the clocks that run faster, and a thoughtful choice of place lets the viewer supply the rest. If you want to try the technique yourself, the practical advice is plain: lock your exposure and focus, match your interval to the subject, do the frame math before you leave, and choose ground that will hold still while the sky moves.
Frequently asked questions
What is Shaped by Time?
It is a timelapse film by Enrique Pacheco about the erosion of different landscapes. His page says wind, eruptions, rain, frost and river water shaped the places it shows over thousands of years.
What is the difference between weathering and erosion?
Weathering breaks rock down into smaller pieces. Erosion removes those pieces, usually by wind or water. The National Park Service describes weathering as the breakdown and erosion as the removal of what weathering produces.
Can a timelapse show erosion happening?
Rarely. Most erosion is far too slow for a camera. The National Park Service says a bluff at Scotts Bluff eroded about 18 inches in 75 years. A timelapse mainly shows faster change such as clouds, light, shadows and flowing water.
How many photos do I need for a timelapse clip?
Multiply the frame rate by the clip length. Tomer Azabi gives the example of 240 frames at 24 frames per second for a 10 second video.
What interval should I use for clouds?
It depends on the clouds. Hyperlapse Photography suggests 3 to 5 seconds for fast, thin cirrus and 1 to 3 seconds for storm clouds, with a longer interval for slow cumulus. Treat these as starting points.
How do wind and water shape rock?
Water carries sediment through channels that change width and depth. Wind lifts fine dust, bounces sand grains along the ground in hops called saltation, and builds ripples and dunes, according to the U.S. Geological Survey.
Is the photography gear on this page required?
No. A camera and a steady support are enough to start. The gear note on this page is one optional example, and we have not used it.