
Updated October 2026 with fresh examples, current gear picks, and a full Q&A section.
Every epic photo you have ever stopped scrolling for comes down to the same handful of fundamentals. Not the camera. Not the price tag. Light, exposure, and composition. Master those and you can walk out with a $600 setup and come home with images that hang on walls. Skip them and a $6,000 rig just gives you very expensive snapshots.
I have shot everything from Miami sunrises to blue hour at Mono Lake, and I still come back to these basics every single time I pick up a camera. This is the foundation everything else is built on, so let’s lock it in.
 Save
The exposure triangle: where every photo begins
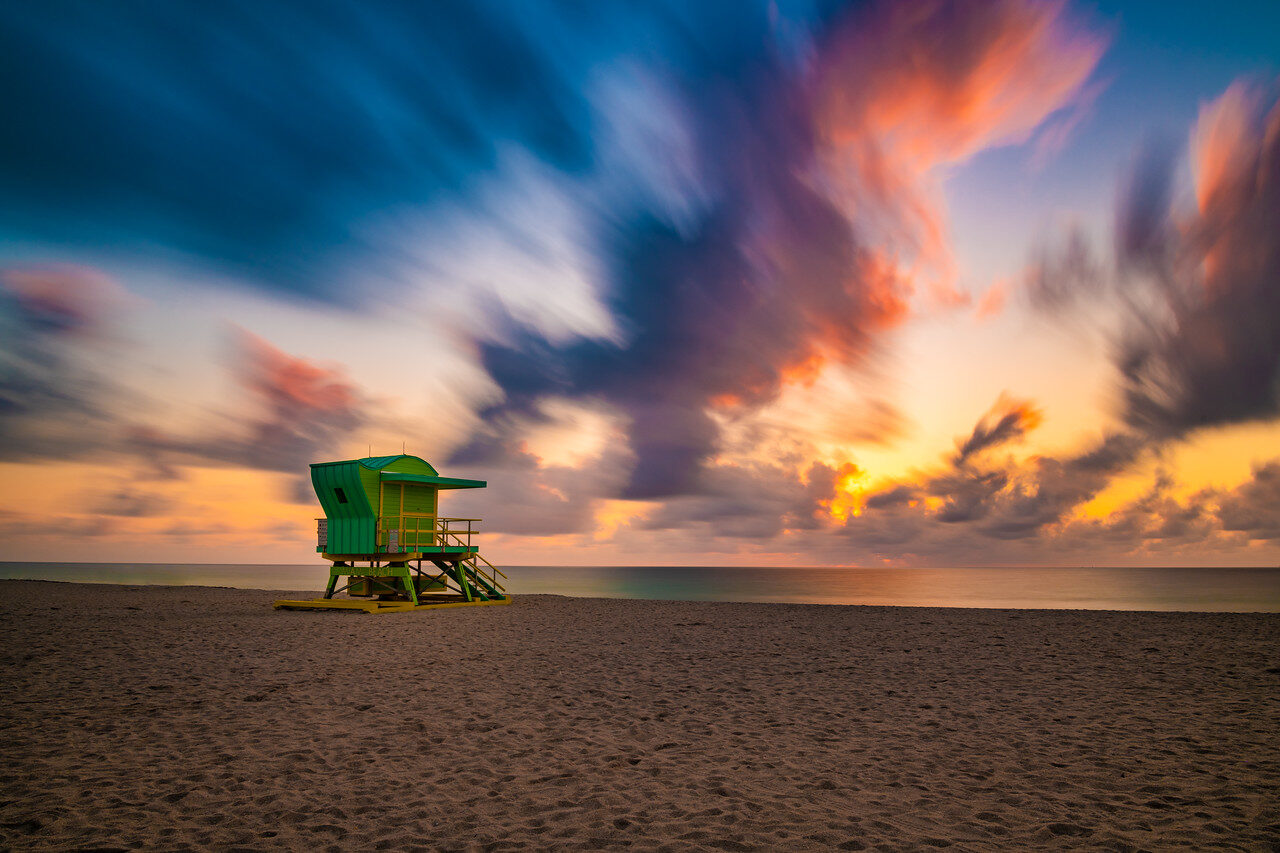
Exposure is simply how much light reaches your camera’s sensor. Three controls decide it, and photographers call them the exposure triangle: aperture, shutter speed, and ISO. Aperture and shutter speed control how much light gets in. ISO controls how much the camera amplifies the captured signal – it brightens the photo after the fact, at the cost of noise. Every photo you will ever take is a balancing act between these three.
Here is the part most tutorials bury: each side of the triangle has a creative side effect. Aperture changes your depth of field. Shutter speed freezes or blurs motion. ISO buys you brightness at the cost of noise. You are never just setting brightness. You are making three creative decisions at once, and once that clicks, manual mode stops being scary and starts being fun.
Aperture: control what is sharp and what melts away
Aperture is the opening inside your lens, measured in f-stops. A low number like f/1.8 means a wide opening: lots of light, and a razor-thin plane of focus with creamy blur behind your subject. A high number like f/11 means a small opening: less light, but much deeper focus – though a foreground inches from the lens can still fall soft, so where you focus matters as much as the number.
This is why portrait shooters live at f/1.8 and f/2.8, and why landscape shooters stop down to f/8 or f/11. Want a portrait where the eyes are tack sharp and the background dissolves? Open up. Want a foreground rock and a distant ridgeline both crisp? Stop down. The aperture you pick is a storytelling decision, not just a technical one.
One honest warning: the cheapest way to transform your photography is a fast prime lens. Something like a 50mm f/1.8 runs about $200 new, and nothing else at that price teaches depth of field faster.
Shutter speed: freeze time or let it flow
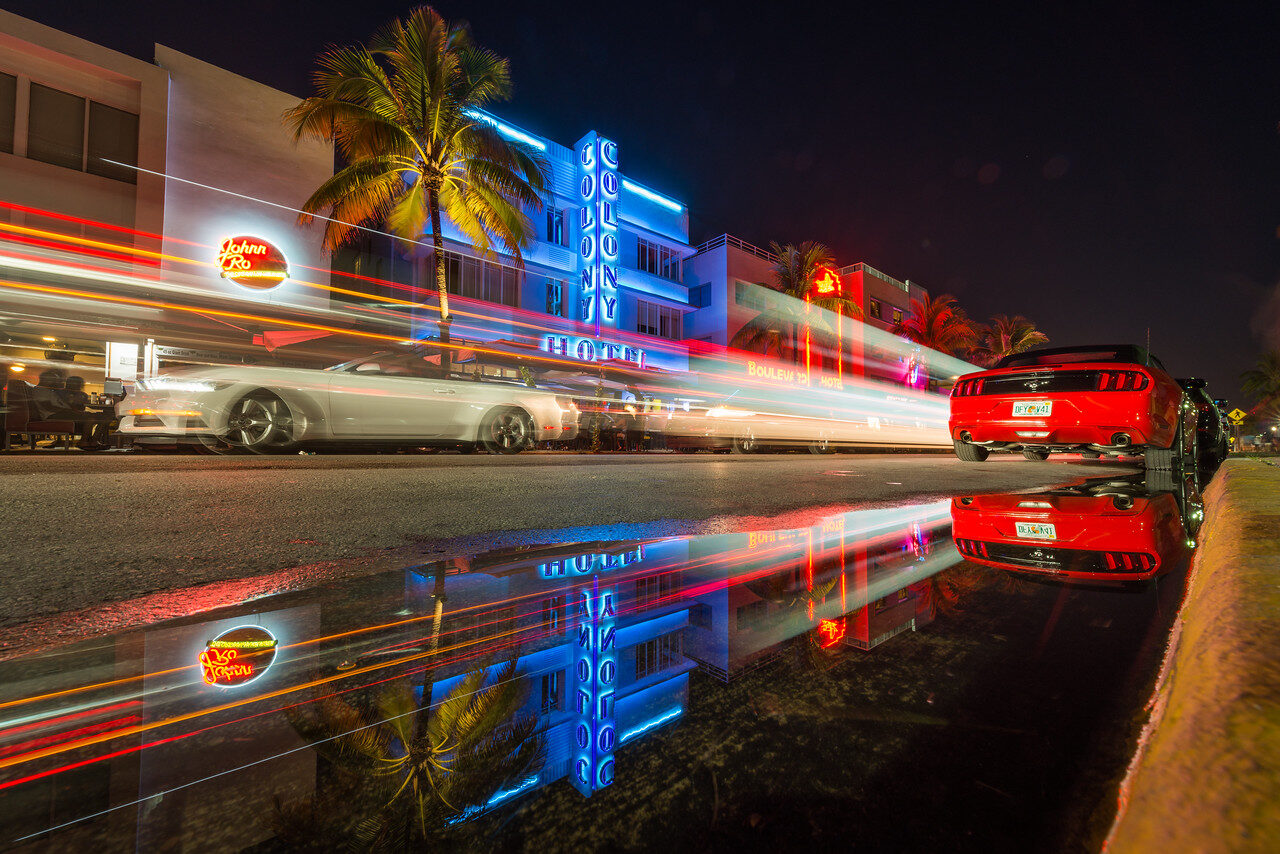
Shutter speed is how long the sensor gets to see the world. A fast shutter like 1/1000s freezes a speeding car or a bird mid-wingbeat. A slow shutter like 1 second, 30 seconds, or several minutes turns moving water into silk and traffic into ribbons of light.
 Save
Handholding has limits. Most people can hold a shot steady down to about 1 over your focal length: 1/50s on a 50mm lens, and on a crop sensor you use the equivalent focal length, so a 50mm there wants 1/80s. Stabilization in the lens or body buys you a few stops of slack, and a moving subject needs a fast shutter no matter how steady your hands are. Go slower than your limit and you want a tripod. That is not a gear upsell, it is physics. The night shot above only exists because the camera did not move for several seconds.
If your manual mode shots keep coming out blurry, shutter speed is the first suspect. We have a full troubleshooting guide on why manual mode shots look blurry and how to fix it that goes deep on exactly this.
ISO: your low-light superpower, used with respect
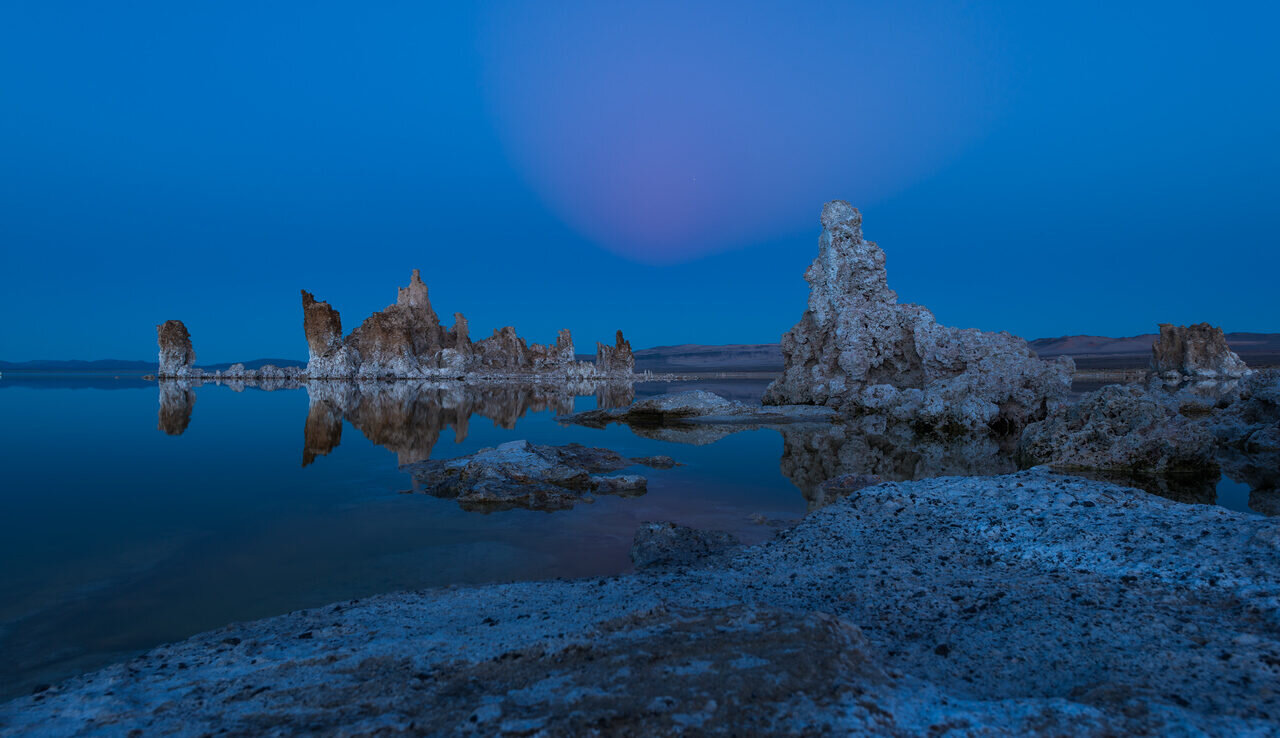
ISO is amplification. Raise it and the image becomes brighter without increasing the light captured; you can use faster shutters or smaller apertures, with a noise trade-off. The trade: noise. Push ISO too far and your clean night scene turns grainy and muddy.
 Save
My rule of thumb: keep ISO as low as the scene allows, and only raise it when aperture and shutter speed have given everything they can. Modern cameras are shockingly good up to ISO 3200 and beyond, but the discipline matters more than the number. Noise from a well-exposed high-ISO shot is usually a better trade than a blurry or underexposed low-ISO one.
Light: the one fundamental nobody can buy
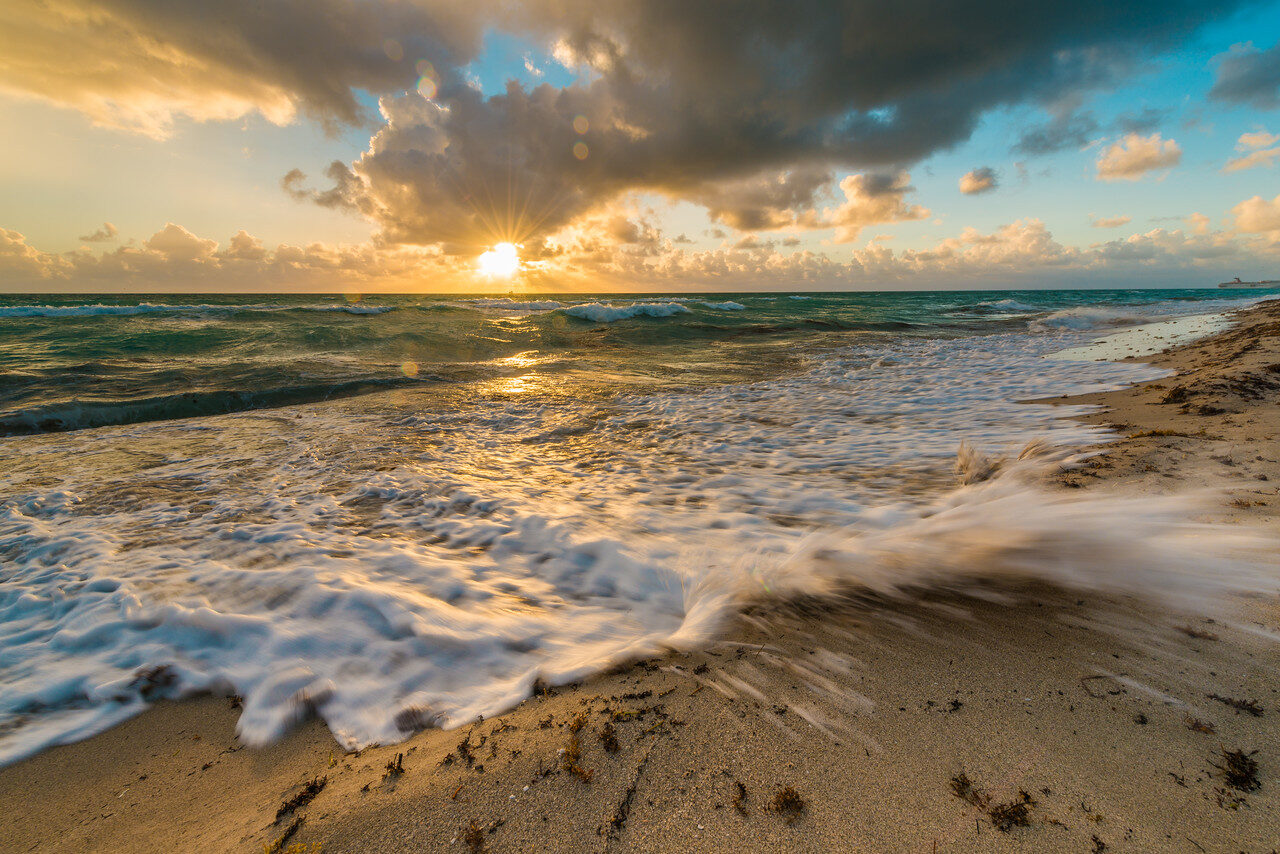
You can own every lens on the planet and still make boring photos if you shoot in boring light. The hour after sunrise and the hour before sunset, the famous golden hour, gives you warm, directional, forgiving light that makes almost any subject look incredible. Blue hour, the window just before sunrise and after sunset, paints everything in deep tones that feel cinematic straight out of camera.
 Save
Harsh midday sun is not a death sentence, but it is a different tool: hard shadows, squinting subjects, flat landscapes. When the light is bad, change what you shoot, not just how you shoot. Details, shadows, backlit subjects, or black and white conversions all love hard light. The fundamentals are not rules that box you in. They are levers you pull on purpose.
Composition: where you put things matters more than what you shoot
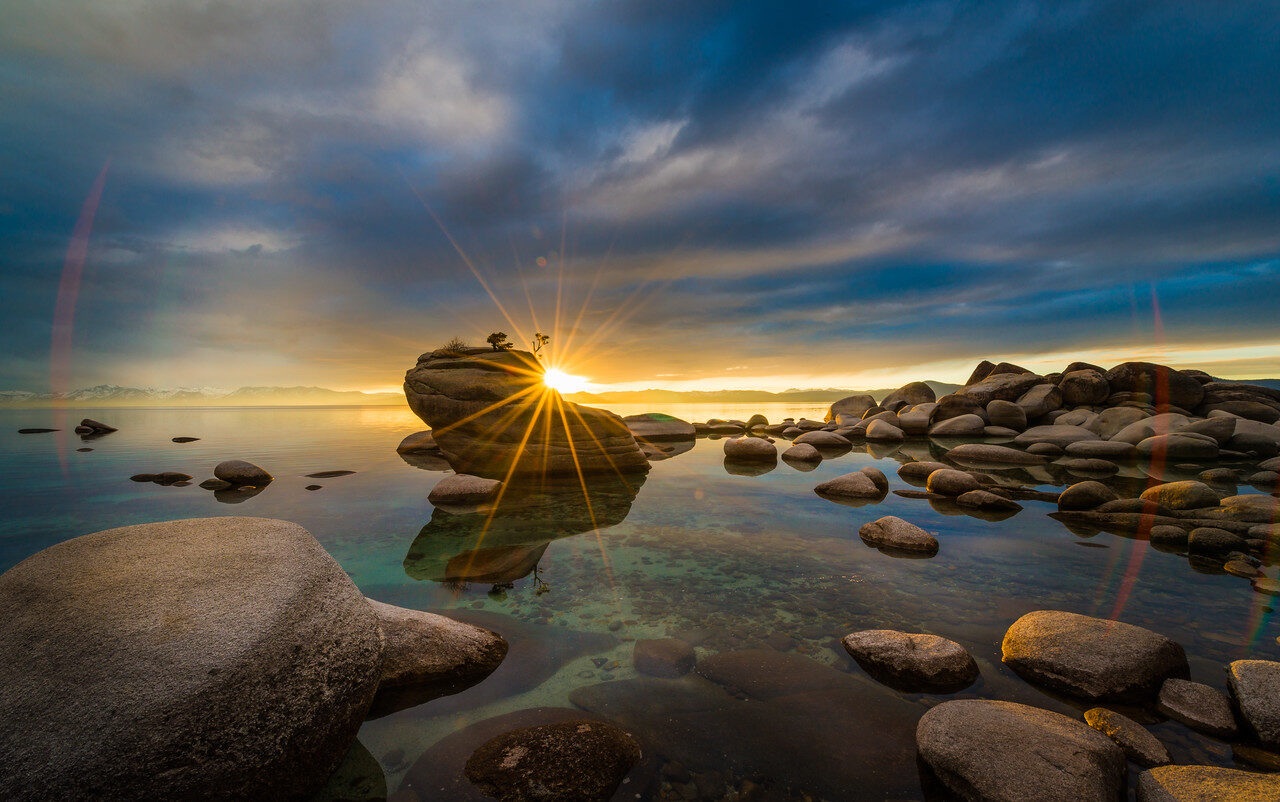
Composition is the arrangement of elements inside your frame, and it is the fastest way to make your photos look intentional. Start with the rule of thirds: imagine your frame split into a 3 by 3 grid, and place your subject along those lines or at their intersections instead of dead center. It feels small. It changes everything.
 Save
Then layer in the rest. Leading lines pull the viewer’s eye toward your subject. Foreground interest gives landscapes depth. Negative space lets a subject breathe. Symmetry and reflections reward patience. And yes, once you understand the rule of thirds you are allowed to break it, but break it like you mean it, not by accident. For a deeper dive, read our beginner’s guide to composition techniques.
Camera modes: training wheels, ranked
Your mode dial is not a badge of honor, it is a set of trade-offs. Auto hands every decision to the camera, which is fine for a week and a trap for a year. Program mode (P) picks aperture and shutter for you but leaves ISO and exposure compensation in your hands. Aperture priority (A or Av) lets you choose depth of field while the camera picks the shutter. Shutter priority (S or Tv) does the reverse for action. Manual (M) gives you everything, including all the ways to get it wrong.
The honest path: live in aperture priority until the triangle makes sense – plenty of working photographers shoot entire jobs right there, because depth of field is the decision that matters most. Move to manual when you want all three dials in your hands, and it stops being a test and becomes what it should be: three quick decisions you make before you lift the camera.
Metering: how your camera reads the light
Inside the camera, a meter measures the scene and suggests the exposure it thinks is correct. The catch: it assumes the world averages out to middle gray. Point it at snow and it underexposes. Point it at a dark subject and it overexposes. This is why your histogram matters more than the little needle. Learn to glance at it after every shot: a graph slammed against the right edge usually means blown highlights – shooting RAW gives you some recovery room, but past it that detail is gone, and the same goes for crushed shadows on the left.
When the meter gets fooled, exposure compensation is your override in the auto-ish modes: dial it up to brighten, down to darken. In manual you are the compensation. Either way, trusting the histogram over the camera’s opinion is a fundamental in itself.
How to actually learn this (the part nobody tells you)
Reading about the exposure triangle is like reading about swimming. At some point you have to get wet. Here is the practice loop that works:
- Pick one variable per outing. Spend a day shooting everything at different apertures and nothing else. Then a day on shutter speed. Then a day chasing light.
- Shoot the same subject five different ways. Different aperture, different shutter, different angle, different distance. Compare them side by side at home.
- Review your EXIF data. Every photo you take records its own settings. Studying what worked teaches faster than any article, including this one.
- Shoot in manual mode until the triangle becomes instinct. It feels slow at first, and then one day you notice you are not thinking about the dials anymore.
If you want a structured path through all of this, our 10-step guide to mastering your camera walks the same road in order, and the deep dive on exposure, aperture, and shutter speed picks up right where this article ends.
And if you are ready to go further, the Shut Your Aperture Academy has full courses taught by Edin Chavez covering light, composition, and storytelling, with every course included in one membership from $29 a month. It is the fastest way to turn these fundamentals into a style people recognize as yours.
Recommended gear for learning the fundamentals
You do not need expensive gear to learn this stuff, but the right basics remove friction. These three picks cover shooting, blur control, and stability:
- Canon EOS R50 – a compact 24.2MP mirrorless that is genuinely beginner friendly, with a fully manual mode to grow into. The body-only version is $679 at B&H; pair it with the 50mm below and you have a complete learning kit.
- Canon RF 50mm f/1.8 STM – the classic nifty fifty. Cheap, tiny, and at $199 the lowest-cost way to feel what a wide aperture actually does.
- Peak Design Aluminum Travel Tripod – stable enough for long exposures, small enough that you will actually carry it. Night shots and silky water live here.
Frequently asked questions
What are the fundamentals of photography?
The fundamentals of photography are light, exposure, and composition. Exposure itself is controlled by the exposure triangle: aperture, shutter speed, and ISO. Mastering how those three interact, along with reading light and arranging elements in the frame, is the foundation every great photo is built on.
What is the exposure triangle in photography?
The exposure triangle is the relationship between aperture, shutter speed, and ISO. Aperture controls how wide the lens opens, shutter speed controls how long the sensor is exposed to light, and ISO amplifies the captured signal to make the photo brighter. Changing any one of them affects brightness, so photographers balance all three for every shot.
What aperture should a beginner use?
Start with f/8 in good daylight, which keeps most of a scene sharp and is forgiving of small focus mistakes. For portraits, try f/1.8 to f/2.8 to blur the background. For landscapes, f/8 to f/11 gives deep focus when you pick the right focus distance. The right aperture depends on the story you want the photo to tell.
What shutter speed is best for beginners?
A safe starting point is 1/125s or faster for handheld shooting – the old rule is 1 over your lens focal length, crop-adjusted, and stabilization buys you some slack. Use 1/500s or faster to freeze action, and drop to 1 second or longer on a tripod for motion blur effects like silky water and light trails.
Should beginners shoot in manual mode?
Yes, once you understand the basics. Manual mode forces you to learn how aperture, shutter speed, and ISO interact, which builds instinct faster than any auto mode. Start with aperture priority if full manual feels overwhelming, then switch. Deliberate practice is what makes it feel natural.
How can I practice photography fundamentals at home?
Pick one subject, like a plant or a coffee cup, and photograph it five ways: different apertures, different shutter speeds, different angles, and different light from a window. Review the EXIF data on each shot and note what changed. Repeating this exercise weekly builds the fundamentals faster than passive reading.
Disclosure: Some links in this article are affiliate links, including to B&H Photo. If you buy through them we may earn a commission at no extra cost to you. It keeps the lights on and the guides coming. We only recommend gear that fits the topic.

