Desert landscape photography rewards preparation more than almost any other genre. The light is extreme, the distances are deceptive and the environment is genuinely hostile to both photographers and gear. These six steps will get you home with sharp files and all your equipment working.
 Save
Save1. Plan around the light, not the clock
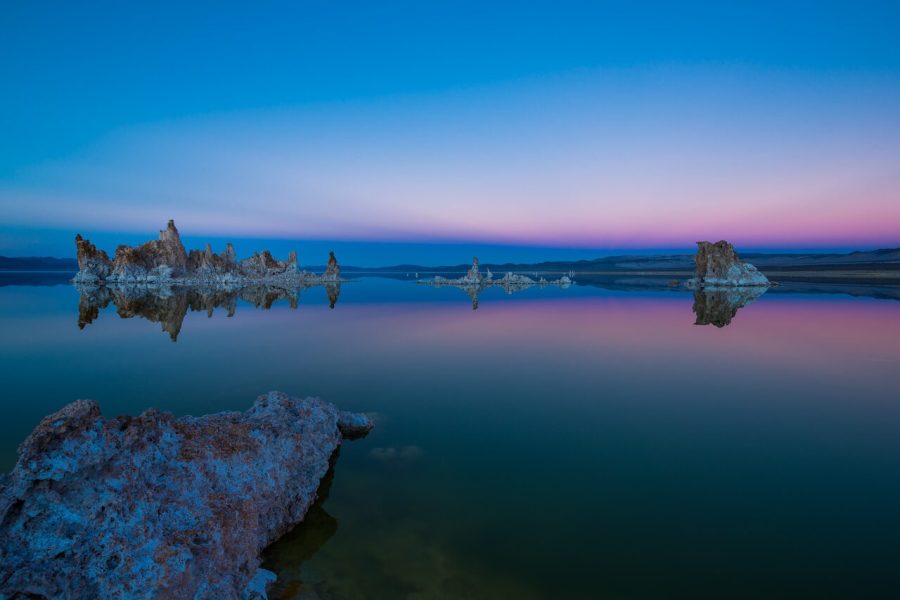
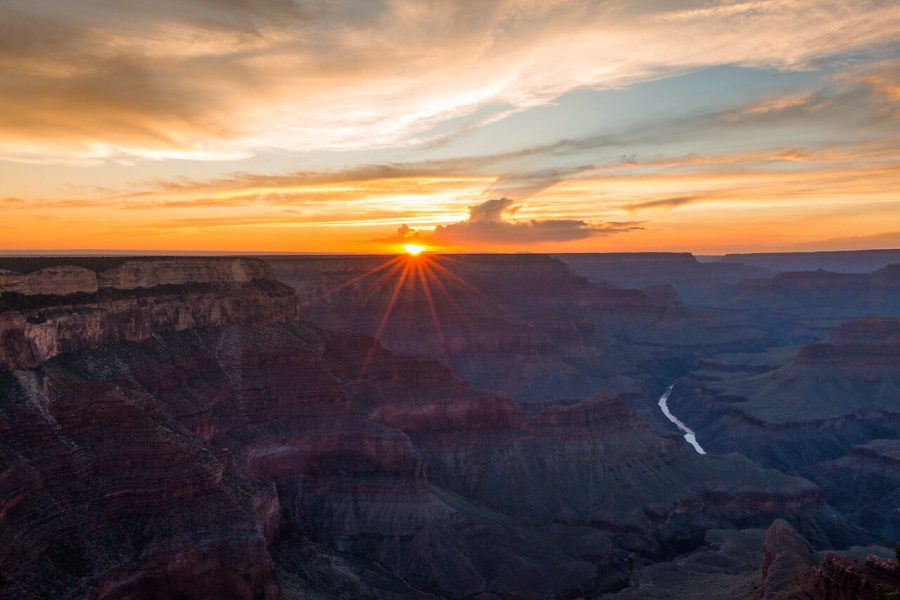
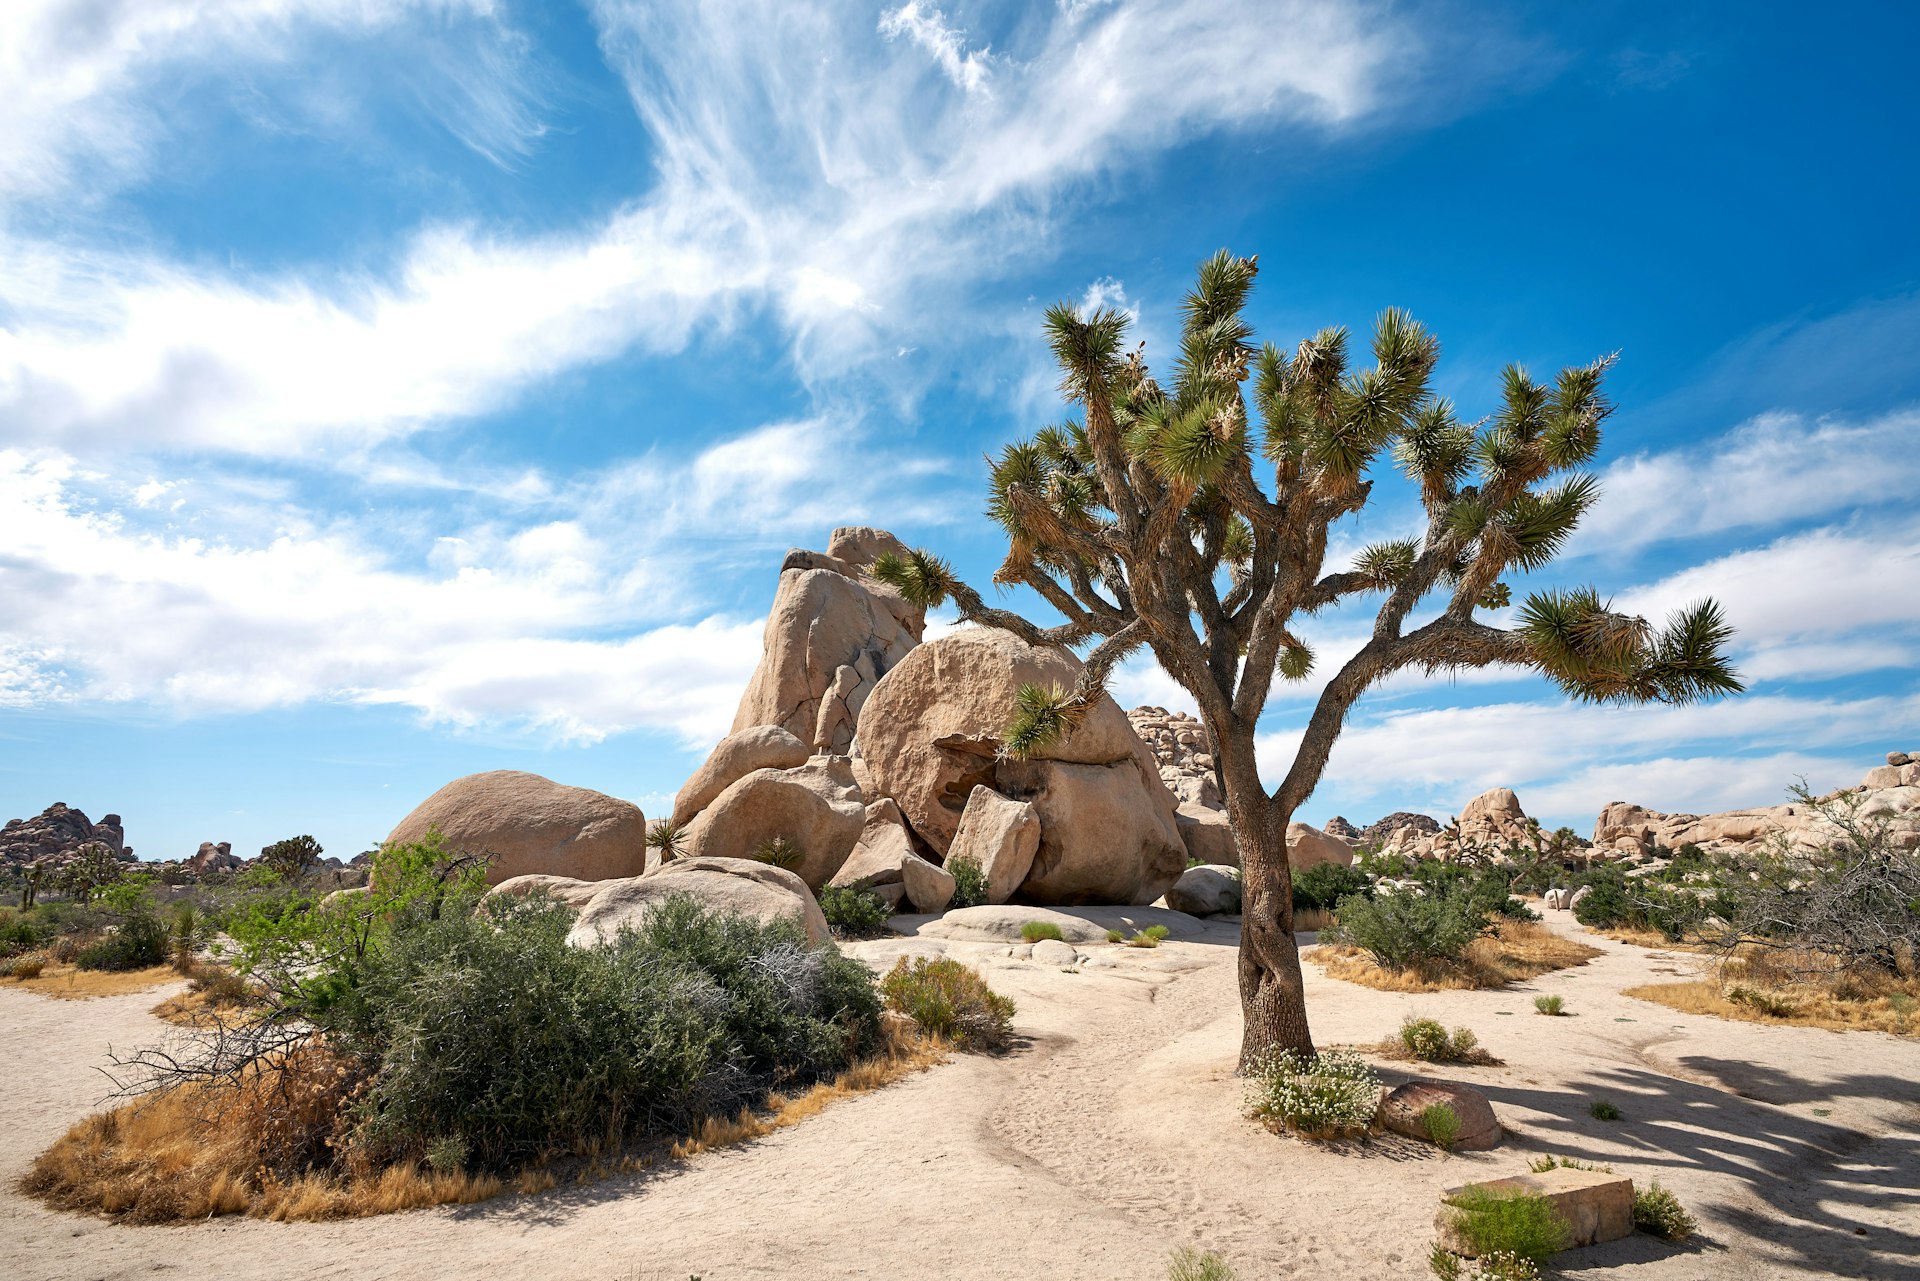
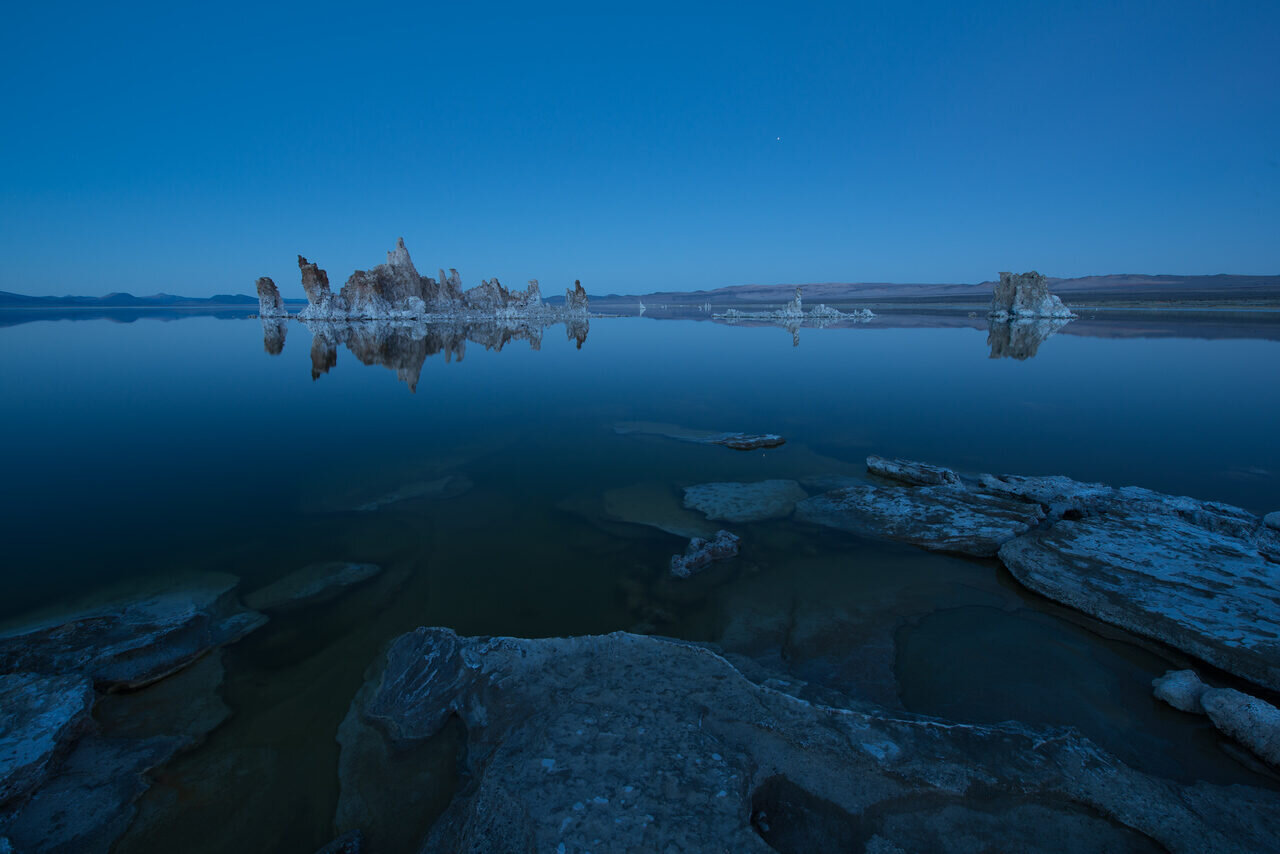
Midday desert light is flat, white and brutal. The hours around sunrise and sunset are when dunes, rock formations and cacti develop shape and shadow, and they pass fast. Scout your composition in daylight, set up early, and be ready when the low sun arrives. Blue hour in the desert is underrated: the sky goes deep violet and the landscape holds just enough detail for long exposures.
2. Protect your gear from heat and dust
Dust is the desert’s permanent export. Change lenses inside a bag or a car, keep a blower handy and use a clear filter if wind is blowing sand. Heat is quieter but just as rough: never leave gear in a closed car, and let air-conditioned equipment adjust gradually when you step back into the heat to avoid condensation.
 Save
Save3. Compose with the desert’s lines
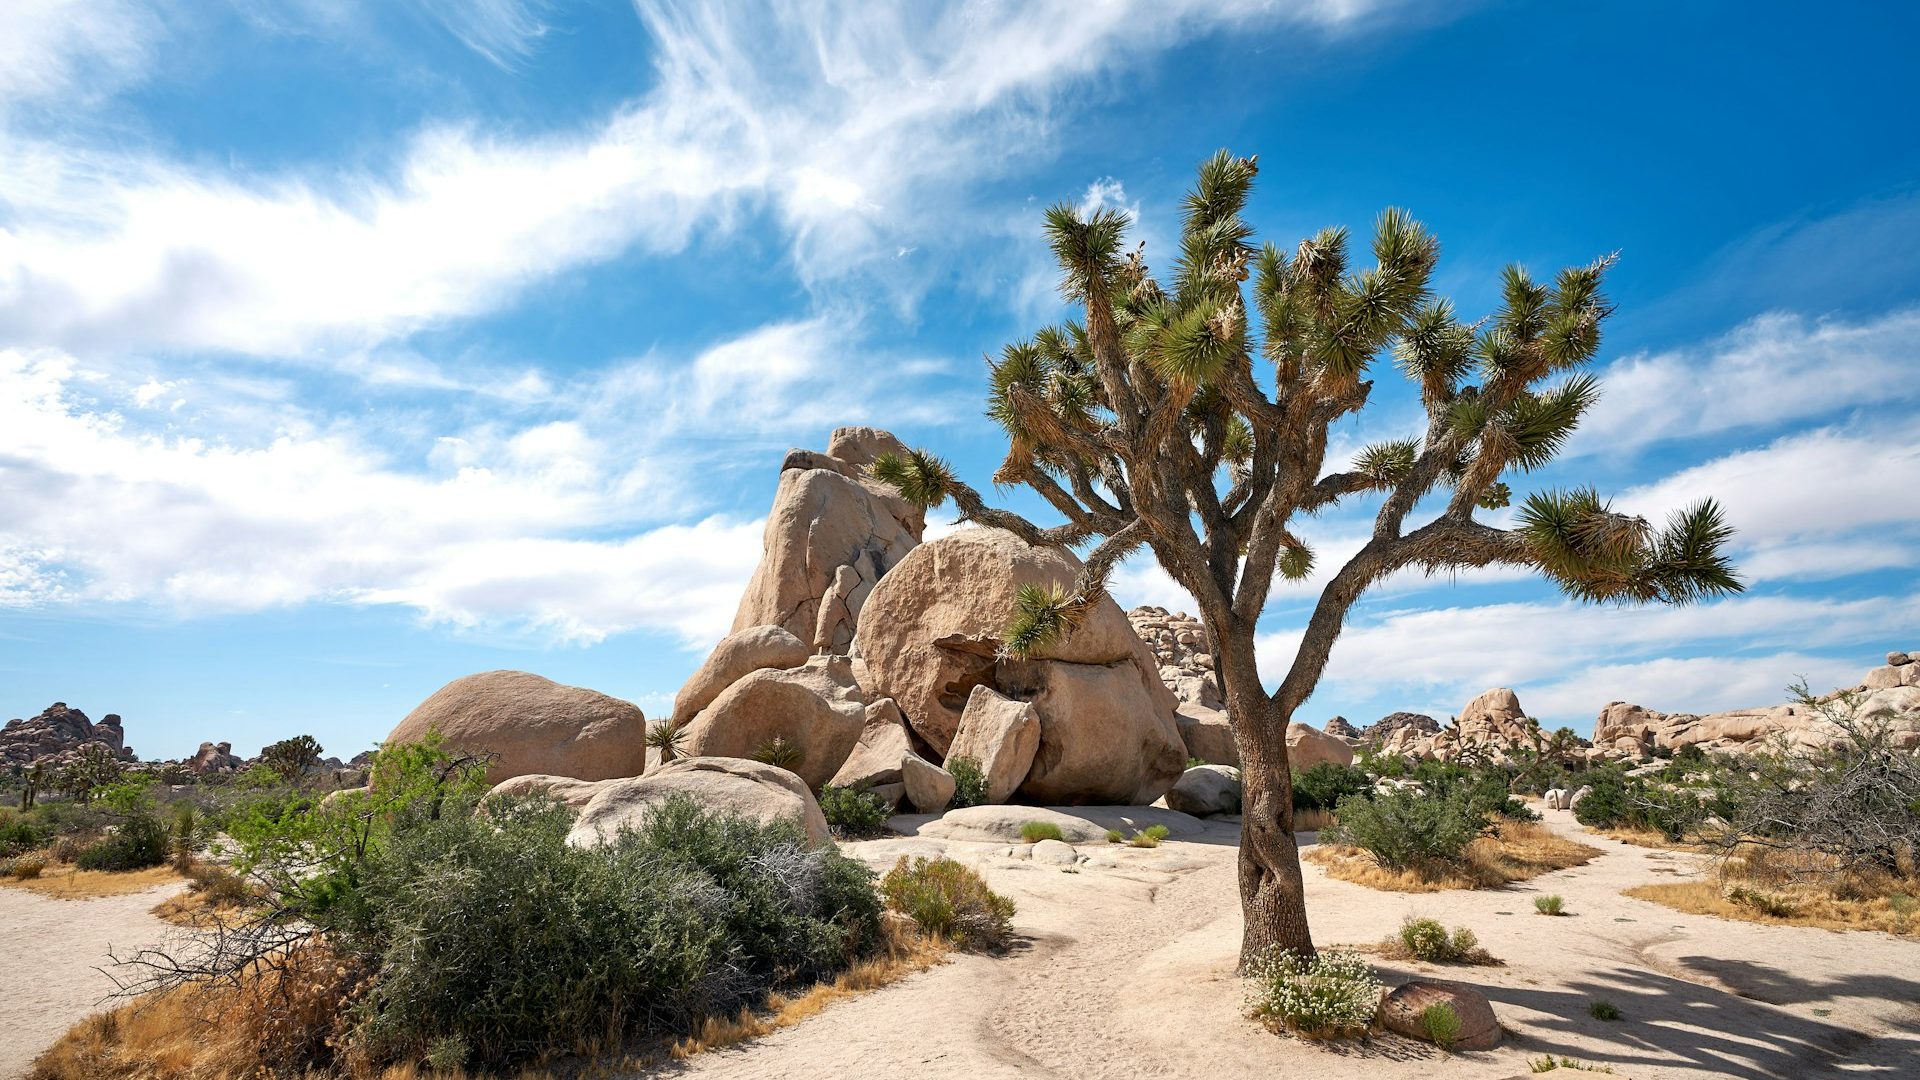
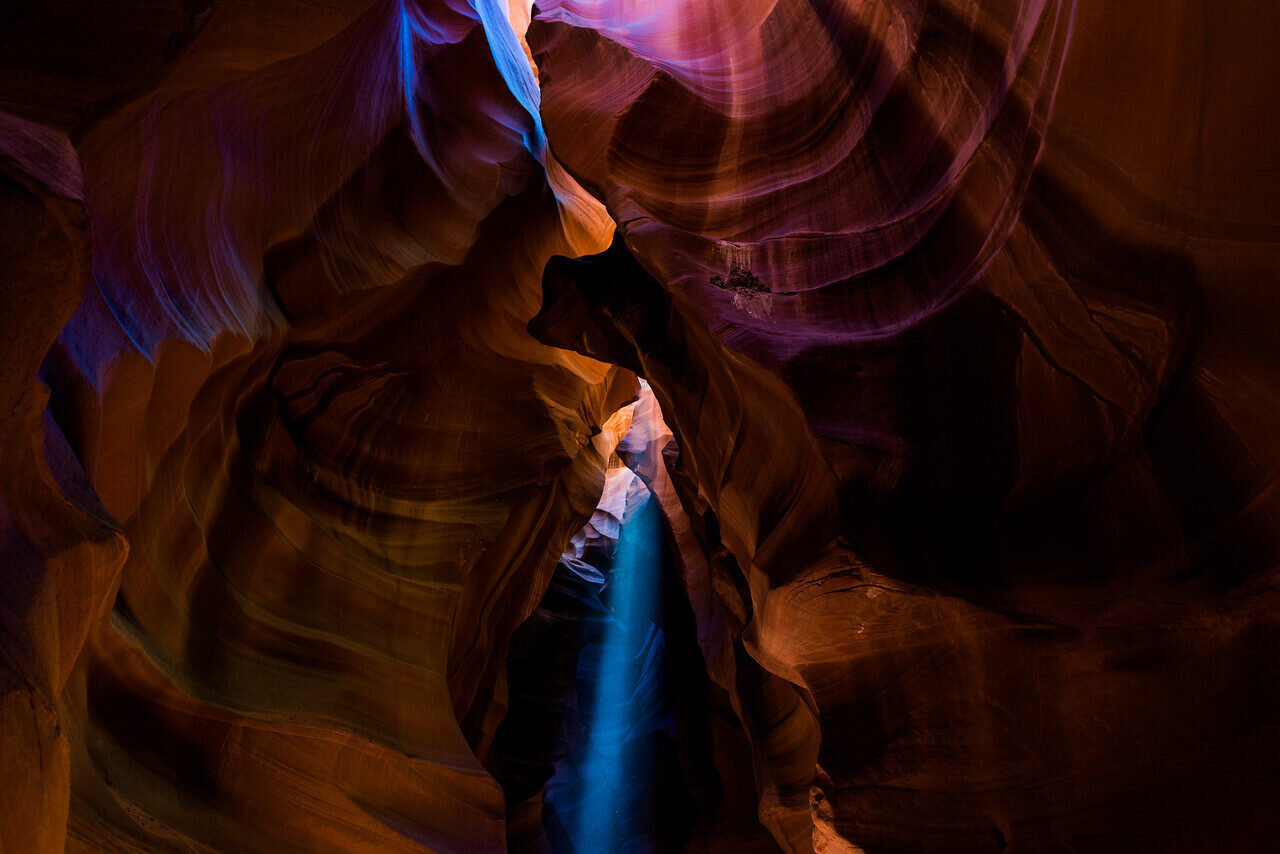
Dune ridges, dry wash curves and fault-line rock layers are ready-made leading lines. Get low to give foreground texture (cracked mud, gravel patterns, a single bloom) room to work, and use a focal point like a lone tree or balanced rock to anchor the frame’s scale. Aperture choice controls how much of that foreground stays sharp, so the aperture guide is worth a review before the trip.
 Save
Save4. Expose for the highlights
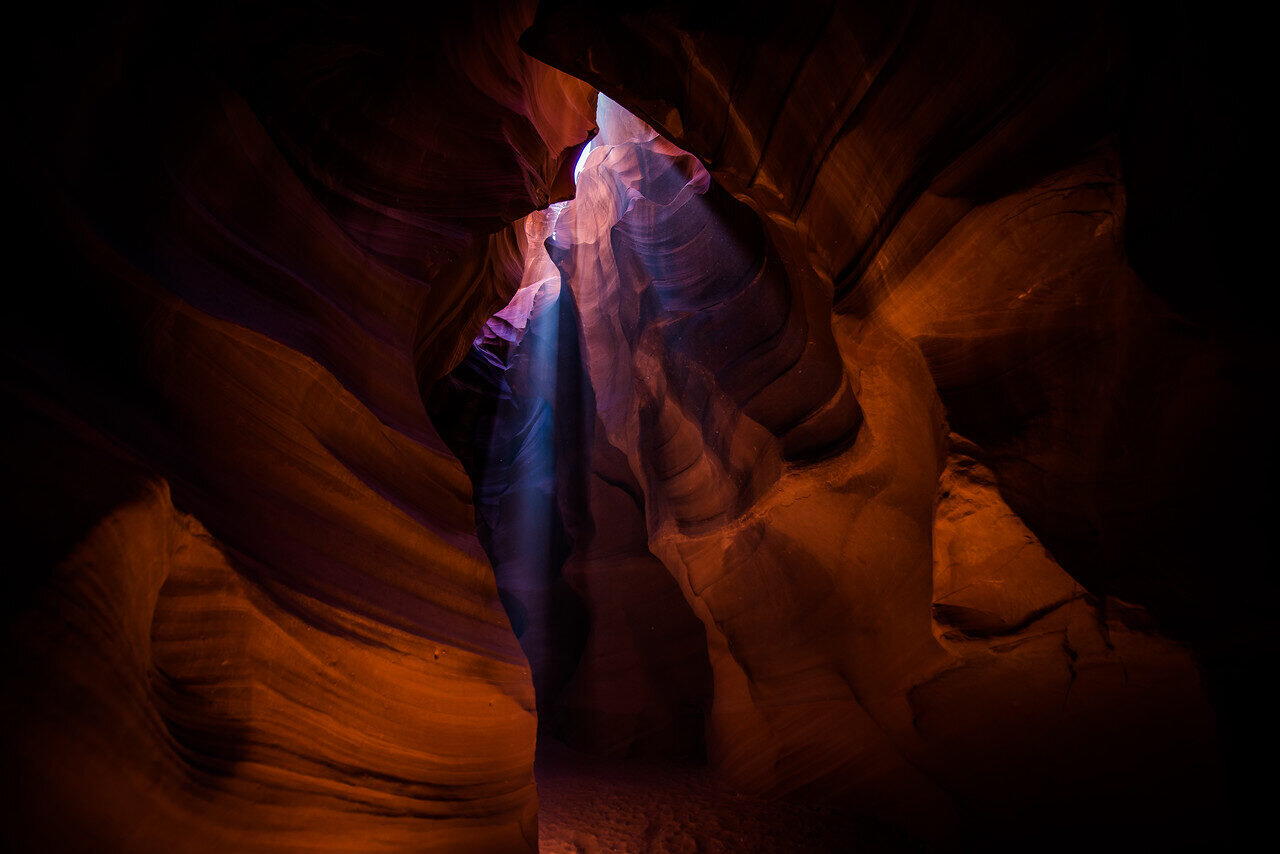
Bright sand and pale rock fool meters into underexposing, then the sun punches through and clips. Check your histogram instead of trusting the preview screen, bracket when the contrast is extreme, and consider a graduated ND filter at sunrise and sunset. If high ISO enters the picture after dark, the ISO guide explains the trade-offs.
 Save
Save5. Stay after dark
Deserts offer some of the darkest skies left in the country. Once the landscape light is gone, the night show starts: the Milky Way over a silhouetted ridge is one of the strongest frames in landscape photography. Our night photography guide covers the settings, and the travel photography guide helps with planning a trip around dark-sky windows.
Want to go further? The ShutYourAperture Academy’s Light. Land. Legacy. The Landscape Photography Course (10 modules, 40+ lessons) is built to help you master light, land and composition for landscapes that last.
6. Take the safety part seriously
Tell someone your plan, carry more water than you think you need, and know that desert distances lie: that ridge is twice as far as it looks. Summer heat in places like Death Valley is not a discomfort, it is a genuine hazard, so hike early, rest midday and shoot the edges of the day.
Bringing desert files home? The Landscape, Cityscape and Drone Lightroom Presets include looks tuned for warm rock, big skies and clean golden hour color.
Gear for the still desert frame
For a stationary desert scene after sunset, compare a support that fits the kit you will actually carry. The Peak Design Aluminum Travel Tripod is one option. Check camera and lens weight, plate fit and your required height before buying. Choose firm ground, stay on permitted routes and stop when wind or footing makes the setup unsafe. A tripod does not freeze moving subjects or make desert heat safe. Compare the current retailer specifications; no hands-on test, price or stock promise is being made here.
Compare Peak Design Aluminum Travel Tripod on Amazon | Check Peak Design Aluminum Travel Tripod at B&H
Affiliate disclosure: We may earn a commission from qualifying purchases through these gear links at no extra cost to you. As an Amazon Associate, Shut Your Aperture earns from qualifying purchases.