Epic photos start at the kitchen table
Updated October 2026
This post started life back in 2014 as a quick pointer about shooting with whatever is lying around the house. The idea deserved more than a stub, so here is the full guide. You do not need a studio, a lighting kit, or a fancy lens to make photographs that stop people mid-scroll. You need light, something to bounce it off, and the willingness to experiment for an afternoon. These seven DIY photography tricks are built from household objects and the light you already have – starting points to experiment with, not studio replacements. One note before we start: the photographs in this guide illustrate the look each technique can produce – they are visual examples of the result, not proof that any specific frame was shot with the exact setup described.
Why household objects beat budget gear
Light does not care what it bounces off. A store-bought softbox and a white shower curtain do the same single job: they spread a small, harsh source into a big, soft one. Reflectors bounce. Diffusers diffuse. Backgrounds add texture and mood. Once you understand what each piece of lighting gear actually does, the household stand-in becomes obvious – and in the final frame the difference is hard to spot. The seven tricks below cover the three things that decide almost every photo: the quality of the light, the surface behind the subject, and the subject itself.
1. Turn poster board into a reflector
A sheet of white poster board or foam board from any craft store is the most useful lighting tool that does not plug in. Set your subject near a window, then prop the board on the shadow side, opposite the light. It catches the window light and bounces it back into the dark side of the frame, opening up shadows without killing the mood. Move it closer for stronger fill, farther away for a moodier look. Angle it until the shadow side of the subject lifts exactly the way you want it.
Two variations worth trying: crumple aluminum foil, smooth it out, and tape it to cardboard for a punchier, brighter bounce that acts like a silver reflector – great for crisp still-life work. Or find a warm-toned board or fabric to bounce a golden fill into a portrait. This works for portraits, flowers, food, and anything else that fits on a table.
2. Fake the dew with a spray bottle
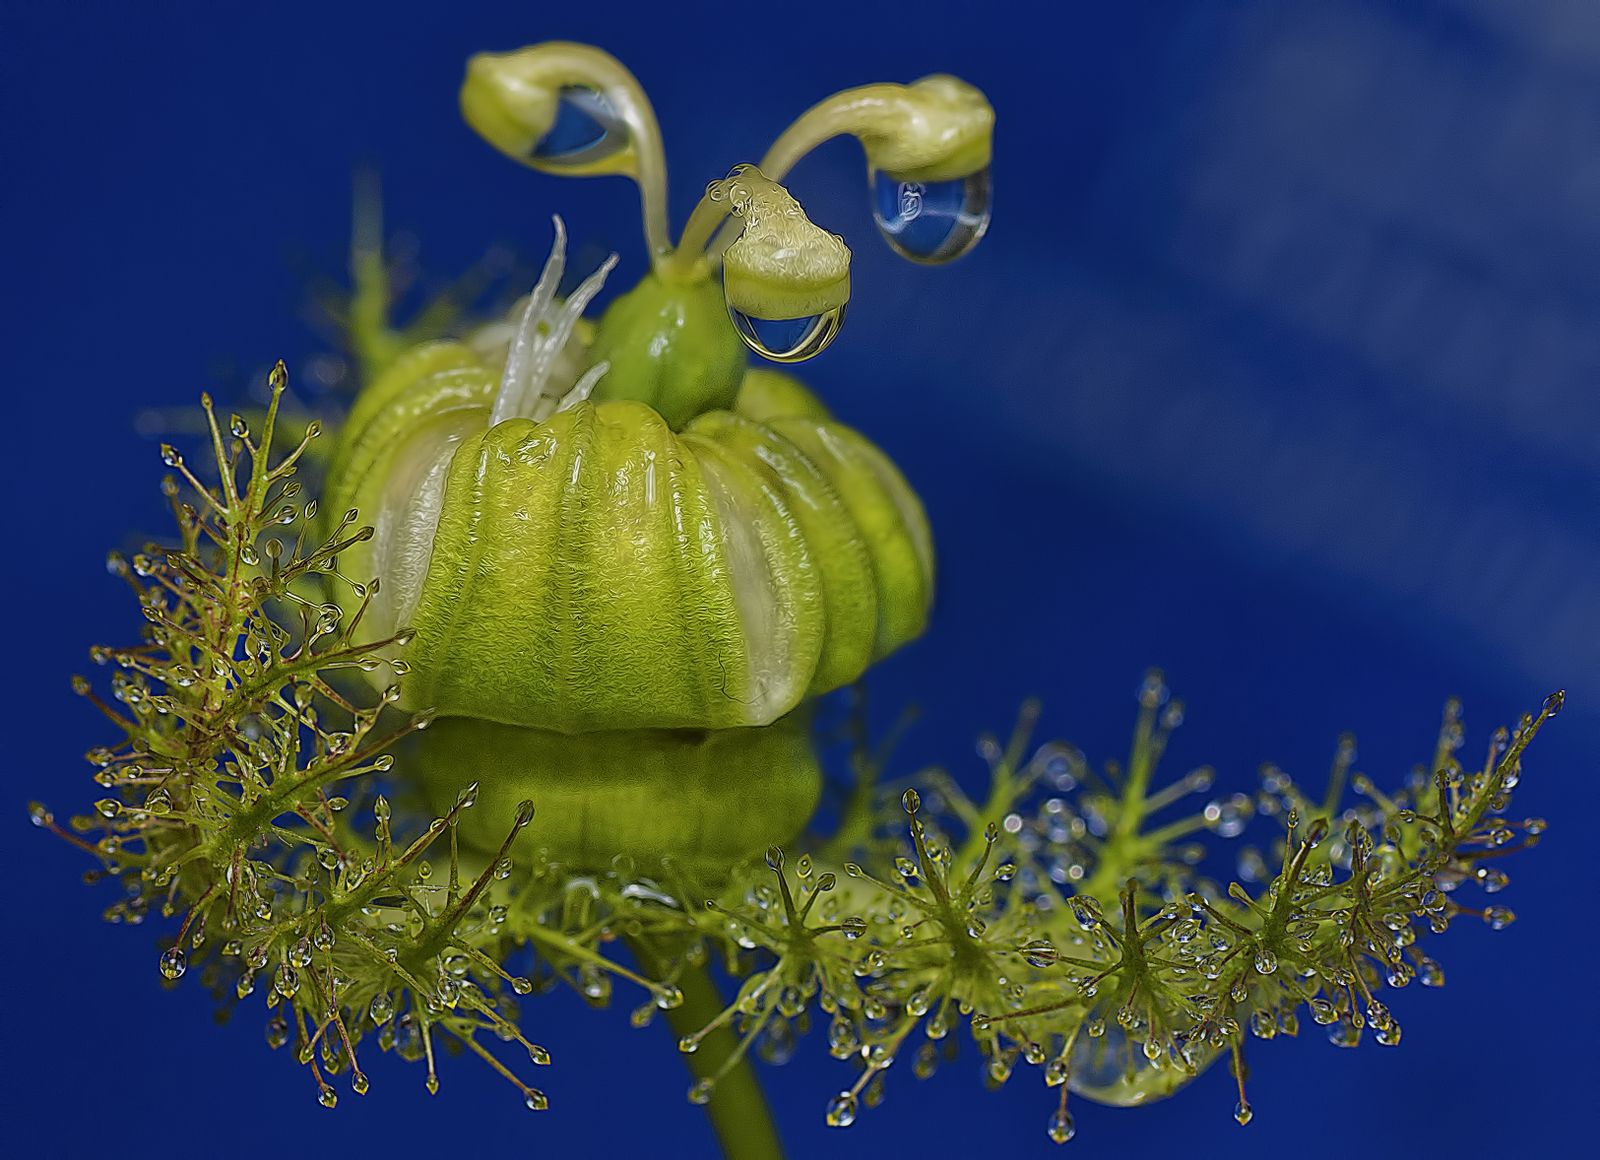
Fresh morning dew is beautiful and almost never there when you want it. A plain spray bottle fixes that. Mist a flower, a leaf, or a piece of fruit and you get clean, round water beads on demand – at the kitchen table, at noon, in any season. A drop of glycerin or a little light corn syrup mixed into the water makes the beads rounder and helps them hold while you work.
For the classic look, put dark fabric or black poster board behind the flower so nothing competes with the subject, and light it from the side or slightly behind so the droplets catch the light and sparkle. Get close – a macro lens, a phone’s macro mode, or even a close-focusing kit lens at its minimum distance. Focus on the front droplets and let the rest fall into soft blur.
 Save
Save3. Soften hard light with baking paper
Direct midday sun through a window is a small, brutal light source. Tape a sheet of baking parchment over the window – or stretch a plain white shower-curtain liner in front of it – and that same sun becomes a giant, soft studio light. The bigger the diffused area relative to your subject, the softer the shadows. Pull the subject close to the window and the light wraps beautifully around faces, flowers, and tabletop scenes.
Diffusion costs light – how much depends on the material and its distance from the subject, so take a test frame and open the aperture, slow the shutter, or raise the ISO until the exposure lands. Pair this with the poster board reflector from trick one and you have a key light with controllable fill, straight from the kitchen drawer. One non-negotiable: baking paper, shower-curtain liners, and fabric stay away from hot bulbs. Use a cool-running LED if you add a lamp to the setup, support the diffuser on its own stand or clamp so it hangs clear of the fixture, and never let diffuser material touch a fixture or bulb.
4. Raid the house for textured backgrounds
Small subjects need a stage, and your house is full of them. A weathered wood tabletop, a dark baking tray, a slate floor tile, an old cutting board, crumpled linen, a sheet of black poster board – each one gives a small subject instant character. Lay the subject on the texture, drop the camera to surface level, and shoot along the surface so it falls off into blur behind the subject.
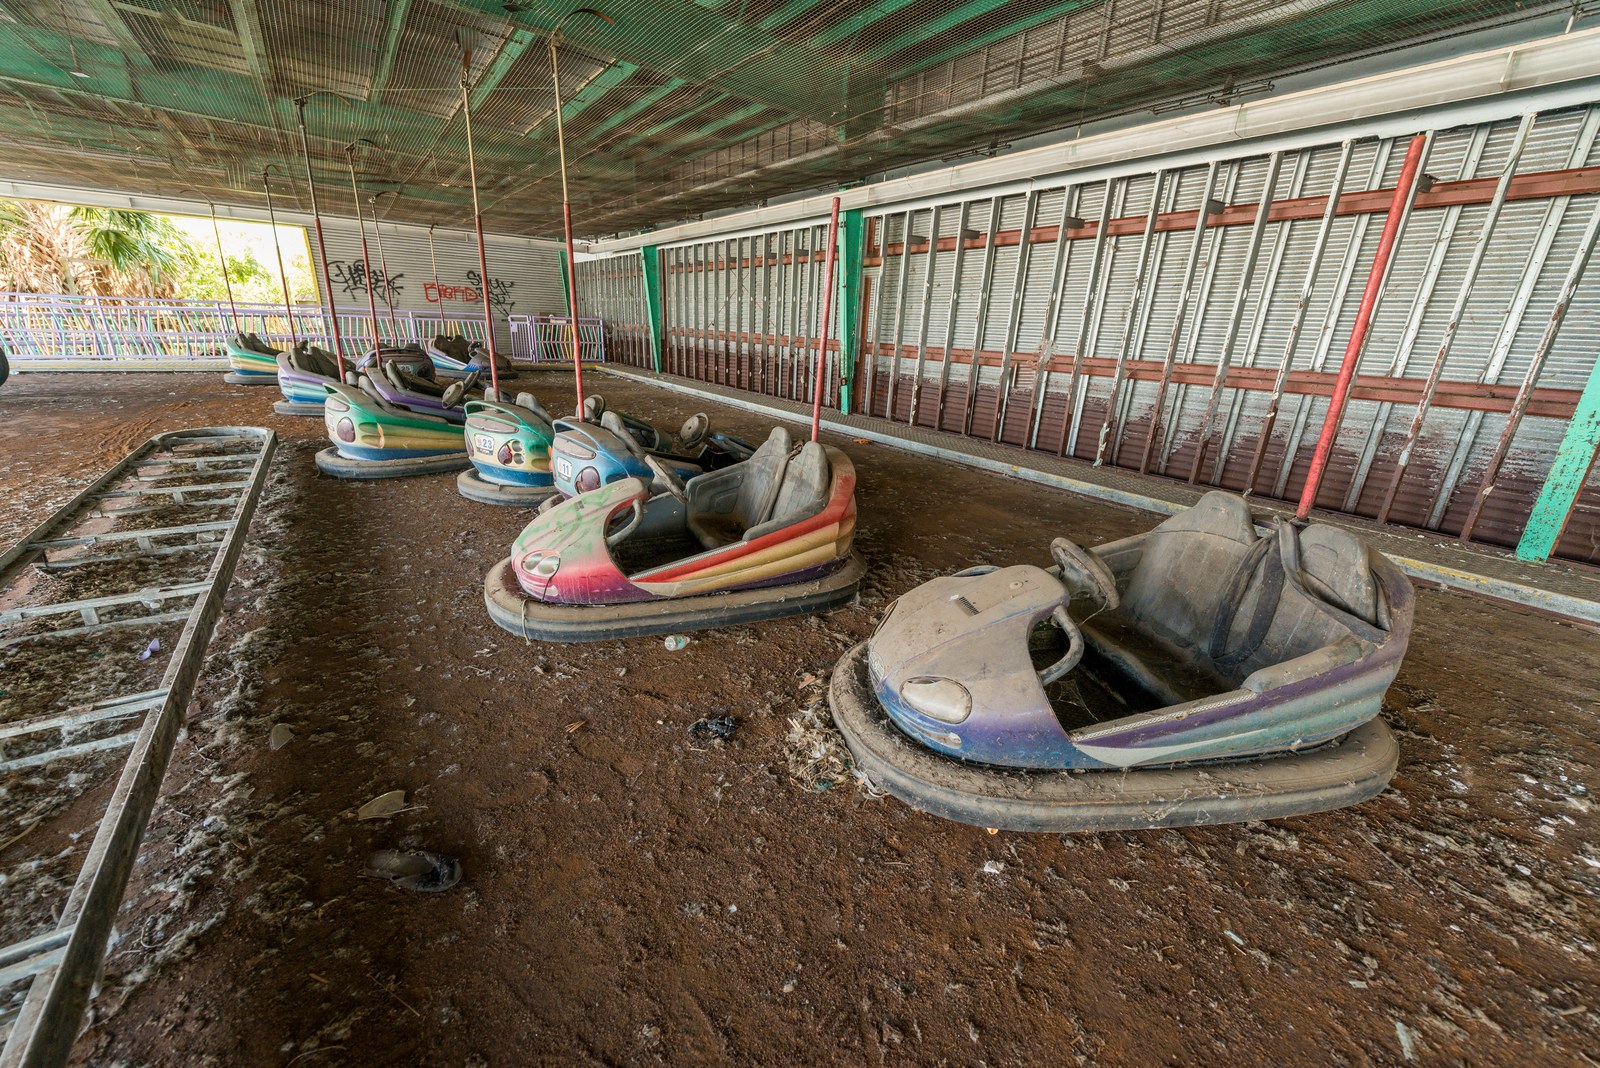
Dark, rough textures absorb light and make moody frames; light, smooth surfaces reflect it and keep things bright and clean. And texture is not only a background – it can be the subject. Peeling paint, rust, weathered wood, dust on an old machine: get low, shoot along the surface, and let the texture carry the frame. Match the surface to the story you want the photo to tell.
 Save
Save5. Build a product studio from a desk lamp
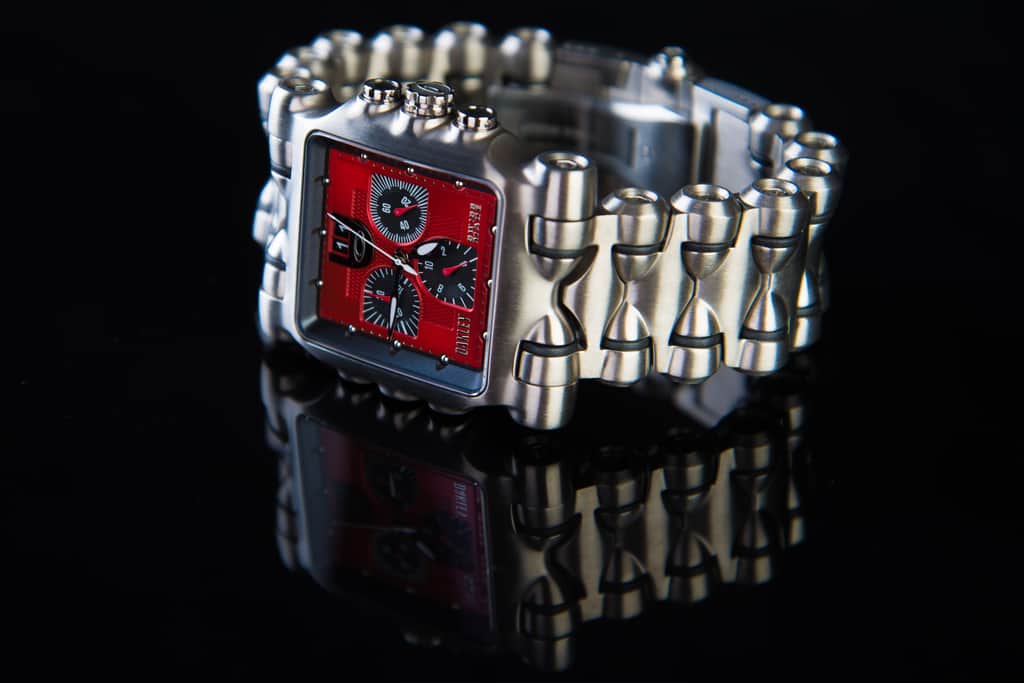
Clean product photos look like they need a studio. They need a desk lamp, a sheet of glass, and some dark cloth. Drape black fabric behind the subject, set the subject on a piece of glass or a mirror for that glossy reflection, and light it with a desk lamp from the side. Prop a white card on the opposite side to soften the shadows, and use a scrap of cardboard to block the lamp from spilling onto the background where you do not want it.
Watches, bottles, jewelry, cameras – anything small and glossy works. The trick is control: kill the room lights so the desk lamp is the only source, then move it until the reflection and the highlights land exactly where they look expensive. If the lamp feels harsh, bounce it off a white wall or shine it through the baking-paper diffuser from trick three. Pick a cool-running LED desk lamp for this – halogen and incandescent bulbs get hot fast, and cards, cloth, and paper should never rest against the lamp head; give the fixture the clearance its markings call for. And treat the glass with respect: set it on a stable, level surface, and if the edges are sharp, tape them or swap in a mirror tile with finished edges.
 Save
Save6. Shoot by firelight
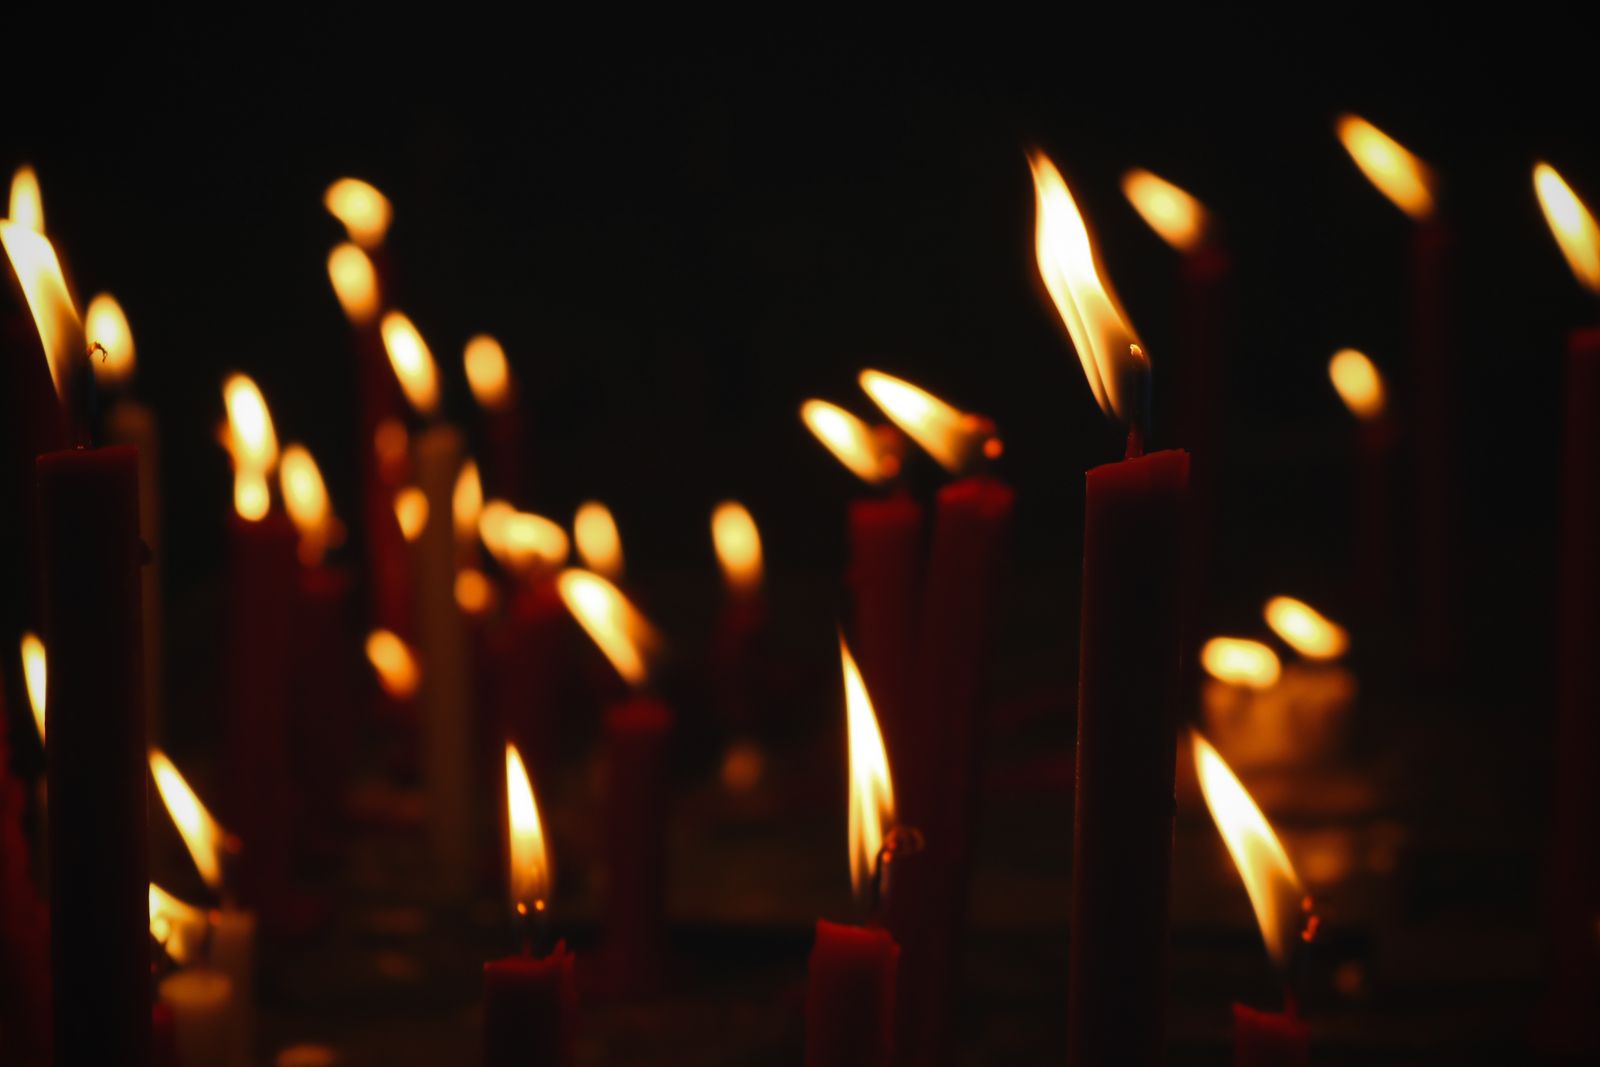
Fire is a ready-made moody light source – candles on the dinner table, a fire pit in the yard, a bonfire. Shooting with it means leaving the flash off entirely. Let the flames light the scene and expose for them: if you meter the whole dark room, the camera will overexpose the flames and kill the mood. Underexpose a little, keep the fire as the brightest thing in the frame, and the shadows take care of themselves.
Firelight is dim, so brace the camera on a table or tripod, open the aperture wide, and let the ISO climb. A little noise is fine – noise is texture, and blown-out flames are forever. Shooting RAW gives you the most room to shape the mood later. Cluster several candles together for a stronger source, and double the glow with a non-flammable reflector behind them – a mirror or a metal tray, positioned clear of the flames, never foil or paper. Set candles in stable, noncombustible holders on a clear surface with wide clearance from curtains, fabric backdrops, paper, and loose clothing, never leave a burning candle or fire unattended, and keep yourself and your gear at a safe distance from open flame – no shot is worth that risk.
 Save
Save7. Pair cheap subjects with epic light
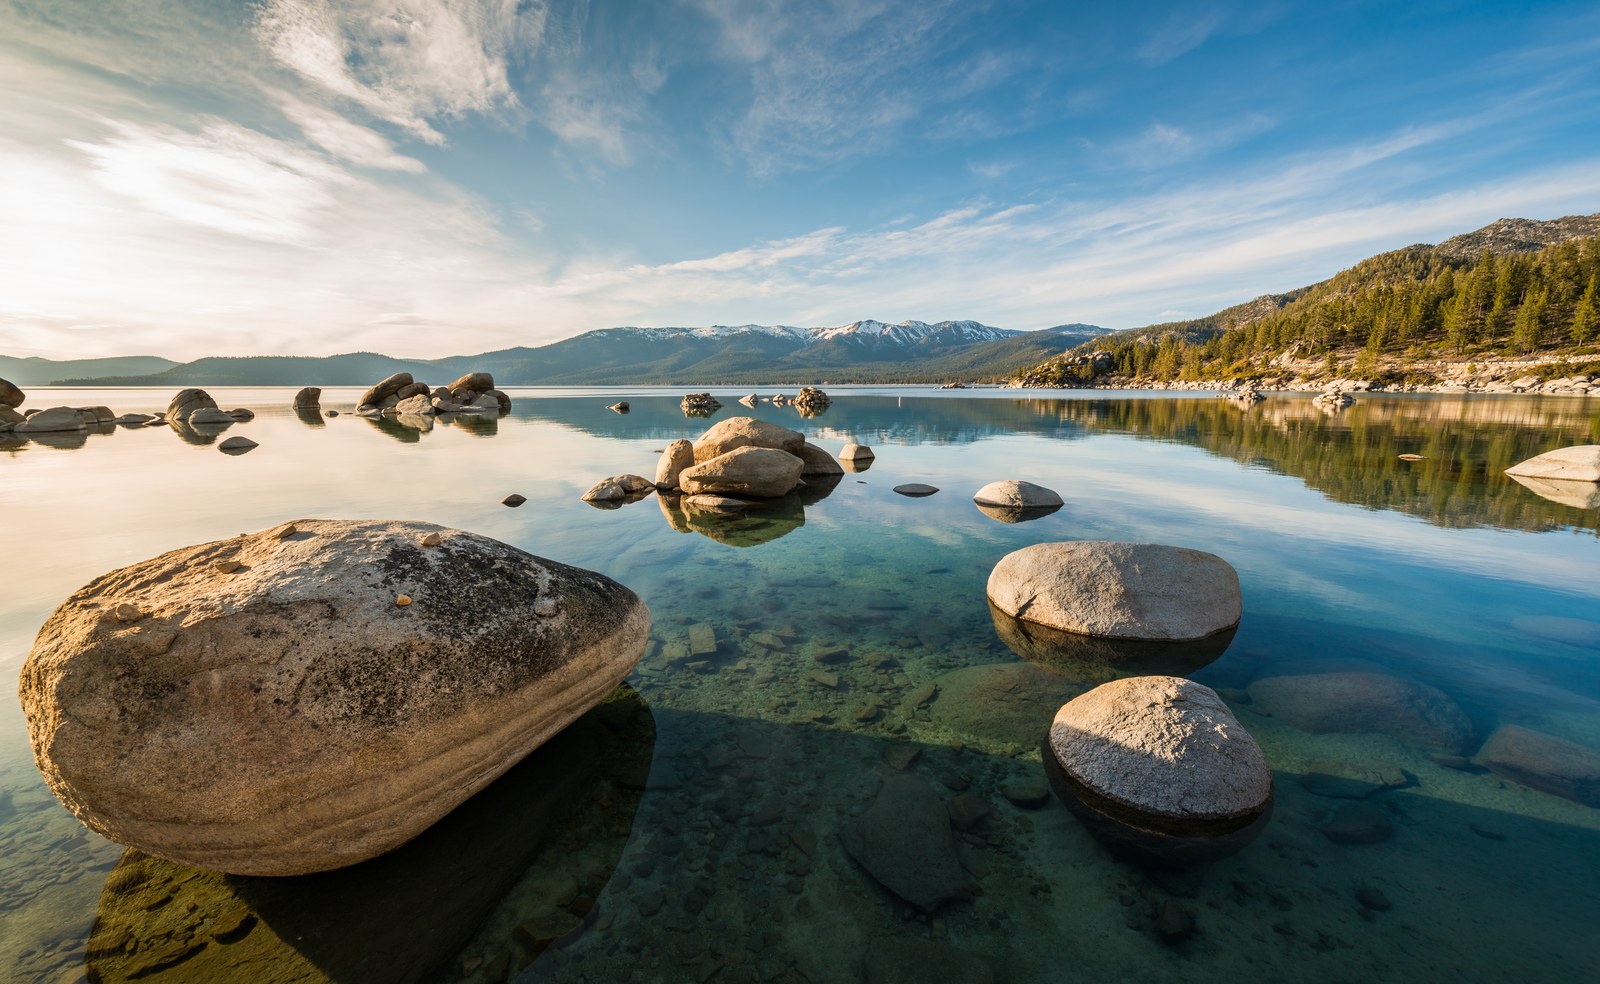
The last hack is not an object – it is a mindset. Great light is free, and ordinary subjects become extraordinary in it. A bunch of flowers from the grocery store, backlit in a window at golden hour, glows like a gallery print. Steam rising from a kettle against the low sun turns into a studio effect (point the spout away from you and keep hands, face, and the front of the lens out of the plume – steam burns fast). A storm rolling over your street, a sunflower field under a dark sky, frost on the car windshield – dramatic natural light needs no equipment at all.
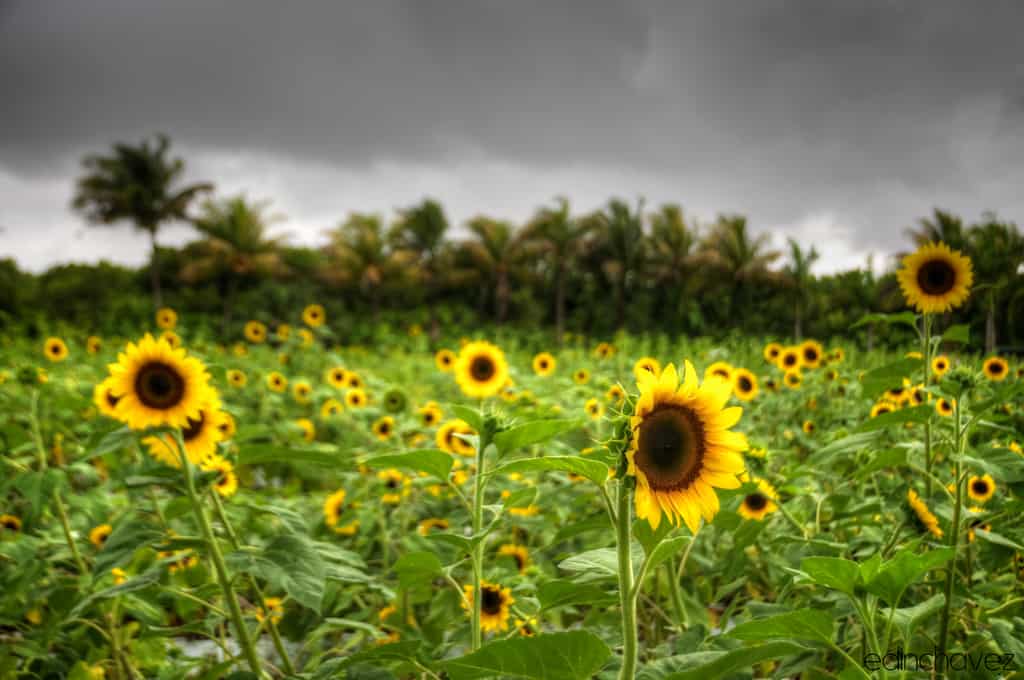
The photo at the top of this post shows a sunflower field under a dark sky, an example of ordinary subjects transformed by natural light. Watch the weather and the clock instead of the gear catalogs. Storm light, golden hour, and blue hour arrive every week, and they flatter the humblest subjects. Combine epic light with the tricks above – a reflector here, a textured board there – and the gap between “shot at home” and “shot in a studio” starts to close – the rest is practice.
 Save
SaveStarting settings for the setups above
Every room and window is different, so treat these as starting points, not recipes:
- Window still life: start at f/4 and 1/125 for handheld work; the depth you need depends on the subject, so check a test frame and adjust.
- Droplet macro: start around f/5.6 to f/8 – magnified subjects have razor-thin depth of field, so test and stop down further if the front beads fall soft.
- Product on glass: start around f/8 on a tripod; how much depth the subject needs depends on its size and your distance, and the shutter can go as slow as the tripod allows.
- Firelight: aperture wide open, a shutter you can hold steady or a tripod, ISO as needed – flames flicker, so check test frames and expose for them.
Bracket a few frames around each starting point, check the histogram, and let your eyes make the final call. If you want the full foundation behind aperture, shutter speed, and ISO, the exposure basics guide walks through it plainly.
Two upgrades worth buying later
Everything above works with things already in your house and any camera you own, phone included. If you eventually want the store-bought version of these hacks, two pieces of kit cover nearly all of it. One note first: the Canon pick is RF mount, for Canon mirrorless bodies – other systems have direct equivalents – and prices move, so check current pricing before you buy.
#1: Impact 5-in-1 Collapsible Reflector (42″)
The bought version of tricks one and three in a single folding disc: white, silver, gold, and silver-gold covers plus a diffusion panel. Bounce fill into the shadow side with white or silver, warm a cold scene with gold, or put the diffuser between a harsh window and the subject.
| Pros | Cons | |||||
|---|---|---|---|---|---|---|
|
|
Check the Impact 5-in-1 reflector at B&H
#2: Canon RF 50mm f/1.8 STM
The classic nifty fifty: a small, fast prime whose wide f/1.8 aperture drinks in dim window light and candlelight, and blurs backgrounds behind tabletop subjects. It is not a macro lens – for tight droplet frames, use a phone’s macro mode or a dedicated macro instead.
| Pros | Cons | ||||||
|---|---|---|---|---|---|---|---|
|
|
Check the RF 50mm f/1.8 at B&H – and for dedicated close-up work, the 100mm macro guide breaks down the classic pick.
Some of the links above are affiliate links, including to B&H Photo. If you buy through them we may earn a commission at no extra cost to you. It keeps the lights on and the guides coming. We only recommend gear that fits the topic.
Take it further
DIY light shaping pairs perfectly with strong framing – the composition techniques guide covers the arrangements that make simple subjects look deliberate. And once you have a memory card full of experiments, editing is where the drama gets finished: the adjustment brushes guide shows how to shape light locally, and the portrait cleanup walkthrough handles skin and detail work.
When you are ready to go deeper on editing, the Lightroom course at Shut Your Aperture Academy is the next stop. Check the Academy for the current course outline and access options.
FAQ
What household items can I use as photography lighting?
White poster board or foam board works as a reflector to bounce window light into shadows, and aluminum foil taped to cardboard makes a brighter silver-style bounce. Baking parchment or a white shower-curtain liner taped over a window turns harsh sun into a soft, studio-like source. A desk lamp can serve as a controllable key light for tabletop and product shots – choose a cool-running LED and keep paper, cloth, and other materials from resting against the lamp. Candles double as both subject and moody light source; set them in stable holders clear of fabrics and never leave them unattended.
How do you make fake dew drops for flower photography?
Mist the flower with a plain spray bottle filled with water – the beads form instantly and look like fresh morning dew. Mixing in a drop of glycerin or a little light corn syrup makes rounder beads that hold longer while you work. Place dark fabric behind the flower, light it from the side or slightly behind so the droplets sparkle, focus on the front beads, and let the background fall into blur.
Can you do product photography at home without a studio?
Yes. Drape black fabric behind the subject, set it on a sheet of glass or a mirror for a glossy reflection – on a stable surface, with sharp edges taped – and light it with a cool-running LED desk lamp from the side, keeping cards, cloth, and paper from resting against the fixture. A white card opposite the lamp fills the shadows, and a scrap of cardboard flags light off the background. Turn off the room lights so the lamp is the only source, then adjust its position until the highlights and reflection look clean.
What can I use as a photography backdrop at home?
Weathered wood tabletops, dark baking trays, slate floor tiles, old cutting boards, crumpled linen, and sheets of black or white poster board all work. Dark, rough textures absorb light for moody frames, while light, smooth surfaces reflect light and keep photos bright and clean. Drop the camera to surface level and shoot along the texture so it blurs out behind the subject.
Is candlelight bright enough for photography?
Yes, with the right approach. Turn the flash off, expose for the flames so they stay the brightest thing in the frame, and underexpose slightly to protect the mood. Brace the camera on a table or tripod, open the aperture wide, and let the ISO climb – a little grain suits candlelit scenes. Clustering several candles together gives you a stronger source, and shooting RAW leaves more room to shape the mood in editing. Keep candles in stable, noncombustible holders with wide clearance from curtains, fabric backdrops, and paper, and never leave them burning unattended.
Do I need expensive gear for DIY photography?
No. These setups rely on window light, household surfaces, and patience, and any camera – phone included – can produce strong results with them. Good light, a fitting background, and a clear subject matter far more than the camera body. The one affordable upgrade worth considering later is a five-in-one reflector, which combines several of these hacks in a single folding disc.