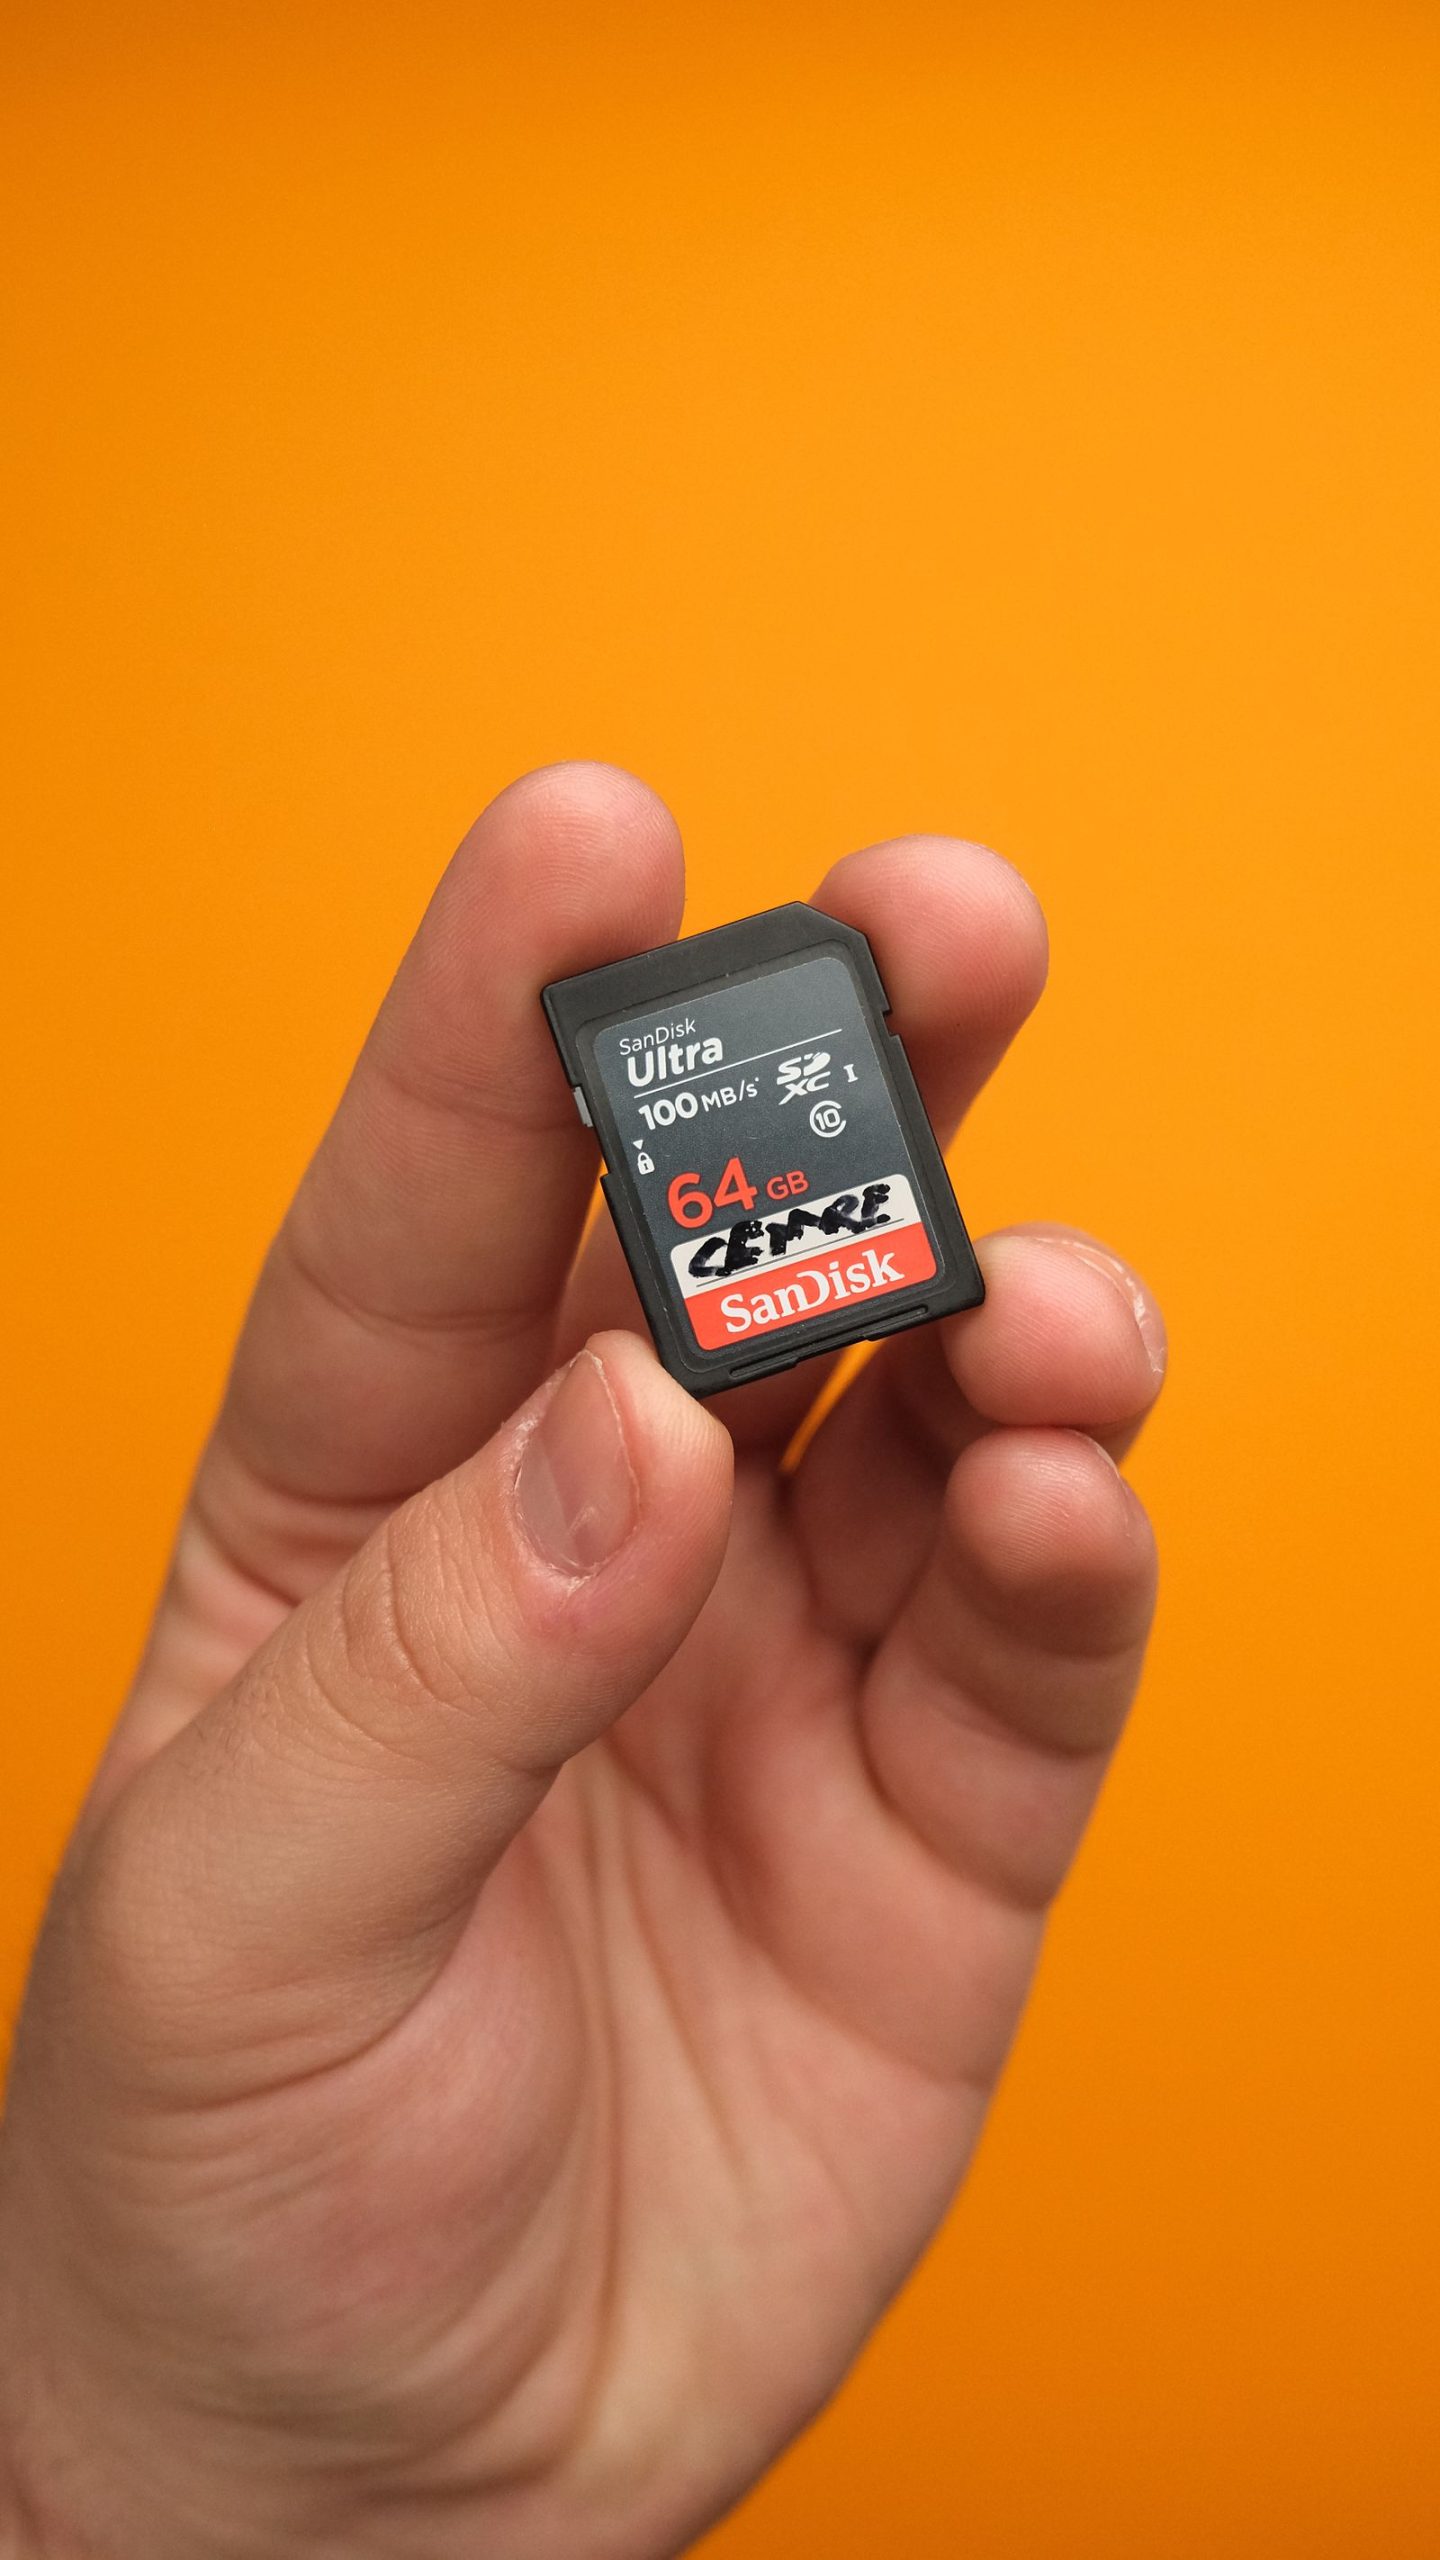
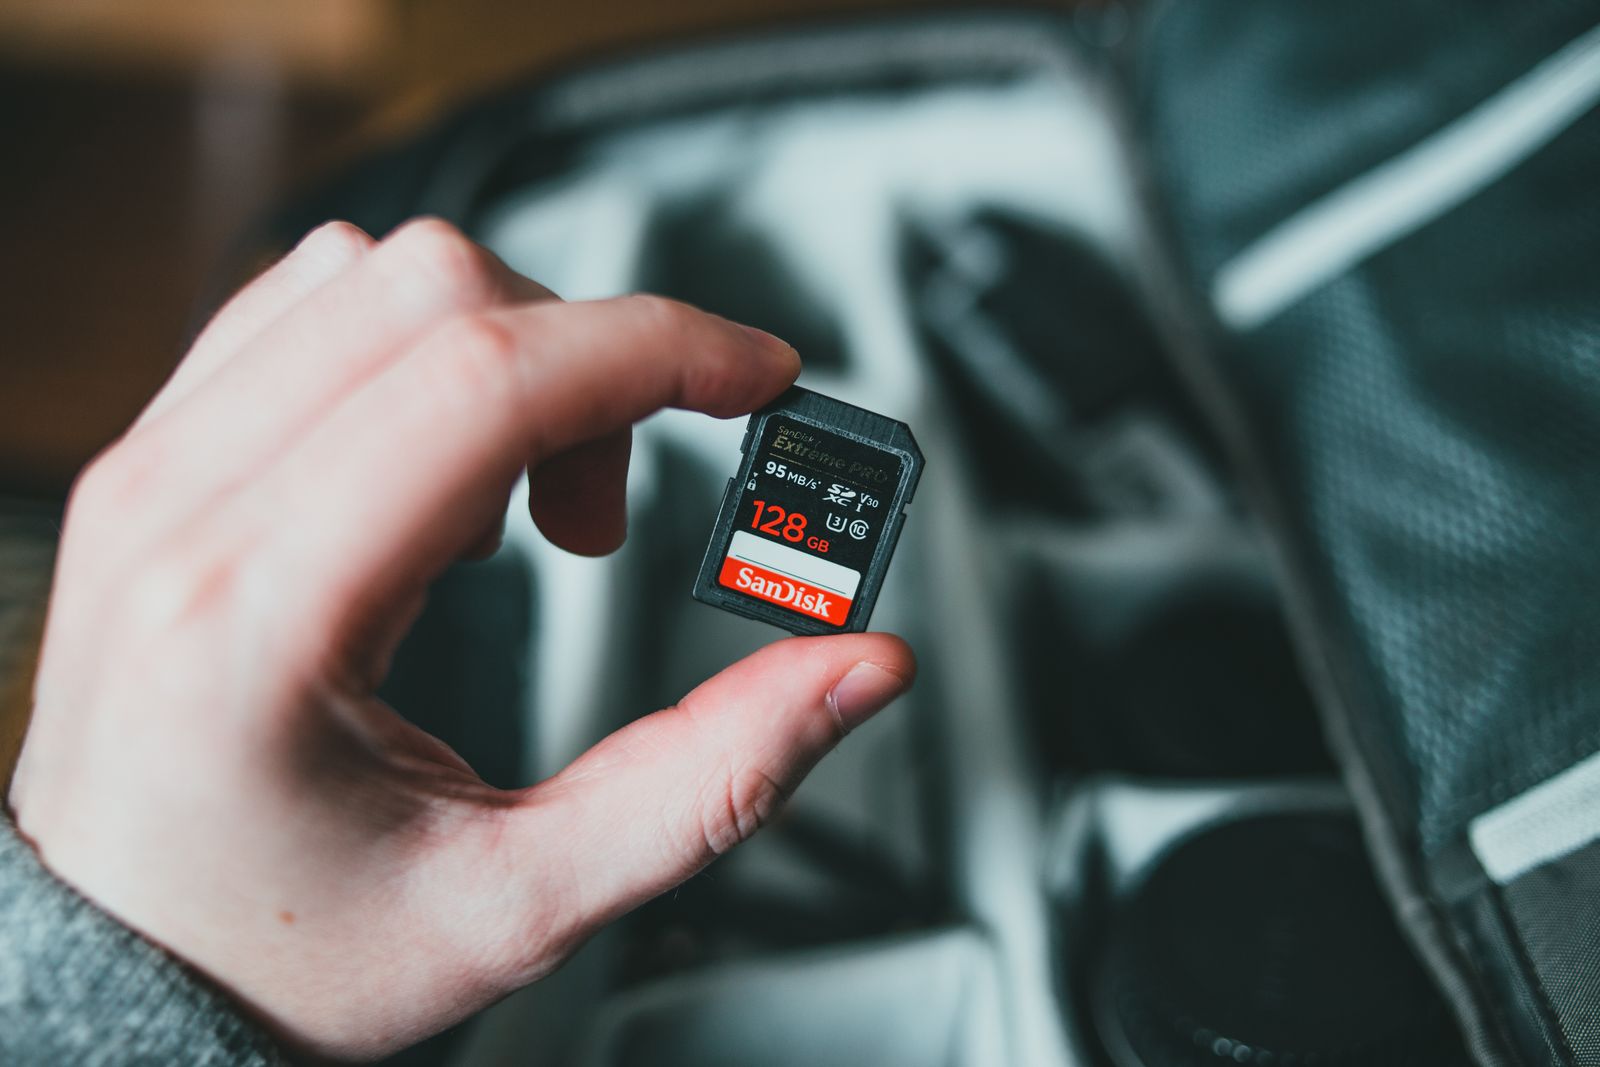
The first recovery step is not downloading an app. Stop writing to the affected media. Put the camera down, remove the card and keep it out of the camera. If the missing photographs were on an external drive, stop using that drive. Do not save recovered files back to their source. Every new write can replace data you still need.
That sounds less exciting than a one-click rescue. It is also the part that matters most. Recovery software can sometimes find surviving files after deletion or a quick format. It cannot promise to rebuild data that has been overwritten, erased by a storage controller, or lost to physical damage. This guide gives you a cautious workflow for photographic files, with clear points where you should stop and get help.
First, work out what happened
Write a short incident note before doing anything else. Which card or drive is affected? Which camera or computer last wrote to it? Were the files deleted, was the card formatted, or did the device stop appearing? Did you shoot more frames afterward? Was there a fall, water exposure, unusual heat or an error message? Record the approximate time and the folder or shoot you are missing.
These details separate a logical problem from a hardware problem. A readable card with accidentally deleted files is different from a cracked card that will not connect. A drive with a missing folder is different from a hard drive making new clicking sounds. Software is a possible tool for the first group. It is not a repair shop for the second.
If this is the only copy of paid client work, family photographs or another irreplaceable record, the cost of a failed experiment may be much greater than the cost of professional advice. Decide that before running tools. You do not need to exhaust every internet suggestion before contacting a recovery specialist.
A safe first-response checklist
- Stop the source: Do not photograph, record video, install software, download files or export images onto the affected device.
- Label it: Put the card in a case and mark it as affected. Do not let it return to your normal card rotation.
- Find another copy: Check a second camera card, an import folder, backup disks, cloud backups and delivered exports.
- Prepare separate storage: You need a healthy destination for recovered files and, when appropriate, a disk image.
- Choose a route: Healthy readable media may be suitable for careful software recovery. Physical damage or unstable detection is a reason to stop and ask a specialist.
Do not click a format prompt just to make the card readable. Formatting changes information on the source. Do not run repair commands merely because a forum says they worked for someone else. A repair tool and a recovery tool have different goals: making a filesystem usable is not the same as preserving every remaining trace of a lost photograph.
Check backups without making the loss worse
Start with copies that do not require using the damaged or affected media. A dual-slot camera may have a second card, depending on how you configured recording. Do not assume both slots received identical files. Check whether you used backup, overflow, RAW/JPEG split or another recording mode.
Look at the computer where you last imported. An editing catalog may reference files stored somewhere else, so distinguish a catalog entry from an actual RAW file. Search by capture date, filename pattern and known folder names. Open a few files from the copy, rather than accepting a folder label as proof that the whole shoot is there.
Check exports and client deliveries too. A full-resolution JPEG is not a substitute for the original RAW, but it may preserve a usable photograph if the RAW cannot be recovered. Cloud services may provide a trash folder or version history under their current retention terms. Verify what is actually available in your account; do not rely on a remembered retention window.
If the lost files are on your computer’s system drive, casual searching on that same machine can also create writes. Operating systems, browsers and applications write caches and logs in the background. For important losses on the boot drive, stop normal use and get advice on a suitable recovery route. Do not install a recovery app onto the disk you are trying to recover.
Understand what deletion does and does not mean
Deleting a file often changes filesystem records so its space can be reused. Some file content may remain until something else uses that space. That is why stopping early can help. It is not a promise: the result depends on the device, filesystem, controller behavior, incident and what happened afterward.
 Save
SaveFormatted-card recovery guidance explains why a quick format may leave some content behind while replacing important filesystem structures. A full format, secure erase, encryption-key destruction or genuine overwrite can be much more destructive. Do not interpret the word “format” as one identical event across every camera and computer.
SSDs add another complication. TRIM and controller cleanup can erase blocks that the system has marked as no longer needed. Stopping your own writes does not reverse an erase that already happened. Flash cards and SSDs also have different controllers and connections, so do not transfer a success story from one device to another without qualification.
Recovery software may find file signatures even when original names and folders are missing. You might receive numbered files instead of your original shoot structure. Large or fragmented video clips can be harder to reconstruct than small files. A scan finding thousands of items does not mean those items are complete, unique or usable.
When a disk image is the right next step
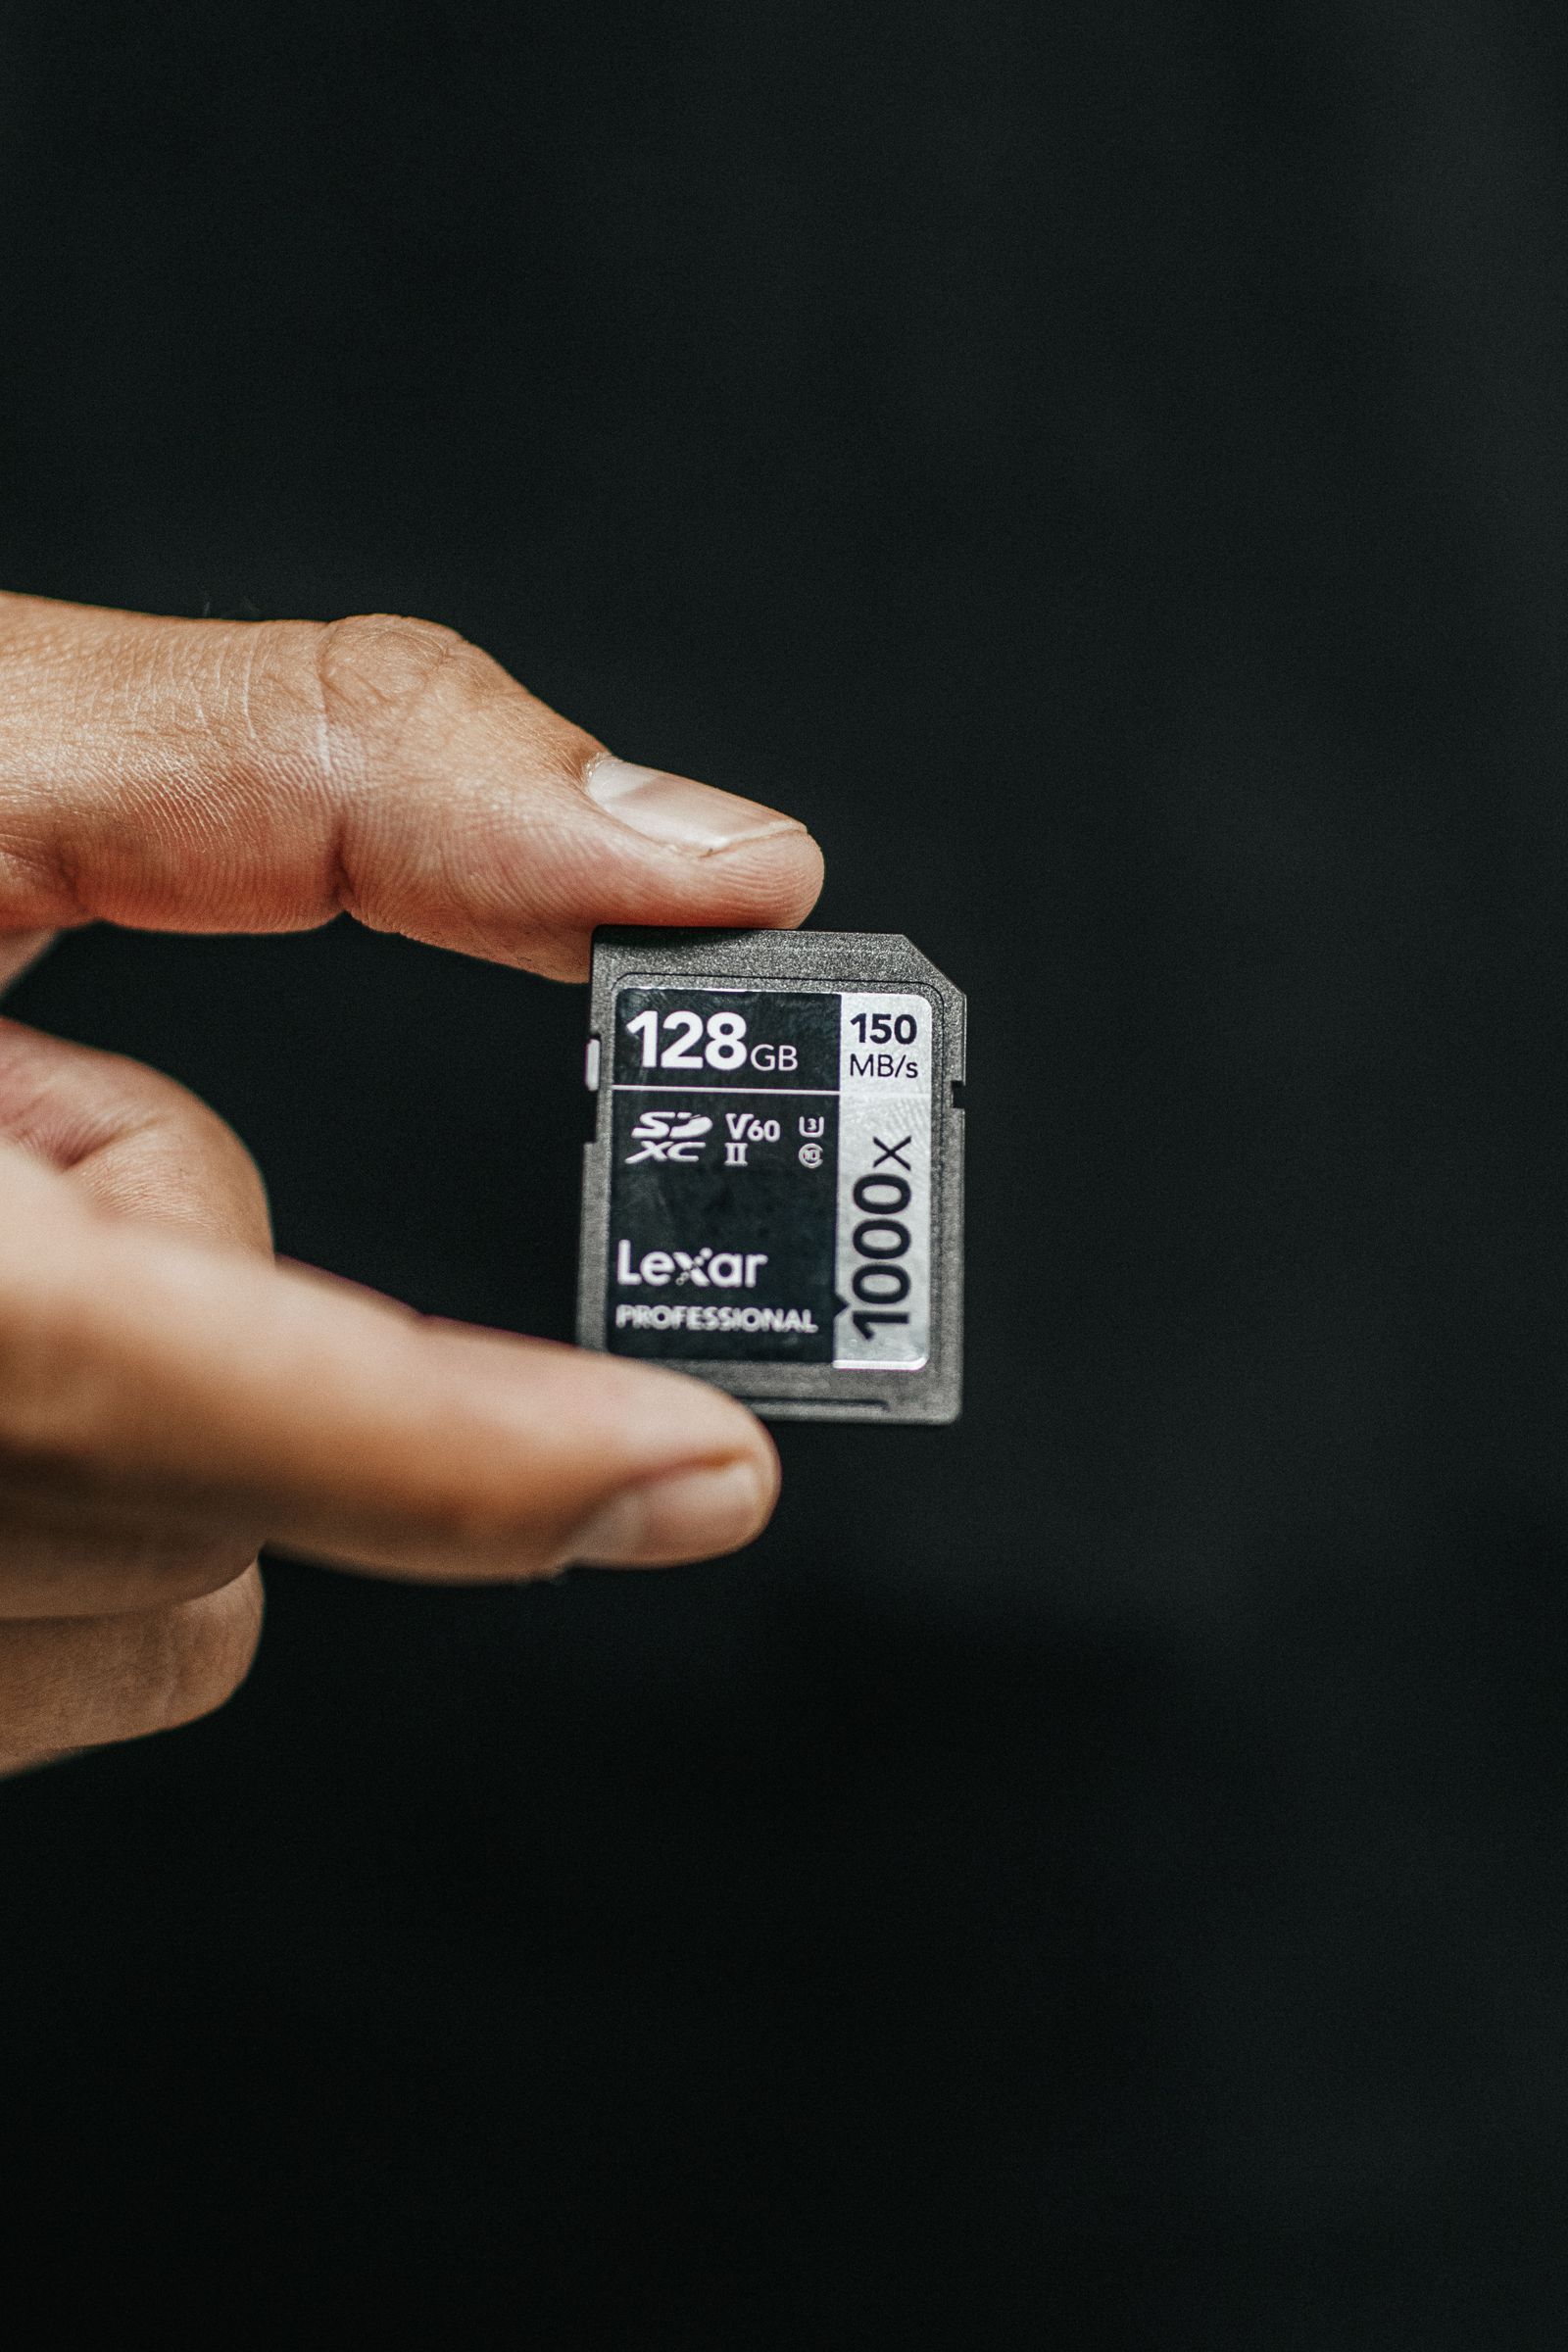
A byte-for-byte image copies the readable contents of a device into an image file. Scanning that copy can reduce repeated work on the original. It also lets you keep an unchanged source while testing a recovery approach on the copy. The image must be stored on a different healthy device with enough free capacity.
This is not the same as dragging the visible folders to another drive. A normal file copy only copies files the filesystem currently presents. A disk image can include areas that a recovery scan needs to examine. Check the recovery tool’s current documentation for the imaging workflow, supported device types and how to scan the image afterward.
Do not make imaging a universal DIY instruction for failing hardware. A damaged device may disconnect, heat up or produce read errors, and repeated reading can be a bad tradeoff. If detection is unstable, a hard drive makes abnormal sounds, or the card has obvious physical damage, stop. A lab can decide how to handle the hardware before attempting an image.
 Save
SaveIf you do make an image of healthy readable media, keep the original aside afterward. Note which card the image came from and when it was created. Leave enough destination space for the image and the recovered output. Neither belongs on the source device.
Choose software by the job, not the slogan
Disk Drill is one possible recovery tool. Its recovery-success documentation describes factors that affect recovery, disk imaging and camera-file recovery workflows. Read the current documentation for your operating system and file types before paying. Do not treat the old screenshots that circulated with earlier versions as instructions for today’s interface.
PhotoRec is another option. Its official documentation describes file recovery that can work independently of the original filesystem and warns against saving recovered files to the source. Its workflow and output organization differ from a photo-library browser. Check the documentation first, especially if you are not comfortable selecting devices and destination paths.
The useful comparison is practical. Does the tool support your operating system, camera files and storage type? Can it scan an image? Can you preview the files that matter before committing to a paid recovery step? What are the current license and refund terms? Are there limits on the free version? Those details change, so this guide does not promise a free recovery allowance or quote a price.
No brand earns a “best” label from a dramatic screenshot. A scan on a different card, after a different incident, tells you little about your files. A preview of your own photograph is more relevant, although it still needs validation after export.
A cautious software-recovery workflow
- Confirm the source identity. Match the device’s capacity, label and connection to your incident note. Disconnect unrelated removable drives if that helps avoid selecting the wrong one.
- Choose the image when available. If you created a suitable image, scan that rather than repeatedly scanning the original media.
- Keep the destination separate. Select a folder on another physical device. Another folder on the affected card is not separate storage.
- Scan, then inspect. Follow the tool’s documented scan process. Review previews and filter by relevant file types where supported.
- Recover a test set. Export a small selection, including important files and a few from different parts of the shoot. Check them outside the recovery application.
- Recover the remaining files. Keep the output together, preserve the scan notes and avoid reusing the source until you have verified the result.
If the software asks to repair, initialize or format the source, stop and understand why. Do not click through an unfamiliar warning to keep momentum. If you are unsure whether an operation writes to the affected media, pause and consult the tool’s documentation or a qualified specialist.
Verify photographs, not just filenames
Recovery is not finished when a progress bar reaches the end. Open important RAW files in software that supports the camera. Check that they decode, that the image is not partly blank or corrupted, and that the dimensions make sense. Zoom into several regions. A thumbnail can survive even when the full file is damaged.
 Save
SaveFor JPEGs, inspect the whole frame and confirm that the file opens normally. For video, check the beginning, middle and end rather than playing only the first few seconds. A clip can start correctly and fail later. If your job depends on sound, verify the audio too.
Compare the recovered set against any available shoot log, expected sequence, second-card copy or delivered contact sheet. Missing numbers can be a clue, not proof of a lost photograph; cameras and editing workflows can create gaps for other reasons. Track duplicate files separately so a large recovered-file count does not hide missing originals.
Once the important files are verified, make at least one additional copy on separate storage. Keep the recovered output unchanged while you sort a working copy. That leaves you a cleaner starting point if you later discover damage or missing files.
Know when to stop
Stop DIY work if the device becomes hot, disconnects repeatedly, produces unusual sounds, or shows physical damage. Stop if selecting the right disk is unclear. Stop if the only copy is so important that a wrong step would be unacceptable. Professional recovery is not guaranteed either, but hardware problems deserve hardware expertise.
Be wary of remote strangers offering a guaranteed rescue, asking you to install unfamiliar tools or requesting access to unrelated accounts. Explain the incident to an established service, ask how they evaluate the device and clarify charges before agreeing to paid work. Do not ship sensitive client material without understanding how it will be handled.
Gear for a separate recovery destination
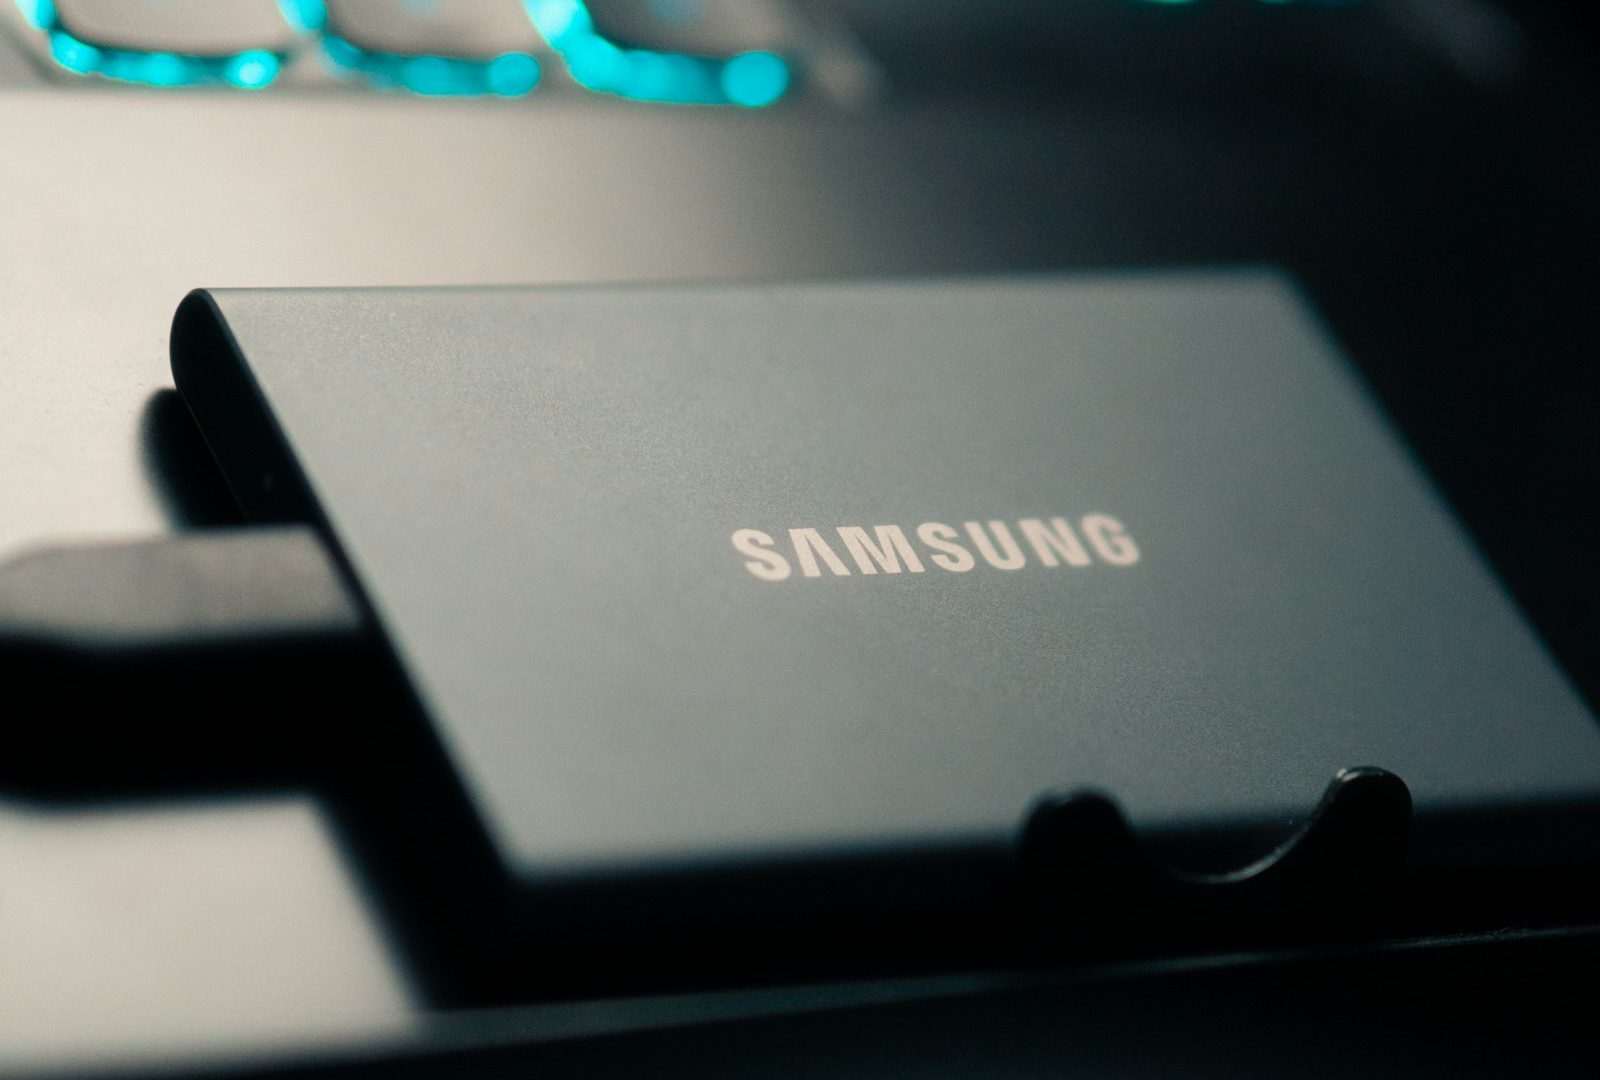
Recovered photographs need a healthy destination that is physically separate from the affected card or drive. A Samsung T7 Shield 1TB portable SSD is one option to compare. Check that its available capacity can hold the disk image and recovered output your workflow needs, and that your computer can connect to it. Never save recovered files back to the source. Buying another drive does not guarantee recovery or make failing hardware safe to scan. Compare the current retailer specifications; no hands-on test, price or stock promise is being made here.
Compare Samsung T7 Shield 1TB on Amazon | Check Samsung T7 Shield 1TB at B&H
Affiliate disclosure: We may earn a commission from qualifying purchases through these gear links at no extra cost to you. As an Amazon Associate, Shut Your Aperture earns from qualifying purchases.
Frequently asked questions
Can I recover a card after formatting it?
Sometimes. The result depends on the kind of format, subsequent use and the condition of the data. Stop using the card. Do not shoot a test frame. Check backups and choose a careful recovery route instead of assuming that formatting made the loss reversible or permanent.
Can software recover overwritten photographs?
Do not expect it to reverse a genuine overwrite. A successful-looking case may have found another copy, a thumbnail or data that was not actually overwritten. Check those alternatives, but do not pay on the strength of an unconditional recovery promise.
Should I save recovered files to another folder on the same card?
No. Use a different physical storage device. Writing recovered files to the source can destroy other files that have not yet been recovered.
Does a preview prove the RAW file is intact?
No. Preview a file when the tool allows it, then open the recovered file in a compatible application and inspect the full image. Treat thumbnails and filenames as leads, not final validation.
What should I change before the next shoot?
Use a documented import-and-backup routine. Verify copies before formatting cards. Where your camera supports dual-card recording, understand the chosen mode and test it before important work. Keep a separate backup rather than trusting one drive, one catalog or one cloud sync folder to carry the whole job.
Protect the source. Find the surviving copies. Verify what you recover. Those steps matter more than the promise on an app’s landing page. More photography tips: Shut Your Aperture.
Some links on Shut Your Aperture are affiliate links. If you buy through one, we may earn a commission at no extra cost to you.