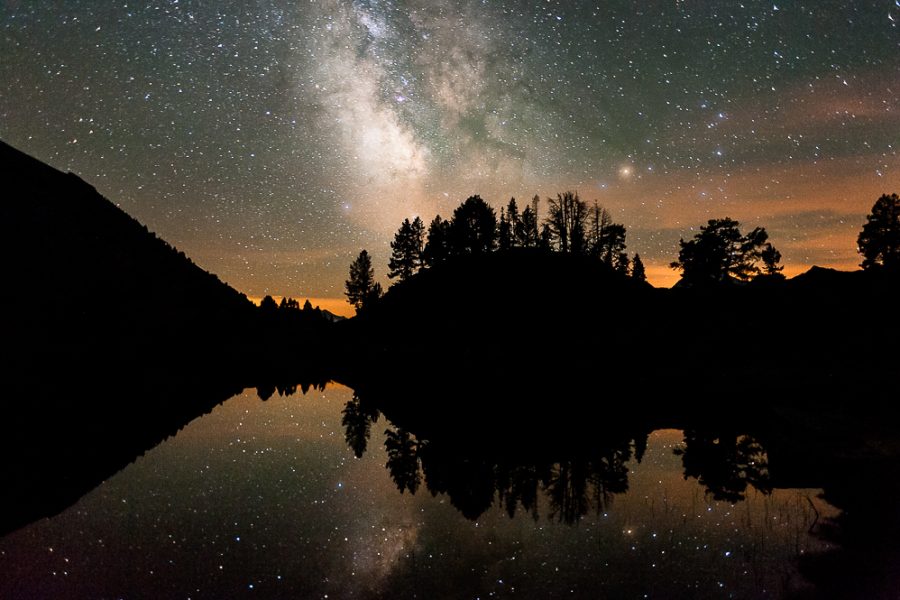
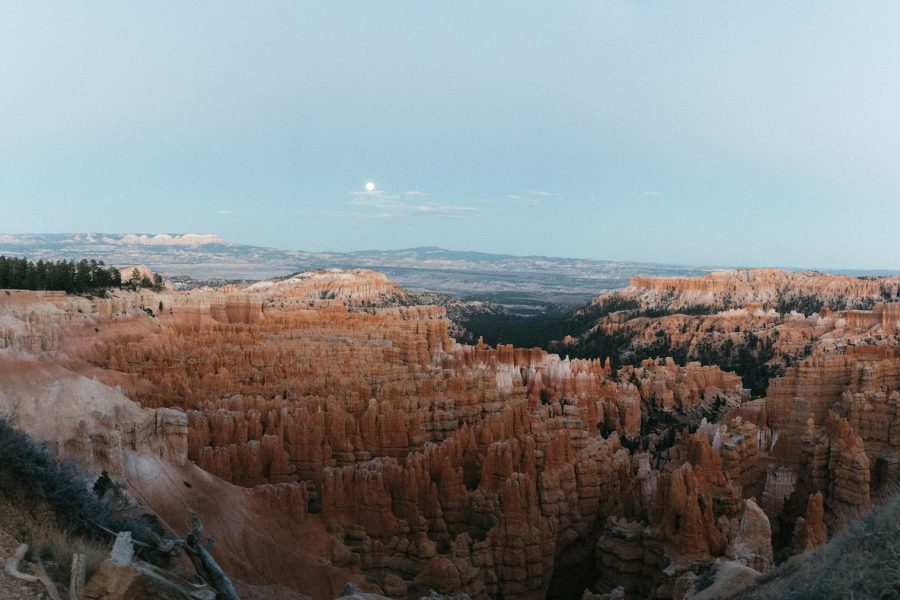
A sky full of stars looks simple until you put a camera in front of it. The first frame can be too dark, the next can have little streaks instead of sharp points, and the foreground can disappear completely. None of that means you need to buy a different camera. It means you need to separate the problems and fix them one at a time.
This is a practical guide to how to photograph the stars from a stable camera position. Start with one clear composition and a short test exposure. Check focus, check star movement, then adjust brightness. Get those three decisions right before trying panoramas, tracking mounts, or complicated blends.
Updated October 2026. The real photographs below illustrate subjects and composition, not a controlled test of the suggested settings. Historical images do not establish current nighttime access to a location.
Decide whether you want sharp stars or star trails
Stars appear to move across the camera’s view as Earth rotates. A relatively short exposure can record them as small points. Longer exposure accumulates their movement into trails. Both can make good photographs, but they ask for different timing and a different idea of sharpness.
For a first attempt, aim for points. It is easier to review one frame and diagnose the result. Later, you can deliberately record trails with a long exposure or a sequence of frames combined in suitable software. Do not judge a star-trail photograph by the same standard as a point-star photograph.
The Milky Way is another subject within the night sky, not a special camera mode. Its position and visibility change with place, season, time, moonlight, and conditions. Do not assume it will appear in the same part of the sky every evening. A planning app can help, but check its date, location, and time settings.
Plan a dark, safe, permitted location
Artificial light can brighten the sky and hide faint detail. A darker location often helps, but driving until the city disappears is not a safe or reliable planning method. Choose a known place with permitted access, a usable route, and enough information to return safely after dark.
Check opening hours, parking rules, weather, and local restrictions before leaving. A park being open during daylight does not prove that nighttime entry or camping is allowed. Look for a location you can scout in daylight and work from without entering closed areas or leaving a marked route.
Cloud cover, haze, and moisture can reduce visibility. Moonlight can wash out faint sky detail while also lighting the foreground. A darker moonless period is useful when the faint Milky Way is the priority, but a moonlit landscape can be a different, worthwhile photograph. Consider moonrise and moonset as well as the phase.
Bring warm layers, drinking water, a charged phone, and a light. Tell someone where you plan to go when the location warrants it. Do not look through the viewfinder while walking over uneven ground. Photograph from a stable place, and turn around if conditions make the route unsafe.
Use equipment that gives you useful control
A camera with manual exposure, a lens, and stable support are enough to begin. A DSLR or mirrorless body is convenient, but the important question is what your particular camera lets you control. Some compact cameras and phones have night-sky options; their limits and processing differ.
A wide lens can include more sky and foreground. It also usually gives you more room to choose an exposure before star movement becomes obvious than a longer focal length does. A longer lens is not wrong; it simply needs a different approach and often a shorter shutter time for points.
A wide maximum aperture can collect more light in a shorter exposure. You can still try a slower lens. Expect to work with its actual limits rather than assume every lens needs to be f/1.4. Before buying, make a test with what you already have and find the specific limitation you want to solve.
Pack a spare battery and enough card space. Cold conditions and repeated long exposures can make battery planning matter. Avoid carrying equipment you cannot manage safely in darkness. A lighter, familiar setup may be more useful than a bag full of unfamiliar accessories.
Build a stable setup before choosing settings
Put the tripod on firm ground and check every lock. Keep the center column low when practical. Make sure the camera plate is secure, and keep the strap from moving against the support. Wind, soft ground, and a loose head can spoil a photograph even if the exposure is sensible.
A compatible remote release or self-timer reduces the disturbance from pressing the shutter. It does not guarantee zero movement. If the ground shifts or wind shakes the tripod, you can still get blur. Look at the actual photograph and solve the physical problem instead of blaming the ISO.
Check your camera and lens instructions for tripod use with stabilization. Different systems behave differently. The same applies to remote controls, electronic shutters, and long-exposure options. Test unfamiliar controls at home while you can see the buttons and read the instructions.
Keep lights from shining into another photographer’s frame or directly into people’s eyes. Use only the light needed to move and work safely. Adding foreground light is not appropriate everywhere; respect wildlife, other visitors, and site rules.
Focus on a star, then verify the result
Manual exposure and manual focus are separate settings. Some cameras can autofocus on a bright distant target or offer a dedicated star-focus feature. Others will struggle. Use the method your equipment supports, then prevent unwanted refocusing between frames.
For manual focus, magnify a bright star in live view where available and adjust until it looks small and distinct. Move the ring slowly. A star that becomes a large soft circle is out of focus, not necessarily an exposure problem. Take a test and inspect it at a large view.
Do not assume the infinity mark or the physical end of the focus ring is exact. A lens may focus beyond infinity. Recheck after changing focal length, touching the lens, or moving the setup. An accidental bump can undo the work you did before the first exposure.
A foreground close to the camera may not be sharp when the lens is focused on distant stars. You can simplify the frame, choose a more distant foreground, or make separately focused frames when you understand the technique. If you blend them, describe the result honestly rather than implying one exposure captured everything.
A useful exposure starting point
Use manual exposure to make deliberate changes. For a wide-angle view from a fixed tripod, try a short test around 10 to 15 seconds, a wide aperture your lens provides, and an ISO high enough to record useful detail. ISO 1600 or 3200 can be a starting test on many cameras, not a promise of the best result.
These numbers are not a recipe for every lens or sensor. A longer focal length, a high-resolution output, or a stricter sharpness target may need less time. A slower lens or darker conditions may require another compromise. Review before committing to a long sequence.
Keep auto ISO from changing the setting without your knowledge if you want a repeatable manual test. Choose RAW when available and you want editing flexibility, but remember that RAW cannot fix a shaky or badly focused frame. A JPEG can still be useful when that is what your camera supports.
For white balance, start with a consistent setting and refine it during editing if your file allows it. There is no mandatory Kelvin value for every night sky. Artificial light, moonlight, and your intended look all affect color. Avoid a different automatic color shift in every frame of a sequence if you plan to combine them.
Choose shutter time by looking at the stars
The shutter determines how long you collect light and how much star movement appears. If points become short lines, shorten the exposure. You may need a higher ISO or a wider aperture to keep brightness useful, but do not fix trails by increasing sharpening later.
The familiar 500 rule is a rough estimate, not a sharpness guarantee. Sensor format, focal length, resolution, where you point in the sky, and final viewing size all matter. More detailed calculators can improve the estimate, but the photograph remains the check that matters.
Inspect near the middle and edges of the frame. If the stars are stretched consistently by motion, shorter time is worth testing. If the corners look distorted while the center is sharper, lens behavior may be part of the problem. Try stopping down slightly if the light budget permits it.
Make one change at a time and compare. Record the test settings if the camera does not make review easy. A sequence of deliberate tests teaches more than randomly moving all three exposure controls and hoping the last frame looks better.

Make a landscape, not only a collection of dots
A tree, mountain, shoreline, or rock formation can give the sky scale. Find a shape that reads clearly against the background. Too much clutter can make the foreground hard to understand even when the stars are beautiful.
Scout the edges before dark. Look for signs, branches, and lamps that will compete with the main shape. Leave room for the sky feature you want rather than forcing it against an edge. A simple frame often makes the first attempt easier to judge.
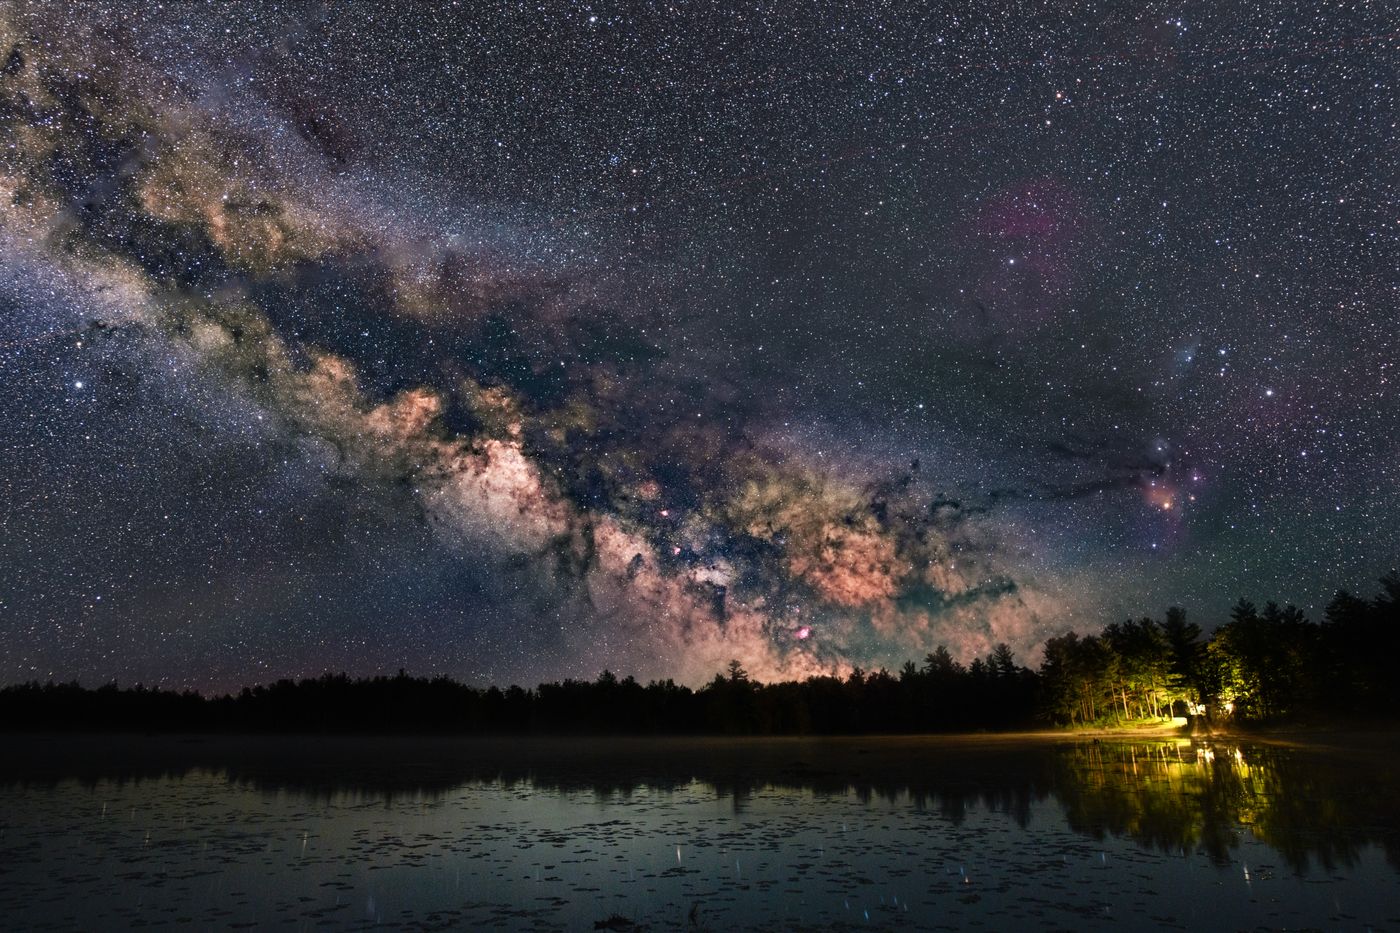
A twilight photograph can help you understand a foreground, but twilight is not a substitute for a dark-sky exposure. The following real landscape illustrates foreground structure and a clear horizon, not a demonstration of the star settings in this guide.
Know when a sequence or tracking mount changes the job
A series of similar frames can be useful for stacking in suitable software. Alignment and noise-reduction behavior depend on the software and the scene. A moving sky and stationary foreground need care; simply putting frames on top of one another does not solve both automatically.
A tracking mount follows the sky’s apparent motion and can allow longer exposures of stars. It also changes how a stationary landscape records. Setup, alignment, power, load capacity, and foreground handling become additional jobs. Learn the basic fixed-tripod method before deciding you need that equipment.
For deliberate trails, keep the composition stable and plan the sequence duration, interval, batteries, and weather. Check whether long-exposure noise reduction introduces gaps between frames on your camera. A sequence is a different workflow from one sharp-star test, not a reason to leave the camera unattended somewhere unsafe.
Edit without erasing the night
Begin by choosing the frame with the best focus and least unwanted movement. Correct the horizon, inspect the edges, and remove obvious distractions through a sensible crop. Do those checks before spending time on dramatic color.
Balance the sky and foreground without making every shadow bright. Strong shadow lifting can reveal noise and reduce the feeling of night. Noise reduction can also remove faint stars or fine detail if pushed too far. Inspect at a large view and at the intended display size.
Keep color believable for the scene and your editing intent. A dramatic Milky Way photograph does not need an electric blue sky in every case. If you blend different times, replace the sky, or add stars, disclose that as a composite or creative edit. Keep original files so you can revisit the choices later.
For the next outing, pick one improvement: steadier support, more exact focus, a cleaner foreground, or better timing. Our exposure guide explains the camera controls, and Shut Your Aperture Academy offers more practice. You do not need to master every night-sky technique in one evening.
Star photography FAQ
Do I need a special camera to photograph stars?
No. Start with a camera that offers useful exposure and focus control, a suitable lens, and stable support. A tracking mount is an optional later step, not a requirement for a first wide-angle photograph.
Is a 30-second exposure always correct?
No. The time that preserves points depends on focal length, sensor format, viewing size, and other factors. Check an enlarged test and shorten the exposure when stars become lines.
Should I turn the focus ring all the way to infinity?
Not without checking. Lens markings and stops are not always exact. Magnify a bright star where possible, adjust carefully, and inspect the test photograph.
Is a full moon useless for night photography?
No. Moonlight can reduce faint sky detail but light the landscape. Choose a darker period for faint stars, or use moonlight intentionally for a different landscape photograph.
Can I use a phone for star photography?
Sometimes. Controls, exposure limits, and night-mode processing vary by device. Use stable support and test the available mode; do not assume it behaves like a camera’s manual exposure.
Technical reading: Nikon’s night-sky guide and Canon’s Milky Way guide. Follow your equipment instructions and current location rules.