Updated October 2026
Aurora HDR’s June 2018 update was a software announcement, not a reason to buy an old application today. The original post covered Aurora HDR 2018 version 1.2.0 and a promotional bundle. This revised guide keeps that history straight and focuses on what still matters: capturing useful exposure brackets, merging them without ugly artifacts, and knowing when legacy software is no longer the right tool.
Skylum now describes Aurora HDR as an older product that no longer receives updates or upgrades. That changes the decision. An existing installation that works with your files is one situation. Starting a new workflow on a new computer is another. Do not treat a 2018 release note, old bonus offer, or old camera-support list as a current compatibility promise.
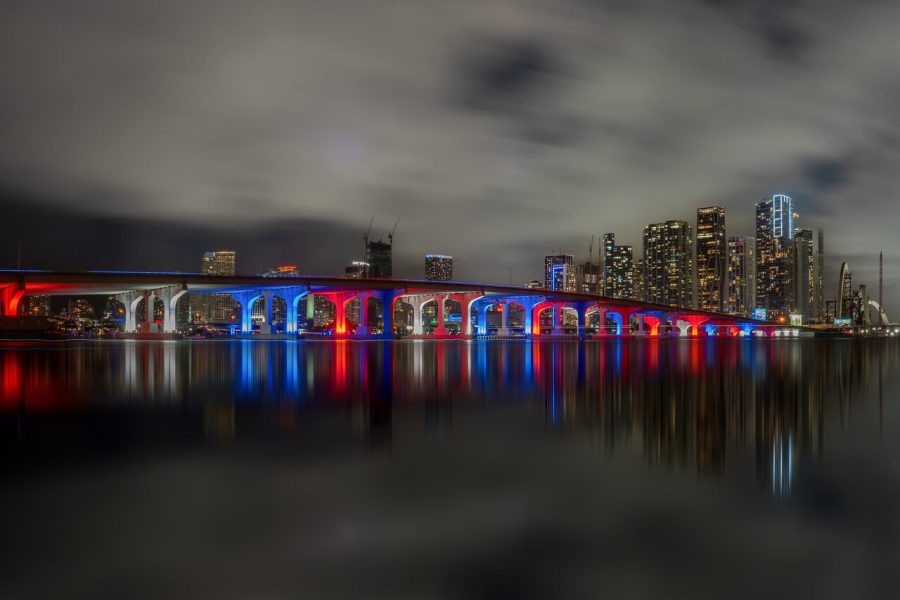
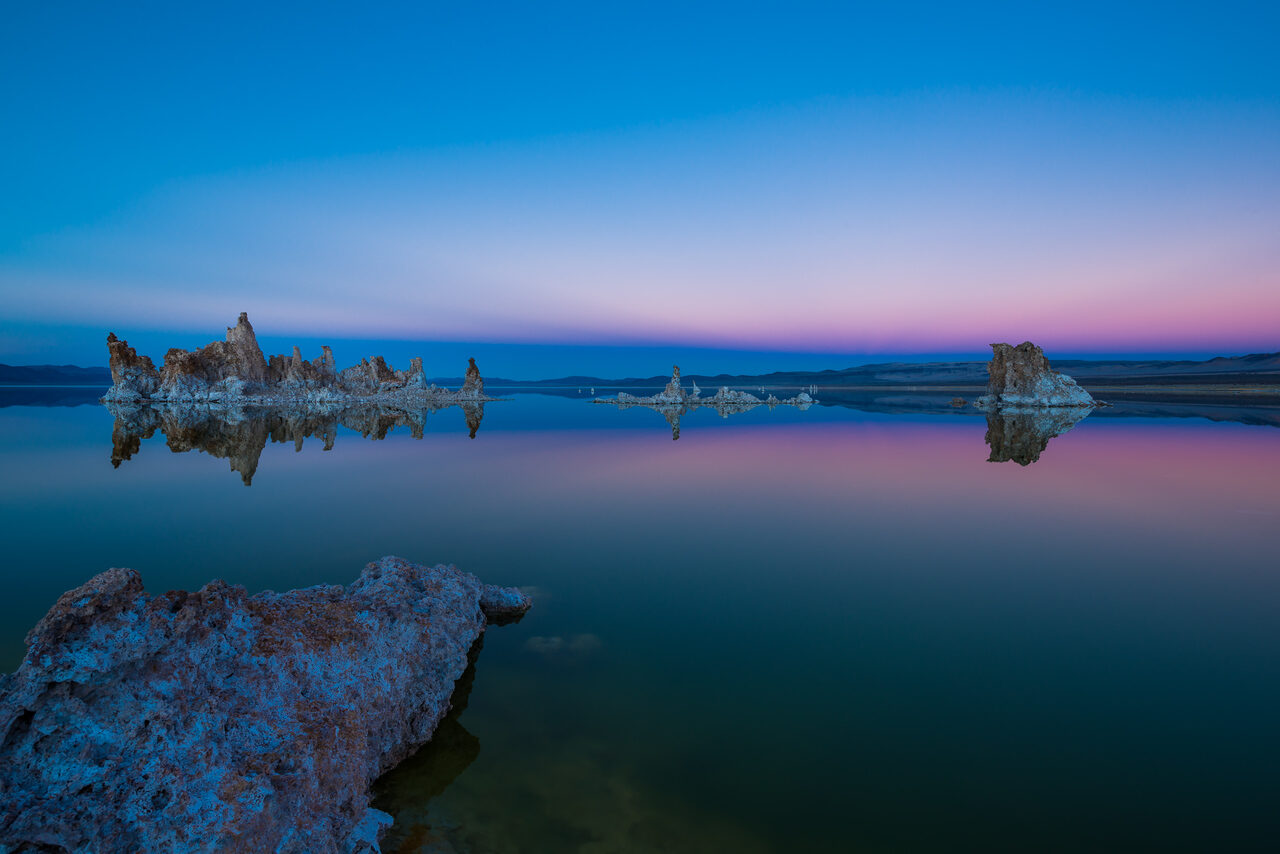
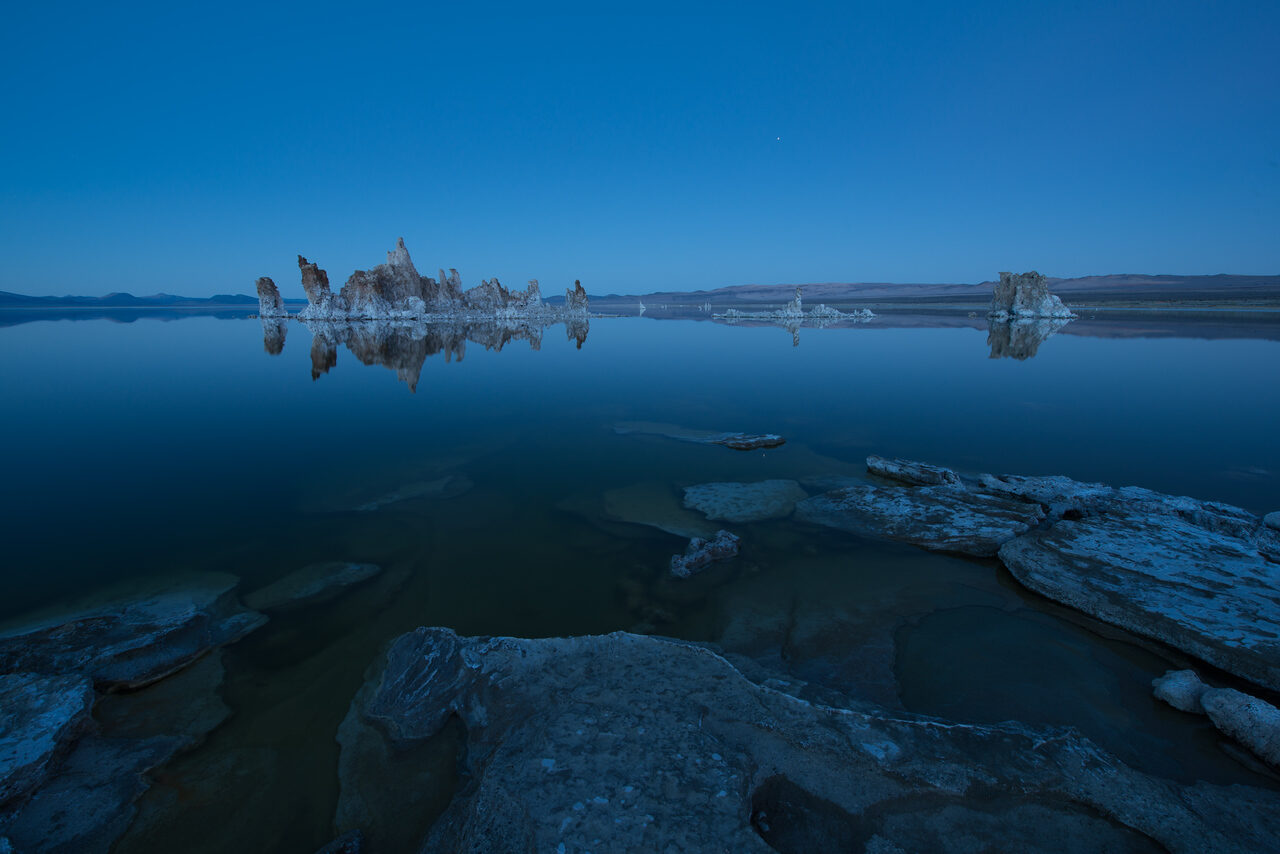
The landscapes below are real photographs used to illustrate light, reflections, and composition. They are not before-and-after software tests, and this guide does not claim they were processed in Aurora HDR. My priority is a better photograph, not a software badge. Keep the light believable and the detail clean. An epic landscape should still feel like a place, not a preset demonstration.
What the Aurora HDR 2018 update actually changed
The June 2018 announcement described performance improvements, better memory management, faster handling of single images, and Loupedeck+ integration on Mac and Windows. Windows gained batch processing and several interface and editing improvements. Mac received changes including plugin stability and export improvements. Photography Blog’s contemporary release coverage records that context.
Those are historical claims about a particular version. They are not benchmarks of your current computer, not a guarantee that a modern operating system supports the old application, and not a statement that today’s editing console works with it. Keep the product year and build number attached whenever you compare a release note with your own setup.
The old article also advertised sky overlays and training bonuses. Those promotional terms have been removed rather than presented as available now. An overlay is not the same thing as HDR merging. Replacing a sky changes the scene; merging bracketed exposures aims to combine recorded tonal information from the scene. Be clear about that distinction when describing your photograph.
Where current Luminar fits into an HDR workflow
If I were starting a new workflow, I would compare current tools with my own files before building around a discontinued editor. See the current Luminar offer through my Skylum affiliate link. That link goes to the current product page, not an Aurora HDR 2018 upgrade or an old bonus bundle.
Skylum’s desktop product has been widely known as Luminar Neo; the current sales page calls it Luminar on Desktop. Keep that naming change in mind when you read older tutorials. The current page lists tools for color, light, detail, noise reduction and removing distractions. Those tools are separate from capturing a useful exposure sequence. Buying an editor does not fix camera movement, missed focus or a badly chosen bracket.
Skylum’s dedicated HDR Merge page describes combining exposure-bracketed RAW or JPEG photographs, then editing the merged result in the catalog. It also says that HDR Merge does not batch-merge multiple bracket sets. Syncing adjustments to finished merges and batch-exporting those images are different operations. If you need to process hundreds of bracket sets automatically, confirm that exact requirement before buying.
There is a conflict in Skylum’s own material: the broad Aurora-versus-Luminar comparison uses batch-processing language, while the dedicated HDR Merge FAQ states the no-batch-merging limit. I would use the more specific HDR Merge guidance for that buying decision, then confirm it with support if batch merging is essential to a job.
Check what the selected offer actually includes. The current sales page advertises one-time purchases, but its Luminar Prime offer says AI tools and the Library of Assets use auto-renewal after 365 days. Do not generalize that condition to every license, and do not read one-time purchase as a promise that every service stays included forever. Hardware requirements, activation count and included tools belong in the final check too.
There is no fixed price or guaranteed coupon in this article because offers can change. Check Luminar’s current included tools and license terms, then test with a representative landscape. Compare the result at 100 percent and at your real export size. You want cleaner photographs, not more time repairing halos and strange edges.
Should you keep using an existing Aurora HDR installation?
If you already own a working copy, test it with a representative bracket set before making it part of an important job. Open the files, inspect the merge, save the project, export a finished image, and reopen the saved work. A successful launch alone is not a successful workflow. Plugin operation and export behavior need their own checks.
Do not assume an operating-system upgrade will leave everything unchanged. Old software can depend on components, plugins, or hardware arrangements that no longer behave the same way. Community reports about newer Macs show differing experiences, so one person’s success is not a compatibility guarantee for your machine. Check your exact version and setup before changing a working system.
Keep original files and copies of important exports outside the application’s project format. Save a record of the software version used, and keep legitimate installer and license information safely. Use the vendor’s account or support routes for authorized downloads. Avoid random installer sites, cracked copies, or a download that asks you to disable protections to make it run.
Skylum’s archived Aurora HDR 2018 instructions name the Mac application’s Check for Updates command and the Windows Help menu’s Check for Updates command. That explains the historical process; it does not promise a new update exists today. Read the archived instructions with that limit in mind.
 Save
SaveHDR starts with deciding whether the scene needs it
High dynamic range merging is useful when one exposure cannot retain the important bright and dark parts of a scene. A bright window inside a dim room is a common example. So is a landscape with a bright sky and dark foreground. But a scene with manageable contrast may need only a well-exposed RAW file and careful editing.
Check the capture before building a bracket. Look at the histogram and highlight warnings, then consider which bright areas need detail. A specular sparkle on water is not the same as a large blown-out cloud. Decide what matters in the photograph instead of trying to make every tone equally visible.
Make one properly exposed frame as a comparison. If that file gives you the quality you need without heavy shadow noise or lost highlights, a merge may add work without helping. HDR is a tool for a problem, not a required look. A quiet, believable photograph can be a better result than one with more visible detail everywhere.
If you also photograph interiors, our HDR real estate photography guide explains when to bracket and merge instead of forcing a single exposure.
Capture a bracket that the software can use
Keep the composition, focus, aperture, and ISO consistent across the sequence. Change shutter speed to vary exposure when the scene allows it. Changing aperture changes depth of field, and changing framing makes alignment harder. Review your camera’s automatic exposure bracketing instructions so you know the order and spacing of the frames it records.
A tripod helps keep the camera in place. Use a secure head and plate, lock the composition, and check for movement before starting. A timer or appropriate remote release can reduce the disturbance from pressing the shutter. On unstable ground or in strong wind, shorten the setup and inspect the files instead of trusting the tripod’s presence alone.
Choose enough exposure range to retain important highlights in a darker frame and useful shadows in a brighter one. There is no universal number of frames that fits every scene. Adobe’s HDR merge guidance emphasizes having each important area properly exposed in at least one source photograph and warns that extra frames can introduce alignment or ghosting problems.
Take the sequence quickly when clouds, foliage, people, or water are moving. You cannot make those subjects stand still by selecting an HDR mode. If motion dominates the frame, a single exposure or a different moment may be the cleaner answer. Protect your composition, but do not ignore what is happening inside it.
Alignment and deghosting solve different problems
Alignment tries to register frames when the camera moved slightly between exposures. It is useful for small differences, not a rescue for every badly shifted sequence. Inspect straight edges, horizon lines, and detail near the corners. Check the crop after alignment too, because matching frames can reduce the usable edges.
Ghosting comes from subject movement between frames. Leaves, walking people, waves, and moving clouds can produce repeated or semi-transparent shapes. Deghosting tries to manage that movement. It can also introduce compromises, so compare the result against the source frames rather than treating the strongest setting as the best setting.
In Lightroom desktop’s HDR Merge preview, Adobe documents Auto Align, Auto Settings, and deghost choices. Start with the least correction that gives a clean result and inspect the deghost overlay where available. These controls belong to that application and version; do not assume identical labels or behavior in Aurora HDR or another editor.
 Save
SaveWhen your brackets are clean, compare the current Luminar workflow with the editor you already know. Judge both against the same source files, not a vendor sample.
Keep the light believable after the merge
Begin with the overall brightness and contrast. Then set highlights, shadows, whites, and blacks carefully. A merge gives you editing room; it does not tell you how the scene should feel. If every shadow is bright and every highlight is dull, the image can lose the direction of light that made you stop in the first place.
Watch for halos along trees, mountains, buildings, and other high-contrast edges. Strong local contrast or aggressive tonal settings can make a bright outline that was not present in the scene. Back off, compare at full size, and use targeted changes instead of pushing the entire image harder.
Look at color separately from contrast. A dramatic preset can exaggerate blues, oranges, or magentas before you notice it. Check neutral areas and transitions in the sky. You can make a colorful photograph without turning subtle light into a gradient that looks painted on. Keep the original frames nearby as a reference.
Inspect noise and fine texture at full size, then return to the intended viewing size. Excessive sharpening can make rocks, leaves, and clouds look brittle. Heavy noise reduction can make them look smeared. Judge the photograph as a whole and at its final size, not only a magnified corner.
Water and reflections need special attention
Reflections can change between exposures even when the camera stays still. A ripple alters where a bright line or tufa shape appears. A merge that works on the shoreline may still look wrong in the water. Compare the reflection, surface texture, and transitions around the shore before deciding that the job is finished.
Moving water also changes with shutter speed. A brighter bracket made with a longer exposure can have a smoother surface than the darker frame. That is a capture difference, not just a brightness difference. If the blend looks inconsistent, compare the source frames and consider whether one frame tells the story more clearly.
Do not invent a capture method from a finished photograph. Smooth water might come from a long exposure, calm conditions, or other choices. Without the source sequence, you cannot use it to prove that a merge algorithm handled motion well. Keep illustration photographs and actual software tests clearly separated.
Compare current tools with your actual files
Skylum points Aurora users toward Luminar and its HDR workflow. Adobe Lightroom also provides documented exposure-bracket merging. Those are options to investigate, not interchangeable products. Check whether the features you need are included in the current purchase or subscription, and whether a trial is available under the current terms.
Use one difficult bracket set and one ordinary set for a comparison. Open the same files, examine motion, inspect the crop, make basic tonal changes, and export to the format you need. Include the time spent fixing artifacts, not just the time until a preview appears. A faster merge is not useful if the result needs extensive repair.
Verify support for your exact camera’s RAW files and your operating system. An old list of supported cameras does not cover every newer camera. DNG conversion is not a universal compatibility guarantee either. Test converted files if you plan to use them, and keep the originals so you are not trapped by a workaround.
Check batch processing separately from copying edits or exporting several finished images. Those are different operations. Vendor pages and older user discussions can use similar language for different capabilities. If bulk bracket merging is essential, verify that exact operation in the current application rather than assuming a general batch label covers it.
 Save
SaveFor buildings and interiors, the architectural photo editing guide is a useful next step for finishing decisions beyond the merge itself.
Save, export, and inspect the final photograph
Keep the original bracket set, your editable project or merged file, and the final export organized together. Use clear names so you can find the source sequence later. Do not overwrite your only source files while experimenting. A backup is useful only if it contains the files you would actually need to rebuild the image.
Choose export dimensions and color settings for the destination. Open the exported file in the intended viewing environment and check it again. A pleasing editor preview does not prove the exported image looks the same. Inspect banding in skies, odd color shifts, halos, and whether detail survives the final size.
Exposure-bracket HDR merging is also different from HDR display output. Combining source exposures does not automatically make a file suitable for every HDR screen or website. Check the destination’s format requirements instead of using the word HDR to mean both processes without explanation.
 Save
SaveBuild the capture skills before buying more software
Practice on a scene that does not move much. Make a single exposure and a bracket, then compare the edited results at the same size. Note where merging genuinely helps and where it introduces work. That simple comparison teaches more than cycling through presets without a clear goal.
A better editor works best when you know what you want from the photograph. My Complete Lightroom Editing Course at ShutYourAperture Academy helps build a repeatable editing workflow and a style you can recognize. Use that instruction to make deliberate color and finishing decisions instead of chasing a discontinued app’s promotional extras.
Frequently asked questions
Is Aurora HDR still receiving updates?
Skylum’s current comparison page describes Aurora HDR as an older product that no longer receives updates or upgrades. Treat the 2018 release information as history, not a current update offer.
Are the old sky overlays and training bonuses still available?
This guide does not confirm those old promotional bonuses as available today. Check current vendor terms before relying on any offer.
Do I need a tripod for HDR brackets?
A tripod helps keep framing consistent. Some software can align small handheld differences, but movement, changing edges, and subject motion still need careful inspection.
Does deghosting fix every moving subject?
No. It can reduce artifacts from movement between frames, but it may introduce compromises. Compare the preview and source frames, and consider a single exposure when that is cleaner.
Are these photographs Aurora HDR examples?
No. They illustrate composition and tonal decisions. No claim is made that they were processed in Aurora HDR or captured as bracket sequences.
Can Luminar HDR Merge batch-merge bracket sets?
Skylum’s dedicated HDR Merge page says it does not batch-merge multiple sets. Syncing edits to already merged images and batch export are different operations. Confirm your exact needs before buying.
HDR toolkit: steady capture, careful finishing
A steady tripod helps keep exposure brackets aligned. The Benro Mach3 TMA28A is an aluminum legs-only tripod with four-section twist-lock legs and a short-column option. Add a compatible head and camera plate; check the complete camera-and-lens setup against the weakest rated component. This is a researched option, not a claim that I used it for these photographs. Current price and availability can change.
- Check the current Luminar software offer
- Benro TMA28A on Amazon
- Benro TMA28A at B&H
- Finish: keep original brackets and the merged file before exporting a final JPEG.
Affiliate disclosure: I may earn a commission through the Skylum, Amazon and B&H links at no extra cost to you. Check the current price, included tools and license terms before buying. Photos: Edin Chavez. They illustrate light and composition, not Aurora HDR or Luminar testing. References: Skylum’s current product/HDR pages and archived 2018 instructions, Photography Blog’s 2018 release coverage, and Adobe’s HDR merge documentation.