Updated October 2026
The Sigma dp2 Quattro camera rewards a deliberate approach. Choose the light, settle the framing, focus carefully and leave time to process the files. It is a fixed-lens stills camera with a Foveon sensor, not a small all-purpose camera that happens to look unusual.
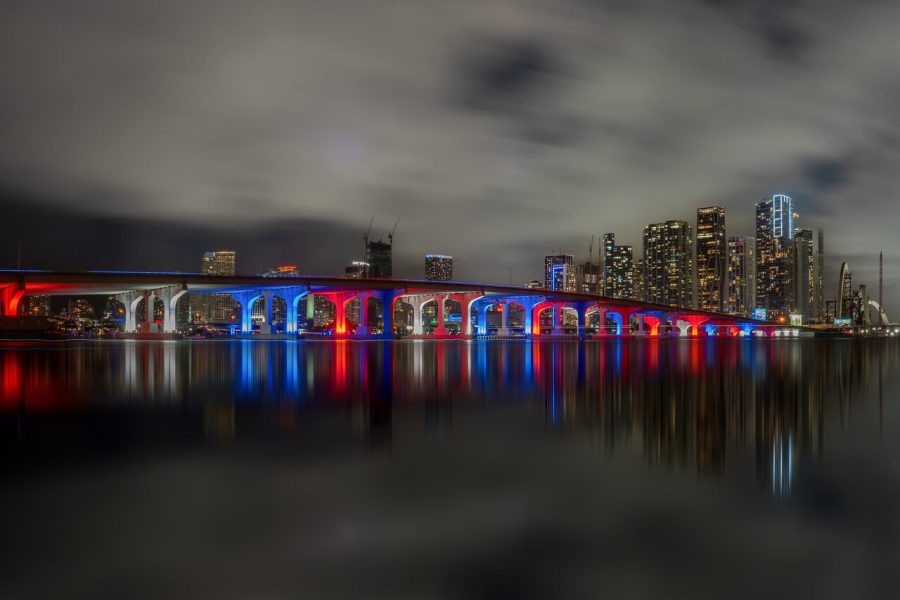
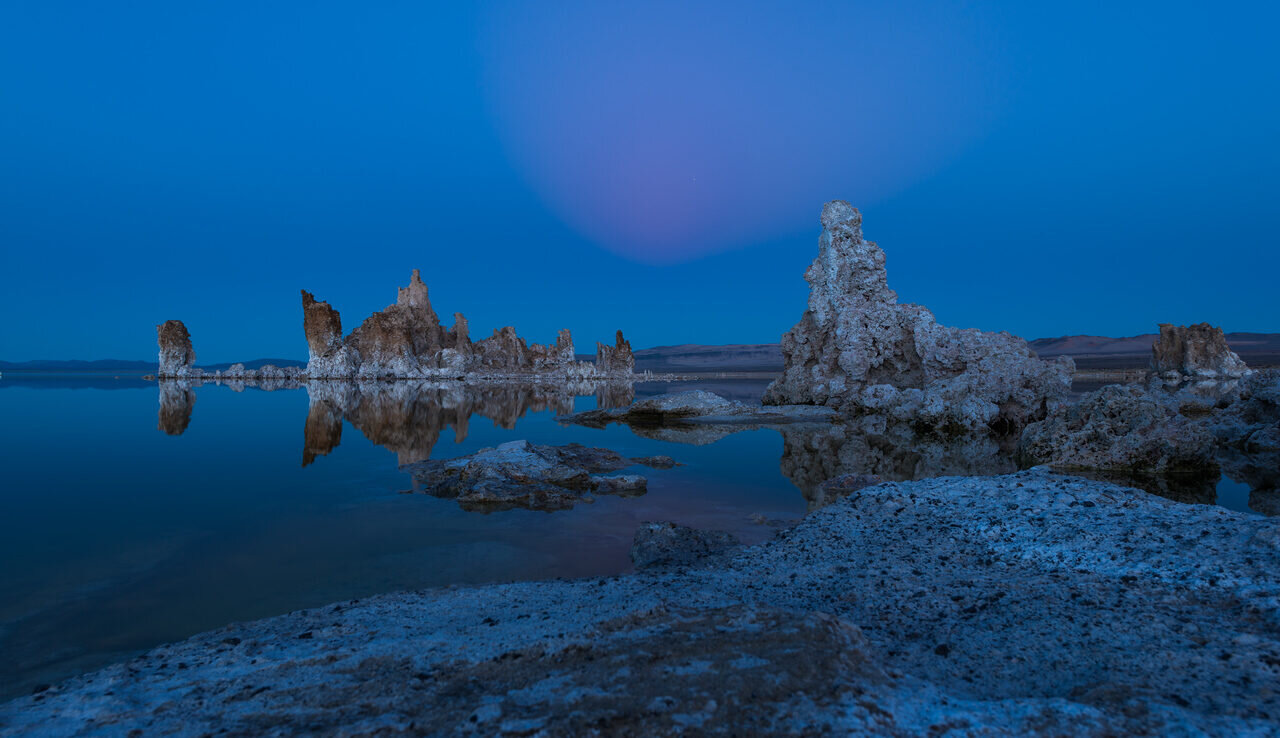
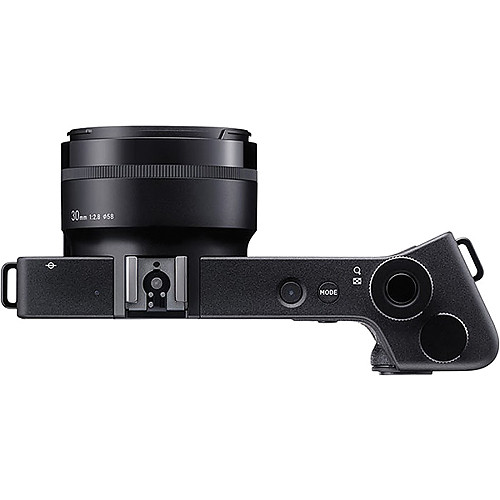
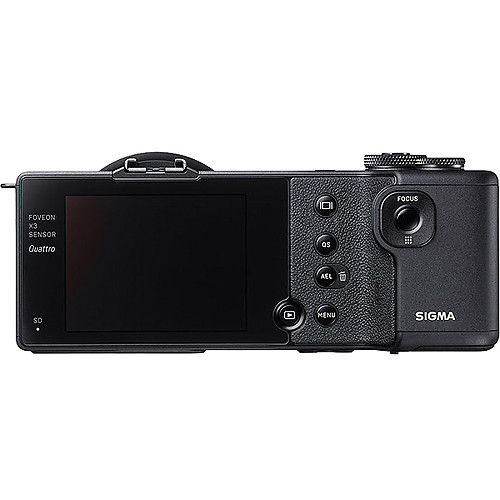
Sigma marks this model discontinued. That status does not establish a seller’s current stock, a fair price or present repair availability. This guide covers the exact dp2 Quattro, not the older DP2 Merrill, the wider dp1 or dp0 Quattro, or the longer dp3 Quattro. It is a researched setup and used-camera guide, not a new field test. The original product photographs show the camera’s design. The landscape photographs are illustrations of careful composition, not sample files made with this model.
Understand the sensor before counting megapixels
Sigma lists a 23.5 by 15.7mm Foveon X3 Direct Image Sensor. Its layers do not all have the same spatial resolution. The top layer records 5,424 by 3,616 positions; the middle and bottom layers each record 2,712 by 1,808. The maker lists approximately 29 million effective color photo detectors and approximately 33 million total detectors.
Those numbers are not interchangeable with the dimensions of a finished photograph. A High 3:2 image is 5,424 by 3,616, roughly 19.6 million output pixels. Super High JPEG is 7,680 by 5,120, roughly 39 million output pixels. The larger output does not turn the top sensor layer into a native 39-megapixel grid.
The practical question is whether the files suit your subject and output, not whether one headline number beats another camera. Fine texture can look very good at low sensitivity, but exposure, noise, color processing and motion still matter. Avoid buying it on a promise that layered capture makes every scene sharp or every highlight recoverable.
The design also differs from the Merrill generation’s sensor arrangement. Do not borrow a Merrill workflow, battery or resolution claim without checking this exact model. When comparing photographs, match output size and processing rather than comparing a heavily sharpened enlarged JPEG with an untouched file from another camera.

A fixed 30mm lens means a fixed way of seeing
The lens is 30mm f/2.8, with an approximately 45mm full-frame-equivalent angle of view. It is not a zoom and it is not interchangeable. Move to change the relationship between foreground and background; crop only when you can afford the lost output area. A normal-angle lens encourages a different composition from an ultra-wide landscape lens.
The aperture range is f/2.8 through f/16. Sigma specifies eight elements in six groups and a nine-blade diaphragm. The documented focus range begins at 28cm, with maximum magnification of 1:7.6. That is useful for close details, but it is not life-size macro. Do not read the Macro focus-limiter label as a promise of 1:1 reproduction.
For a landscape, choose a position where the important elements fit naturally. If a foreground rock becomes too large, moving back or changing the angle is often better than cutting off the horizon. For an object photograph, watch the working space between subject and camera. Getting close changes perspective and depth of field.
The lens does not have optical stabilization. Keep shutter speed high enough for handholding, or use a stable tripod. At a wide aperture, check the exact point of focus rather than assuming the depth of field will cover every surface. At a small aperture, inspect the result rather than assuming f/16 is automatically the sharpest choice.
Start with a simple low-ISO setup
For a still subject in good light, start at ISO 100, single-frame drive and aperture priority. Choose an aperture that covers the depth you need, then watch the shutter speed. If it becomes too slow for your subject or your hands, support the camera, open the aperture or increase sensitivity. There is no benefit in keeping ISO low while recording obvious motion blur.
The documented sensitivity range is ISO 100 through 6400. That range does not mean the top settings deliver the same file quality as the bottom ones. Historical independent testing found the strongest results at low ISO and increasing noise and color issues as sensitivity rose. Use that as a reason to test your own output standards, not as a rigid rule that every ISO 400 photograph is unusable.
Auto ISO has upper and lower limits. Set them intentionally. A camera silently jumping to a high sensitivity can defeat the reason you chose it for a slow, detailed scene. Fixed ISO is a clearer starting point when the camera sits on a tripod and the subject is still.
The QS button opens the Quick Set menu for frequently changed items including sensitivity, white balance, quality, size and drive mode. Make a plain setup first, then customize it after you know which settings you use. Record a few test files and verify them on the computer before taking the camera somewhere you cannot repeat.
Keep exposure compensation visible in your routine. It can help when automatic metering responds poorly to a bright sky or dark subject, but it is not a permanent correction for every scene. Review the histogram and highlight warning. Protect important bright detail while avoiding an unnecessarily dark capture that needs heavy shadow lifting.
Shutter speed depends on aperture
The headline shutter range is 30 seconds to 1/2,000 second. The fastest speed is not available at every aperture. The manual lists a maximum of 1/1,250 second at f/2.8 through f/3.5, 1/1,600 second at f/4 through f/5, and 1/2,000 second at f/5.6 through f/16.
This matters when you want a wide aperture in bright sunlight. Do not assume the camera can give you 1/2,000 second at f/2.8. If the exposure still exceeds the available speed at ISO 100, change the aperture or use an appropriate neutral-density filter. The specified filter size is 58mm; check the physical fit and filter quality before an important shoot.
In shutter priority, the camera’s available aperture choices follow those limits. In manual exposure, pay attention to what the camera actually displays instead of choosing a combination it cannot deliver. A quick glance at the final shutter and aperture is worth more than remembering a specification headline.
For a static long exposure, use a sturdy support and the two-second self-timer to reduce the disturbance of pressing the shutter. Check that the tripod plate fits securely under the camera’s unusual body and does not interfere with access you need. The stated maximum is 30 seconds; do not assume a separate unlimited Bulb mode.
Focus deliberately instead of chasing speed
The dp2 Quattro uses contrast-detection autofocus. Sigma lists nine selectable points, a movable focus-frame option and face detection. It is not a modern hybrid tracking system. Put the focus frame over a clear detail at the distance you need, half-press and confirm focus before releasing the shutter.
Low contrast, reflections and dim light can make autofocus struggle. Try a clear edge at the same subject distance, or use manual focus with magnified checking. Do not let the camera focus on a bright background while the important foreground remains soft. Review a magnified file after the first composition, especially when working close.
The limiter offers Macro, Portrait and Scenery ranges. Choose one only when it includes your intended subject distance. If focus stops reaching a distant subject after close-up work, inspect the limiter before deciding that the lens has failed. The full range is the sensible troubleshooting baseline.
AF+MF provides another option: autofocus first, then make a careful manual adjustment. Learn the control behavior in the manual and practice on a stable subject. A distance scale or a magnified preview is an aid, not a guarantee that all the depth in a scene lies within acceptable focus.
For movement, use an adequate shutter speed and anticipate the moment. Do not buy this camera primarily for unpredictable sports, fast wildlife or a job where missed timing is expensive. Its strongest fit is slower work where you control the pace and can review the result.
X3F, DNG and JPEG are different workflow choices
The current specification lists 14-bit losslessly compressed RAW, 12-bit uncompressed DNG, JPEG and RAW plus JPEG. The older owner’s manual predates some later file options. Check the firmware on the actual camera before planning a workflow around DNG.
X3F is the route to Sigma Photo Pro’s processing of the layered data. Start with RAW plus JPEG if you want an immediate reference image and a file to develop later. Keep the original X3F even after exporting a JPEG or TIFF. An exported image is not a replacement for the source when you want to revisit color, sharpening or noise reduction.
DNG can be useful in a different editing workflow, but it is not simply the same stored file with a different extension. The documented bit depth and file handling differ. Test a representative DNG in the exact software version you use. Sigma’s older firmware history includes a correction for noise on the right side of DNG images processed in Photoshop, which is one reason version checking matters.
Sigma lists the camera’s color modes as unavailable when DNG is selected. Do not expect a particular in-camera color mode to work identically across every file option. For consistent color under difficult lighting, try a custom white balance and compare files before committing to a whole series.
Super High JPEG increases the output dimensions. Use it when that output serves a purpose, not because a bigger number necessarily means more captured detail. Compare High and Super High at the same final viewing size. For print work, make a small test print with the paper and processing you plan to use.
Verify the computer workflow before buying
The official dp2 Quattro firmware page lists version 2.03, dated April 23, 2020, when checked for this October 2026 update. It adds Teal and Orange color mode. Recheck the official page before downloading. The page also says Photo Pro 6.5.4 or later is required for X3F and X3I files from dp Quattro firmware 2.00 or later.
That minimum is not a recommendation to install an old application blindly. Check the present Photo Pro download page, operating-system requirements and supported file types. A current feature added for a Sigma BF or fp camera does not automatically become a dp2 Quattro feature. Read the exact model and format attached to the note.
Before a nonreturnable purchase, open a genuine file from this camera on your computer, develop it and export a usable image. Check detail, color, batch handling and the time the workflow takes. If the software does not run on your system, the camera’s image reputation will not solve your problem.
Keep files organized by date and preserve the originals in at least two places. Finish a small set through the entire workflow before producing a large shoot. A camera that asks for more processing attention is easier to enjoy when the import, backup and export steps are already settled.
Power, storage and the used-copy inspection
The camera uses BP-51 batteries and the BC-51 charger. The original package listed two batteries, but a used seller may include one, two or none. Ask for an exact inventory. Reject swollen batteries or damaged contacts, and verify that a replacement and charger are specified for this model.
Sigma lists approximately 200 frames at 25 degrees Celsius under its stated rating conditions. An aging battery, cold weather and prolonged screen use change the result. Bring a charged spare and test your own routine. Do not plan a long outing around the original rating or assume modern in-camera USB charging.
Use a reliable SD, SDHC or SDXC card. Back up its contents before formatting in the camera. Test capture, writing, playback and transfer. Allow writing to finish before opening the battery/card cover or removing the card. A card reader is a simple way to move files without turning transfer into another battery demand.
Inspect the fixed lens for scratches, haze and damaged filter threads. Check buttons, dials, the grip, screen, hot shoe and doors. Test autofocus at close and distant subjects, then compare with careful manual focus. Photograph detailed flat subjects at several apertures and inspect both sides for repeatable problems, while keeping alignment and focus controlled.
The fixed lens makes a lens fault a camera-level repair question. Ask about drops, moisture, prior repairs and return terms. Do not dismantle the lens or assume parts are available because a manual remains online. Confirm service options with regional support before accepting a copy that already needs work.
Frequently asked questions
Is the Sigma dp2 Quattro a 39-megapixel camera?
Its High output is 5,424 by 3,616, about 19.6 million pixels. The sensor has layers of different resolution, while Super High JPEG outputs about 39 million pixels. Those figures describe different things.
Can I change or zoom the lens?
No. The fixed 30mm f/2.8 lens gives approximately a 45mm-equivalent angle of view. Change your position or choose another camera for a different optical field of view.
Does 1/2,000 second work at f/2.8?
No. The manual limits f/2.8 through f/3.5 to 1/1,250 second. The 1/2,000-second option requires f/5.6 or smaller apertures.
Should I use X3F or DNG?
Use X3F when you want Sigma Photo Pro’s layered-data workflow. DNG is a different file option with different handling; test it in your exact editor and firmware before relying on it.
Which battery does it use?
The specified battery is BP-51 and the charger is BC-51. Check the condition and exact compatibility of replacements; a used purchase does not necessarily include the original pair of batteries.
Who is a used dp2 Quattro best suited to?
A photographer who enjoys deliberate low-ISO stills and accepts the fixed lens and processing workflow. It is a poor default for fast action, dim handheld work or an untested computer setup.
Build a simple dp2 Quattro support kit
Start with power, storage and a stable shooting setup. These are retailer search links, not claims of current stock, price or universal compatibility. Check the exact listing and return terms.
Affiliate disclosure: Some links are affiliate links. If you buy through them, Shut Your Aperture may earn a commission at no extra cost to you. As an Amazon Associate, we earn from qualifying purchases.
Find practical photography tips at Shut Your Aperture Academy. Build your understanding of light, timing and framing alongside your equipment choices.
References: Sigma specifications, owner’s manual, firmware history, and Photo Pro downloads and requirements.