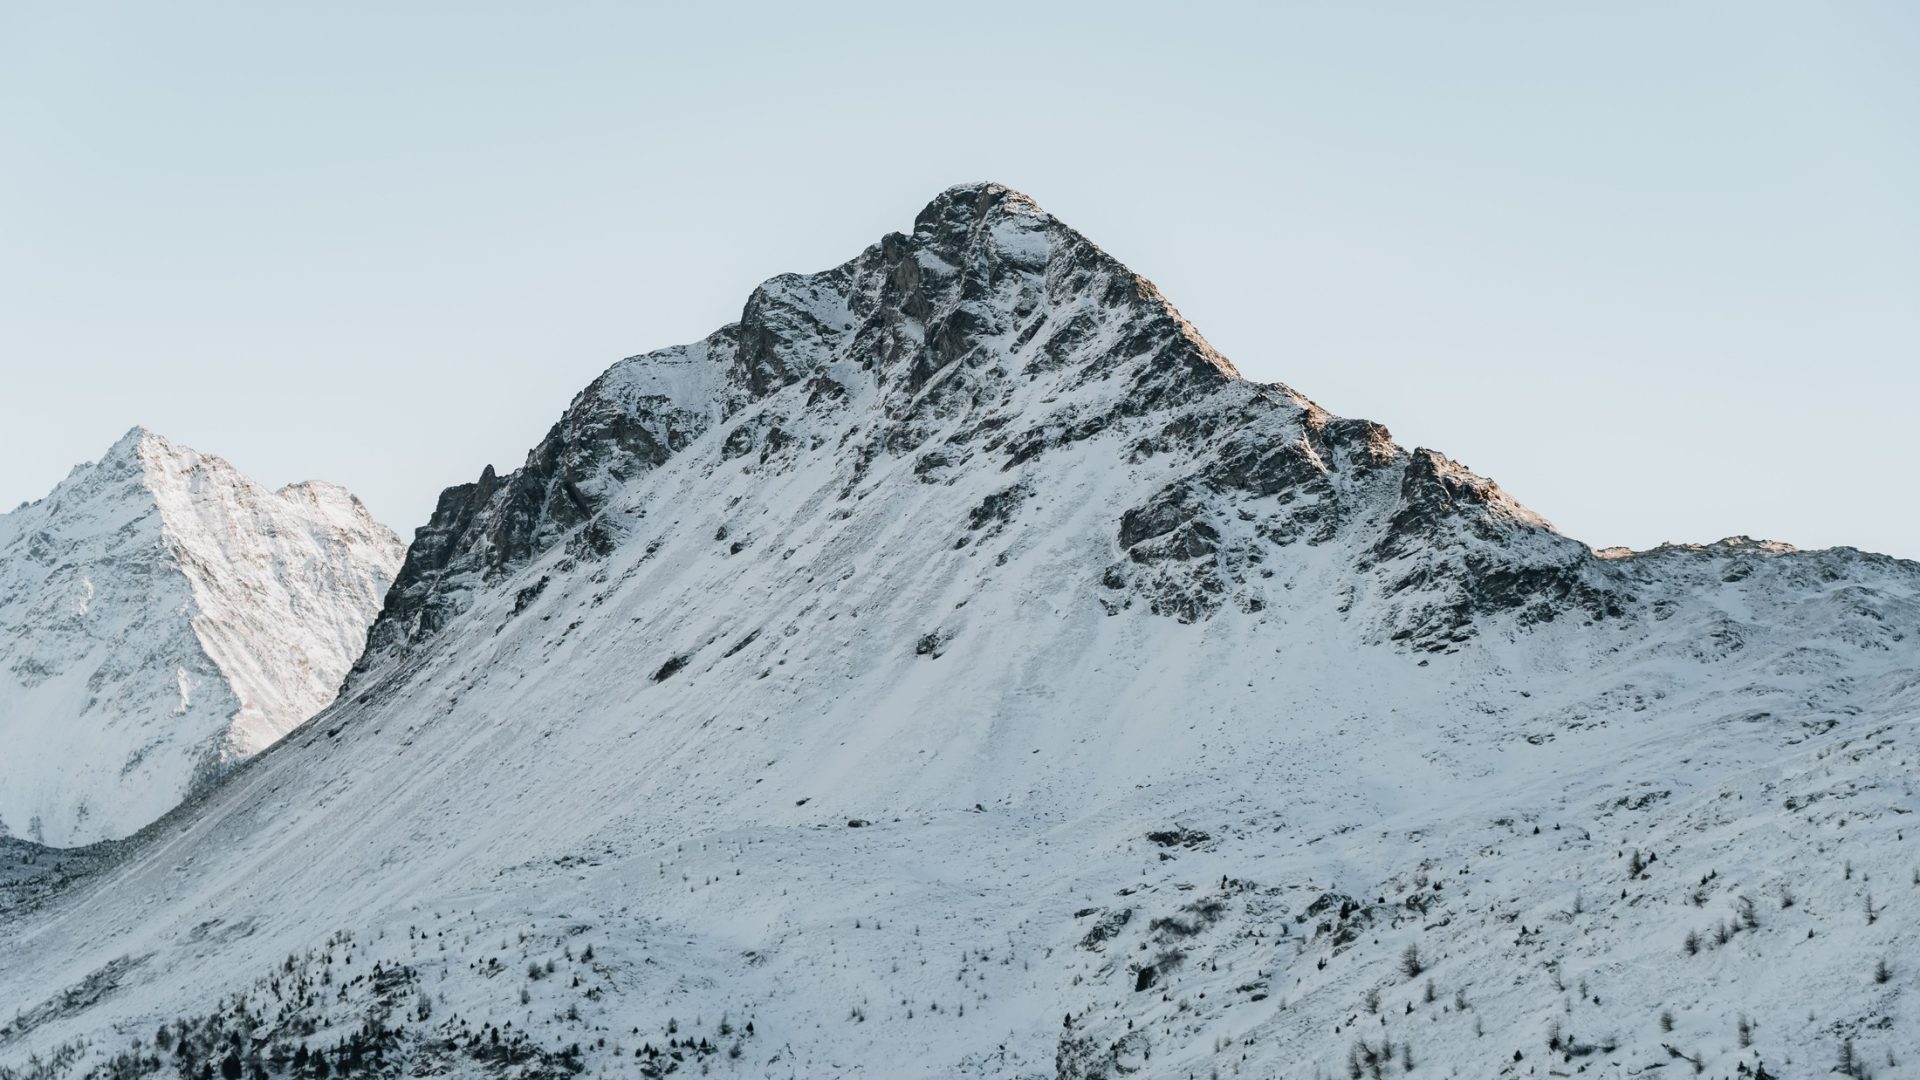
Featured photo: Snow-covered mountain ridge and dark rock beneath a pale blue sky. Photo by urtimud.89 / Pexels. Pexels License. (Stock photo, illustrative.)
Start with a subject, not a checklist of scenery
A landscape photograph becomes stronger when you know what you want the viewer to notice. It might be a bright mountain ridge, a curve in a river, a patch of fog, or the contrast between rough stone and calm water. Name that subject before choosing settings. A frame containing an impressive place can still feel confused when every part competes equally. Look for the relationship that makes this particular view worth photographing, then simplify the frame around it.
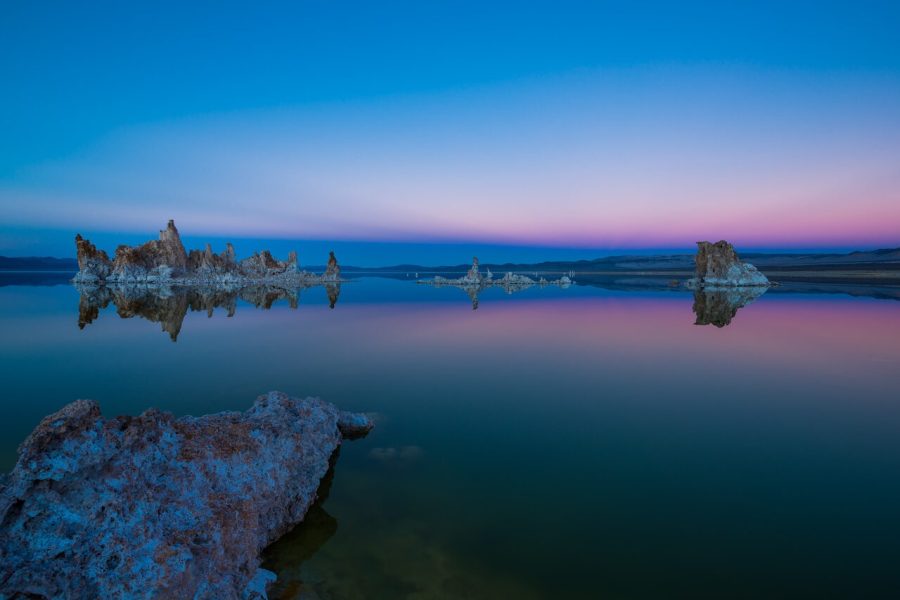
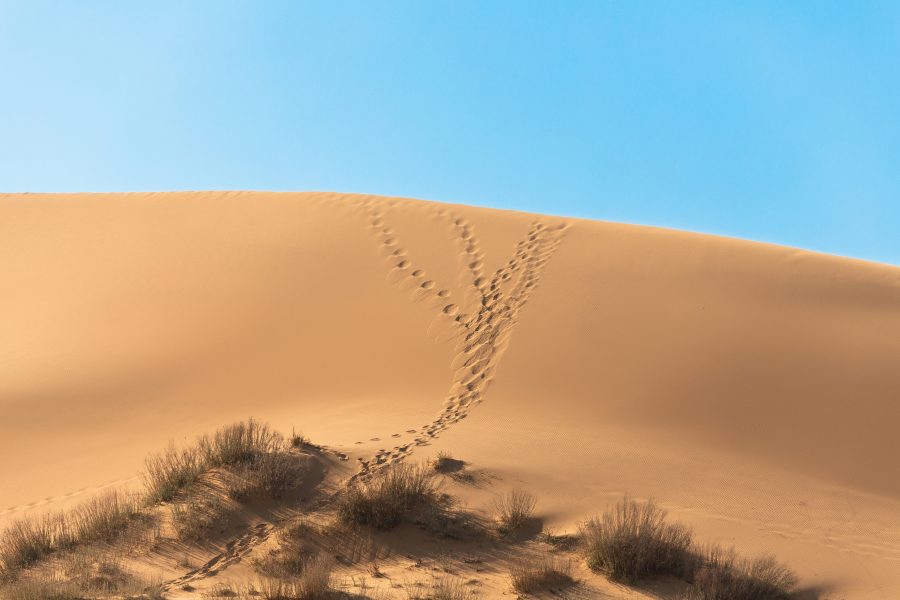
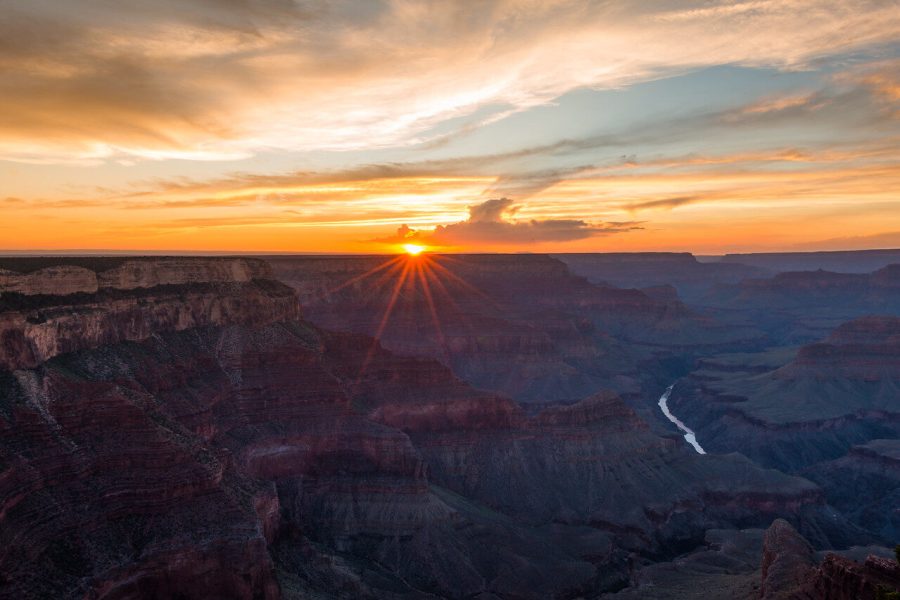
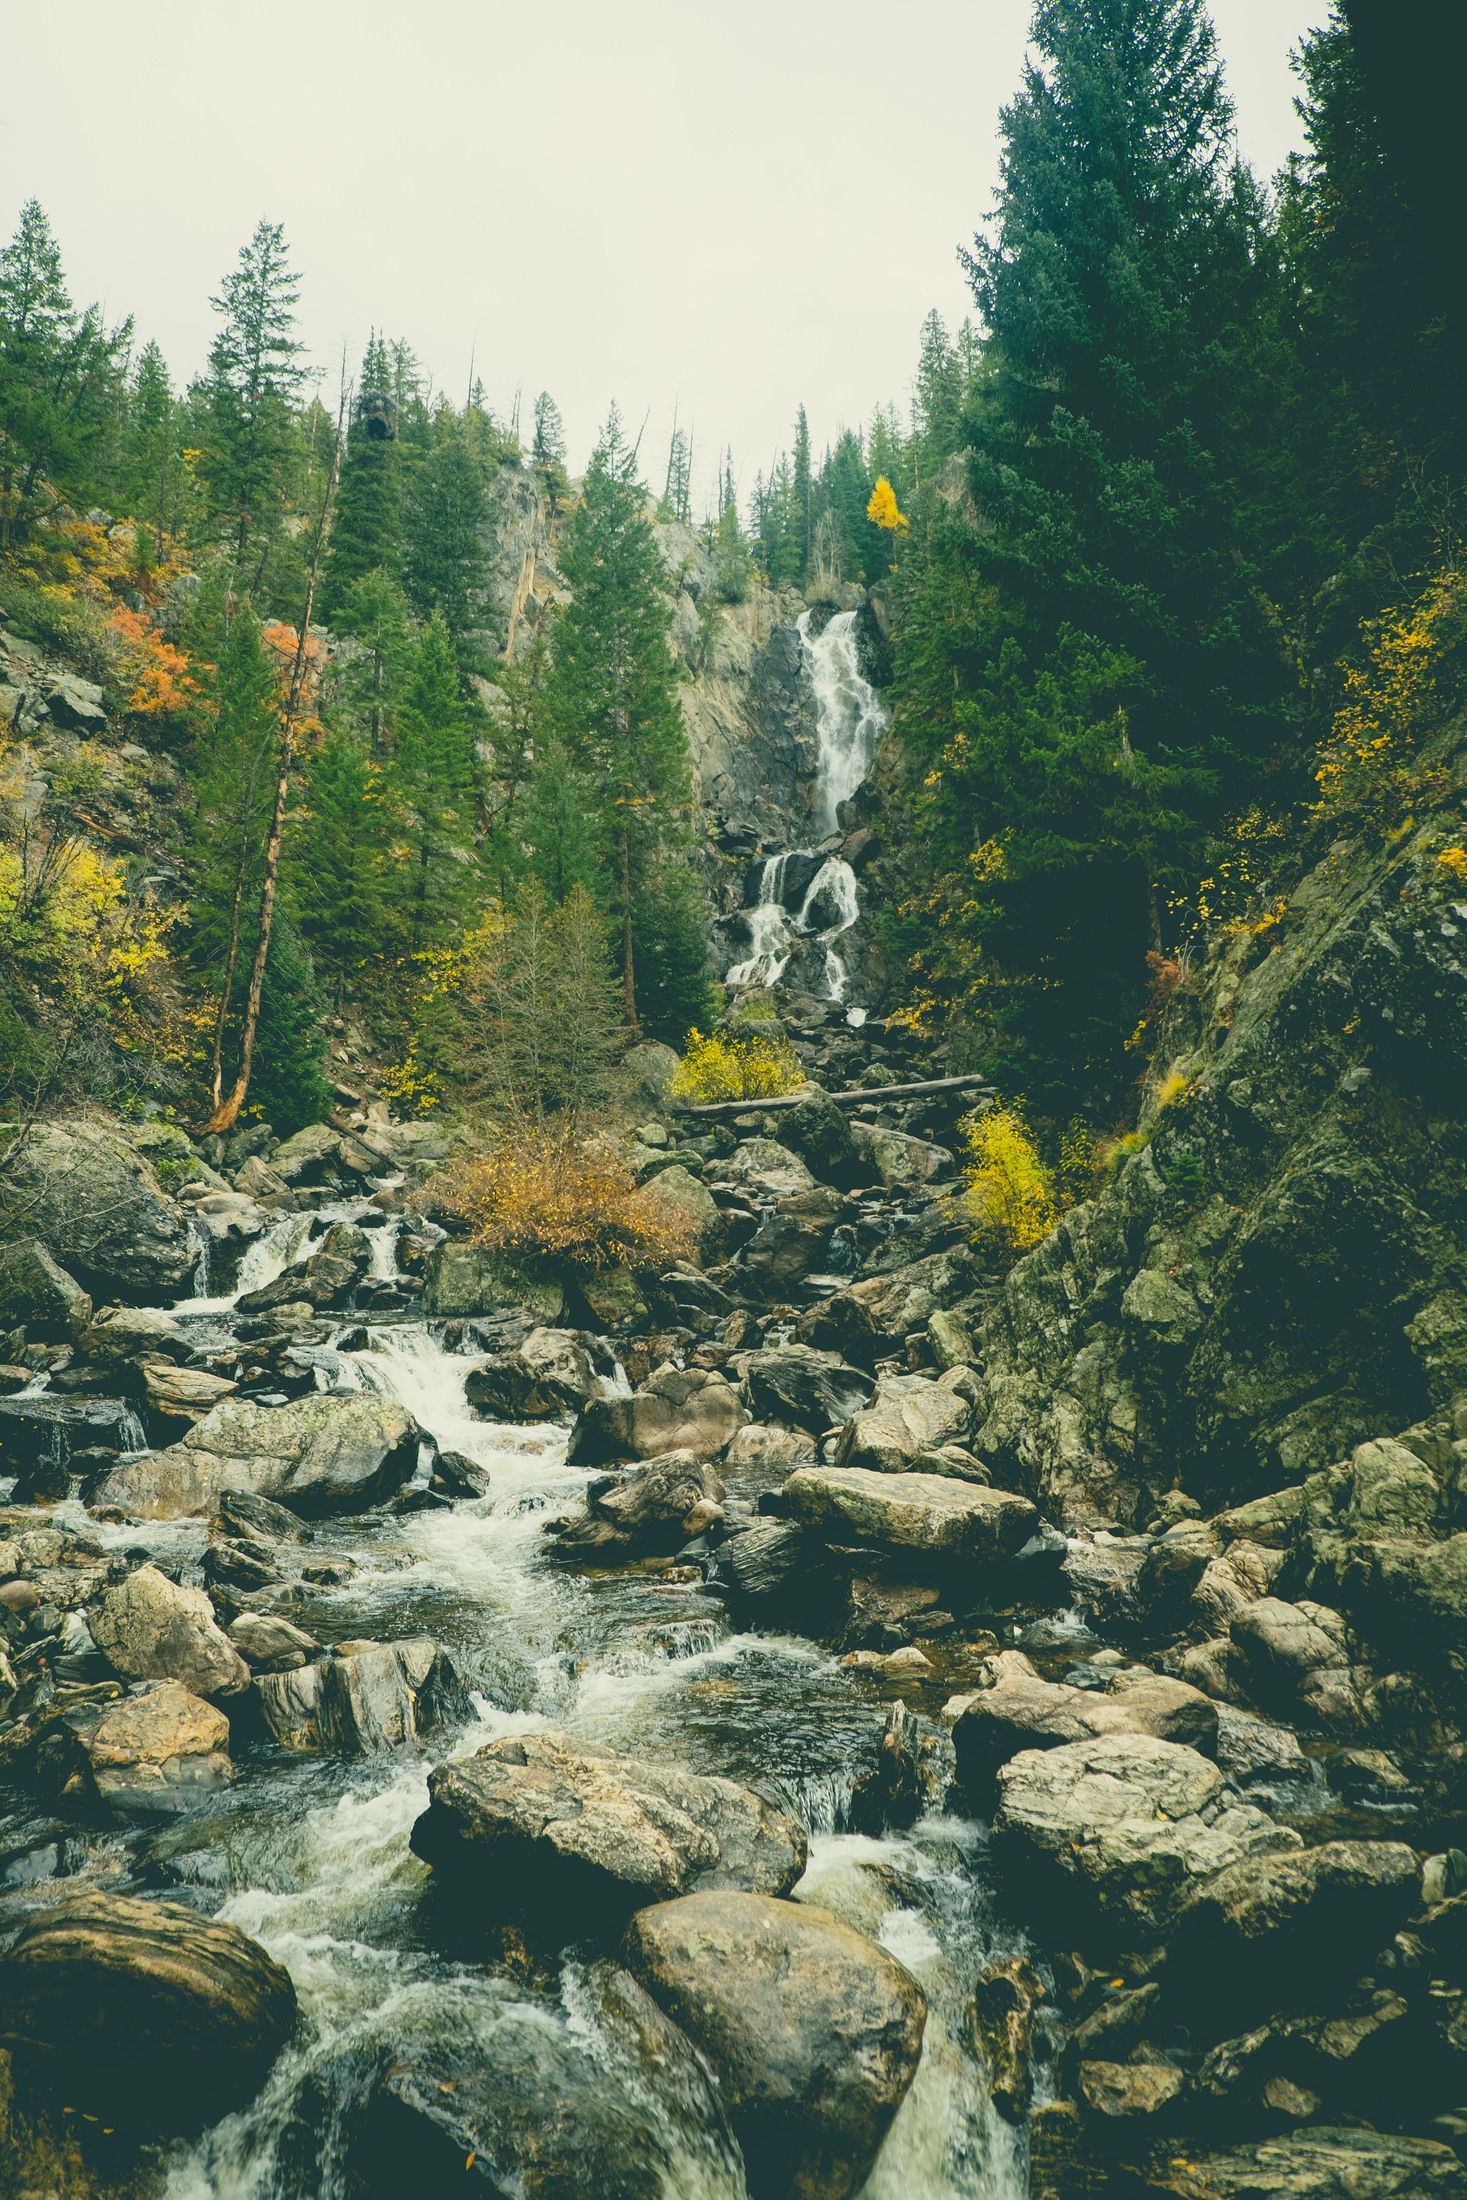
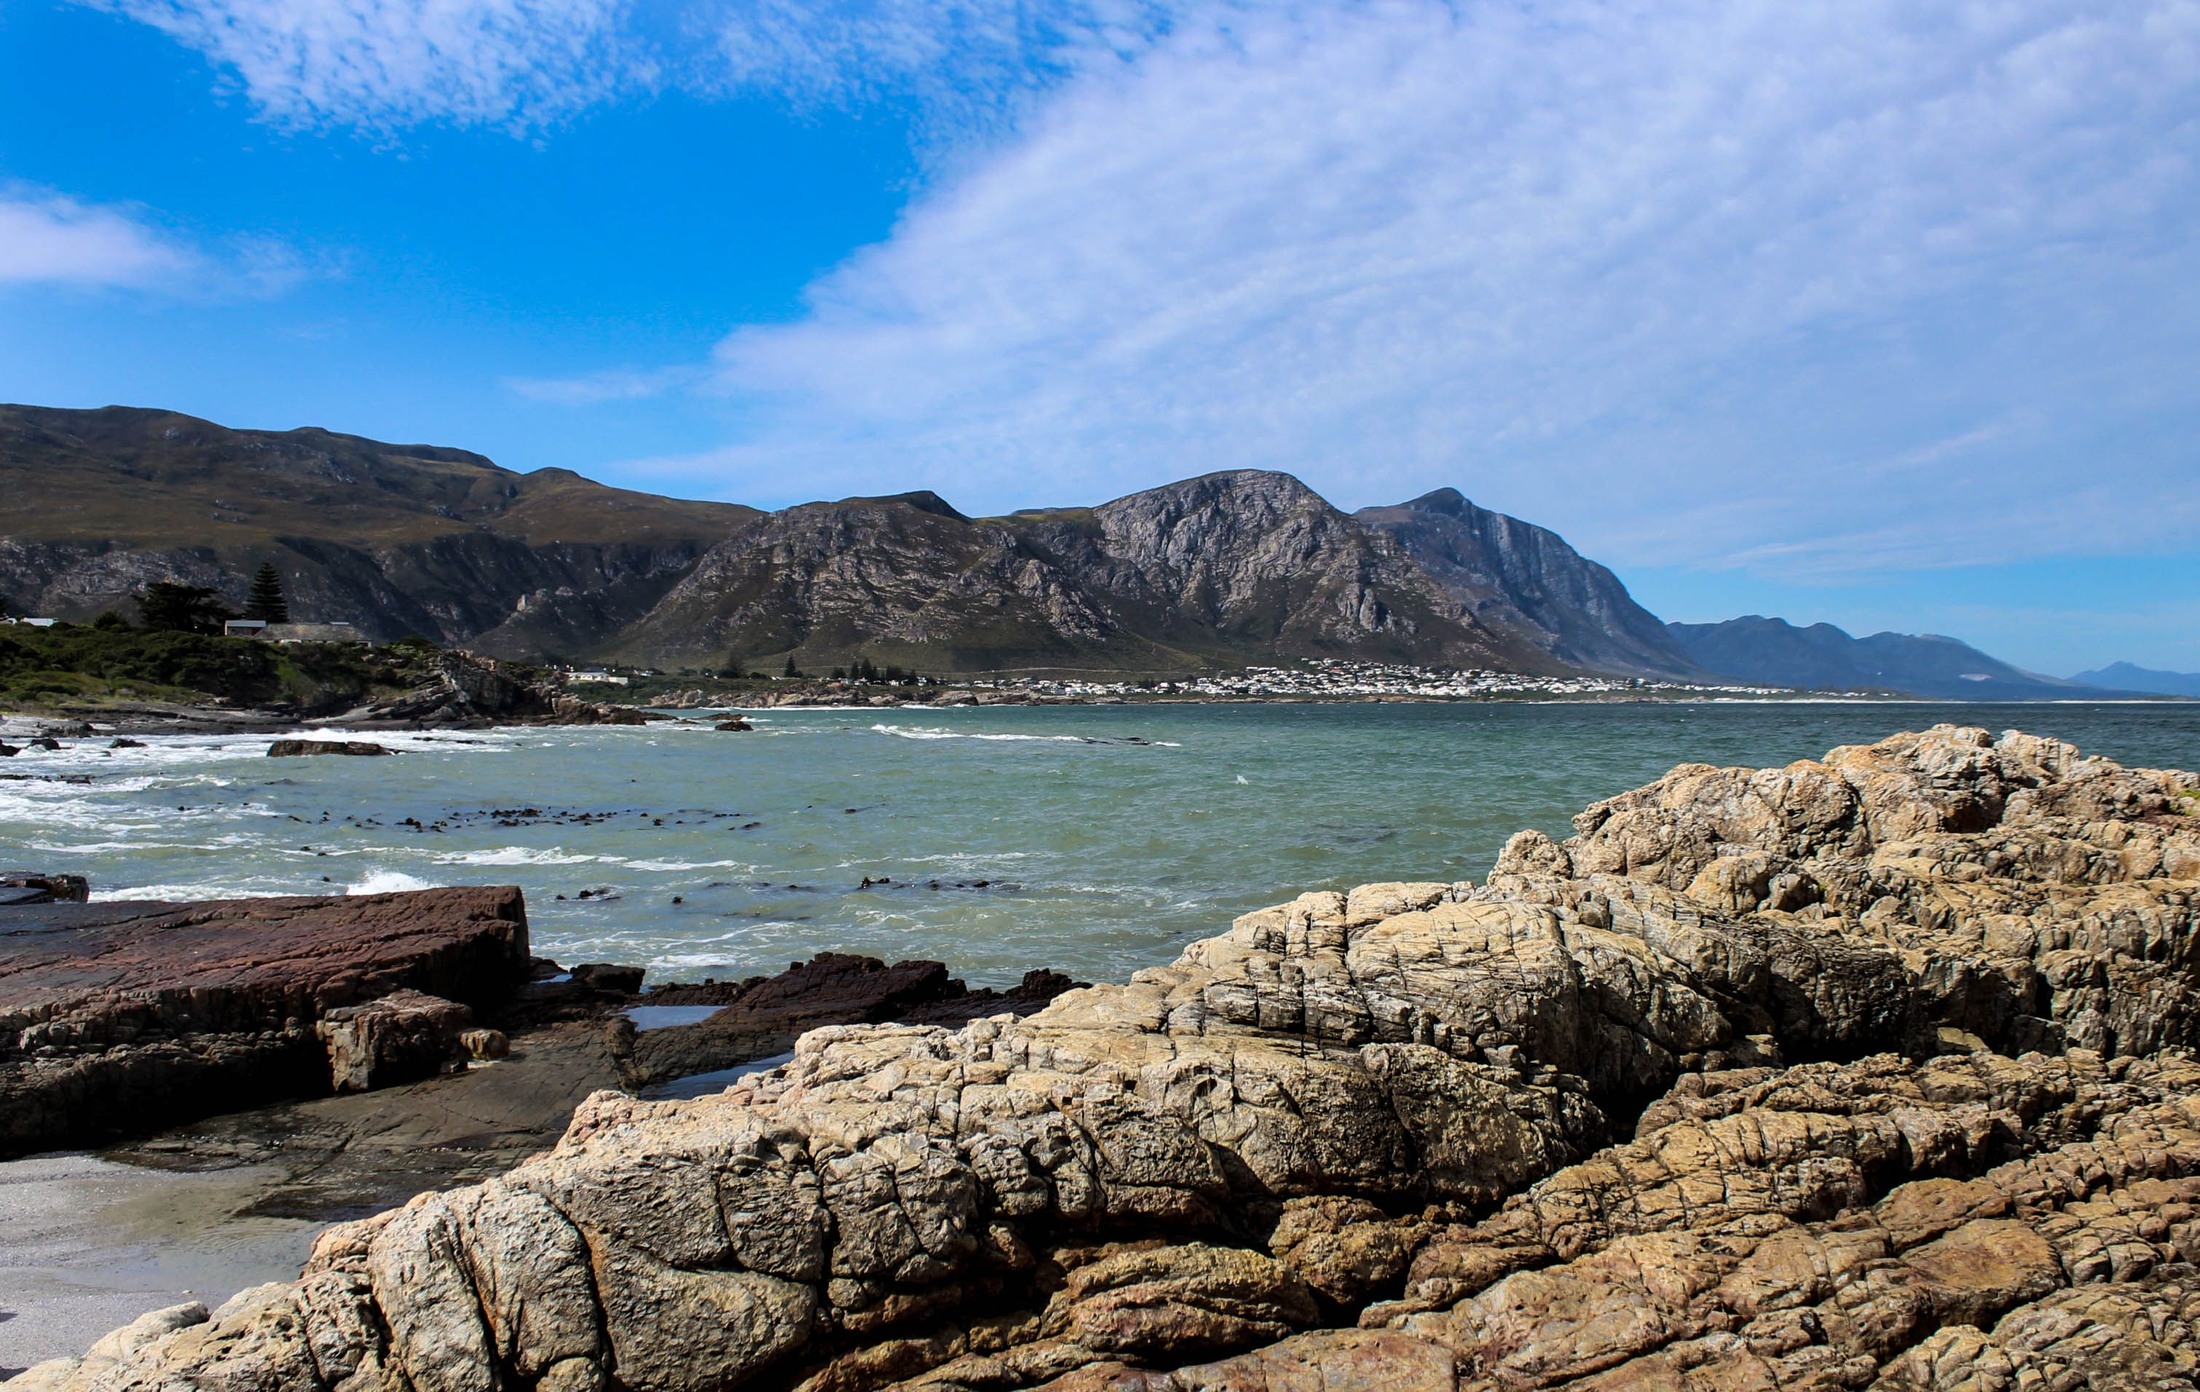
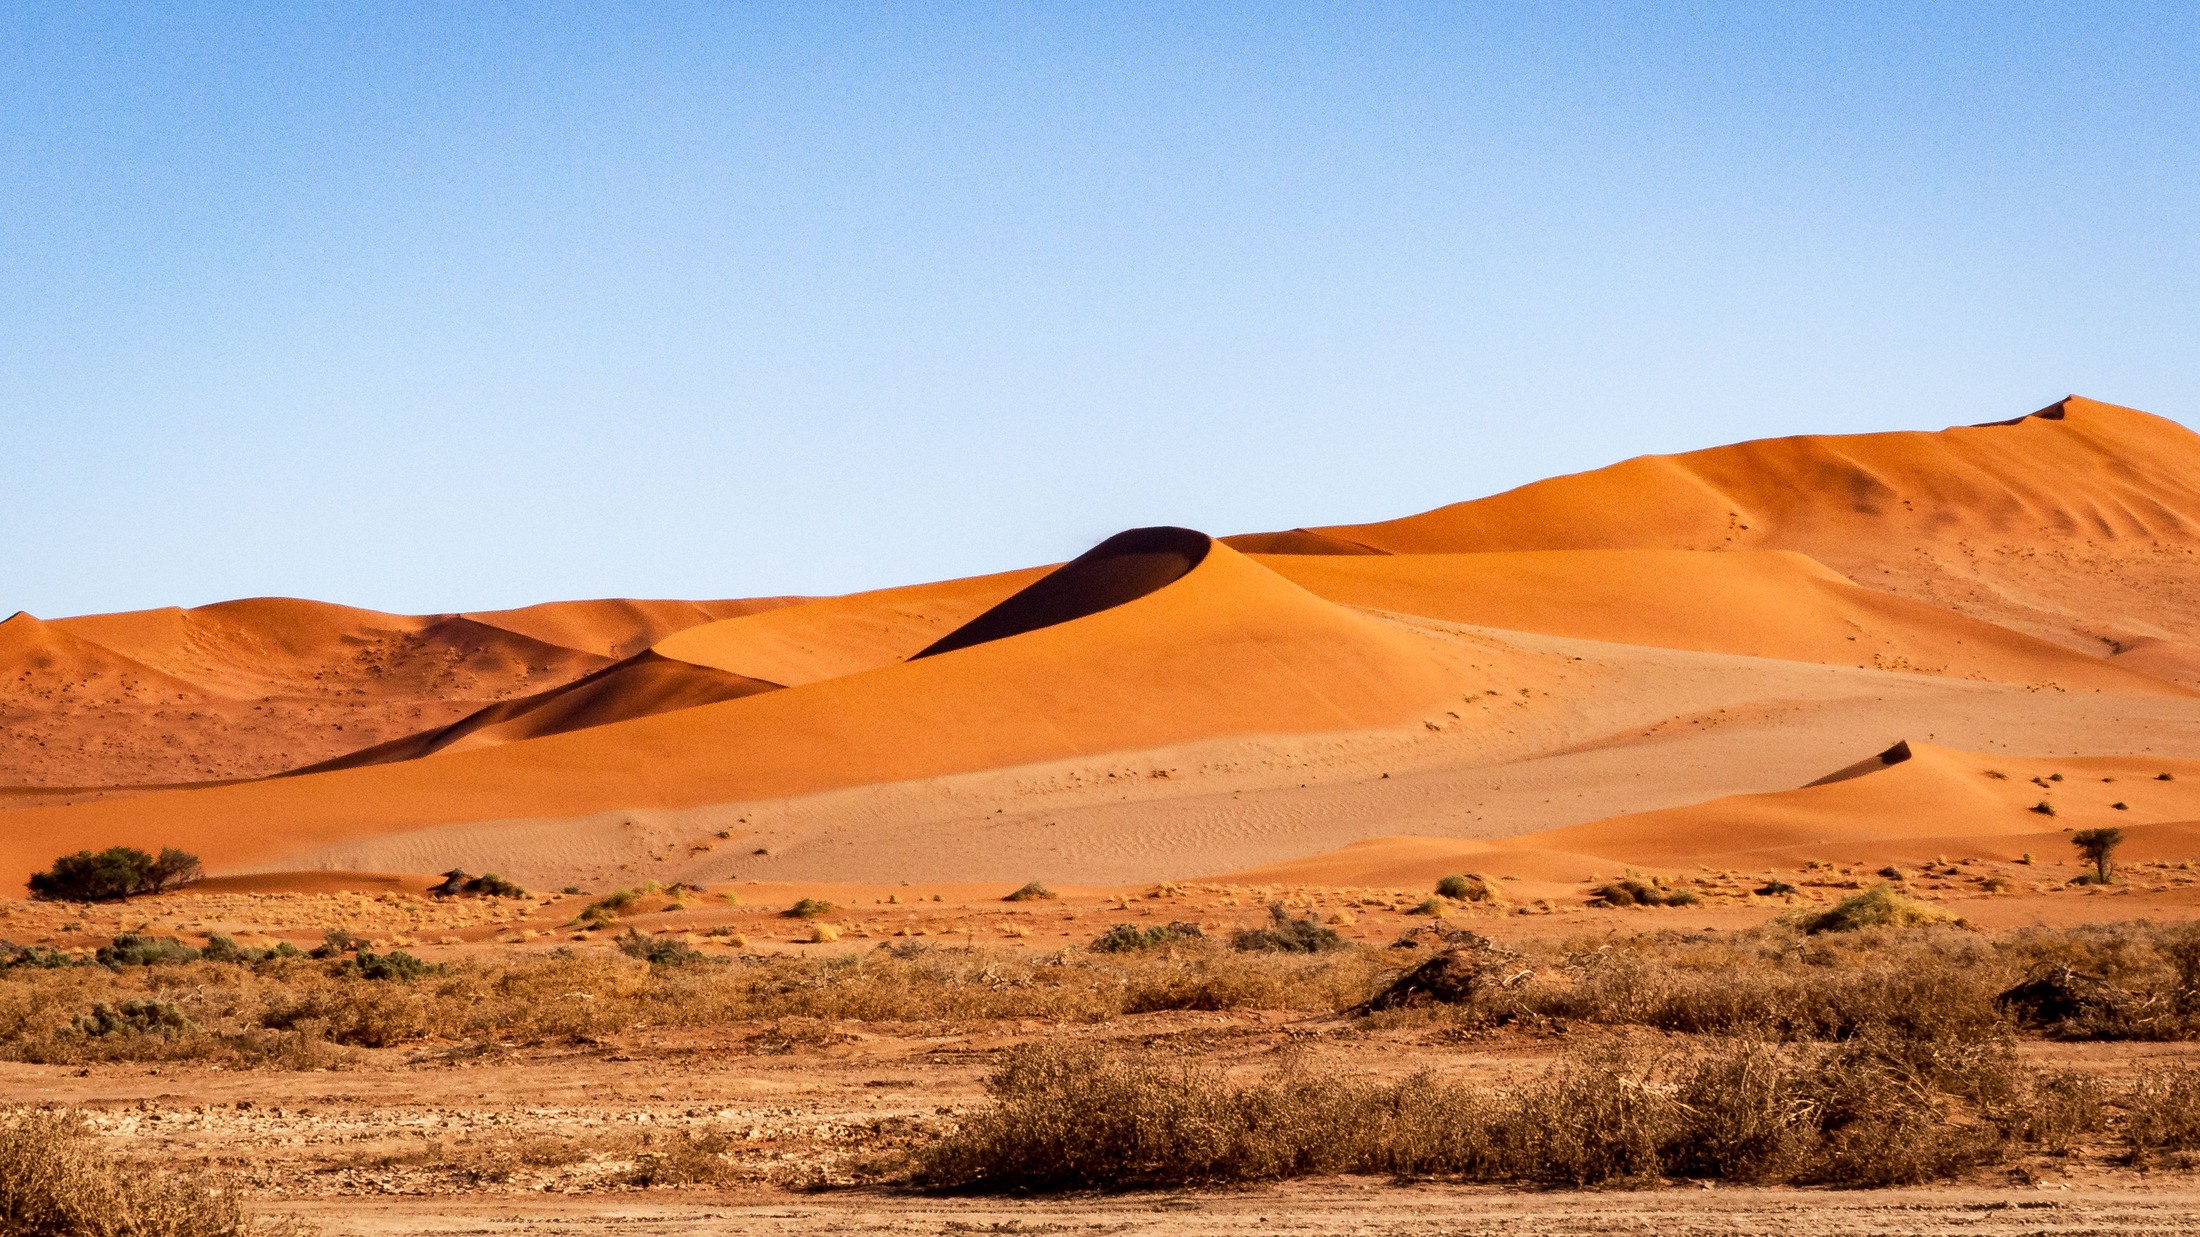
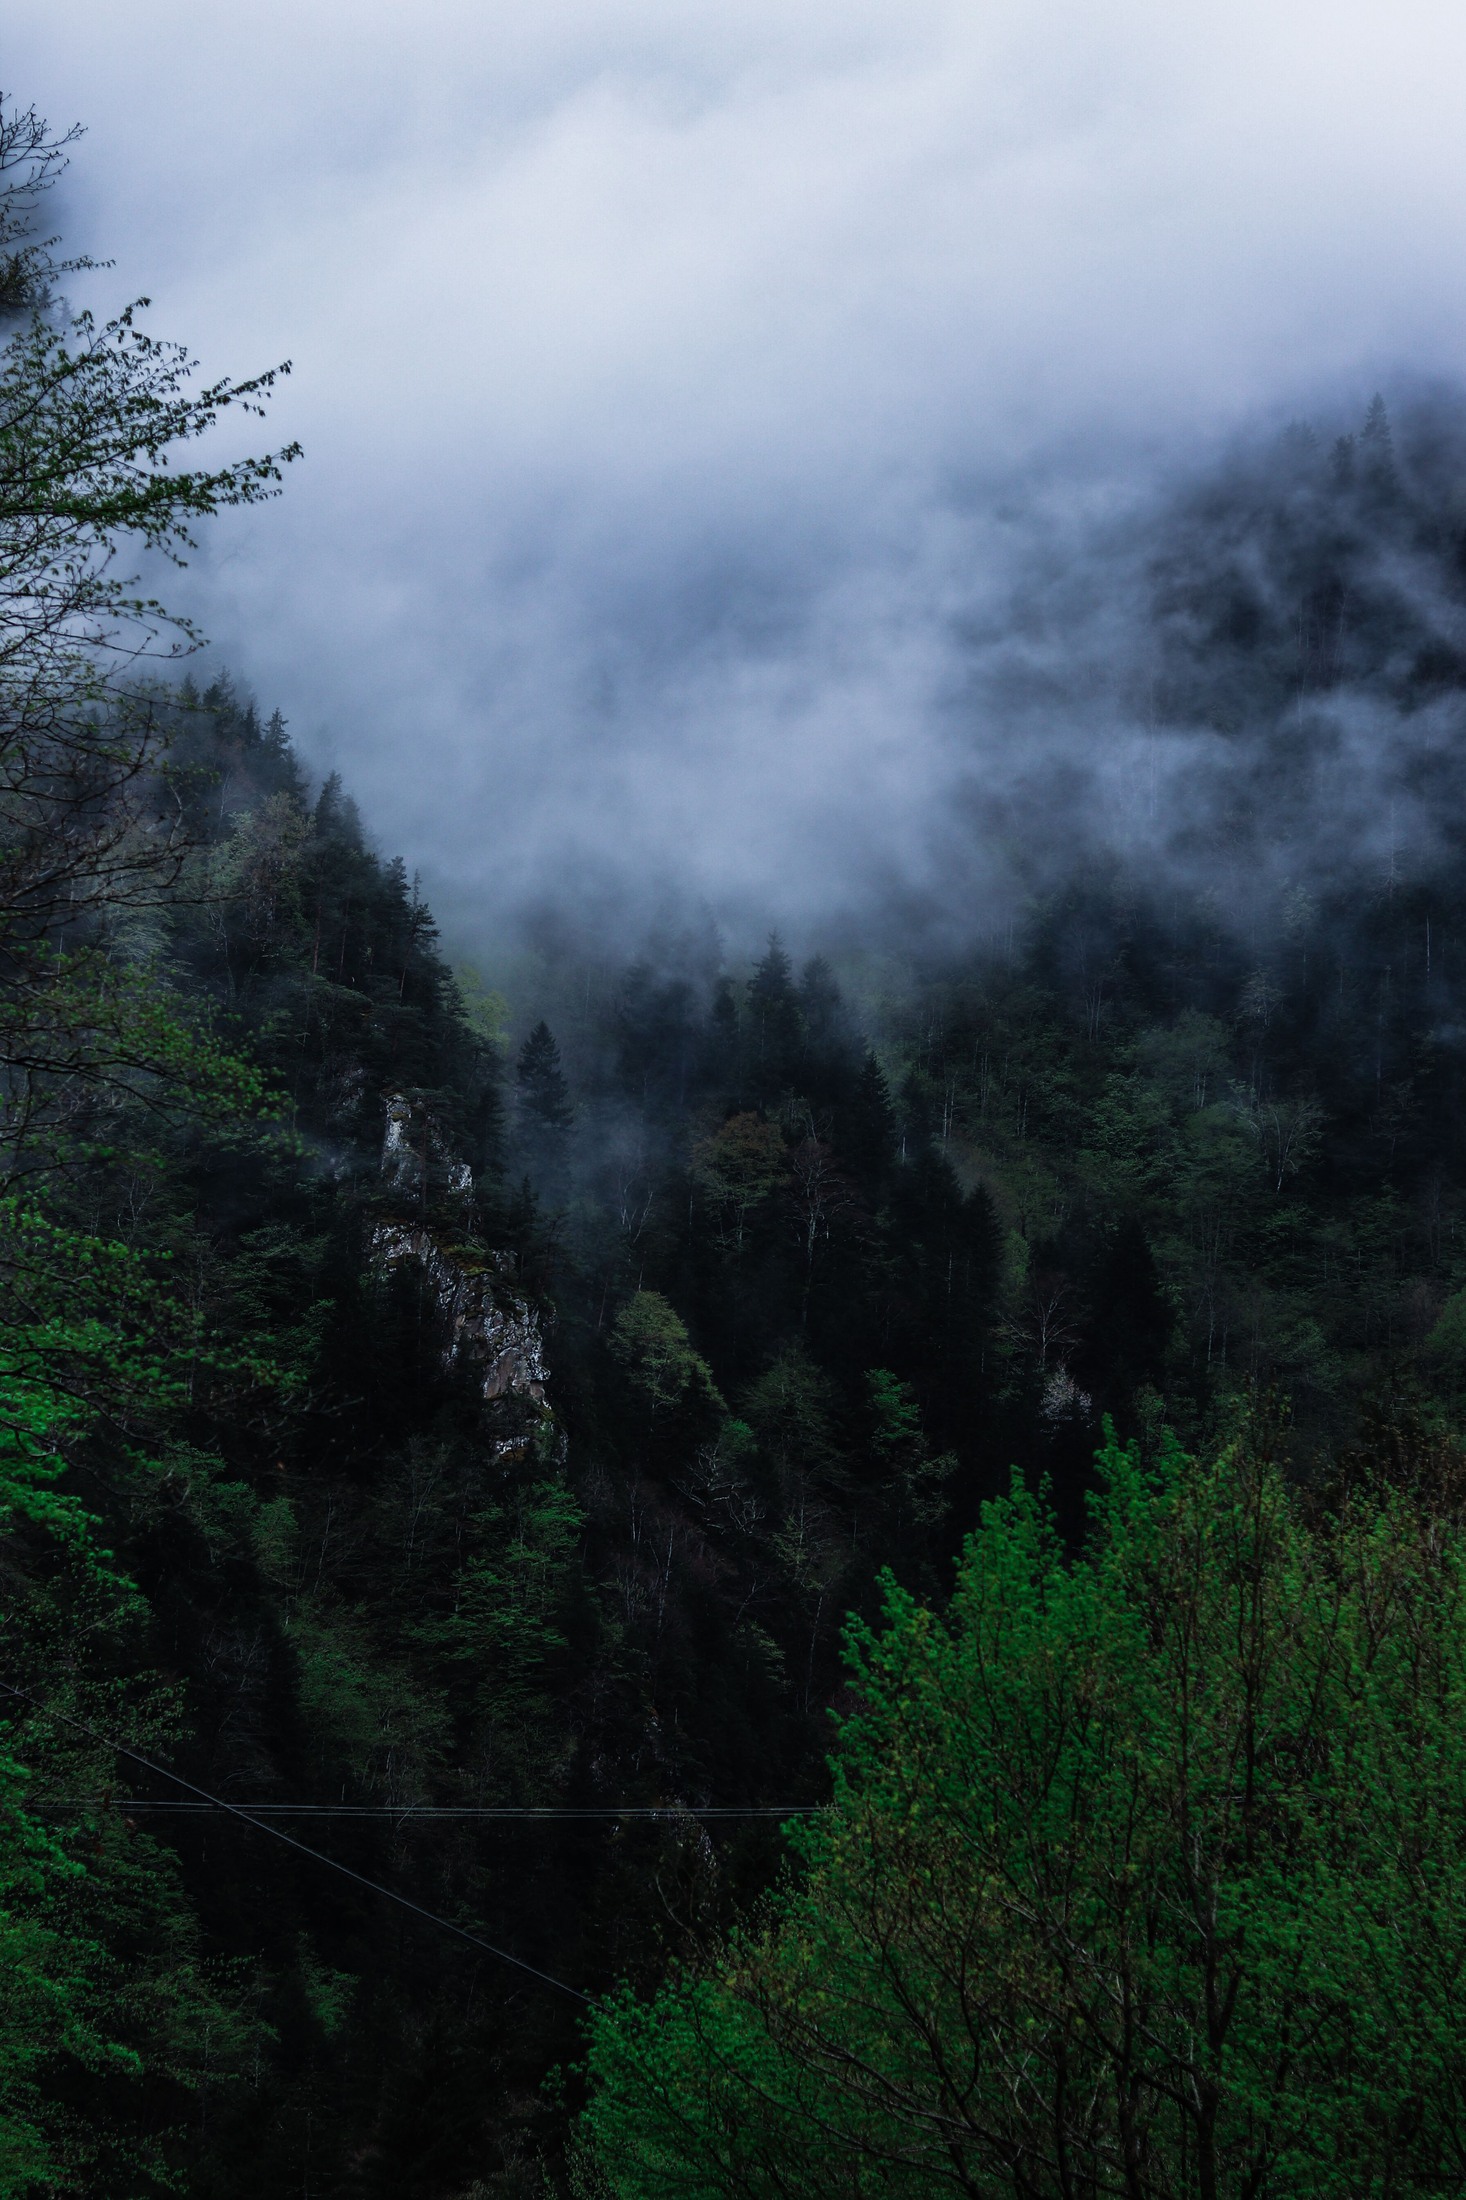
Walk a little before extending the tripod. Compare a higher viewpoint with a lower one and notice how the foreground overlaps the distance. A small move can separate a tree from a ridge or remove a bright object at the edge. Do not move onto unsafe ground for a cleaner arrangement. The photographs in this guide are illustrative stock images, not demonstrations of particular camera settings, verified shooting locations, or controlled before-and-after comparisons. Use your own captures for the exercises.
Decide what kind of picture the scene supports. A broad view can explain the relationship between land and sky, while a tighter frame can isolate layers, texture, or a single shape. Neither is inherently more serious landscape photography. If the wide view feels empty, try excluding the least useful area rather than reaching for a wider lens. The landscape photography guide provides a starting point for building that observation into a repeatable field workflow.
 Save
Plan access and conditions before planning the perfect light
Research the route, opening rules, weather, and return journey before leaving. Use the land manager’s current information for closures and access restrictions rather than assuming a familiar viewpoint is always available. Check the forecast for the whole time you expect to be outside, including the walk back. A photograph is not a reason to cross a closed boundary, enter private land without permission, or stand where a wave, falling rock, or passing vehicle can reach you.
Carry what the route and conditions require, not merely what fits beside the camera. Suitable clothing, water, a charged phone, a light when darkness is possible, and a clear return plan can matter more than an extra lens. Let someone know the plan when the location calls for it. Keep enough attention on the surroundings to notice changing conditions. If you are unsure about terrain, water, snow, or weather, choose a safer position or turn back rather than treating the camera as the priority.
Read the direction and quality of light
Look at where the light comes from and what it reveals. Side light can describe ridges and texture through alternating bright and dark areas. Front light can make color and detail easier to read. Backlight can separate edges or create a silhouette, but it can also make exposure and flare harder to manage. There is no rule that one direction always produces the best landscape. Rotate your attention around the scene instead of assuming the obvious view is the only useful one.
Low sunlight often creates long shadows and warmer-looking light, but its useful timing depends on season, terrain, weather, and latitude. A mountain may remain shaded after the sun has risen elsewhere. Overcast light can suit forests and small details by reducing harsh contrast. Midday can work for graphic shapes, clear water, or strong shadow patterns. Canon’s landscape advice is a useful reminder to think about light and composition together rather than treating sunrise as a guarantee.
Watch the scene before changing every setting. A cloud passing over the foreground may improve separation from a bright distant ridge, or it may remove the very light that made the picture work. Make a useful frame while the conditions are good, then keep looking. Do not wait indefinitely for a dramatic sky while overlooking a quieter detail nearby. Working with the available light is often more productive than trying to force the place into a photograph you imagined before arriving.
 Save
Build depth without forcing a foreground into every frame
Foreground, middle distance, and background can give a photograph a clear spatial structure. A riverbank or line of rocks may connect the viewer to a distant mountain. That only helps when the foreground contributes. An oversized rock with no visual relationship to the subject can become an obstacle rather than an introduction. Compare a version with less foreground and decide which one makes the subject clearer. The composition guide offers tools for attention and balance, not compulsory placements.
Inspect the borders as carefully as the center. A bright branch, clipped boulder, or strip of empty sky can pull attention away from the intended subject. Check where lines enter and leave the frame. A shoreline that leads toward the mountain may work better than one that sends the eye into a corner. Use grids and level displays when they help, then look without them. A grid cannot judge whether a foreground shape feels connected or whether the frame has become too crowded.
 Save
Choose focal length for the relationships you want
A wide-angle lens can include a large area and emphasize a nearby foreground when you work close to it. That does not automatically make the distant mountain look impressive; it may become very small. A longer focal length can isolate a ridge, simplify the sky, or show repeating layers. Try the lens you already have before assuming a new ultra-wide lens is required. Nikon’s landscape guide discusses several approaches rather than a single mandatory lens.
Remember that viewpoint determines perspective. If you change focal length and stay in the same place, you mainly change the field of view and framing. Moving the camera changes the relative size and alignment of near and far objects. Compare those decisions separately during practice. Make one frame from your original position, then move safely and reframe the subject. Notice which background relationships changed. This is more informative than attributing every difference to the focal length written on the lens.
Balance aperture, shutter speed, and ISO around the scene
Start with the detail and movement that matter. A landscape with a nearby rock and distant trees may need more depth of field than a distant ridge with no close foreground. A moderate aperture such as f/8 can be a practical test on many camera setups, but it is not a universal optimum. Smaller apertures can increase depth of field while diffraction may reduce fine detail. Compare the actual near and far areas at useful magnification. The aperture guide explains the tradeoff.
Choose shutter speed for both camera movement and subject movement. A tripod may keep the camera still while wind moves grass, branches, or flowers. A long exposure can blur water deliberately, but it is a choice about appearance rather than a requirement for a professional result. Make a shorter exposure as well when the water has interesting shape. The shutter-speed guide helps connect the exposure time to the movement you actually want to record.
Use a low ISO when the required shutter speed and aperture allow it, but do not sacrifice the photograph to keep the number low. Raising ISO can be a sensible compromise when it allows the shutter speed needed for wind-blown foliage or a handheld frame. It does not make the sensor collect more light. Inspect the resulting noise and detail at the intended output size. The ISO guide develops that distinction and the practical exposure balance.
Focus on the near and far detail that must remain readable
Choose a definite focus target instead of letting the camera select an unrelated patch of foreground. After focusing, magnify the image and inspect the nearest important object and the distant subject. If one is too soft, reconsider aperture, focus position, framing, or the distance to the foreground. Focusing one-third into every scene is not a reliable universal method. A view with a very close rock and distant mountain asks something different from a distant hillside with little depth between its elements.
Hyperfocal distance can help estimate a focus position that gives an acceptable range of sharpness for a chosen setup. It is not a promise of identical sharpness from foreground to infinity. The result depends on focal length, aperture, the sharpness criterion, and intended output. Cambridge in Colour’s hyperfocal explanation describes these limits. Use a calculation as a starting point and inspect the photograph rather than trusting a distance scale without checking the details that matter.
When one exposure cannot keep the required depth sufficiently sharp, simplify the composition or move farther from the foreground before adding complexity. Focus stacking is another option for suitable scenes: capture frames focused at different distances and blend the sharp areas later. It requires careful capture and inspection, especially with moving leaves, waves, or changing light. A stack is not automatically clean because the software produced a file. Keep a single-frame alternative whenever movement may make the blend unreliable.
Support the camera without overlooking movement
A stable tripod can keep the composition consistent during careful focus checks, long exposures, and bracketed sequences. Place the feet on secure ground and check the head and camera attachment before letting go. Extend only what the position needs and avoid leaving loose straps to blow against the setup. A remote release or timer can reduce movement from touching the shutter button. These steps support the camera; they cannot stop a tree from moving or make unstable ground safe.
Image stabilization behavior on a tripod depends on the camera and lens, so follow their instructions rather than applying a universal on-or-off rule. In wind, inspect a test frame and consider a shorter exposure or a more sheltered position. Do not hang an unsecured bag where it can swing and add movement. When a tripod is impractical, use a steady handheld technique and choose an exposure that suits your own camera, lens, stance, and subject. Verify sharpness instead of relying only on a reciprocal-focal-length formula.
Protect important highlights and use filters selectively
Make a test exposure and inspect important bright areas, such as textured clouds or sunlit snow. The histogram and highlight warning help, but the camera preview is a rendered interpretation rather than a complete raw-file measurement. Adjust exposure for the detail you need while considering the shadows. A tiny reflection of the sun does not always need recoverable texture. Avoid making the whole landscape unnecessarily dark merely to eliminate every warning from a specular reflection or the sun itself.
If the scene exceeds what one frame can record usefully, exposure bracketing can give you options. Keep the composition stable, vary exposure deliberately, and check whether moving subjects or changing light will complicate a later blend. Bracketing is not necessary for every landscape. A polarizing filter can reduce some reflections and alter the appearance of foliage or sky, but its effect changes with angle and can be uneven across a wide view. Compare the effect instead of turning it to maximum by habit.
A neutral-density filter reduces the light reaching the camera so a longer exposure can be used in a given situation. It does not improve every photograph or replace accurate focus. After attaching a filter, check exposure, color, reflections, and sharpness. Graduated filters can help in some scenes, but a straight transition may darken a mountain that extends above the horizon. Canon’s landscape tips offer useful starting ideas; choose each tool for a visible problem rather than a packing-list rule.
 Save
Edit for separation and believable atmosphere
Choose the strongest capture before editing. Correct distracting tilt and lens issues when appropriate, then balance brightness and color with the original conditions in mind. A foggy valley does not need the same contrast as a sunlit desert. Strong dehaze or local contrast can remove the softness that created the atmosphere. Use small adjustments and compare them with the unedited frame. Brightening shadows can reveal noise, and lowering highlights cannot guarantee recovery of information that was never recorded.
Inspect local adjustments around mountains, trees, and sky. Halos along a ridge or dark outlines around branches often show that the mask or adjustment strength needs work. Keep saturation believable and look for clipping in strong colors. Export for the destination, then open the actual file to check crop, detail, compression, and overall brightness. Do not judge the result only at a large editing zoom. A technically detailed file still needs a clear subject and a useful tonal relationship at normal viewing size.
Practice one decision at a time
Return to a safe, familiar location with one specific question. Compare two camera heights, two focal lengths from the same position, or a short and long exposure of moving water. Keep the other choices as consistent as practical so the difference teaches you something. Write down what changed and which version better communicates the subject. An exercise near home can build more useful judgment than a difficult trip where every setting, viewpoint, and weather condition changes at once.
Review a small set together rather than judging each frame in isolation. Look for repeated problems: crowded edges, a foreground that overwhelms the subject, wind blur, clipped important highlights, or focus placed on the wrong distance. Choose the next practice session from that evidence. For structured learning, explore Light. Land. Legacy. – The Landscape Photography Course. Keep the camera work manageable and repeatable. Equipment is useful when it solves a problem you can name, not when it substitutes for looking carefully.
Landscape photography questions
What is the best aperture for landscape photography?
There is no single best aperture. Start with the depth of field the scene needs, test a moderate setting, and inspect important near and far detail. Smaller apertures increase depth of field but can reduce fine detail through diffraction.
Do I need a wide-angle lens for landscapes?
No. Wide lenses can include a broad scene, while longer lenses can isolate ridges, patterns, and layers. Choose the framing and viewpoint that make your subject clear.
Should I always use the lowest ISO?
No. A low ISO is useful when the required aperture and shutter speed allow it. A higher ISO can be the better compromise when you need a shorter exposure for wind or handheld work.
Where should I focus in a landscape?
Choose a deliberate target and check the nearest and farthest important details. One-third into the scene is not a universal rule. Adjust focus, aperture, distance, or composition based on the result.
Is a tripod necessary for every landscape photograph?
No. It helps with long exposures, consistent framing, and careful sequences. Handheld work can be effective with suitable technique and shutter speed. A tripod does not freeze moving subjects.
Do I need filters to make good landscape photographs?
No. A polarizer or neutral-density filter can solve a specific reflection or exposure-time problem. Inspect its effect and avoid assuming every scene benefits from a filter.
Is sunrise the only good time to photograph landscapes?
No. Low sunlight offers useful possibilities, but overcast light, midday shadows, and changing weather can also work. Match the subject and composition to the conditions instead of relying on a fixed time window.
A tripod option for deliberate landscape work
The Benro Tortoise TTOR24CGX30 pairs four-section carbon-fiber legs with a GX30 ball head in a columnless design. It is one option for consistent framing and longer exposures, not a requirement for every landscape photograph. Before buying, compare its working height, folded size, head and plate compatibility with your camera and the way you carry equipment. A tripod does not freeze wind-blown foliage or make an exposed position safe. No hands-on test, price or stock promise is being made here.
Search Benro Tortoise TTOR24CGX30 on Amazon | Check Benro Tortoise TTOR24CGX30 at B&H
Affiliate disclosure: We may earn a commission from qualifying purchases through these gear links at no extra cost to you. As an Amazon Associate, Shut Your Aperture earns from qualifying purchases.