Street photography starts when you notice something worth waiting for. A patch of light. A clean background. Two people moving toward the same corner. Stop chasing every interesting face and give the frame a job. Then get your camera ready before the moment arrives.
You do not need to make the street look dramatic in every photograph. You need a subject, a relationship between the elements and a reason for the timing. This guide gives you a repeatable way to work a public scene, test your settings and leave with photographs that say more than “I was outside with a camera.”
Build the frame before the person arrives
Begin with a background you can explain. It might be a bright wall, a repeating row of windows, a dark doorway or a strip of light across a pavement. Look at it without a person in the frame. If it is already confused, adding a person rarely makes it simpler.
Choose where the subject should appear. A person crossing the bright strip may become the visual anchor. Someone paused against the wall may give scale to the architecture. A small figure beside a large sign may create a relationship. These are different pictures. Decide which one you are waiting for.
Check the edges. A bright car at the side, half a traffic sign or a person emerging behind your intended subject can pull the eye away. Move a step, adjust the height of the camera or tighten the frame. Do this while the scene is quiet, not during the one second you have to photograph the moment.
Then wait through several cycles. Watch where people walk and where they slow down. You are learning the scene, not demanding that strangers perform for you. If nothing useful happens, move on. Patience is a tool; it does not turn every background into a good photograph.
 Save
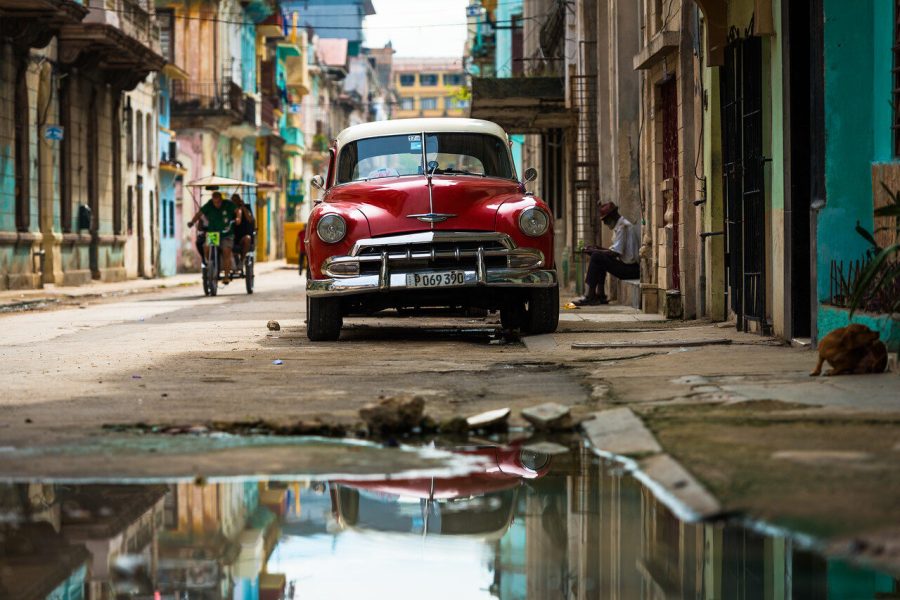
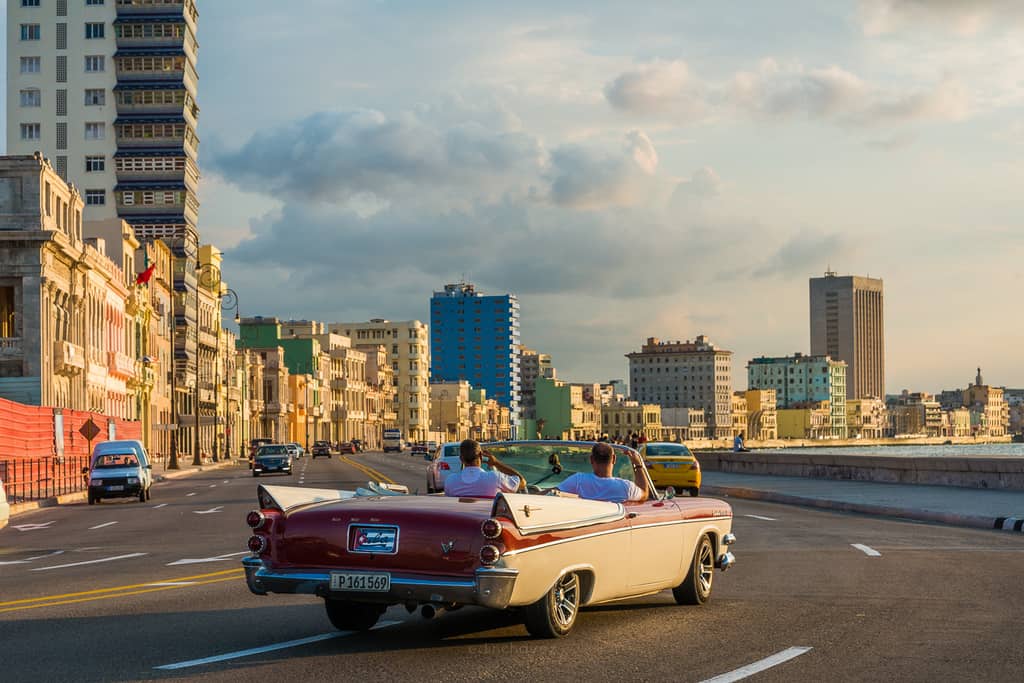
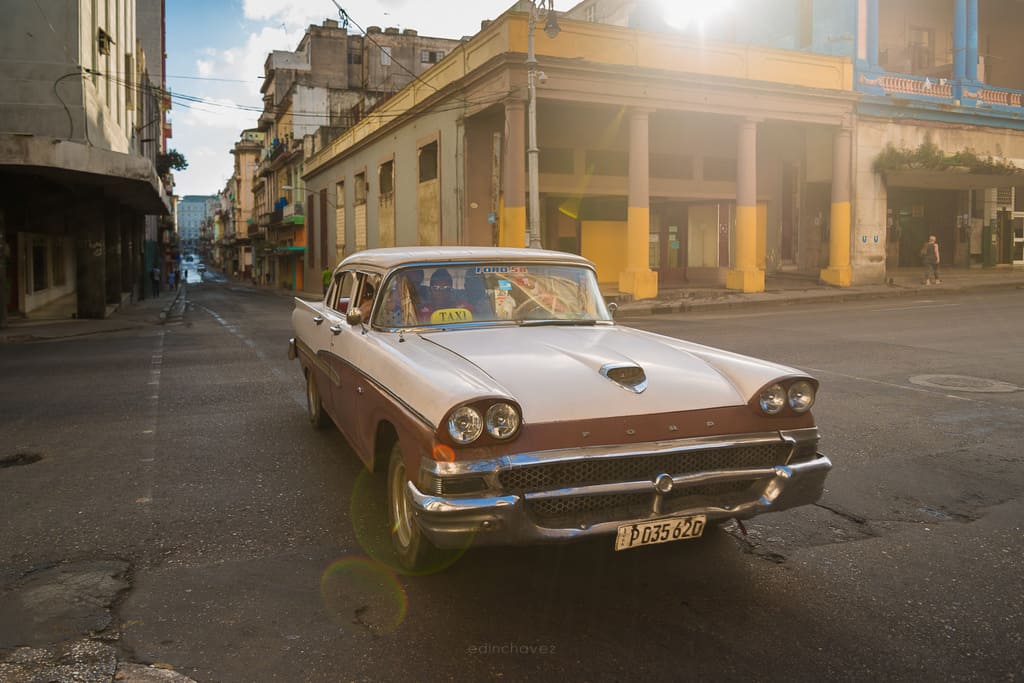
SaveTip: In this Havana frame, backlight gives the taxi a bright edge while the shaded street keeps the scene readable. Set exposure for the light on the subject, then watch the edges as it moves. The point of the frame is timing, not a magic preset.
Choose a working distance
Your distance changes the relationship in the photograph. From farther away, you may make a small figure part of a larger city scene. Close to the subject, gestures and expressions become more important, and your presence becomes more noticeable. Neither distance is automatically more authentic.
Pick one focal length for a walk if you are learning. This reduces time spent choosing a lens and helps you anticipate what fits. A wider view includes more context and demands cleaner edges. A narrower view can isolate a relationship, but it can also hide the context that made the moment interesting.
Do not confuse physical closeness with courage. If a subject looks uncomfortable or asks you to stop, step back and stop. Photographing in public does not make every possible use of a person’s image appropriate. Be especially careful around children, distress, medical situations and private information.
For a simple exercise, make three frames of the same stationary scene from different distances without changing the focal length. Compare the subject size, background and foreground. Ask which version explains the scene best, not which one feels most aggressive.
Build the basics with the site’s photography tips, then practise one decision per walk.
Set the shutter speed for the movement
Decide whether you want a moving person sharp or deliberately blurred. That choice comes before the exposure mode. A person walking across your frame creates different movement from a person walking toward you. A close subject usually moves farther across the image than a distant one.
As a test starting point, try around 1/250 second for ordinary walking, then inspect a hand or foot at full size. Faster movement, close distance or longer focal lengths may need a faster shutter. If a gesture is blurred when you wanted it sharp, increase the speed and make another test. The number is a starting point, not a guarantee.
If you want blur, make it a decision. Try a slower speed against a stable background and see whether the moving subject remains readable as a shape. A tripod is not always practical on a busy street, so watch for camera shake as well as subject movement. Those can look similar in a small preview.
Nikon’s exposure guide explains the relationship between shutter speed, aperture and ISO. Use that relationship to make a tradeoff you understand. Do not let a quiet exposure-meter reading convince you that your shutter is fast enough for a moving subject.
Choose depth of field for the frame
A street photograph may need several distances to be readable: a foreground hand, the main subject and the sign behind them. Or it may work better with one clear subject against a softer background. Choose the aperture for those relationships rather than using the widest opening by habit.
For a layered daylight scene, a moderate aperture can give you more room for subject placement. Make a test and inspect the nearest and farthest important details. Depth of field depends on aperture, focal length and distance. One aperture value does not produce the same result on every camera and composition.
 Save
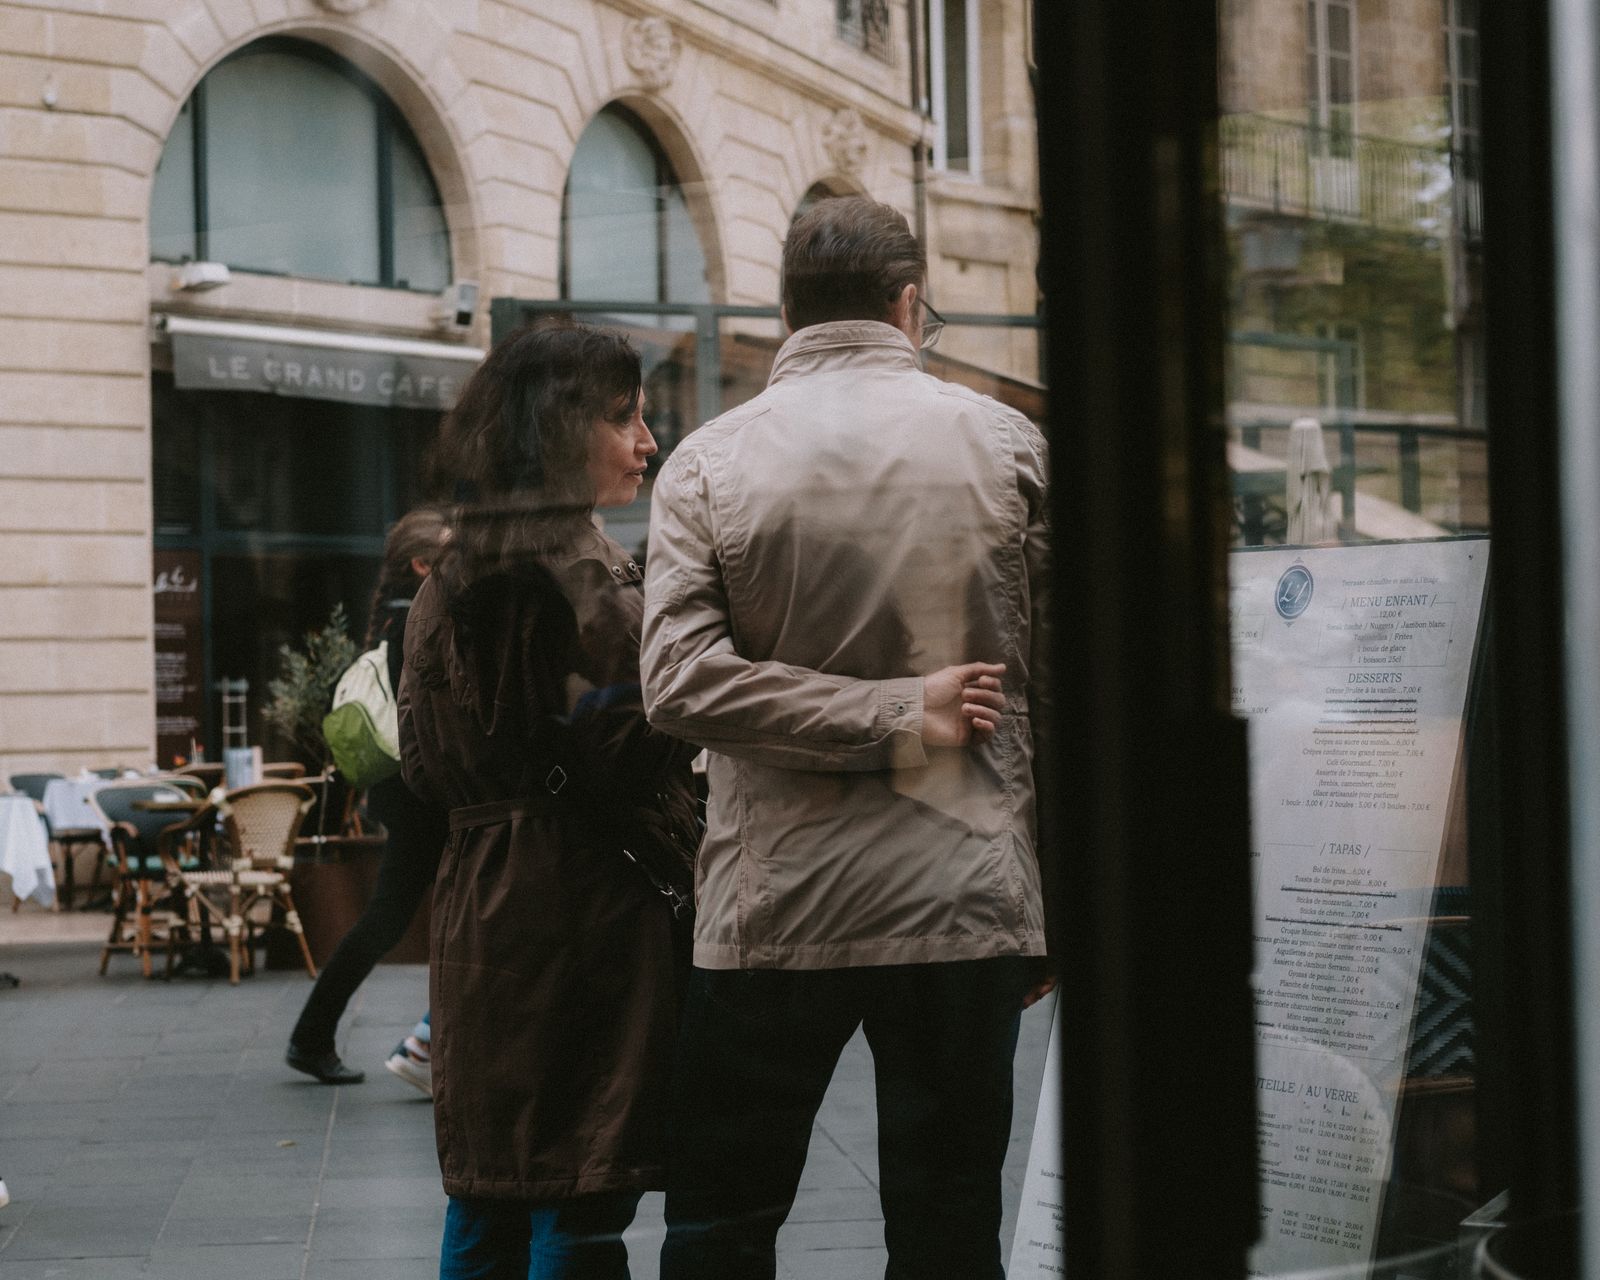
SaveIf stopping down forces the shutter too slow, reconsider the tradeoff. Raise ISO if your camera and output needs allow it, find better light or simplify the depth you need. A technically cleaner low-ISO file is not useful if the person you wanted sharp is blurred.
For a shallow-depth photograph, place the focus deliberately. A sharp shoulder with a soft face may not be the picture you intended. Check what your camera selected, especially when a sign, railing or nearby person has strong contrast.
Use a focus method you understand
Continuous autofocus can help when subjects move, but the camera still needs a target. A large automatic area may choose the closest object rather than the person you care about. A smaller area gives more control but requires you to keep it on the subject. Test both in a familiar place.
Subject-detection and tracking features vary by camera and settings. Read the current manual for your model. Check what happens when a person turns away, passes behind another person or leaves the selected area. Learn where the system loses the target before you rely on it for an important moment.
Pre-focusing is another approach when you know where the action will happen. Focus on the place where the subject is expected to pass, then avoid changing distance without checking focus again. If using manual or zone focusing, verify actual sharpness rather than trusting an approximate distance scale.
Nikon’s FOCUS First guide puts focus into a broader process for making a photograph. The practical point here is simple: choose your subject and focus approach before the moment, then review whether the photograph did what you intended.
Read the light on the person
Bright pavement does not mean a face is well lit. Look at the direction of light, the depth of the eye sockets and the contrast between the person and the background. A person under an awning may be much darker than the sunlit street behind them.
Work with a clear boundary when the light is harsh. A subject moving from shade into a patch of sun gives you a predictable change. Set an exposure for the part of the scene you want to protect, make a test and check the important highlights. Do not assume a histogram alone tells you whether a face is usable.
On an overcast day, contrast may be lower, but you still need separation. A pale coat against a pale wall can disappear. Look for differences in tone, color, shape or distance. You can move to change the relationship even when you cannot change the weather.
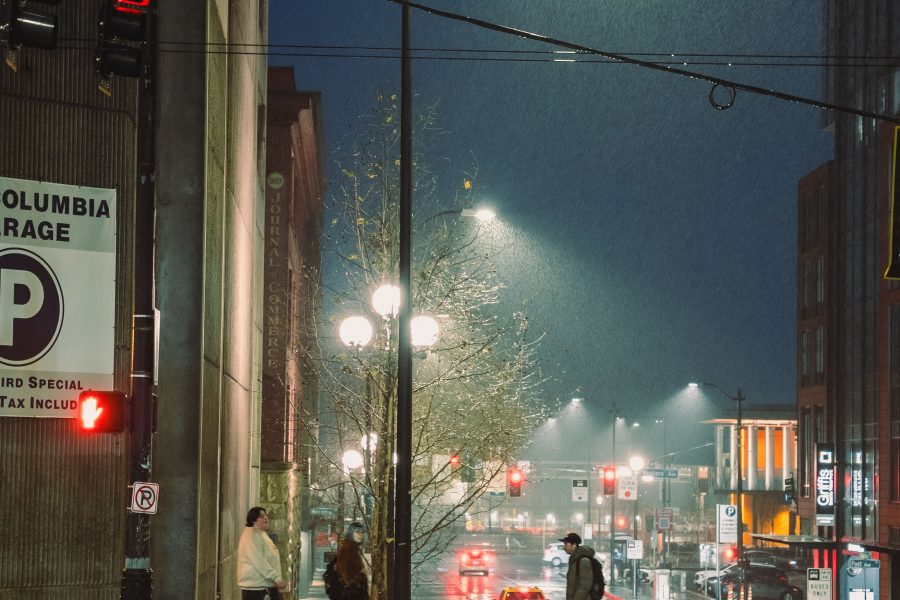
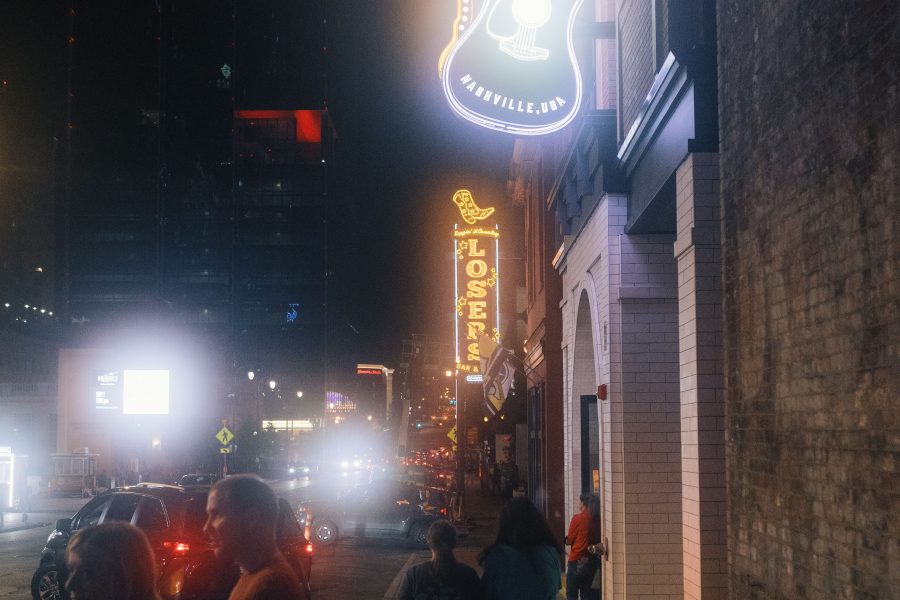
At night, a shop window or illuminated sign can become your light source. Let a person enter that light rather than expecting a dark street to produce a clean exposure by itself. Watch for mixed colors and clipping in bright signs. Keep the shutter appropriate for the movement you actually want.
 Save
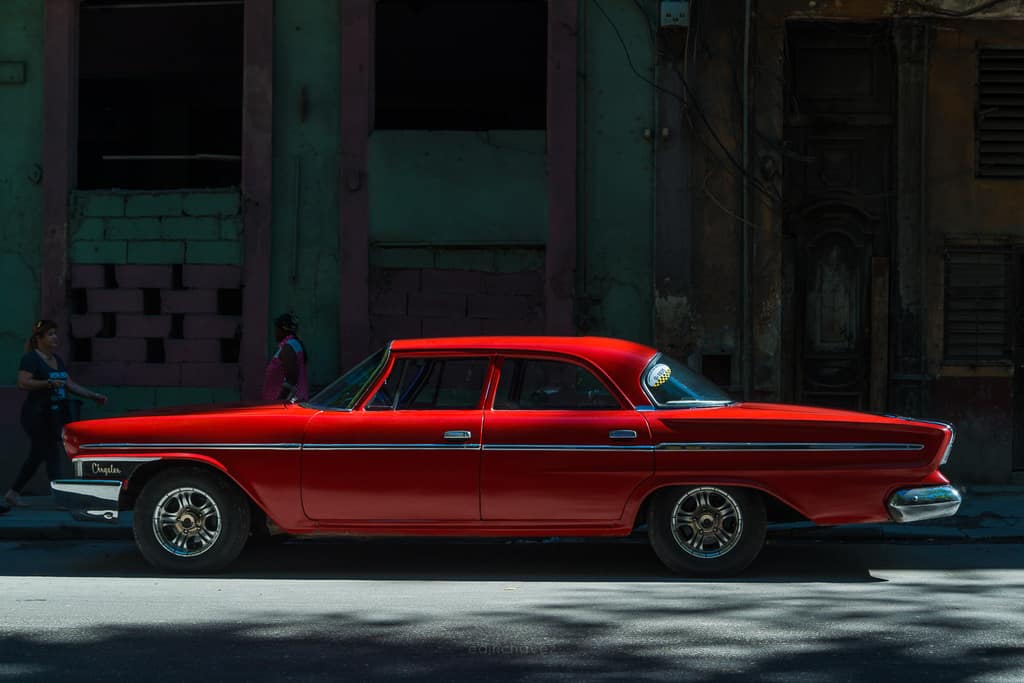
SaveTip: The lit red car separates from the dark Havana wall without blurring the whole background. Find the light-and-shadow boundary first, then wait for a subject that makes that contrast worth photographing.
Use gestures without forcing a story
A gesture can connect the elements in a frame: a hand pointing toward a sign, a head turned toward another person or a foot lifted over a puddle. Watch for these relationships. Do not invent a subject’s emotion or life story because the picture gives you an appealing caption.
Make several frames when a short sequence develops, but do not assume the last one is best. One frame may have the cleanest hand position. Another may separate the faces. Another may lose the background distraction. Review timing as carefully as sharpness.
Look for repetition and interruption. Three people walking in the same direction can create rhythm; one person stopping can break it. A line of umbrellas can become a pattern; a gap can make the arrangement readable. The street gives you material, but you still choose the frame and the moment.
 Save
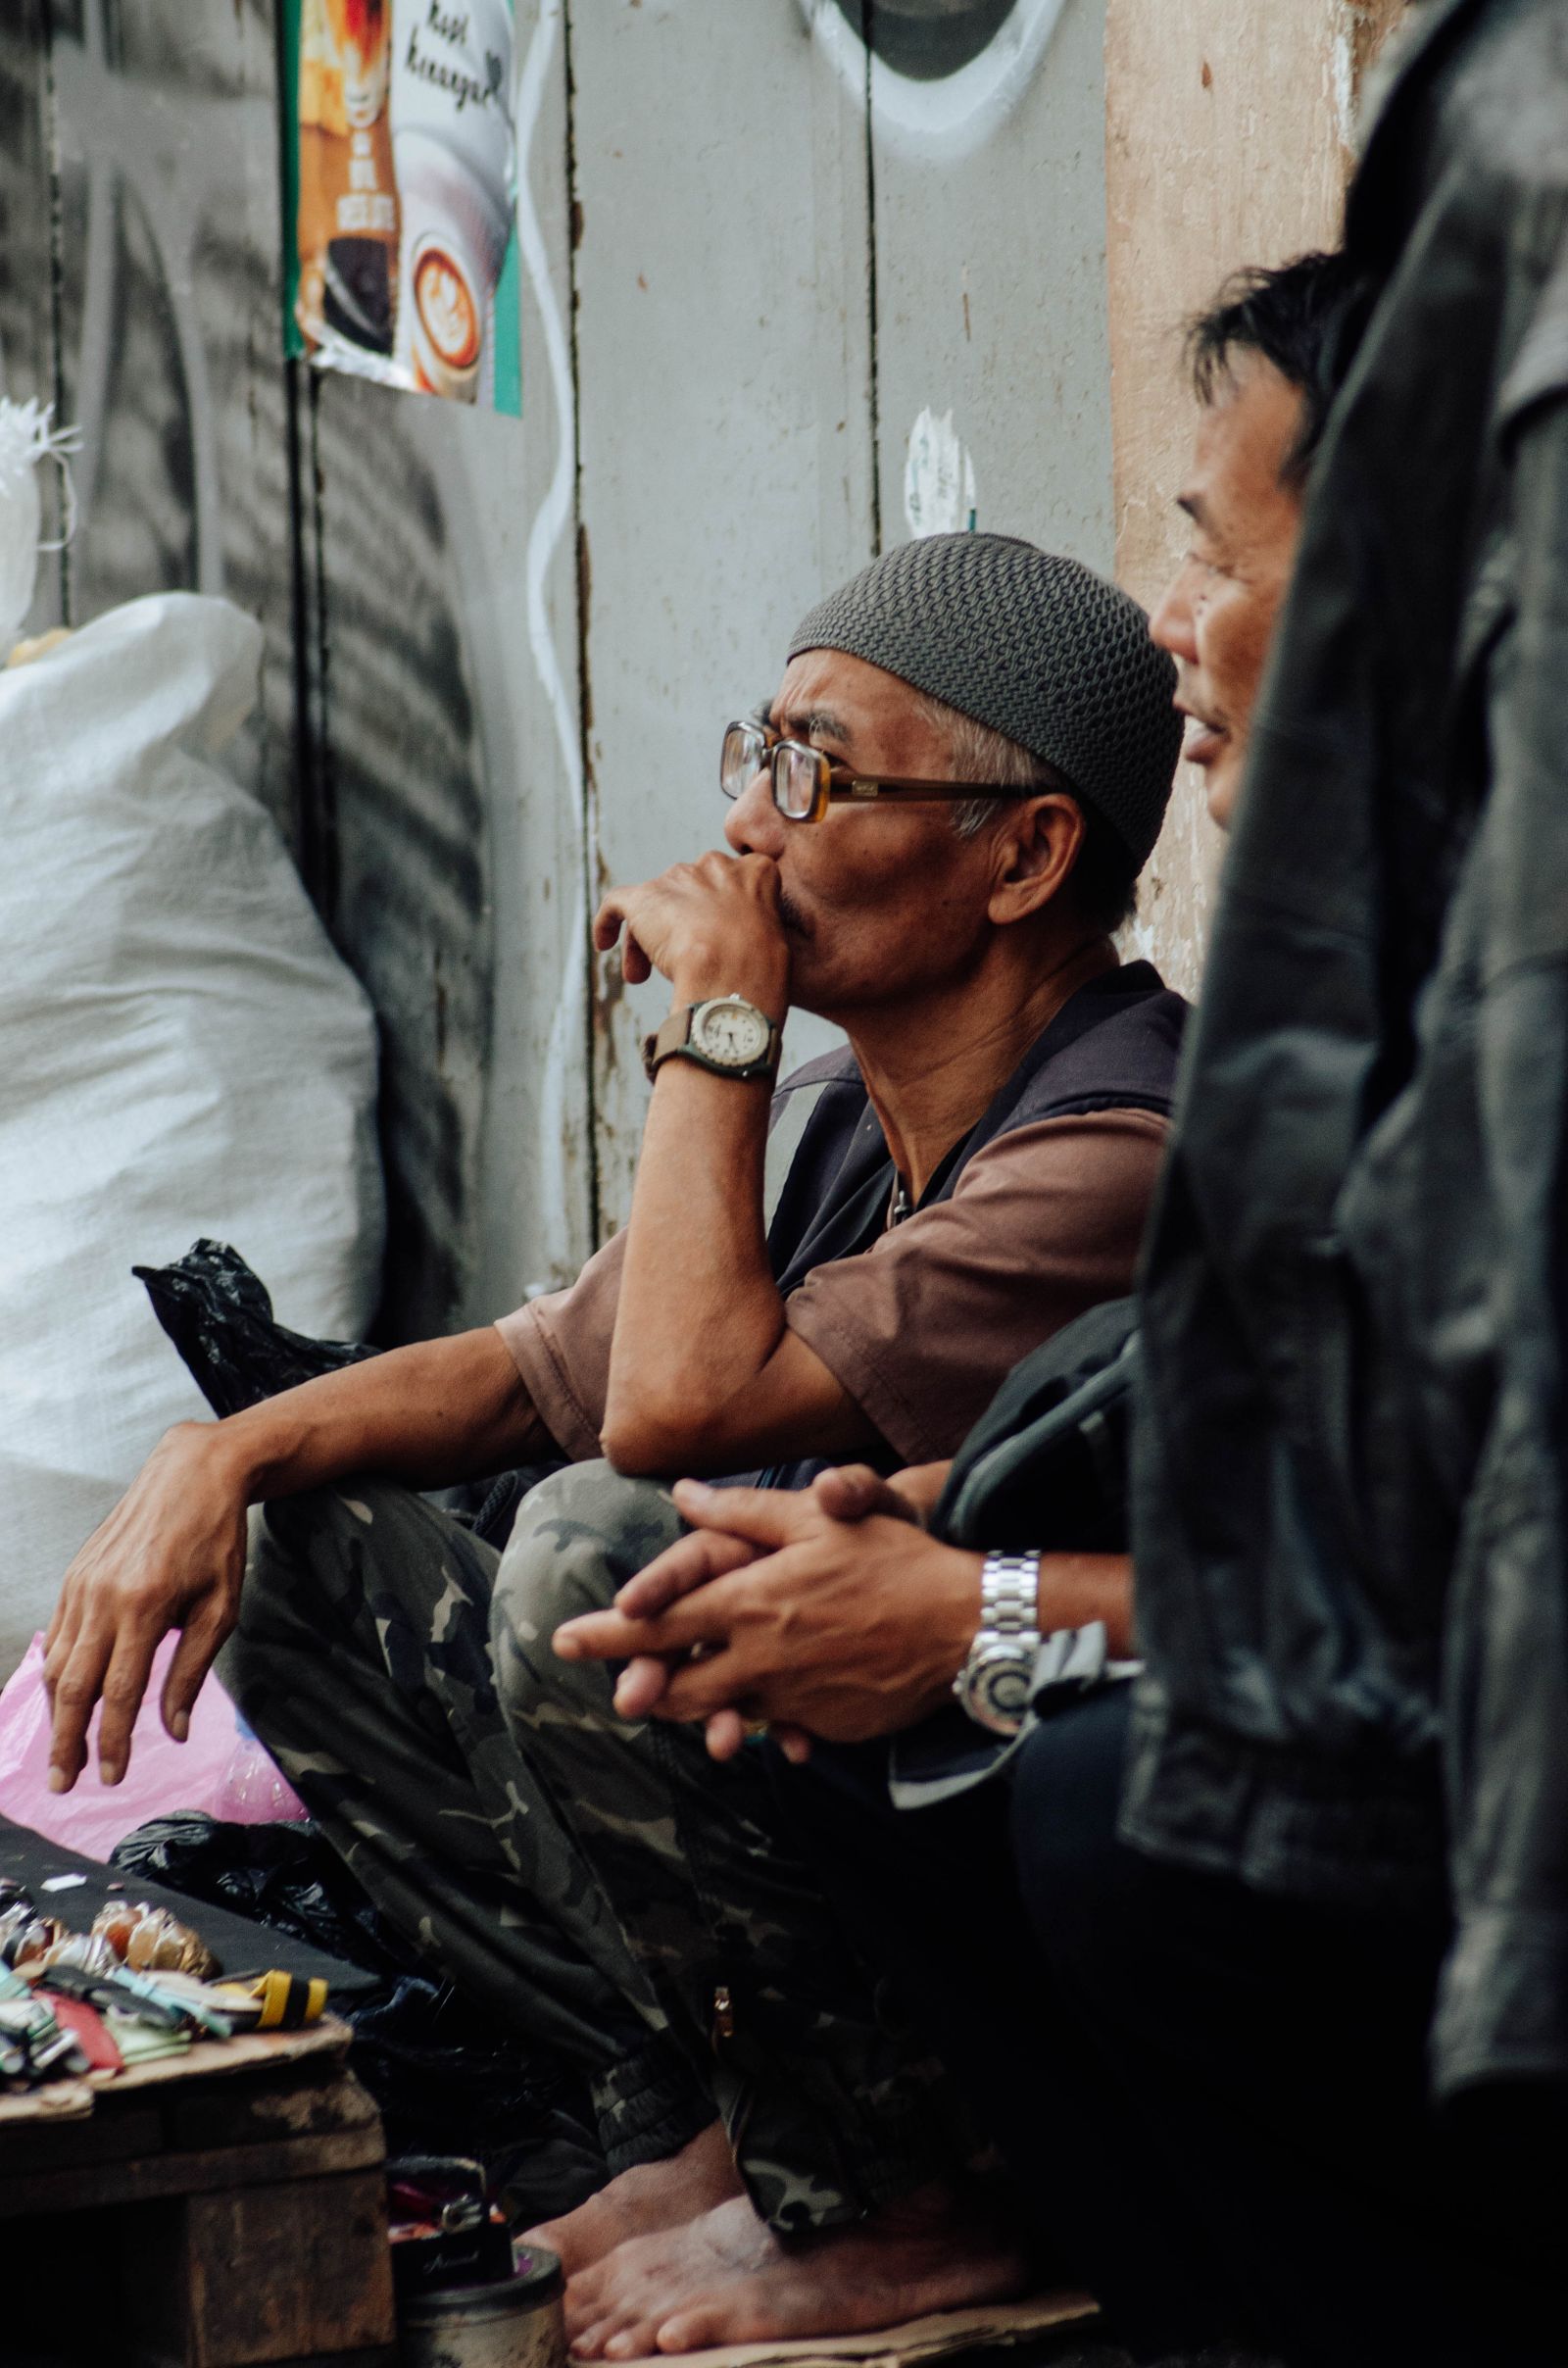
SaveAvoid turning someone else’s distress into a convenient exercise. If the situation calls for help or privacy, a camera is not the only response available. Your photograph is not more important than the person in it.
Work safely and respect boundaries
Keep out of traffic and do not block doors, crossings or access routes while waiting. A good background is not permission to stand somewhere dangerous. Watch what is behind you before stepping backward to change a frame.
Rules differ between public streets, privately managed plazas, transit systems, shops and events. A place that looks public may have its own restrictions. Check the applicable local rules and venue policy when the location or intended use matters. This guide does not promise one legal rule for every city.
If someone asks what you are doing, explain calmly. If they object, respect that. Do not hide behind a camera setting or claim that an article gave you permission. An honest conversation may lead to a portrait with agreement; it may also lead to putting the camera away.
Before publishing, review the use as well as the capture. Advertising, editorial work, exhibitions and a personal blog can raise different questions. Ask qualified advice for consequential use, especially when identifiable people, sensitive circumstances or commercial promotion are involved.
Planning a photography trip? Browse the destination photography guides before you choose a route. Where a paid PDF is available, use it for the location-specific planning that a general street technique article cannot cover.
A thirty-minute street exercise
- First five minutes: Find one safe place with a simple background and useful light. Do not photograph every person who passes.
- Next five minutes: Make exposure and focus tests. Check movement, highlight detail and the important distances.
- Next ten minutes: Wait for one relationship: a gesture, a shadow, a repeated shape or a person entering the light.
- Next five minutes: Change one thing, such as camera height or position. Keep the same subject idea so the comparison means something.
- Last five minutes: Review the strongest frames and write down what improved. Then leave the scene rather than shooting until every file looks the same.
This exercise gives you a controlled comparison. You can see whether the camera settings helped, whether the background carried the subject and whether a change of position improved the edges. It is more useful than collecting hundreds of unrelated frames and hoping one contains an answer.
Edit the sequence with a clear question
Start with technical rejects, but do not delete the whole set automatically. Keep original files until you have reviewed the sequence. A slightly imperfect frame may contain the gesture you were waiting for, while a sharp frame may say nothing.
Compare similar frames side by side. Look at the subject’s position, hands, separation from the background and every edge. Ask which frame contains the clearest relationship. Do not select solely because a photograph was difficult to make.
Keep editing consistent with the photograph’s purpose. Adjust exposure, color and contrast to support the frame. Material object removal or generative additions can change the truth of a documentary image. Check relevant publication, contest or client rules and disclose changes where required.
Finish with a small selection. If five photographs repeat one idea, choose the strongest rather than asking the viewer to do the editing. If you publish a sequence, vary the role of each frame: context, action, detail or conclusion. A sequence needs a reason for its order.
Want to go further? The ShutYourAperture Academy’s Street Photography: The Decisive Moment (7 modules, 28+ lessons) is built to help you capture life unscripted and learn to see the decisive moment.
Frequently asked questions
Do I need a small camera?
No single size makes the photograph. Use a camera you can carry safely and operate without staring at every menu. Familiarity, comfortable handling and an appropriate focus/exposure setup matter more than pretending a camera makes you invisible.
Is aperture priority suitable for street photography?
It can be, provided you monitor the shutter speed and understand your auto-ISO behavior. Shutter priority or manual exposure can also work. Test the mode in changing light and choose the one that lets you protect the decision that matters most in the scene.
Should every street photograph be candid?
No. A street portrait made with a conversation and agreement can be useful work. Describe it honestly. Do not stage a photograph and then present it as an unobserved moment.
Why are my photographs sharp but boring?
Sharpness does not create a subject relationship. Return to a simpler background, choose where the subject belongs and wait for a gesture or separation that gives the frame a purpose. Remove one distraction before adding another effect.
What should I practise on the next walk?
Pick one constraint: clean edges, readable gestures, a single light source or layered distances. Review that constraint afterward. A focused exercise gives you something you can judge, rather than a vague hope that the next walk will be better.
Find the frame. Set the camera. Wait for a reason to press the shutter. More practical tips: Shut Your Aperture.
Some links on Shut Your Aperture are affiliate links. If you buy through one, we may earn a commission at no extra cost to you.
Recommended gear for street photography
Keep the kit small enough to carry for the whole walk. Start with the camera you already know. If you want a dedicated fixed-lens option, the Fujifilm X100VI pairs a 23mm f/2 lens with a 35mm-equivalent field of view. That is a useful angle for including a person and the surrounding street. It is a fixed lens, not a zoom, so check whether that view fits how you work before buying.
Compare Fujifilm X100VI listings at B&H · Compare Fujifilm X100VI listings at Amazon
These links open retailer searches, not a promised price or stock status. Verify the model, seller, condition and current terms. A comfortable strap, charged battery and space on your memory card matter more than carrying a second body you never use.
For other camera options, use the camera buyer guide. Make the choice for your working distance and handling, not for a badge.
Affiliate disclosure: Shut Your Aperture may earn a commission from qualifying purchases through the Amazon and B&H links, at no extra cost to you. Buying equipment is optional.