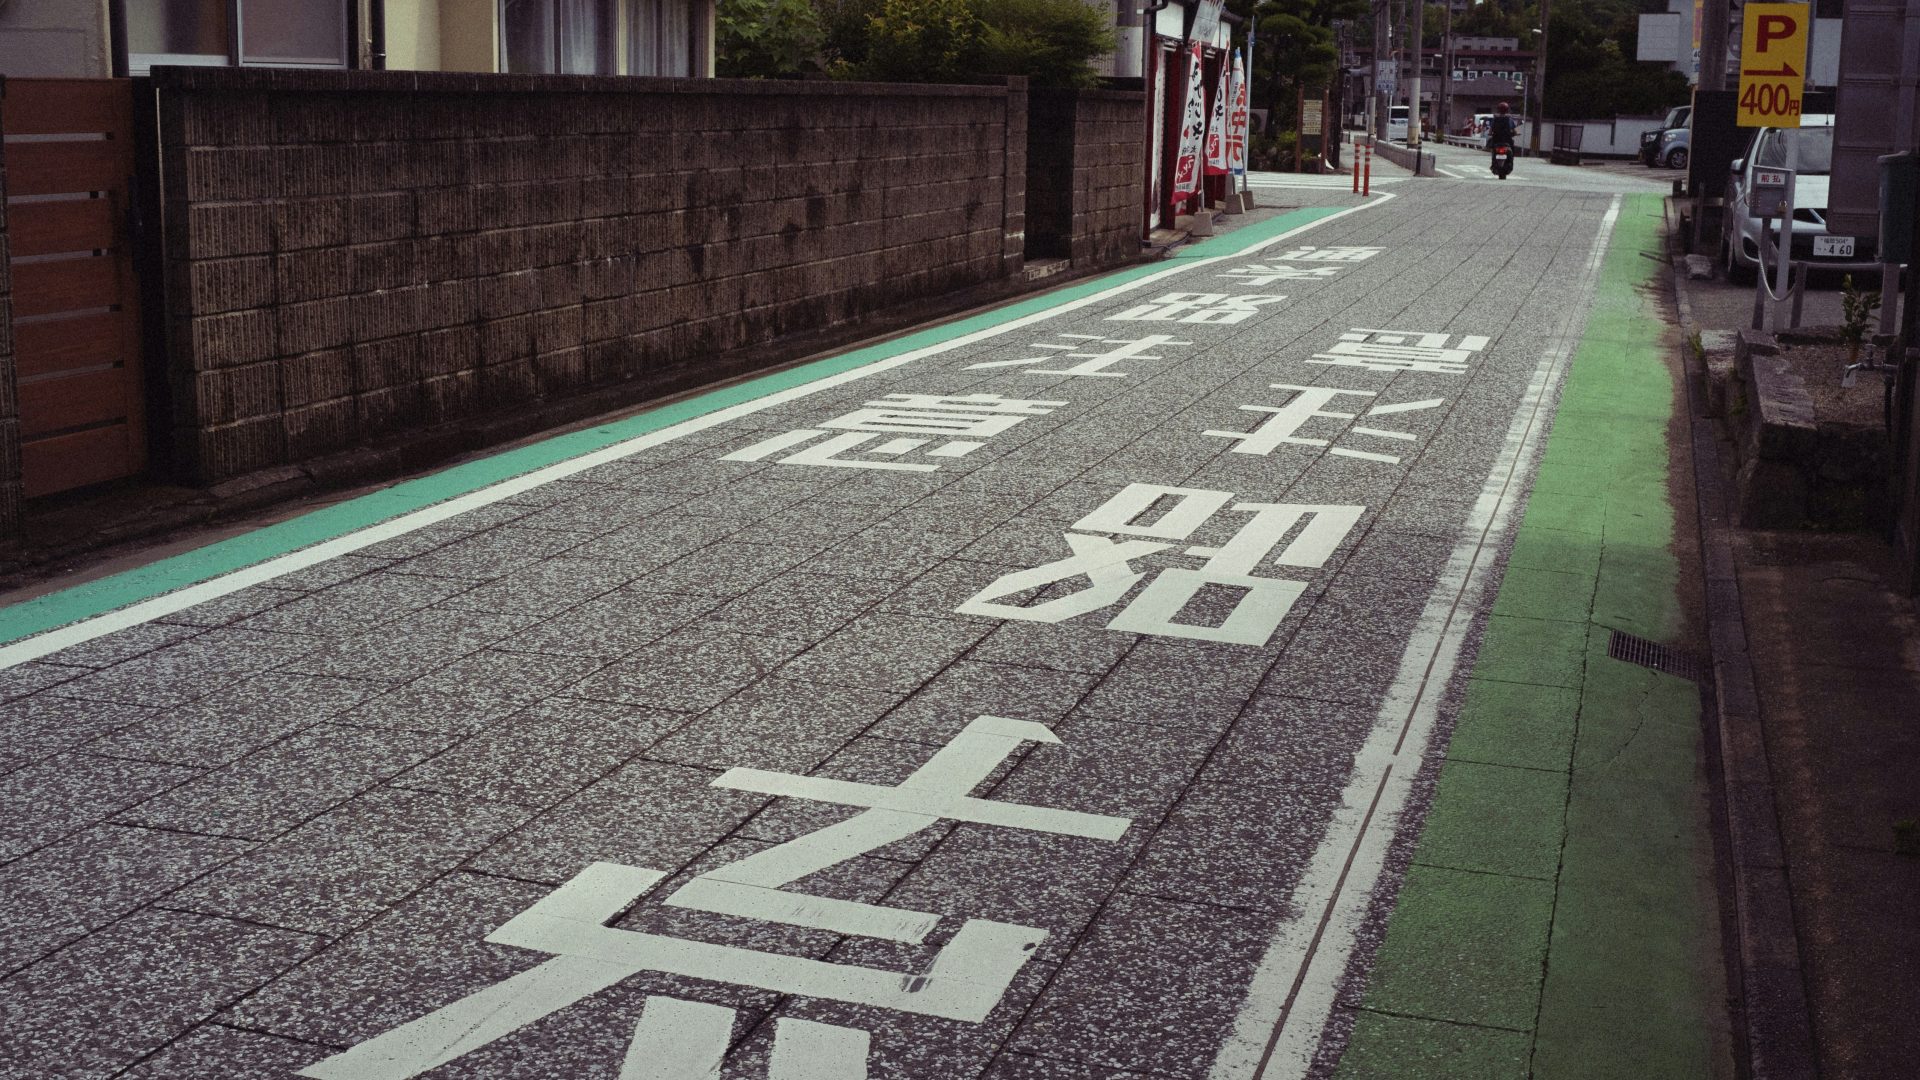
Featured photograph: A narrow paved street with white road markings and green painted edges. Photograph by chansu shin. Source: Unsplash. Free to use under the Unsplash License. Illustrative stock photograph, not work by Edin or a controlled camera-settings test.
Nikon Zf street photography settings should help you make a picture before the scene changes. Start with the thing you need to control: subject movement, the depth of the scene, or the brightness of an important highlight. Then choose an exposure mode and focus area that support that decision.
This guide uses Nikon’s Zf reference guide for camera controls. The suggested numbers are starting points to test with your lens and subject, not a claimed field test or a universal recipe. Menu choices can differ with firmware. Check the guide that matches your camera before looking for a feature.
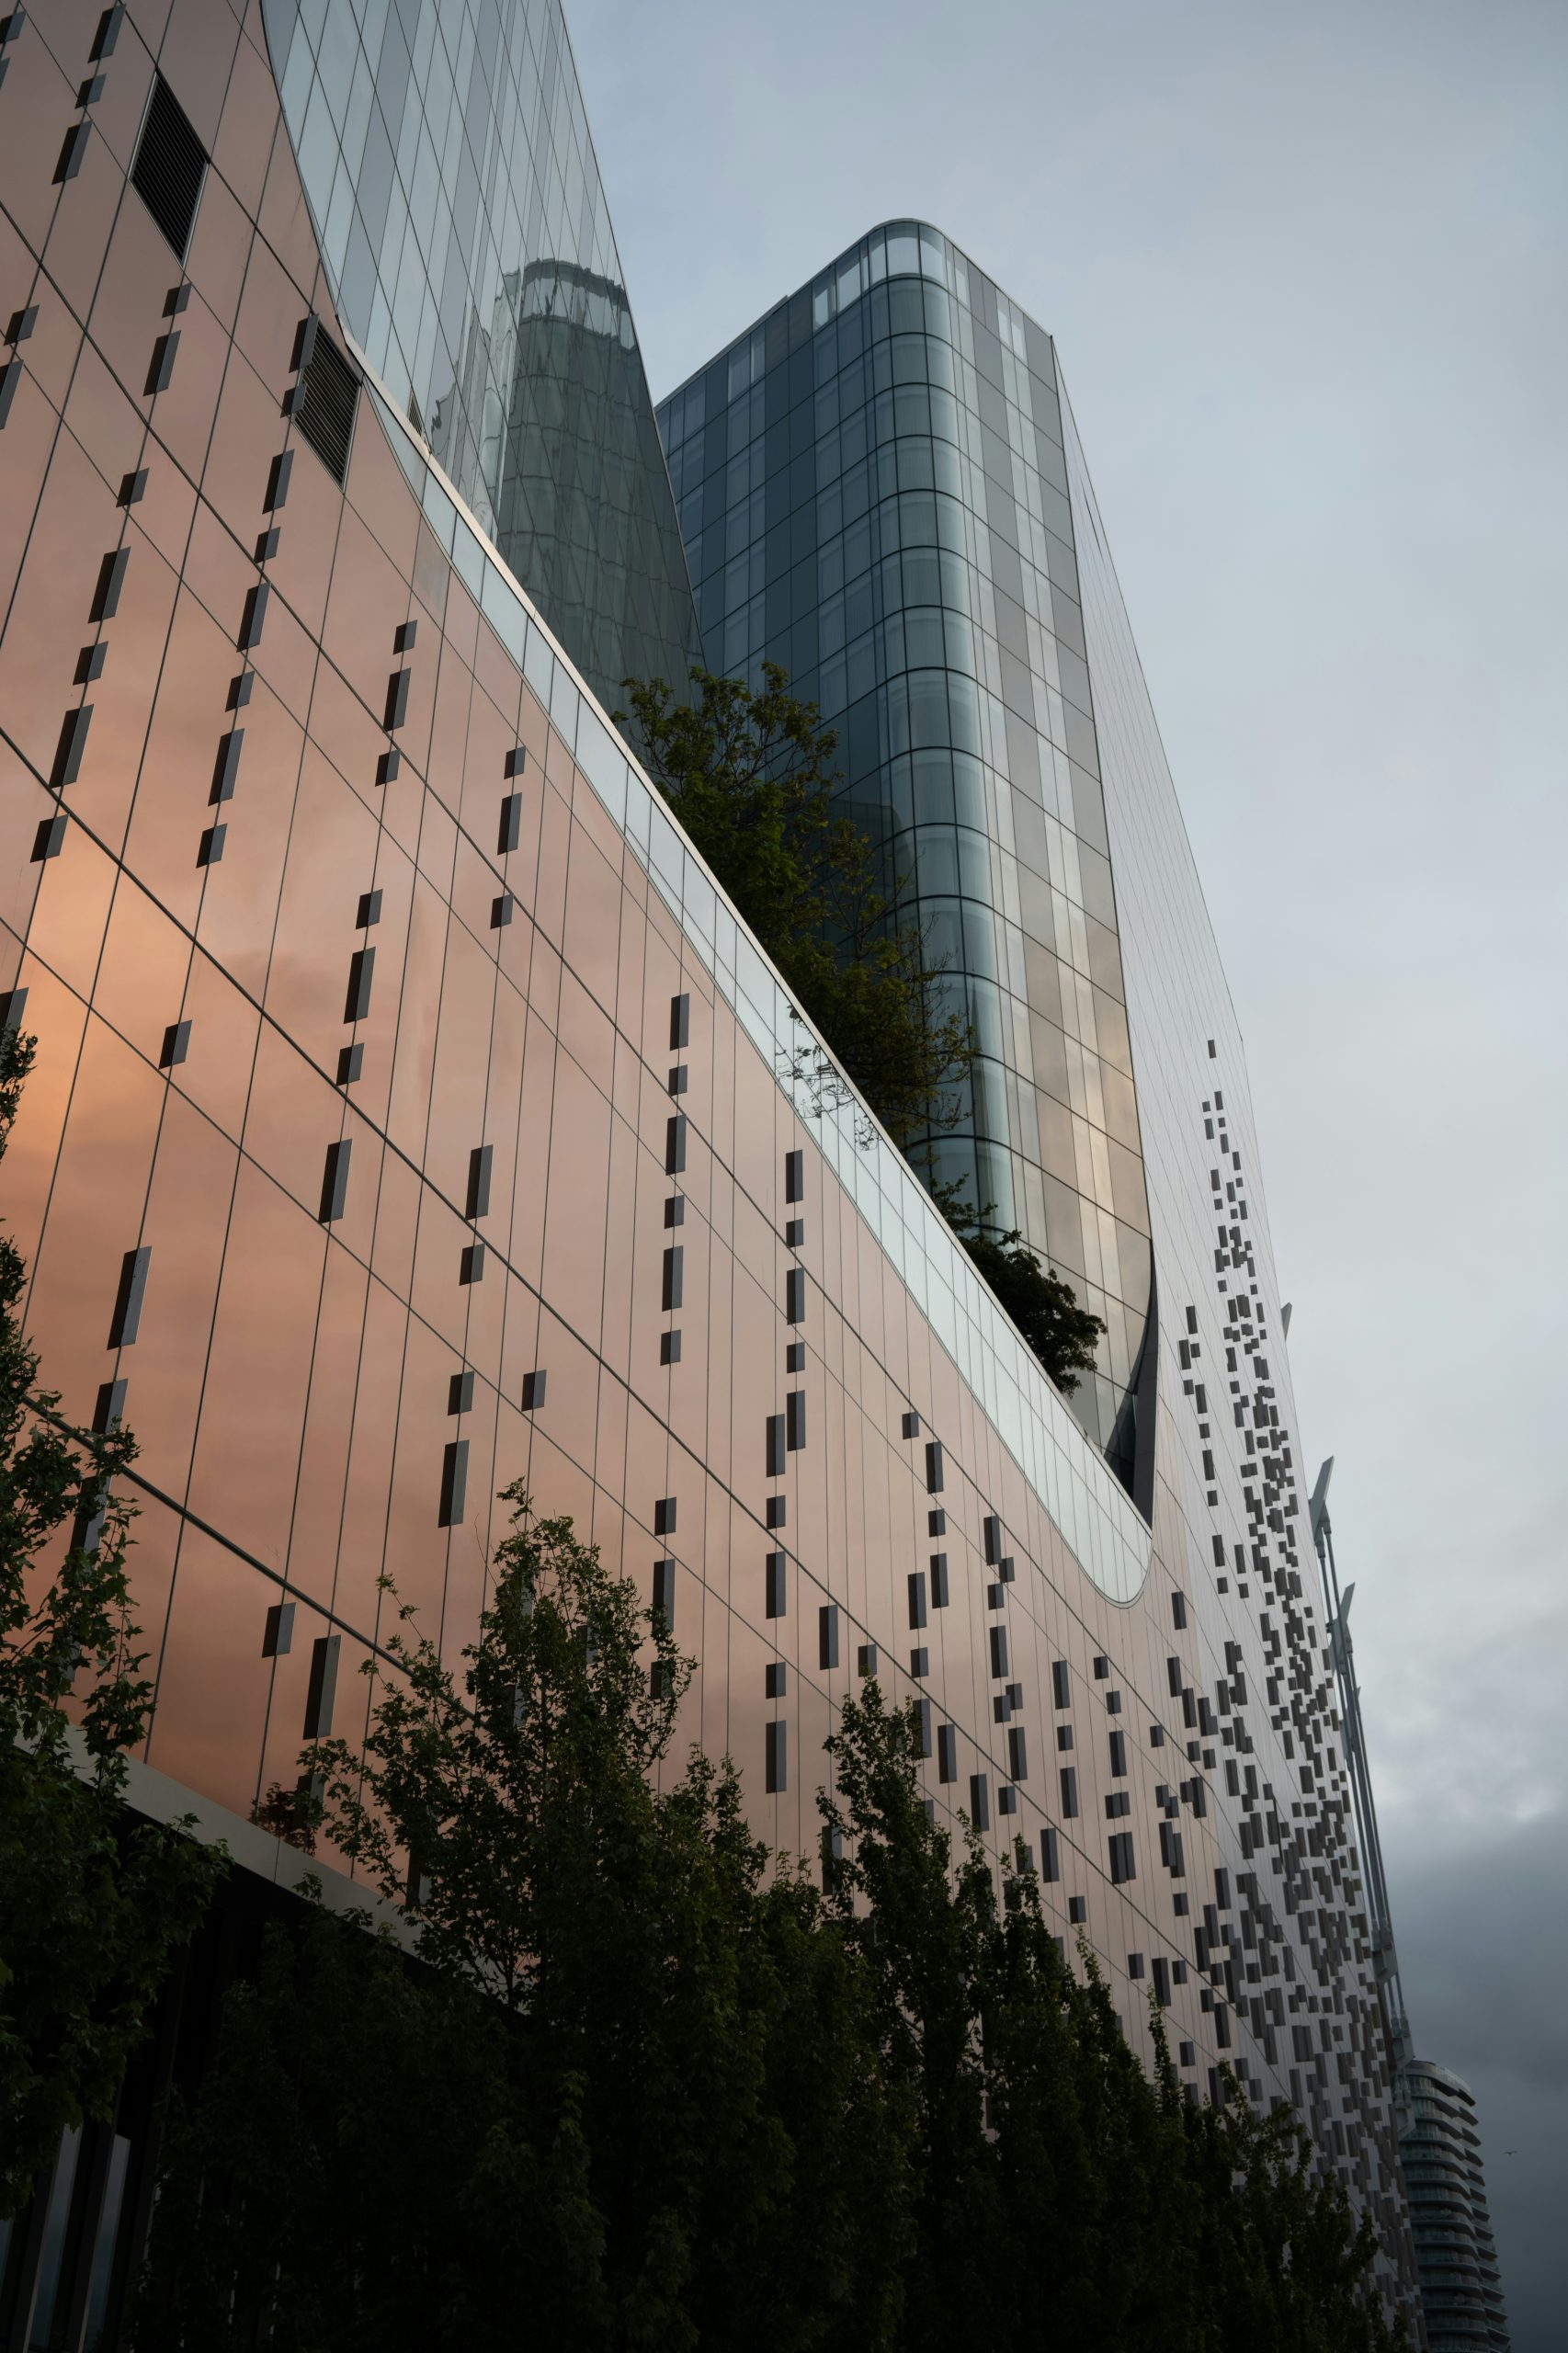
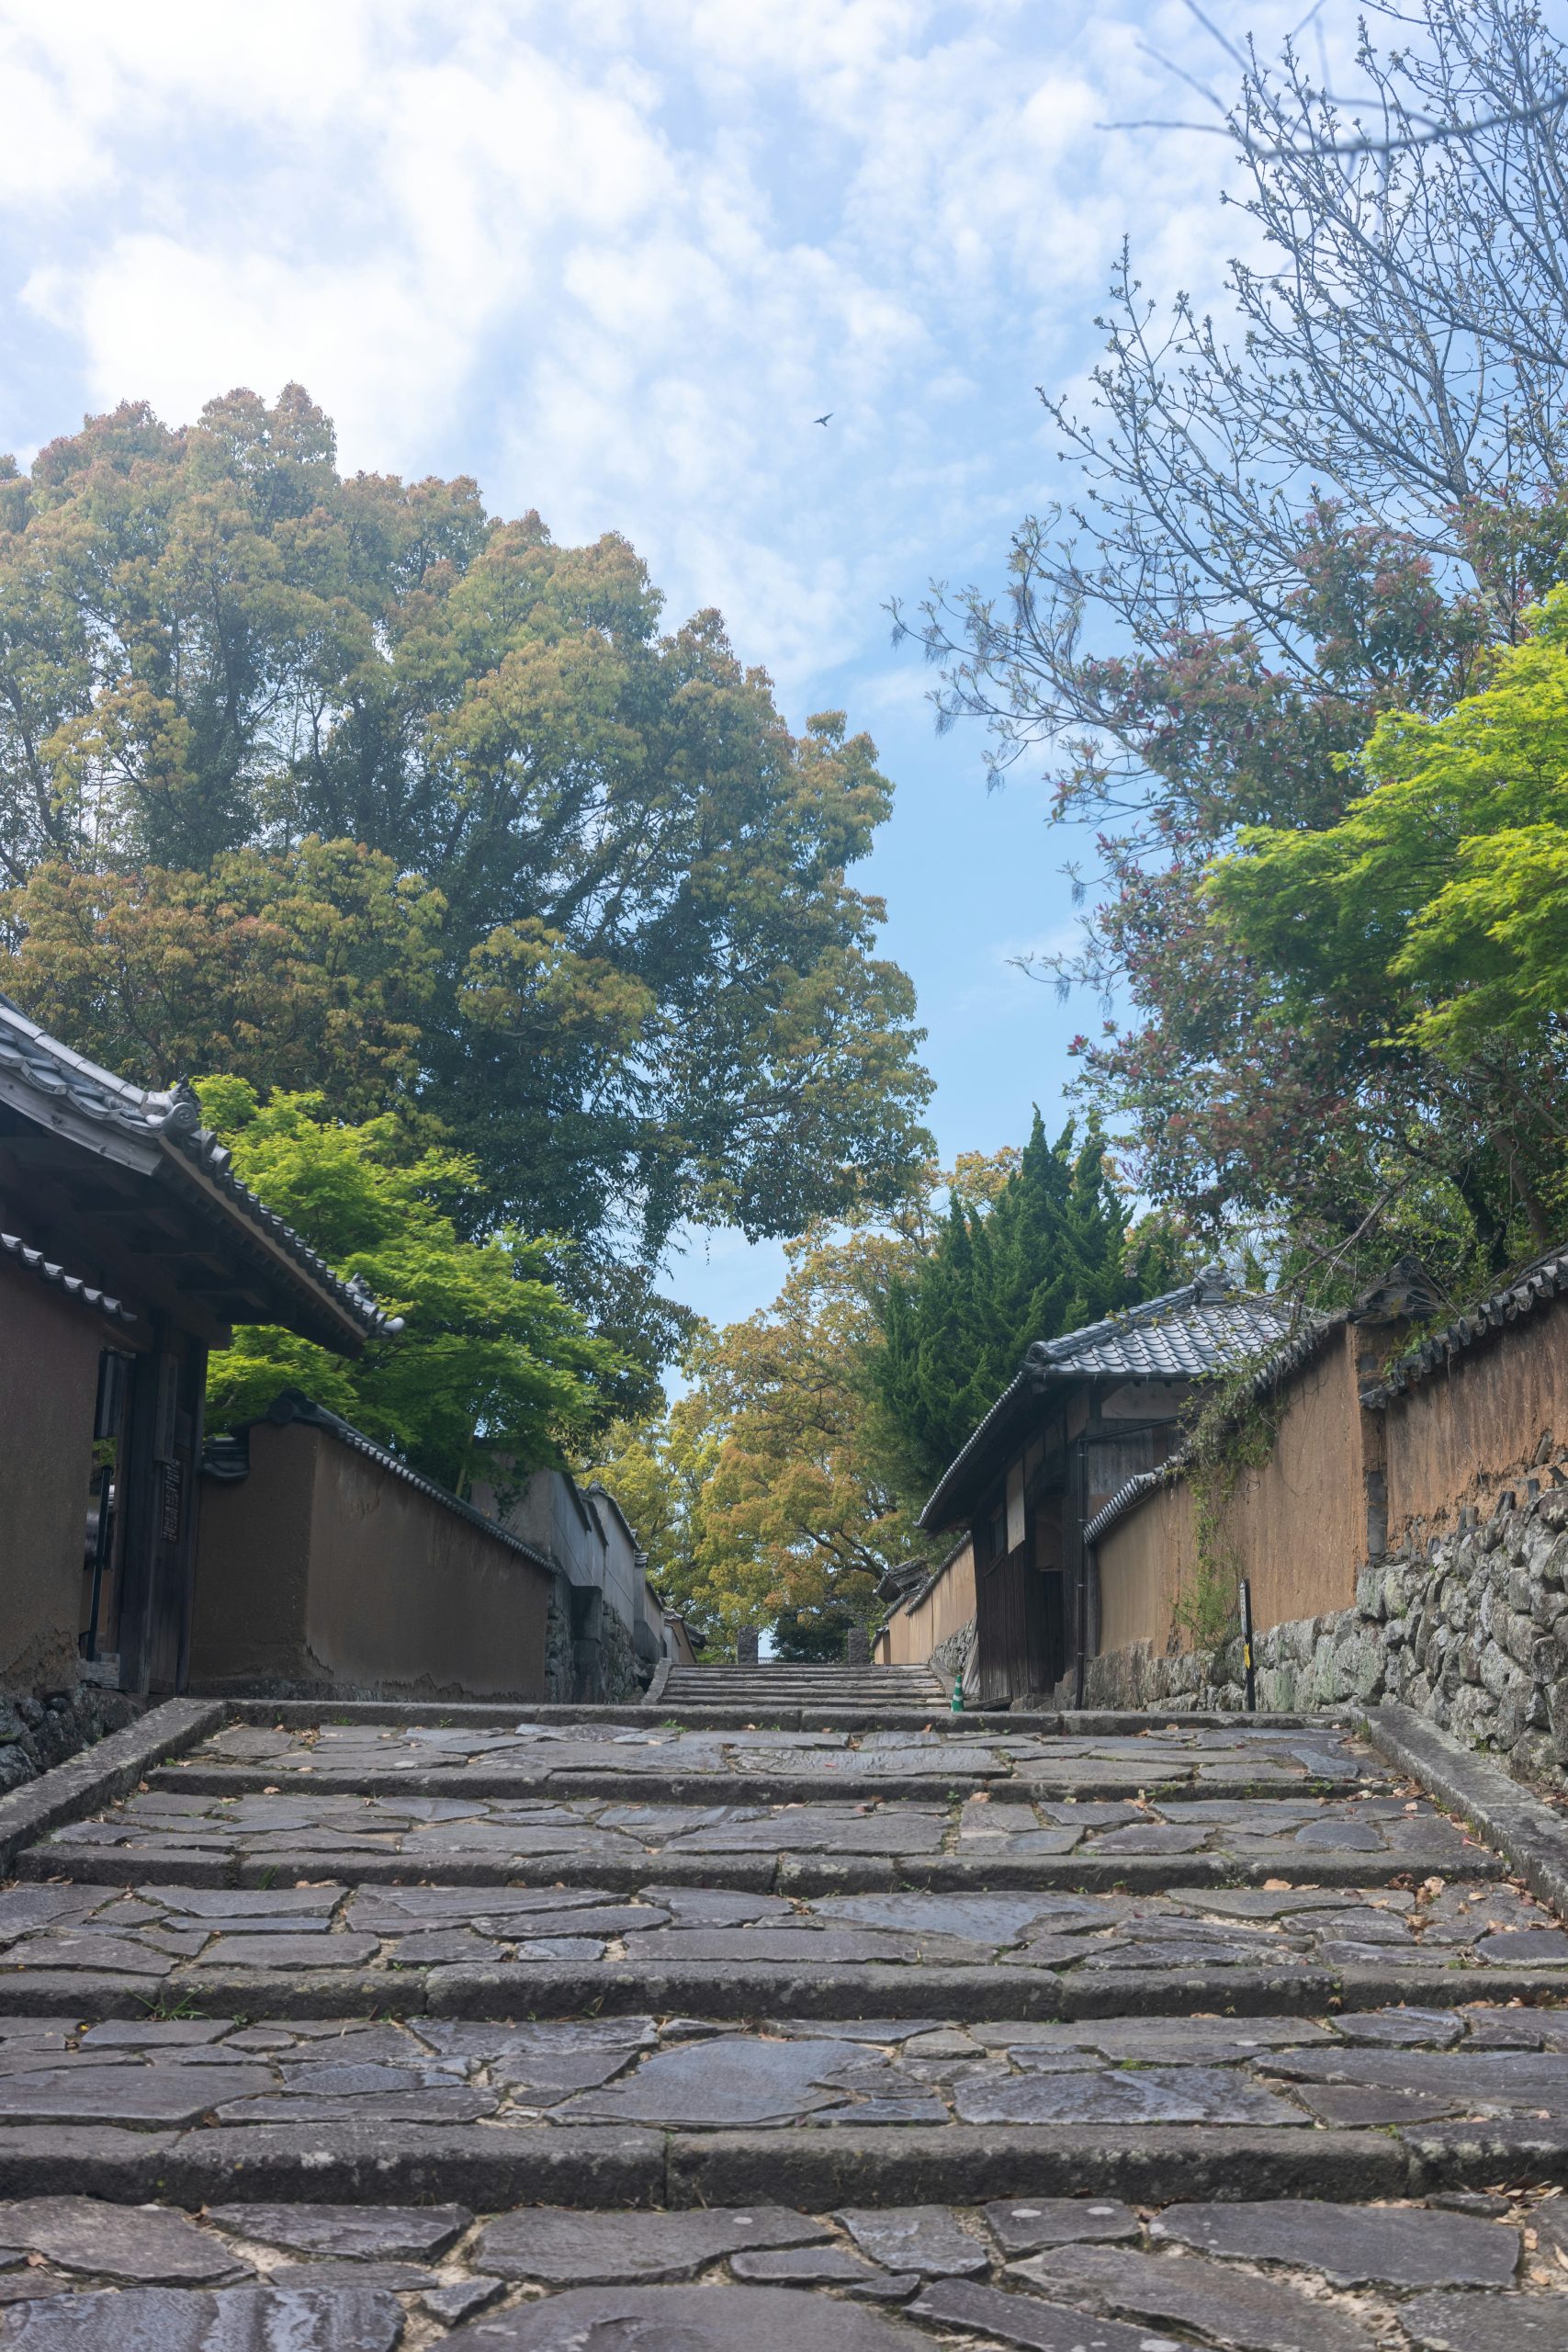
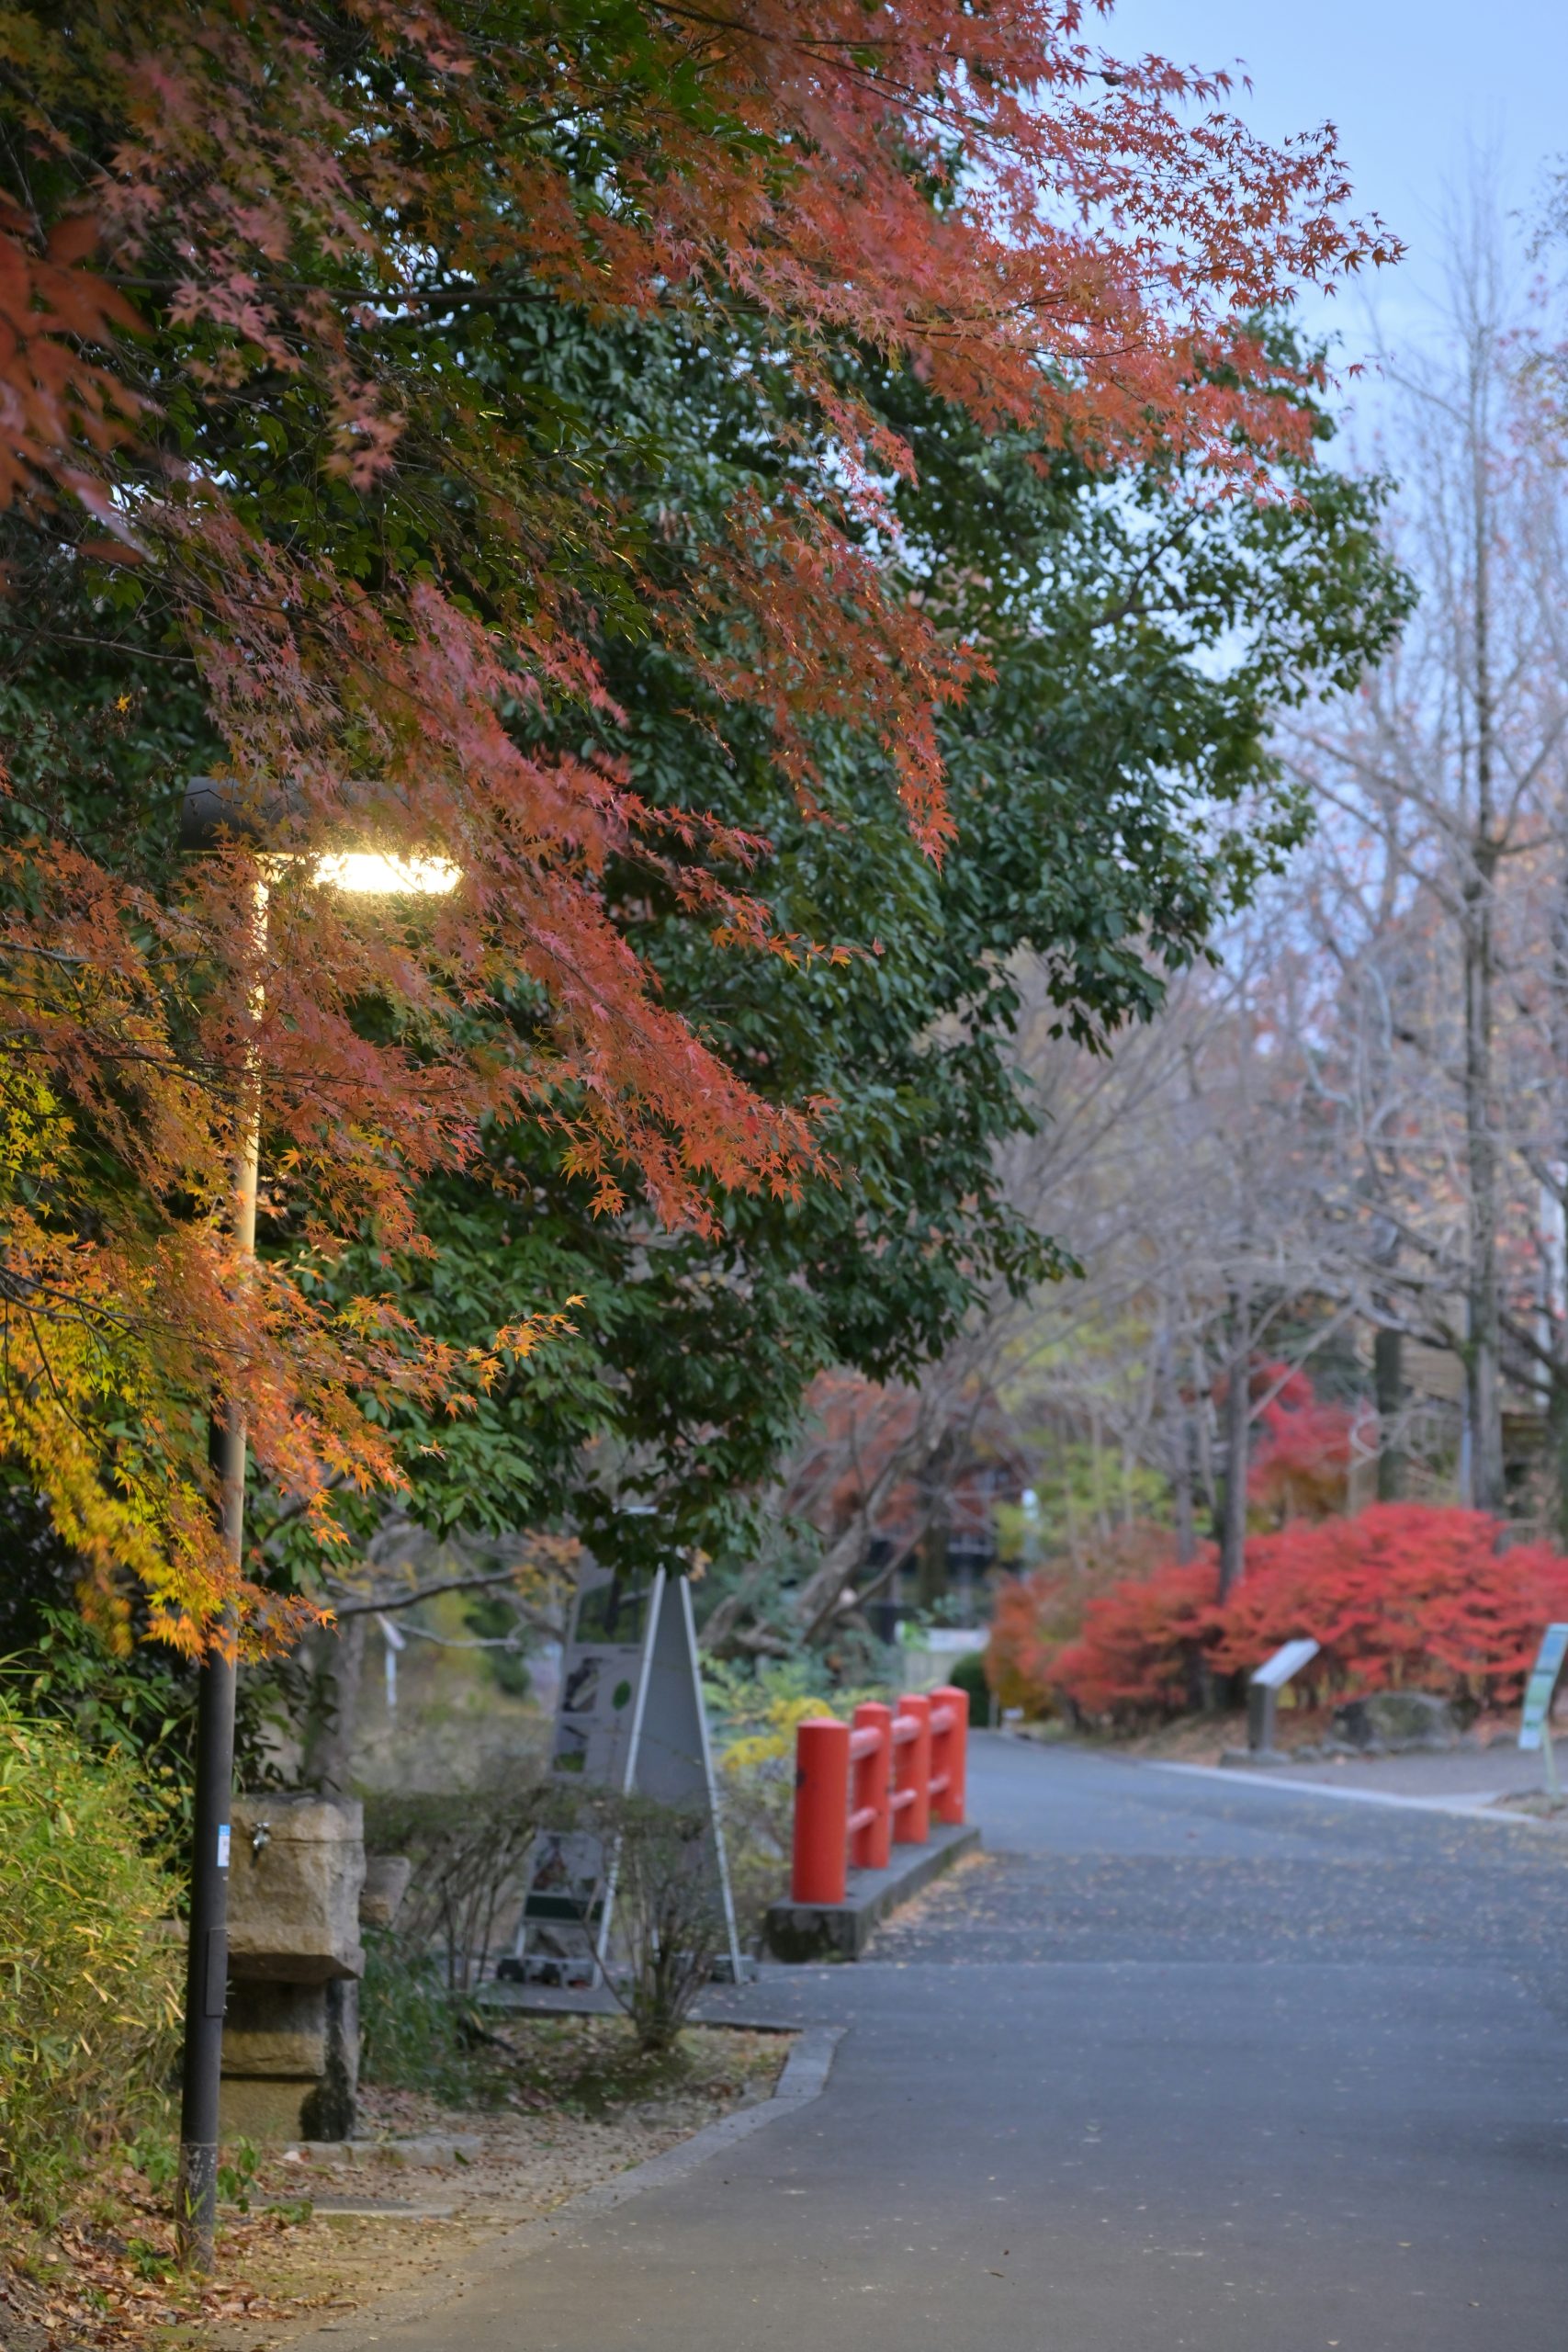
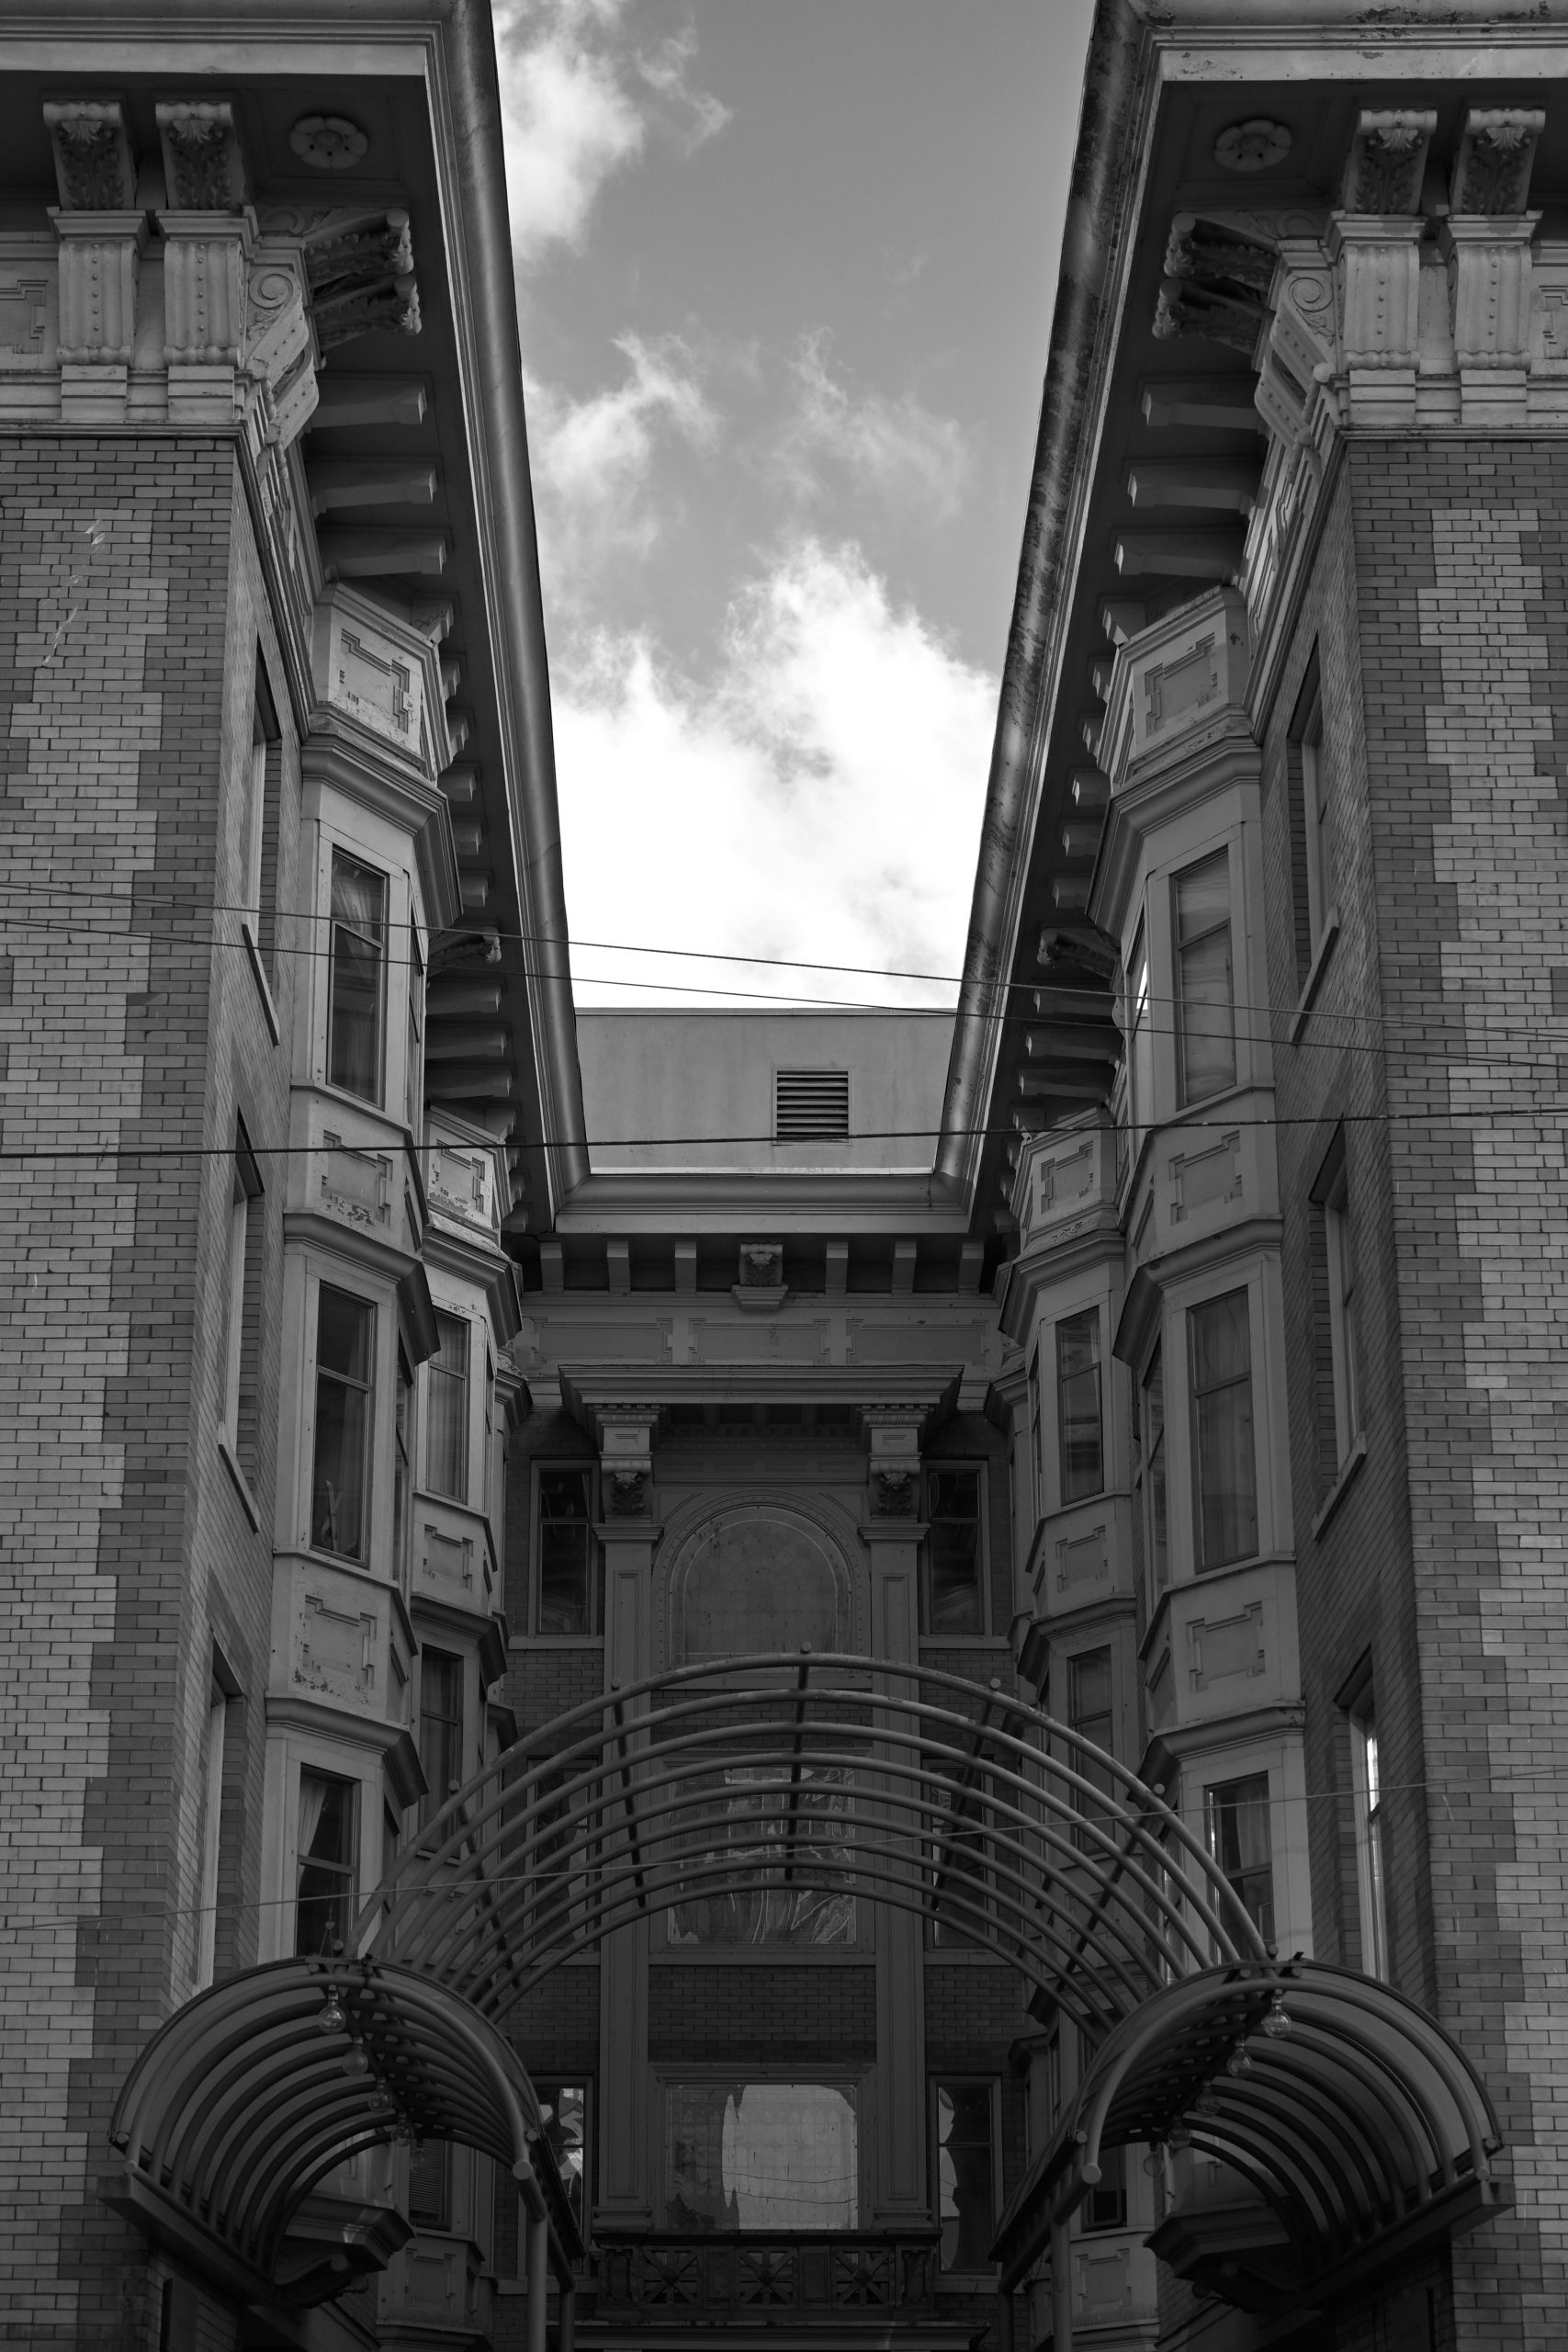
The credited photographs illustrate street composition, light, and depth. They are other photographers’ work, not photographs by Edin or a controlled Zf comparison. Their appearance does not establish the settings, processing, or capture method that produced them.
Choose what the camera should decide
For an ordinary walk through changing light, Aperture Priority is a useful first option. Select A with the mode selector and choose an aperture for the scene. The Zf then adjusts shutter speed. With Auto ISO enabled, it can also adjust ISO within your selected limits. The important habit is to watch what shutter speed it actually chooses.
Try around f/5.6 or f/8 when a foreground object and the street behind it both matter, provided the light supports the shutter you need. These are not guarantees of front-to-back sharpness. Lens focal length, focus distance, and how closely the final picture is viewed all affect the result. Open the aperture when you need more light or less depth, rather than treating a small aperture as a rule.
Use Shutter Priority when motion is the first decision. You choose the shutter; the camera chooses aperture. Manual mode is useful when you want to hold shutter and aperture together. With Auto ISO still enabled in M, ISO can continue to change. Calling the mode manual does not mean every exposure variable is fixed.
Understand the Zf’s dials before leaving home
The exposure mode selector and the shutter-speed dial do different jobs. A number on the shutter dial does not turn Aperture Priority into Shutter Priority. Decide on the mode first, then check the shooting display to see which settings the camera is using. This small check prevents a lot of apparent inconsistency.
In S or M, Nikon documents two ways to choose shutter speed. Use the marked shutter-speed dial positions, or set that dial to 1/3 STEP and use the main command dial for third-stop changes. The latter is useful when you want a speed between the marked whole-stop positions. Practice the transition before a subject arrives.
The ISO dial also needs context. Auto ISO is enabled through ISO sensitivity settings, not by assuming that a physical dial position means automatic operation. Nikon’s menu lets you view the selected sensitivity and, with the ISO dial at C, adjust it through the menu. The display is your check on the result, especially after changing modes or returning from a different kind of shoot.
Set Auto ISO around movement, not a favorite number
Open the photo shooting menu and choose ISO sensitivity settings. Turn Auto ISO sensitivity control on, then choose Maximum sensitivity and Minimum shutter speed. In P and A, the minimum shutter setting is the point at which Auto ISO starts raising sensitivity to avoid underexposure. It is not an unconditional promise to keep that speed.
Nikon specifically warns that shutter speed can drop below the selected minimum if the maximum ISO limit is not enough for the exposure. If you choose a low ISO ceiling in a dark street, the camera may protect that ceiling by letting the shutter slow. Watch the actual speed when moving from an open square into a covered passage.
For a walking subject, try about 1/250 second as a first test and inspect the result. Faster movement, a tighter view, or a subject moving across the frame may need a faster speed. For a stationary building, a slower speed may be practical with steady support. The purpose of the setting is to describe your subject, not to satisfy a fixed street-photography formula.
Auto minimum shutter speed uses lens focal length as part of its choice. That can help with camera movement, but focal length does not tell the camera how fast a cyclist is crossing your frame. Choose a specific minimum or adjust the automatic choice when subject movement demands it. If the picture still fails, change the setting rather than blaming the camera for following it.
 Save
Separate camera shake from subject blur
Vibration reduction can help with movement of the camera. It does not stop someone walking, a moving wheel, or leaves blowing in the foreground. A sharp wall behind a blurred subject is a different problem from a frame in which every edge has moved. Look for that distinction before changing focus settings.
For supported lenses, the Zf offers Normal, Sport, and Off vibration-reduction choices. Nikon describes Sport for rapidly and unpredictably moving subjects. Availability and control can depend on the lens; an adapted F-mount lens with its own VR switch may require that switch. Follow the camera and lens instructions instead of assuming one menu choice applies to every combination.
Make a simple comparison when the scene permits. Keep the framing and focus similar, shorten the exposure, and compare the moving detail at the same magnification. If it becomes more distinct, shutter time was part of the problem. Opening the aperture or accepting a higher ISO may be a better trade than keeping a low ISO with unwanted blur.
 Save
Choose a focus mode for the subject’s behavior
AF-S is a straightforward option for a stationary detail, doorway, or building. Nikon says focus locks when you half-press the shutter after focus is acquired. AF-C keeps adjusting while the shutter is held halfway, making it a better starting point when the distance to the subject is changing. Neither mode chooses the right subject for you.
Pair AF-S with Single-point AF when you want to place focus on one specific detail. Pinpoint AF offers a smaller area for static work, but Nikon warns that it can focus more slowly. It is available in still-photo AF-S, so it is not a substitute for tracking a subject approaching you.
For movement, AF-C with 3D-tracking is worth trying. Place the initial point over the intended subject and half-press to start tracking. Keep checking that the tracking area remains on the subject you chose. If it follows something else, release, place the point again, and reacquire. A wider area is convenient, but convenience is not proof of correct focus.
Nikon lists real limitations: a subject can be too small, too dark, hidden by another object, or too similar to the background. Repeated windows and changing light can also confuse autofocus. In a layered street scene, selecting a smaller area or waiting for a cleaner separation may help more than switching every AF option at once.
Use subject detection deliberately
Subject detection is a separate choice from focus mode. The Zf’s AF/MF subject detection options let you give priority to a subject type or turn detection off. For photographing people, People is a more deliberate choice than expecting an automatic subject selection to understand the story you want to tell.
Detection operates with particular AF-area modes, including the documented wide-area options, 3D-tracking, and Auto-area AF. Do not expect the same detection behavior from every focus-area choice. If you cannot see the expected box, check both the subject-detection setting and the AF-area mode before assuming a fault.
A box on a face or eye is useful feedback, not a finished-picture guarantee. Distance, obstruction, lighting, and movement can limit detection. Review an actual frame when it is safe to pause. If your subject is a reflection, a sign, or a geometric arrangement rather than a person, detection off and a selected focus point may be easier to control.
Keep manual focus as an option, not a badge
Manual focus is useful when autofocus repeatedly selects the wrong surface or when you want to hold a chosen distance. Nikon documents magnification with the X button for a more precise check. Focus peaking can outline detail, but Nikon also warns that the outline may not appear when the camera cannot detect suitable edges.
Peaking is a guide, not a measurement of everything that will look sharp in the final picture. Magnify an important detail and check the result. If you are working at a fixed distance, remember that stepping forward or backward changes the relationship. A pre-focused distance does not follow a moving subject.
Zone focusing also depends on the lens, aperture, distance, and your sharpness standard. Start with a still subject and learn the usable range before relying on it for a fleeting moment. There is no need to switch away from autofocus simply because the camera has a traditional-looking body.
 Save
Check highlights before brightening the whole street
Bright sky, reflective glass, and a shaded pavement can exceed what one pleasing exposure seems to show at first glance. Decide which area needs detail. Use exposure compensation when the automatic exposure is consistently brighter or darker than that intention, and check another frame instead of applying the same correction all afternoon.
In P, S, and A, compensation changes the exposure the camera seeks. In M with Auto ISO on, Nikon says compensation changes the ISO response. In M with a fixed ISO, it changes the exposure indicator rather than adjusting your shutter and aperture for you. This is why the same dial movement can behave differently after a mode change.
Use playback highlights and the RGB histogram as review aids. Nikon provides these under Playback display options. A bright screen is not reliable evidence that important highlights are intact. Inspect the picture as well as the graph: a clipped light source and a clipped area of important wall texture do not have the same consequence for the image.
Treat silent shooting as a tradeoff
The Zf’s Silent mode uses the electronic shutter regardless of the separate shutter-type selection. It reduces the noise and vibration of the mechanical shutter, but Nikon warns about banding under some artificial lights and distortion associated with movement. A quiet shutter is not automatically the best choice for every street.
Take a test under the actual lighting when signs, indoor lamps, or moving subjects are important. Inspect for stripes or skewed shapes before relying on a sequence. If the result is wrong, choose an appropriate alternative shutter setup and test again. Do not assume an electronic-shutter problem can always be removed in editing.
Silence also does not decide whether a photograph is considerate or permitted. Follow posted restrictions, respect requests for space, and avoid blocking a pavement or doorway. Camera settings are a way to make the exposure; they do not provide permission to enter private property or ignore the people around you.
Choose files and color for the work you will actually do
Use NEF RAW when you want to make your own processing choices, or RAW plus JPEG when you also need an immediately usable rendered file. Nikon documents both options in Image quality. Test your import and editing workflow beforehand, especially if you have changed software or camera firmware.
The B&W selector offers Monochrome, Flat Monochrome, and Deep Tone Monochrome Picture Controls. These are different rendering choices, not improvements to focus or exposure. A monochrome view can help you notice shape and tonal separation, but it will not turn a cluttered arrangement into a clear one.
Try a consistent rendering for a short walk so that differences between frames are easier to judge. Avoid changing color treatment, exposure, focus mode, and composition together when you are trying to understand a failure. Keep an untouched original and test how your chosen editor interprets it rather than assuming that every application will show the camera’s preview identically.
 Save
Make the useful controls easy to reach
A small set of familiar controls is more useful than a complete custom setup copied from someone else. Nikon’s f1 Customize i Menu setting lets you choose the items shown when the i button is pressed in photo mode. Highlight a position, press J, and choose the item you want there. Start with settings you actually change during a walk.
Focus mode, AF-area mode/subj. detection, ISO sensitivity settings, Image quality, and Vibration reduction are documented choices. Their position in your menu should make sense to you. Practice opening the menu, selecting one setting, and returning to shooting without changing a neighboring item. Do this with the camera in your hands rather than trying to memorize a screenshot.
Before leaving, photograph a plain stationary detail and review it. Confirm that a file was recorded, the image area is the one you intended, and the display shows the expected shutter, aperture, and ISO. Then switch between a still subject and something moving at a safe distance. This checks your ability to change the setup, not the camera’s best possible performance.
When a scene becomes busy, return to that familiar baseline. Change only the control that answers the problem you can see. If you lose track of what changed, pause somewhere out of the way and read the display. A short deliberate reset is better than making several guesses while walking across a street.
Review a short sequence and change one thing
Choose one simple scene and make a baseline frame. Note the mode, shutter, aperture, ISO, focus mode, and AF area. Check where focus landed and whether the movement looks intentional. A small record of these decisions is more useful than remembering that the light felt difficult.
Make a second frame with one purposeful change. If movement was blurred, try a faster shutter while watching what happens to aperture or ISO. If the wrong layer was sharp, select the desired detail and refocus. Compare at the same viewing size. Do not call one method better because you enlarged one frame more than the other.
Finish by judging the whole composition. Check the edges, the spacing between objects, and whether the main subject separates from its background. A technically sharp file can still be an unclear photograph. Keep the settings that solve the actual problem and return your attention to the scene.
For the next walk, choose one improvement rather than a complete reset: a better shutter floor for moving subjects, a smaller focus area for layered scenes, or more consistent highlight review. The aim is a setup you understand well enough to change quickly, not a page of numbers you follow without looking.
Camera instructions: Nikon Zf exposure controls, Auto ISO settings, focus modes and detection, Silent mode cautions, Picture Controls, and i menu setup. Check the guide for your installed firmware.
Want to go further? The ShutYourAperture Academy’s Street Photography: The Decisive Moment (7 modules, 28+ lessons) is built to help you capture life unscripted and learn to see the decisive moment.
Carry gear for a street practice walk
A Peak Design Slide Lite strap in black, model SLL-BK-3, is one carry option for a Zf street photography walk. Check the camera attachment points and anchor fit, follow the installation instructions and inspect the connections before leaving. Adjust it so the camera reaches your eye without swinging into anyone. It does not improve autofocus or give permission to photograph someone up close. Compare the current retailer specifications; no hands-on test, price or stock promise is being made here.
Compare Peak Design Slide Lite Black SLL-BK-3 on Amazon | Check Peak Design Slide Lite Black SLL-BK-3 at B&H
Affiliate disclosure: We may earn a commission from qualifying purchases through these gear links at no extra cost to you. As an Amazon Associate, Shut Your Aperture earns from qualifying purchases.
Nikon Zf street photography FAQ
What is a useful first setup for Nikon Zf street photography?
Try Aperture Priority, Auto ISO, and an aperture suited to the depth you want. Choose a minimum shutter speed for the subject, then watch the actual speed and review a test frame. No single setup fits every street.
Does the Zf always keep my Auto ISO minimum shutter speed?
No. Nikon says the shutter can drop below the selected minimum when the maximum ISO limit is not enough for the exposure. Check the actual shutter speed when the light changes.
Should I use AF-S or AF-C?
AF-S is a useful choice for stationary details. AF-C keeps adjusting as subject distance changes. Choose an AF area that lets you select the intended subject and inspect where focus lands.
How do I choose shutter speed with the command dial?
In S or M, rotate the shutter-speed dial to 1/3 STEP, then use the main command dial. Check the shooting display to confirm the selected speed.
Does vibration reduction freeze a moving person?
No. It helps with camera movement, not the subject changing position during an exposure. Try a shorter exposure when a moving subject is blurred against a sharp background.
Is Silent mode always the best choice?
No. It uses the electronic shutter. Nikon warns about banding under some artificial lights and distortion with movement, so test under the actual conditions.
Do these stock photographs prove the suggested Zf settings work?
No. They are credited illustrations by other photographers, not a controlled camera test or work by Edin. Their appearance does not establish settings, processing, or independently verified capture method.
Affiliate disclosure: We may earn a commission from qualifying purchases at no extra cost to you. As an Amazon Associate we earn from qualifying purchases.