Original date December 7, 2023. Updated November 2026.
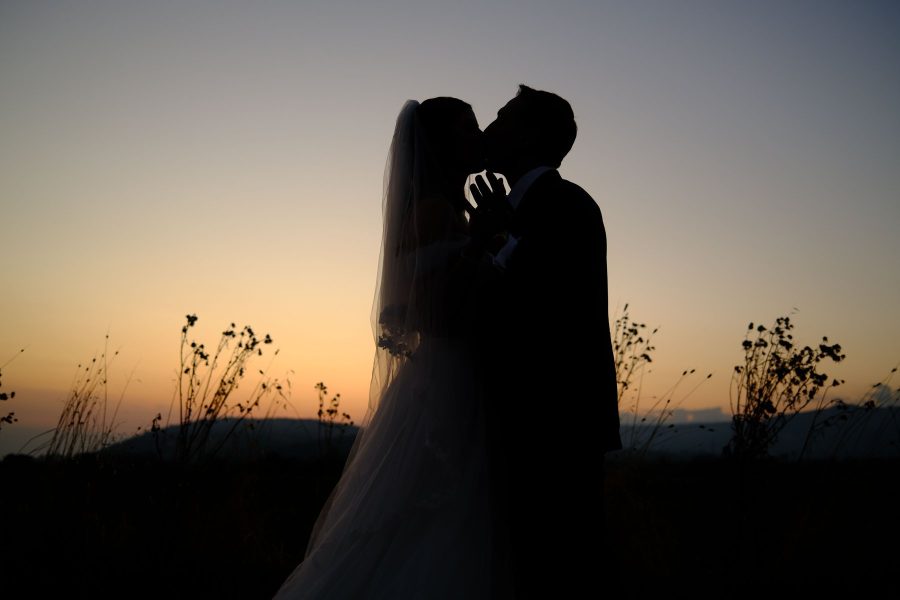
Hero: Photo by Eman Genatilan on Pexels. Pexels License. (Stock photo, illustrative.)
A wedding day does not offer second takes. A processional, vows, a first kiss or a parent dance can happen only once, in whatever light the venue happens to give you, on a schedule you do not control. That is what separates wedding photography from almost every other kind of shoot. The photographers who handle it well are rarely the ones with the most expensive kit. They are the ones who planned the light, rehearsed their direction, and agreed on a shot list and a timeline before anyone put on a suit or a dress.
This guide concentrates on the decisions between arriving with a plan and pressing the shutter: where the usable light falls, which background makes the frame clearer, how to direct people comfortably, and what to simplify when the schedule contracts. The shot list and timeline support those decisions rather than becoming a script you enforce. Familiar, tested equipment and careful preparation matter more than chasing the newest camera. None of it requires invented confidence, and none of it should be improvised for the first time at someone else’s wedding.
This is a light, composition and direction checklist, not a list of creative effects or a complete business launch guide. Nikon’s Joe McNally wedding advice supports agreeing on a shot list and finding a family liaison; Canon’s wedding etiquette guide stresses preparation, flexibility and the couple’s priorities. Use those principles to build your own working plan rather than treating any example below as a rule for every celebration.
Plan the light before the day
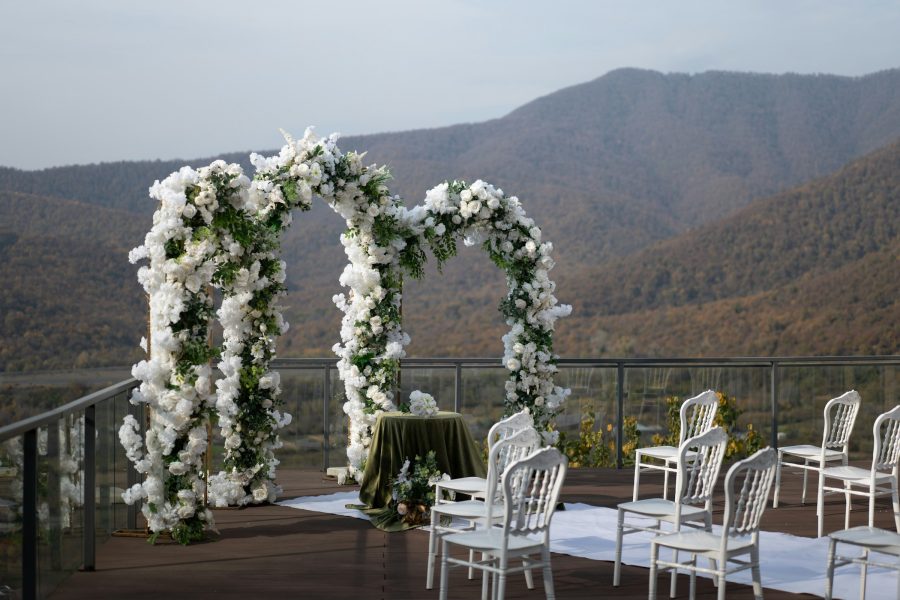
Wedding lighting problems are easier to solve on a scouting visit than in the moment. If you can, visit the venue at the same hour as the event. Note where the windows face, which corners go dark early, and what the ceiling looks like, because a low neutral ceiling is a gift for bounce flash and a high dark one is not. If you cannot visit, ask the venue or planner for photos from a recent event at the same time of day and study where the usable light actually falls.
For getting-ready coverage, window light is your starting point. Ask about a room with a useful window when the couple books prep space. With permission, turn off competing overhead lights during portraits and position the subject where the window lights their face. Watch for direct sun and check both faces when photographing a couple. One dominant light source can make color correction more consistent. Keep one small constant light or a flash as a fallback for windowless rooms, but try the window first.
Ceremonies are where planning matters most, because many venues restrict flash and movement. Ask about the rules before the day, not during the processional. Test the combination of lens, aperture, shutter speed and ISO in the actual space. Choose enough depth of field for the people who need to be sharp and a shutter speed that controls their movement, then raise ISO as needed. Check facial detail and bright clothing rather than assuming the camera screen alone proves the exposure. Pick your positions in advance so you are not wandering the aisle during the vows.
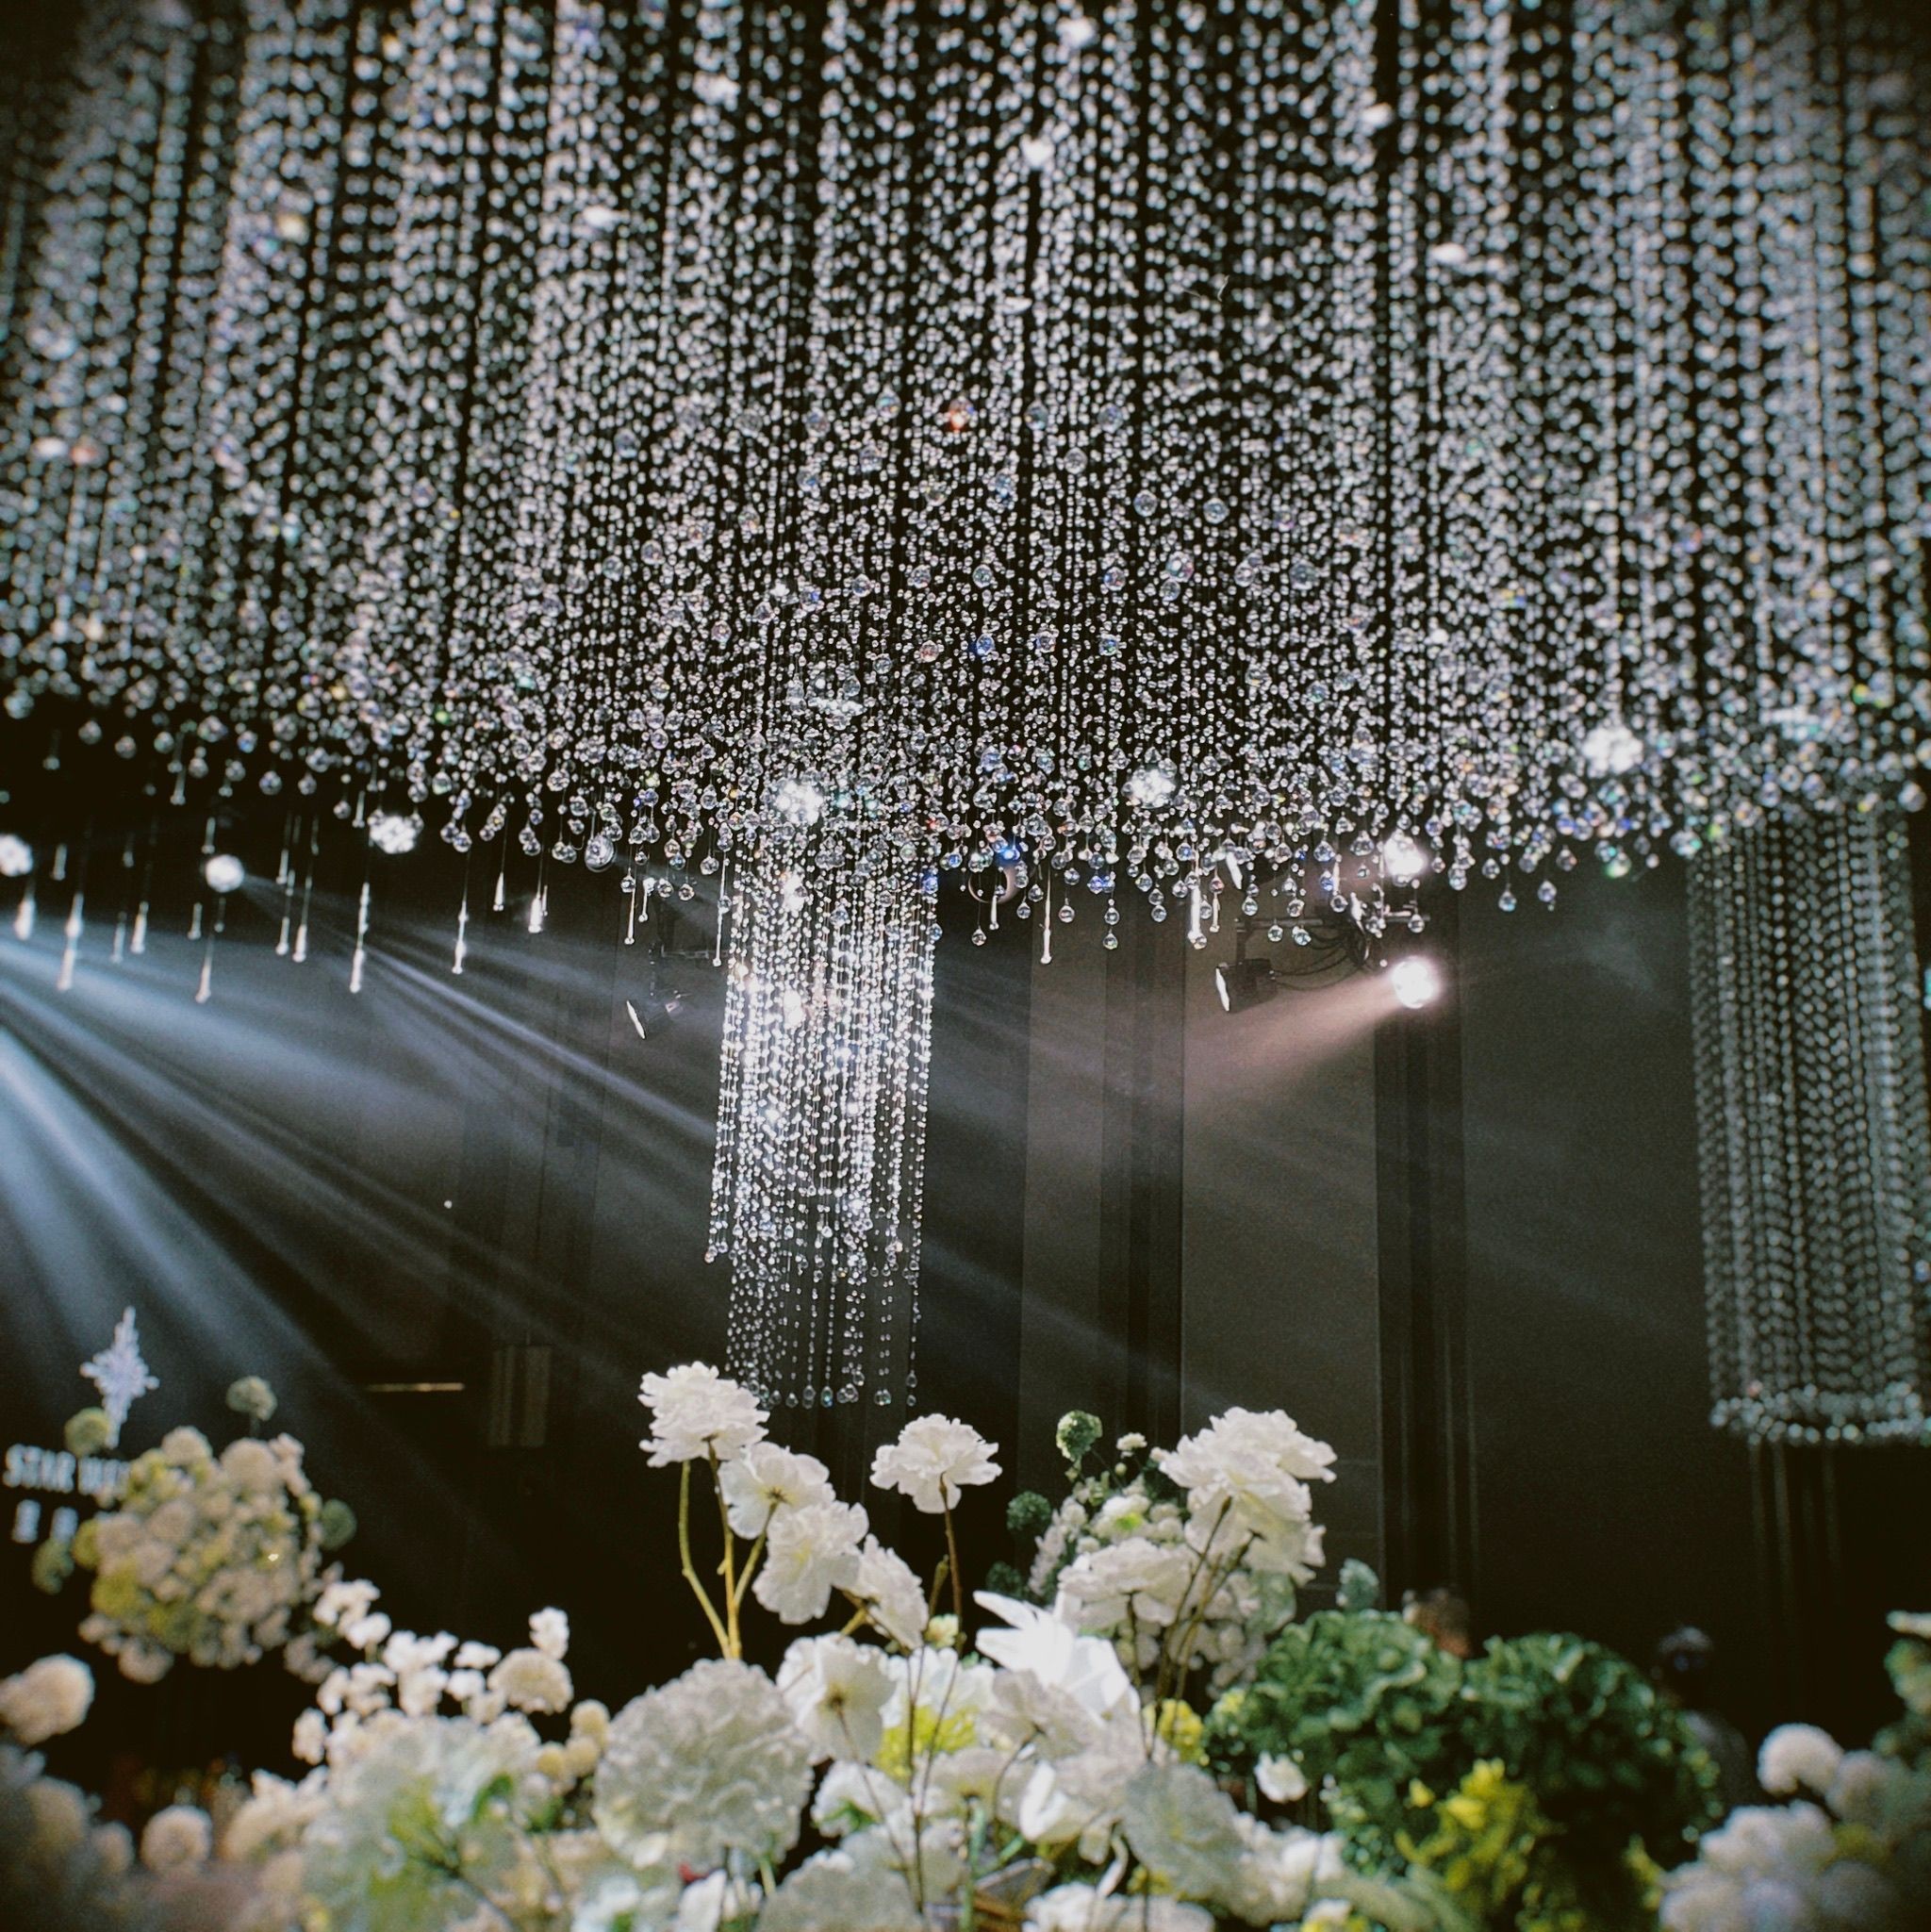
Receptions are the hardest mixed-light situation on most wedding days: warm tungsten room lights, colored DJ lighting, and whatever the venue spots add on top. Where the ceiling allows it, bounce flash gives you clean, repeatable light on the dance floor and the speeches. Slower shutter speeds with flash let some of the room’s ambient character into the frame instead of dropping the background to black. When bouncing is impossible, test a direct or off-camera flash setup you already know. A small plastic cap does not turn a distant flash into a large soft light source. Keep stands and cables out of guest routes, secure the equipment, and check moving faces for ambient blur. Colored room lighting can remain a feature in wide shots without spilling strongly onto skin in closer frames.
Build a short golden hour portrait slot into the timeline near sunset if the schedule allows. Agree on the length with the couple and planner after accounting for travel, clothing, mobility and the pictures they want. Scout the spot before using any of that time. Have a rain and darkness backup picked out in advance: a covered porch, a clean lobby wall, or a tested lighting setup that does not delay the guests. Confirm access to the backup location rather than assuming an attractive lobby will be available.
Two more light situations deserve a plan. The first is the very dark dance floor: a small constant light or a second flash on a stand, aimed to give the room some shape, keeps late-night frames from looking like a flashlight interrogation, and colored DJ lighting reads best in the wide frames where it becomes atmosphere. The second is the detail work you do on arrival: rings, invitations, and jewelry photograph fastest near the same window you used for prep, so ask for the details to be gathered in one box before you arrive instead of hunting them across two hotel rooms.
Use a test frame to settle the decision, not just to admire the light. Look closely at both faces, the brightest fabric and any hands that are moving. If one person is sharp and the other is not, check their distances from the camera and the available depth of field before assuming autofocus failed. If a face is too dark, changing the angle or adding controlled fill may help more than brightening the whole frame. Test before the ceremony or portrait group starts; live vows are not the time to discover a flash recycling delay.
 Save
Composition habits that carry a wedding story
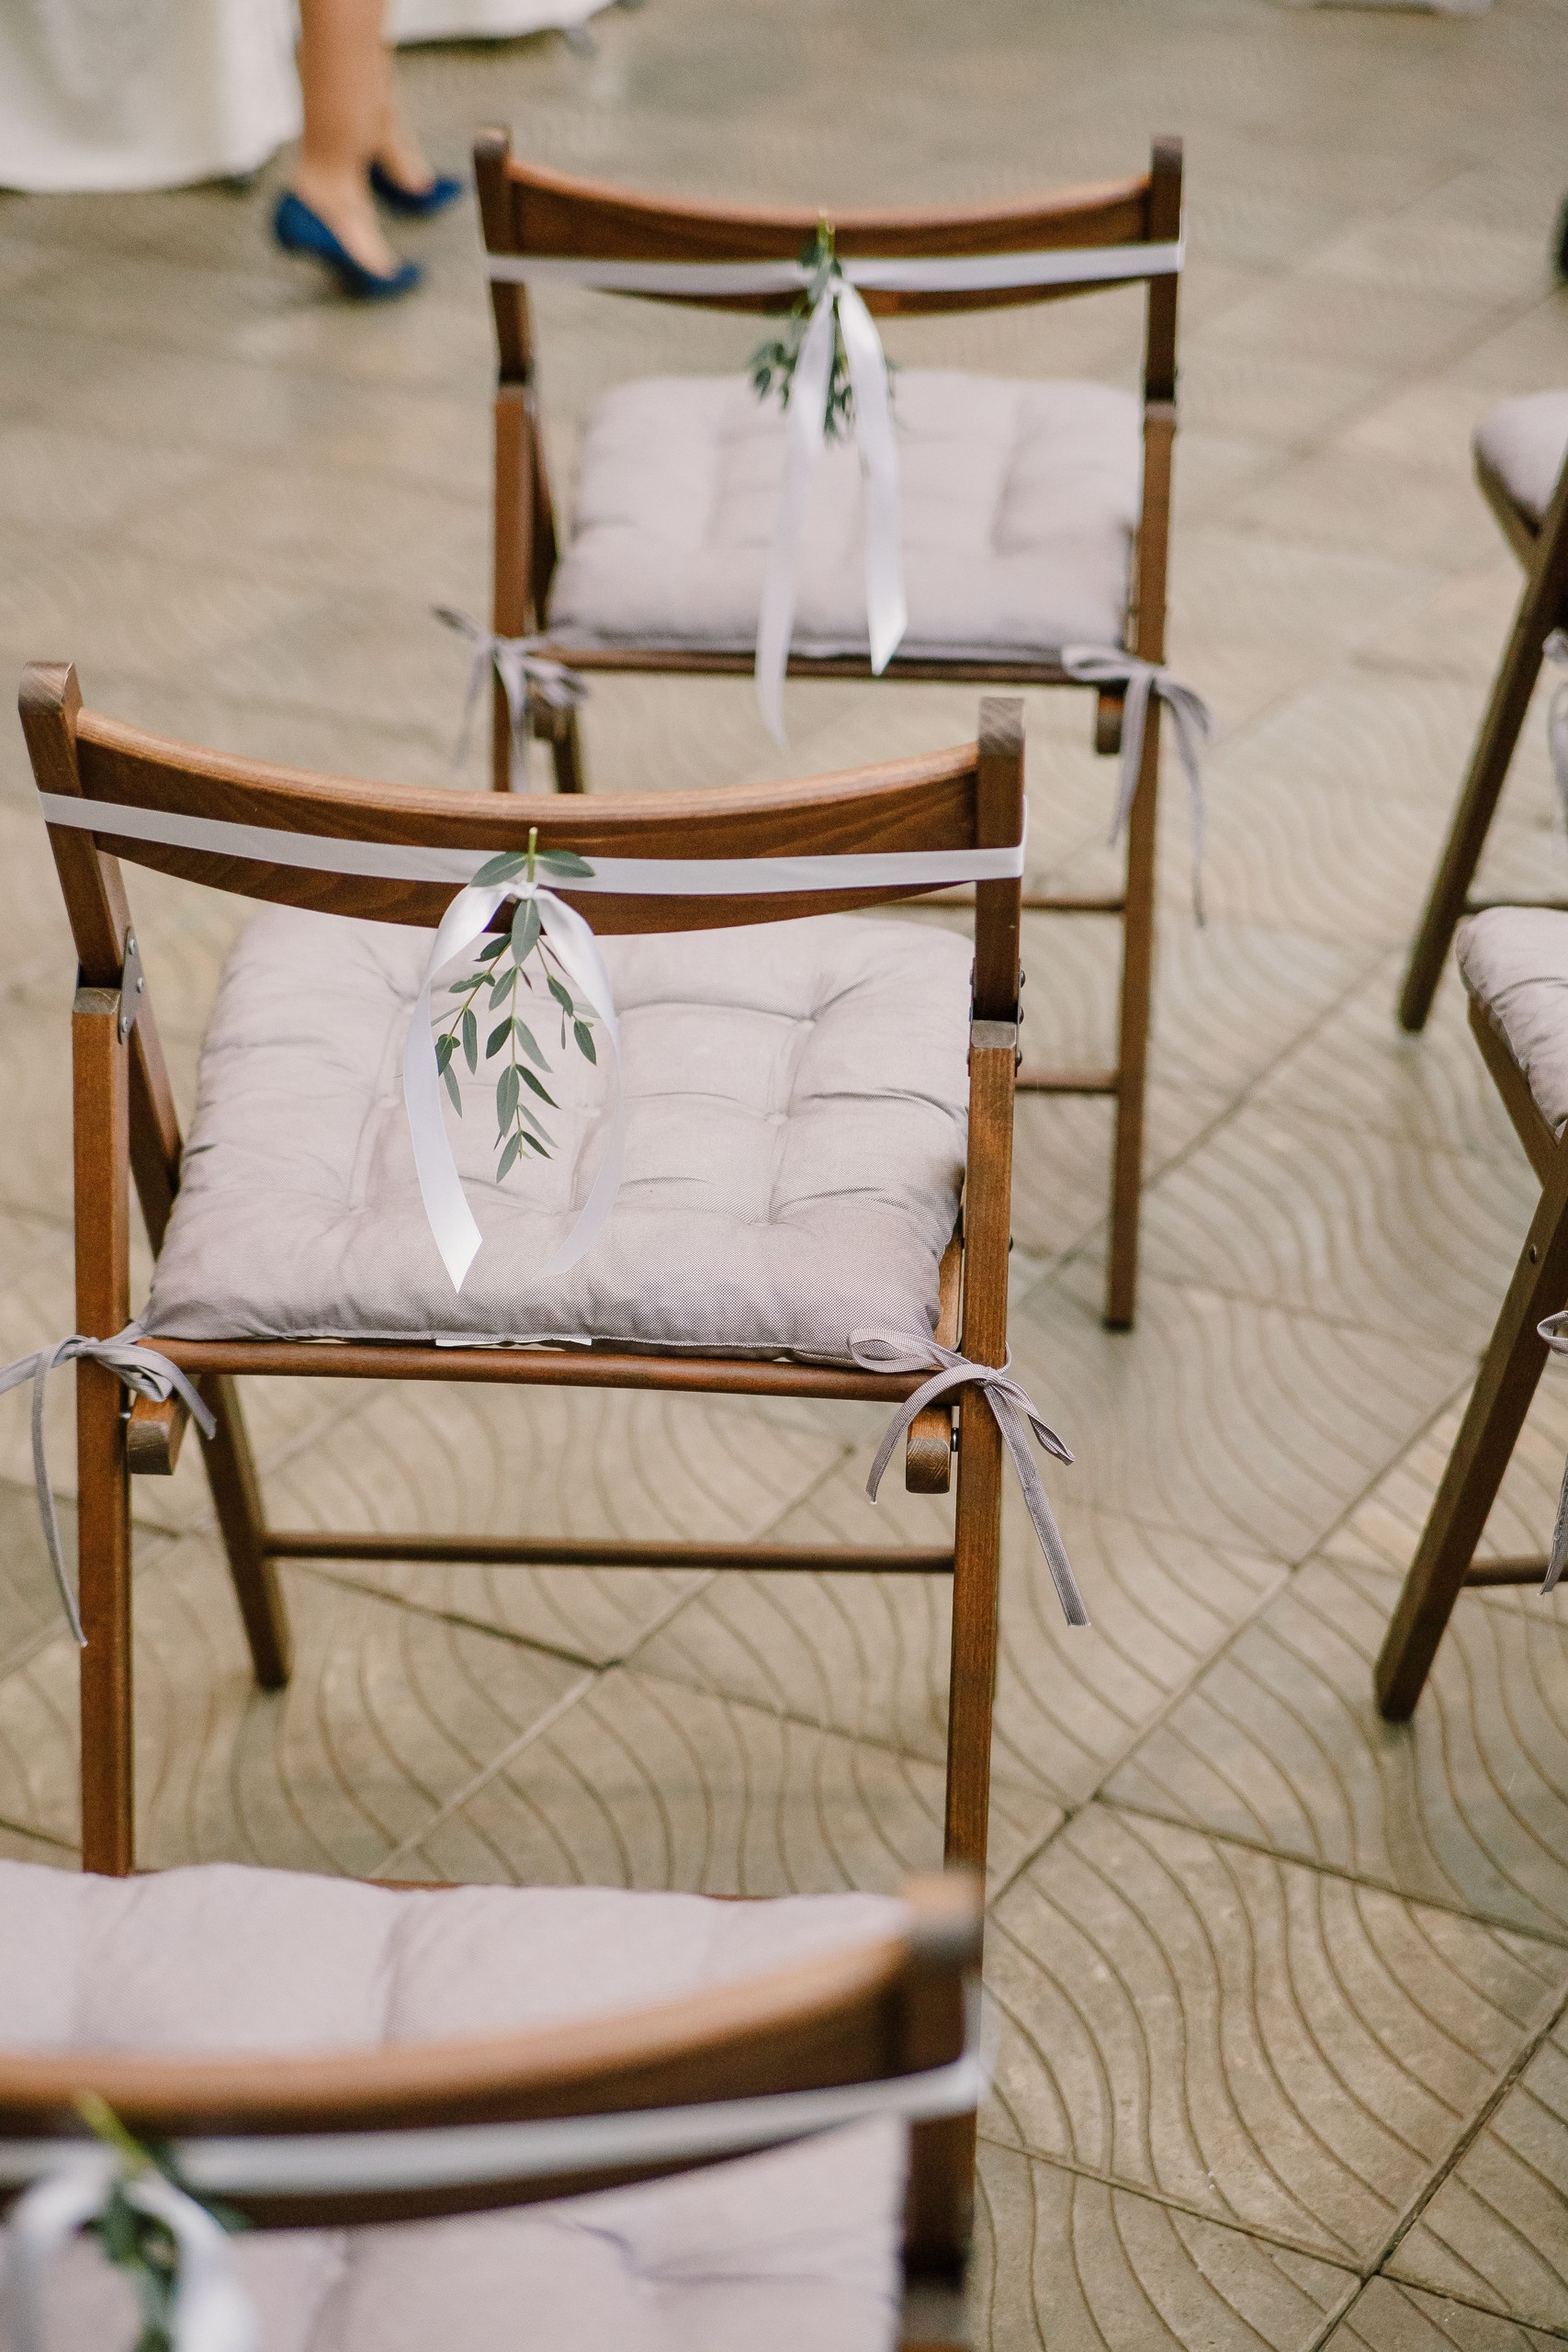
Good wedding composition starts with the background, not the subject. Before you raise the camera, check what is behind the couple: an exit sign, a catering cart, a half-cleared table. Moving two steps to the side often fixes a frame faster than any lens change. A clean background keeps attention on the people and moment instead of an unrelated object.
Think in layers during live moments. A foreground of guests’ shoulders, the couple in the middle, and the room behind them gives a single frame a sense of place and scale. During the ceremony and speeches, work a simple wide, medium, tight discipline: an establishing frame that shows the scene, a medium frame of the interaction, and a tight frame of hands, faces, or details. That variation gives the edit more choices, but prioritize the moment over completing a mechanical three-frame sequence.
Leave negative space deliberately. Couples and album designers both need frames with breathing room for spreads and text, and a tight crop of every moment makes a gallery feel airless. Step back once per scene and make the wide frame on purpose, not by accident.
Anticipation beats reaction. Pre-focus where the action is about to happen, and watch the people who are not speaking: parents during the vows, the couple during the toasts, grandparents during the first dance. The reaction shots are usually the ones families treasure, and they only exist if you were already looking. Details deserve context too. Rings, flowers, invitations, and place settings photograph best early, in good light, with a piece of the room or the table in frame so they belong to this wedding and not to a catalog.
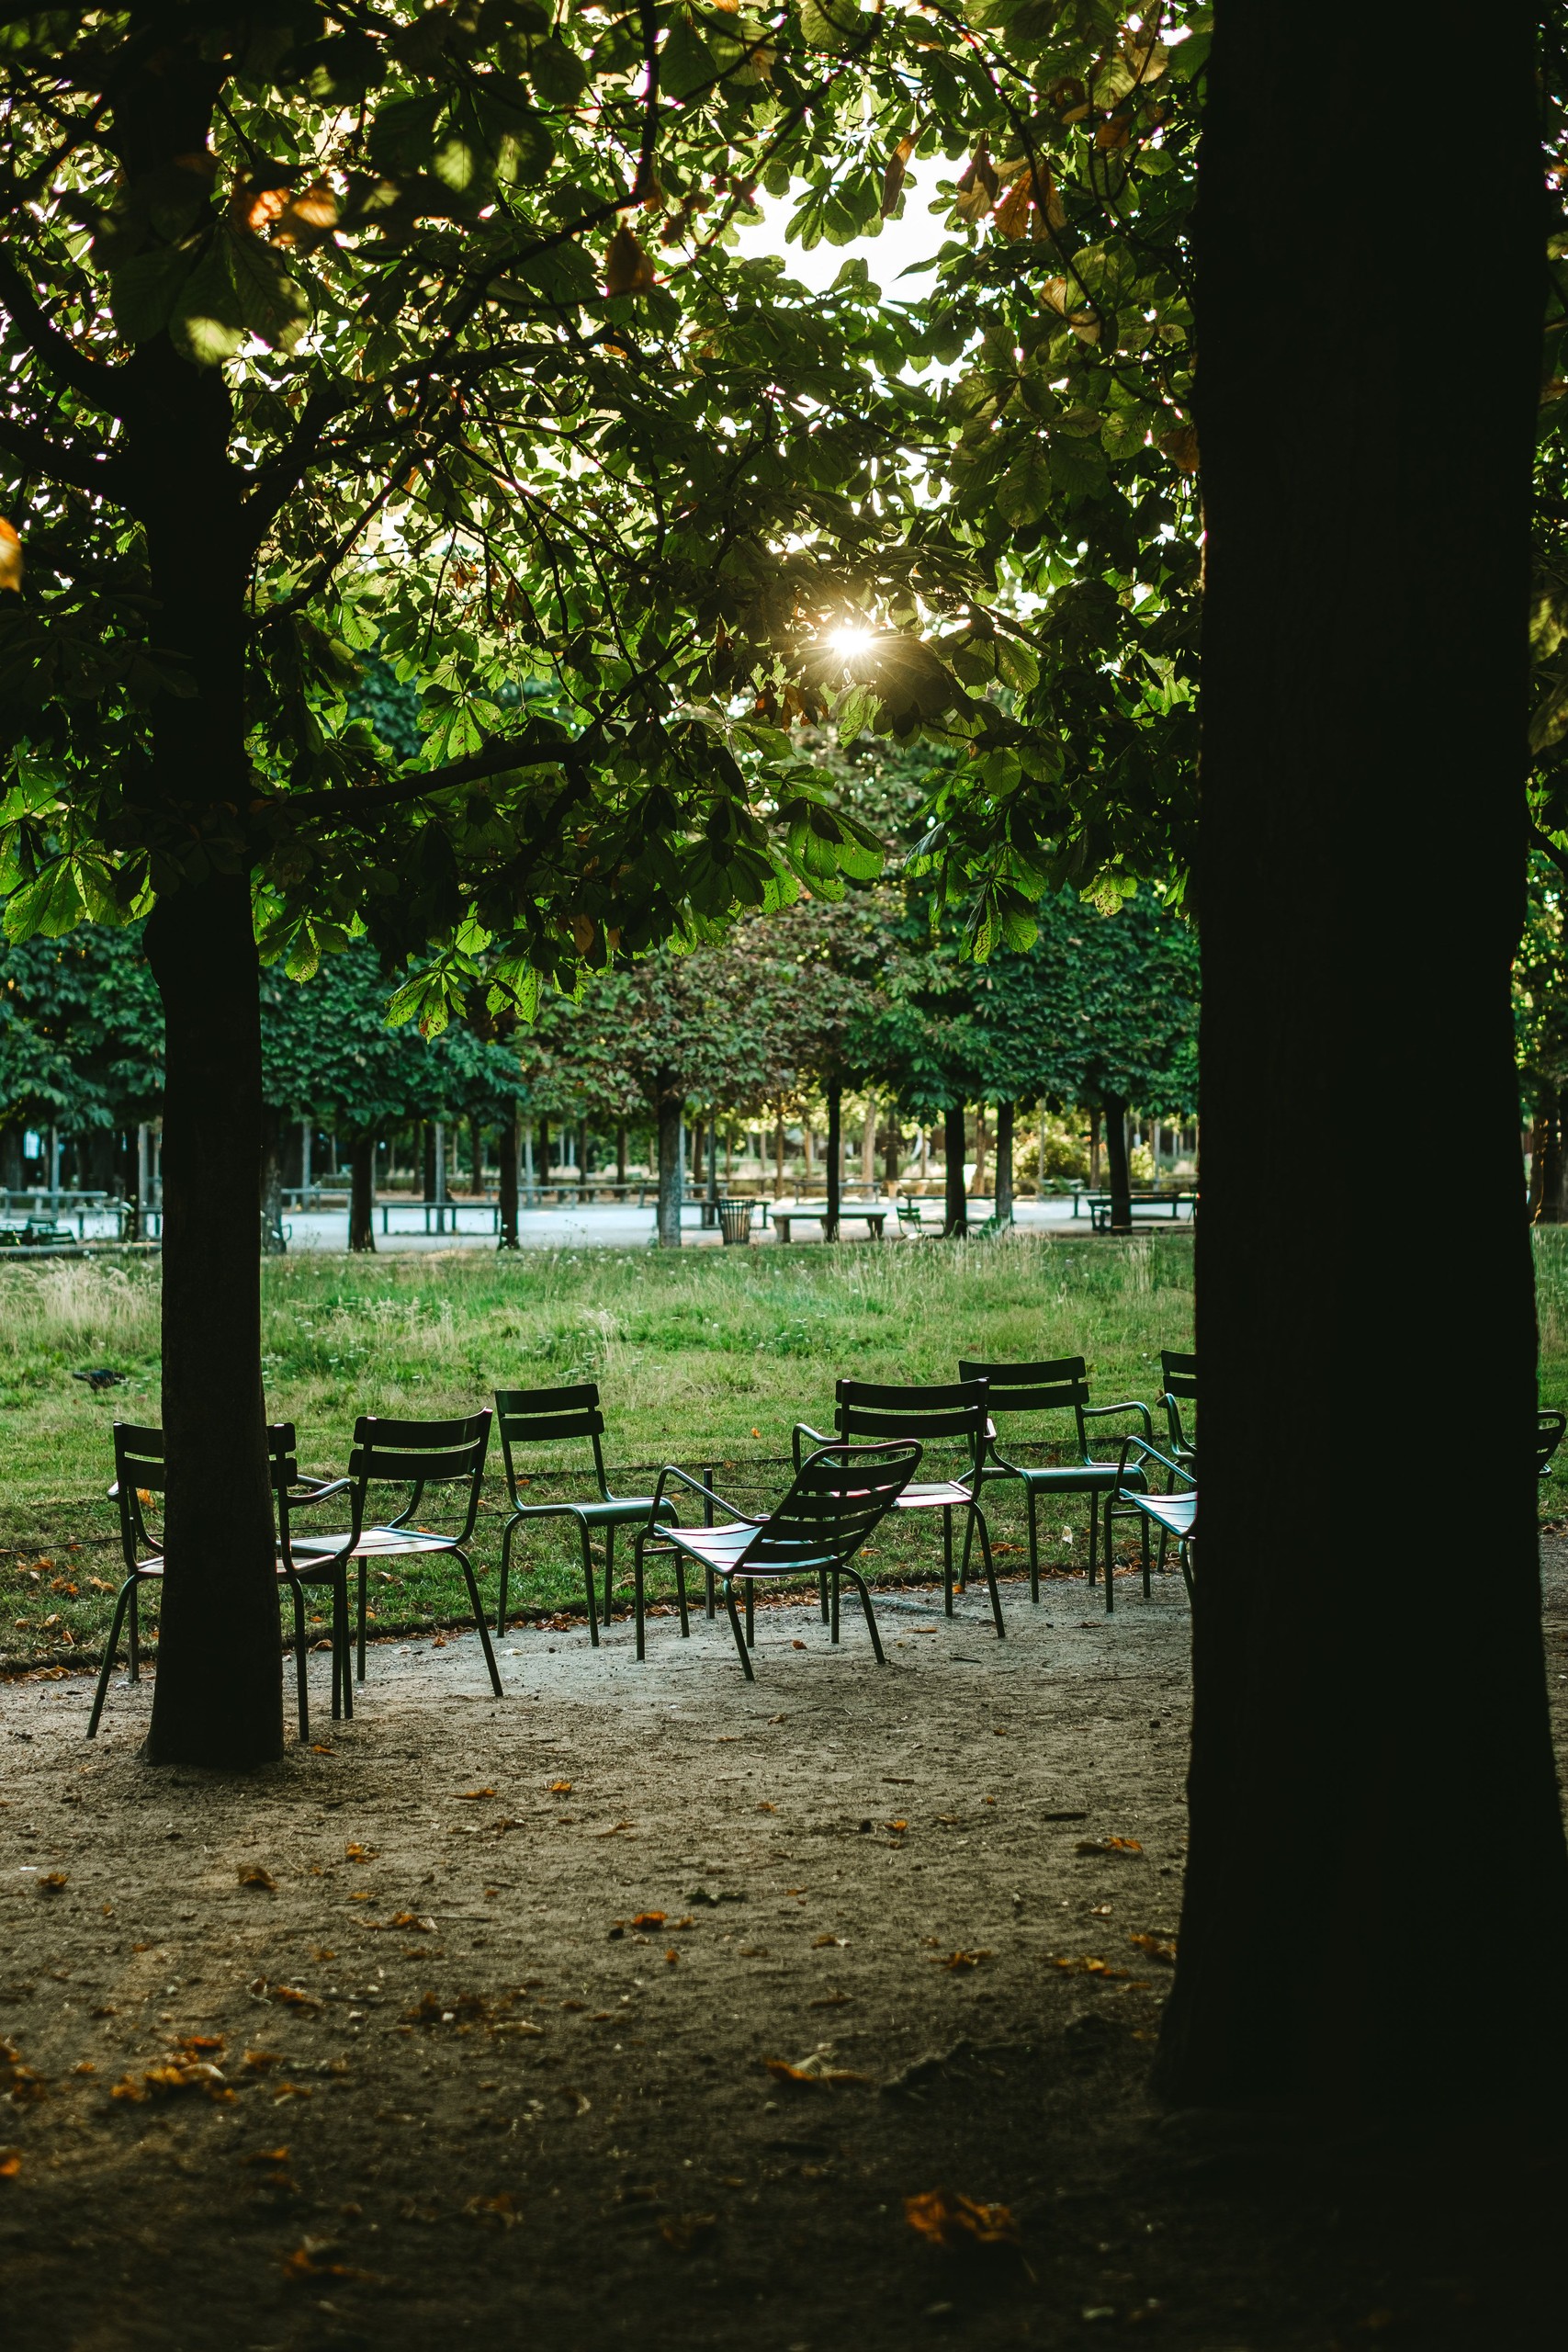
Vary your physical position through the day. It is easy to cover an entire ceremony from the aisle, so look for a balcony, a side aisle, or the space behind the officiant where the rules allow it, because one elevated or reversed angle gives the album a frame nobody’s phone captured. For the recessional and the confetti or sparkler exit, pick your spot before the moment starts and commit to it; exits move fast and a photographer mid-sprint misses the peak.
Separate the composition check from the expression check. First choose a safe place to stand, an uncluttered edge to the frame and a camera height that does not hide people behind a foreground object. Then wait for the interaction inside that frame. When the action moves, move only if the new position is permitted and does not block guests. A strong background is useful, but it does not justify missing the gesture while searching for a tidier wall.
 Save
Direct couples so the poses do not look posed
Couples are not hired models, and they rarely want to feel like they are performing. Prompts work better than poses. Instead of arranging limbs one at a time, give the couple something to do: walk toward me and talk about your first date, pull each other in and whisper something, forehead to forehead and breathe. A simple action can reduce self-consciousness when it suits the couple. You are directing a moment, not building a statue.
Once the moment exists, make micro-adjustments. Hands are the usual problem: give them somewhere natural to be, in pockets, holding a bouquet, laced together. Try a comfortable weight shift or a small turn of the torso, then judge whether it suits the person rather than applying a fixed rule to every body. Change one thing at a time and keep talking while you shoot, because silence makes couples freeze.
An engagement session can be a useful rehearsal, and it is worth discussing if the couple wants one and the schedule allows. You learn how they interact, who leads, who gets awkward, and which prompts land. That knowledge turns the wedding day portrait slot from an icebreaker into a continuation.
Match your direction to the couple in front of you. Some couples are theatrical and want the dip and the twirl; others are quiet and would rather hold hands and look at the horizon. Pushing a reserved couple into performative affection produces exactly the stiffness you are trying to avoid. Finally, timebox the session. Know the handful of setups you need, get them efficiently, and give the couple back to their guests. A tired couple photographs tired.
The same approach scales to the wedding party. A group can look stiff when everyone waits in a line, so give the group an action first: walk together and talk, or simply look at the couple instead of at you. Take the safe smiling frame early, then take the prompted ones, and keep the whole block short. Watch for discomfort and release people as soon as their part is finished.
Ask before suggesting a touch, a kiss, a lift or any movement that might be uncomfortable. Offer a still alternative and avoid treating standing, walking or a particular kind of affection as a requirement. Clothing, footwear, mobility and personal preferences all change what is practical. Demonstrate a small adjustment yourself instead of moving somebody’s body without permission. If a prompt feels awkward, stop, acknowledge it lightly and return to a simple comfortable setup.
 Save
Candid guest coverage fills the spaces between the planned moments, and it follows the same composition rules. Work the edges of the cocktail hour and the dance floor with a longer lens or a patient position near the action, and look for small groups already interacting rather than interrupting conversations. The hug between old friends and the kid asleep under a table round out the story the formal frames cannot tell.
Build the shot list with the couple
A shot list is not a script for the day; it is insurance against forgetting the one frame someone will ask about for years. Start with the events actually planned: the processional, the vows, the ring exchange, the first kiss, the recessional, the entrances, the first dance, the parent dances, the cake. Remove anything their celebration does not include. Then ask the couple what matters especially to them: a grandmother’s ring, a friend flying in, a cultural tradition, a pet at the venue. Those personal additions are the difference between coverage and care.
Family formals deserve their own written list, with names, not just groupings. Work with the couple to keep the list tight, order it from largest group to smallest, and agree on it before the day. Then recruit a wrangler: a sibling, a wedding party member, anyone who knows the faces and can gather the next group while you finish the current one. Ask about family sensitivities and access needs privately, and do not assume relatives should stand together. Estimate the time from the actual list, venue distances and people involved. A helper can gather the next group without turning a portrait session into a search for missing guests.
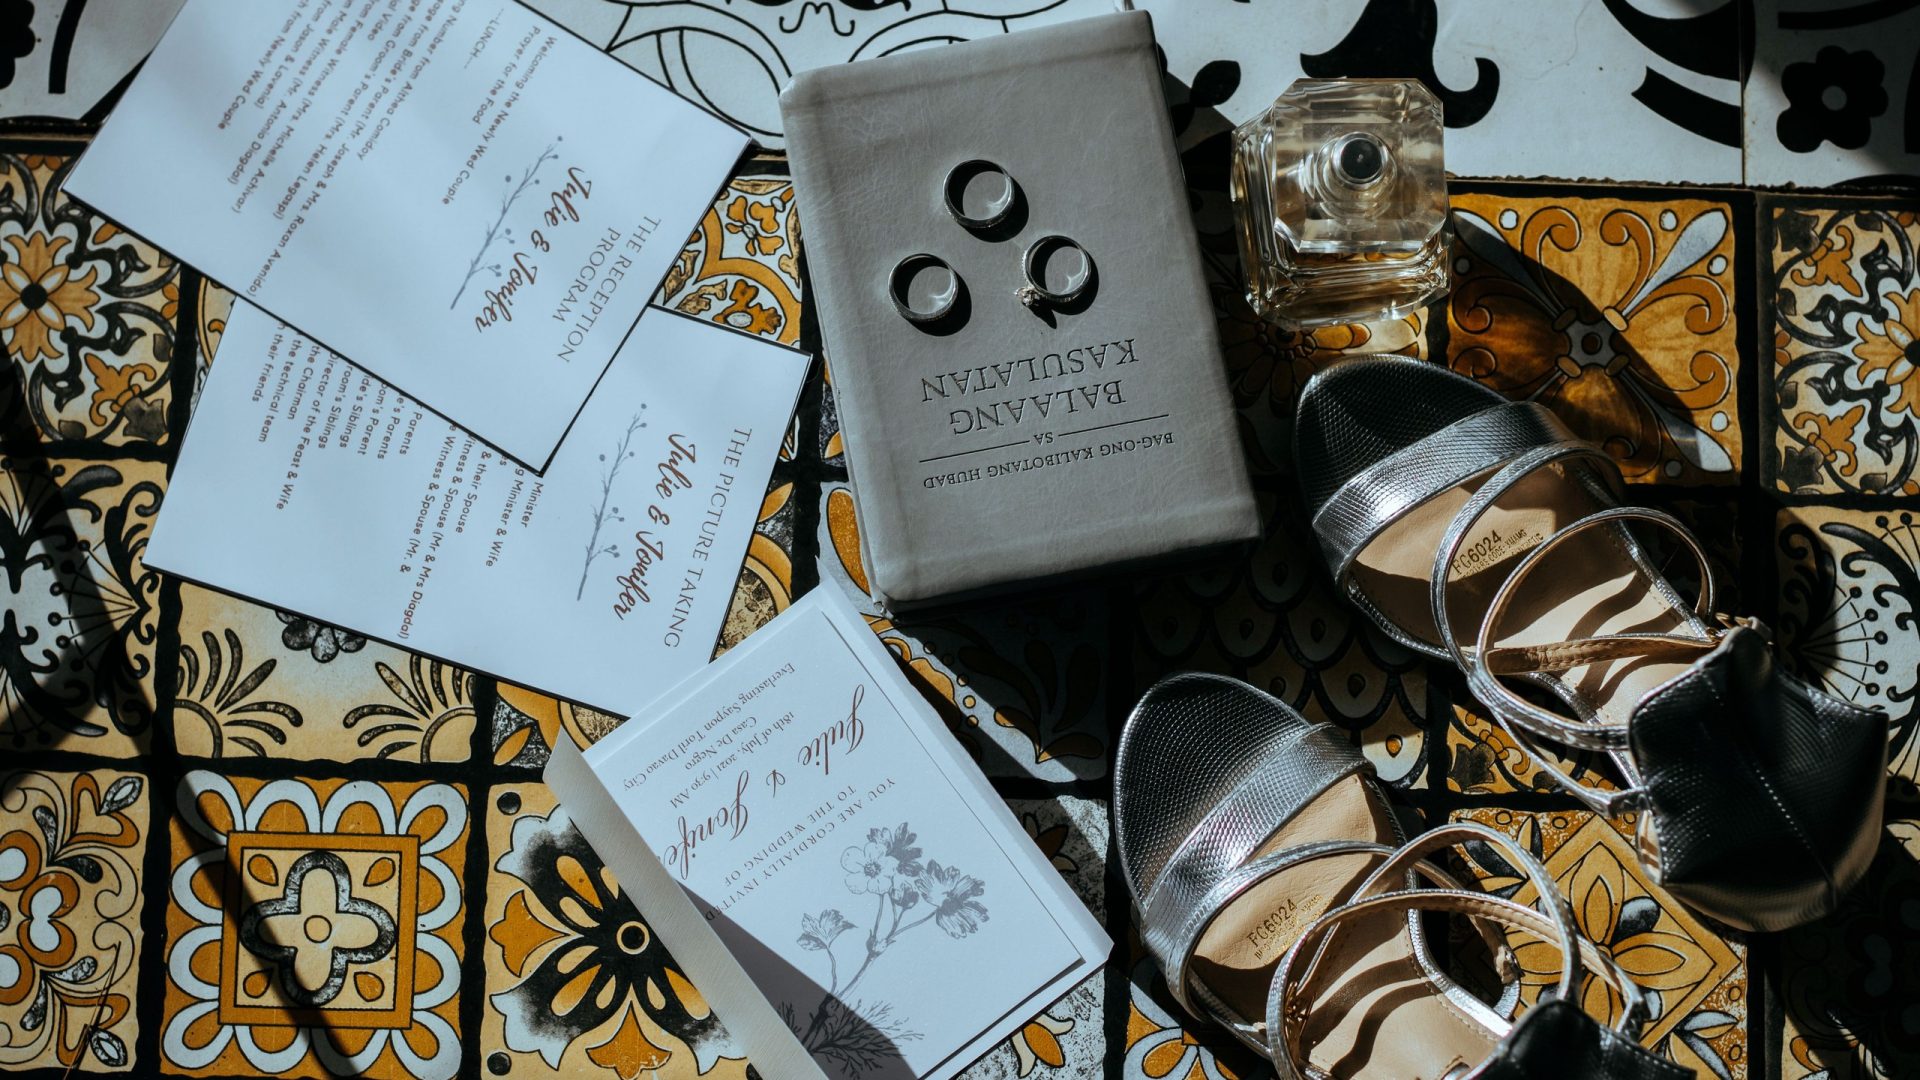
Do the detail photographs early. Rings, invitations, the dress, the florals, the table settings: shoot them on arrival, before guests crowd the spaces and before the room gets rearranged. Finally, share the shot list with the planner or coordinator and the other vendors who need it. When the videographer and the DJ know your sequence, everyone stops competing for the same minutes.
Mark the handful of frames the couple named as most important and use those priorities when the schedule changes, because a shot list only works if someone has ranked it. Bring the list in a form you can actually use mid-day: printed or saved offline on your phone, grouped by part of the day, short enough to scan between moments. A beautiful spreadsheet that lives in an email thread will not help you during the recessional.
For a formal group, build the frame before calling everyone into it. Check the available space, background and lighting, then arrange people so faces are visible. Rows at different distances need enough depth of field, so do not carry a shallow-aperture couple setting into a large group without testing. Review a frame at useful magnification across the group, not just the central face. Take a safe frame before changing the arrangement, and leave time for another if someone blinked or was hidden.
Build a timeline with buffers
A wedding timeline is a plan for a day that will not go to plan. Build it backwards from the ceremony: couple portraits, family formals, wedding party, and prep coverage each get a block, and each block gets a buffer after it. The buffers are not wasted time; they are what absorbs the late limo, the missing boutonniere, and the makeup that runs long.
Consider family formals immediately after the ceremony while everyone is gathered, unless the couple prefers another time, and protect the golden hour slot near sunset for the couple if light matters to them. Put both on the shared timeline so the planner defends them too. When the day slips, and it will, know in advance what you are willing to compress: you can shorten wedding party photos or cocktail hour coverage, but agree on the priorities with the couple rather than deciding for them. A meaningful family interaction may matter more to them than another portrait setup.
Keep the finished timeline to one page on your phone and one printed copy in your bag. In the middle of a reception you do not want to scroll through an email thread to remember whether the toasts come before or after the first dance.
A workable flow for many afternoon ceremonies looks like this in outline: prep coverage and details, a first look or wedding party photos if the couple wants them, the ceremony, family formals while everyone is gathered, the couple’s portraits in the best remaining light, then reception coverage anchored to the entrances, toasts, dances, and open floor. No wedding follows this outline exactly, which is exactly why the order and the buffers should be agreed in writing beforehand instead of negotiated on the day.
Habits that save wedding days
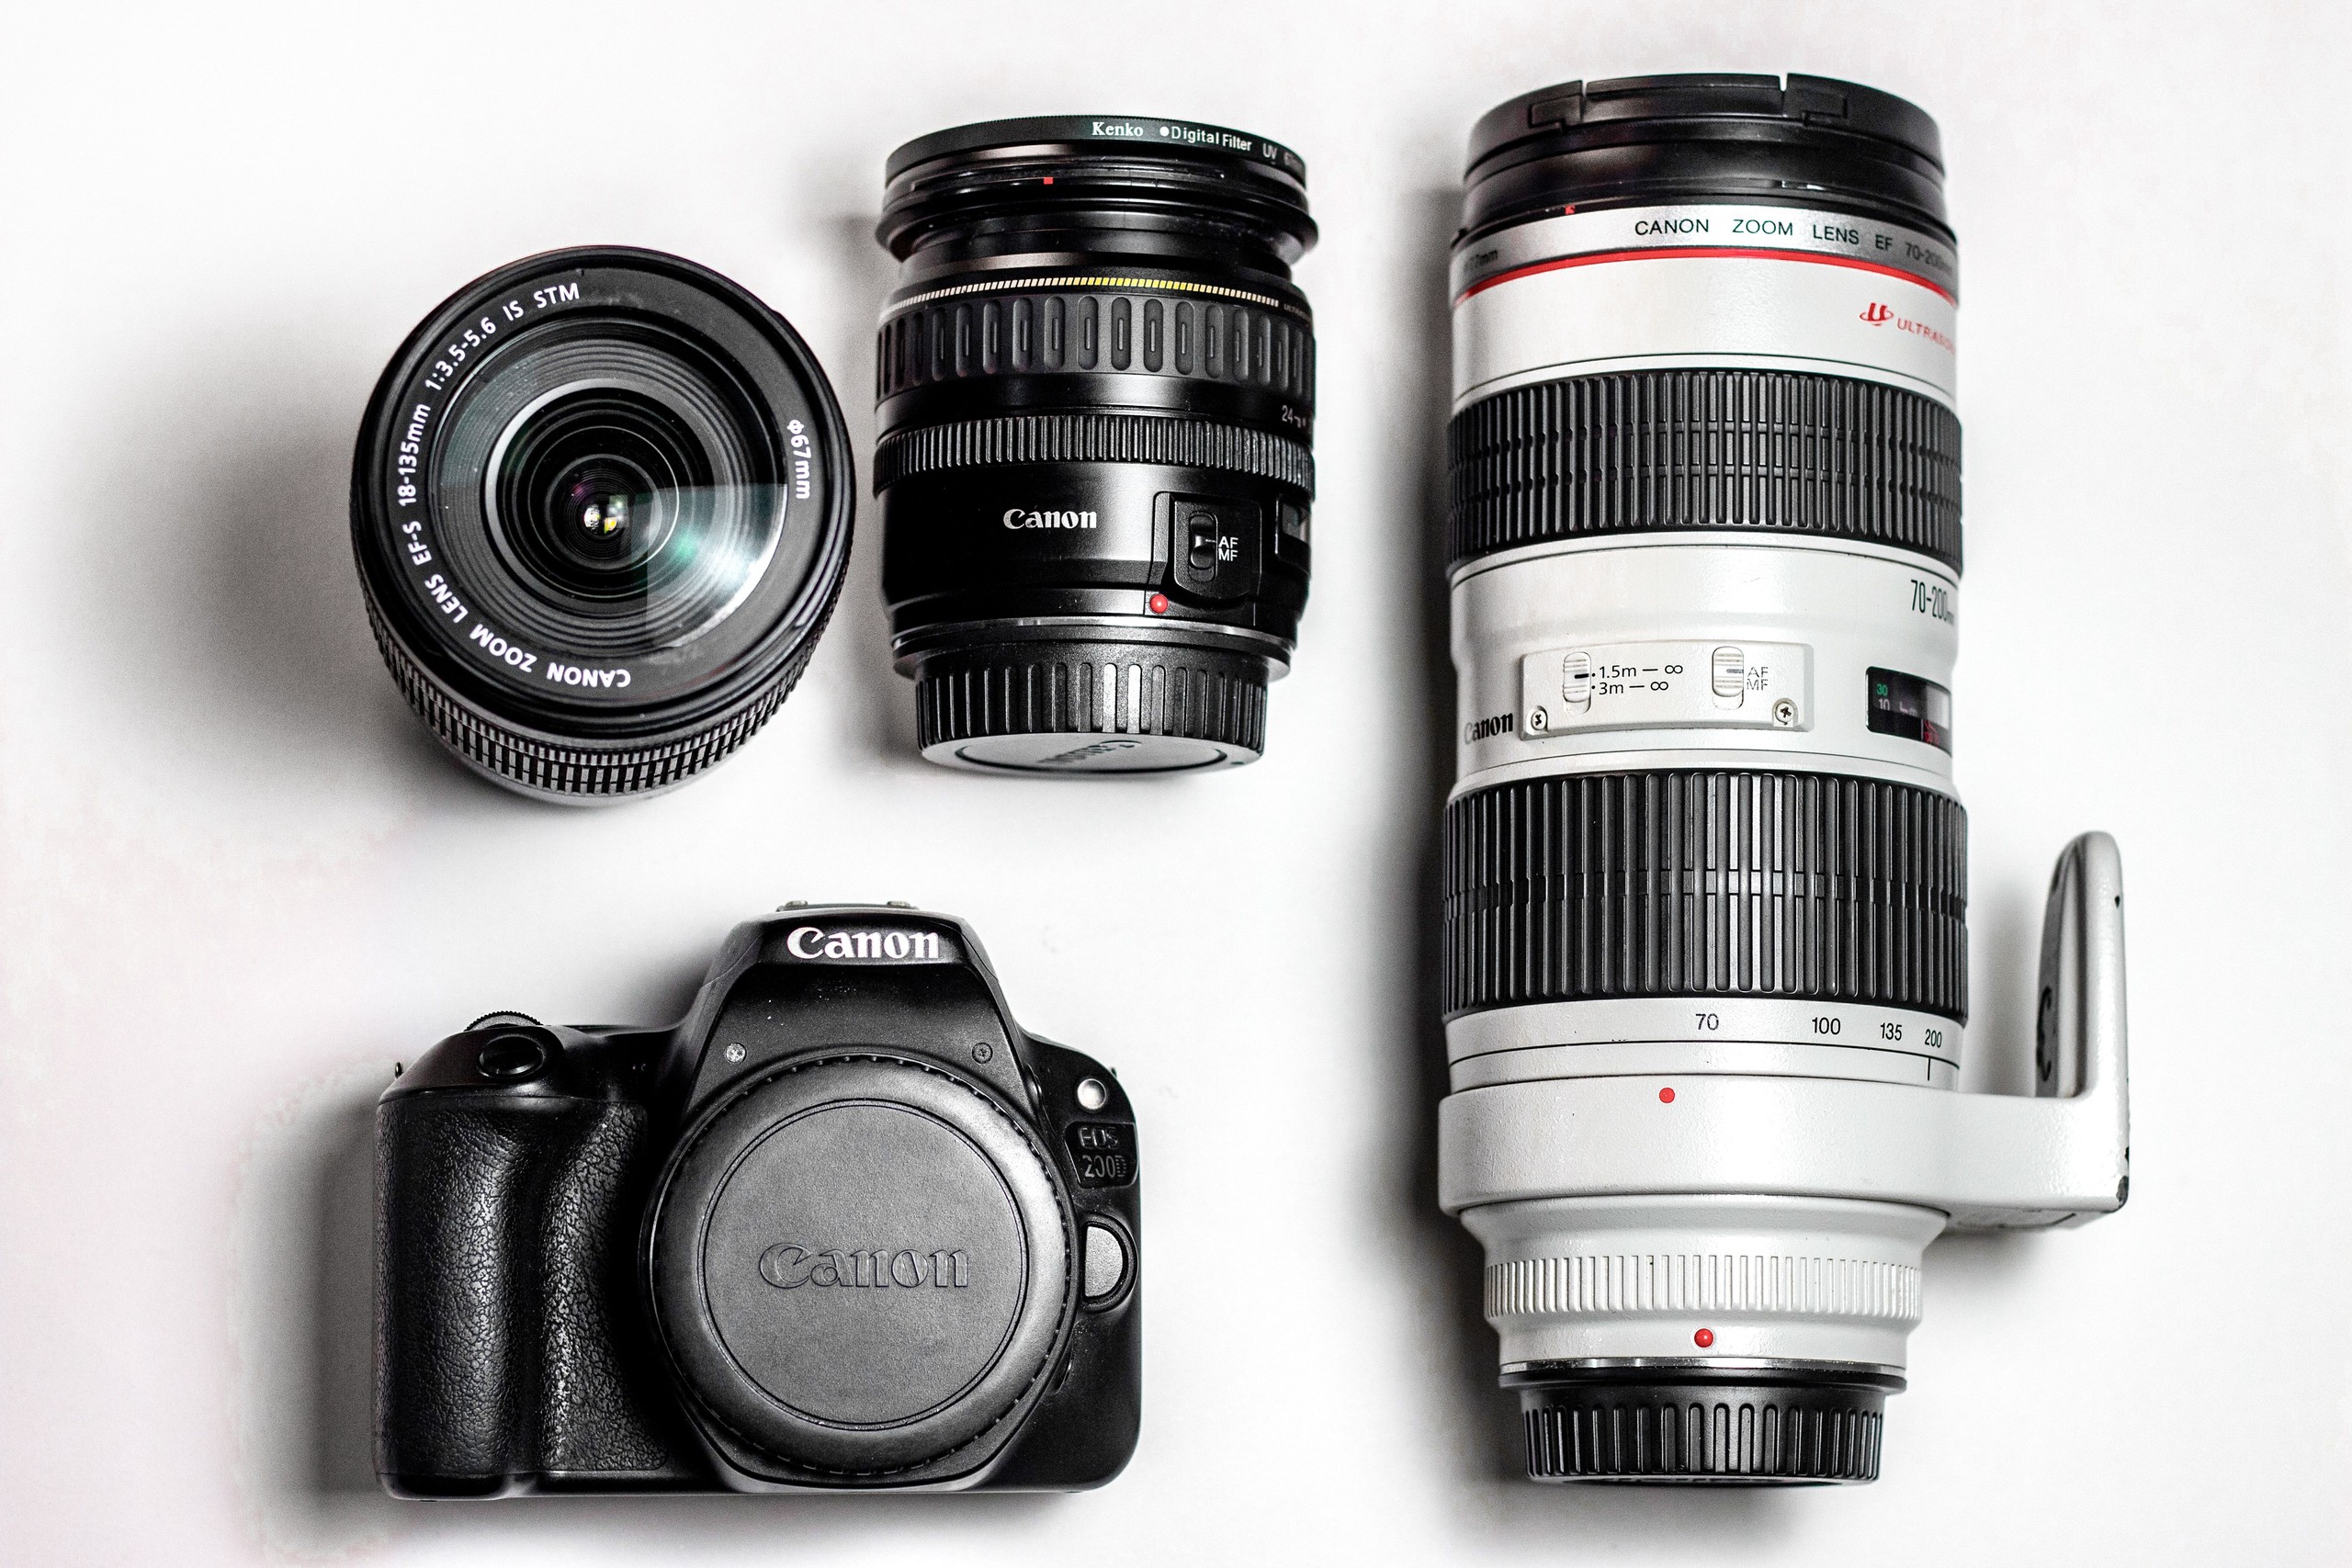
The unglamorous habits matter as much as the creative ones. Carry redundancy you can actually use: a tested second body, compatible lenses, simultaneous recording to two cards if the camera supports it, charged spare batteries, and more cards than you expect to need. Practice changing bodies and lights before the day so the backup is usable, not merely present in the bag. Copy the files promptly after coverage, verify that the copies open, and keep a second checked copy on a separate device or service. Keep the original cards unchanged until the copies are verified. Two folders on one drive are not protection from a lost or failed drive.
Handle the business side before the day: a written agreement covering deliverables, timing, and what happens if plans change, and appropriate insurance for your situation. The specifics of contracts and coverage vary, so consult a qualified professional rather than copying a template blindly. The site’s wedding photography insurance guide walks through coverage types and the venue insurance checks some locations require, which is a practical starting point for that conversation. For a related look at learning the client’s event priorities, read Edin’s Miami corporate event photography guide. Corporate event coverage is a different assignment, but asking what the client needs remains useful.
 Save
Wedding photography questions people ask
Do I need two camera bodies to photograph a wedding?
A tested backup body reduces the risk of a camera failure ending coverage, and two ready bodies let you use different lenses without changing them during a moment. It does not prevent every loss, so practice the changeover and confirm lens, battery and card compatibility. If you only own one body, rent or borrow a backup for the day, record to dual card slots if your camera offers them, and carry spare batteries and cards. The goal is to reduce the avoidable risks, not to promise failure-proof coverage.
How do I handle a dark church or reception venue?
Ask about flash and movement rules first. Test the available light before the ceremony, choosing shutter speed for movement and aperture for the depth needed, then adjust ISO. At receptions, bounced flash can help where the ceiling allows; test it before a speech or dance. Slowing the shutter records more room light but can leave ambient blur around a flash-lit person, so inspect faces and hands. A bright screen is not a substitute for checking the image.
Should my first wedding be as the only photographer?
If you can, second-shoot a few weddings first. You learn the rhythm of the day, where to stand, and how the timeline actually behaves without carrying sole responsibility for someone’s unrepeatable moments. When you do take a lead role, start with a smaller, simpler wedding, and bring the preparation from this guide rather than improvising.
How long should family formal portraits take?
Plan from the actual list and leave a buffer. Keep the grouping list tight, order it from largest group to smallest, use names rather than descriptions, and recruit a wrangler who knows the family. The time depends on group size, walking distances, access needs and whether people are ready. Discuss an estimate with the planner rather than treating one number of minutes per group as a reliable rule.
Do I need a second shooter?
It depends on the size and logistics of the day. A second shooter helps when prep happens in two locations, the guest count is large, or the couple wants both partners’ perspectives covered. For a small wedding with one prep location and a simple layout, a well-prepared single photographer can cover the day. Decide with the couple based on their schedule, not on a default package.
What should a wedding photography agreement cover?
At minimum: what is being delivered and when, the hours of coverage, the fee and payment schedule, what happens if either side cancels or the date moves, and how the images may be used. Contract and insurance requirements vary by location and situation, so have a qualified professional review your agreement rather than relying on a generic template.
How do I avoid missing key moments?
Preparation, not reflexes. Agree on the must-have list with the couple in writing, build a timeline with buffers, and share both with the planner and other vendors. During live moments, position yourself where the action will happen next and watch for reactions, not just the main event. Preparation cannot guarantee every frame, but it reduces the time spent solving avoidable problems during an unrepeatable moment.
Want to go further? The ShutYourAperture Academy’s The Wedding Day is built to help you capture love, story and chaos in a single day.
Make the wedding day yours to keep
None of this is glamorous, and all of it is learnable. Plan the light before the day, compose for the story instead of the single frame, direct couples with actions instead of instructions, agree on the shot list in writing, and build a timeline that expects things to slip. Do those five things and the wedding day stops being a test you survive and becomes a story you were ready to tell.
An optional camera carry accessory
A black Peak Design Slide Lite camera strap, model SLL-BK-3, is one carry option for your camera between wedding photographs. Check the camera attachment points and full camera-and-lens weight before buying. Follow the attachment instructions and inspect the anchors. A strap does not plan a wedding timeline or capture a moment for you. Compare the current retailer specifications; no hands-on test, price or stock promise is being made here.
Search Peak Design Slide Lite straps on Amazon
Check the SLL-BK-3 strap at B&H
Affiliate disclosure: We may earn a commission from qualifying purchases through these gear links at no extra cost to you. As an Amazon Associate, Shut Your Aperture earns from qualifying purchases.