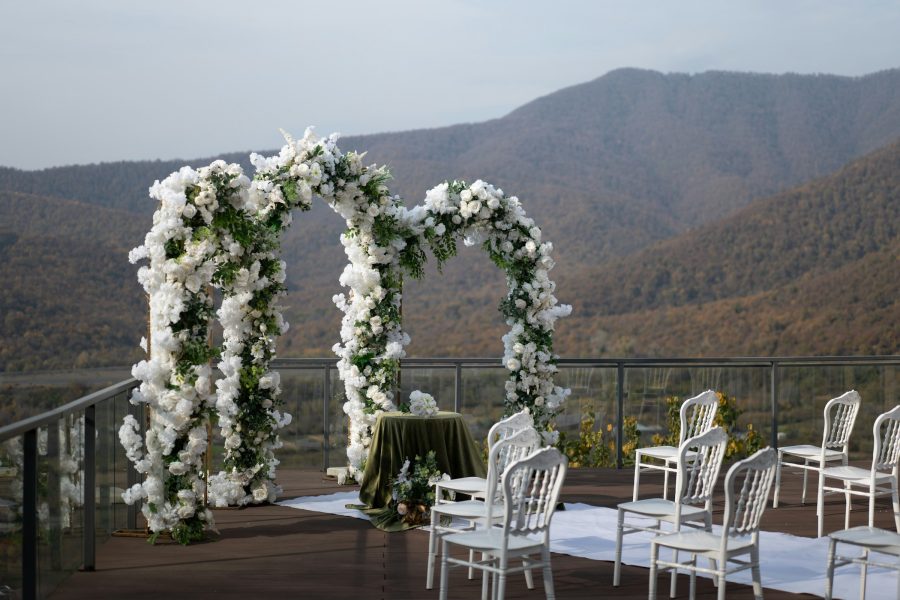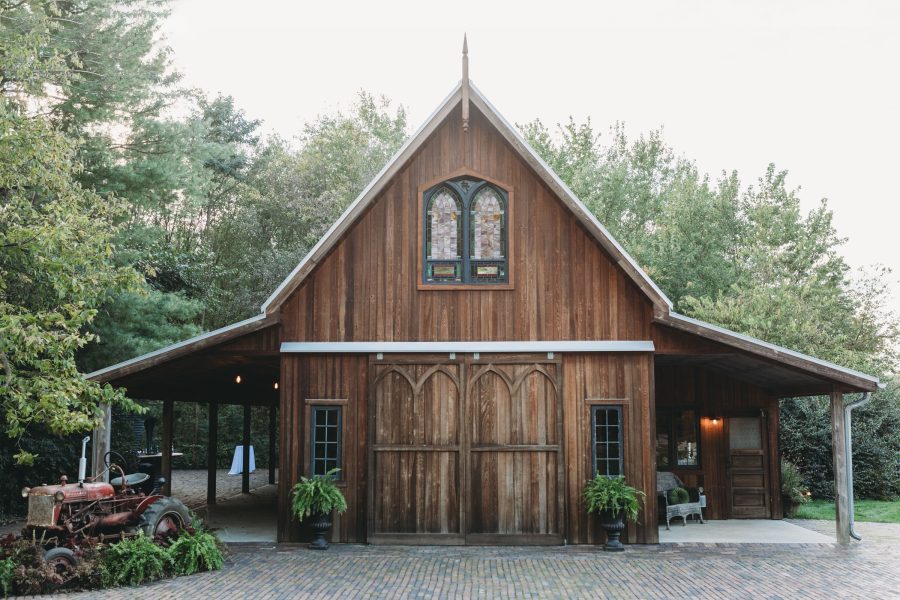
Featured image: Photo by Andrea Prochilo via Pexels. Pexels license: pexels.com/license. Source: pexels.com photo page. (Stock photo, illustrative.)
Wedding photography asks for two things at once: honest coverage of a day that cannot be repeated, and images that feel like art rather than documentation. The good news is that these goals support each other. A handful of creative techniques – light painting, drone perspectives, reflections, double exposures, silhouettes and intentional editing – can turn ordinary coverage into a set of images a couple will frame, as long as each idea fits the real constraints of a wedding day.
Those constraints come first. Every idea in this guide is subject to the couple’s comfort, the guests’ privacy and the venue’s rules. Nothing here is worth forcing: a technique that needs darkness, open flame, airspace or access either gets permission and a plan, or it stays out of the shot list. With that settled, here is how each idea actually works.
What makes a wedding photo artistic
Artistry in wedding photography is not a filter applied afterward. It is a set of decisions made while shooting: where you stand, what you include at the edges of the frame, how you use the light that exists, and which small, unrepeatable moments you treat as the subject. A posed portrait of the couple matters, but so does the flower girl’s laughter, the texture of the gown’s lace, or the sky going dark just as the vows end. Artistic coverage means noticing those layers and composing for them deliberately.
Composition is the cheapest creative tool you carry. Shooting through foreground elements, using doorways and arches as natural frames, working with symmetry in venue architecture, or placing the couple small inside a grand landscape all change how a moment reads without adding a minute to the timeline. Light is the second tool: window light for getting-ready images, the warm angle of late afternoon for portraits, and venue string lights as glowing backgrounds after dark. The techniques below build on these basics.
Creative techniques that work on a real wedding day
1. Light painting
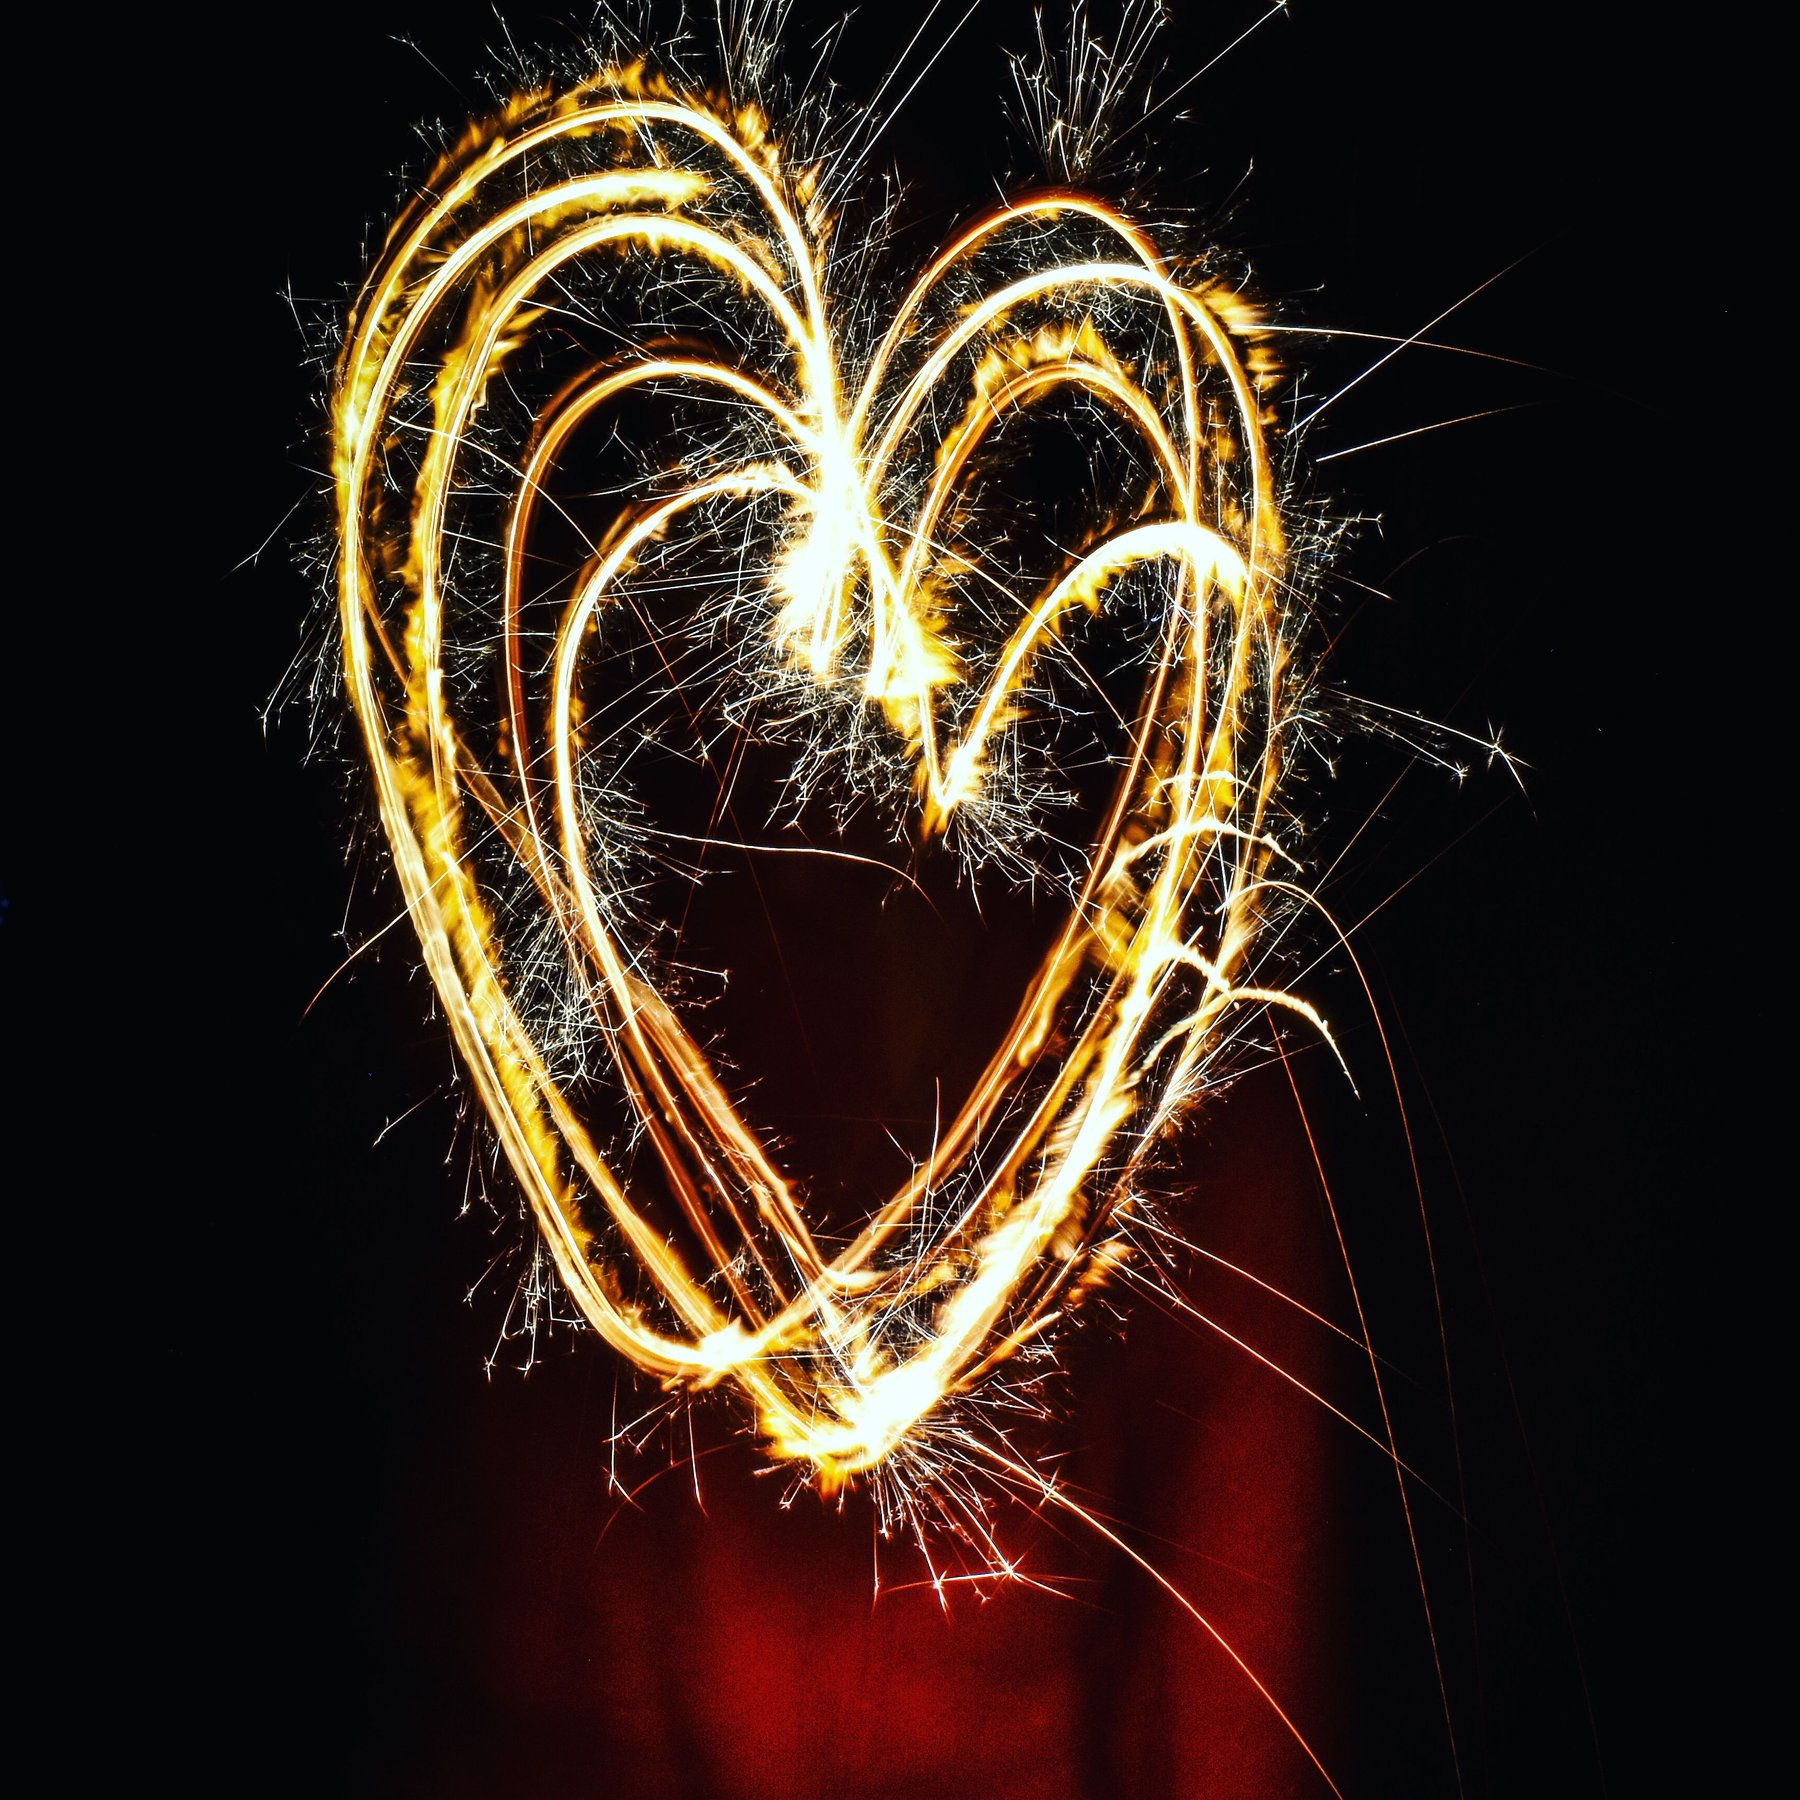
Light painting uses a long exposure in a dark space while a handheld light draws through the frame or illuminates the subject. It is a tripod technique. Nikon ambassador Dave Black’s light painting guide suggests 30 seconds at f/8 and ISO 400 as a starting point rather than a rule, focusing with autofocus first and then switching it off, and turning on long exposure noise reduction. His other advice matters more than the numbers: expect many attempts, and practice small, indoors, before you try it on a client.
On a wedding day, the practical version is a short planned session after dark with just the couple, away from the dance floor, with rehearsed poses and a time limit agreed in advance. Sparkler exits and open-flame effects are venue decisions, not photographer decisions – many venues prohibit open flame or require approval and insurance, so ask in advance and accept the answer. Keep pathways and exits clear, and never aim bright lights at guests.
 Save
2. Drone perspectives
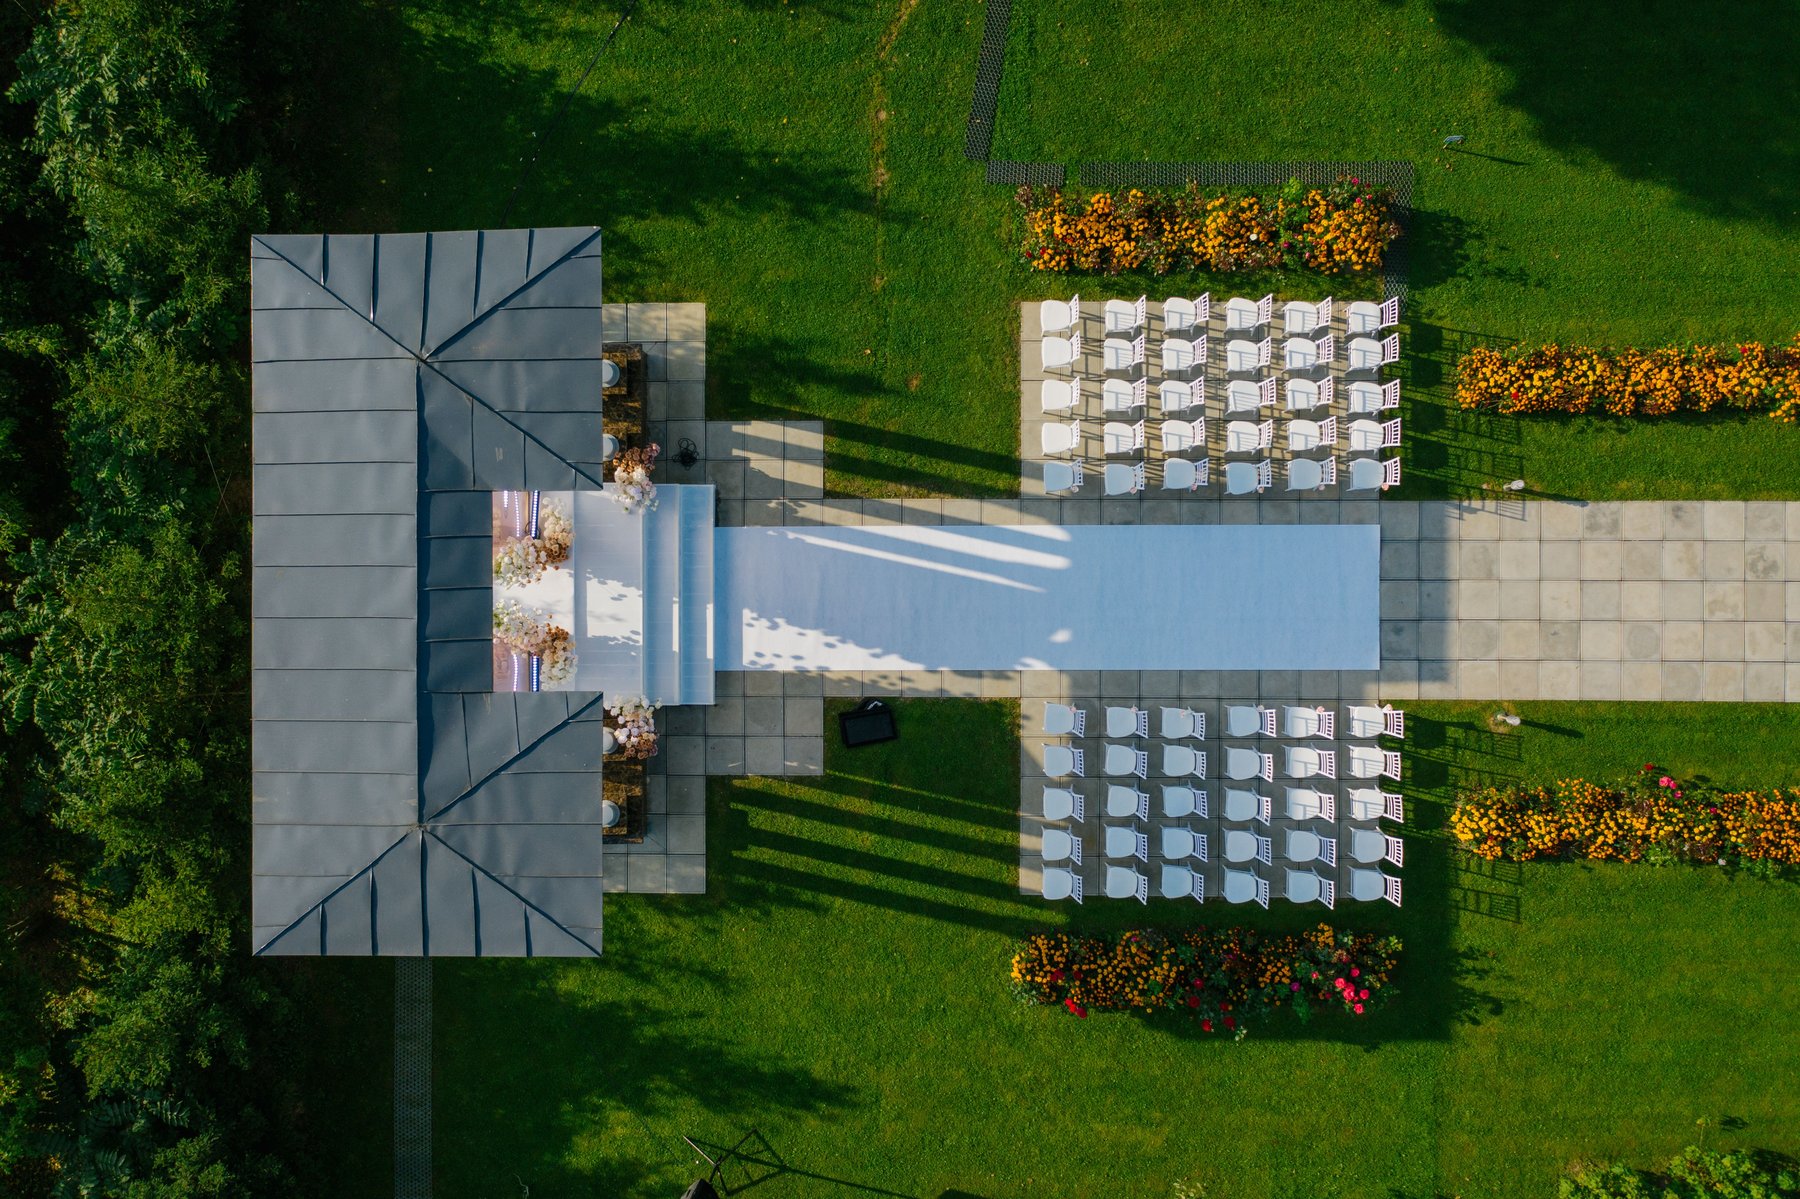
A drone can show the venue, the landscape and the scale of the celebration in a way no ground camera can. It is also the most regulated idea on this list. In the United States, flying a drone for paid work falls under the FAA’s Part 107 rules, which require a Remote Pilot Certificate; the FAA’s commercial operator page lays out the steps, including airspace authorization for controlled airspace and the Operations Over People rule for flights above guests. Other countries have their own aviation authorities and equivalents.
Treat the drone as a bonus, never a dependency. Confirm the venue allows it, check the airspace before the day, keep flights short and away from the ceremony so the noise never competes with the vows, and respect guest privacy – an aerial camera sees into spaces people assume are private. Wind, rain or a last-minute venue objection grounds the aircraft, and the coverage continues without it.
 Save
3. Reflections
Mirrors, windows, polished floors, still water and even puddles double a scene and add a second layer to a portrait. Adobe’s reflection photography guide makes the core point: the surfaces are already there, and the skill is moving until the angle works – often crouching to puddle level or shifting a few steps so the reflected subject lines up. A bride’s anticipation caught in a mirror, or the couple doubled in a calm pond, reads as both portrait and atmosphere.
Two practical notes. First, check the reflection for bystanders – mirrors and windows catch guests who did not agree to be photographed. Second, ask before rearranging anything: moving a venue’s mirror or furniture for a shot needs a yes from the staff, and it goes back exactly where it was.
4. Double exposure
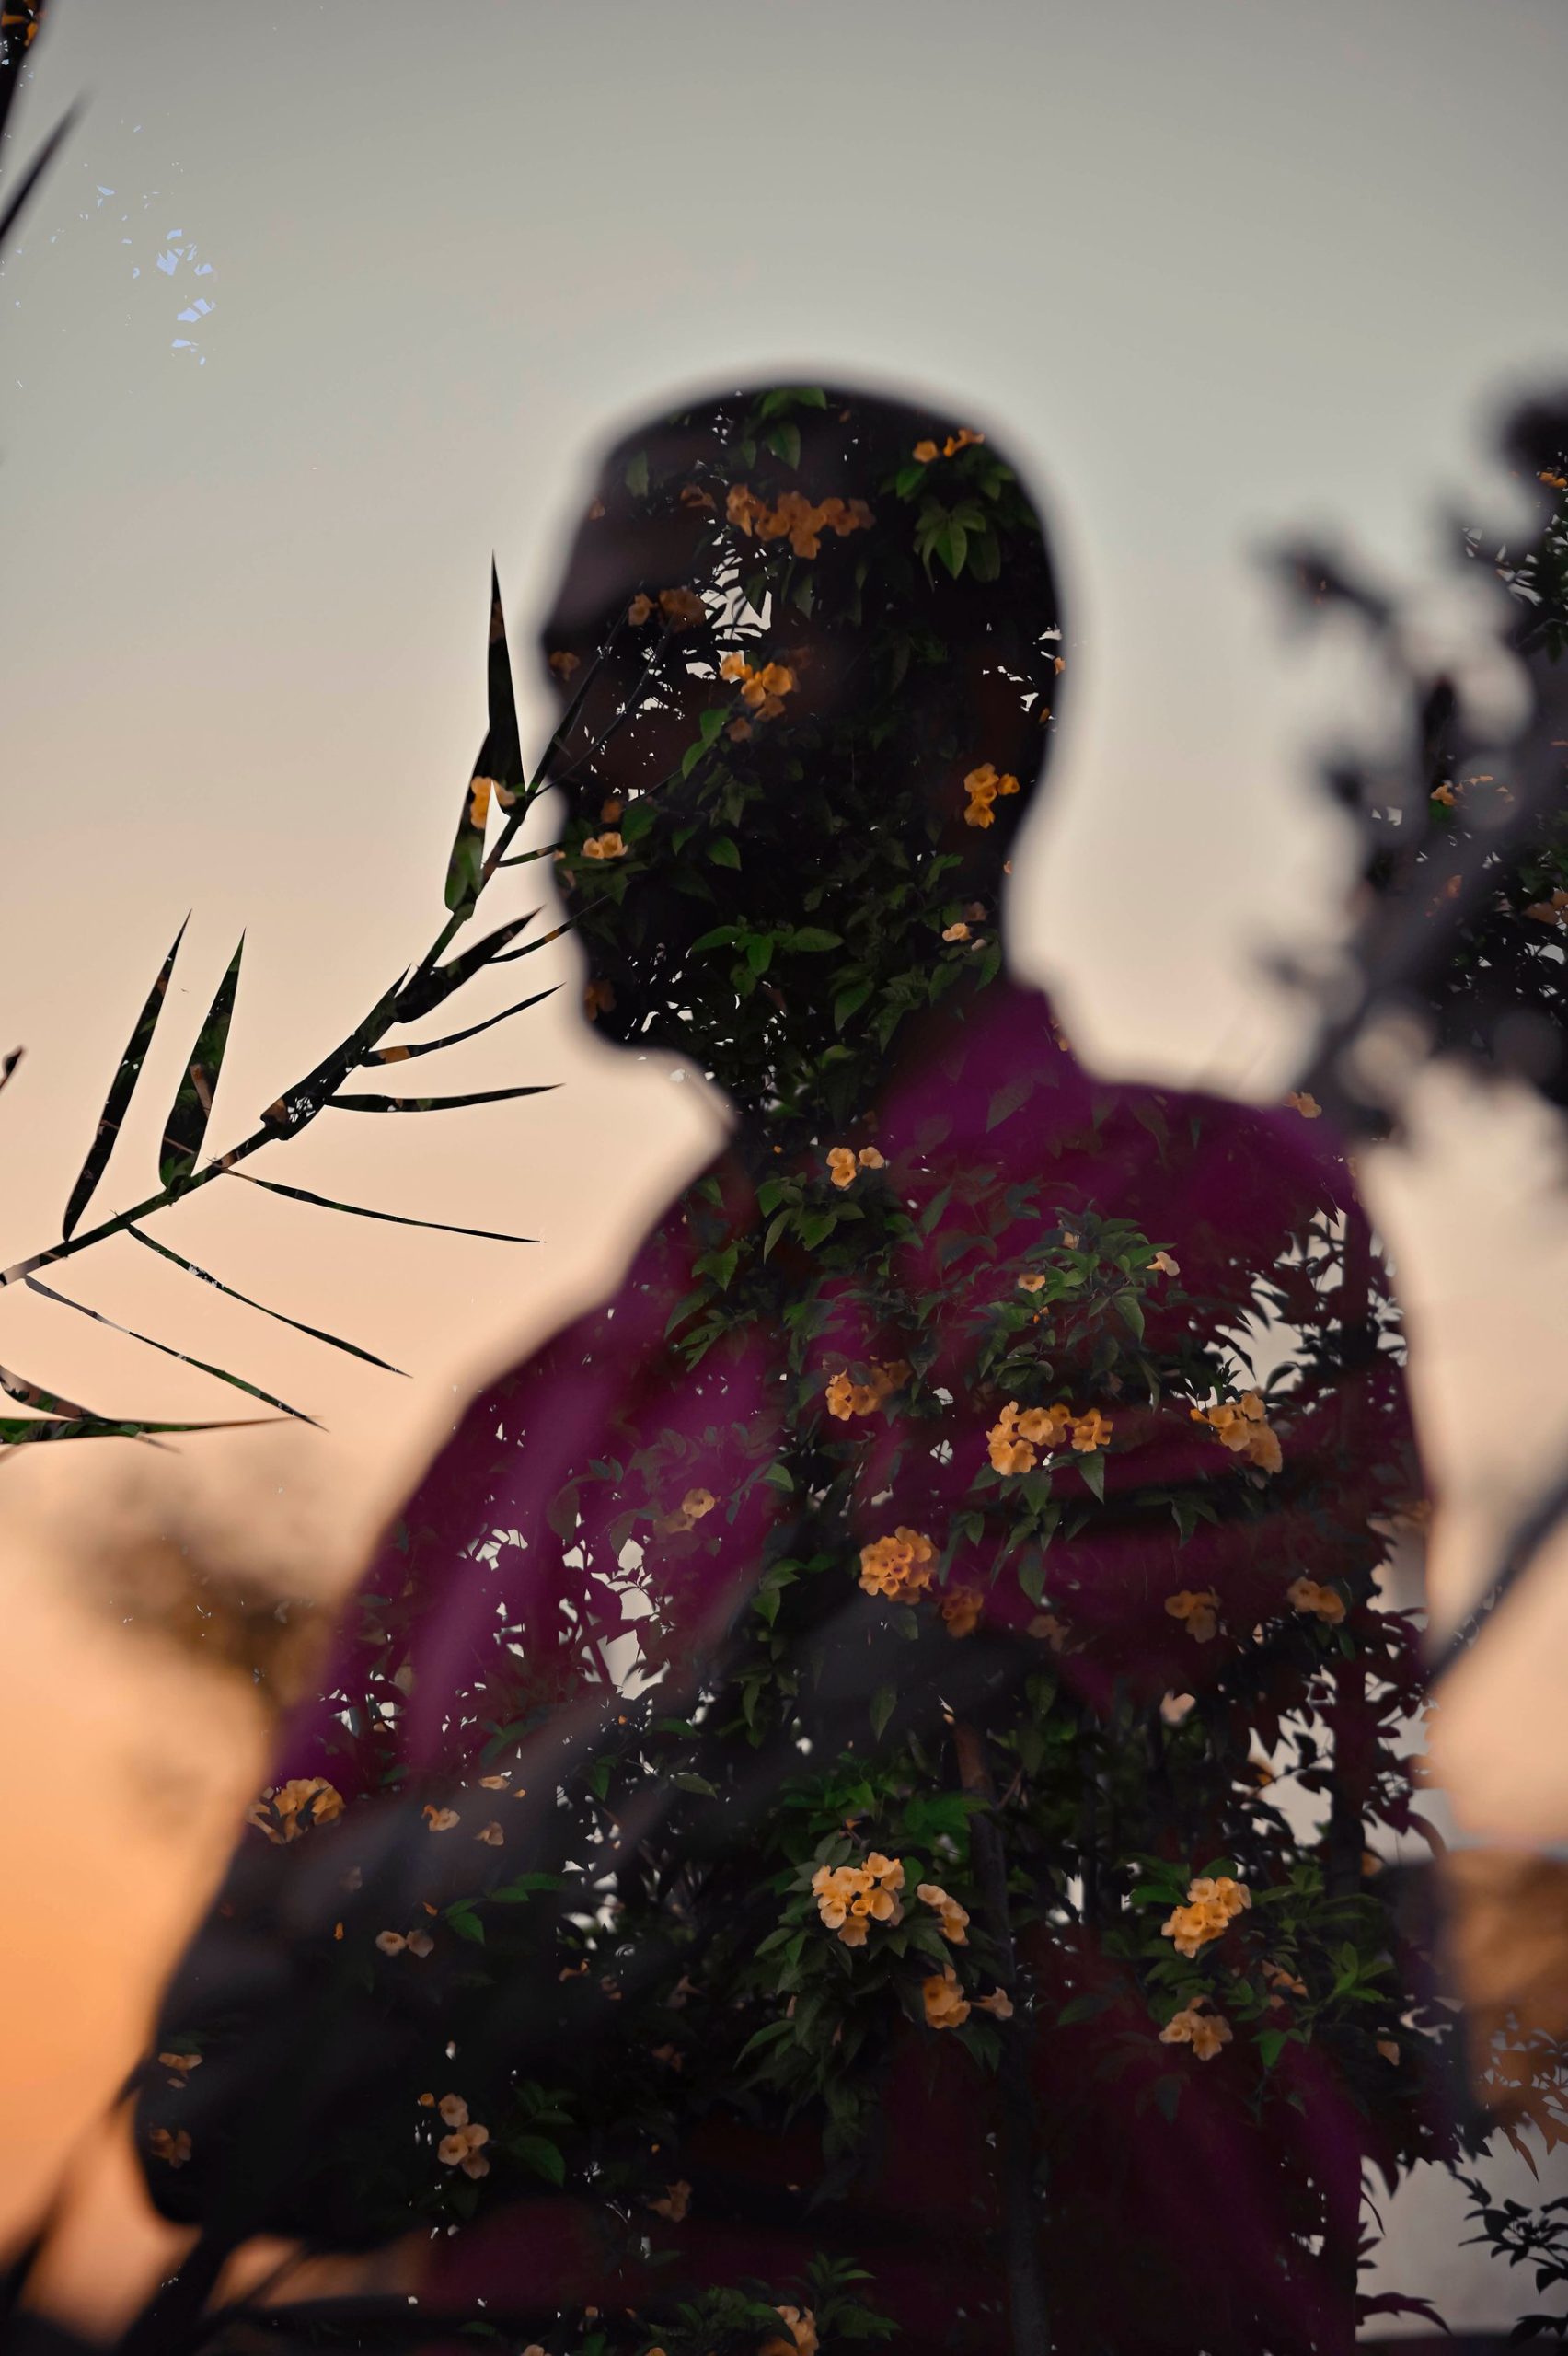
A double exposure blends two frames into one: the couple’s profile filled with the texture of the venue, the bouquet overlaid on a portrait, the skyline inside a silhouette. Many interchangeable-lens cameras include a multiple-exposure mode. Nikon’s multiple exposure guide recommends starting with two frames, choosing a blend mode such as Average, Lighten or Darken, and keeping the original exposures so you also have the standalone images. On supported Nikon Z bodies, the electronic viewfinder can show the first frame as a translucent overlay so you can align the second. Check your camera manual for its multiple-exposure features. Cameras without the feature get the same look by blending two frames in editing software.
The wedding-day rule is to shoot the components deliberately rather than hoping a random pair works: one clean portrait against a simple background, one texture frame with meaning to the couple. Blend strength is a taste decision – subtle enough that the couple remains recognizable.
 Save
5. Silhouettes
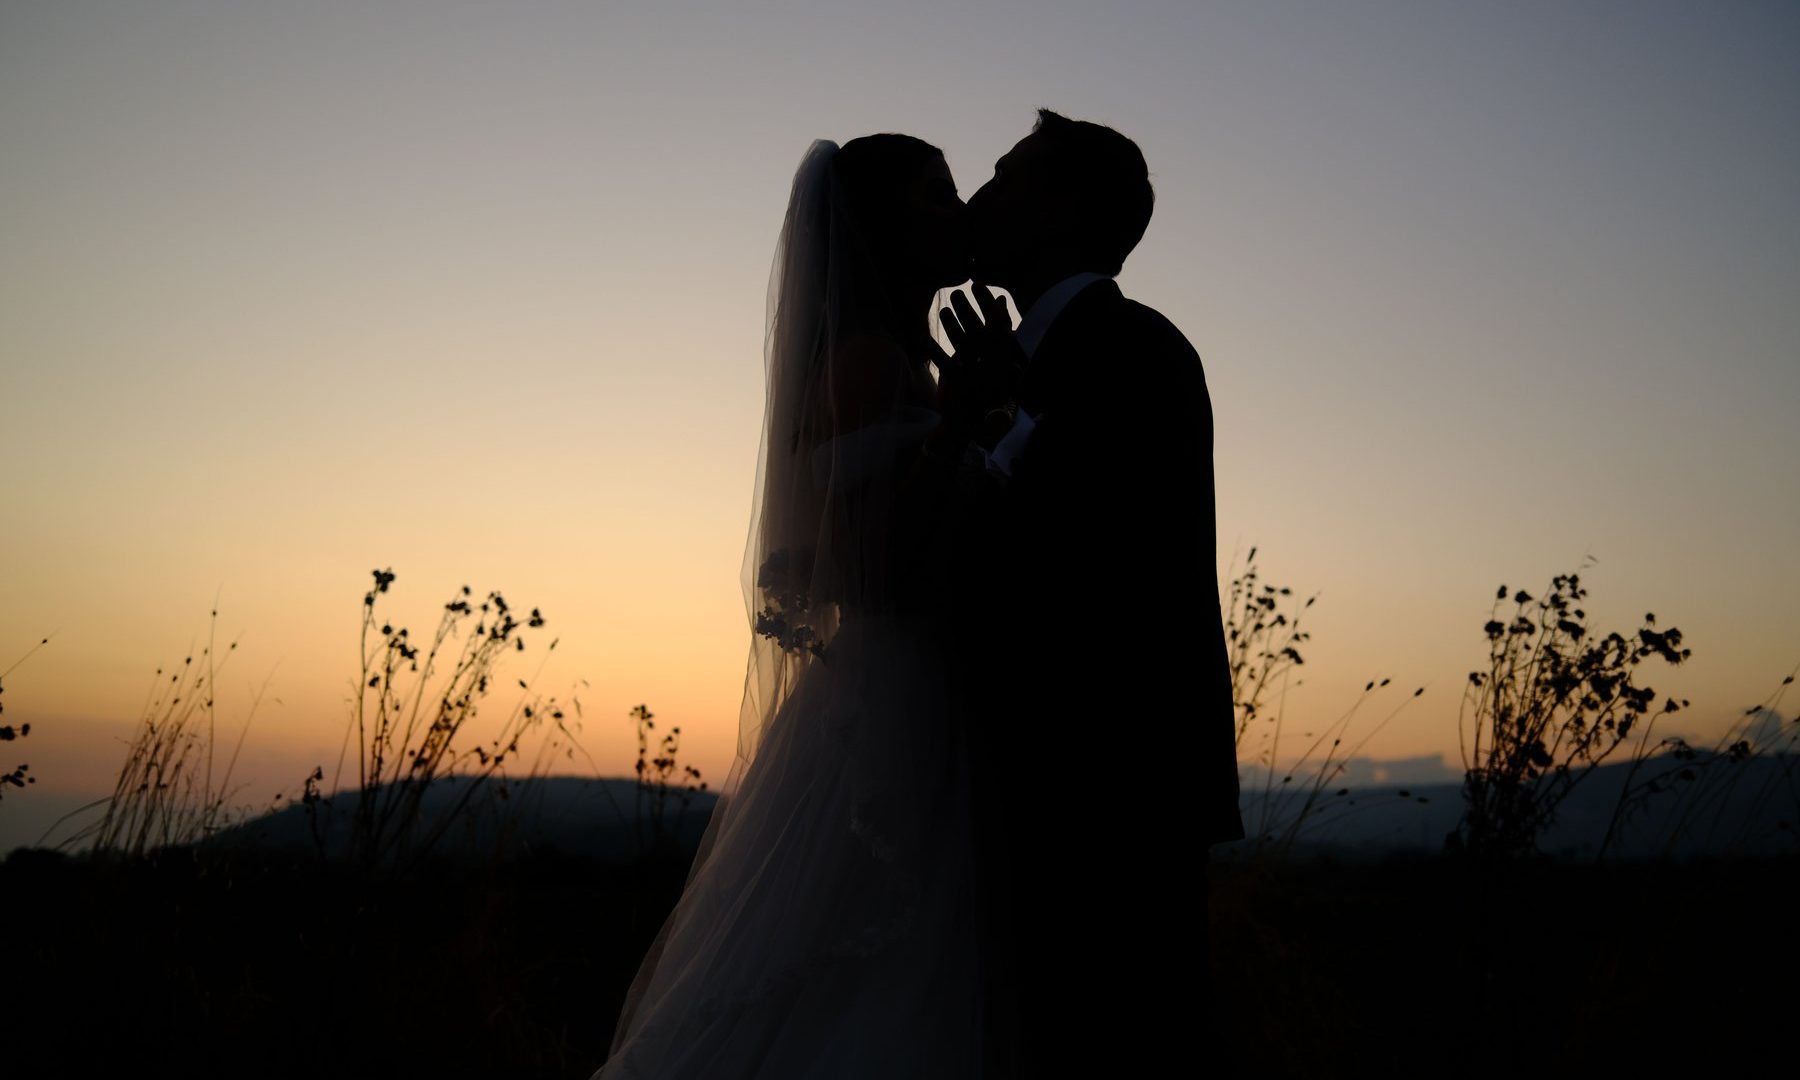
A silhouette trades detail for shape, and shape is what makes it timeless. Nikon’s silhouette guide states the key plainly: put the subject against a much brighter background and meter and expose for that background, letting the subject fall into shadow – and switch off exposure-assist features such as Active D-Lighting, which try to brighten the subject back up. Poses with a clean, readable outline – a kiss, a dip, joined hands – carry the image.
Timing is the wedding-specific part. As Digital Photography School’s backlighting guide notes, natural backlight usually means shooting toward the sun low in the sky, so the golden-hour window is short. Agree on a short sunset slot in the timeline with the couple rather than pulling them away mid-reception unannounced. Indoors, a large bright window or a lit doorway can provide another option if the light contrast is strong enough.
6. Post-processing with intent
Editing is where a consistent artistic voice comes through: a color grade that suits the venue, controlled contrast, gentle texture. It can also rescue technical misses within reason. What it should not do is fabricate the day. Keep the images honest – remove a distracting exit sign if you like, but do not composite in a sunset that never happened and present it as a captured moment. Couples trust the gallery to be their day, rendered beautifully, and that trust is the foundation every other technique stands on.
Tell the story of the whole day
Techniques are seasoning; the meal is the story. A strong wedding gallery reads in sequence: anticipation in the morning, the ceremony’s weight, the release of the reception. Shoot the reactions as diligently as the actions – the groom’s face during the vows, the couple’s parents during the speeches. Creative frames earn their place inside that narrative: a light painting closes the night, a drone shot opens the venue chapter, a silhouette marks the pause between ceremony and party. When each artistic image answers where it belongs in the story, the gallery feels designed instead of decorated.
Make it personal to the couple
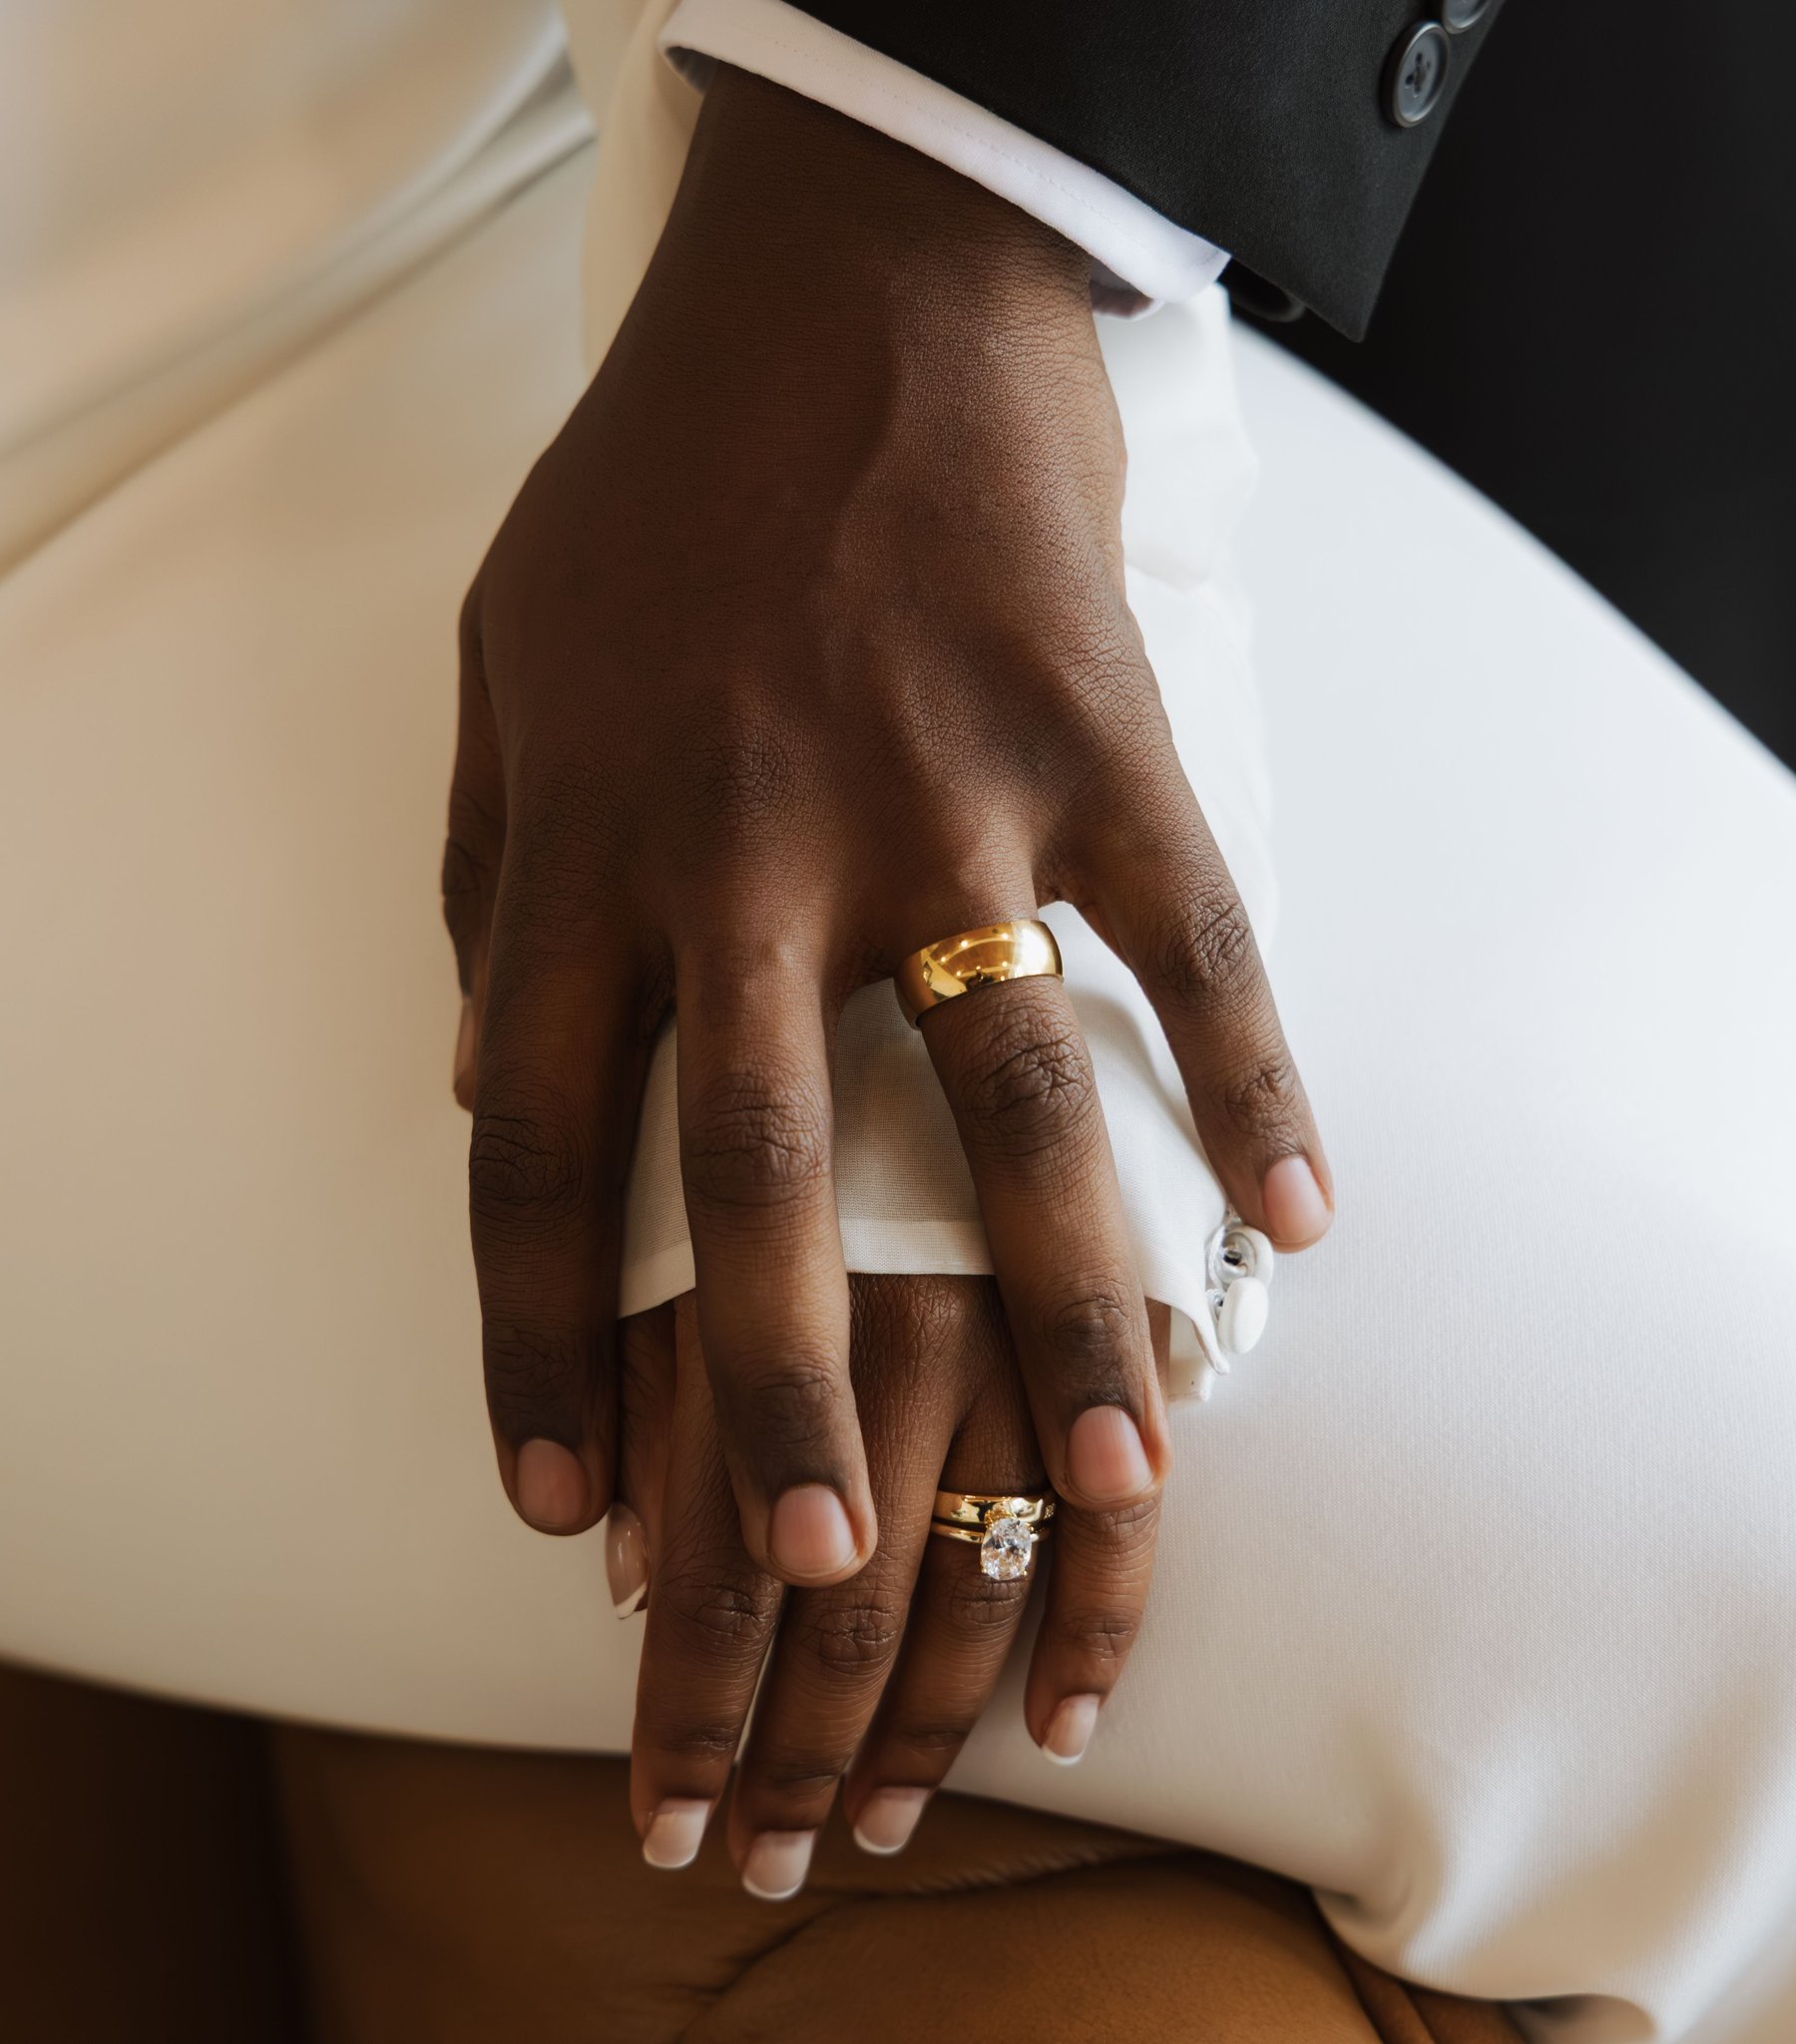
The most memorable artistic choices are the ones only this couple could have made. Props that carry shared history – vintage books for two readers, a motorcycle for two riders – turn portraits into biography. Locations with meaning, from the first-date cafe to a family porch, anchor images in the couple’s real geography. First-person frames, shot over one partner’s shoulder toward the other, preserve how they actually see each other. Cultural and ceremonial traditions deserve particular care: photograph them prominently and accurately, and let the couple or their family guide how they are represented.
Ask before assuming. A quick pre-wedding conversation about hobbies, places and traditions gives you the raw material, and it surfaces anything the couple would rather keep out of the camera’s reach.
 Save
Comfort, privacy and permission come first
Every technique above shares one workflow: propose, ask, plan, then shoot. The couple approves the creative list before the day, including anything involving darkness, heights, flame or extra minutes of their timeline. The venue approves drones, sparklers, smoke and access to unusual spots, often with insurance paperwork. Agree on publication permissions before sharing guest images, honor no-share requests, and check the local privacy rules. Silhouettes, backs and details are useful alternatives, provided the person is not still recognizable. If any answer is no, the idea comes off the list without negotiation; there is always a simpler frame that serves the story. Artistic ambition works best when everyone in the picture is glad the picture was made.
Want to go further? The ShutYourAperture Academy’s The Wedding Day (7 modules, 28+ lessons) is built to help you capture love, story and chaos in a single day.
Wedding photography ideas Q&A
Do I need a license to fly a drone at a wedding?
If you are paid for the work, yes: in the United States, flying a drone for business purposes falls under the FAA’s Part 107 rules, which require a Remote Pilot Certificate. Controlled airspace needs an airspace authorization, and flying over people is restricted unless the operation meets the Operations Over People rule. You also need the venue’s permission, and many venues require proof of insurance. Rules differ by country, so check the local aviation authority wherever the wedding is.
What settings are a starting point for wedding light painting?
Put the camera on a tripod in a dark space. Nikon ambassador Dave Black suggests 30 seconds at f/8 and ISO 400 as a starting point, not a rule: focus with autofocus first, then switch autofocus off, and judge results on the LCD as you paint with a handheld light. Expect to repeat the shot several times, and rehearse before the wedding day.
Can any camera shoot double exposures?
Many interchangeable-lens cameras include a multiple-exposure mode, but not all, so check your camera’s menu or manual. On bodies that offer it, you choose the number of frames and a blend mode; some mirrorless cameras show the first frame as a ghost overlay in the viewfinder to help you align the second. If your camera lacks the feature, blending two frames in editing software gives a similar result.
How do I photograph the couple as a silhouette?
Place the couple in front of a much brighter background, such as the sky after sunset or a large window, and meter and expose for the background so the couple falls into shadow. Nikon also advises switching off exposure-assist features such as Active D-Lighting, which try to brighten the subject. Poses with a clear, readable outline work best.
Do we need to ask the venue before trying creative photo ideas?
Yes, for anything that affects the property or guests. Drones, sparklers, smoke, candles and other open flames, and access to roofs or off-limit areas typically need explicit venue approval, sometimes with insurance paperwork. Ask early, and treat a no as final; there is always a ground-level alternative.
How do creative wedding photos affect guest privacy?
Attendance is not a substitute for a publication plan. Agree with the couple on what may be shared, honor guest no-share requests, and check local privacy rules and any required permissions before publishing recognizable people. Long-exposure dance floors, aerial shots and reception candids can all capture recognizable faces. Silhouettes, backs and details can reduce identification, but check each image rather than assuming the pose guarantees privacy.
Unique wedding photography is not a bag of tricks. It is a working relationship between craft and care: the craft to execute light painting, aerials, reflections, double exposures, silhouettes and honest editing, and the care to keep the couple’s comfort, the guests’ privacy and the venue’s trust ahead of any single frame. Master both, and the gallery stops being coverage of an event and becomes a set of images the family returns to for decades.
Carry the camera between wedding photographs
Affiliate disclosure: If you buy through the B&H link in this section, Shut Your Aperture may earn a commission at no extra cost to you.
A black Peak Design Slide Lite camera strap, model SLL-BK-3, is one carry option between wedding photographs. Check the camera attachment points and the full camera-and-lens weight before buying. Follow the attachment instructions and inspect the anchors. Carry gear does not create a personal story or replace the timing and communication that a wedding photograph needs. Compare the current retailer specifications; no hands-on test, price or stock promise is being made here.
Check Peak Design Slide Lite Camera Strap Black SLL-BK-3 at B&H