Photo by KATRIN BOLOVTSOVA via Pexels: https://www.pexels.com/photo/a-planner-and-a-pen-6192333/ – Pexels License (https://www.pexels.com/license/). (Stock photo, illustrative.)
A good wedding photography checklist does two jobs at once. It tells your photographer which moments matter most to you, and it quietly handles the logistics – names, times, spares, backups – that decide whether those moments actually get captured. This checklist is built around both halves: couple-approved priorities and privacy on one side, and a named helper, a workable sequence, spare gear, and a verified archive on the other. As a planning example, start discussing it with your photographer four to six weeks before the wedding, then adjust the timing to your actual booking and venue deadlines.
Before the day: priorities, privacy, and people
Start with the couple’s own priorities, not a generic list from the internet. Sit down together and mark a short list of moments you would genuinely be sad to lose. For most couples that includes the vows and the kiss, but the rest is personal: a grandparent’s reaction, the flower girl’s concentration, the friends who traveled far. That short, honest list is the backbone of everything the photographer shoots around. Wedding educators who work with working photographers make the same point from the other side – ask the couple what matters and build the day around their answers rather than your assumptions.
Next, write the privacy list. Decide together what is not for sharing: getting-ready coverage beyond a certain point, children’s faces, a private first look, or anything you simply want to keep for the album instead of the internet. Put it in writing. Photographers who shoot with contracts and shot lists treat client privacy as part of the brief, but they can only protect boundaries they know exist.
Then name your helper. Choose one person – not a member of the couple – who knows both families by name and face, and give them two jobs: gathering people for group photos and answering quick identity questions on the day. Share the group list with them in advance, tell them when and where groups will happen, and make sure the photographer has their phone number. This gives the photographer a practical way to gather people without asking the couple to manage every group.
- Confirm the priorities: a short list of moments you would be sad to lose, written down and agreed by both of you.
- Write the privacy list: anything off-limits for sharing, in writing, acknowledged by the photographer.
- Name the helper: one person who knows both families, briefed on the group list, phone number shared.
- Lock the sequence: a simple timeline with getting-ready start, ceremony, group window, reception highlights, and send-off.
- Scout the light: visit the ceremony and reception spots at the same time of day as the wedding, and note where the sun will be.
- Brief the vendors: DJ or band warned before the first dance and toasts, officiant asked about any photography restrictions during the ceremony.
The shot sequence, in order
A checklist works best in the order the day actually unfolds. Use this sequence as the skeleton and mark your priority items against it.
Getting ready. The anticipation shots: dresses and suits being buttoned, ties adjusted, the laughter in the room. These are also the images couples most often put on the privacy list, so agree the boundaries before the photographer arrives.
 Save
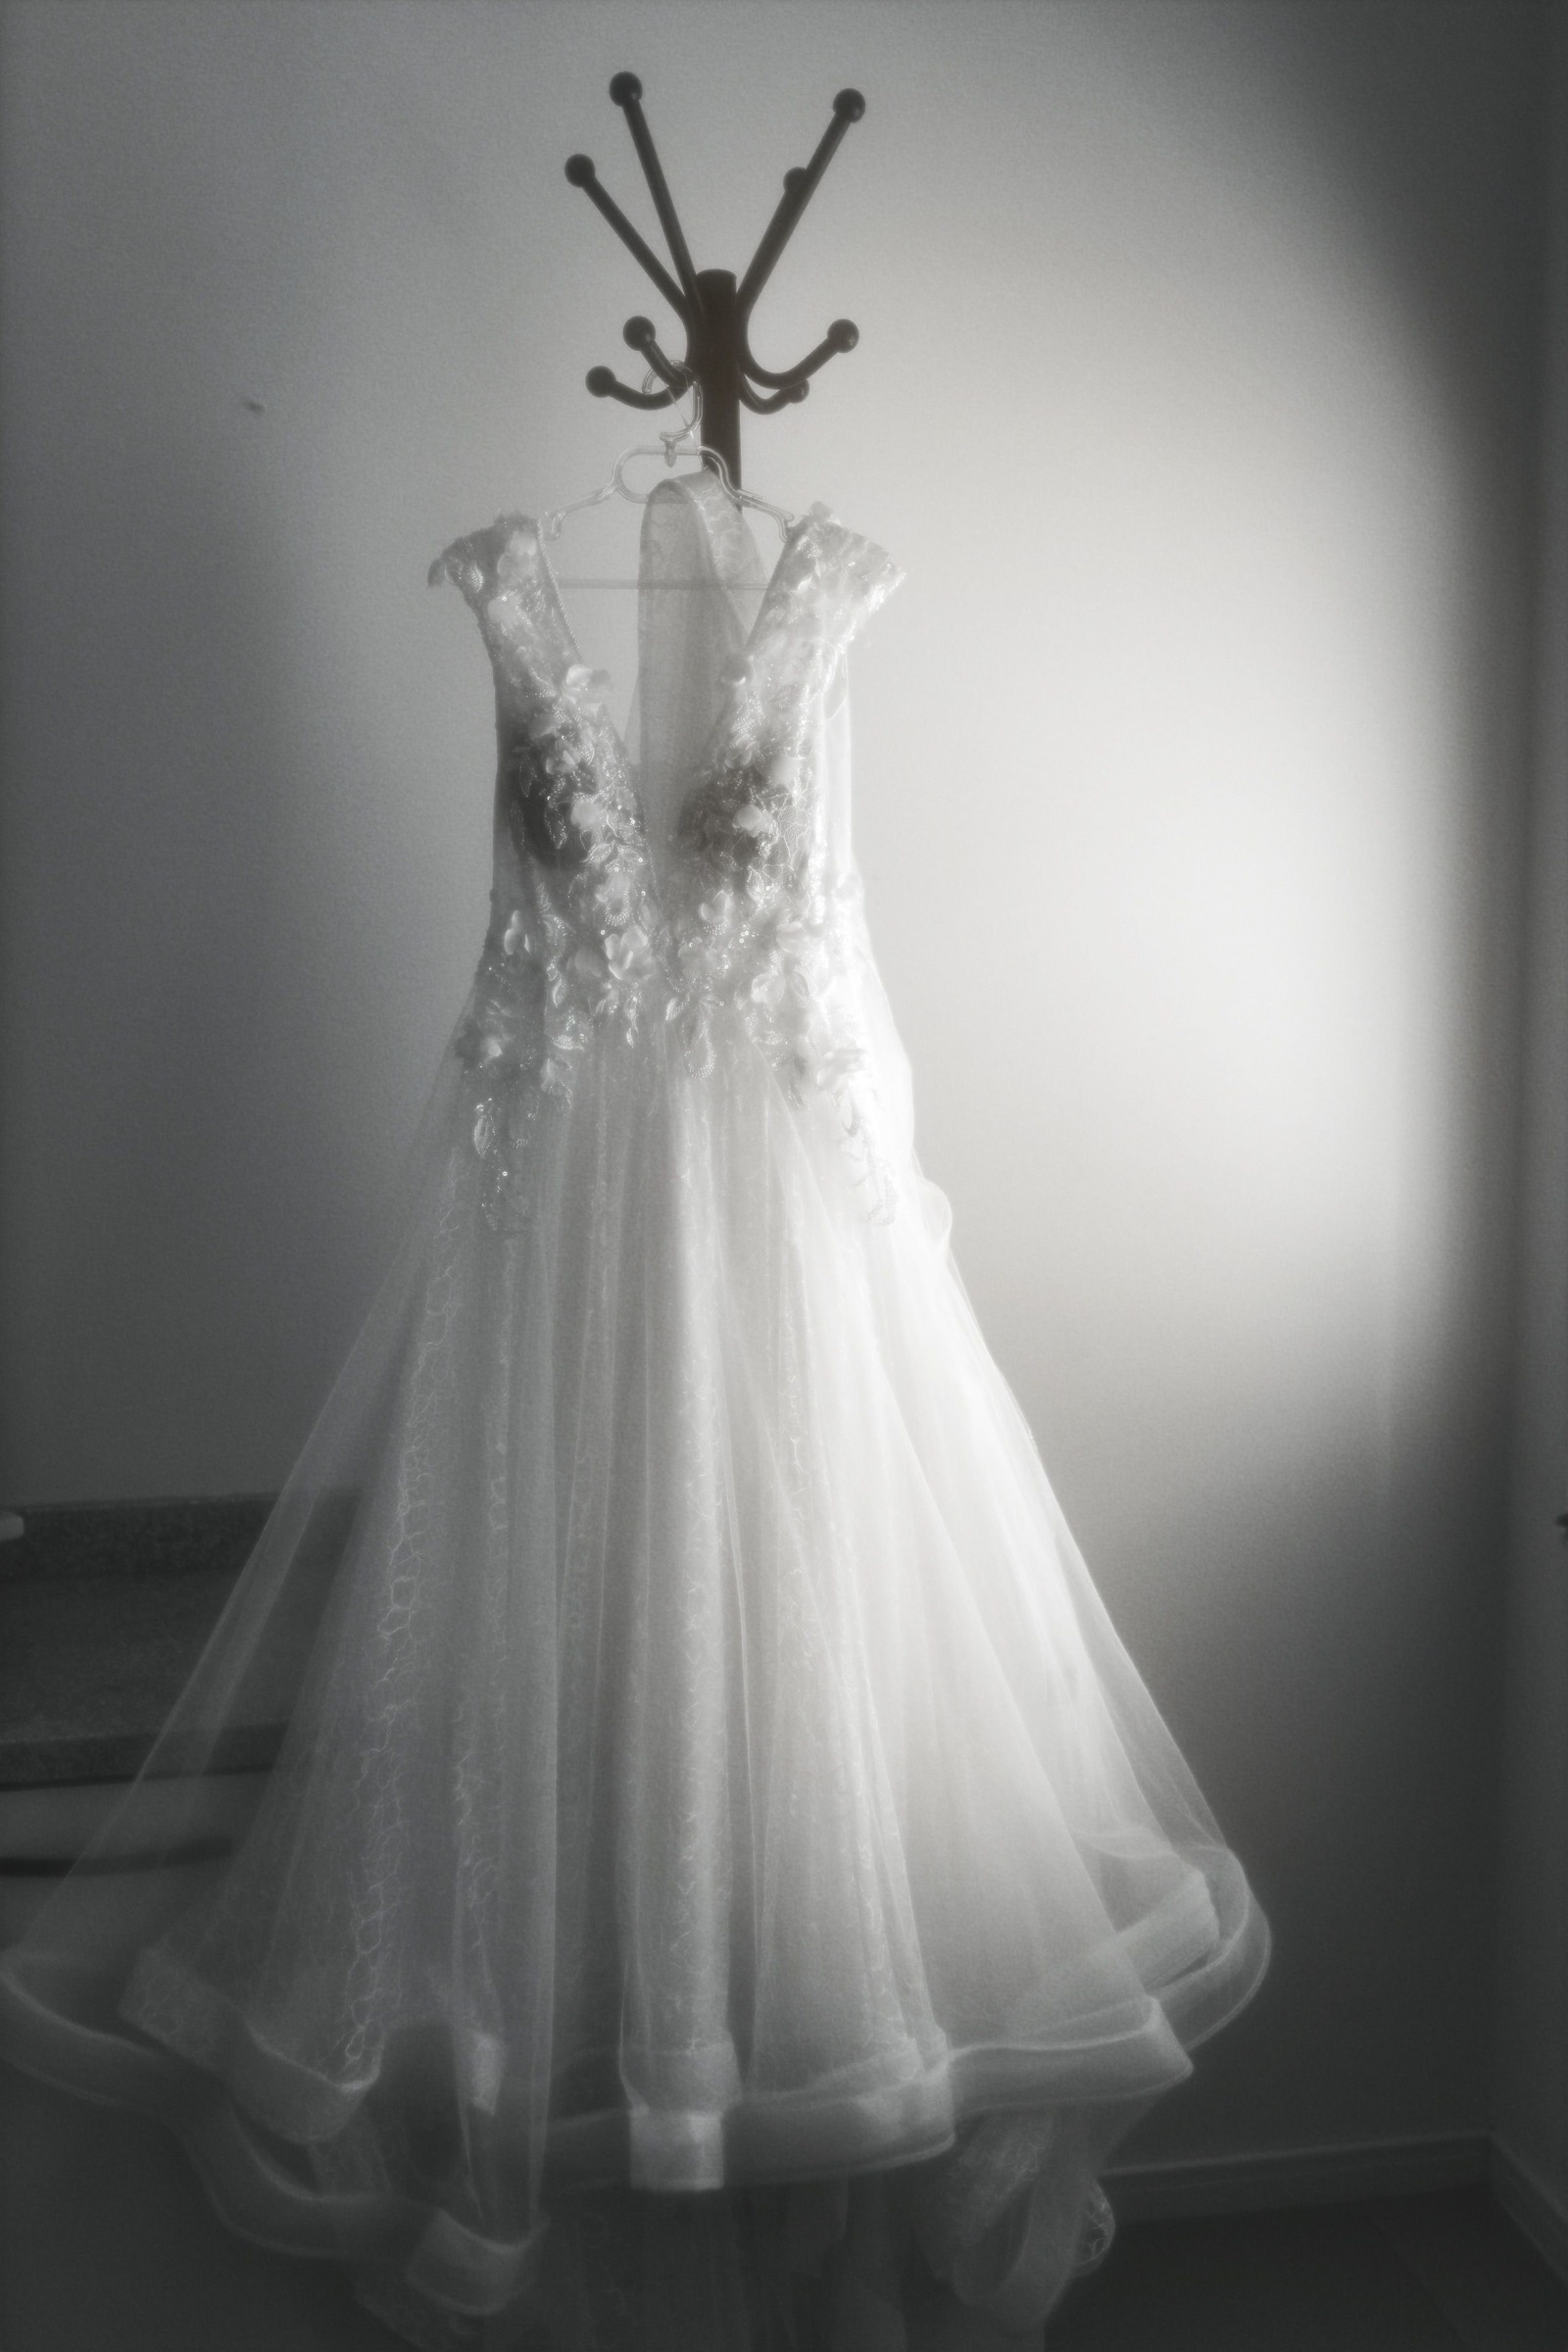
The details. Shoes, jewelry, perfume, cufflinks, the boutonniere, and the rings. These close-ups add depth to the album and take minutes to make. Gather them in one place the night before so nothing is hunted for in the morning. The dress earns its own frames – hung by a window or laid out with room around it – before anyone puts it on.
 Save
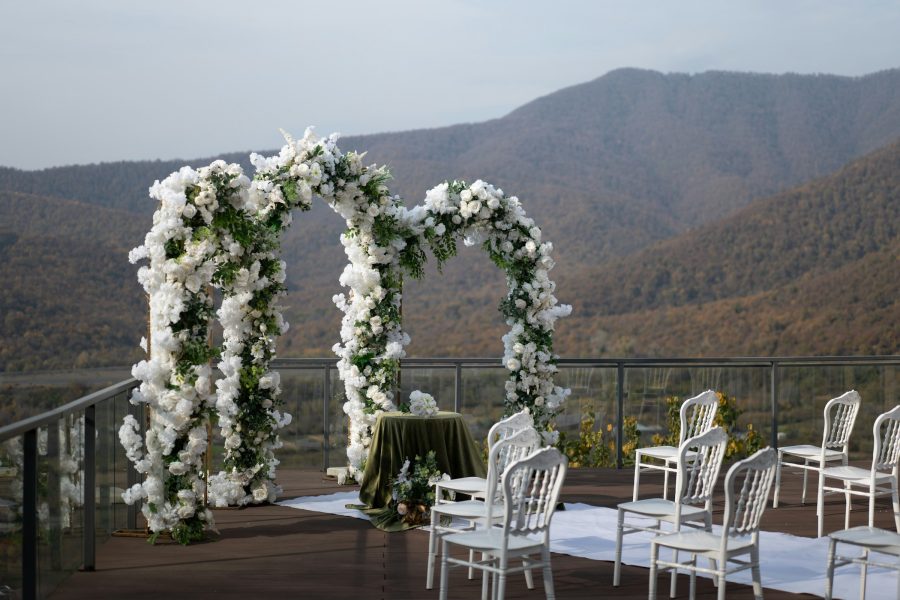
The empty venue. Ask the photographer to arrive early enough to shoot the ceremony space before guests fill it. The transformed room – chairs, flowers, the aisle – never looks that way again, and it anchors the story the album tells.
 Save
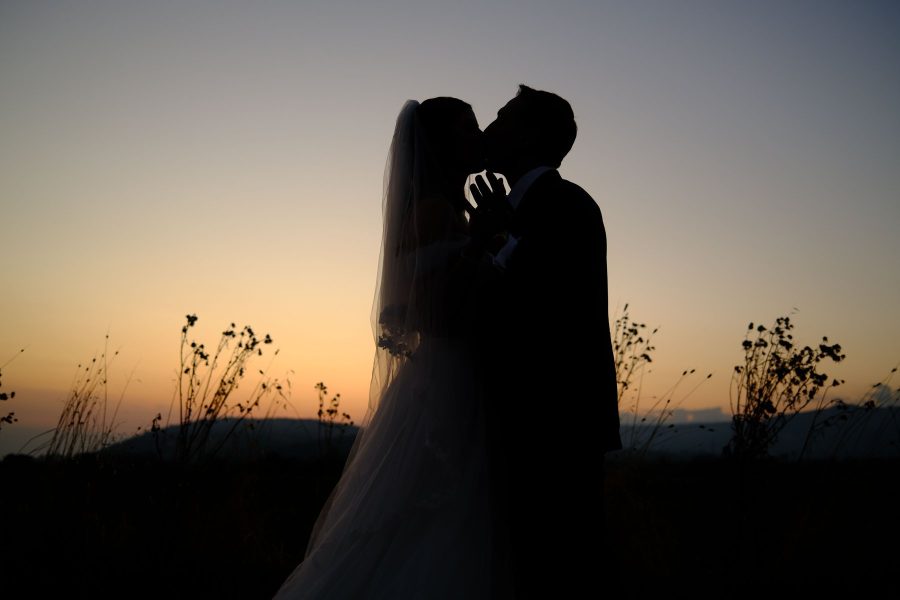
Arrivals and the ceremony. The walk in, the expressions during the vows, the ring exchange, the kiss, and the faces in the front rows. Leave enough room in the frame for groupings and reactions, and choose a shutter speed that fits the movement. Check a test frame for motion blur rather than treating a single shutter speed as a rule.
The group window. This is where the named helper earns their keep. Start with the whole group while everyone is present, then work down: immediate family, extended family, wedding party, friends. Ten to fifteen combinations can be a starting list to discuss, not a promise that every family or schedule can fit that many. One working photographer’s rule of thumb for large groups is f/8 for depth of field, open shade or soft light where possible, with the couple anchored in the center and a spoken countdown so blinks are rare. Treat that as one practitioner’s starting point, not a universal setting.
The reception. Table details and flowers before guests sit, entrances, the first dance, and the toasts. Ask the DJ or band to warn the photographer before the dance and speeches begin – a two-minute heads-up is the difference between a prepared shot and a scramble. Finish with the send-off, whatever form it takes: sparklers, confetti, or a quiet wave through a doorway.
Gear, spares, and the archive check
The gear half of the checklist is short because it is unforgiving. Two camera bodies if at all possible – a body failure mid-ceremony is much harder to handle without a spare. Batteries charged and counted, with spares within reach. Memory cards: plan enough capacity and a clear used-card routine. Rotating smaller cards is one way to limit how much is on any single card, but every swap adds handling risk, so use a routine you have practiced. One widely used wedding-workflow guide describes exactly this discipline – smaller cards, rotated, with copies made the same day.
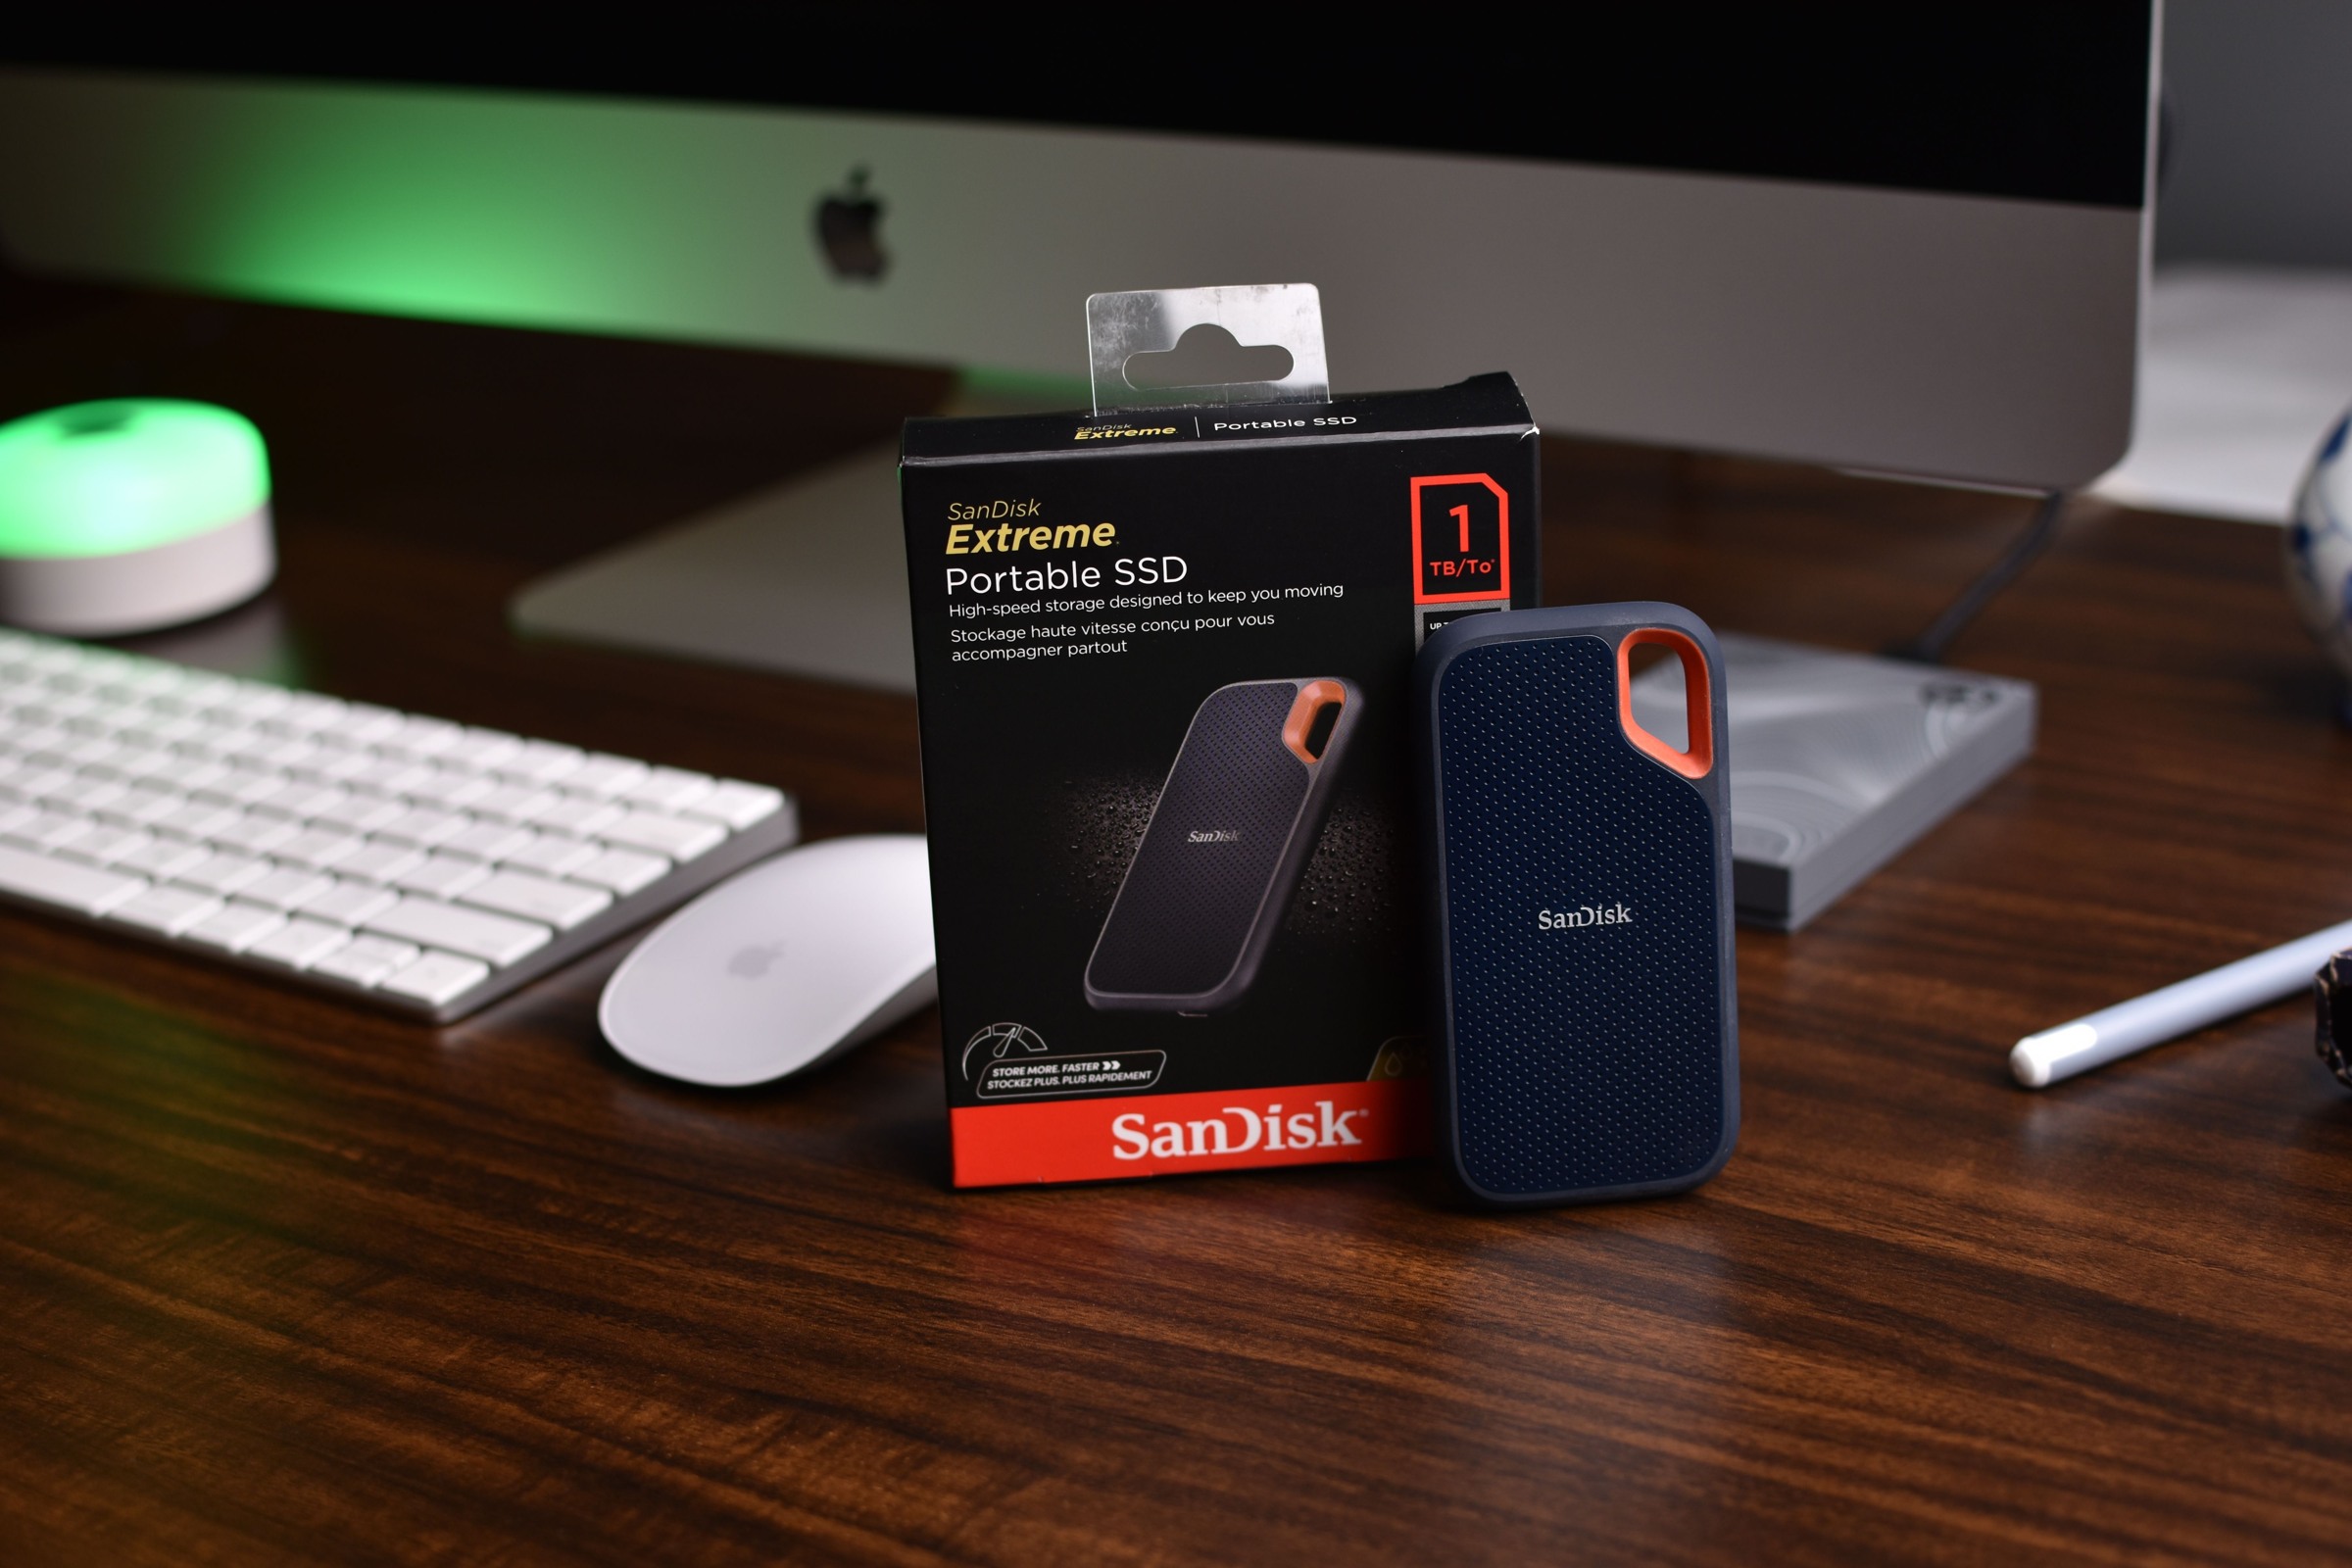
The archive check is the step couples rarely hear about and photographers should never skip. It means copying the day’s cards to a computer or external drive as soon as practical after coverage, opening a sample of the copied files to confirm they actually read – a finished copy bar is not proof – and keeping a second checked copy on separate hardware in a separate place. Only after both copies are confirmed do the cards go back into rotation. A checklist line that reads “archive verified” is worth more than any single photo on it.
 Save
After the wedding: keep the story safe
The checklist does not end at the send-off. The copies should be reviewed again with fresh eyes, the edit organized into the day’s chapters – getting ready, ceremony, portraits, reception – and the final gallery treated as the last step of the backup chain rather than the only copy. If you want the fuller version of that working method, including how the pacing and editing rhythm fit a classic coverage style, it pairs naturally with our guide to classic wedding photography. For a broader set of practical wedding pointers, see Mastering Wedding Photography: Essential Tips, and for the fundamentals behind the exposure choices mentioned here, the guides to aperture, shutter speed, and ISO go deeper.
Want structured practice before the real thing? The ShutYourAperture Academy course The Wedding Day (7 modules, 28+ lessons) is built to help you capture love, story, and chaos in a single day.
Frequently asked questions
How far in advance should we share our shot list with the photographer?
Four to six weeks before the wedding is a planning example, not a universal deadline. Agree on timing with your photographer so there is room to review venue constraints and priorities. Confirm the final version before the day and share it with your named helper.
Should we include a no-share or privacy list?
Yes, and treat it as seriously as the shot list. If there are moments, guests, or images you do not want posted anywhere – getting-ready photos, children’s faces, a private first look – say so explicitly in writing before the day. A photographer can only honor boundaries they know about, and once an image is on social media it is almost impossible to pull back.
Who should the named helper be?
Pick someone who actually knows both families by name and face – a sibling, a wedding party member, or a close friend – rather than the couple themselves. Their job is to round people up for group photos and answer quick ‘who is that’ questions. Give them the group list in advance and tell them where and when the groups will happen.
How many group photo combinations should be on the list?
Start with the combinations that matter most and ask the photographer how many the schedule can hold. Ten to fifteen combinations is one starting example, not a rule. Group size, mobility, location and how quickly people gather all change the time needed. Prioritize the must-have groups and use a helper who knows the people.
What spare gear matters most on the day?
Charged batteries and enough empty memory cards top the list, followed by a second camera body where possible. A body failure during a ceremony is much harder to manage without a spare. Rotating cards can limit what sits on one card, but use a practiced routine so used cards stay clearly separate and secure.
Do we need a second photographer for the checklist to work?
Not strictly, but one photographer can only be in one place. If getting-ready coverage in two locations, or simultaneous ceremony and reception-detail coverage, matters to you, discuss a second shooter. If the budget says no, build the timeline so one photographer can move between the priorities in sequence.
What is an archive check and when does it happen?
An archive check means verifying that copied files actually open, not just that a copy progress bar finished. Copy the originals as soon as practical after coverage and keep at least two checked copies on separate hardware in separate places before reusing cards. Opening samples catches some problems; retain the cards until the copies have been checked and your backup process is complete.
Sources
- Canon Europe: Must-have wedding poses – shot-sequence backbone, scouting, and first-dance preparation from a working wedding photographer.
- Canon Europe: Group portraits – group composition, the f/8 rule-of-thumb example, open shade, and the spoken countdown.
- Nikon USA: 7 Tips & Tricks to Taking Better Wedding Photographs – couple priorities, the named-helper idea, and working with the couple.
- Capture One: Wedding workflow – same-day copies and smaller-card rotation. Published 2019; used for workflow practice, not as a current interface reference. Vendor and education sources inform this guide; they are not independent corroboration of one another.
Gear for keeping a separate copy
Affiliate disclosure: We may earn a commission from qualifying purchases through this B&H link at no extra cost to you.
The illustrated SanDisk drive above is stock photography, not the Samsung model linked here. For an external drive option, a compact SSD such as the Samsung T7 Shield Portable SSD (1TB) is one storage option for originals and edited exports; check the connection type and capacity against your own computer before buying, and compare current specifications. No hands-on test, price, or stock promise is made here – a drive is one part of a backup plan, not the plan.