Original date December 17, 2023. Updated November 2026.
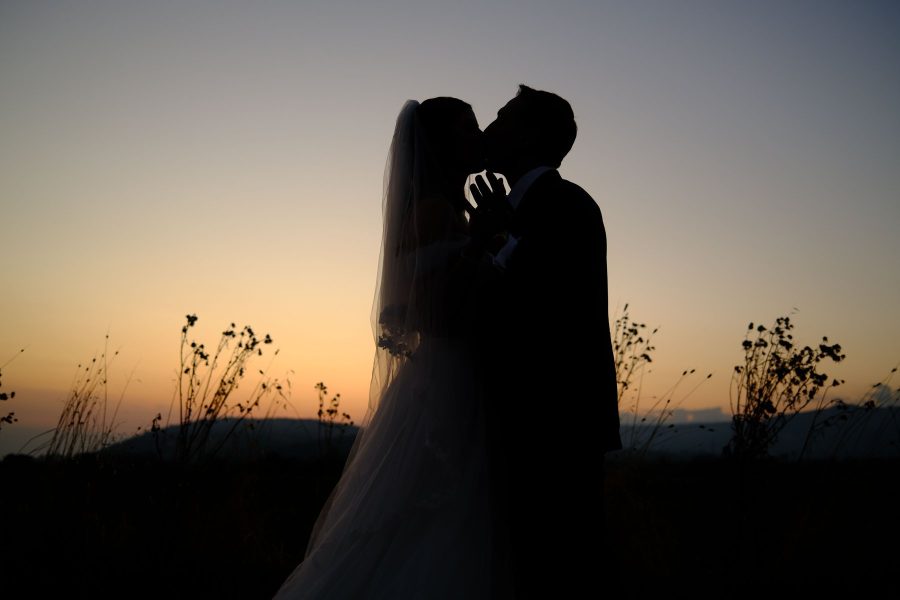
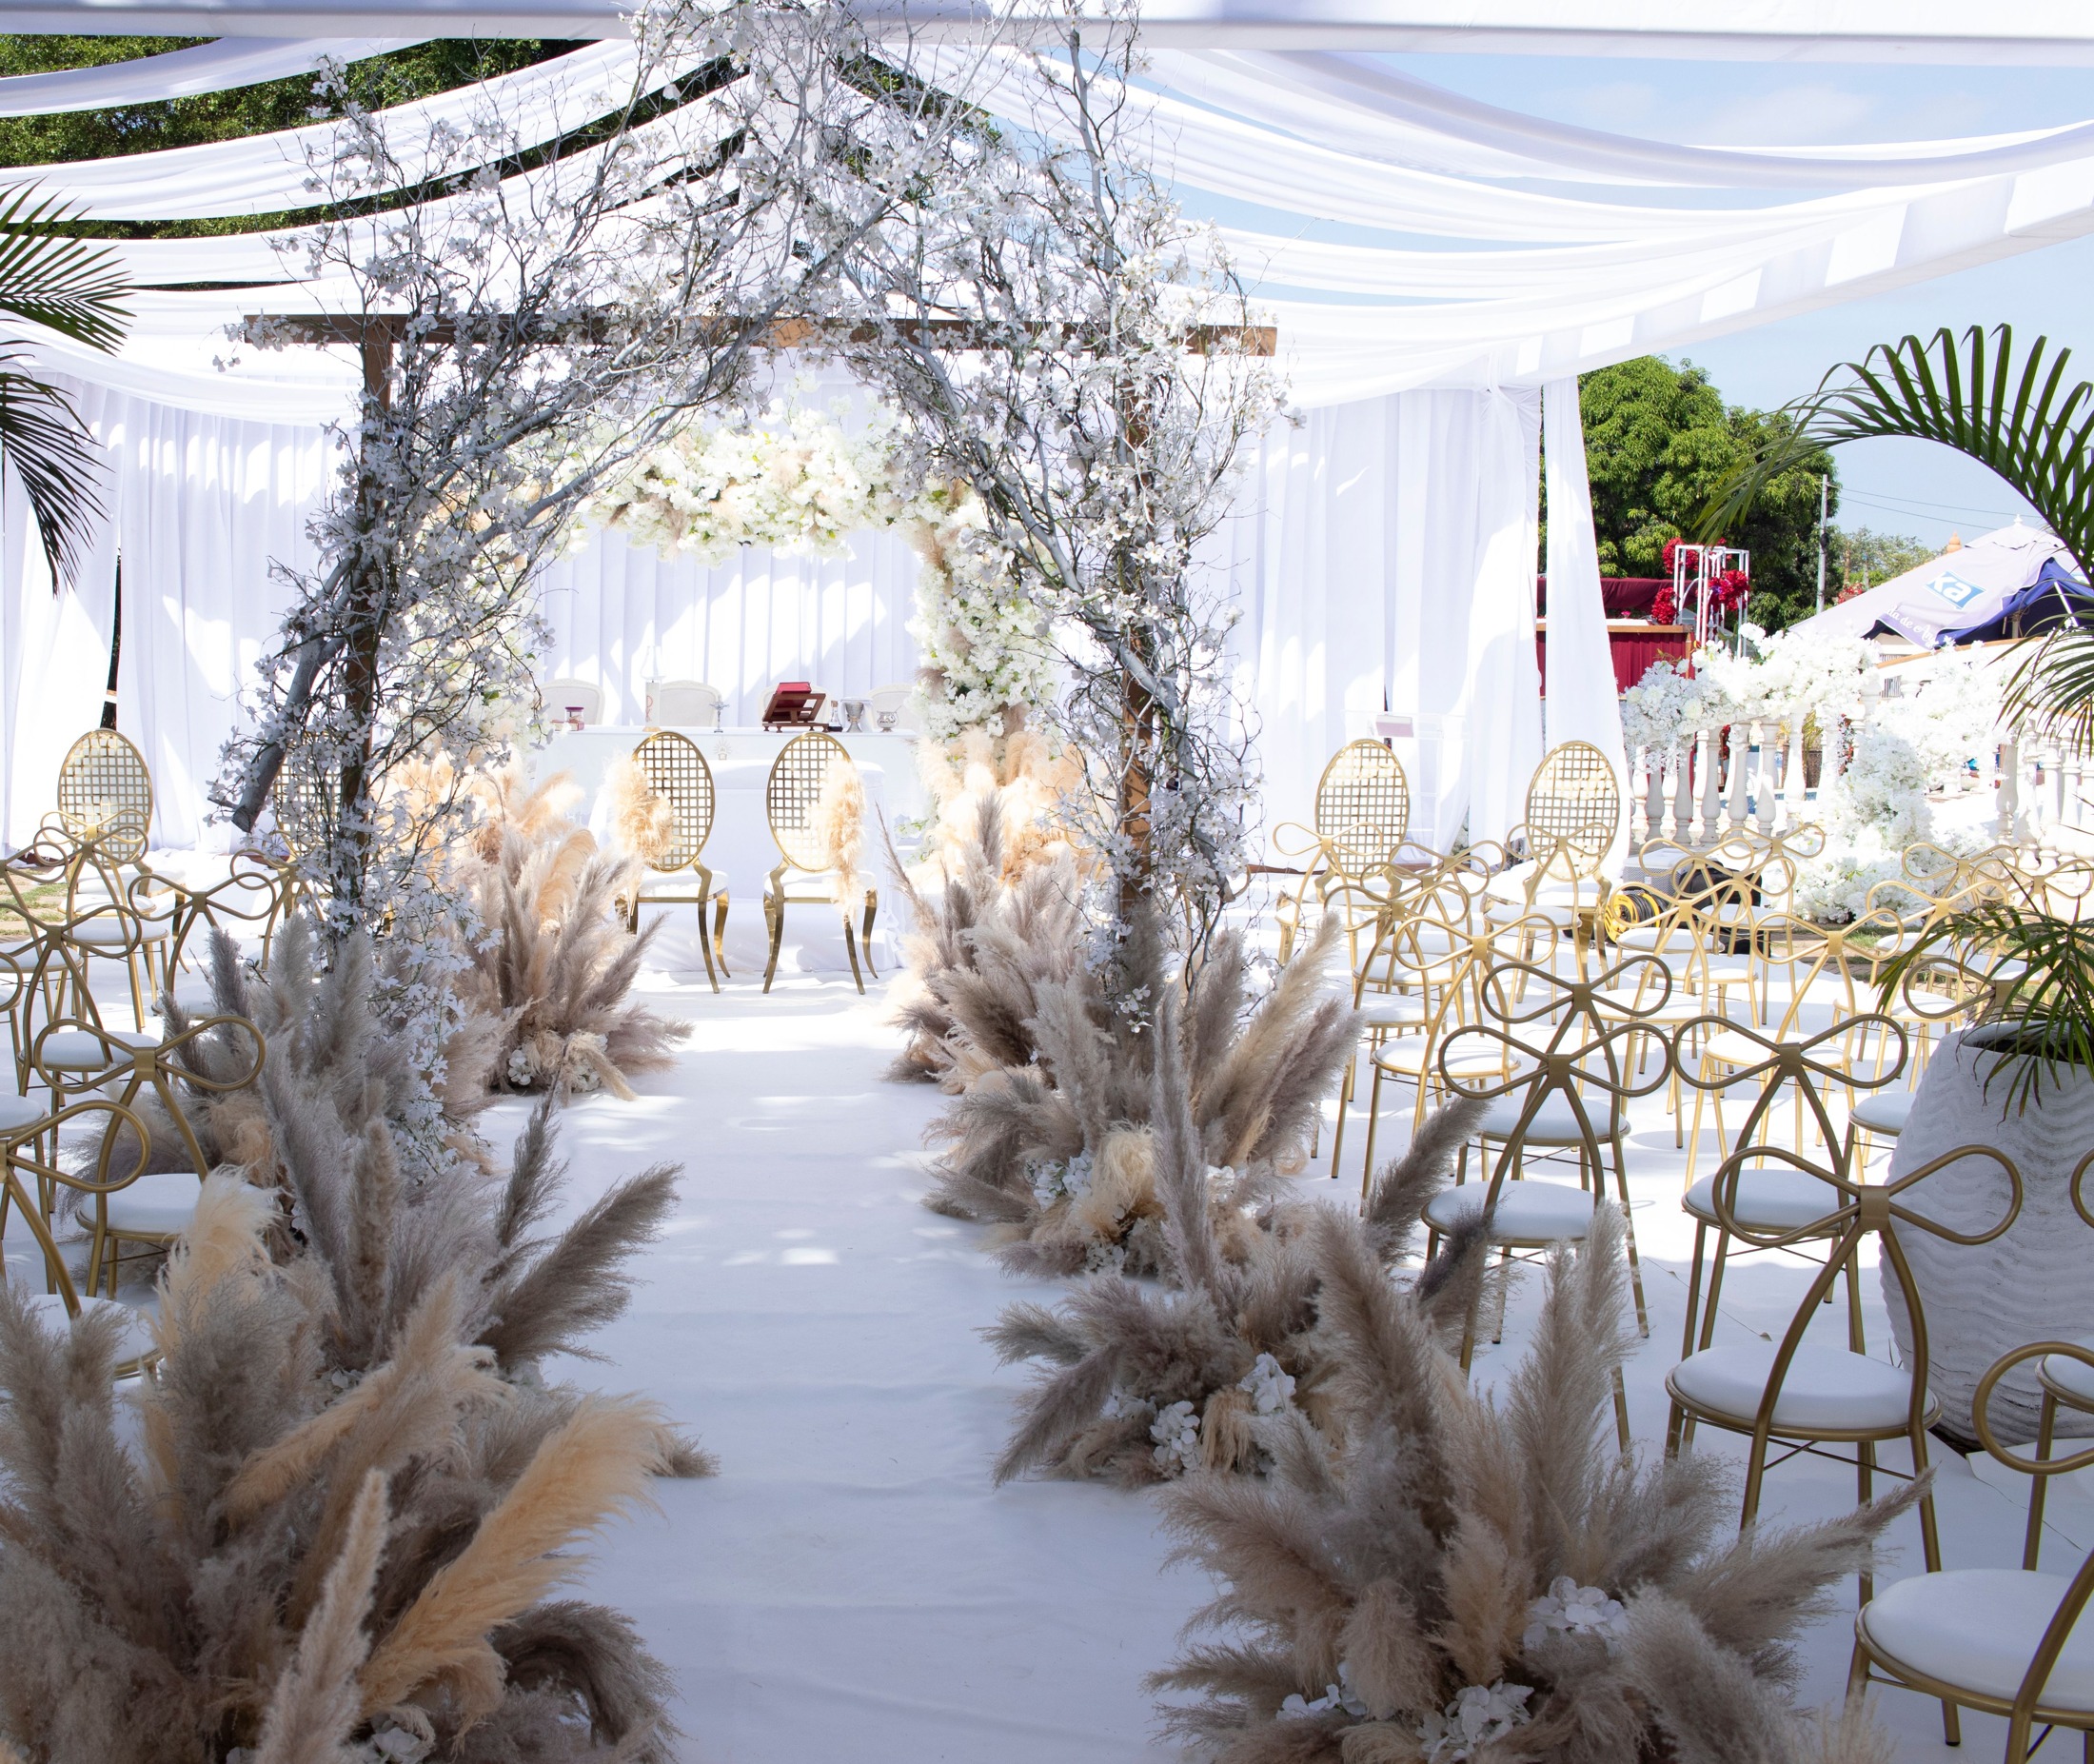
Photo by Kimy Moto / Pexels / Pexels License. (Stock photo, illustrative.)
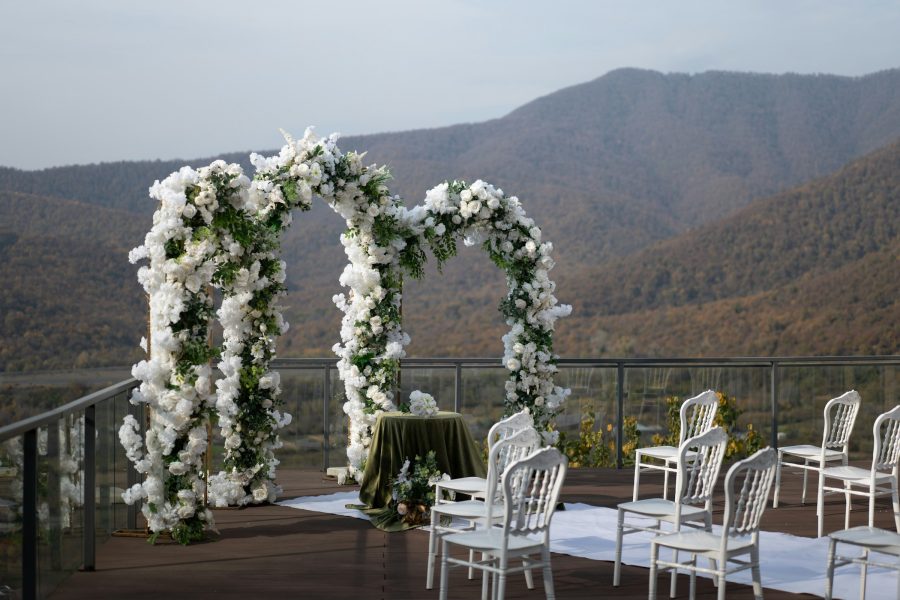
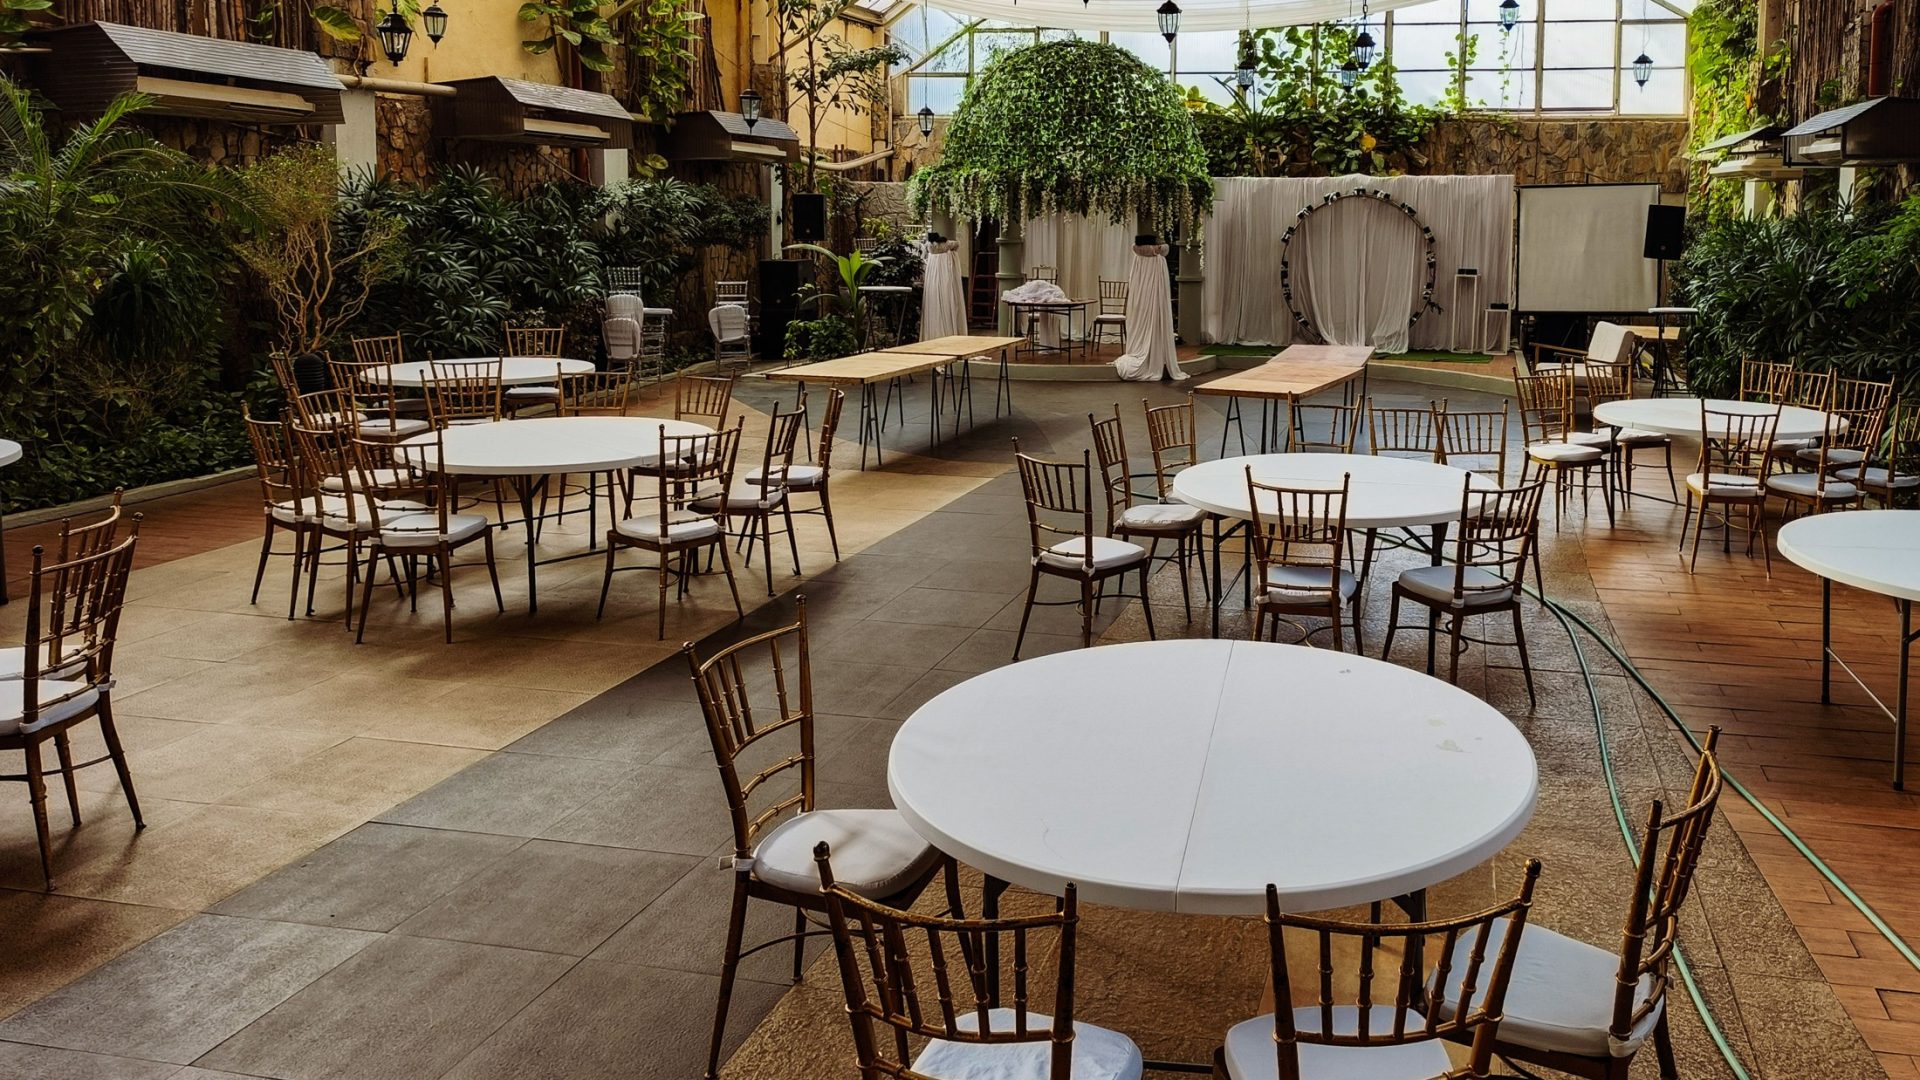
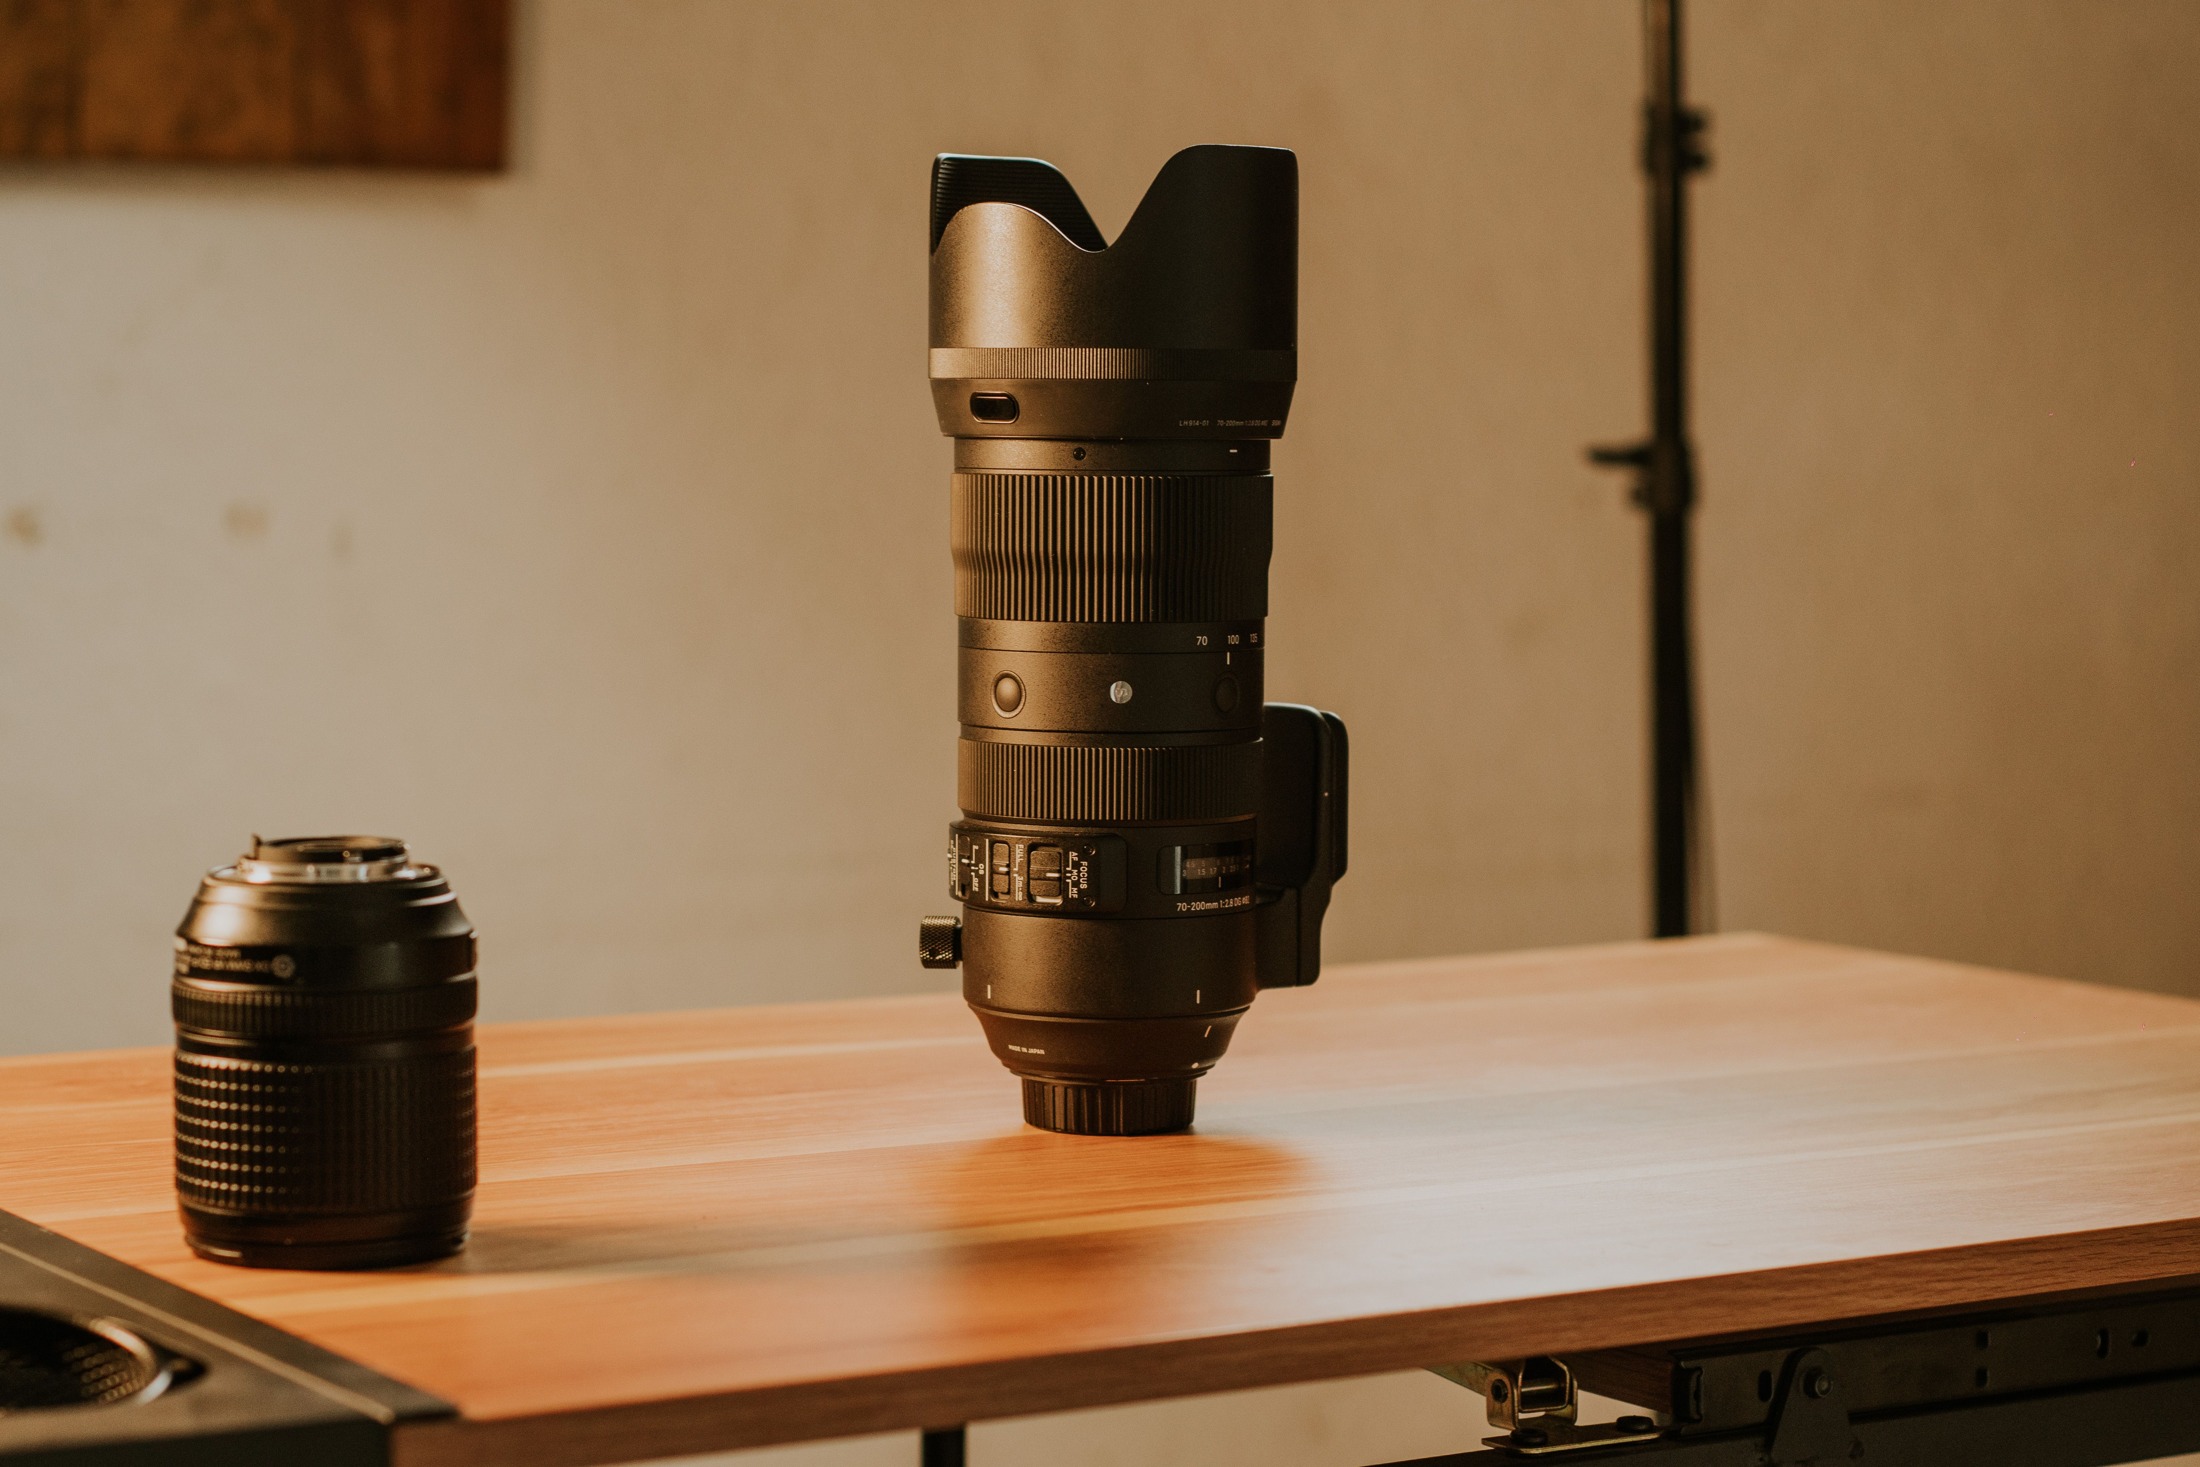
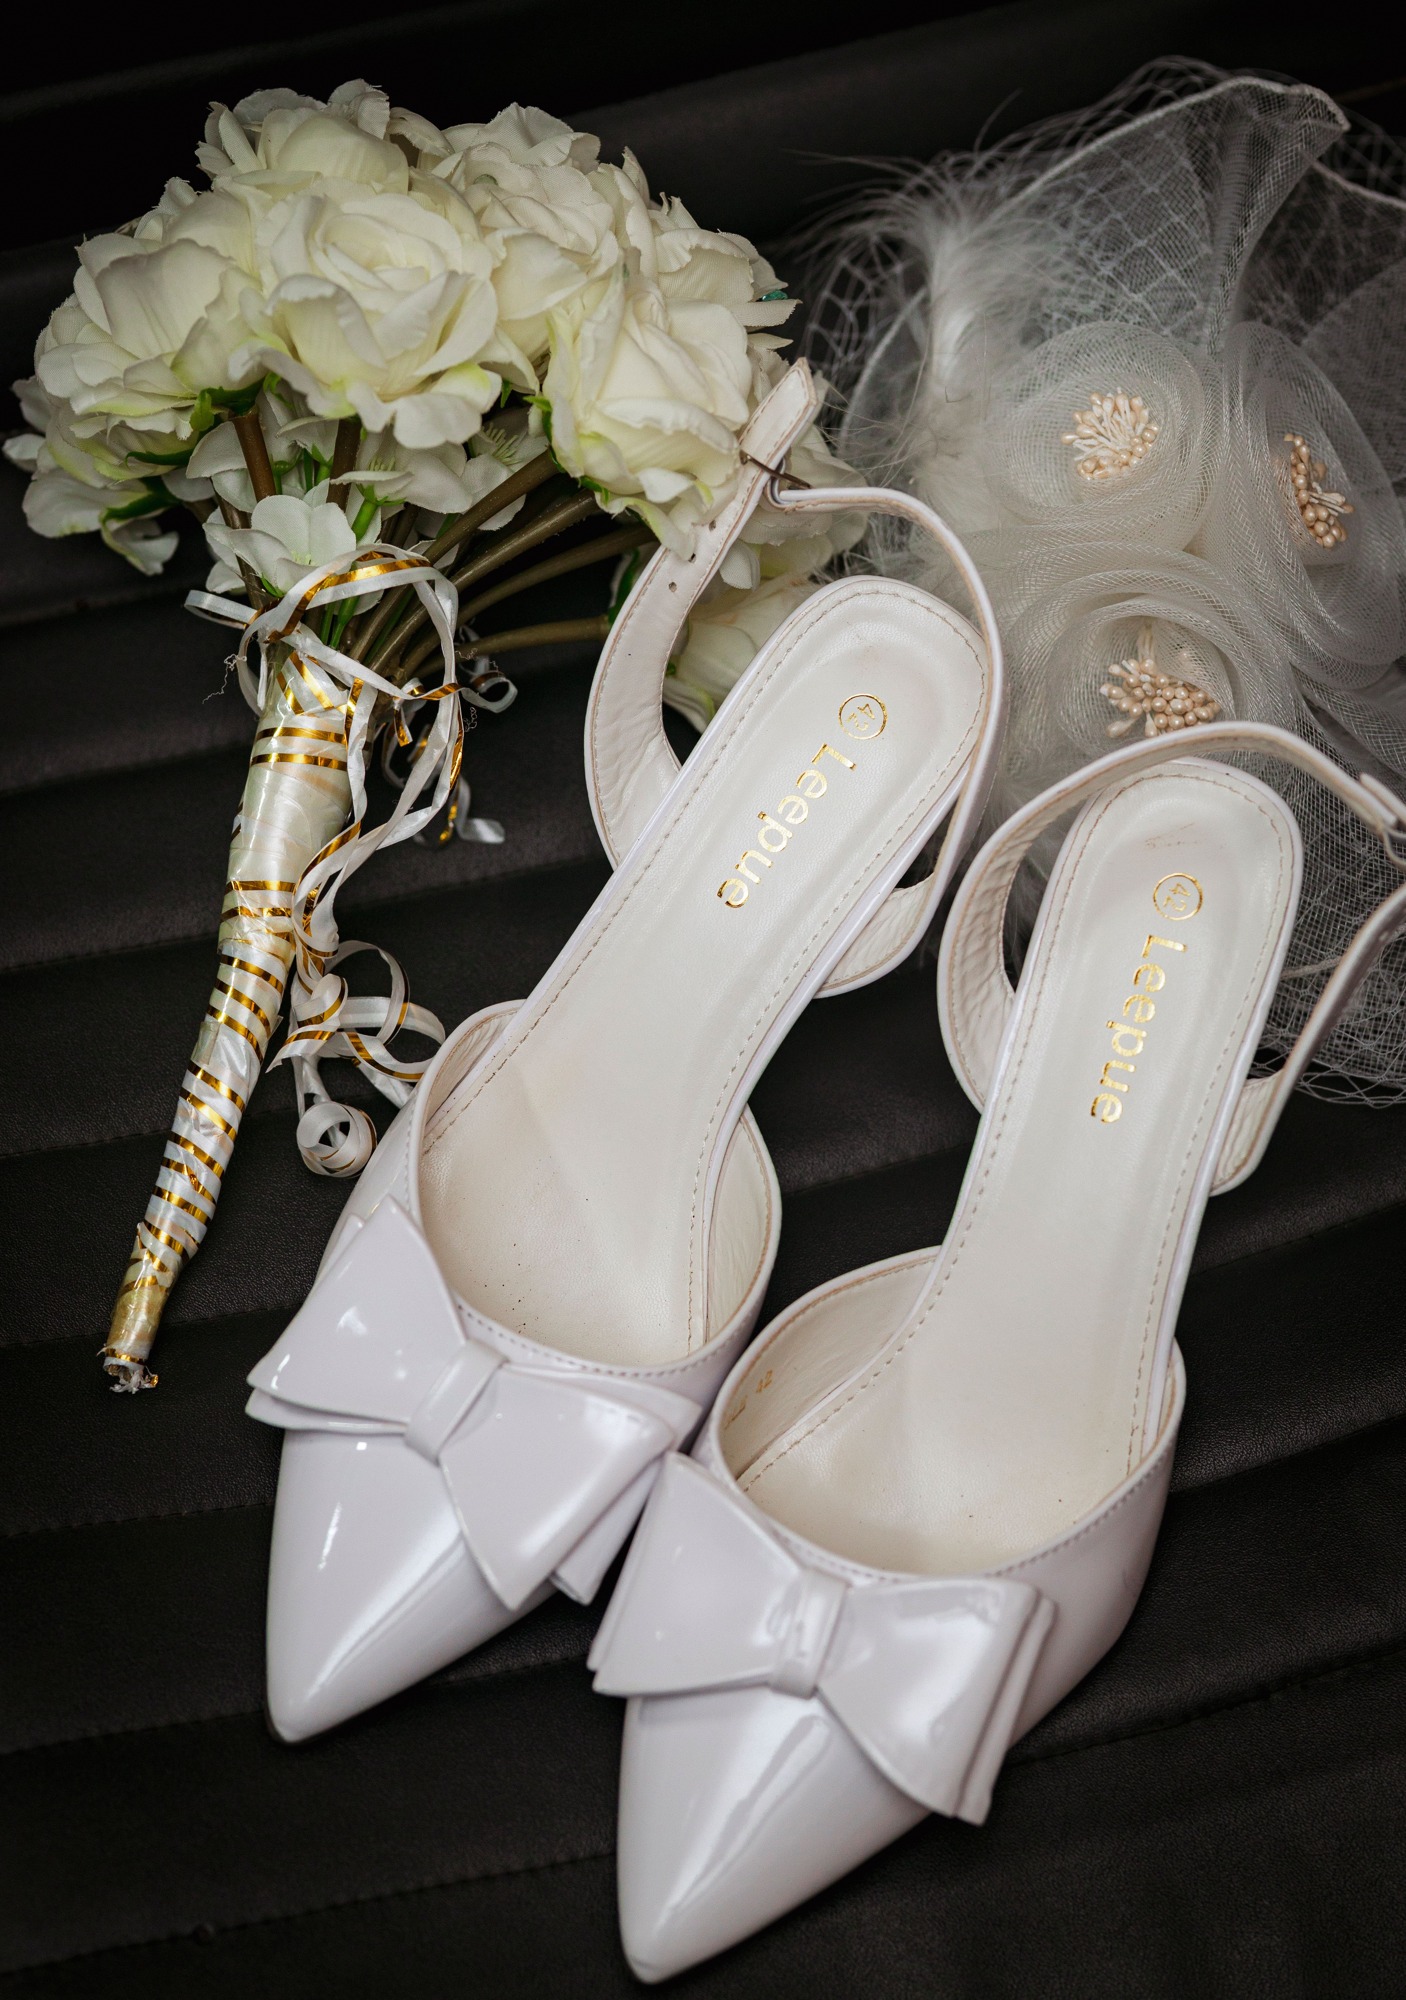
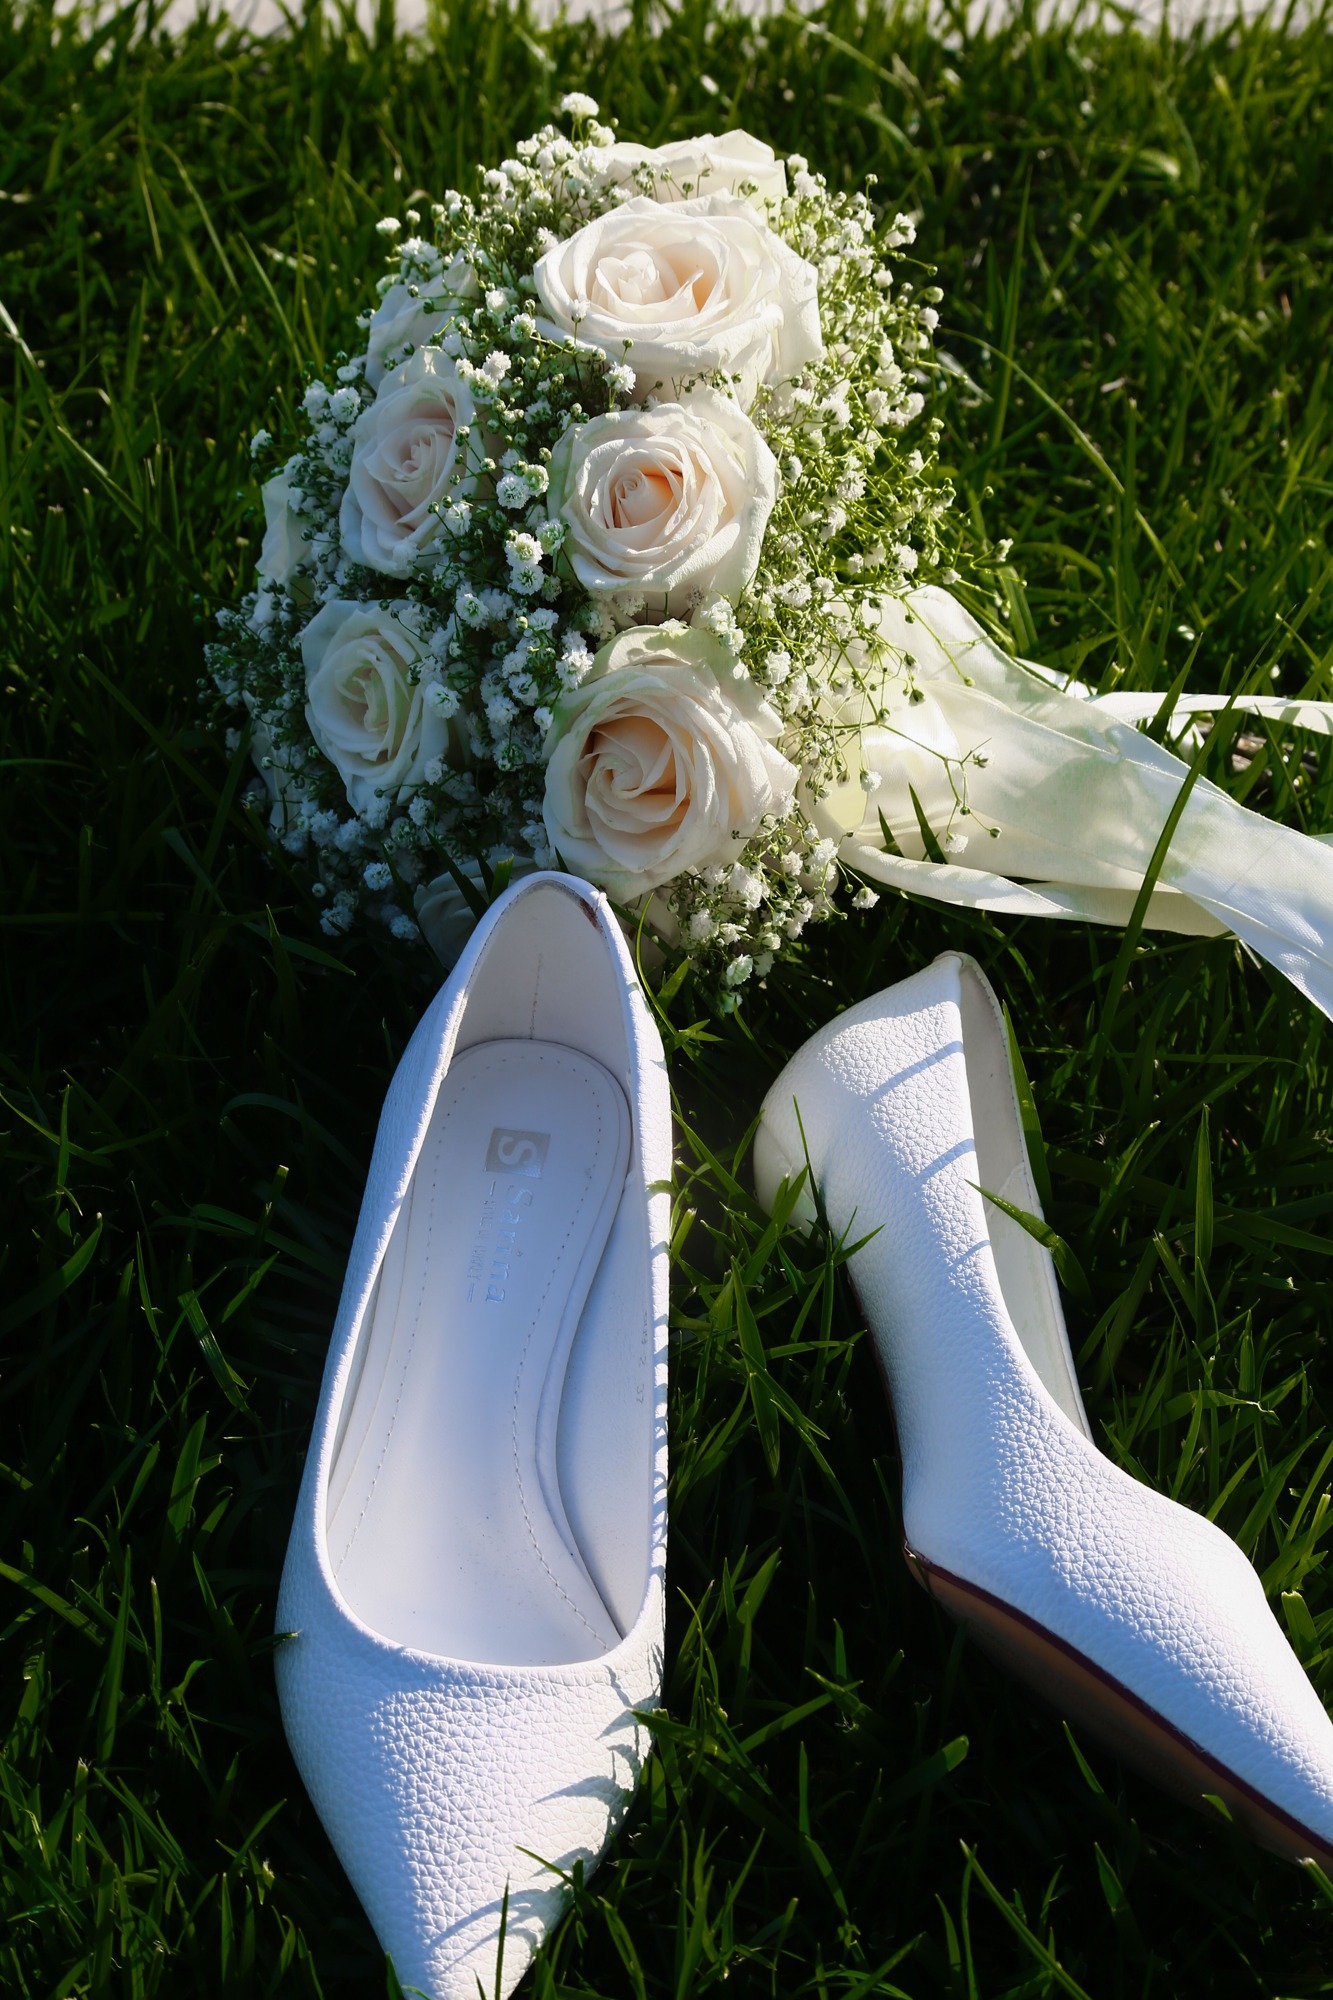
The stock photographs illustrate wedding settings, equipment, and details. They are not the author’s client work or evidence of a photographed wedding discussed here. No endorsement by a person or brand shown is implied.
A wedding brings portrait, event, documentary, and detail photography into a single day, with moments that may not repeat, and the working photographer’s answer to that pressure is process: a planned timeline, confirmed permissions, redundant gear, deliberate light and exposure decisions, and a post-production routine that protects the files afterward. This guide walks that process in the order it happens, from the first client brief to final delivery. It draws on published guides from working photographers and from Adobe, and where one photographer’s method appears, it is labeled as theirs rather than as a rule. Use it to build your own checklist; the specifics of any wedding still come from the couple, the venue, and the agreement you sign.
Start With the Brief and the Timeline
Wedding coverage starts weeks before the day itself. The Adobe and Aftershoot guides recommend a planning conversation with the couple that turns into a written timeline and a shot list. Adobe’s wedding photography 101 describes photographer Khara Plicanic giving couples a timeline planning worksheet, which puts the schedule on paper and surfaces unrealistic timing while it can still be fixed. The Aftershoot wedding guide recommends a pre-wedding meeting covering the full timeline, key moments, and special requests, including a written list of priority shots such as specific family groupings or sentimental items.
Two scheduling questions shape everything else, photographer Sean Lara writes in his own guide: what time is the ceremony, and are the couple doing a first look. The answers decide when coverage begins and where portrait time can live. Lara publishes his own sample timeline built around a no-first-look day, with family and wedding-party portraits during the cocktail hour, and he notes that a first look moves some of that work earlier. Treat that timeline as one photographer’s structure to react to, not a template; your couple’s schedule, traditions, and locations decide yours.
A practical shot list keeps the conversation concrete. Adobe’s guide lists the questions worth covering: whether each partner wants getting-ready photos and from when, which family groupings are needed and when those people must be present, where a first look fits, the basic rundown of the ceremony, and the reception’s scheduled moments like the first dance and cake cutting. Add the couple’s own priorities to that skeleton, and confirm the list again shortly before the day; Aftershoot’s checklist includes a final check-in message confirming arrival time.
 Save
Venue, Officiant, and Ceremony Permissions
Ceremony rules are set by venues and officiants, not by photographers, and they vary. Aftershoot’s guide advises speaking with the officiant before the ceremony begins to learn any restrictions on movement, and to ask about venue rules such as church restrictions in advance. Some ceremonies limit where you may stand or whether flash is permitted, and the only reliable source for a particular wedding is that venue and that officiant. Build the answer into your plan rather than discovering it during the processional.
Positioning follows from permissions. The Aftershoot guide describes choosing two or three working positions where allowed: a discreet front angle for the entrance and reactions, a side aisle for vows and guest reactions, and the back for a wide view of the setting. Photographer Sean Lara describes working mostly from behind the guests with a telephoto during ceremonies, and notes that he avoids flash during ceremonies as a distraction; both are individual working choices, useful as illustrations of how permissions and style interact rather than as requirements.
Venue research closes the gap between plan and reality. If you have not photographed the venue before, the Aftershoot guide suggests studying images of it, checking access and parking, and arriving early on the day to scout portrait spots, group-shot locations, and light. Adobe’s guide adds a scheduling reason to scout early: seeing the light at the actual hour of the ceremony beats imagining it. For the contractual and insurance side of venue requirements, our guide to wedding photography insurance and venue checks covers what venues ask vendors to provide.
 Save
Gear, Redundancy, and Backup
No single kit is mandatory, and the gear guides say so themselves. SLR Lounge’s wedding gear guide opens with the point that the right kit depends on your style, budget, and venue, and its founder answers the what-gear question by urging education and practice over purchases, noting that his studio’s early weddings were shot on a mid-range crop-sensor body with an inexpensive 50mm prime. The same guide publishes two working photographers’ bags side by side to show that different, equally valid kits come down to preference. Let the shots you plan to take decide the gear list, not the other way around.
For redundancy, the Aftershoot guide describes bringing at least two camera bodies in case of failure, with memory cards checked and formatted only after their previous files are safely backed up, charged batteries plus spares, and more storage than expected need. Adobe’s guide makes the same point through photographer Grace Rivera, who carried two cameras with a second shooter carrying two more, so that a long lens and a wide lens were both ready during a ceremony with no time to swap. The principle is protection against single points of failure, not a specific shopping list.
Comfort and transport deserve a place in your preparation checklist. Adobe’s guide advises dressing for the actual conditions, from heat to winter snow, so the weather does not pull your attention, and it treats a second shooter as another form of resource rather than a luxury. The Aftershoot checklist extends preparation to the car, the route, and a printed schedule with key contacts, to reduce avoidable travel and communication problems.
Lens choice follows the shots you intend to make. Adobe’s guide describes Plicanic’s kit as one example: a 50mm for candid moments, a 16-35mm for large groups, and a 70-200mm for intimate frames from a distance. Sean Lara’s published list runs much longer, and he is explicit that kit choices come down to personal preference and that his own early career ran on just two zooms. Neither list transfers; what transfers is the habit of matching each focal length to a planned kind of frame before the day begins.
Make the backup plan usable under pressure. Check that the spare body has a charged battery, a ready card, and a lens you can work with immediately. Review the controls on both cameras before the day, especially if the models differ. Keep the written schedule and contact details accessible without relying on a single phone battery. These checks turn the spare equipment from packed weight into an actual fallback.
Light, Focus, and Shutter Decisions
Wedding light is something you work with, not something you order. Adobe’s guide notes that the soft light near sunrise or sunset can flatter portraits while midday ceremonies bring harsher overhead sun, and it passes on photographer Anna Goellner’s midday tactic: look for shade from trees or buildings for more even light, or place the sun behind the couple for a softer look. If the schedule offers a window for portraits in softer light, take it; if it does not, that is a normal working condition, and the shade-and-backlight habits carry the hour.
Receptions push the exposure triangle the other way, into dim rooms and moving subjects. Adobe’s guide describes photographer Kilen Murphy’s technique called dragging the shutter: slowing the shutter speed and raising ISO so a flash can light the foreground subject while the exposure still takes in the ambient background, keeping venue detail around dancing guests. The same guide notes that a higher ISO and a slower shutter, with experimentation, can work for low-light receptions even without flash. These are techniques to practice before the wedding, not to first try during one.
Focus and shutter choices follow the moment in front of you. Processions and dances ask for shutter speeds that hold moving people sharp; for quieter exchanges, check the selected focus point and review a test frame for sharpness before the next key moment. The cited photographers publish their own examples, but those settings are not presets for another wedding. Choose settings for your camera, light, subject movement, and intended result, then test them in rehearsal. Test your low-light and flash approach at a real venue-like space before the season, so the wedding day confirms decisions instead of forcing new ones.
 Save
Moments, Portraits, and Detail Work
The planned photographs and the unplanned ones need different habits. For the planned ones, the timeline and shot list do the work: details such as the dress, rings, and invitations, the getting-ready sequence, the ceremony’s key beats, the formal groupings, and the couple’s portraits each have a slot. Aftershoot’s guide suggests starting each preparation space with the detail items, then documenting natural interactions, using window light where it helps. The point of planning these is not rigidity; it is freeing your attention for everything the list cannot predict.
The unplanned moments matter because no one can witness everything at their own wedding, as Adobe’s guide notes. It quotes Plicanic watching for guests having a real conversation and laughing, and describes Rivera delivering images of moments the couple never knew happened. The method behind that is attention rather than luck: stay observant, keep a camera ready during the in-between stretches, and look for the small narratives, a look between a parent and child, friends reuniting, that the schedule does not name.
Couple portraits sit between the planned and the unplanned, and they benefit from decisions made in advance. Know where you will take the couple, in what light, and for how long, and have a weather alternative. Aftershoot’s guide frames couple portraits as a matter of poses, details, location, lighting, and composition working together, which is a useful checklist for preparation; the execution on the day is faster when each of those was settled earlier. Keep the session within the time the timeline gives it, and agree any timing changes with the couple or coordinator.
 Save
Post-Production and Delivery
Post-production turns the day’s files into the delivered work, and it starts with selection. The volume from a full wedding means culling comes first: choose the frames that carry the story, then edit those for exposure, color, and consistency so the gallery reads as one account of the day. For a consistent treatment, review a small sample across different lighting conditions before applying adjustments to a larger set. Check the results individually rather than assuming one setting fits the entire day.
File protection is part of post-production, not an afterthought. If you work in Lightroom Classic, note precisely what its catalog backup does: Adobe’s documentation states that backups executed from Lightroom Classic include only the catalog file, and that you must independently back up your edited photos and anything exported from Lightroom Classic. The catalog holds your edits and organization; the image files need their own routine, with copies on separate storage, verified to open, before any card is reformatted.
Delivery is a set of promises, so make them deliberately. Decide what the couple receives, in what format, and on what timeline, and put it in the written agreement rather than in a reassuring conversation. Galleries, prints, albums, and sized files for sharing are all deliverable forms; set dates you can meet and allow time for review before delivery. If a delay becomes unavoidable, tell the couple early rather than letting the date pass silently.
Want to go further? The ShutYourAperture Academy’s The Wedding Day is a wedding-photography course. Review the current course outline to see whether it fits the parts of a wedding day you want to practice.
Portfolio and Client Expectations
Expectation-setting starts before booking. Adobe’s guide notes that couples may arrive with reference images, and it quotes Rivera noting that some references come from styled editorial shoots whose production conditions a real wedding day cannot reproduce. The working answer is education: Plicanic describes the photographer’s role as helping the couple understand what you do, how you do it, and how they can help you do your job. Walk couples through full real-wedding galleries so their expectations attach to achievable work.
Your portfolio is evidence you show, not a promise you make. Curate it to show the kind of work you want to be booked for, keep it current as your approach develops, and present complete weddings alongside selected frames so viewers can judge consistency. When a couple asks for something outside your shown work, Adobe’s guide suggests treating it as a practical question of time and cost to work through, rather than an automatic yes or no.
Pricing belongs to the same expectation conversation. Adobe’s guide is explicit that there is no industry standard for these costs, with the size and type of wedding and regional differences making any standard pricing impossible, and it lists the components a working photographer has to count: operational costs, delivery costs for physical products, time at the wedding and in editing, and the limited number of bookable dates in a season. Set your pricing from your own costs and market, state it plainly, and keep the terms in the written agreement.
How do you plan a wedding photography timeline?
Start with a planning conversation with the couple weeks before the wedding, and turn it into a written schedule and shot list. Two questions structure the day in photographer Sean Lara’s guide: the ceremony time and whether the couple is doing a first look, since those decide when coverage begins and where portraits fit. Cover the getting-ready window, family groupings and who must attend them, the ceremony’s key beats, and the reception’s scheduled moments, and confirm the plan again shortly before the day.
What gear do you need to photograph a wedding?
No single kit is mandatory. SLR Lounge’s gear guide says the right kit depends on your style, budget, and venue, and urges education and practice over purchases; its founder’s early weddings were shot on a mid-range body with an inexpensive 50mm prime. For redundancy, the Aftershoot guide describes bringing a second camera body, checked spare memory cards, charged batteries plus spares, and more storage than expected. Format cards only after their previous files are safely backed up. Match lenses to the shots you plan to make rather than copying another photographer’s bag.
Is a full-frame camera required for wedding photography?
SLR Lounge describes starting wedding work on a Canon 40D crop-sensor body, although the same guide later recommends full-frame bodies for professional work. That is a recommendation, not proof that another sensor size cannot do the job. Compare low-light image quality, autofocus, lens options, and backup arrangements for the actual venues you expect to cover. If you are deciding between bodies, rent or borrow the one you are considering and rehearse in venue-like light before committing.
Can you use flash during a wedding ceremony?
That depends on the venue and the officiant, so ask in advance; some ceremonies restrict movement, flash, or both. Photographer Sean Lara notes that he avoids flash during ceremonies as a distraction, which is one individual working choice rather than a rule. Where added light is restricted, plan for it: faster lenses, higher ISO, and positions that use the available light become your tools.
What is dragging the shutter in wedding photography?
It is a reception-lighting technique described in Adobe’s wedding photography 101 through photographer Kilen Murphy: you slow the shutter speed and raise ISO so that a flash lights the foreground subject while the longer exposure still records the ambient background. The result keeps venue atmosphere around dancing guests instead of a black backdrop. Practice it before the wedding; the balance between flash power, shutter speed, and ISO takes experimentation.
Does backing up my Lightroom Classic catalog back up my wedding photos?
No. Adobe’s documentation states that backups executed from Lightroom Classic include only the catalog file, and that you must independently back up your edited photos and anything exported from Lightroom Classic. The catalog stores your edits and organization. Give the image files their own routine: copies on separate storage, opened and verified, before any card is reformatted.
How should a wedding photographer set client expectations?
Educate before booking. Adobe’s guide notes that couples may arrive with reference images from styled editorial shoots whose production conditions a real wedding day cannot reproduce, and it quotes photographer Khara Plicanic describing the job as helping couples understand what you do and how they can help you do it. Show full real-wedding galleries, put deliverables and dates in the written agreement, and meet the dates you promise.
Compare support for a planned wedding portrait
A Peak Design Aluminum Travel Tripod, model TT-CB-5-150-AL-1, is one support option to compare for a planned wedding portrait. Check the full camera-and-lens weight you intend to mount, the plate fit on your camera, and the working height you need, and confirm that the placement is permitted at the venue and keeps walkways clear. Support steadies a planned frame; it does not freeze moving people, and it does not replace the preparation in this guide. Compare the current retailer specifications; no hands-on test, price, or availability promise is being made here.
Affiliate disclosure: We may earn a commission from qualifying purchases through these gear links at no extra cost to you.
Check Peak Design Aluminum Travel Tripod TT-CB-5-150-AL-1 at B&H