Photo by Ludovic Delot via Pexels: https://www.pexels.com/photo/15118343/ – Pexels License (https://www.pexels.com/license/). (Stock photo, illustrative.)
Original date December 24, 2023. Updated November 2026.
Wedding photography asks a lot of a single day: dim ceremony spaces, fast timeline changes, group portraits on a clock, and moments that happen once. The equipment you bring can make that day easier to manage, but no single camera, lens, or light is mandatory, and the right kit depends on the venues you shoot, your style, and whether you are the hired photographer or a friend helping out. This guide walks through the gear categories that tend to matter for weddings, with conditional advice on when each one earns its place, plus the backup habits that protect the photos after the shutter closes. Nothing here is a universal requirement; treat each section as a decision framework rather than a shopping list.
 Save
Choosing the Right Camera Body
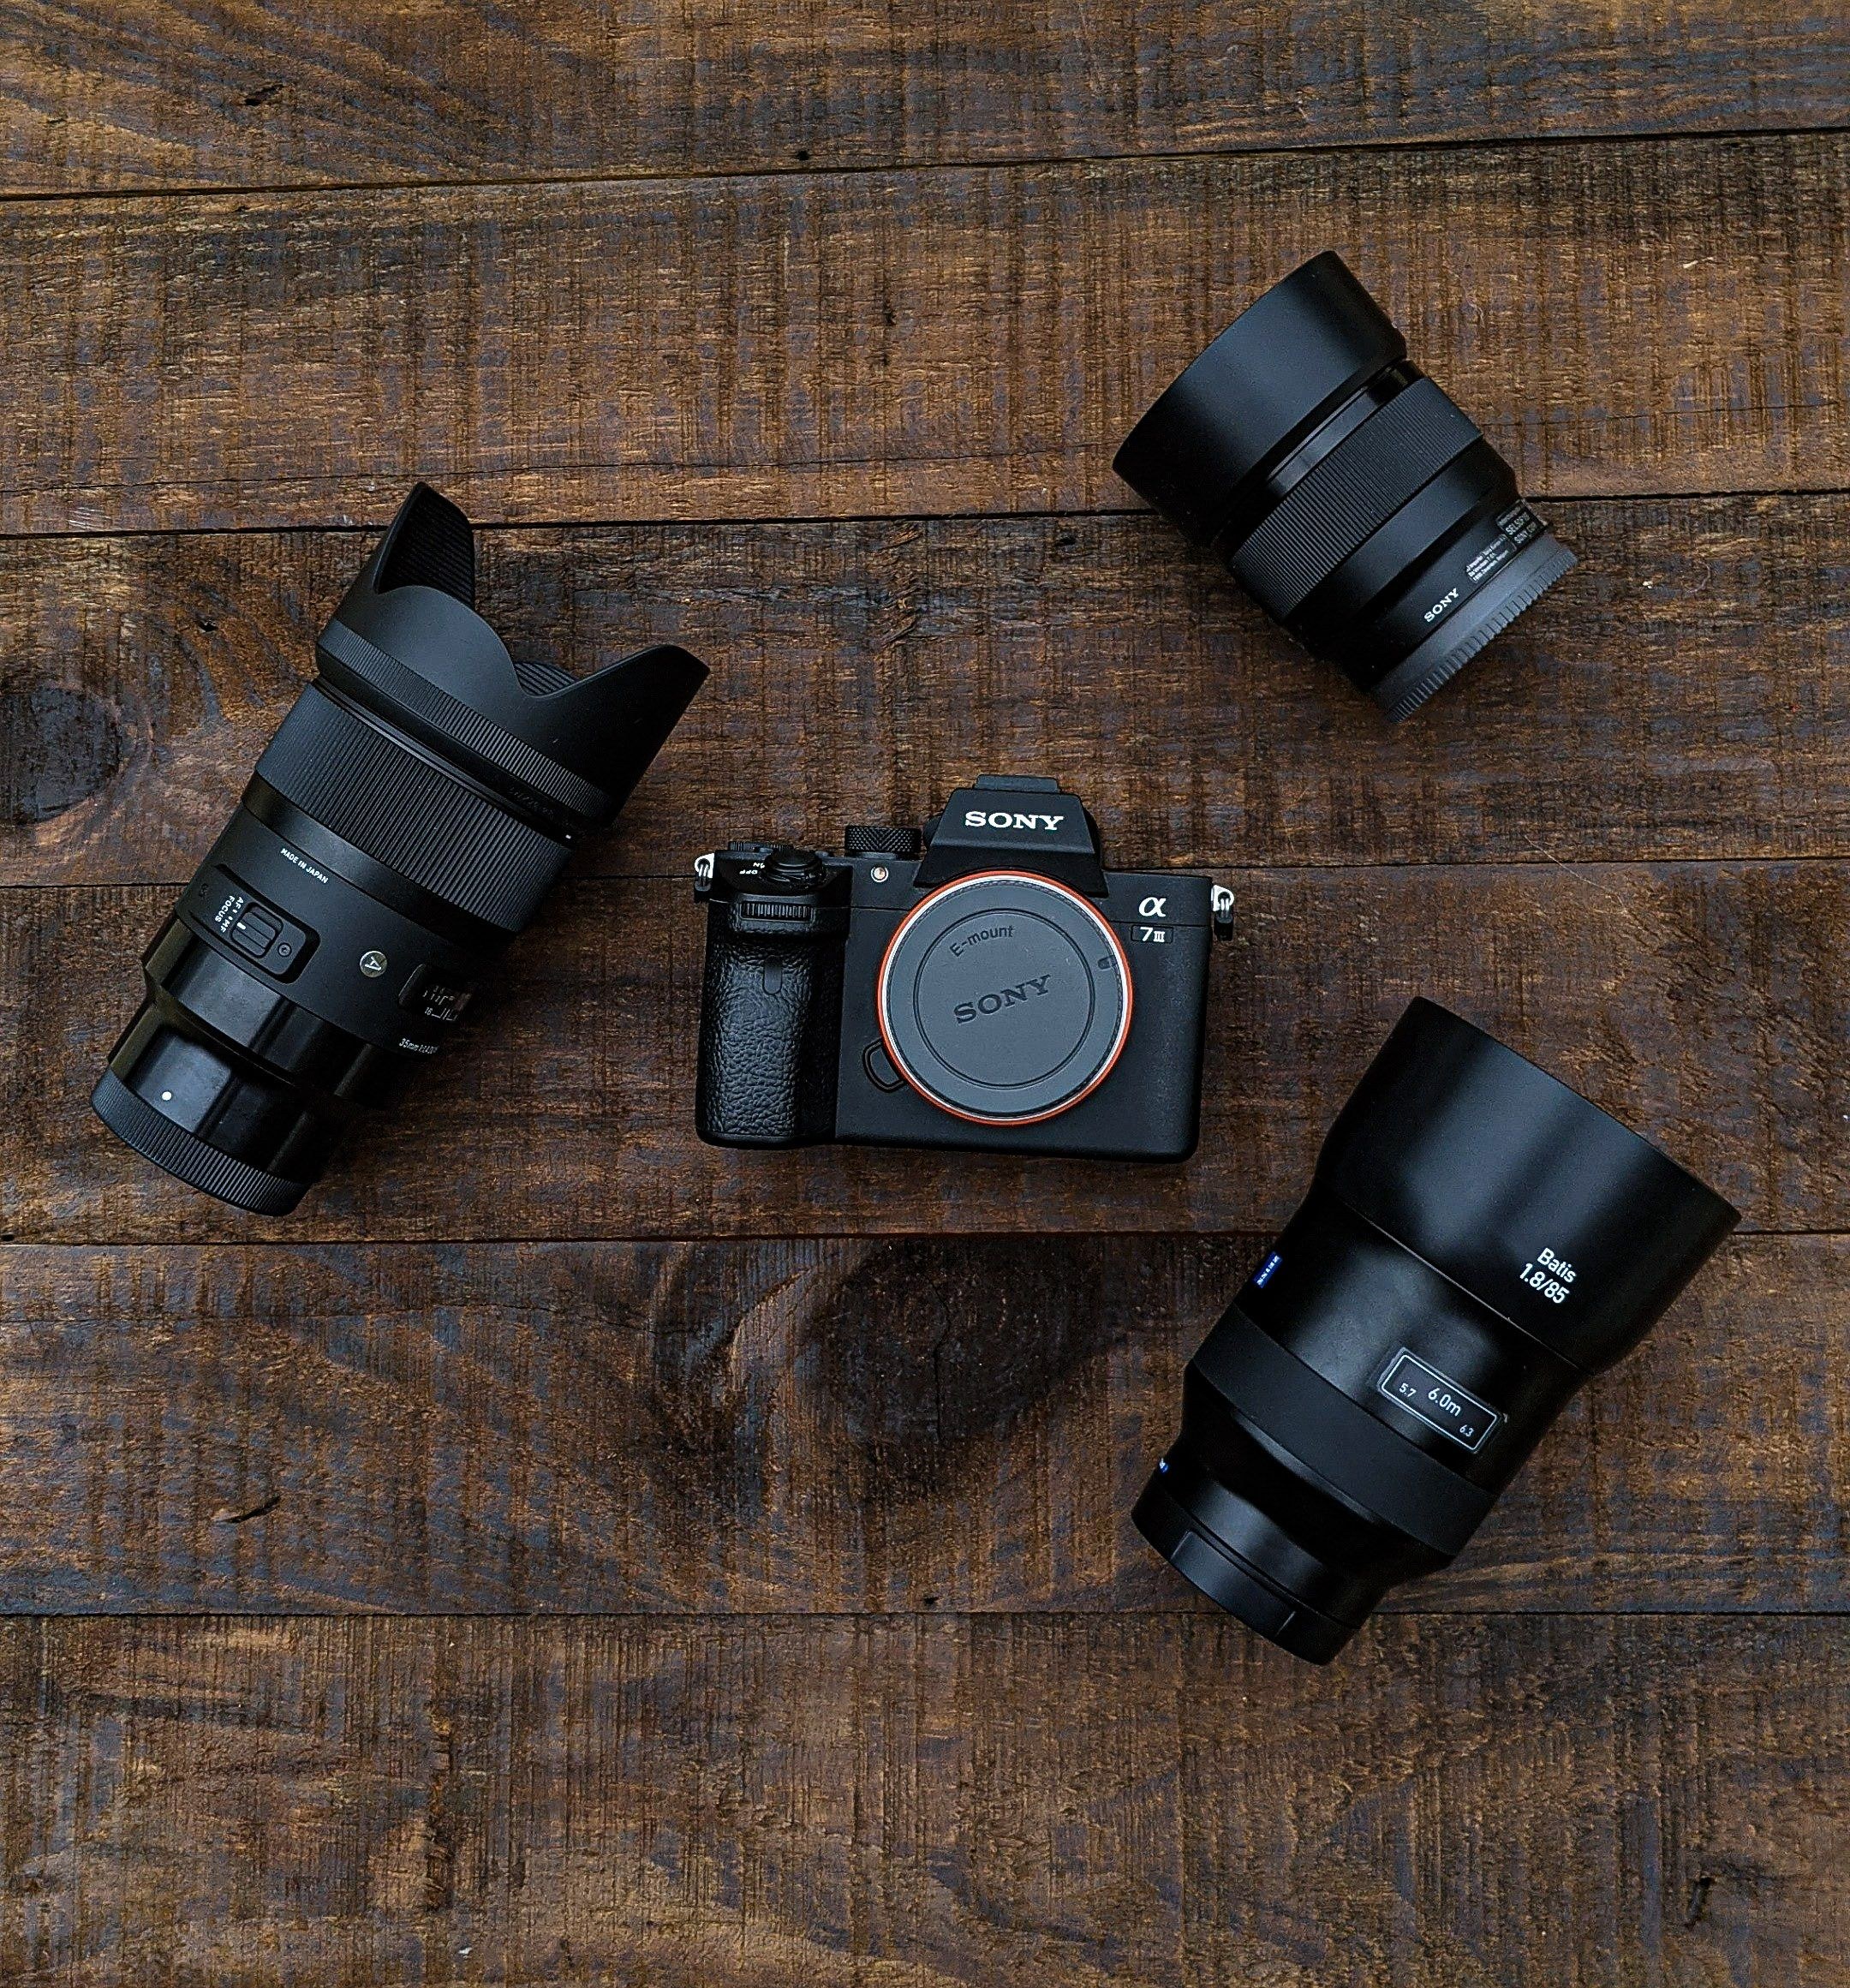
A wedding-ready camera body needs to handle mixed and changing light more than it needs any headline specification. Ceremonies move between dark interiors and bright doorways, so look for strong performance at higher ISO settings, which can help maintain shutter speed in dim light, while making noise and lost highlight detail more noticeable. Reliable autofocus that can track a moving subject matters for processions, first dances, and everything in between, and a comfortable grip and control layout matter more than they seem to over an eight- to twelve-hour day.
Full-frame and crop sensors each work for weddings, and the honest difference is not that one captures more of the composition. With comparable technology, a full-frame sensor can offer cleaner results when the final images are viewed at the same size. At the same f-number and framing, it also allows shallower depth of field. A crop sensor records a narrower angle of view with the same lens and often comes in a smaller, cheaper body; it does not change the lens’s actual focal length. Either can deliver professional results; the choice is a budget and handling decision, not a quality gate.
Continuous shooting, or burst mode, raises your odds during fast sequences like the ring exchange or a bouquet toss, but it does not guarantee that any moment is recorded. Timing, anticipation, and position still decide most frames, and a skilled photographer with a modest frame rate will outshoot an unprepared one with the fastest camera made. Treat burst as a tool that improves your chances, then fill your buffer only when the moment genuinely calls for it.
Dual memory card slots can help protect against a card that fails mid-day, if the camera supports recording the same files to both slots and you enable that setting. Writing each image to both cards at once gives you an immediate second copy, which reduces the risk of losing files to a card fault. This is useful redundancy, not a complete backup: theft, loss or a camera fault can still affect both cards. Copy the files to separate storage and verify them as part of your backup routine. Never format or reuse a card until you have confirmed the copies on your other drives open correctly.
If you are charging money to photograph a wedding, plan for a backup body. Nikon Ambassador Joe McNally’s wedding advice makes the underlying point vividly: promised time windows on a wedding day rarely survive contact with reality, so the day rewards preparation and redundancy. A second body also lets you keep two different lenses ready instead of swapping glass mid-ceremony. If you are shooting as a guest rather than the hired photographer, that level of redundancy is optional.
 Save
Lenses for Wedding Photography
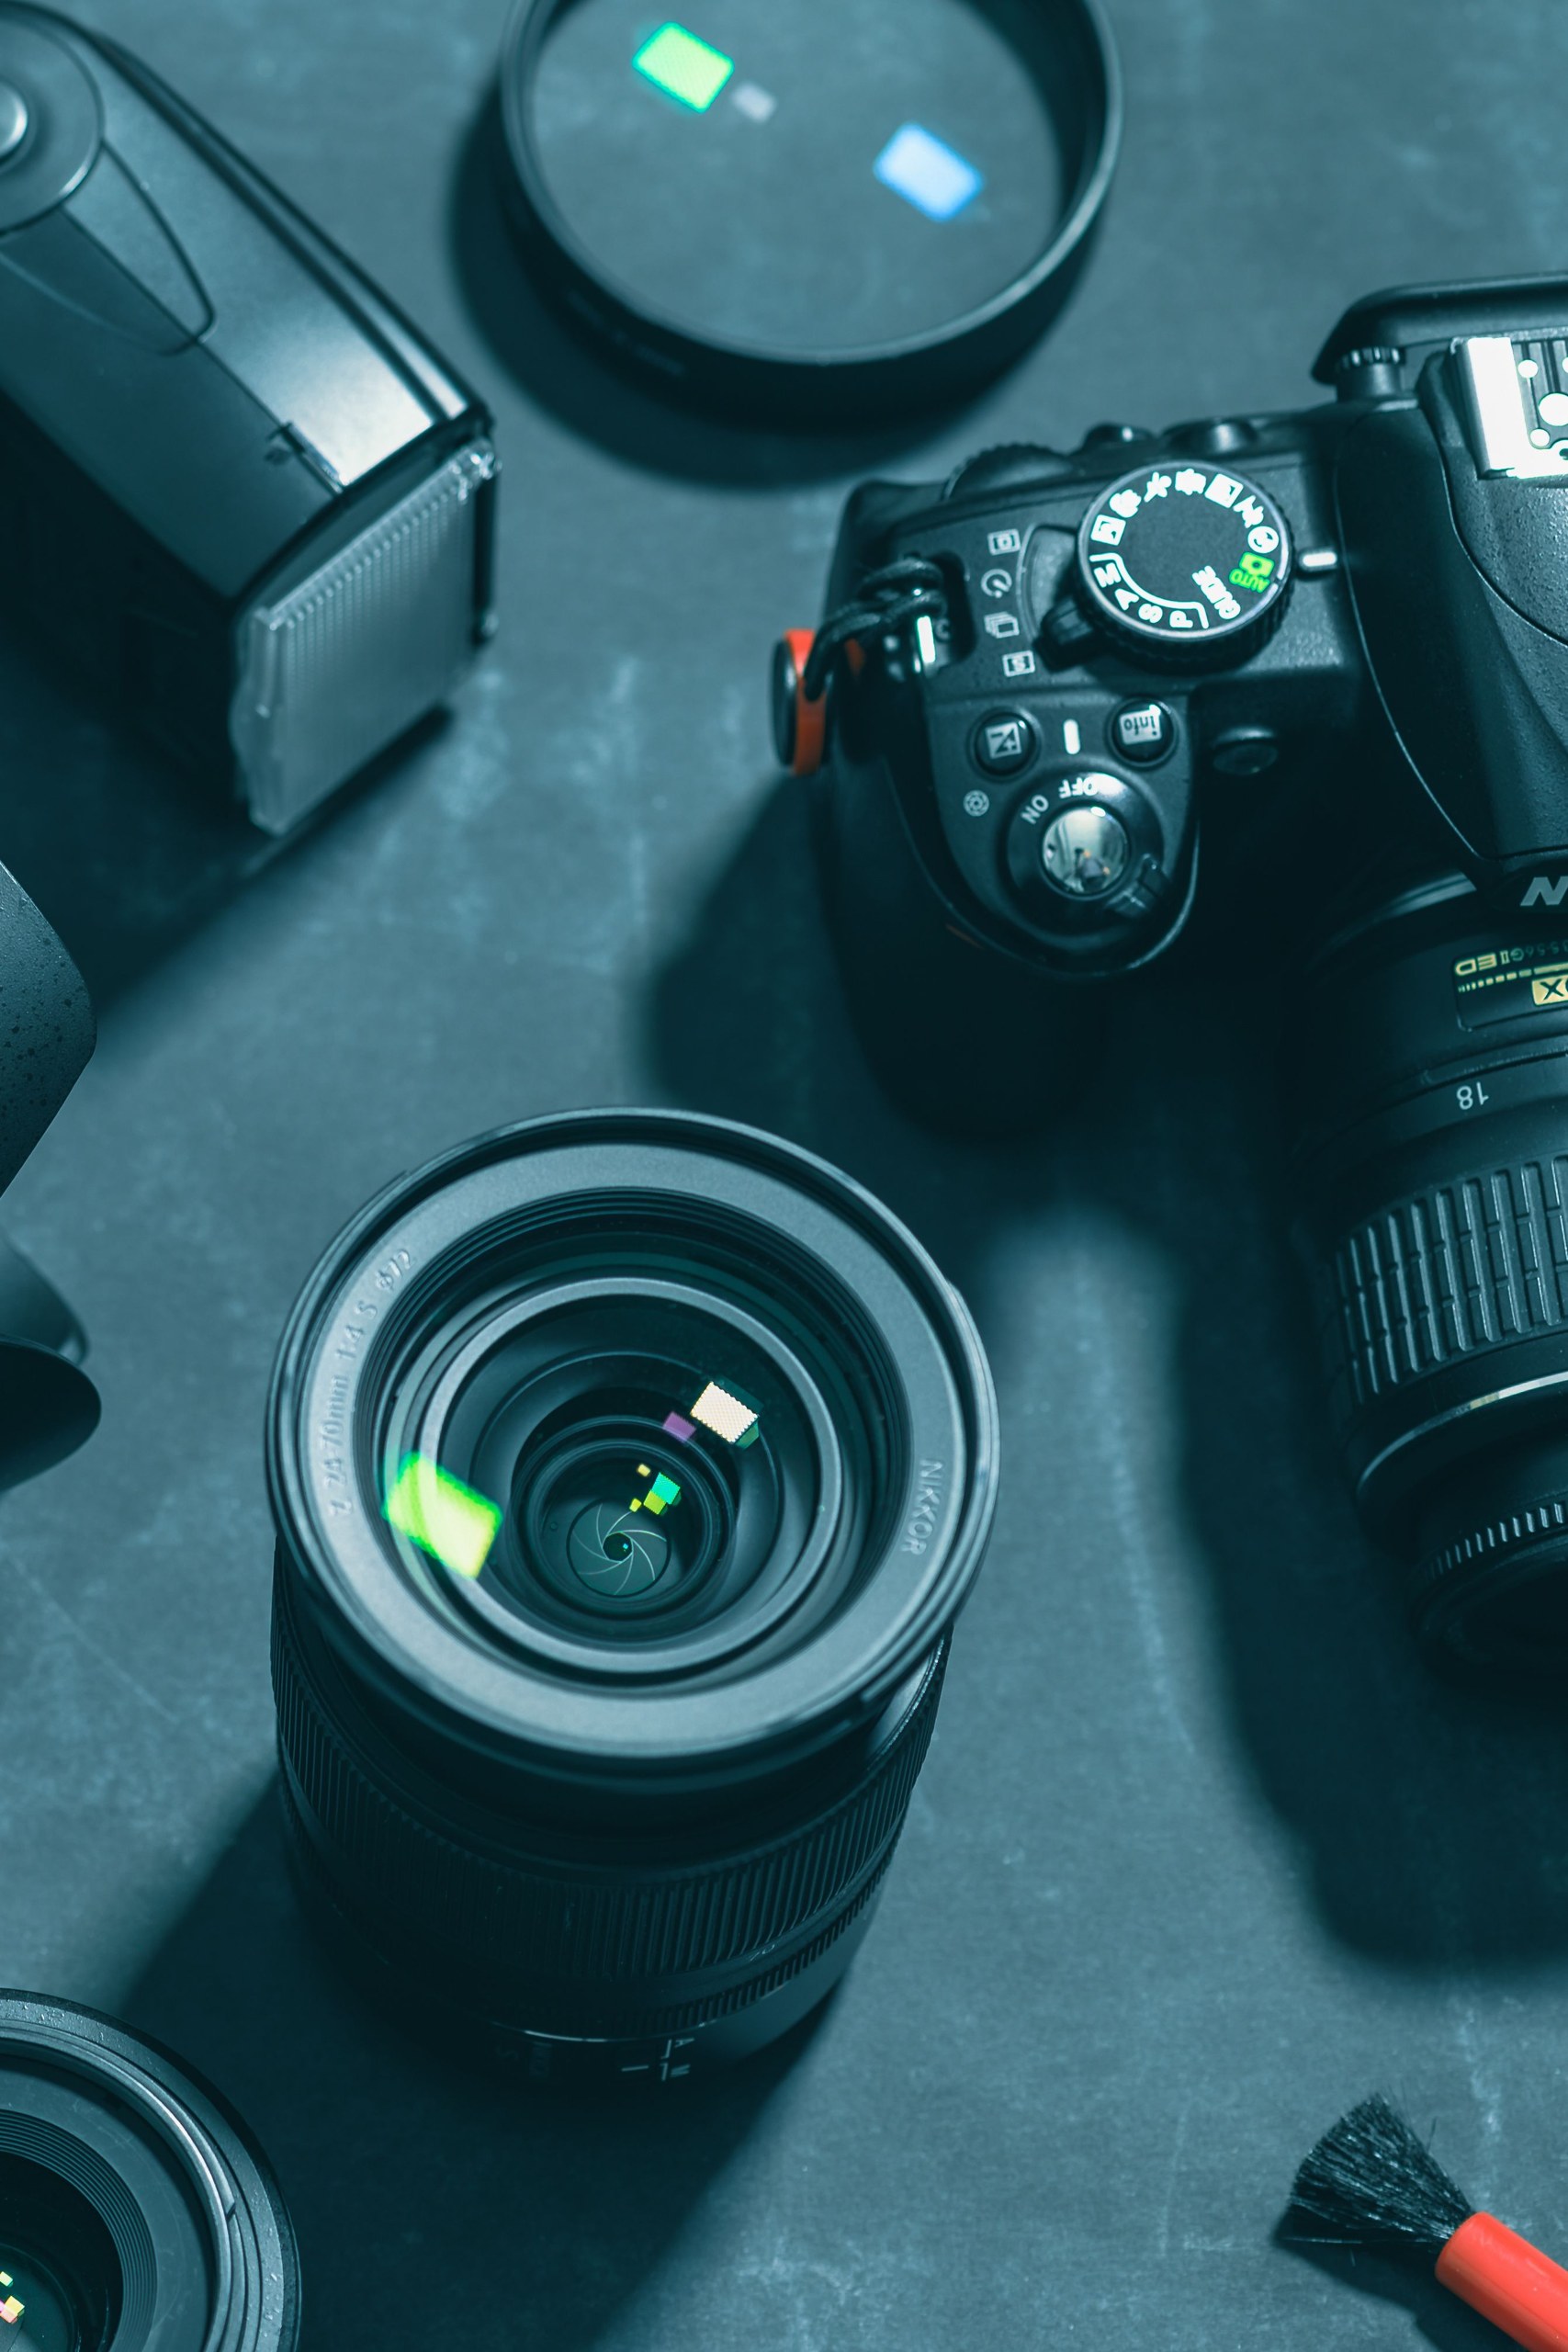
Lenses shape the look of wedding coverage more than the camera body does, and the useful question is which focal lengths match the photos you want, not which lens is popular. Choices vary widely even among professionals: Nikon Ambassador Jerry Ghionis has said that if he could bring only one lens to a wedding it would be a 24-120mm f/4 for its versatility across the ceremony and reception, while naming a 70-200mm f/2.8 as his personal favorite. That is one working photographer’s preference, not a requirement, and your own answer depends on your venues and style.
A standard zoom in the 24-70mm range is the common workhorse because it covers wide scene-setting frames through medium-tight candids without a lens change, which matters when the timeline slips and there is no pause to swap glass. A prime lens around 50mm with a wide maximum aperture gives a different strength: a very different look from shallow depth of field, and more light-gathering ability for dim spaces. If you enjoy that look, the trade is fixed framing, so you move your feet instead of zooming.
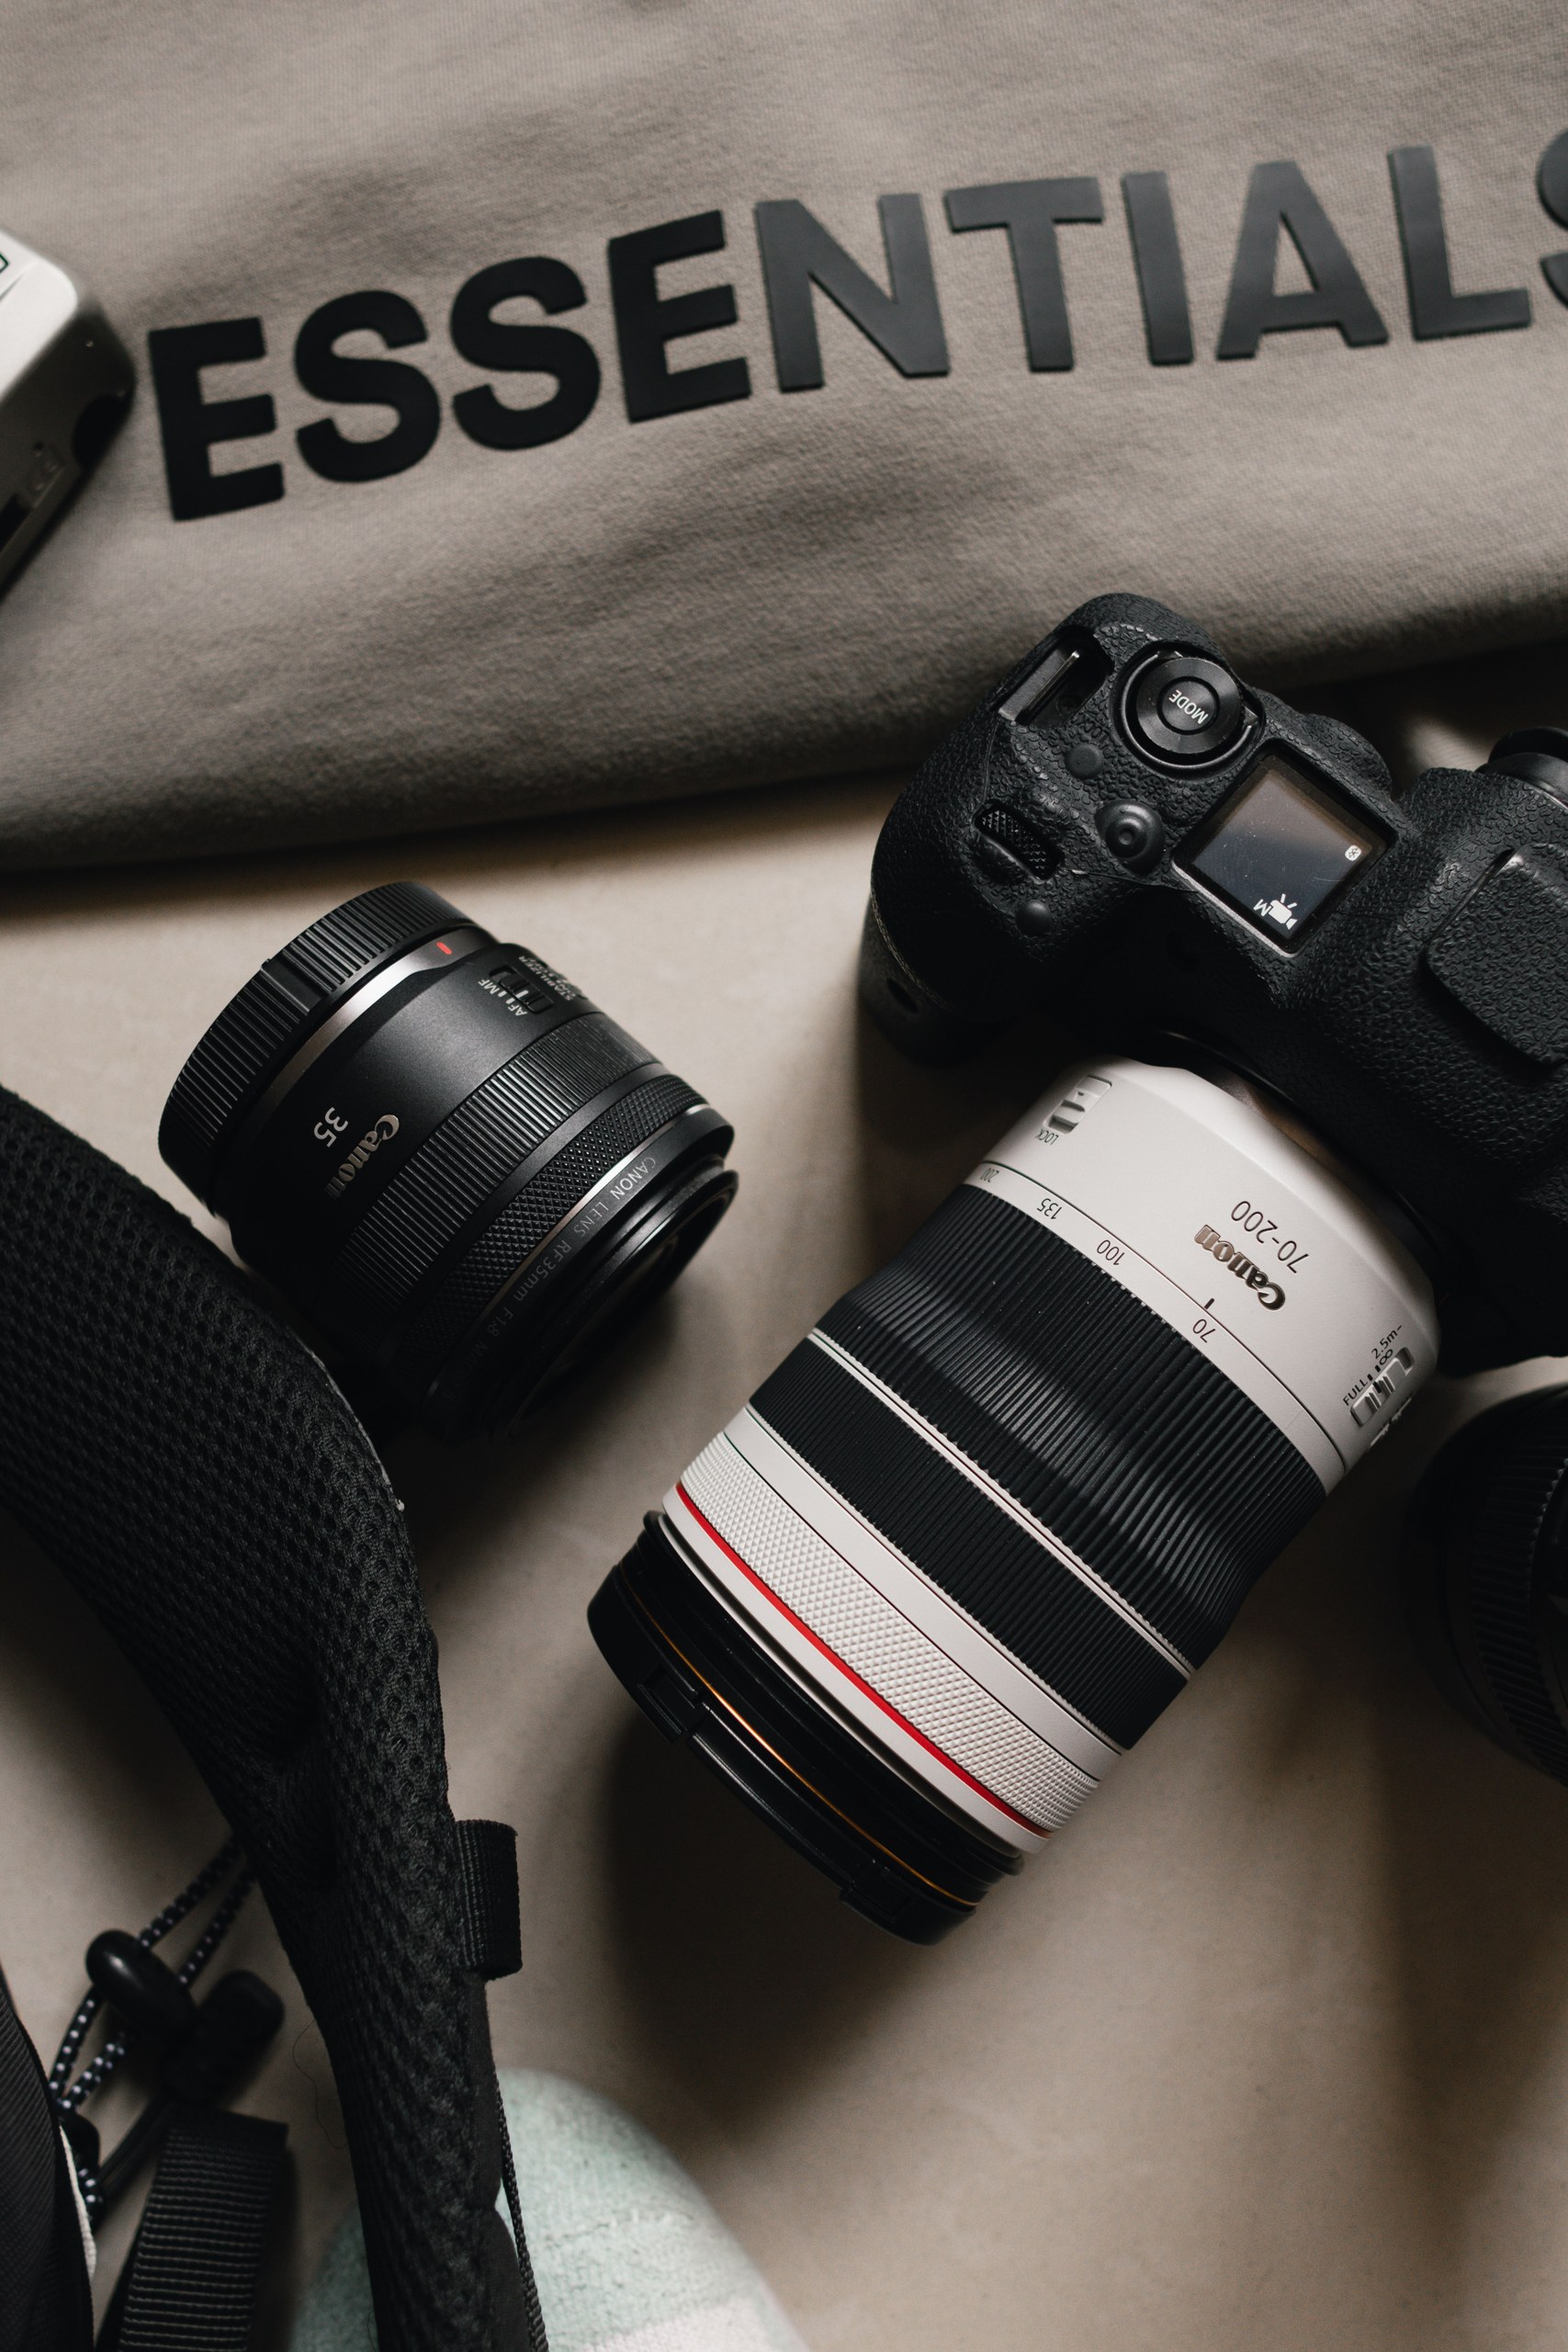
A telephoto zoom in the 70-200mm range earns its bag space when you need to work from a distance: ceremonies where you cannot approach the couple, toasts across a crowded room, and quiet moments that would change if you stepped closer. A wide-angle lens in the 16-35mm range helps with packed dance floors, tight prep rooms, and venue architecture. A macro lens is the specialist of the group, useful for rings, invitation details, and small textures; it is a nice addition rather than a foundation, and a standard lens with a close minimum focus distance can cover some of the same ground.
Whatever you choose, learn its behavior before the wedding day. Rent or borrow a lens you are considering and shoot a full mock session with it, because the focal length that looks perfect in a review may not match how you actually move and frame. One versatile zoom used confidently beats three lenses you are still learning.
Group Photos and Depth of Field
For formal group portraits, aperture choice has to balance the look you want with enough depth of field for every row. A very wide aperture that flatters a couple can leave rows of relatives soft, because depth of field shrinks as the aperture opens. McNally’s guidance for layered groups is concrete: with a wide-ish lens in the 24-35mm range, plan for at least f/5.6 and safer around f/8 when several rows of people must all be reasonably sharp, raising ISO as needed to hold the exposure. The exact numbers depend on your focal length, distance, and sensor, so treat them as a starting point and check the results on your own camera. Our aperture chart and f-stop guide explains what the f-numbers change and when to use them.
The practical side of group photos is speed. McNally’s advice is to make it fast and make it fun: arrange people so everyone can see the camera, favor a simple frontal light over dramatic side light that throws shadows across faces, and keep the energy up so the session ends before patience does. A shot list agreed with the couple beforehand, and a friend or family member who can help gather people, saves more time than any piece of equipment.
 Save
Lighting Equipment
Before adding lights, learn to find and test the light a venue already gives you. Window light is the classic example: photographer Sam Sciarrino’s wedding work shows window light directed with a simple reflector producing polished portraits, with part of the face deliberately left in soft shadow for shape. A reflector can be a modest addition to the kit; the skill is testing it at the actual venue, because window direction, wall color, and time of day change everything. Scout the location when you can and note where usable light falls at the hours you will be shooting.
Outdoor light varies too much for fixed rules. The hour or so of low sun near sunrise and sunset often gives warmer, softer, more directional light than midday, which is why many photographers schedule couple portraits then, but it is not automatically diffused or flattering, and timelines do not always cooperate. Overcast skies act like a large soft source and can be a gift for even skin tones; hard midday sun can still work if you move subjects into open shade. The portable skill is reading the light you actually have, not waiting for light a blog post promised.
A flash becomes worth carrying when ambient light runs out: dark reception halls, evening ceremonies, and winter weddings that end after sunset. An on-camera flash bounced off a ceiling or wall gives softer, more directional light than aiming it straight ahead when the surfaces cooperate; off-camera flash on a stand opens more creative placement but adds setup time and complexity. A softbox can increase the apparent size of the light source, which can soften shadows when it is large enough relative to the subject and close enough to matter. A small dome mainly spreads light; outdoors or under a high dark ceiling it may waste power without making the light appreciably softer. Continuous LED panels let you see the effect before shooting, but compare their usable output, battery life and effect on guests rather than assuming they can replace a flash in every room.
White balance deserves a deliberate decision rather than blind trust. Auto white balance handles many scenes well, but mixed lighting, such as tungsten room lights against window daylight, can produce color that shifts from frame to frame. A fixed white balance can make a sequence more consistent under steady light. Shooting RAW gives you more room to adjust it later, but neither approach automatically fixes different-colored lights falling on the same face. None of this requires perfect light; it requires knowing what your camera will do before the moment arrives.
 Save
Additional Gear and Day-of Workflow
The unglamorous items are what keep a wedding day running. Carry more fully charged batteries than one day’s worst case for every device that takes them, including flashes, and carry more formatted memory cards than you expect to fill. Neither item is expensive relative to the risk of running out mid-reception. A sturdy bag with fast access matters because gear you can reach gets used, and weather protection for the bag matters when venues involve outdoor moves.
A tripod is conditional wedding gear rather than a requirement. It earns its place for stabilized low-light frames of static scenes, carefully arranged group portraits, and any setup where you want identical framing across many exposures. During fast-moving parts of the day it usually stays in the bag, and many wedding photographers work handheld start to finish. If your style or venue list includes the static cases, bring one; if not, leave the weight at home.
Plan a file-management routine for the day itself. McNally’s working method is a useful model: set up a small, out-of-the-way workstation with a computer and two hard drives, duck out during quiet moments to download cards, and keep batteries charging there. The principle generalizes even if your version is just a laptop in a safe corner: get files off cards and onto two separate devices during the day, and keep the source cards intact through the day whenever possible, even after you have verified the copies open. Also check each venue’s rules in advance, since some restrict flash, tripods, or where photographers can stand; our guide to wedding photography insurance and venue checks covers that side of preparation, including why liability coverage is worth considering before you charge for a wedding.
Want to go further? The ShutYourAperture Academy’s The Wedding Day is built to help you capture love, story and chaos in a single day.
Post-Production Tools and File Safety
Editing is the second half of wedding photography, and the volume is what surprises newcomers: a full wedding can mean hundreds or thousands of frames to cull and finish. Adobe Lightroom Classic is built for exactly that workflow, with rating, batch adjustments, and export presets that keep a large set consistent, while Adobe Photoshop handles frame-by-frame retouching when an image needs detailed work. Free alternatives can cover the fundamentals while you learn, and no single application is the mandatory choice; the mandatory part is a consistent process you can repeat under deadline. For another learning resource, visit the Academy’s Lightroom page and check the current course details before signing up.
One backup subtlety matters enough to state plainly, because it catches working photographers. Adobe’s own documentation is explicit that backing up a Lightroom Classic catalog does not back up the photos: the catalog holds your edits and organization, while the original image files and exports need their own separate backup. A sound routine is at least two copies of every wedding on different devices, with one copy stored away from the originals, kept until the client has the final gallery and beyond. Verify that copies actually open before deleting or reformatting anything.
What camera do I need to photograph a wedding?
There is no mandatory model, and the right body depends on your venues and budget. Prioritize strong high-ISO performance for dim interiors, autofocus that tracks moving subjects reliably, and handling you can sustain for a full day. If you are charging for the work, add redundancy: a second body covers a camera failure, while simultaneous recording to dual cards can reduce the risk from a single card failure. These protect against different problems; one does not replace the other. A capable crop-sensor camera in prepared hands beats a flagship in unprepared ones.
Can I shoot a whole wedding with one lens?
It is possible, and some professionals say they would choose a single versatile zoom if limited to one; Nikon Ambassador Jerry Ghionis names a 24-120mm f/4 for that role. The trade-offs are real, though: one lens limits how wide and how tight you can frame from a given spot, and a slower zoom gathers less light in dark venues. One lens you know deeply is a reasonable starting plan, but add focal lengths as you discover which shots you keep missing.
Do I need a flash for wedding photography?
Not for every wedding, and not for every part of one. Outdoor daytime ceremonies and window-lit prep rooms may never need added light, while dark reception halls and evening events often make a flash the difference between a usable frame and none. If you bring one, learn to bounce it off ceilings or walls where surfaces allow, and test your modifiers rather than assuming they soften the light. Some venues restrict flash, so check the rules in advance.
What aperture should I use for wedding group photos?
Wide apertures that flatter a couple can leave rows of a group soft, so group portraits call for more depth of field. As one working reference point, Joe McNally advises at least f/5.6 and safer around f/8 for layered groups shot with a wide-ish lens in the 24-35mm range, raising ISO to hold exposure. Your focal length, distance, and sensor change the numbers, so test on your own camera and check a magnified preview before the group disperses.
How many memory cards and batteries should I bring to a wedding?
More than one day’s worst case for each device you carry, because running out mid-reception is an unforced error. Format cards in the camera beforehand, and if your body has dual slots, record to both at once for an instant second copy. During quiet moments, copy files to two separate drives and verify those copies open. Keep the original cards intact through the day whenever possible instead of formatting them at the first opportunity.
Does backing up my Lightroom Classic catalog back up my wedding photos?
No. Adobe’s documentation is explicit that catalog backups save the catalog, meaning your edits, ratings, and organization, but not the photo files themselves. The original images and any exports need their own backup routine: at least two copies on different devices, one kept away from the originals. Confirm the copies open before you delete or reformat the source cards.
Include a carry check in the wedding kit
A black Peak Design Slide Lite camera strap, model SLL-BK-3, is one carry option to compare for a wedding kit. According to the retailer’s listing, the strap adjusts from 39 to 57 inches in length, is 1.3 inches wide, and uses removable anchor connectors. Check the camera attachment points and the full camera-and-lens weight before buying, follow the attachment instructions, and inspect the anchors regularly. A strap does not replace a backup camera or guarantee that any moment is recorded. Compare the current retailer specifications; no hands-on test, price, or stock promise is being made here.
Affiliate disclosure: We may earn a commission from qualifying purchases through these gear links at no extra cost to you.
Check Peak Design Slide Lite Camera Strap Black SLL-BK-3 at B&H