Updated October 13, 2026. This guide has been revised with new text and photos; the original publication date is retained.
The best camera for architecture is the one you have with you, and for most people that is a phone. An iPhone is good enough to make sharp, clean photos of buildings, and it fits in your pocket. What matters most is not the phone. It is where you stand, when you shoot and how you frame the building.
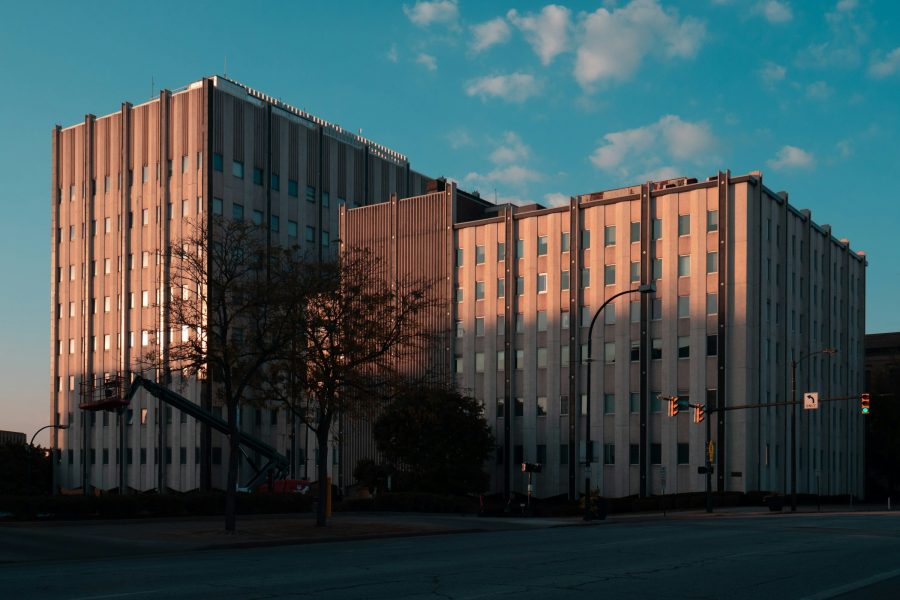
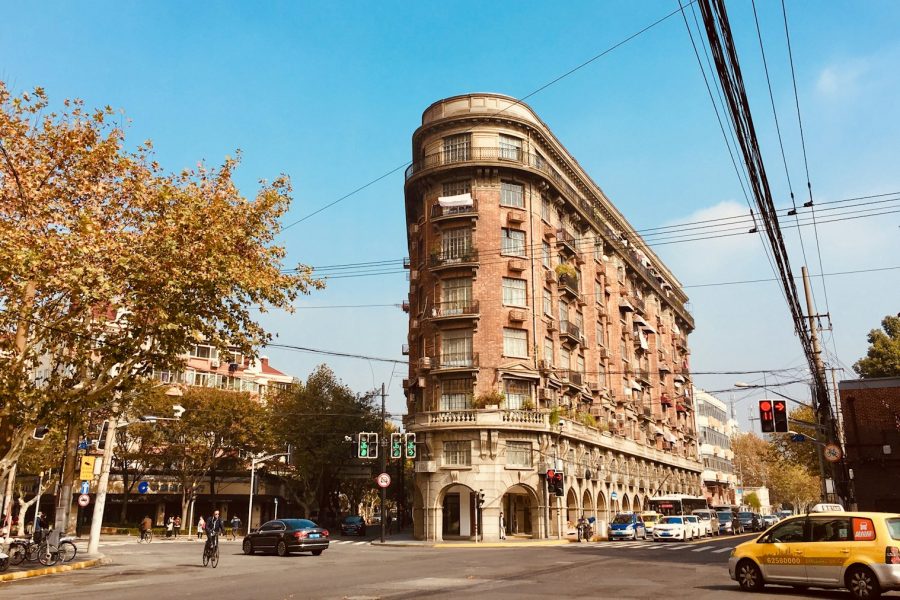
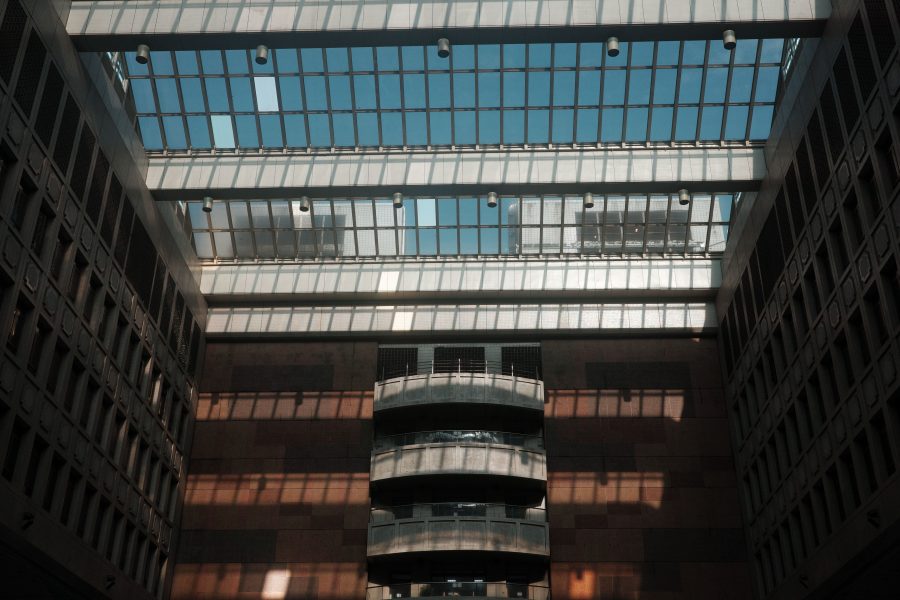
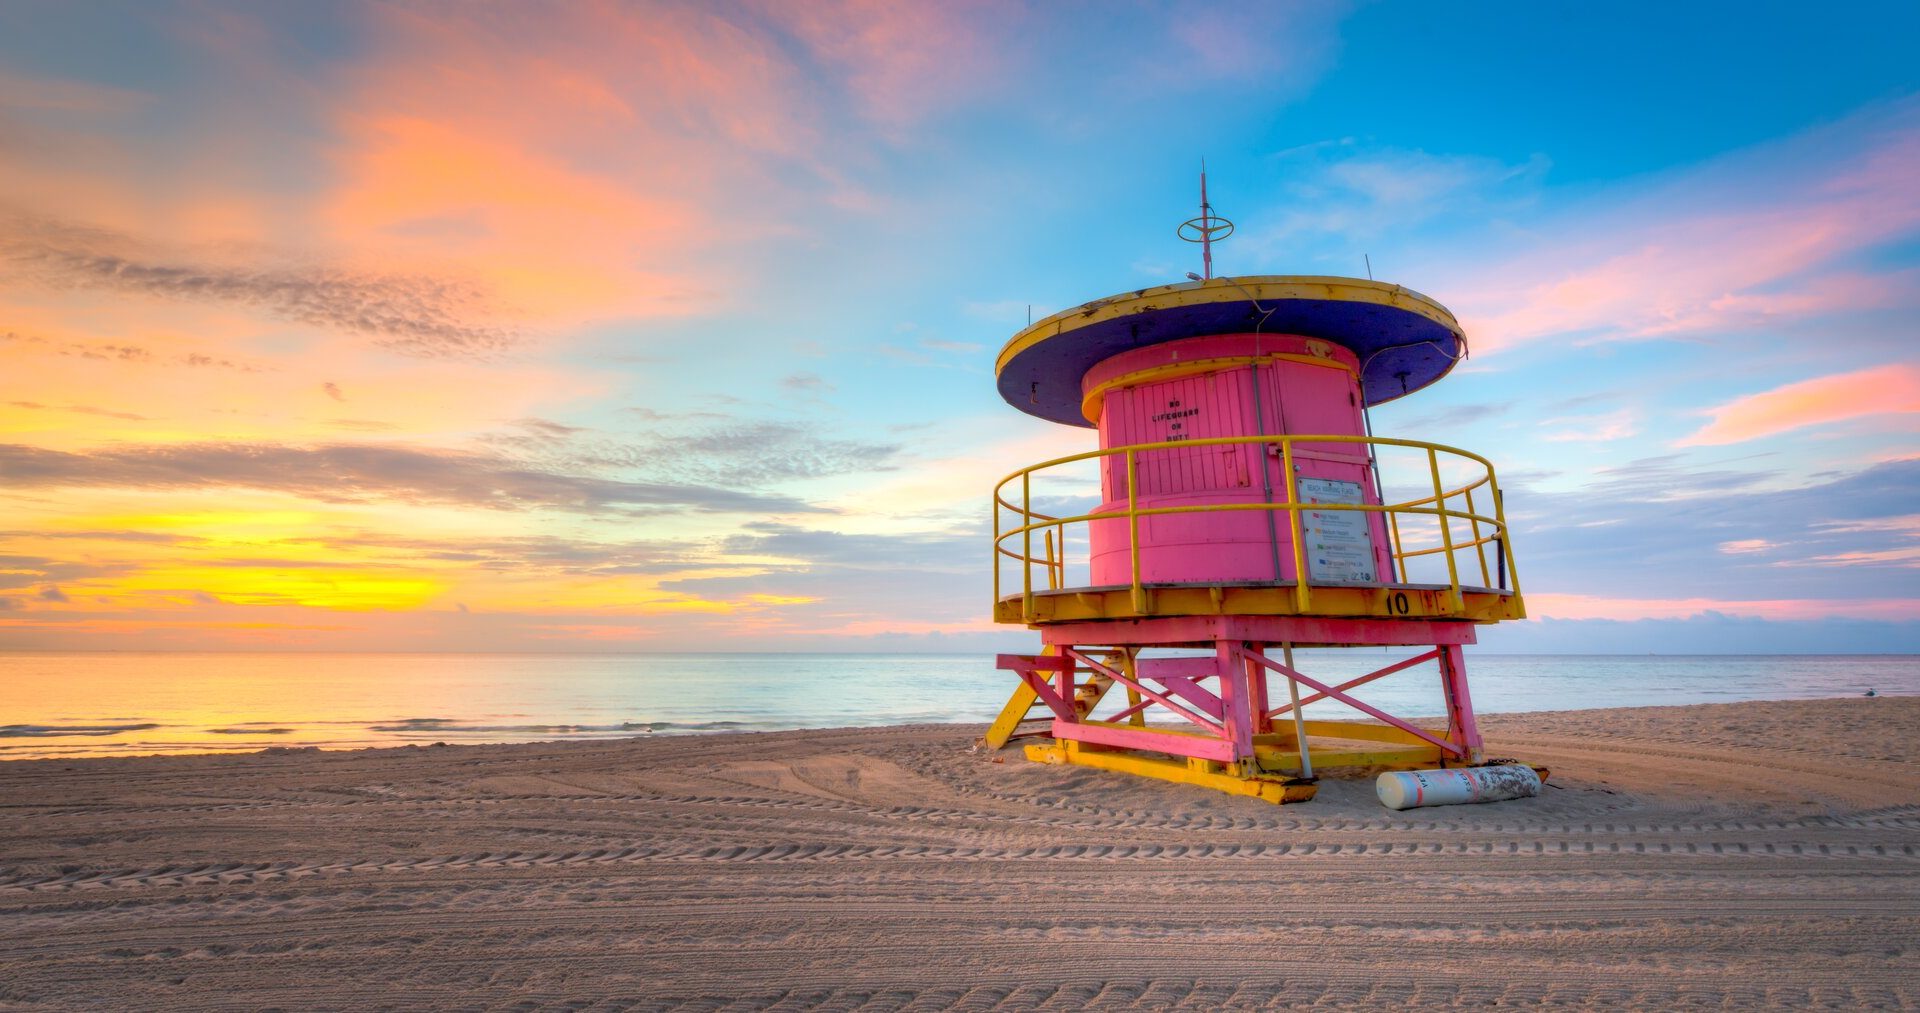
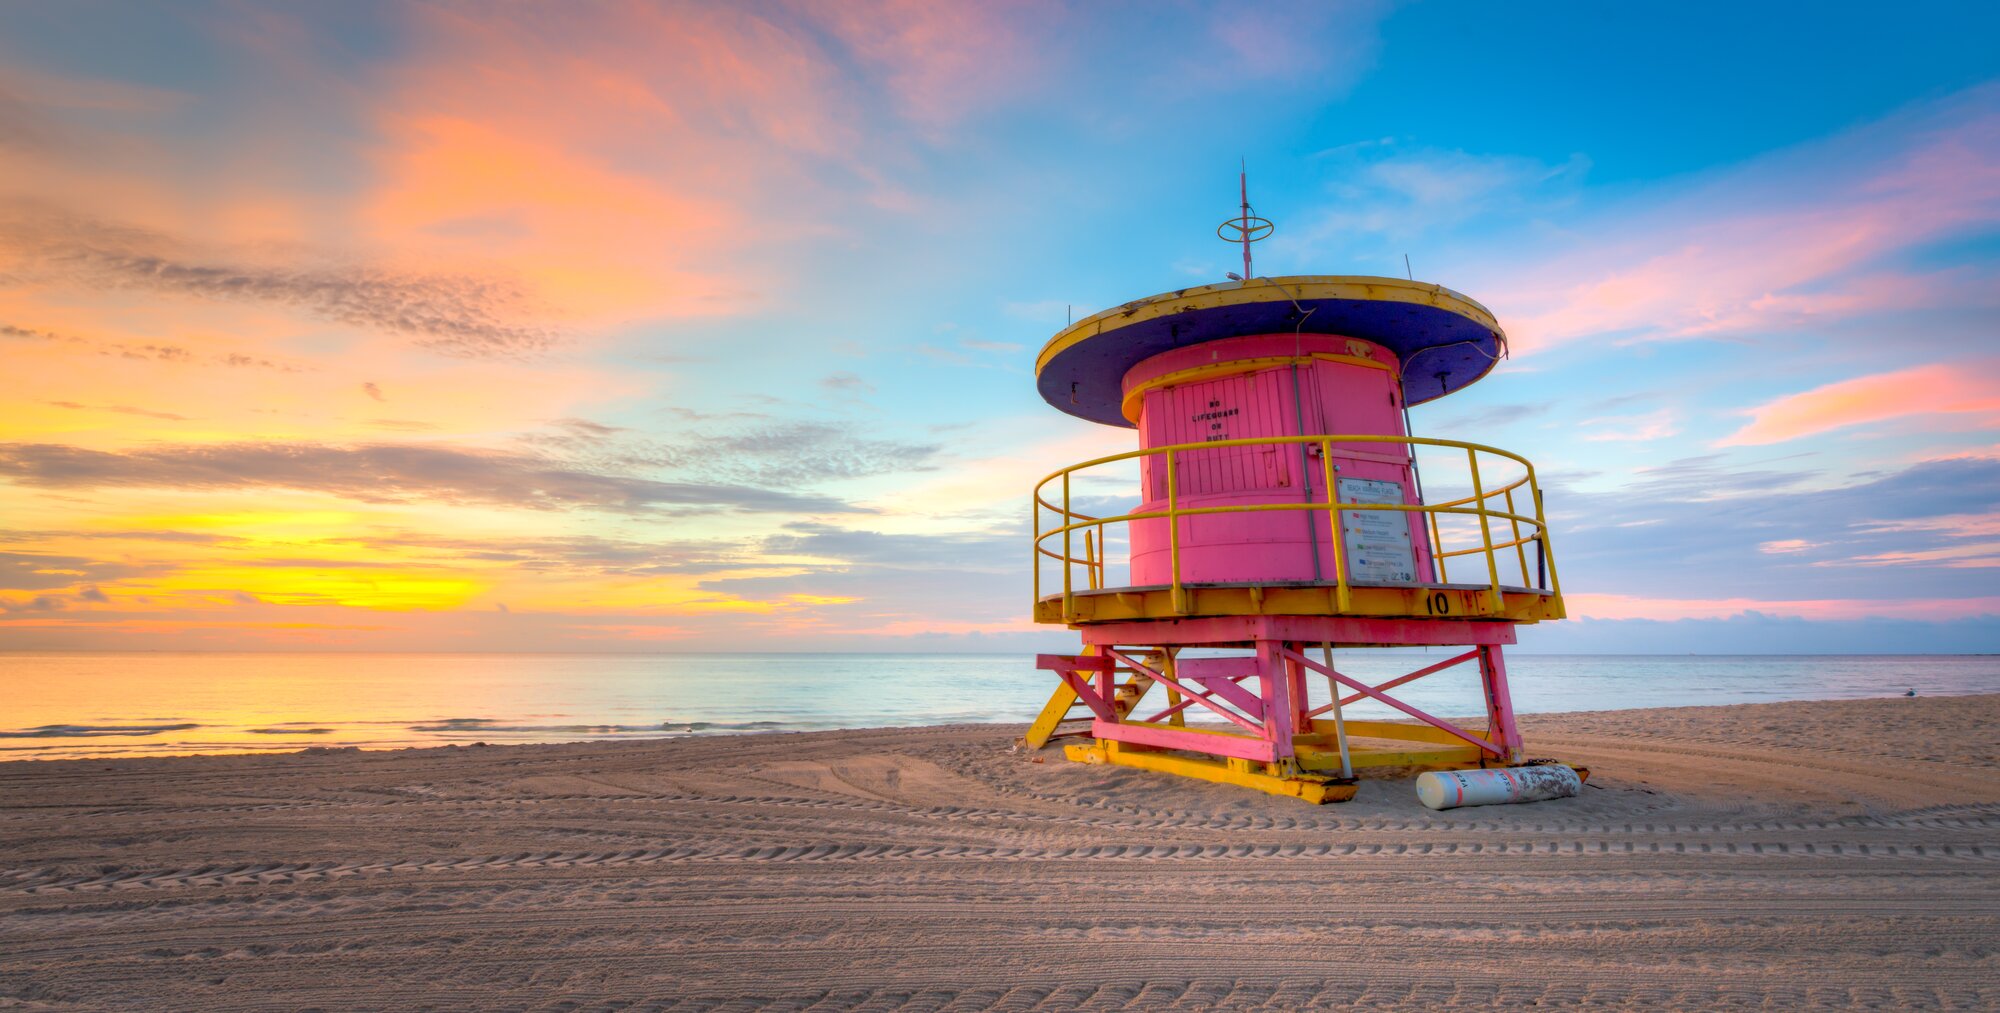
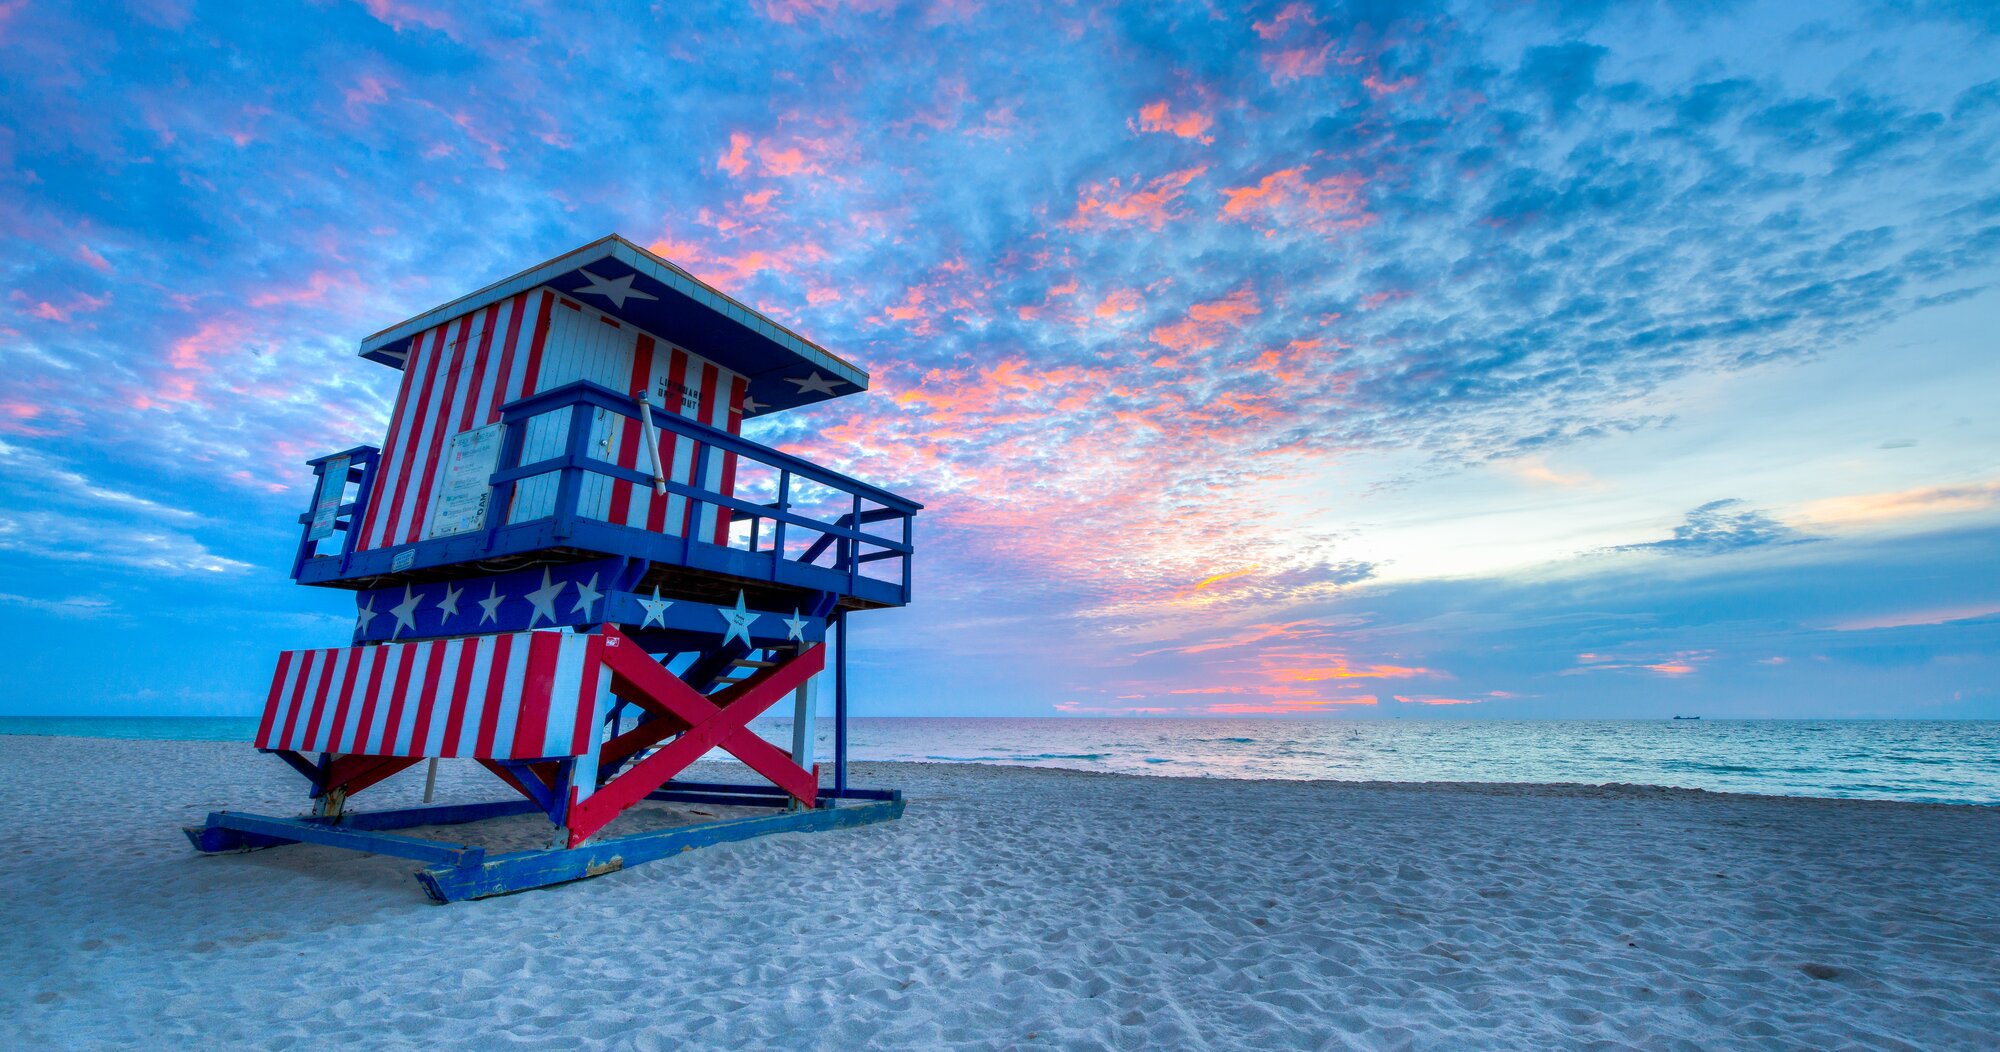
This guide covers the camera settings, the angles and the editing steps that make architecture photos look strong on an iPhone. One note on the photos: the example images here are not iPhone shots. They show composition ideas that work the same way on any camera, including a phone.
 Save
Why shoot architecture on an iPhone?
Buildings stand still, so they are one of the easiest subjects to learn on. You can take your time, move around and try ten versions of the same frame. A phone helps with that.
- You often have it with you. Good light and good buildings turn up on ordinary days.
- It is quiet and easy to use. You can shoot in places where a big camera feels out of place.
- It gives you a fast workflow. You can shoot, edit and share in minutes.
- It automates a lot. Autofocus, exposure and HDR can do much of the work, so you can think about composition.
The trade-offs are small sensors, limited zoom and less control in dim light. Better technique can offset some of those limits, which is what the rest of this guide is about.
What iPhone camera settings help architecture?
Features change with each iPhone and each software update, so check your own phone and Apple’s current support pages. These are settings worth looking at first.
- Turn on the grid. Open Settings, then Camera, then switch on Grid (see Apple’s camera tools page). It helps you line up verticals and horizons. If your phone has a level, turn that on too.
- Lock focus and exposure. Tap on the building and hold until you see the lock. Then slide the sun icon to brighten or darken the shot.
- Protect the highlights. If the sky turns white, lower the exposure. Shadows are usually easier to lift later than clipped highlights are to recover, and a later crop or edit cannot bring back detail that was never recorded.
- Pick the right lens. Use the main lens for most shots. Use the ultra-wide for tight spaces and the telephoto, if you have one, for details.
- Prefer walking closer. Digital zoom can lower quality, so move your feet first or crop afterward.
- Consider RAW. Apple ProRAW is available on some models, with bigger files and more room in editing. Check Apple’s ProRAW page for the models and iOS versions it supports.
- Keep the lens clean. A smudge can turn city lights into a haze. Wipe it before you shoot.
How do you compose a strong architecture photo?
Composition is where phone photos improve the most. Start by deciding what the photo is about: a shape, a line, a color or a pattern. Then remove everything that does not help.
Look for lines
Buildings are full of lines: edges, railings, windows, stairs and rooflines. Use them to lead the eye. Diagonals feel energetic, and straight verticals feel calm and strong.
Use symmetry
Many buildings are symmetrical. Stand in the middle, keep the phone level and let the building balance the frame. The simple shapes in the lifeguard tower photos above are a good example of how little you need.
Frame with the surroundings
Use arches, trees, doors and shadows to frame the subject. Foreground elements add depth and stop a photo from feeling flat.
Add scale
A small element, such as a bench, a boat or a tree, shows how large a building is. Avoid including identifiable people unless you have their permission.
Change your angle
Do not shoot everything from eye level. Get low to make a building feel tall. Go high, if it is safe and allowed, to show patterns. Walk around the block to find the best side.
 Save
How does light change the way a building looks?
Light decides the mood. The same building can look flat at noon and striking at sunset.
- Golden hour: warm light and long shadows bring out texture and shape.
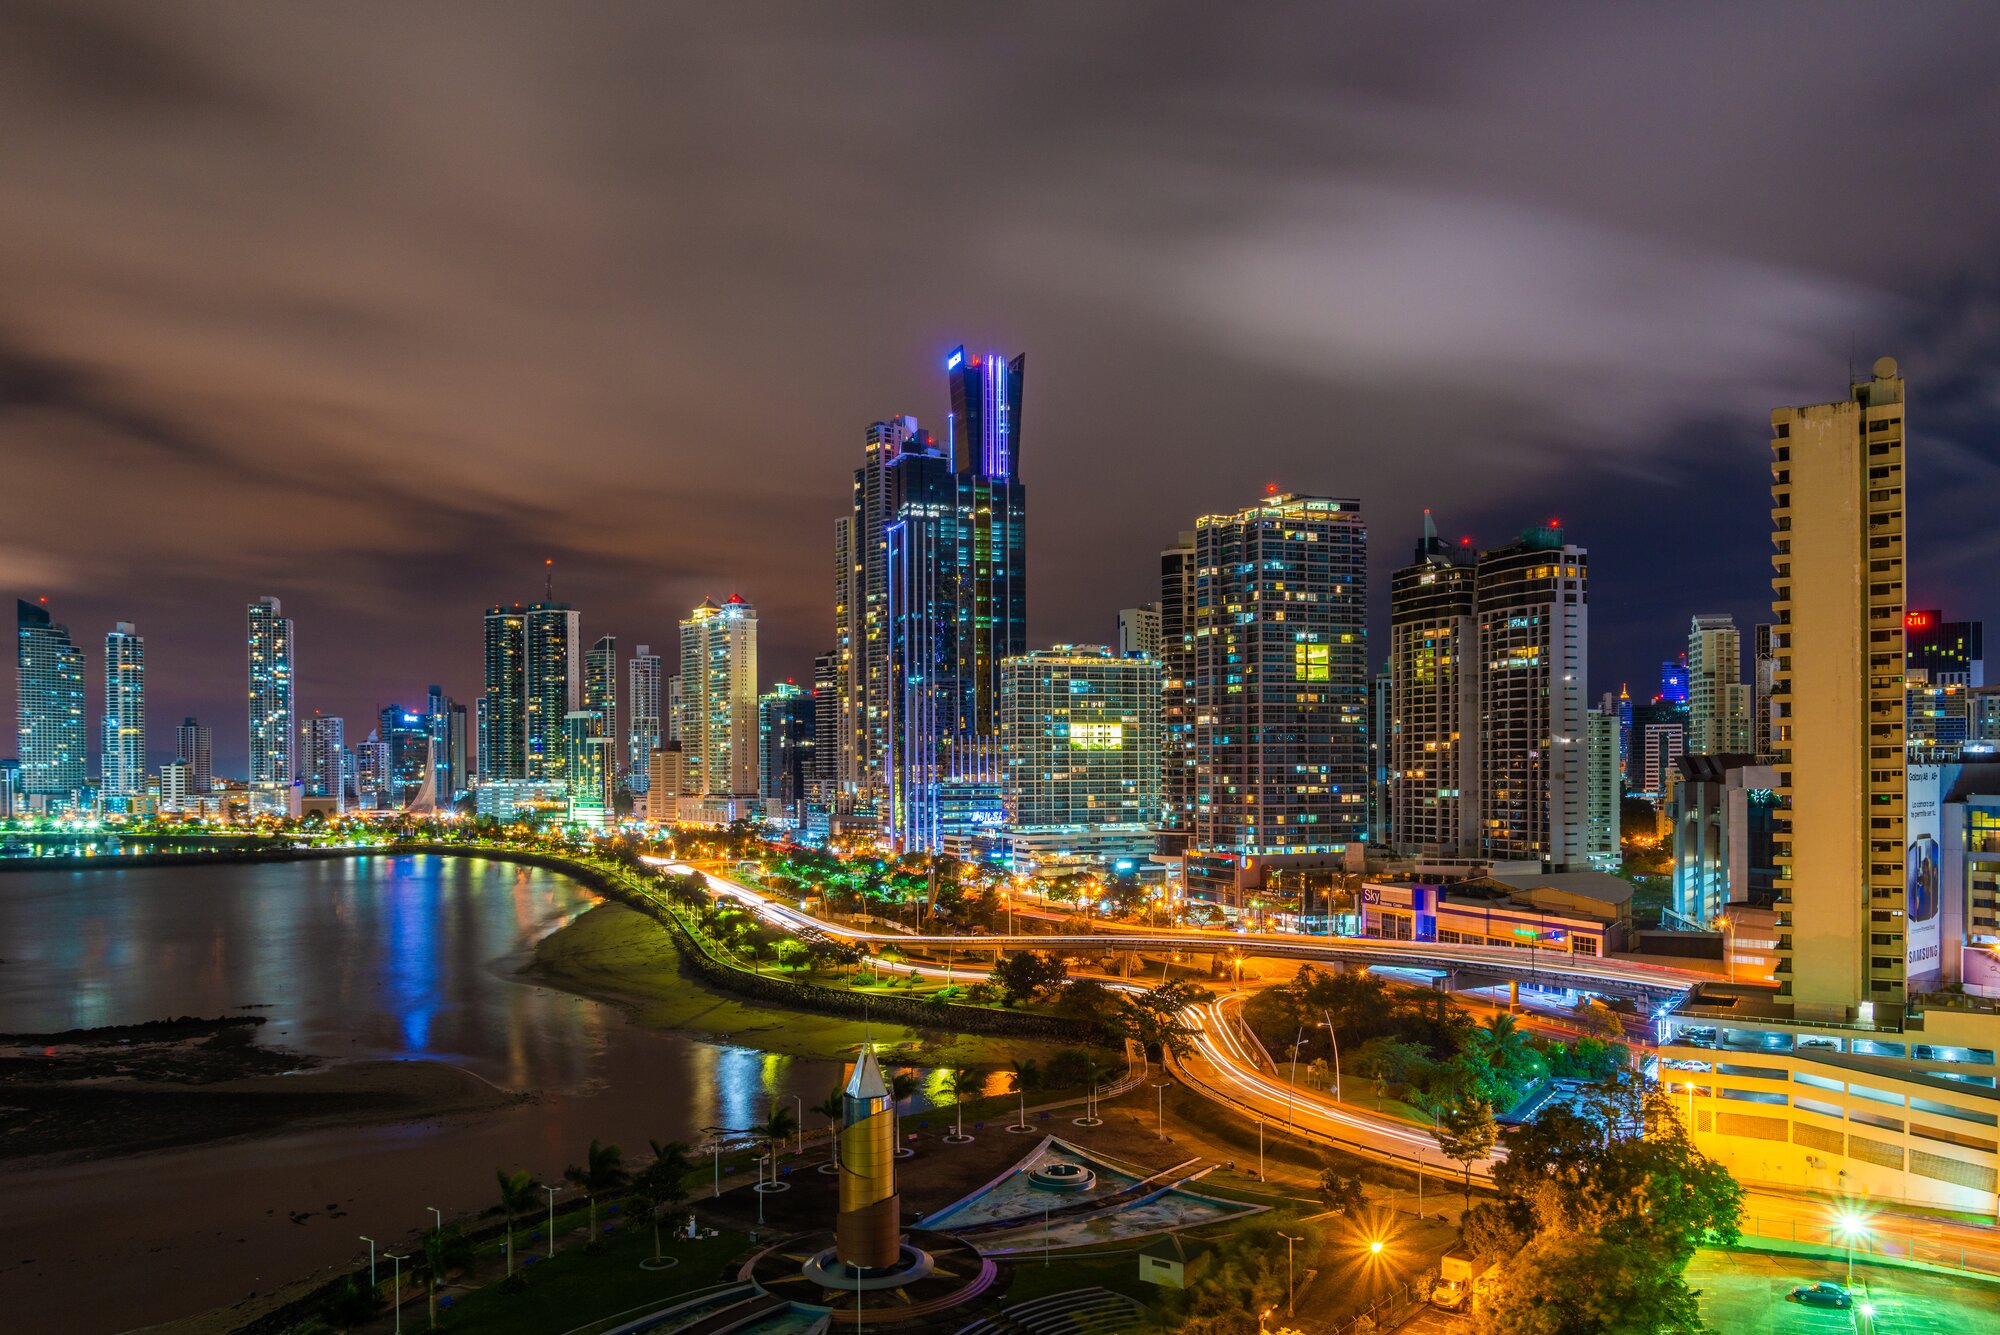
- Blue hour: the sky turns deep blue and the lights come on. It is a great time for glass towers and lit facades.
- Midday: hard light and harsh shadows. Look for patterns, shadows and details, or shoot in black and white.
- Overcast: soft, even light. It is good for colors, facades and details, but skies can look dull.
- Night: light trails and glowing windows. Hold the phone steady, and use Night mode if your model supports it (Apple’s Night mode page lists the models).
 Save
How do you avoid distorted buildings?
When you tilt a camera up at a tall building, the vertical lines lean toward each other. This is called keystoning. It is normal, but it looks sloppy in most photos.
- Keep the phone level and parallel to the building. Leaning lines (convergence) come from tilting the camera, not from the lens.
- Step back and use a longer lens, so you do not have to tilt.
- Leave extra space around the building, so you can straighten and crop later.
- Fix leaning lines in the editing app with vertical and horizontal correction.
Lens distortion is a separate effect. The ultra-wide lens can stretch shapes near the edges, so keep your main subject toward the middle of the frame when you use it. Straightening or cropping later cannot restore highlights that were clipped to white.
What about details and abstracts?
You do not need the whole building. Details can be more interesting: a staircase, a pattern of windows, a curved wall or a bold roof. Fill the frame with the pattern and cut out the rest.
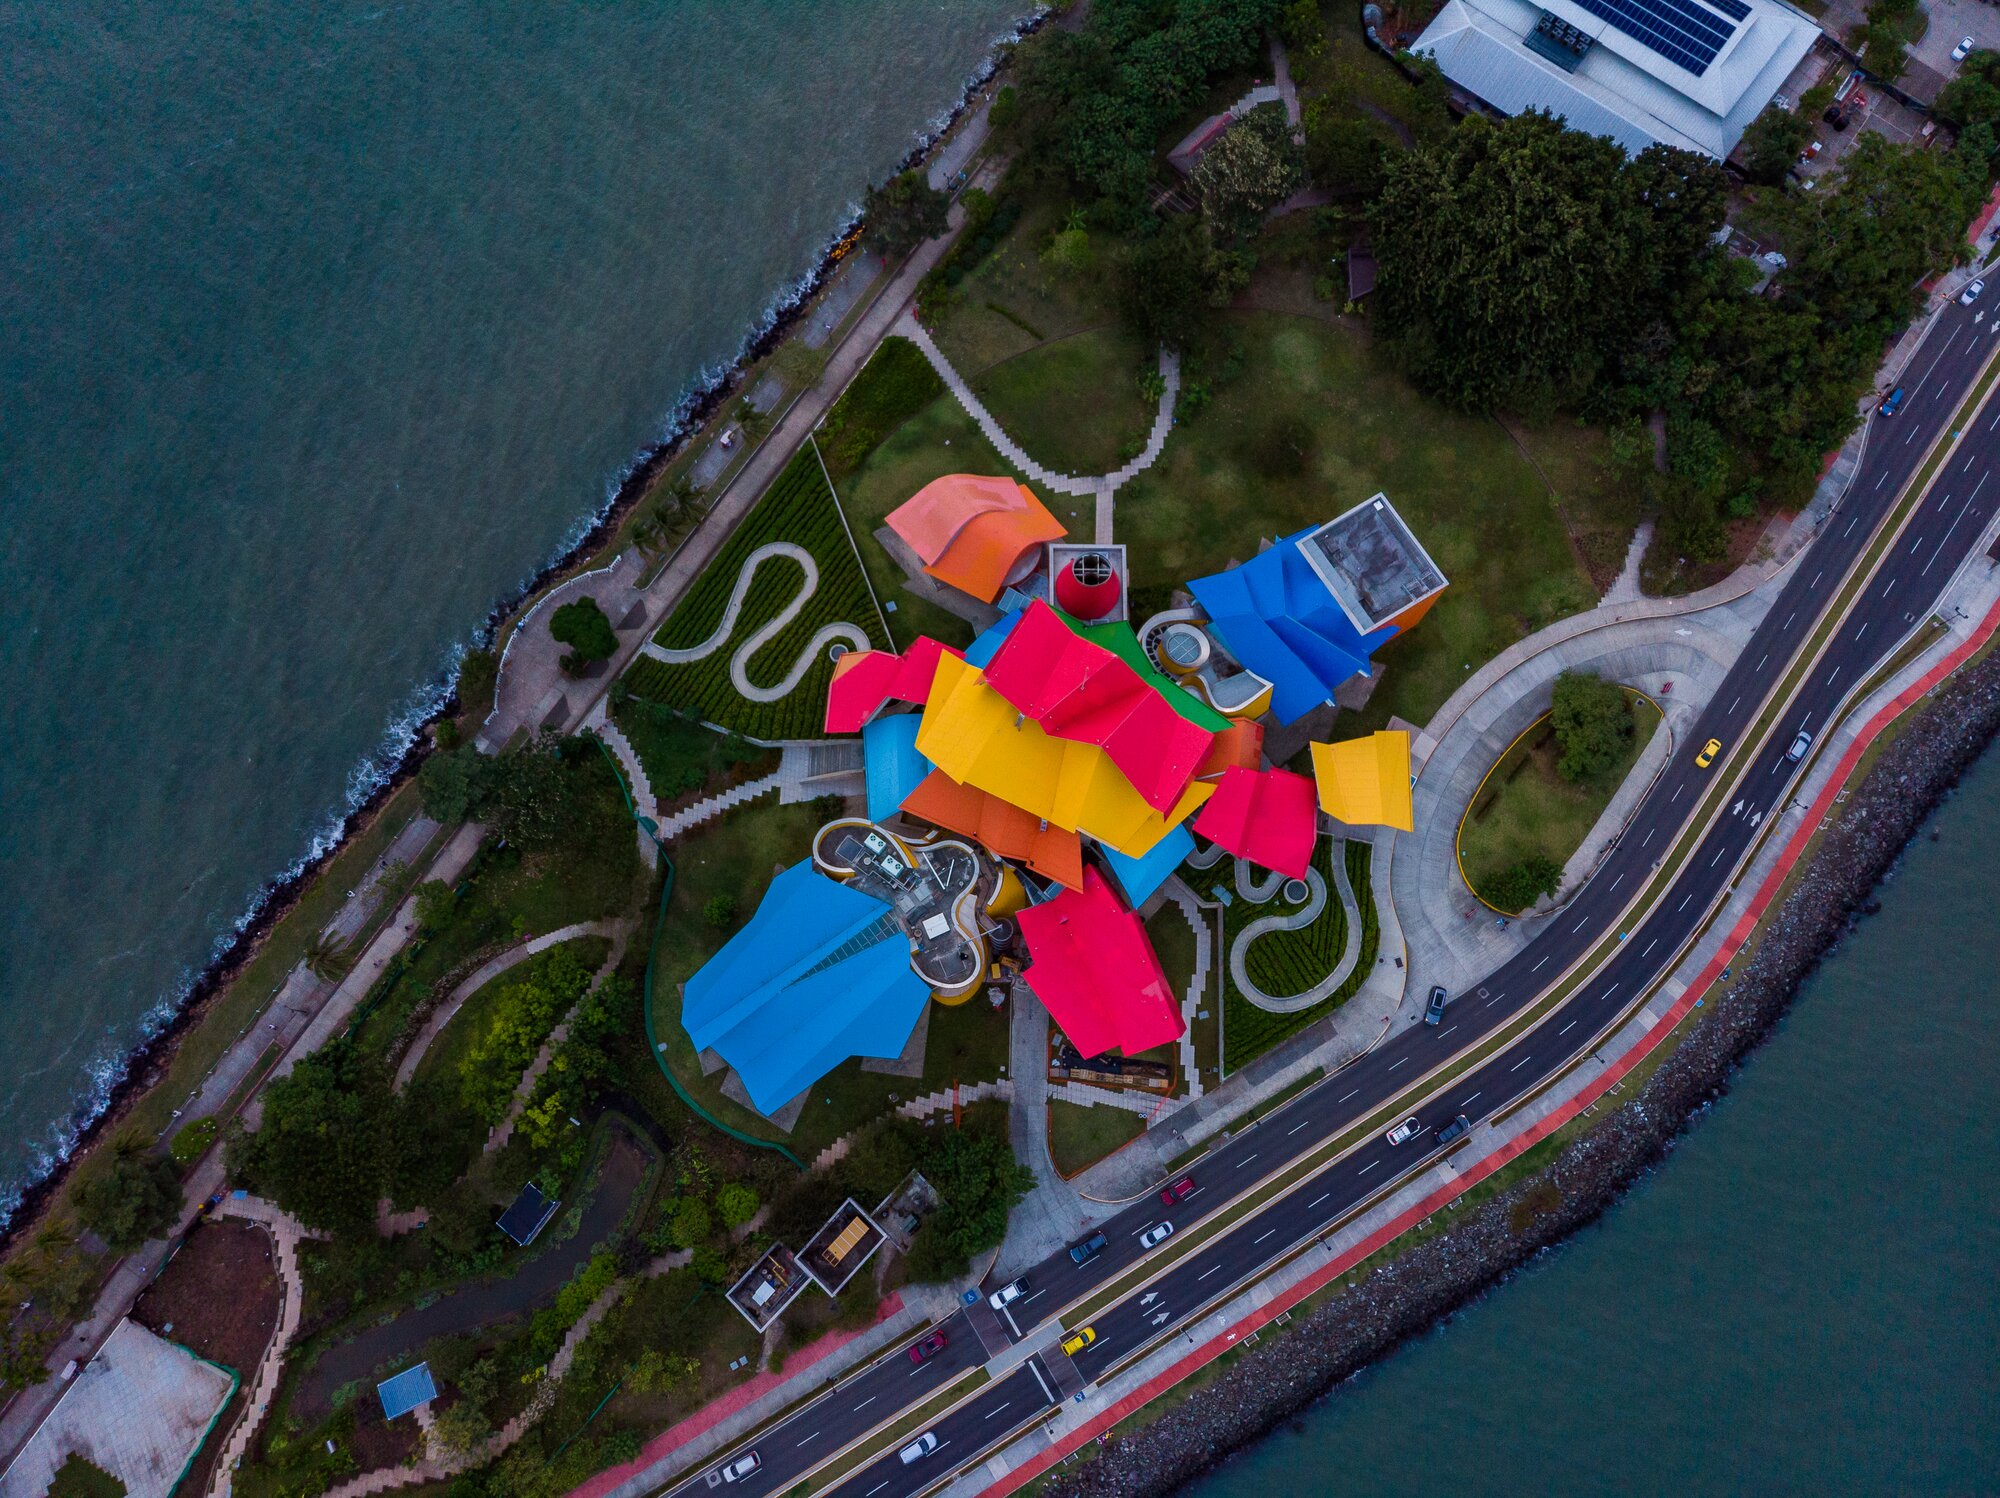
Top-down views can turn a building into a graphic design. The colorful roof angles below are a good example of how a shape and a few colors can be enough.
 Save
How do you shoot interiors?
Interiors are harder because of low light and mixed light sources. A few habits help.
- The phone’s small direct flash can give harsh, uneven interior light. Start with it off and review the available light.
- Use the ultra-wide only when you need it, and keep the phone level.
- Expose for the windows if the view outside matters. Expose for the room if it does not.
- Shoot from a corner to show depth.
- Ask permission in private spaces, and follow the rules in public ones.
How do you edit architecture photos on an iPhone?
Editing is where an ordinary photo becomes a strong one. The built-in Photos app has crop, straighten and basic adjustment tools, which are a fine place to start. Lightroom mobile has a free core, and some features need a paid plan, so check Adobe’s current FAQ before you count on one.
- Crop and straighten. Fix the horizon and the verticals first.
- Adjust exposure. Bring the brightness to a natural level.
- Pull the highlights and lift the shadows. This can reveal detail that was recorded, but cannot recover information clipped at capture.
- Add contrast. Do it gently, so the lines stay clean.
- Set the color. Warm up golden hour and cool down blue hour. Keep it believable.
- Sharpen a little. Do not overdo it, because phone files show noise quickly.
- Remove distractions. Clean up dust spots, wires or litter if they pull the eye away.
If you like a consistent look, you can use presets as a starting point. You will find Lightroom presets in the shop. Adjust them to suit each photo.
How do you shoot skylines and tall towers?
A skyline is a crowd of buildings, so the job is to find order. Look for a clear foreground, like water, a park or a road, and let the towers sit above it. A bit of space between the skyline and the edge of the frame makes it feel calm.
- Find distance. Shoot from across a bay, a river or a hill, so the buildings do not crowd each other.
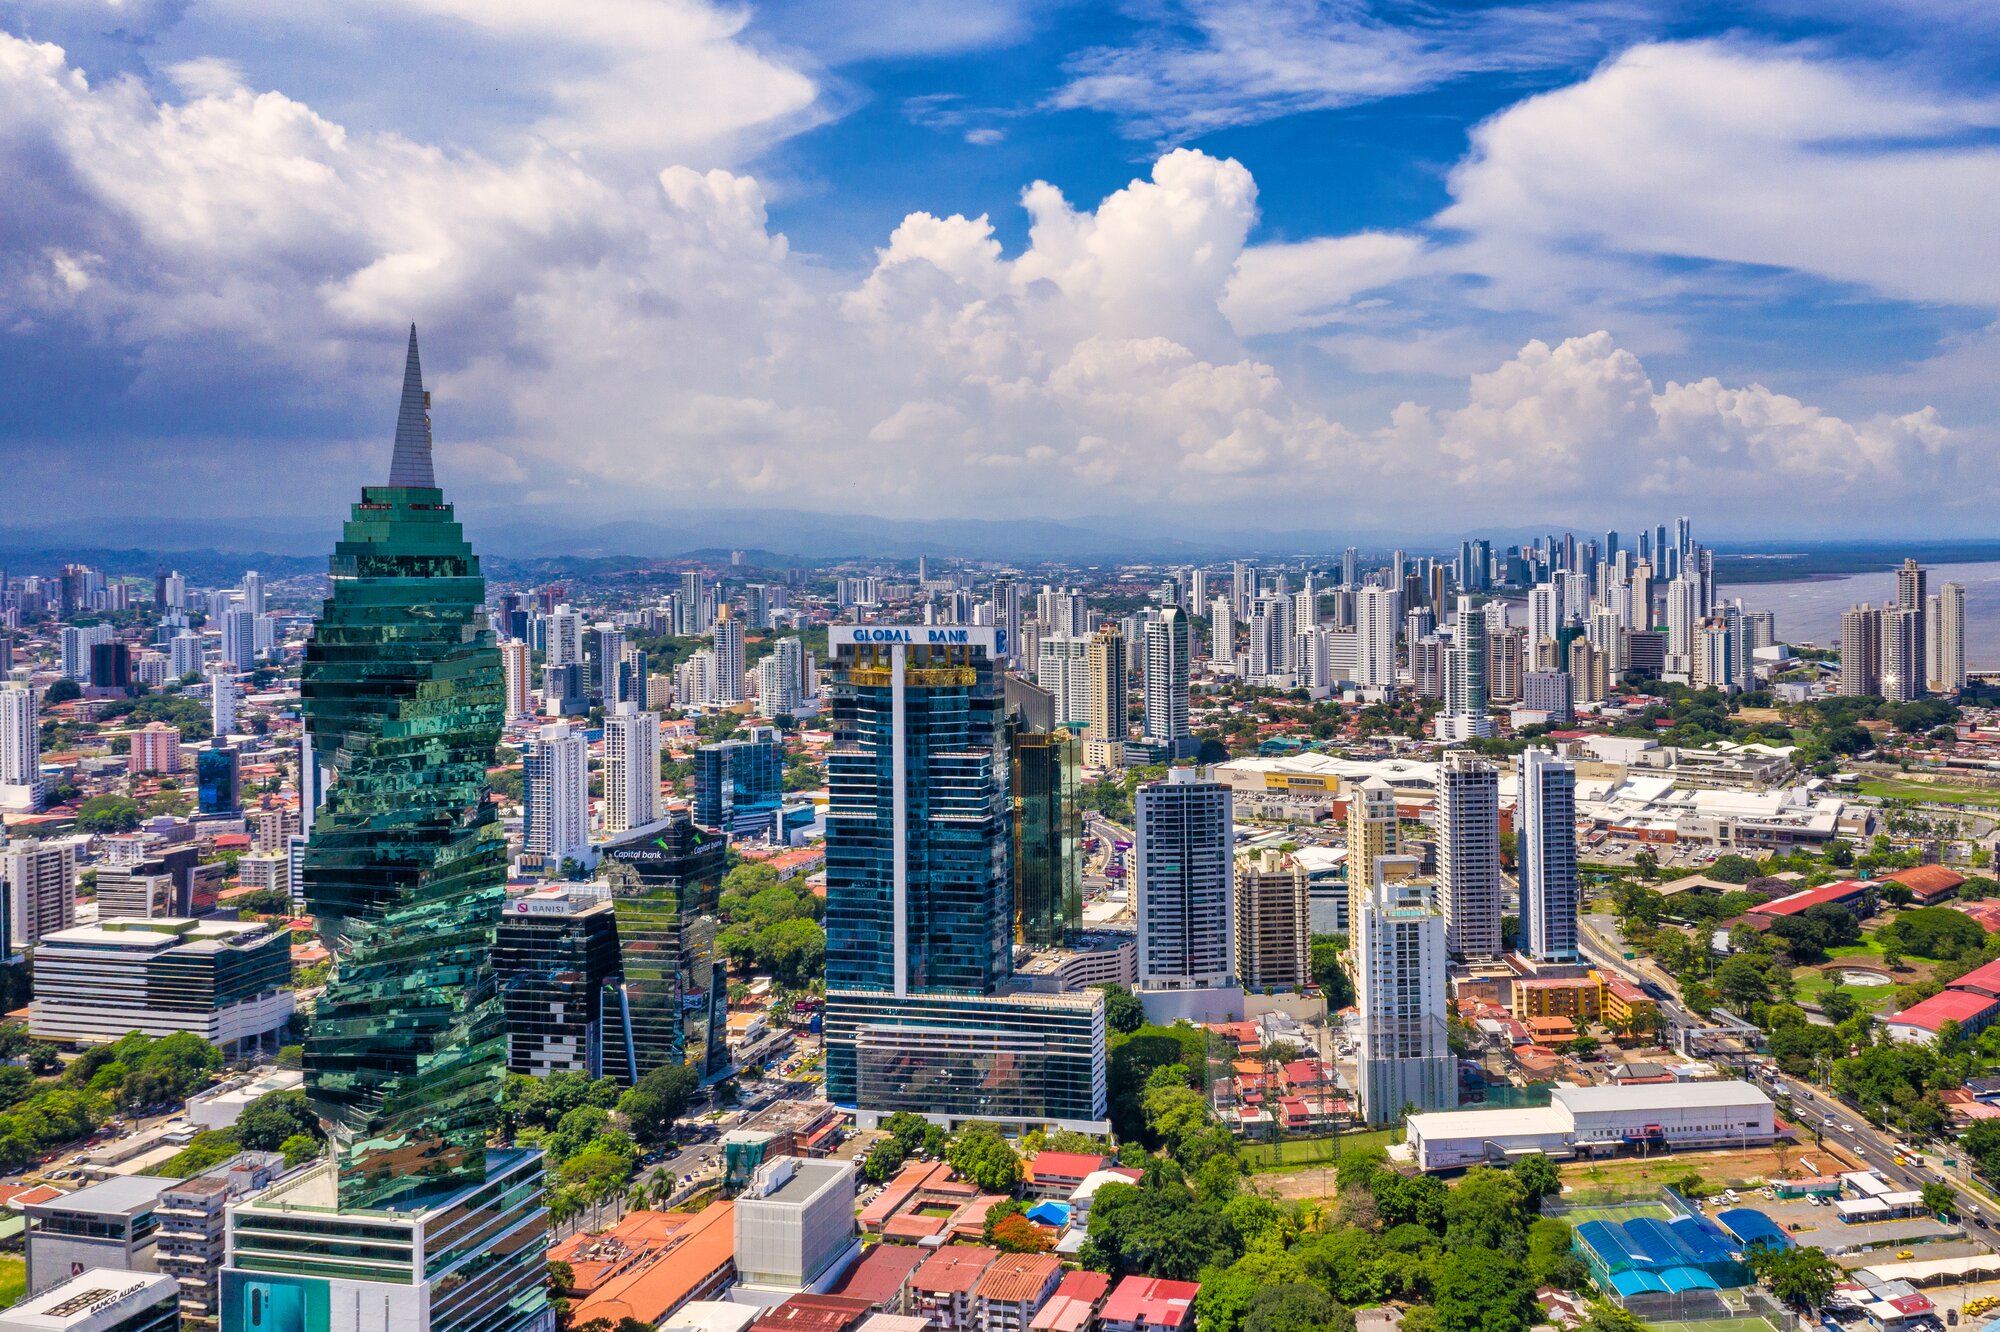
- Pick one tower. A single standout building, such as a twisted or glassy tower, gives the eye a place to land.
- Use clouds. Interesting clouds make a glass and steel scene feel alive. Flat sky is easier to leave out of the frame.
- Try panorama mode. It works well for wide skylines. Move slowly, keep the phone level and avoid people and cars moving through the frame.
- Look for reflections. Water and glass double a building. Shoot just after rain for puddles.
 Save
What accessories help?
You can do nearly everything with the phone alone. A few cheap items make life easier.
- A microfiber cloth. A smudge can be the reason for a soft, hazy photo.
- A small tripod or phone clamp. It helps at night and for level, repeatable framing.
- A remote or the timer. It stops shake when you press the button.
- A power bank. Cold weather and a long walk drain the battery quickly.
- An editing app. Pick one and learn it well.
What mistakes should you avoid?
- Leaning buildings. Keep the phone level and correct in editing.
- Cluttered frames. Take a step to the side and remove distractions.
- Shooting only at eye level. Try low, high and close.
- Blown skies. Lower the exposure before you shoot.
- Digital zoom. It lowers quality. Walk closer.
- Over-editing. Heavy HDR and strong color make buildings look fake.
- Ignoring the rules. Respect private property, security and signs.
How do you practice?
Pick a single building near you and photograph it five ways. Shoot it wide, then close. Shoot it from the front, then from a corner. Shoot it at midday, then at golden hour. Then compare the results. Many people find this teaches them more than a hundred quick shots.
Keep your best frames in one album and write one line about why each works. After a few weeks, you may see which habits give you the strongest photos, such as shooting at blue hour, getting low or filling the frame with a pattern. Then repeat those habits on purpose. That is one way to become a more consistent shooter.
If you like shooting at dusk, my guide to shooting a sunset silhouette on iPhone covers exposure for strong shapes against the sky. For a different kind of building, read industrial architecture photography.
When you are ready for a bigger camera, you can use the same ideas with a mirrorless or DSLR. For more on getting started, see my travel photography guide and my aperture guide.
iPhone architecture photography FAQ
Can an iPhone really take good architecture photos?
Yes, it can. Buildings do not move, so you have time to set up. A phone is easy to carry, so you are more likely to have it when you find a good building. The main limits are low light and distortion, and technique can reduce both.
Which iPhone lens is best for buildings?
The main camera is the safest all-round choice. The ultra-wide shows more of a tall building or a tight interior, but can stretch shapes near the edges; tilting the phone causes converging verticals. A telephoto lens, if your model has one, is good for details and for flattening a skyline.
How do I keep vertical lines straight?
Turn on the grid, hold the phone level and keep it parallel to the building. If you tilt up, the lines lean in. Step back, or fix the lean later with the crop and vertical tools in your editing app.
Should I use HDR?
How HDR works depends on your iPhone model and iOS version. Newer models blend exposures automatically, and some have a manual setting, so check Apple’s HDR page for your phone. HDR can help with a bright sky above a dark street, but strong HDR can look flat and a little fake, so check the result.
Can I shoot RAW on my iPhone?
Apple ProRAW is available on some models and saves a RAW-based file. These files are larger, and they give you more room when you edit highlights and shadows. Check Apple’s ProRAW page and your own model to see what is available.
How do I shoot buildings at night?
Use Night mode if your phone has it and hold still, or brace the phone on a wall or a small tripod. Look for lit facades and light trails, and avoid zooming digitally.
Do I need extra gear?
No. A clean lens cloth, a small tripod and a free editing app are plenty. Add a clip-on lens or a phone grip later if you want to.
Is it okay to photograph any building?
There is no general yes. It depends on the country, the property and the building. Private property, some government buildings, airports and some interiors restrict photography. Check the local rules and signs, respect security staff, and ask when you are unsure.
Start with one building
You do not need a new phone or a new lens. Find a building that you like, check the light, keep the phone level and take your time. Try a few angles, edit with a light hand and keep going. Your eye can improve with practice.