Updated October 13, 2026. This guide has been revised with new text and photos; the original publication date is retained.
Landscape and cityscape photography look like opposites. One is trees, water and sky. The other is glass, steel and streets. But they share the same core skills: finding light, building a frame and being patient. This guide shows you how they differ, where they overlap and how to pick the one that fits you.
Here is the short version. Landscapes reward slow, quiet planning. Cityscapes reward timing, lines and a little persistence. If you can do one, you are already halfway to the other.
 Save
SaveWhat is the difference between landscape and cityscape photography?
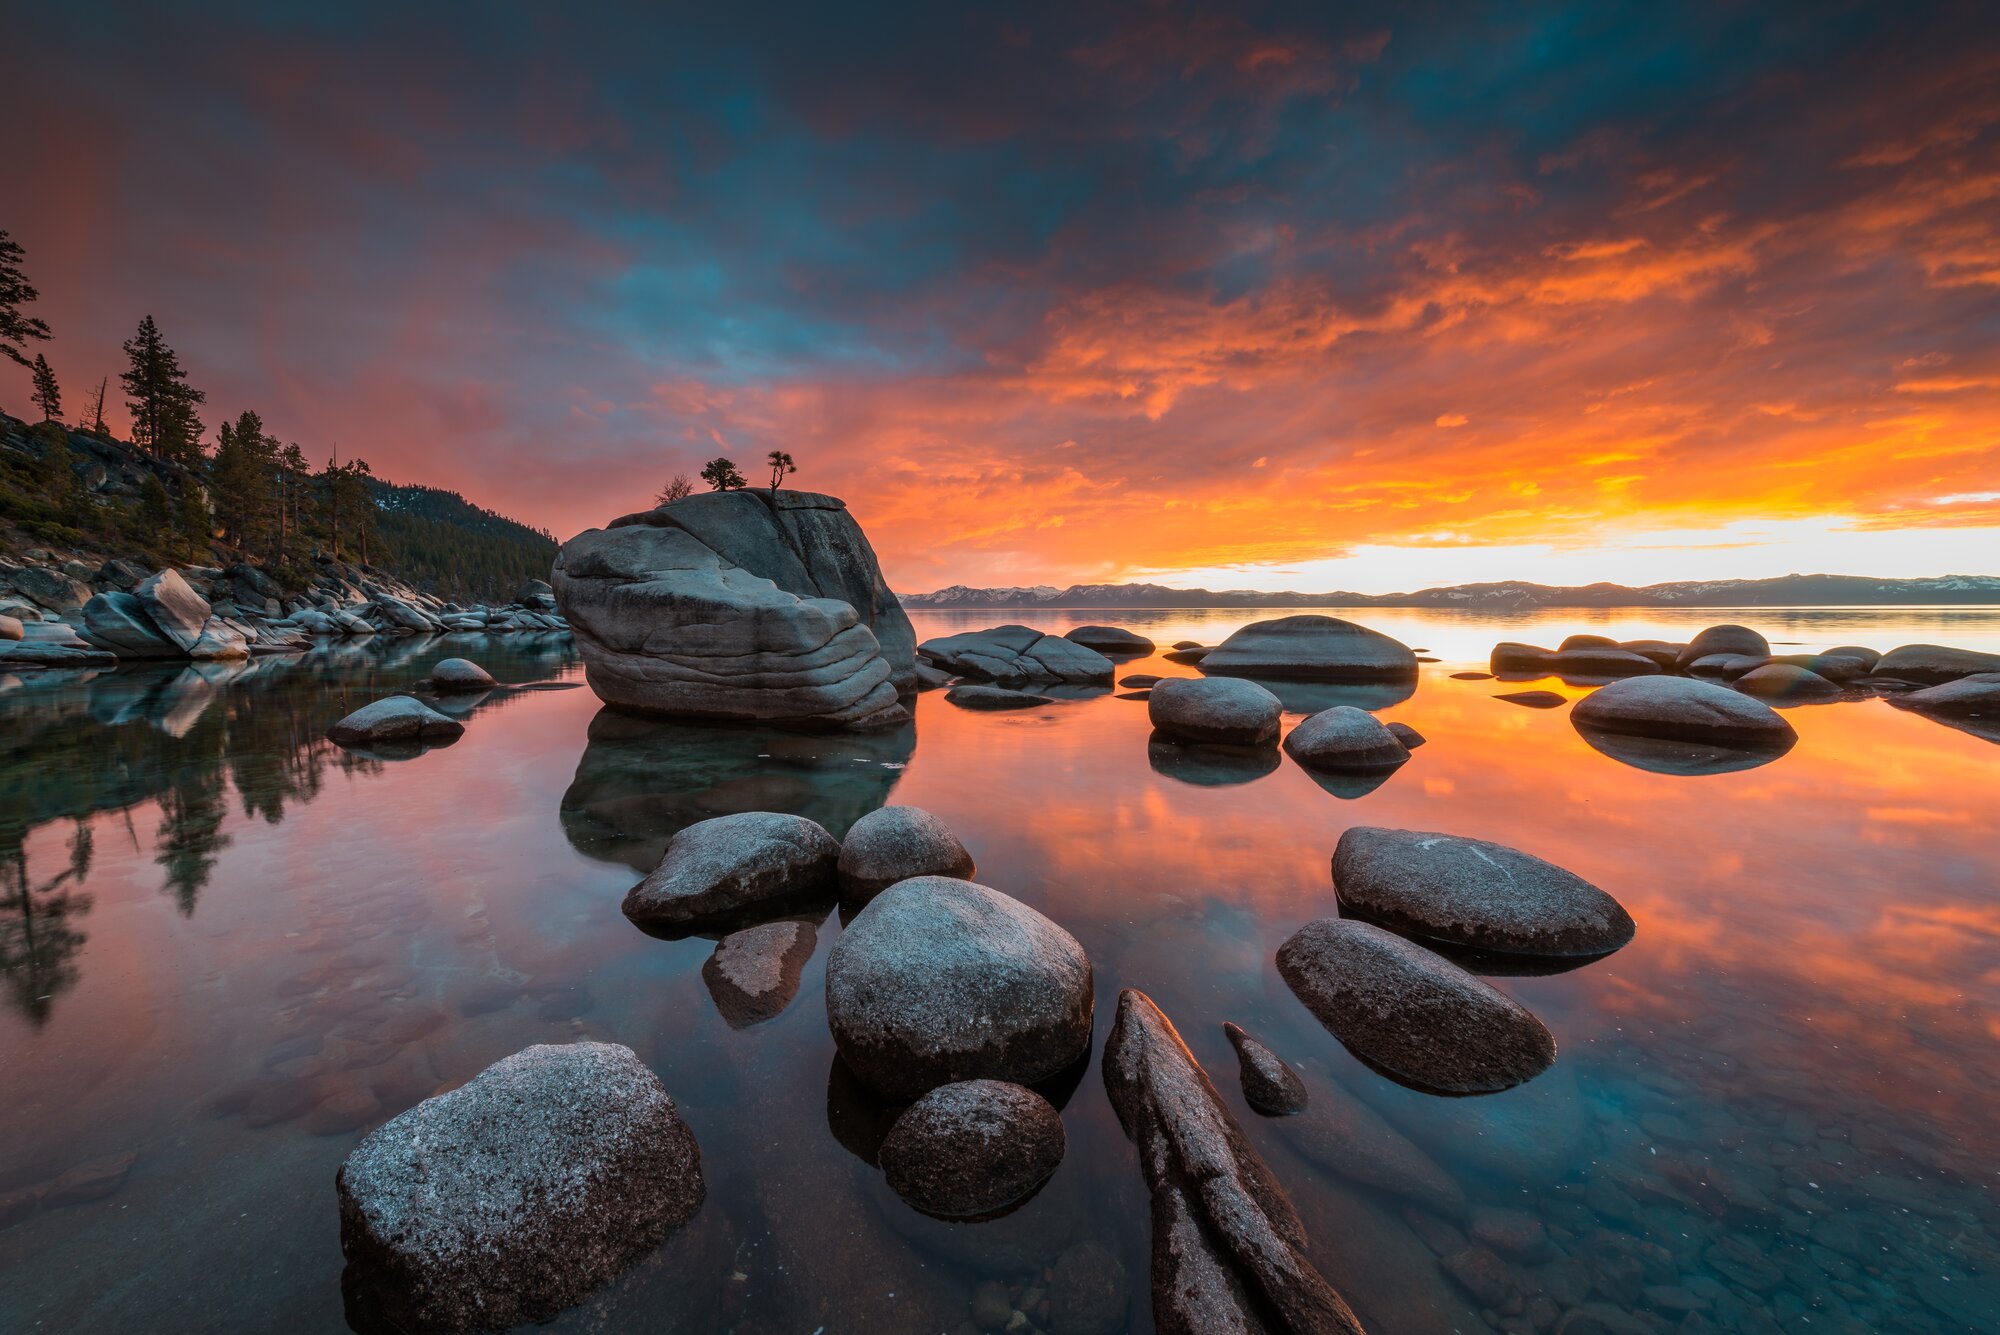
A landscape is about the natural world: mountains, lakes, forests, coasts, deserts and sky. The subject does not move much, but the light does. You spend most of your effort getting to the right place at the right time and waiting for the right light.
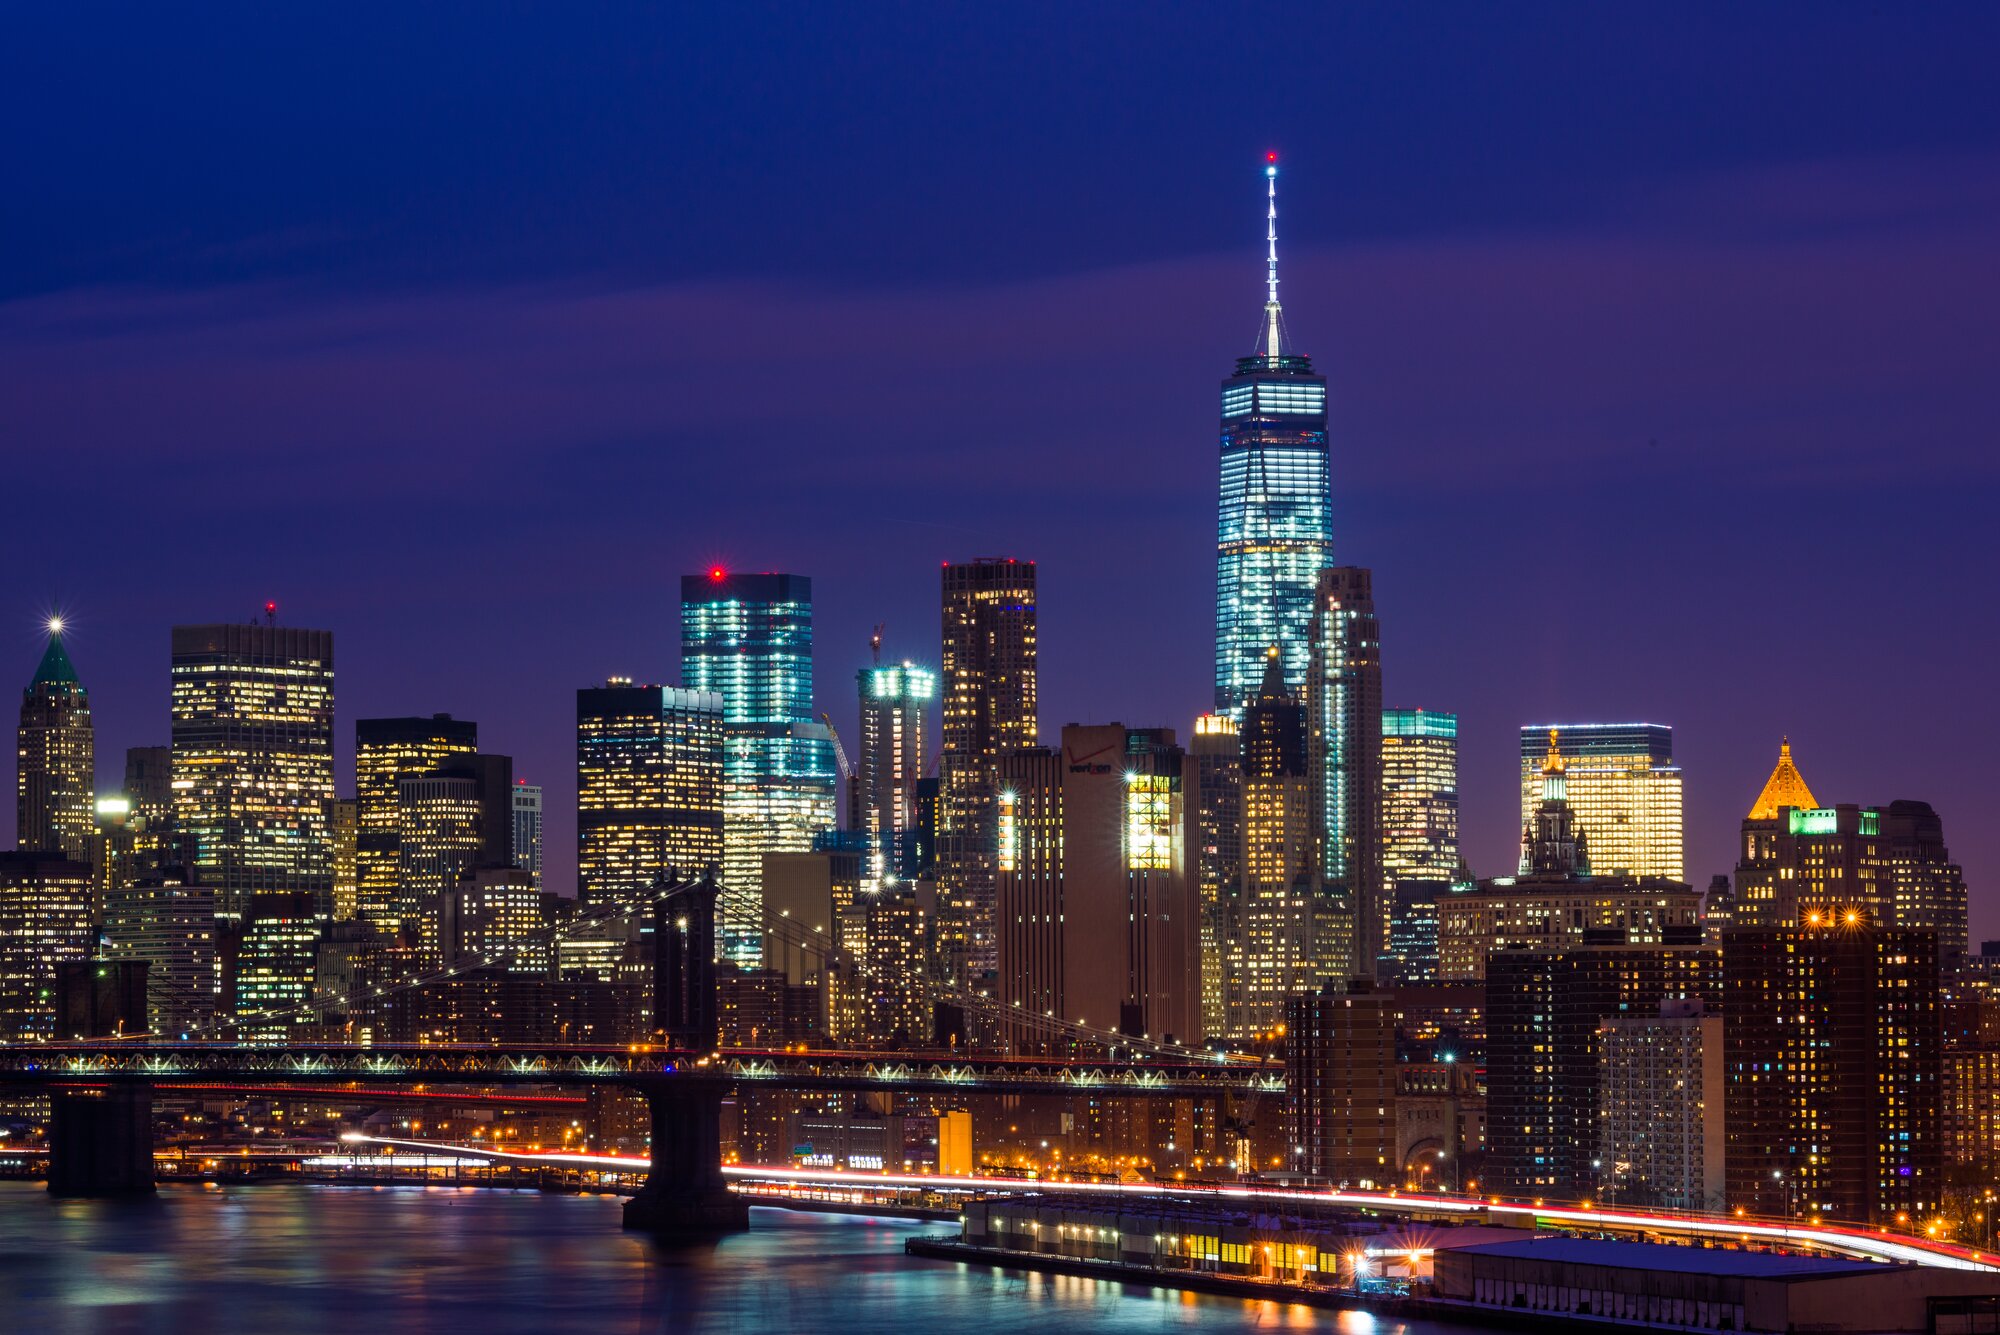
A cityscape is about the built world: skylines, bridges, streets, rooftops and the way people shape a place. The subject is solid, but everything around it keeps changing. Lights switch on, traffic moves and clouds roll behind towers.
- Landscape: organic shapes, soft transitions, big skies, quiet scenes.
- Cityscape: straight lines, hard edges, strong geometry, a lot of detail.
- Landscape light: sunrise, sunset and weather do most of the work.
- Cityscape light: golden hour, blue hour and artificial light all matter.
Neither one is better. They train different habits, and many photographers pick up both.
How do you shoot a landscape?
Start with the light. A plain scene under great light beats a great scene under flat light. Check the sunrise and sunset times, look at the forecast and arrive early. Scout the spot if you can, so you know where to stand when the sky changes.
Pick a subject and a foreground
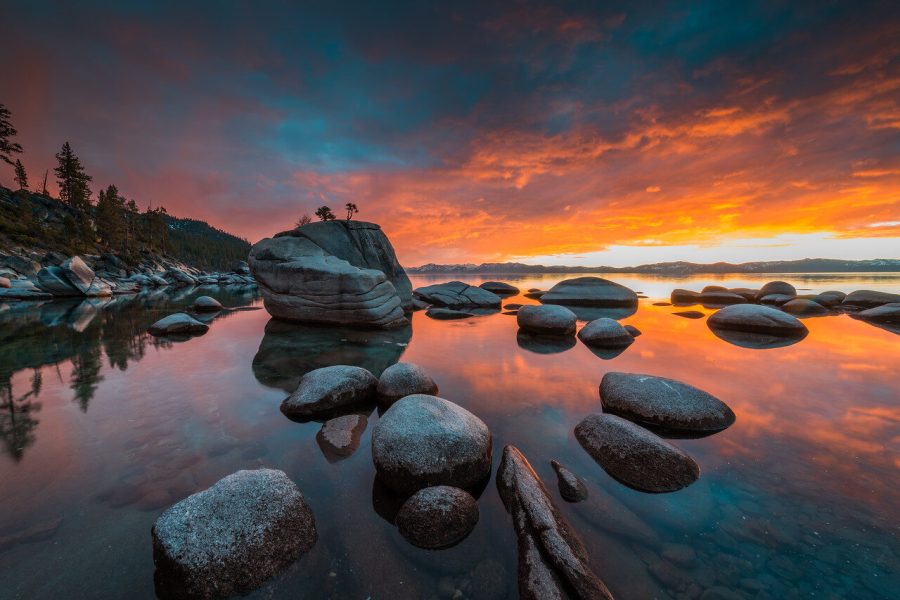
A big view is not a photo until you decide what it is about. Choose one main subject, such as a rock, a ridge or a tree line. Then decide about the foreground. Something close to the camera, like boulders, grass or ripples, can give the eye a way in and add depth. It is an option, not a requirement: include it, move to change it, or leave it out if it distracts.
Use leading lines and layers
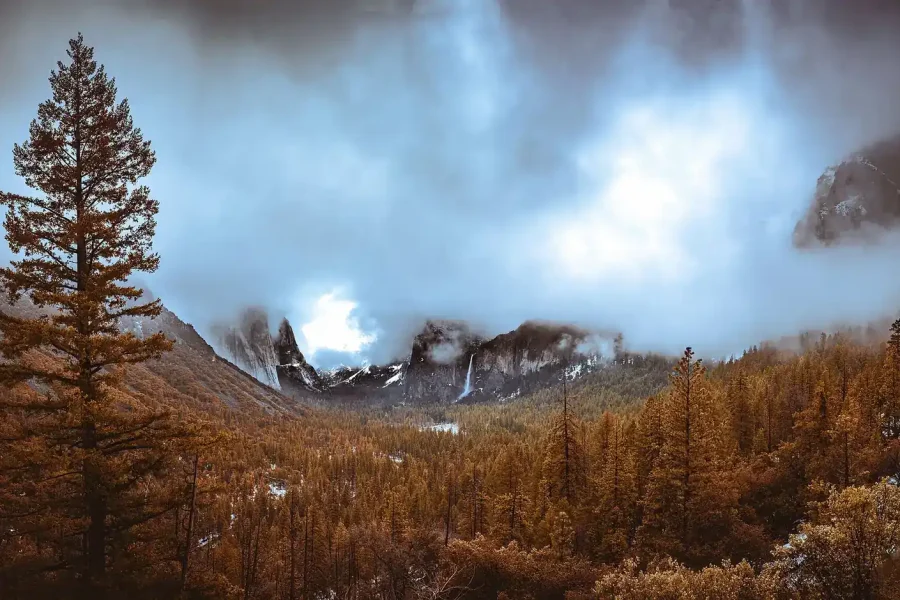
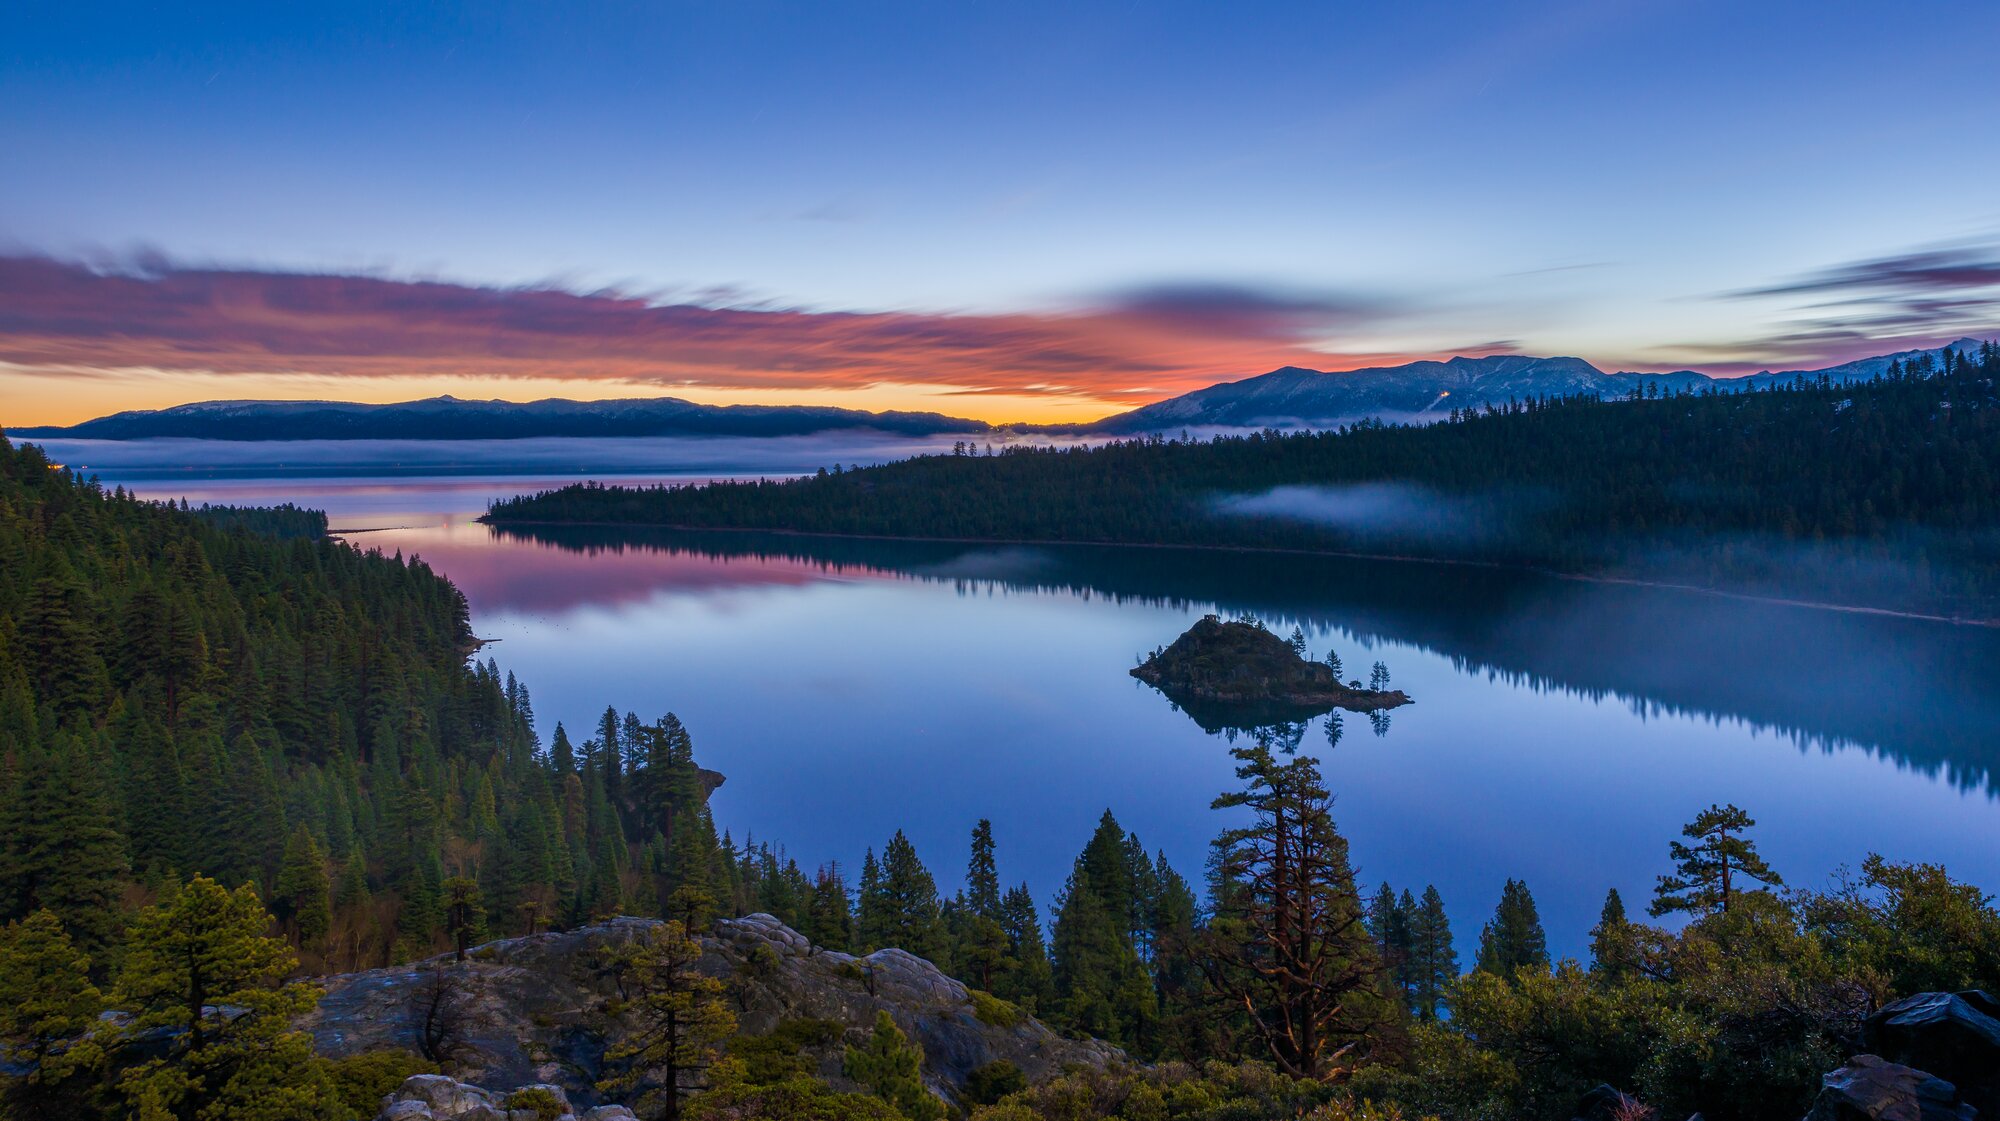
Shorelines, paths, streams and ridges all lead the eye. Look for layers too: a foreground, a middle ground and a far ridge. Mist and haze make those layers easier to see.
Watch your horizon
A tilted horizon ruins a calm scene. Use the level in your camera or the grid on the screen. Place the horizon on the upper or lower third, depending on whether the land or the sky is more interesting.
 Save
SaveHow do you shoot a cityscape?
Cities offer an endless supply of subjects, which is the problem. Many strong cityscapes pick one idea and strip away the rest. It might be a single tower, the curve of a bridge or the pattern of windows at night.
Find a good viewpoint
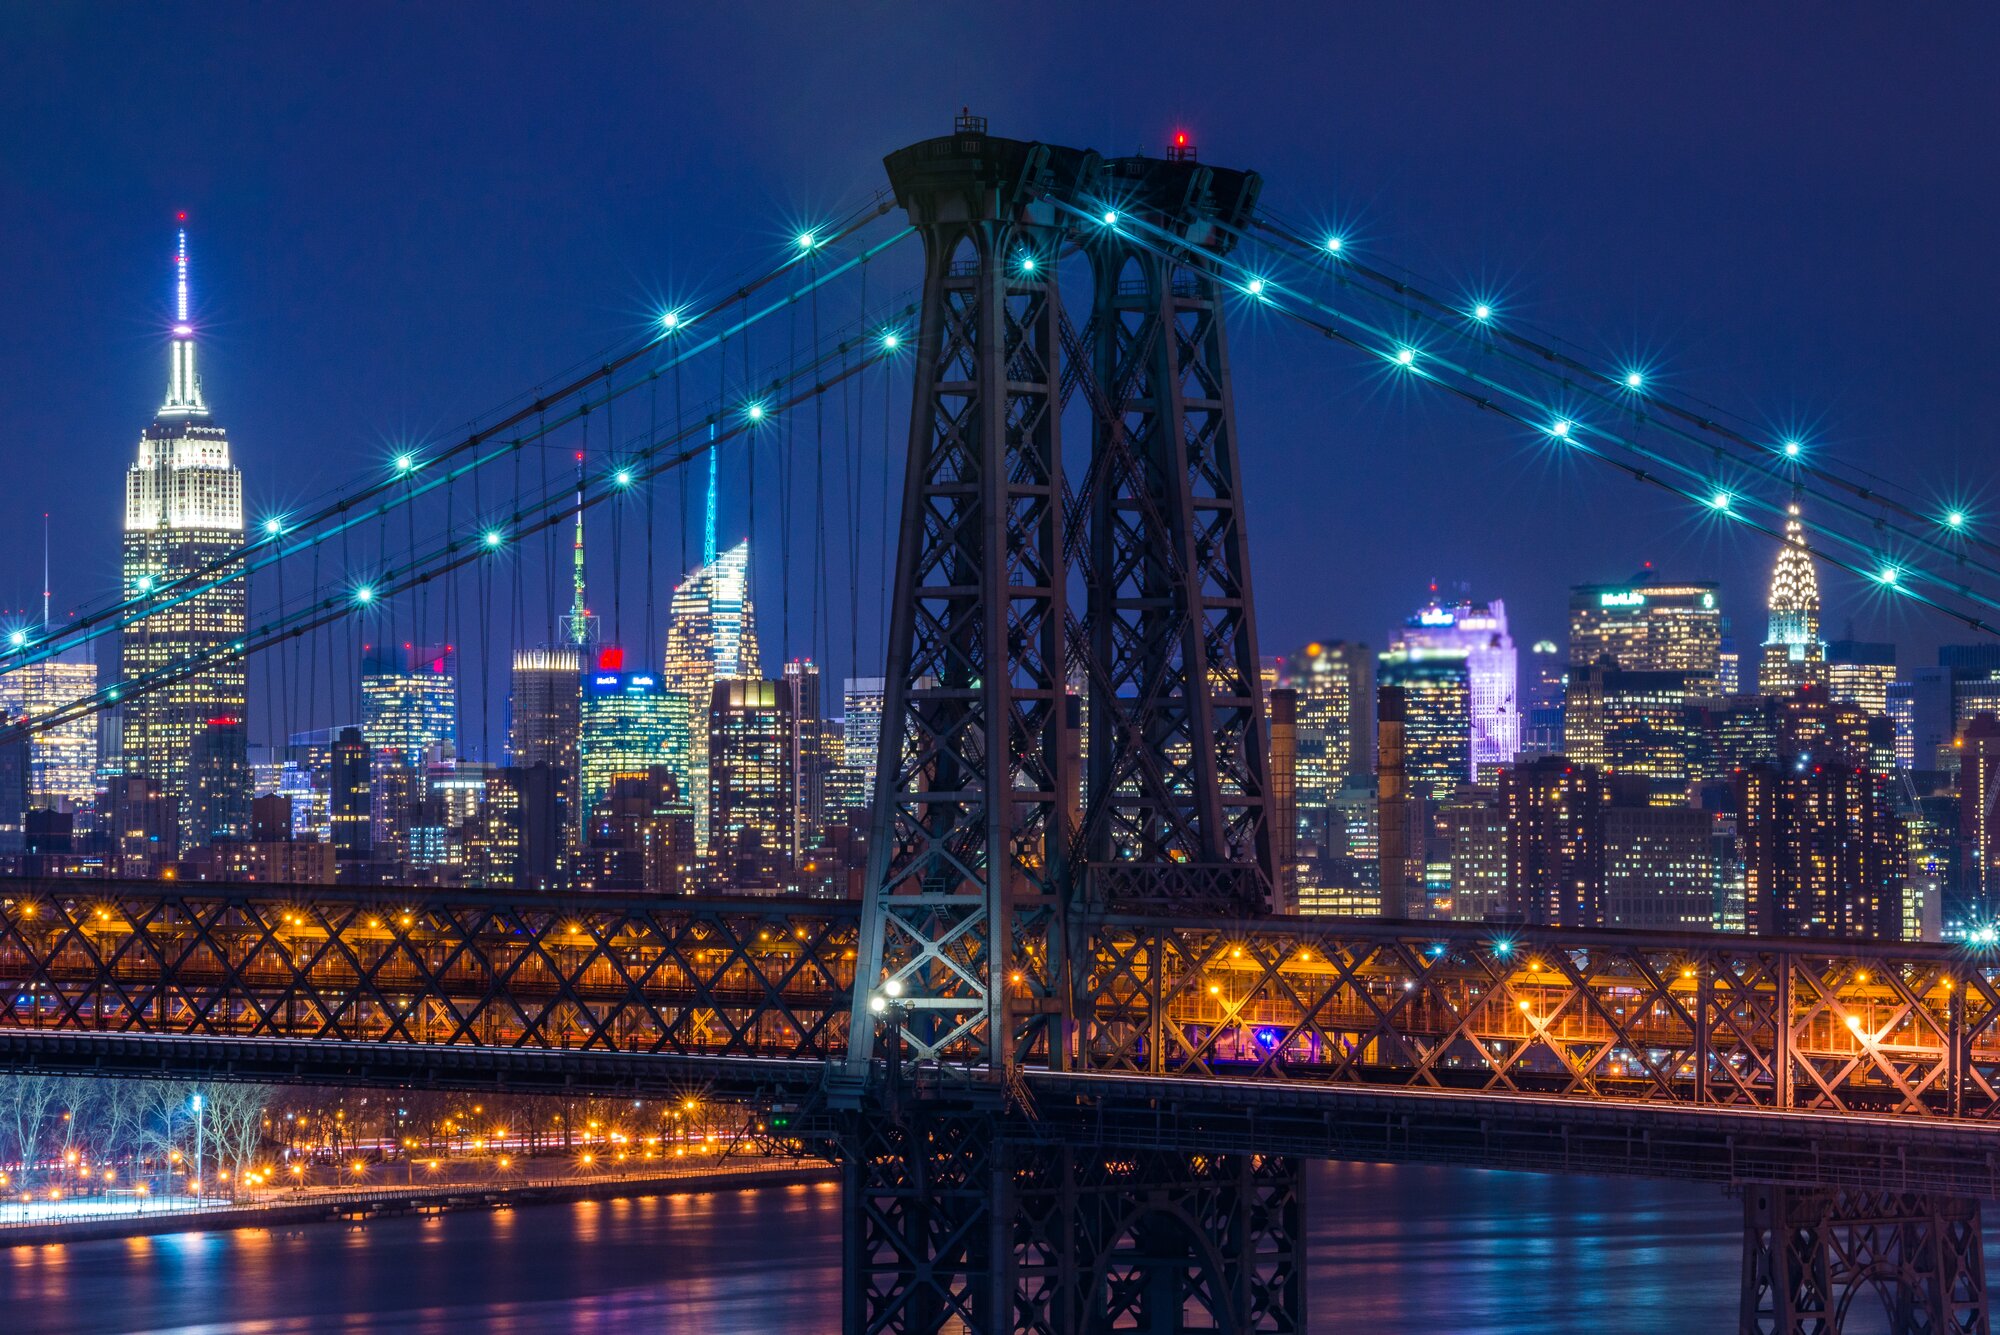
Height helps. A rooftop, a bridge, a hill across the water or a public observation deck all give you a clean view. Look across rivers and harbors, where the water gives you a reflection and clear space around the skyline. Check the rules for access before you go.
Use lines and geometry
Roads, bridges, rails and building edges are strong lines. Keep your camera level, because crooked verticals look sloppy in a city. If buildings lean in, fix it in editing with a transform tool.
Shoot at blue hour
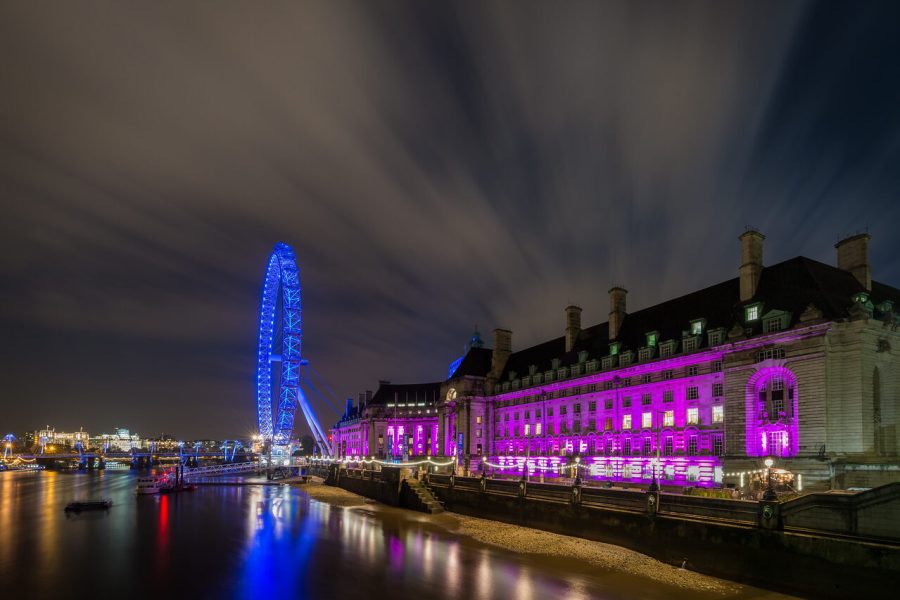
Blue hour is a popular time for cityscapes. The sky can still have deep color while the building lights are on, and the contrast is often easier to handle. The window is short and varies with your latitude, the season and the weather, so check twilight times for your date and place and be set up before it starts. If you want more on shooting after dark, read my night photography guide.
What camera settings should you use?
The settings are similar for both. Shoot in RAW so you have room to fix highlights and shadows. A tripod and a low ISO are common choices when the light is dim. A smaller aperture can add depth of field, and the shutter speed follows from the light you have.
- Mode: aperture priority is a good start. Switch to manual once you are comfortable.
- Aperture: f/8 to f/11 is a common starting range, not a guarantee of front-to-back sharpness. Sharpness depends on the lens, focal length and distance to your nearest subject, so check at 100% zoom. See my aperture guide.
- ISO: the lowest native ISO, usually 100. See my ISO guide.
- Shutter speed: from a fraction of a second to many seconds. Slow speeds smooth water and light trails. Use a 2 second timer or a remote so you do not shake the camera.
- Focus: check the actual near and far sharpness rather than relying on a shortcut. Zoom in with live view on a near object and a far one, and adjust. Hyperfocal and “double the distance” methods exist (see Photography Life’s focusing guide), but test them on your lens.
- White balance: set it by hand or fix it in RAW. Sunsets and city lights both shift color.
What gear do you need?
You do not need much. The right few pieces beat a full bag.
- A camera with manual controls. Any mirrorless or DSLR works, and so do many advanced compacts.
- A wide-angle lens. A 16-35mm or 24mm range suits both styles. It lets you include a foreground or a whole skyline.
- A mid-range zoom or short telephoto. Useful for compressing a skyline or picking details out of a landscape.
- A tripod. It is useful for long exposures and careful framing. A light tripod is fine, but it has to stay steady in wind.
- A polarizer. It cuts glare on water and deepens skies in landscapes.
- ND filters. They allow long exposures in daylight for smooth water and moving clouds.
- A remote or a timer. Avoids shake on long exposures.
- Spare batteries. Cold weather and long exposures drain them fast.
 Save
SaveHow does composition change between the two?
The rules are the same, but you apply them differently. In a landscape, you make order out of natural shapes. In a city, you simplify a crowded scene.
- Rule of thirds: place the horizon or the main tower on a third line.
- Symmetry: works well for reflections in water and for facades in cities.
- Leading lines: shorelines and trails in landscapes, roads and bridges in cities.
- Framing: trees, arches or windows can frame the main subject.
- Negative space: a quiet sky gives a busy skyline room to breathe.
- Scale: a small tree or a tiny building shows how big the scene is.
Break the rules when the scene asks for it. Try one version that follows them and one that does not, then see which you like better.
How does light work in each?
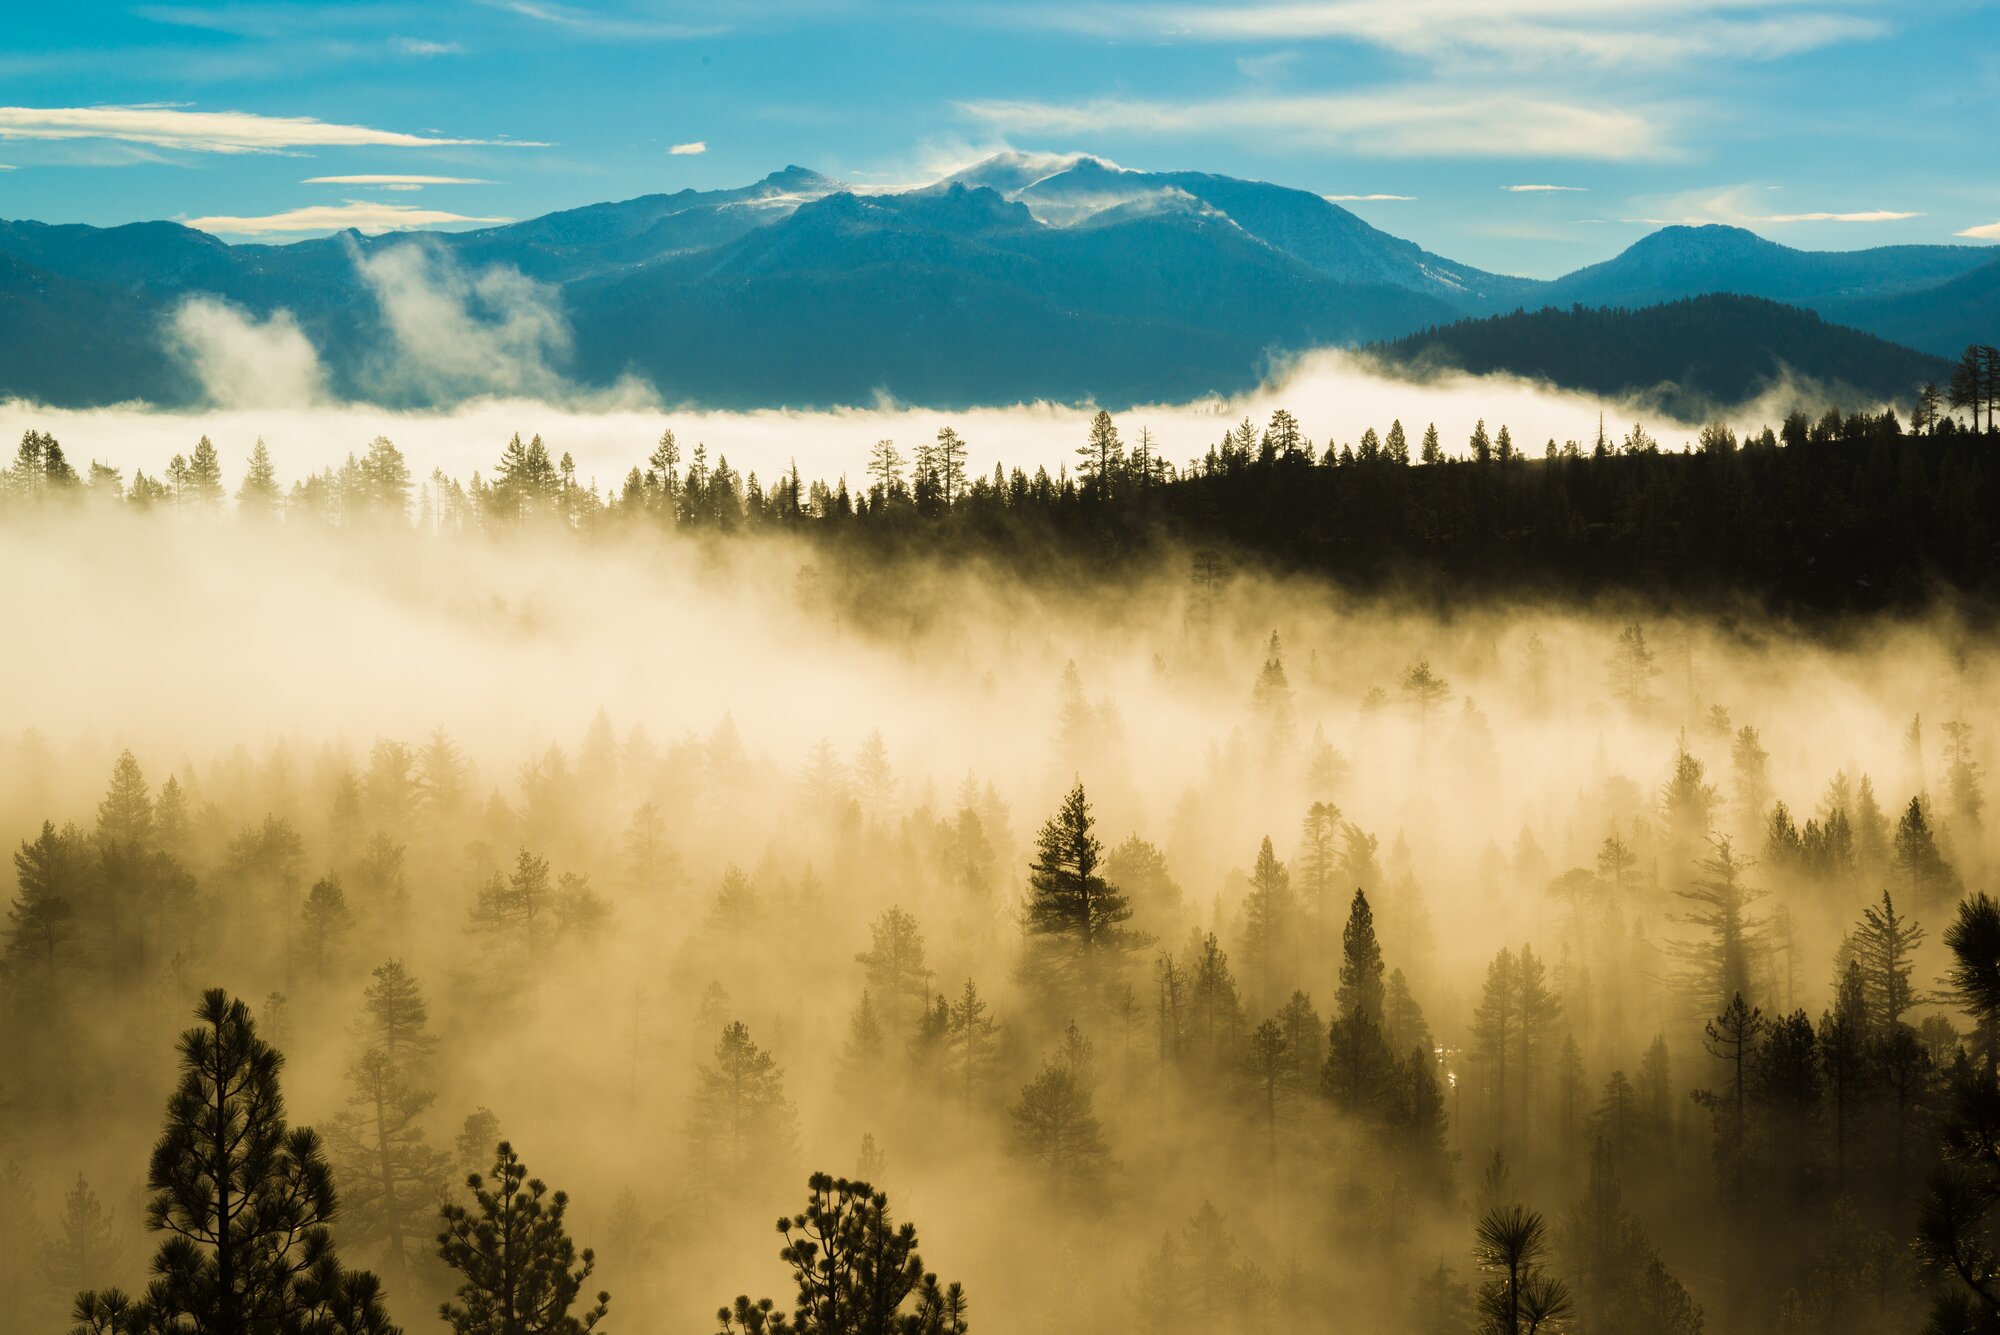
Landscapes depend on natural light. Sunrise and sunset give soft, warm color and long shadows. Storm light, mist and clearing weather can be even better than a clear sky. Midday sun is harsh, so look for water, mist or shade, or shoot black and white.
Cityscapes use natural and artificial light together. Golden hour lights up the faces of buildings. Blue hour balances the sky with the city lights. After dark, you get light trails, glowing windows and reflections. Overcast days can still work for architecture details, since the light is even.
 Save
SaveHow do you plan a shoot?
- Pick a place. Look at maps and photos from other people for ideas, then decide what you want to say with your own.
- Check the light. Look up sunrise and sunset, and use a sun and moon planner for direction.
- Check the weather. Clouds make a landscape interesting, and clear air makes a skyline crisp.
- Check access. Parking, trail length, permits, opening hours and tripod rules all matter. Be especially careful with rooftops and private property.
- Pack the night before. Charge the batteries, check that the files on your cards are backed up before you format them, and clean the lens.
- Arrive early. You want time to find your frame before the light peaks.
- Stay after. The best color often shows up after the sun has set.
How do you edit landscape and cityscape photos?
A simple workflow is enough. Do it in the same order each time so you build a style.
- Straighten and crop. Fix the horizon and the verticals first.
- Set exposure and white balance. Start neutral, then warm or cool it to match the mood.
- Recover highlights and shadows. RAW files hold a lot of detail in both.
- Add contrast and clarity. Go gentle, especially in landscapes.
- Local adjustments. Use gradients and brushes to darken the sky or lift a dim foreground.
- Remove distractions. Dust spots, stray trash and wires are fair to clean up.
- Sharpen and export. Sharpen for the output size, and export for web or print.
If you want a consistent look across your photos, a good set of presets saves time. You can find Lightroom presets in the shop. Treat them as a starting point, not a finish.
 Save
SaveWhat mistakes should you avoid?
- A tilted horizon or leaning buildings. Level the camera and fix the rest in editing.
- No clear subject. Decide what the photo is about before you press the button.
- Shooting at midday with no plan. The light is flat. Go earlier or later.
- Skipping the tripod. Long exposures without support can come out blurry.
- Over-editing. Heavy HDR and crushed colors look fake fast.
- Leaving too early. The best light often comes after you want to pack up.
- Ignoring safety and the rules. Watch your footing, the tide and private property.
Which one should you start with?
Choose the one you can reach most often. If you live near water, hills or a park, start with landscapes. If you live in a city, start with the skyline, the bridge or the street. You will learn faster when you can go back to the same place in different light.
It also helps to ask what you enjoy. If you like quiet mornings, long walks and weather, landscapes will suit you. If you like geometry, nights out and the energy of a place, cityscapes will suit you. Many photographers end up doing both, and the skills carry across. Learning to wait for light on a lake helps you wait for the blue hour over a skyline.
For more on shooting new places, see my travel photography guide and my landscape photography page.
Landscape vs cityscape photography FAQ
Is landscape or cityscape photography easier for beginners?
Neither is easy, but they are hard in different ways. Landscapes tend to be slower and give you more time to adjust. Cityscapes need more planning around light, crowds and access. Start with the one that is closer to your home.
Do I need different gear for landscapes and cityscapes?
Not at first. A camera with manual controls, a wide lens and a tripod will cover both. Later, landscape shooters often add filters, and cityscape shooters often add a longer lens for detail.
What is the best time of day for each?
Landscapes are often at their best at sunrise and sunset, but weather and mist can work well too. Cityscapes are often shot at golden hour and blue hour, the short window after sunset when the sky can still have color and the lights are on.
What aperture should I use?
For both, f/8 to f/11 is a common place to start. It does not guarantee sharpness from front to back, so check at 100% zoom and your focus point. Move wider when you want a softer background or more light.
Do I need a tripod?
Often, yes. Sunrise, blue hour and night frames can need slow shutter speeds, and a tripod keeps the camera still. A light, steady tripod is a common first upgrade, but bright daylight and fast shutter speeds do not need one.
Can I shoot a cityscape without going to a big city?
Yes. A small town skyline, a bridge, a harbor or even a single street at dusk works. What matters is strong lines, good light and a clear subject.
Is it okay to edit landscapes and cityscapes heavily?
Edit to match what you saw and felt, not to invent a scene. Adjust exposure, color and contrast, and be honest if you replace a sky or remove objects.
How do I choose between them for my portfolio?
Treat it as a portfolio choice. Pick the subject you will keep shooting and can build a consistent body of work with. This guide does not claim that either one sells better.
Pick one and go shoot
You do not have to choose forever. Pick one subject this week, check the light and go. Shoot it at golden hour, then again at blue hour or at dawn. Compare the frames, notice what worked and do it again.