Route 66 runs roughly 2,400 miles from Chicago to Santa Monica, and driving it well is a planning problem before it is a photography problem. The road was decommissioned in 1985, so the good stuff takes research: surviving alignments, preserved motels, neon that still lights up and diners that still serve pie. Here is how to plan the trip so you come home with pictures worth the miles.
 Save
Map the route before you book anything
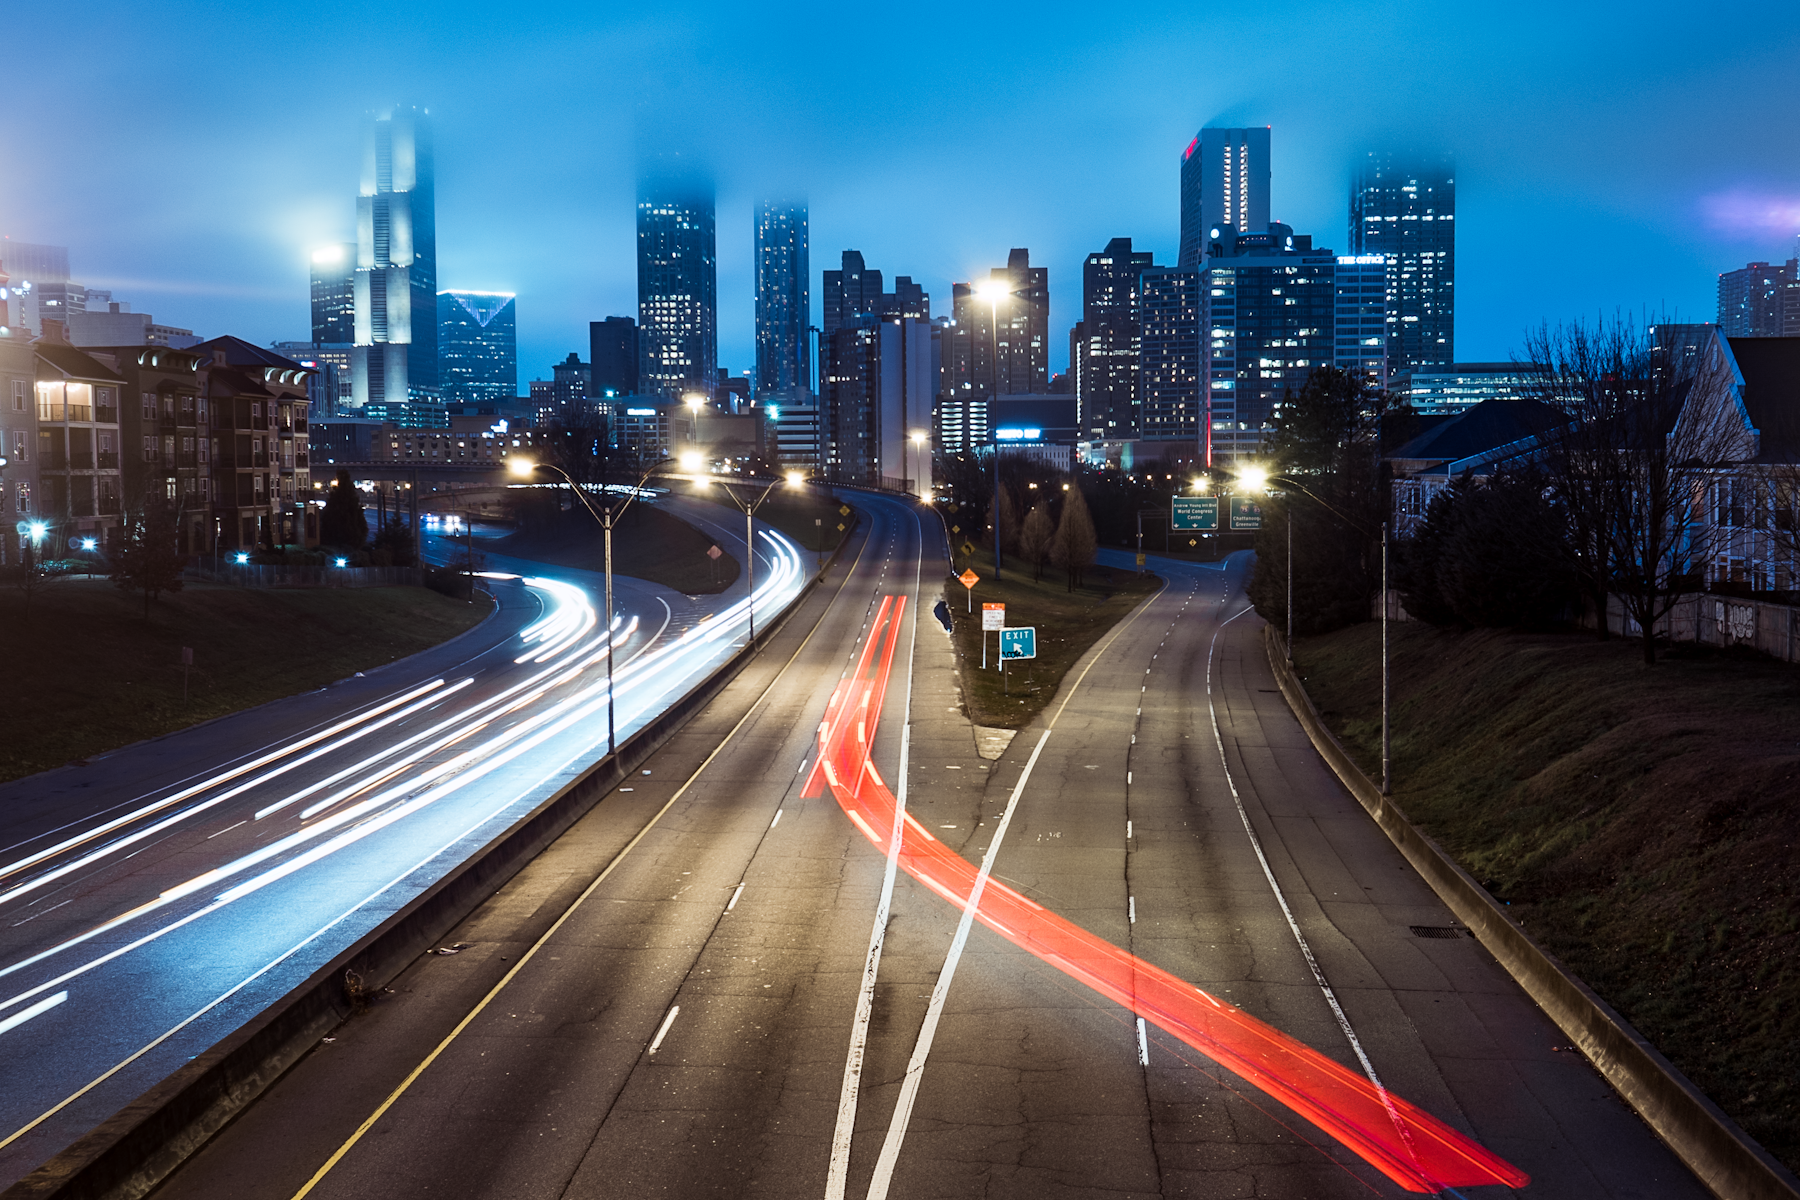
The traditional start is on Adams Street in Chicago near Michigan Avenue, where the begin sign makes the classic first frame. From there the route threads eight states, and no single road follows it anymore, so pick a turn-by-turn guide or a dedicated Route 66 navigation app and download offline maps. Cell coverage is honest in Illinois and spotty in the Arizona desert. Two weeks is the comfortable minimum for the full drive with time to stop; ten days is doable if you accept long days behind the wheel.
 Save
Stops that photograph well
- The Gemini Giant in Wilmington, Illinois: a 30-foot Muffler Man and one of the route’s most famous roadside figures.
- The Chain of Rocks Bridge outside St. Louis, best at golden hour when the Mississippi glows.
- The Blue Whale of Catoosa, Oklahoma: absurd, beloved and impossible to take a bad picture of.
- Cadillac Ranch near Amarillo, where ten buried Cadillacs face west into the sunset light.
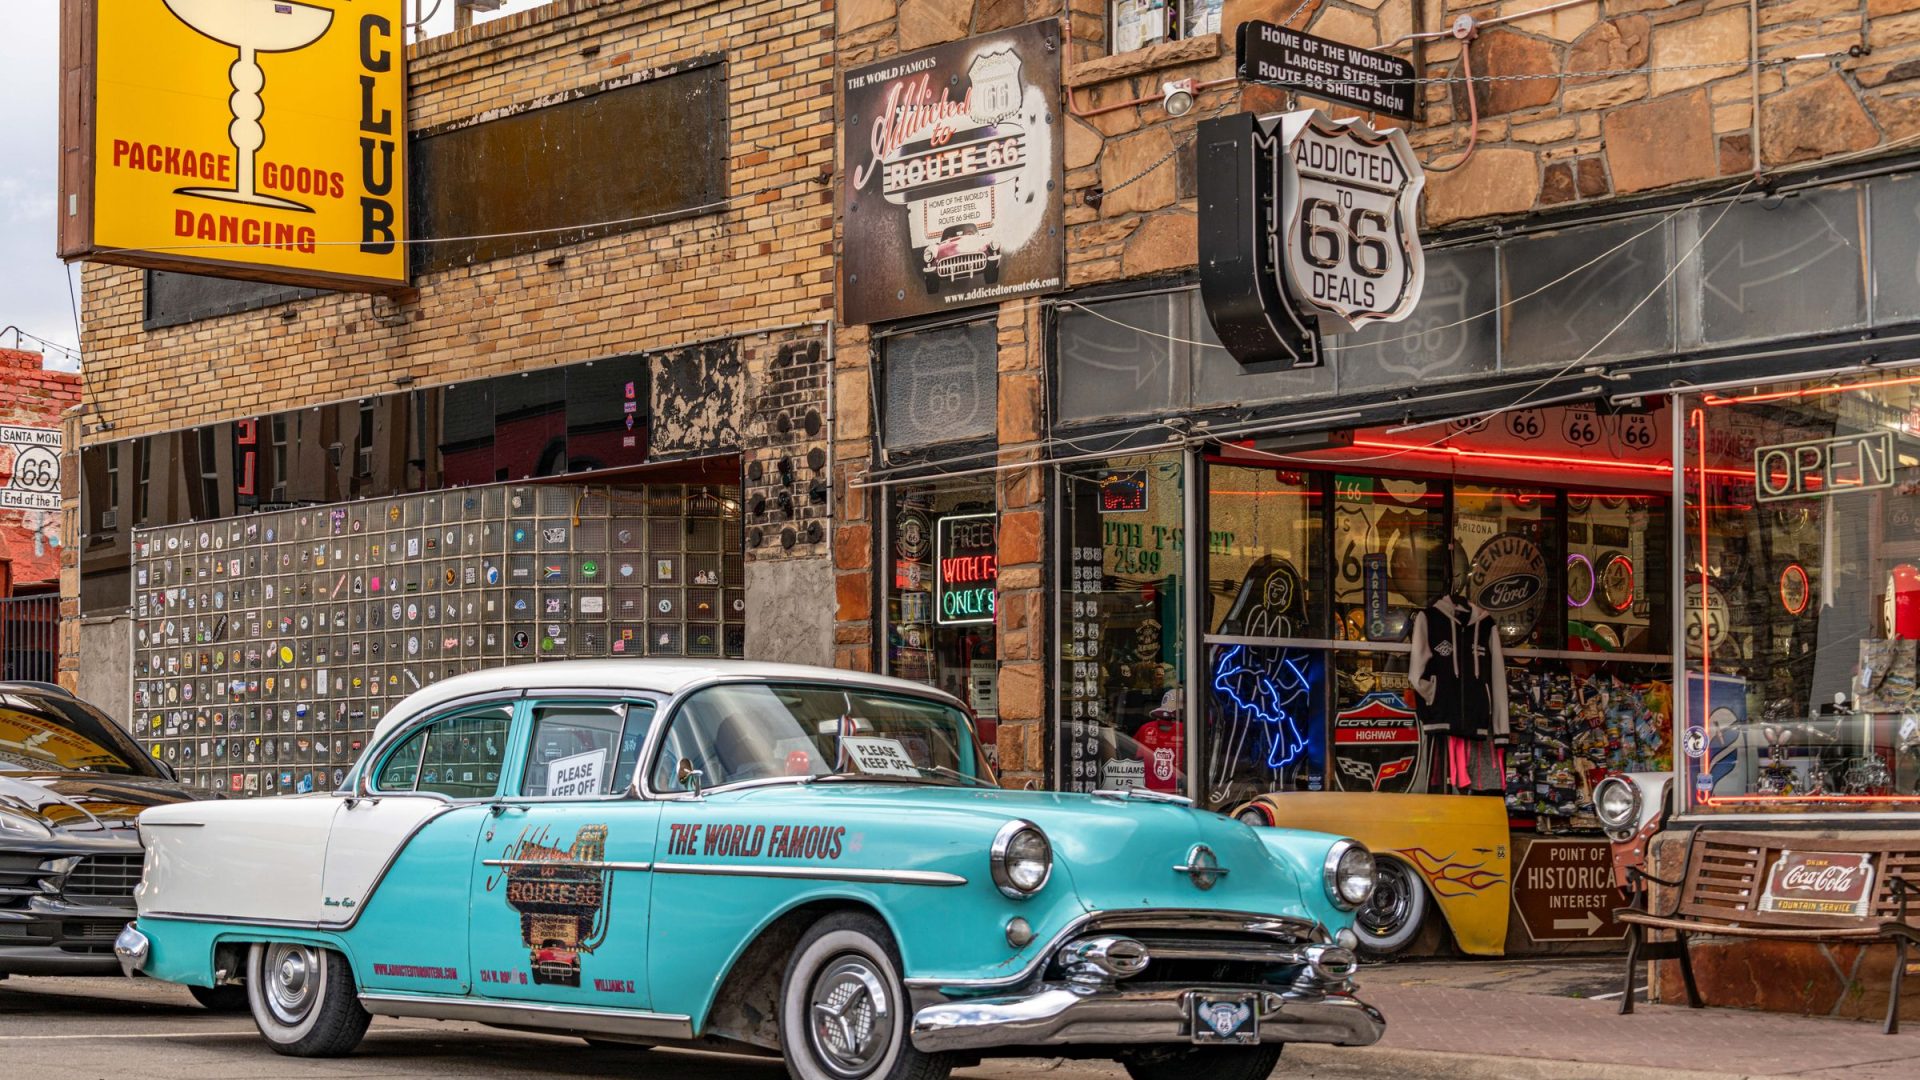
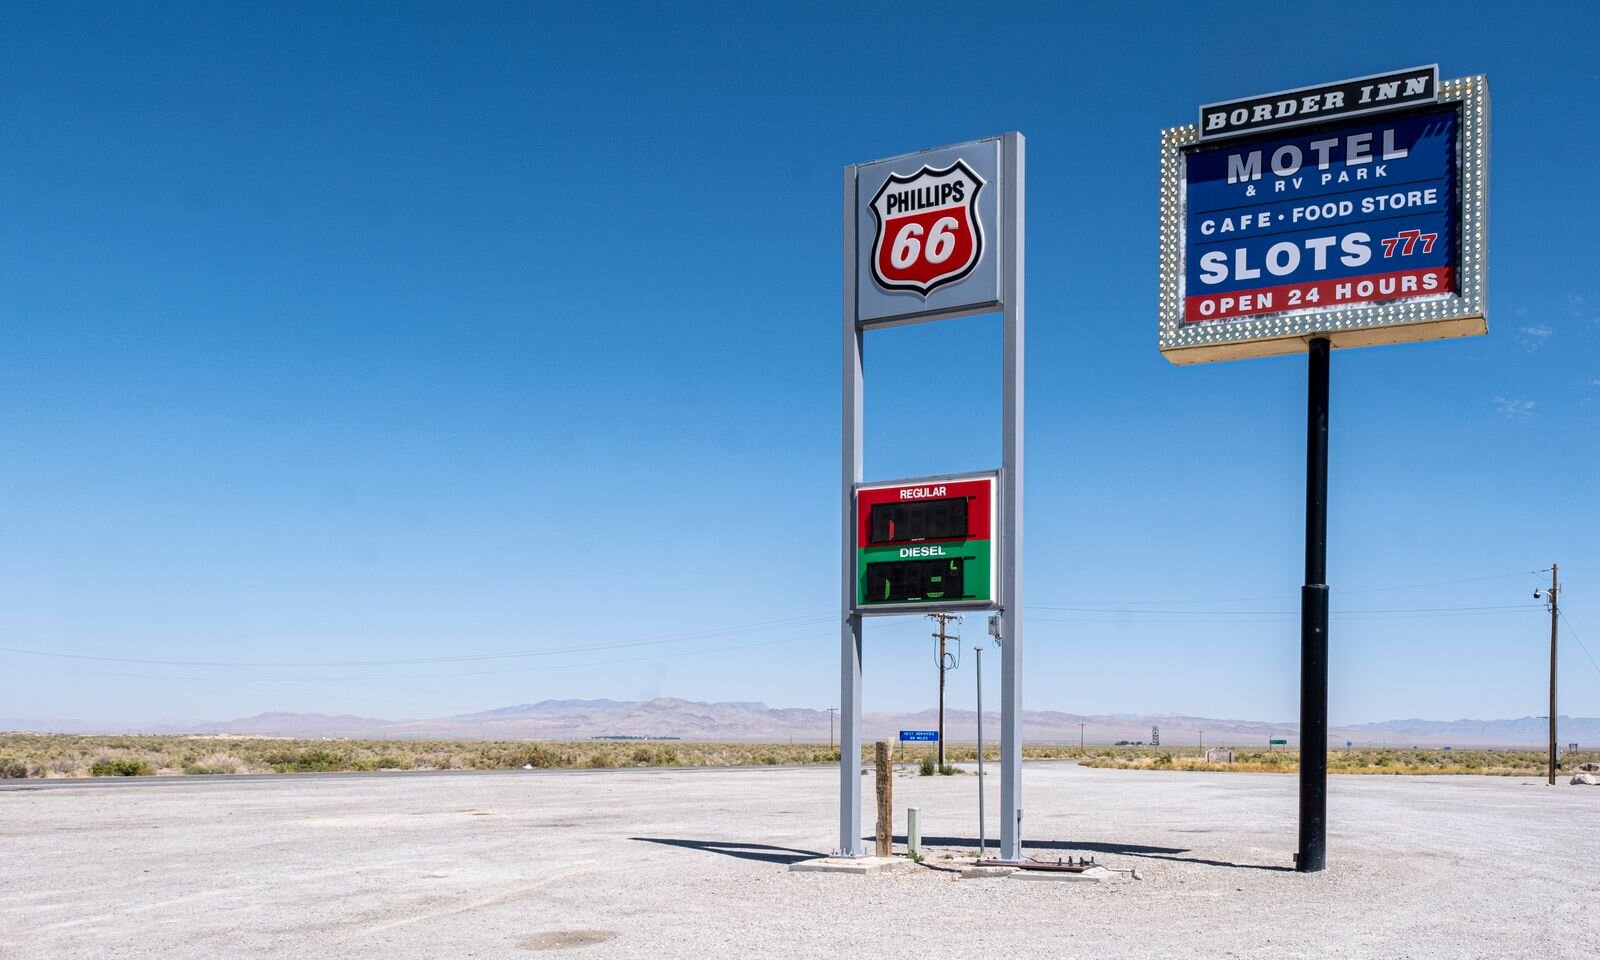
- The ghost towns and neon of the Arizona stretch, including Seligman, the town that kicked off the route’s preservation.
- The Santa Monica Pier sign for the traditional end-of-trail shot.
 Save
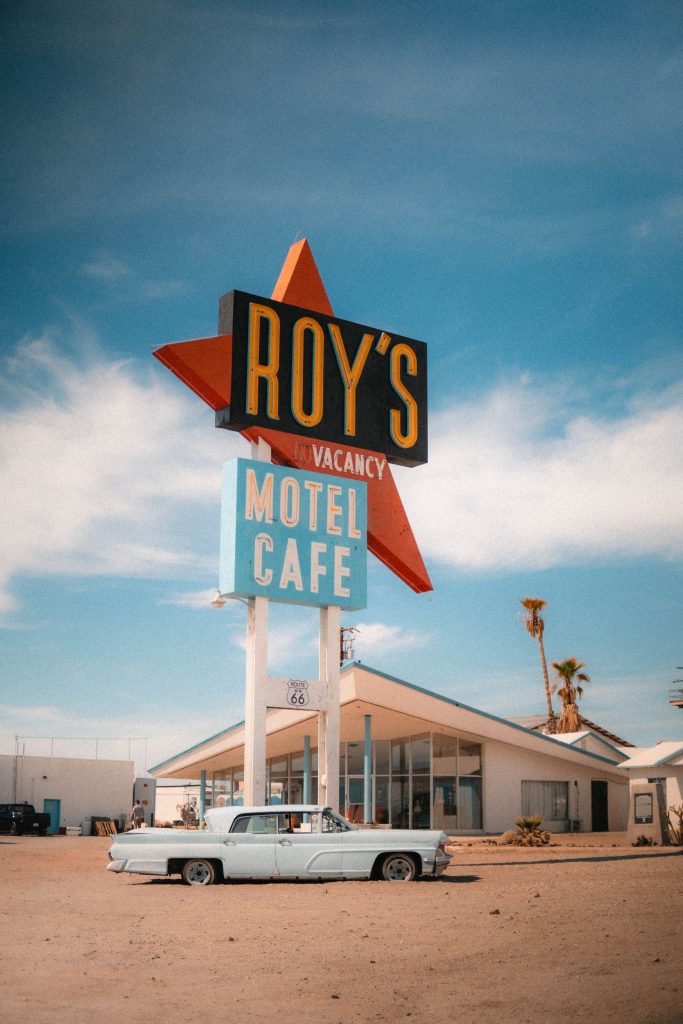
Roy’s Motel and Cafe in Amboy is the portrait shot of the route: the towering sign against open desert works at midday and turns to pure neon Americana after dark.
 Save
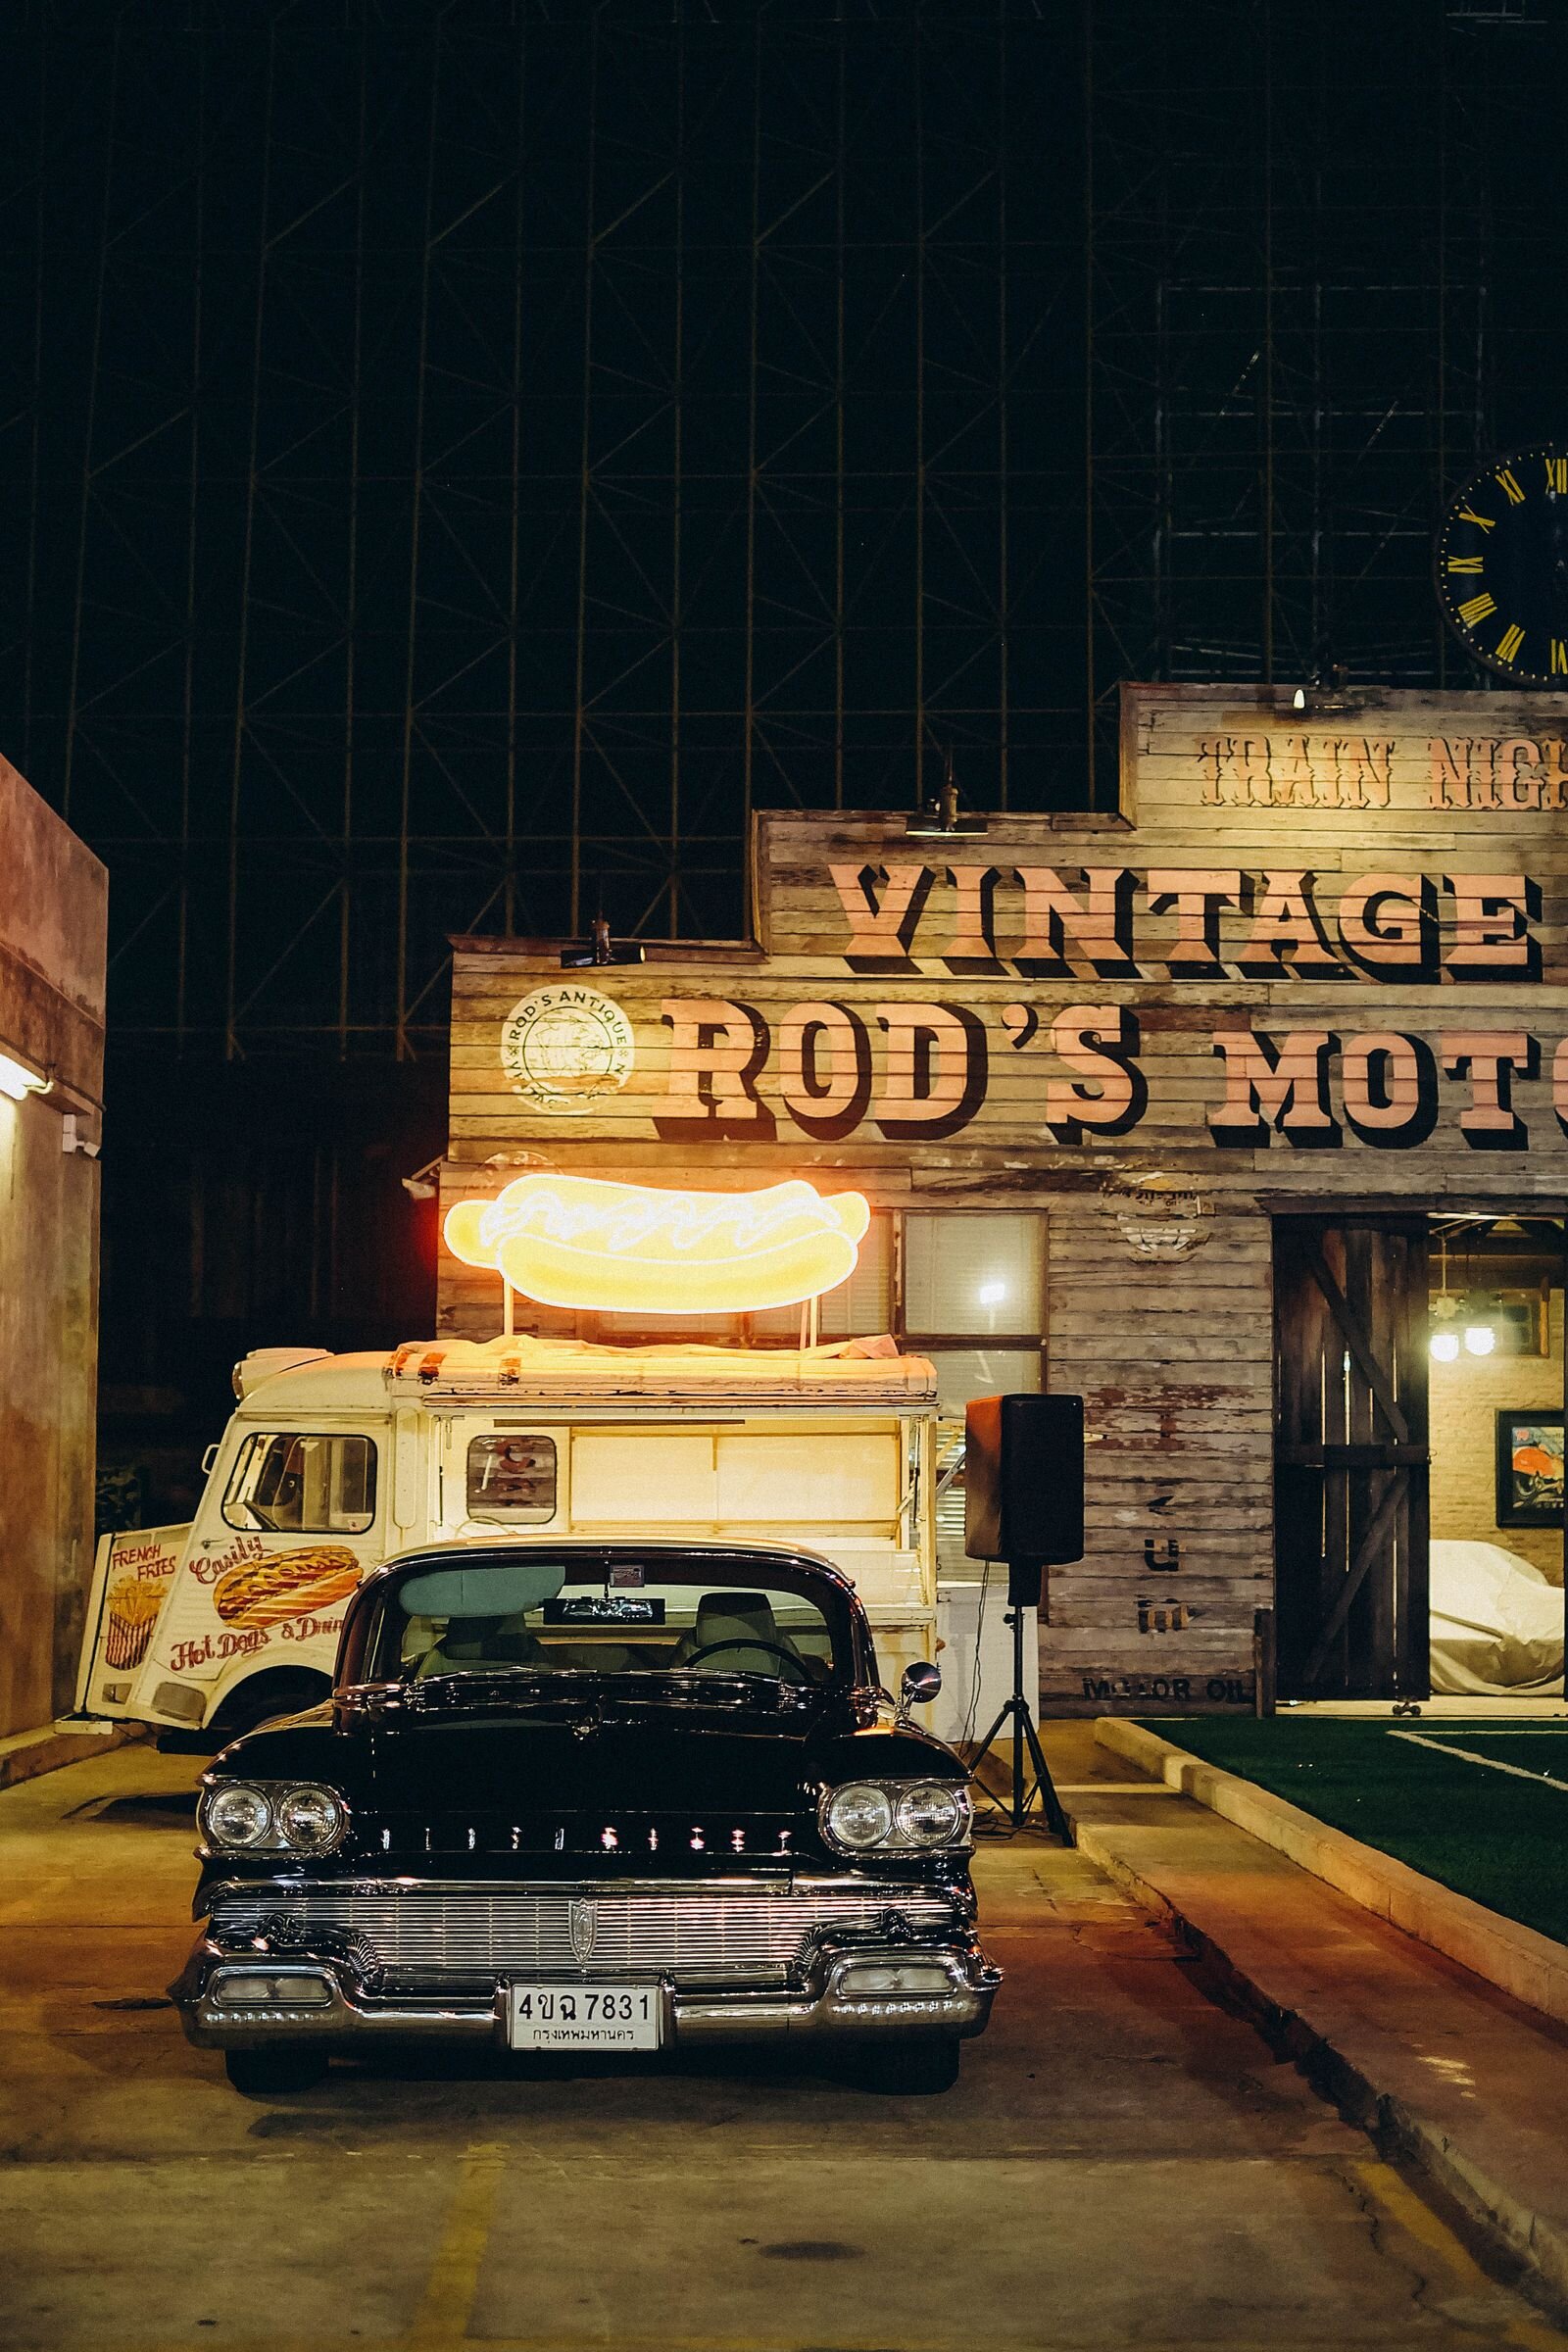
Shoot the neon at night
Half the route’s character only exists after dark. Motel and diner signs were built to glow, so plan at least a few overnight stops in towns with surviving neon and shoot blue hour into full night. A small tripod and a fast lens cover most of it; our night photography guide has the settings groundwork if you are new to shooting after sunset.
Learn faster with a plan. The ShutYourAperture Academy has 22 photography courses, from the fundamentals of aperture, shutter and ISO to genre courses like landscape, portrait and street.
When to go and what to pack
Late spring and early fall give you the best light and the kindest temperatures; summer in the desert sections is punishing and winter can close the high country in New Mexico and Arizona. Pack for variety: a wide zoom for roadside giants and landscapes, a fast prime for neon and interiors, a polarizer for big skies, and more water and snacks than seems reasonable. The desert sections between services are longer than they look on the map. Our travel photography guide covers the kit-and-workflow side of a long shooting trip in more depth.
Editing a road trip’s worth of golden hour and neon? The Landscape, Cityscape and Drone Lightroom Presets are built for exactly this mix of big skies, small towns and city glow.
Gear for a still neon frame on Route 66
Neon signs after dark give you a good reason to support the camera. The Peak Design Aluminum Travel Tripod is one option to compare for a stationary roadside frame. Check your kit weight, plate fit and the height you need. Set up only in a safe, permitted spot away from traffic and footpaths. A tripod will not freeze moving cars or replace a sensible place to stop. Compare the current retailer specifications; no hands-on test, price or stock promise is being made here.
Compare Peak Design Aluminum Travel Tripod on Amazon | Check Peak Design Aluminum Travel Tripod at B&H
Affiliate disclosure: We may earn a commission from qualifying purchases through these gear links at no extra cost to you. As an Amazon Associate, Shut Your Aperture earns from qualifying purchases.