Updated October 2026
A good portrait starts before the shutter. Find a person, a place and light that make sense together. Then make the camera support that choice. A sharp eye and a blurry background help, but they cannot rescue an uncomfortable expression, a distracting hand or light that hides the face.
These twenty portrait photography techniques give you a practical order to work through. Start with communication and a simple frame. Fix the light, focus and exposure. Add variety only after you have a dependable photograph. You do not need twenty pieces of equipment or twenty poses to leave a session with something good.
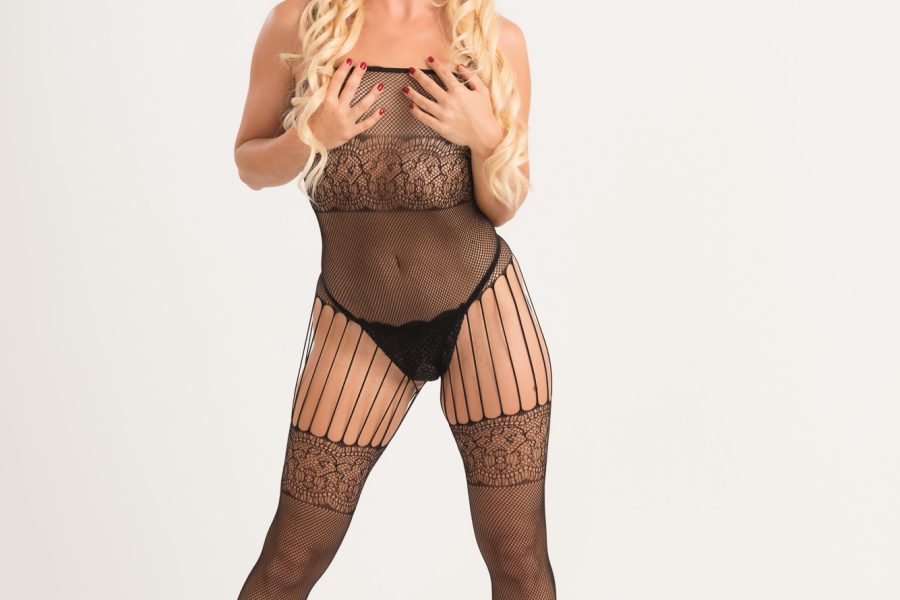
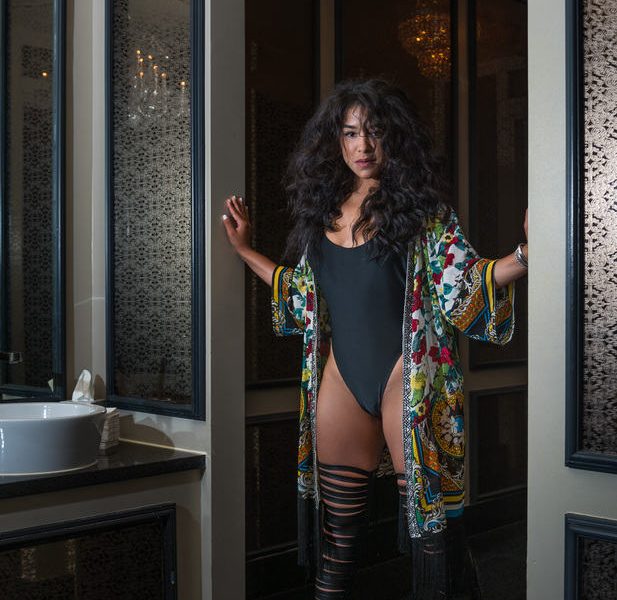
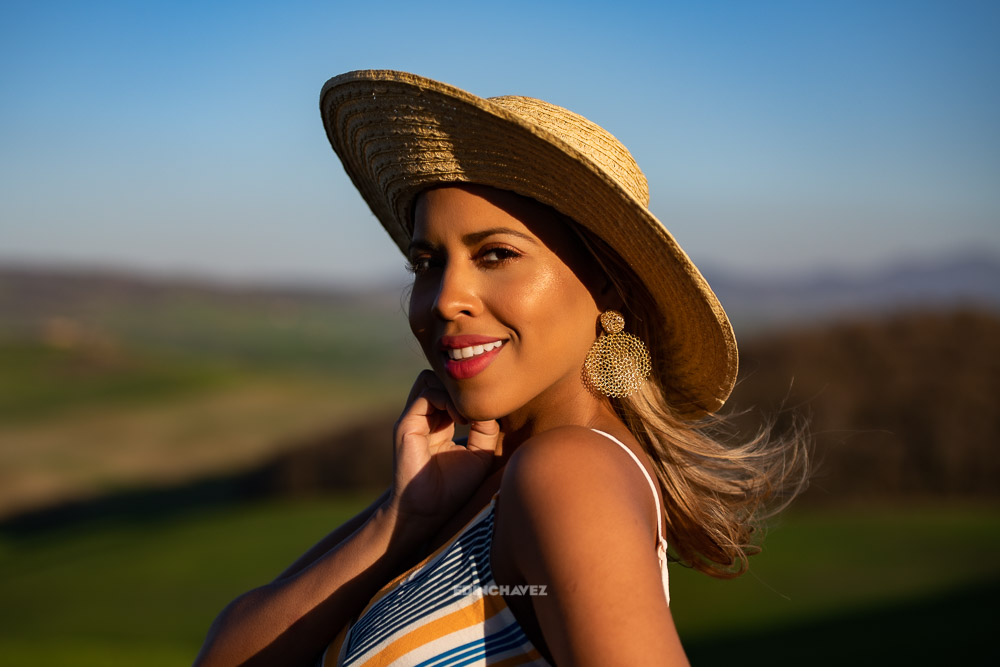
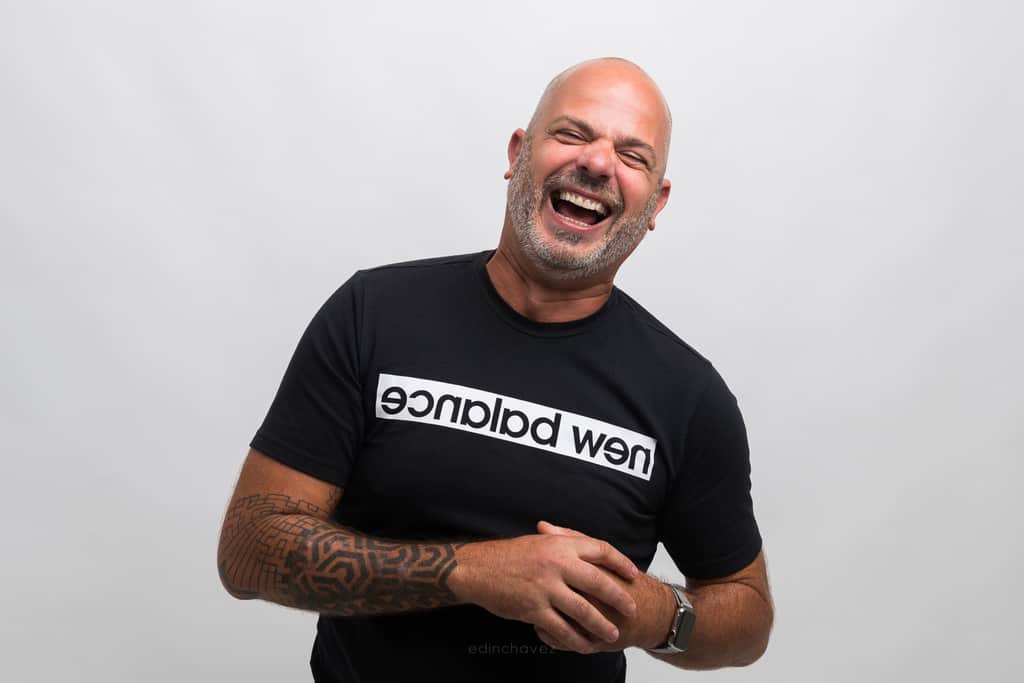
Use the settings below as starting points, not recipes. A seated adult, a moving child and a group need different choices. Check the photograph at useful magnification and change the setting that is actually causing the problem. The photographs here are Edin Chavez’s real work, illustrating expression, pose, setting and composition rather than a controlled comparison of camera settings.
1. Agree on the portrait before you start
Ask what the photograph is for. A professional headshot, an actor’s portfolio and a relaxed family portrait have different requirements. Find out whether the finished image needs a tight crop, room for text, a plain background or a sense of place. That conversation stops you from making a beautiful photograph that does not fit the job.
Explain what you will ask the person to do and where the photographs will be used. Get permission before sharing them. Give the person a way to say a pose is uncomfortable. Do not move their clothing, hair or body without asking. Comfortable direction matters more than a complicated lighting diagram.
2. Choose one clean background
Look past the person before lifting the camera. Bright signs, door frames and branches can compete with the face. Move a step left or right and see whether the frame improves. A few inches of camera movement can remove a line that appears to grow out of someone’s head.
A plain wall makes attention easy to control. An environmental portrait can include a workplace or street, but keep only the details that help explain the person. Blur is not the only solution. Sometimes moving the subject away from clutter is faster and better than buying a faster lens.
3. Choose your distance before your lens
Perspective comes from where you stand. Getting very close for a tight face portrait can exaggerate the nearest features. Step back, then choose a focal length that gives the framing you want from that position. A standard or short telephoto lens is a useful place to start, depending on sensor size and available space.
A wide lens can work for an environmental portrait if the face stays away from the edges and you avoid crowding it. A longer lens needs more working room. Keep enough distance to make the person comfortable, but not so much that ordinary conversation becomes shouting across the room.
4. Pick depth of field for the face, not the lens label
The widest aperture is not automatically the best portrait setting. At close distances, shallow depth of field can leave one eye sharp and the other soft. Start around f/4 or f/5.6 for a single seated person when the light allows, then open or close the aperture after checking the result.
For two people or a group, align faces as much as practical and use enough depth of field to cover them. Focus accuracy and subject distance matter alongside aperture. A sharp face with a slightly clearer background is usually more useful than perfect blur behind an unusable expression. For more control, read our depth of field guide.
5. Protect shutter speed when people move
People move even while trying to sit still. As a starting point with available light, try about 1/250 second for a calm adult, then increase it for gestures, children or walking. Lens length, stabilization and your technique affect camera shake, but stabilization does not freeze the person’s movement.
If the image is blurred, inspect whether the whole frame moved or only the subject did. Raise ISO when that is what lets you keep a useful shutter speed. A little noise is easier to accept than a soft eye. Flash introduces its own duration, ambient exposure and synchronization limits, so do not copy these available-light settings blindly.
6. Put focus on the eye you want the viewer to see
Use eye detection if your camera has it, but watch where it actually lands. It can choose the wrong person or lose the eye behind glasses, hair or a turned face. A single focus point is still useful when you need precise control. With an angled face, the nearer eye is often the natural starting point.
Use a focus mode suited to movement. A still pose and a person walking toward the camera are different jobs. Review a frame at magnification before making a whole sequence. Repeatedly shooting a missed focus point does not make it more likely to become sharp.
7. Start with a large, simple light source
A window, open shade or a softbox can give you an easy first portrait. Watch the apparent size of the source from the person’s position. A large source nearby generally gives softer shadow edges than a small source far away. Diffusion and distance both matter; the word “softbox” alone does not guarantee soft light.
Turn the person slowly and watch the nose and eye sockets. Choose a position where the face has shape without losing the expression in deep shadows. In a room, turn off an unwanted lamp if it puts a different color on one cheek. Fixing mixed light on location is often simpler than correcting it later.
8. Use open shade without losing the eyes
Shade can reduce harsh direct sun, but not every shaded position looks the same. Put the person where they can face a bright opening rather than a dark wall. That opening can give you clearer eyes and a cleaner direction of light. Watch for colored reflections from nearby grass, paint or awnings.
Check the background exposure separately. A person in deep shade against bright sky can exceed the range you want to keep. Change the angle, choose a less bright background or add modest fill. Do not assume the camera will solve the contrast just because the person is comfortable.
9. Try short and broad lighting deliberately
With the face turned slightly, broad lighting illuminates the side more visible to the camera. Short lighting illuminates the side turned farther away. Neither pattern is a universal beauty rule. They change how light and shadow describe the face, and both can work depending on the expression and intended mood.
Keep the camera and subject position steady while moving the light, or turn the face a little while keeping the light fixed. Compare the shadow on the near cheek and the visibility of both eyes. Learn that relationship before adding another light. Name the pattern after observing it, not before.
10. Use fill to control shadows, not erase them
A white reflector can return light to the shadow side of the face. Move it closer or farther and watch the change. Start gently. Too much fill can remove the shape you just created, while a silver reflector can become surprisingly bright in direct sunlight.
A black surface can reduce reflected light when you want more contrast. Secure reflectors and stands outdoors; a large panel catches wind. Never ask a person to hold an uncomfortable stare into strong reflected sun. Choose a safe angle, check for squinting and let them rest.
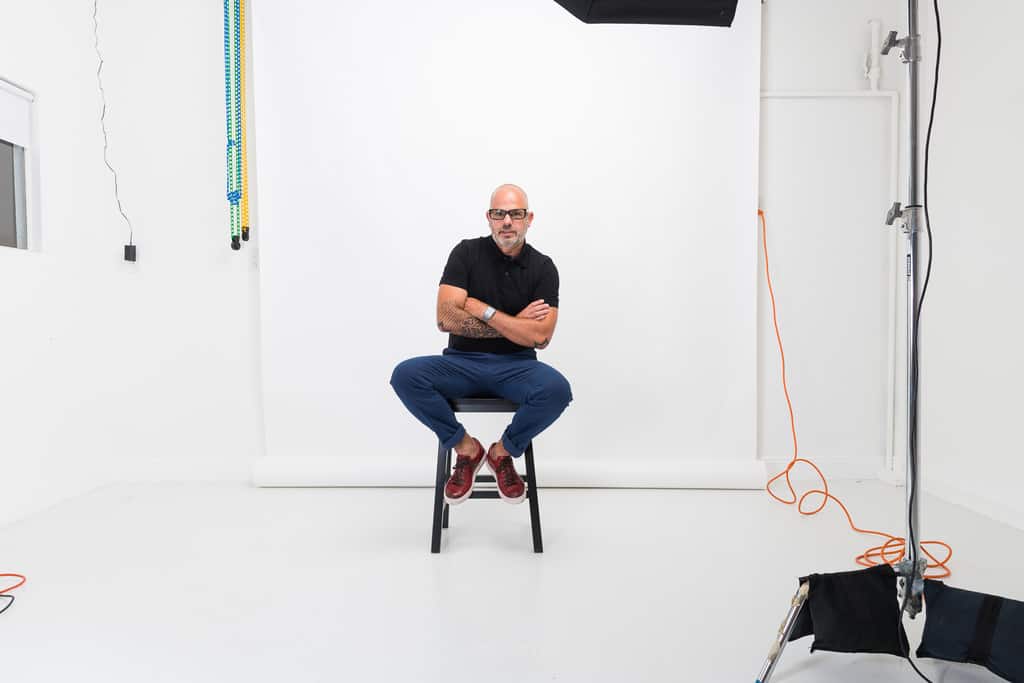
11. Check catchlights without chasing a formula
A reflection of the light source in the eye can make the gaze easier to read. Look for it as you adjust the person or light. If the eyes look dark, inspect the angle before increasing brightness. A small turn toward the source may do more than adding another lamp.
Catchlights do not have to occupy one fixed position in every portrait. Their shape and placement depend on the light. Avoid adding artificial reflections as a substitute for a working setup. The goal is a believable expression with clear eyes, not identical highlights across every face.
12. Give one posing instruction at a time
Start with something simple: turn the shoulders slightly, shift weight onto one leg or sit comfortably near the front of a stool. Then wait. A list of simultaneous commands makes people stiff and leaves you unsure which change helped.
Describe an action rather than judging the person’s appearance. “Turn a little toward the window” is clearer than “look better.” Demonstrate the pose yourself when useful. Watch posture, balance and comfort, and let the person adapt the instruction to their body. There is no need to force everyone into the same shape.
13. Give the hands somewhere to go
Hands draw attention when they are tense, hidden awkwardly or much closer to the camera than the face. Ask the person to rest them on a knee, hold a relevant object or adjust a sleeve naturally. Look at the actual fingers instead of assuming the pose worked.
A slight bend or relaxed angle can help, but do not turn this into a rule about how men or women must pose. Match the gesture to the person and the photograph. If a prop adds nothing except a problem, remove it. Keep an eye on cropped fingertips and arms pressed awkwardly against the body.
14. Make the chin adjustment small
Camera height and face angle can change the shape of the jaw and the visibility of the neck. Ask for a small adjustment, take a frame and review it. Avoid telling someone to push their head far forward or hold a painful position because a posing trick supposedly works on everyone.
Photograph the person’s face from more than one angle. A straight-on look can feel direct; a slight turn can bring shape to the cheeks. Let expression decide whether the angle is useful. A technically neat jawline is not worth an uncomfortable face.
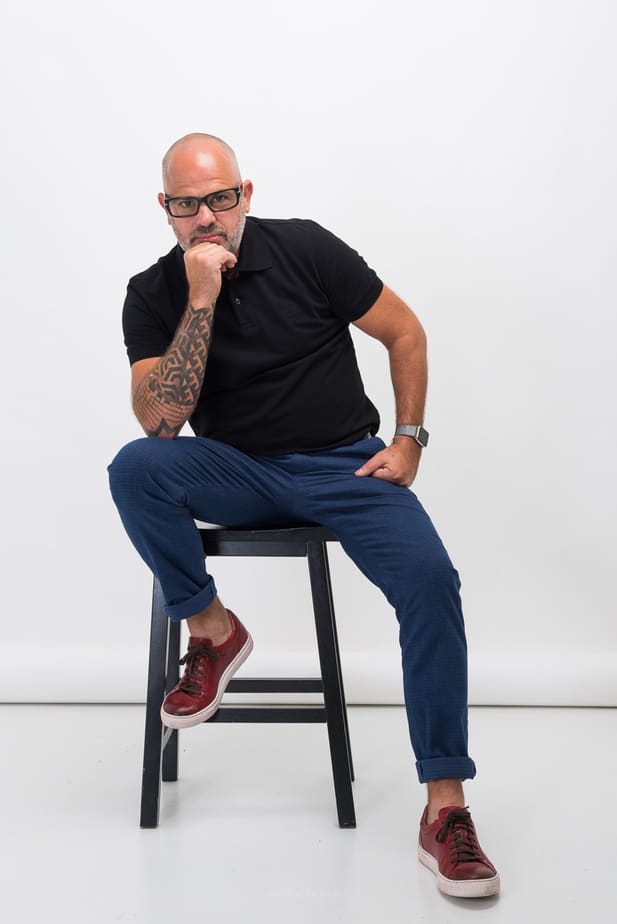
15. Make a tight frame and a frame with space
Once the basic portrait works, make a closer version and an environmental version. Check the edges each time. A crop through a joint or a tiny piece of a hand can feel accidental, while a clean head-and-shoulders crop can look intentional.
Leave room when the image may need a website banner or printed layout. Do not rely on stretching the background later. You can center the face or place it off-center, but use the surrounding space for a reason. Composition should guide attention, not satisfy a grid at any cost.
16. Use a setting as part of the portrait
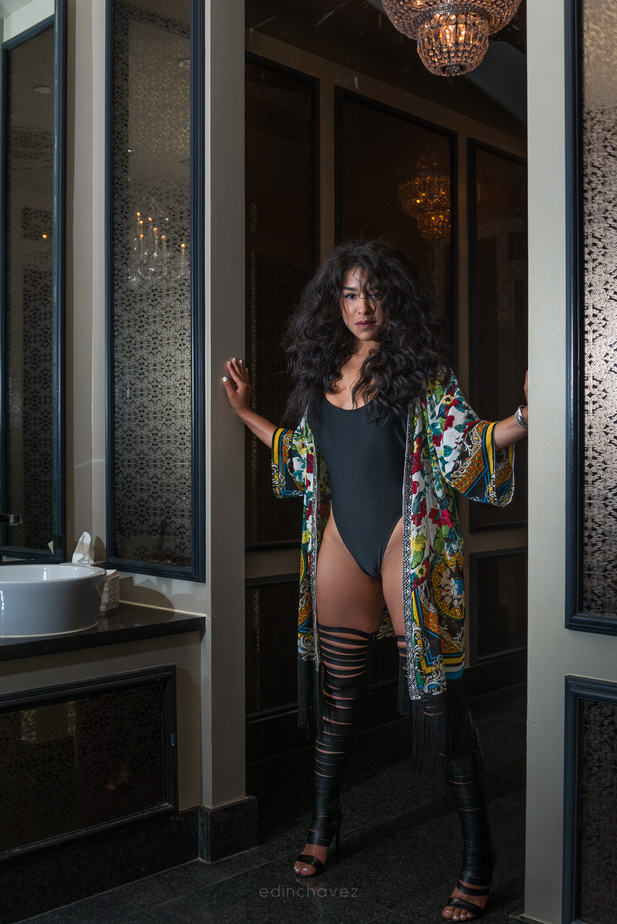
A doorway, desk or familiar room can add context. Let the setting frame the person without burying them in objects. Check bright fixtures, mirrors and reflections. Move the camera until the important lines support the face instead of dividing it.
Choose a location the person can use comfortably and safely. Do not stand them in traffic, on unstable furniture or somewhere private without permission. An ordinary doorway with a thoughtful position can give you more than a dramatic location that makes conversation and movement difficult.
17. Make room for movement and pauses
After the still portrait, ask for a small action: a slow turn, a step, a glance away and back. Keep the action easy to repeat and adjust shutter speed before it starts. A short sequence can catch an expression between deliberate poses.
Then stop for a moment. People relax when they do not feel every second must produce a photograph. Stay attentive, but do not turn a break into a hidden-camera exercise. The session works better when the person knows when you are photographing and feels involved in the process.
18. Keep skin color believable
Use a consistent white balance for a steady lighting setup, or make a neutral reference frame when color accuracy matters. Check whether different lights or reflected colors are affecting opposite sides of the face. A global white balance adjustment cannot always fix two different color sources at once.
Expose with the important highlights in mind and check the histogram or highlight warning, not just the apparent brightness of the screen. Raw files give you editing room, but they do not restore every clipped highlight. Skin varies; there is no single brightness or color setting that fits every person.
19. Edit the distraction, keep the person
Start with exposure, white balance and a useful crop. Remove temporary distractions when appropriate, but discuss the extent of retouching with the person. Heavy smoothing can remove texture and change the character of a face. Zoom out regularly so local edits do not become the whole photograph.
Check the image at its intended output size. Sharpening for a small web portrait is different from sharpening a large print. Keep an original and export a separate delivery copy. Presets can be a starting point, but skin color and contrast still need attention in each photograph.
20. Finish with a short, repeatable review
Before packing up, check focus, expression, hands and frame edges on a few selected photographs. Make sure you have the agreed crop and enough variety for the purpose. If you missed something simple, fix it while the person and light are still there.
For your next practice session, use one person, one background and one light direction. Make a calm portrait, a different expression and a wider frame. Change one variable at a time. That gives you a clear takeaway from the pictures without making the person carry a long equipment experiment.
Frequently asked questions
What camera settings should I start with for a portrait?
For a calm adult in available light, try around 1/250 second and f/4 to f/5.6, adjusting ISO to the light. Check motion and depth of field; these are starting points, not universal settings.
Should I always shoot portraits wide open?
No. Close distances and angled faces can need more depth of field. Stop down when you need both eyes or several people sharp.
Do I need an 85mm lens?
No. Choose a working distance and focal length that fit the framing, camera and space. Standard zooms and other portrait-suitable lenses can work.
What is the difference between short and broad lighting?
Broad lighting illuminates the side of a turned face more visible to the camera. Short lighting illuminates the side farther from the camera. Compare their effect rather than treating either as mandatory.
How do I help someone who feels awkward?
Explain the purpose, give one simple instruction at a time, demonstrate when useful and allow breaks. Ask before adjusting clothing or touching the person.
Can I make portraits without flash?
Yes. Windows, open shade and other available light can work. Watch light direction, background contrast, shutter speed and color rather than assuming all natural light is soft.
Build a small portrait kit
Start with the camera and lens you already know. Add something only when it fixes a real limitation. These retailer searches are not claims of current stock, prices or compatibility.
- A white reflector or diffusion panel for controlling available light. Amazon | B&H
- A portrait lens compatible with your exact camera mount and sensor. Amazon | B&H
- A compatible flash, modifier and secure stand if available light limits your work. Verify trigger and flash compatibility before buying. Amazon | B&H
Affiliate disclosure: Some links are affiliate links. If you buy through them, Shut Your Aperture may earn a commission at no extra cost to you. As an Amazon Associate, we earn from qualifying purchases.
Find practical photography tips at Shut Your Aperture Academy. Start small, keep the person comfortable and learn from a few photographs you can actually compare.
Further reading: Canon portrait techniques, Nikon portrait starting points and Profoto one-light setups.