By Edin Chavez | Updated October 2026
 Save
SaveSome links are affiliate links. If you buy through them, we may earn a commission.
High key is not “overexposed.” It is bright on purpose.
The difference matters. A good high-key boudoir photo feels airy, clean and soft. A bad one looks washed out, with skin that has lost its texture and a face that has melted into the white. Same brightness on the histogram, completely different result.
This guide is about the line between those two. How to design a bright frame, keep the background clean, protect your highlights, hold on to lace and fabric detail, and edit the whites so the person still looks like a person. We stay on light and tone here. For the full overview, see the boudoir photography pillar guide. For a deeper moody take, see dark and moody boudoir.
What high key really is
High-key photography uses a bright overall tonal range with low contrast and minimal deep shadow. In boudoir that usually means a white or very light background, light bedding or walls, soft light and gentle shadows.
It does not mean:
- every part of the skin should be near white,
- you need to overexpose the whole frame,
- the subject has to wear white or very little, or
- the shadows must disappear completely.
You are building a bright palette. The person should still be the most interesting thing in it.
Think of it as three layers. The background is the lightest. The subject sits slightly below the background in brightness, so they separate from it. The accents, such as hair, lingerie and jewelry, add small bits of contrast that keep the image from floating away.
The two failure modes
Bright photos tend to fail in one of two ways.
Blown skin. The brightest areas of the skin clip. The histogram may show data piled up on the right edge, but a bright background can cause that too, so judge the skin directly. In the photo, those areas look flat, glossy or paper-white with no texture. Detail that was never recorded cannot be rebuilt in the edit. Your camera’s highlight warning is based on the JPEG preview, so it is a hint, not a final verdict on what the RAW file holds.
Gray whites. The opposite problem. The background was supposed to be white but it looks dull and gray, so the photo looks dirty, not bright. This usually means the background is underlit compared with the subject.
The way to solve both is to treat the background and the subject as two separate exposures, even if they share one frame.
Step one: light the background separately
If you want a clean white background, it needs its own light or its own bright source. Whether the wall reads white depends on how far the light spreads, how far the wall is from the subject, what the wall is made of and your exposure. Light aimed only at the subject often leaves the wall a gentle gray.
Your options:
- Use a naturally bright wall or window. A white wall or a big window gives you brightness for free. Place the subject away from it so you are not fighting reflections.
- Add a light for the background. A flash or lamp pointed at the wall behind the subject raises its brightness without lighting the person. This is the standard way to make a background go clean white.
- Fix it in the edit. You can lift a background in Lightroom with masking, but the cleaner your capture, the less you will have to push.
Keep an eye on the transition between the background and the skin. If the wall is much brighter than the subject, you can get a glow around the edges. That is spill, or flare, and it softens the outline. Pull the subject slightly forward from the wall and the glow usually calms down.
Step two: expose for the skin, then check the highlights
The bright background tricks the camera meter, which tries to darken everything to middle gray. Left alone, a metered photo often comes out too dark, with gray whites.
So you push exposure up, but carefully. Your target is skin that is bright but still textured. The practical check is simple.
- Take a frame.
- Look at the histogram, then at the highlight warning.
- Zoom in on the brightest part of the skin and the brightest fabric. You should still see small tonal variation.
- If the skin is flashing as clipped, bring the exposure down a little or soften the light.
A small amount of clipping in a pure white background is fine, even expected. Clipped skin is the problem.
Here is a good example of controlled brightness. The light bedding and soft skin tones share the frame, and there is still plenty of visible detail on the face and shoulder.
 Save
SaveStep three: soften the light
Soft light is one common way to build a high-key look. Hard light on a pale scene creates sharp shadows and harsh highlights on skin, so many photographers choose a soft approach for this style. It is a choice, and other styles can work.
You make light softer by making the source larger relative to the subject, moving it closer, or diffusing it. A big window with a sheer curtain is one of the best soft sources there is. A large softbox or bounced light works too. Many multi-surface reflector discs include a diffusion panel that can soften a direct source, though what suits your room depends on the setup.
Do not forget the shadow side. In high key you rarely want deep shadows, so a white reflector or white wall on the shadow side keeps them open. This is the reverse of the negative fill used in moody work, which is covered in the dark and moody guide.
Step four: keep detail in lace, mesh and fabric
Bright photos can swallow delicate detail. White lace on white sheets can merge into one blob. A few things help.
- Create tonal separation. Let the lace sit against skin or a slightly different tone of bedding. Even a small difference helps the eye pick out the pattern.
- Watch the highlights on shiny fabrics. Satin and silk can clip quickly. Expose a hair lower if you see the highlights on the fabric going flat.
- Use side-leaning light. Light that grazes across fabric brings out texture. Light straight from the front flattens it.
- Check on a larger zoom. At 100 percent, check that you can still see stitching and pattern.
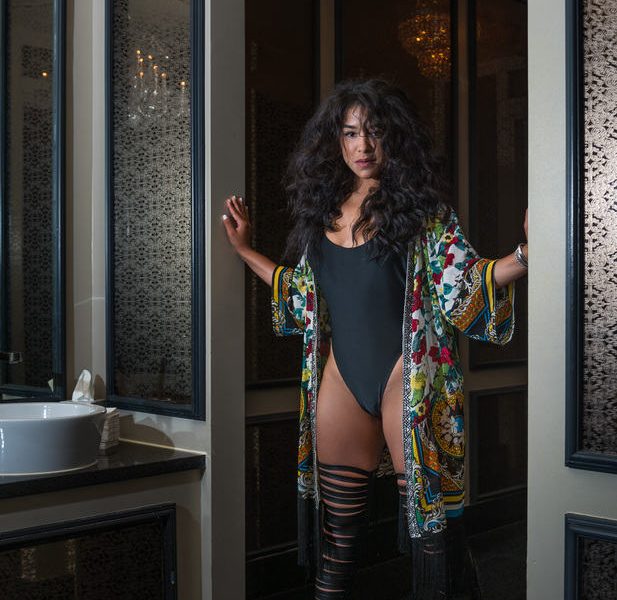
Stockings, mesh and thin straps are the same story. Clean backgrounds make them stand out, since there is nothing competing with their pattern. You can see that in the lead photo at the top of this article, where the bodysuit pattern reads clearly against the bright background.
 Save
SaveStep five: handle the face
In very bright photos the face is where flatness sneaks in. If everything is bright and soft, the eyes, nose and lips can lose their definition.
Quick ways to bring a face back:
- Keep a touch of directional light so the cheek and nose have a hint of shape.
- Make sure there is a catchlight in the eyes.
- Allow some contrast from the hair, makeup or accessories. A darker hair color or lip tone gives the face an anchor.
- In the edit, add a little local contrast or a very light mask to the eyes and lips instead of lifting the entire face.
Be careful with skin smoothing in bright images. Heavy smoothing plus bright light plus soft contrast gives you a plastic look. Agree on a retouching level with the person beforehand, and keep texture. If you need a starting point, our portrait cleanup guide covers the basics.
Step six: edit the whites without flattening the image
Editing a high-key image is a game of restraint. Push too hard and you lose everything we just worked to protect.
A workable order:
- Start with white balance. Whites that look slightly blue or yellow show up instantly. Set it from a known neutral reference that is not clipped, ideally a light gray card, as Adobe advises (tone and color guide). Avoid pure white or shiny surfaces, since a white wall or sheet is not automatically neutral. Then confirm skin looks natural.
- Set exposure for the skin. Not for the background.
- Pull highlights and whites carefully. Reduce highlights to try to recover skin detail (recovery has limits, and RAW cannot save every exposure), and use the whites slider to place the brightest point. Watch the clipping indicators.
- Use masks. This is where you separate the background from the person. Brighten the background with a mask while protecting the subject. Adobe’s documentation on masking in Lightroom Classic covers subject, background and brush masks, and the tone and color guide covers the controls for tone.
- Add back a little contrast. A gentle curve or a bit of clarity can restore shape lost to brightness.
- Check on a phone. Bright images look different on small screens, so check your skin tones at a few brightness levels.
If you want a guided way to build these skills, the Lightroom editing course in our Academy covers color, masking, detail and export. It is a general editing course, not a boudoir course.
What about black and white?
High key works beautifully in monochrome, where tone is everything. If you want to explore it, read our black and white techniques guide.
A detail worth a second look
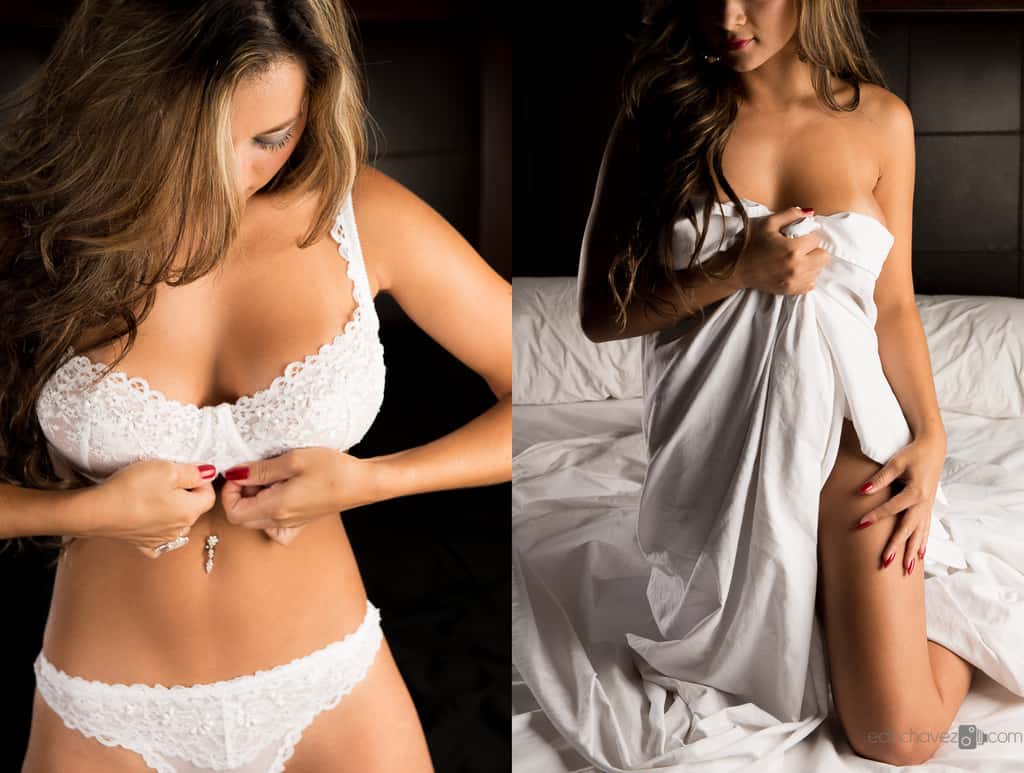
Small, close crops are one of the best ways to show off bright fabrics and textures, such as lace trim against skin. If you plan a series, mix wide frames and tight ones, so the gallery has rhythm. Always agree with the person ahead of time on what kinds of crops and detail frames are okay.
 Save
SaveCommon problems and fixes
Skin looks flat and shiny. Highlights may be clipped. Check the skin directly, lower exposure or soften the light, and try highlight recovery in the edit.
The background looks gray. It is underlit. Add light to the background or lift it with a mask.
Glow around the person. The background is spilling light onto the edges. Move the subject forward or reduce the background light.
The lace disappears. No tonal separation. Change the backdrop tone, or use light that grazes the fabric.
Everything looks flat. You lost directional light. Bring back a little shape on the face and body.
Colors look cold. White balance may be off. Reset it from a neutral, unclipped reference.
Practice exercise: the bright room test
- Pick a bright room with a white wall and a window.
- Place a person or a stand-in object away from the wall.
- Shoot one frame metered normally. Notice the gray.
- Expose and check the subject first, zooming in on the brightest skin. Then raise the background’s brightness with more background light, a different wall or a mask in the edit, without letting the skin lose detail. Never sacrifice skin to whiten the wall.
- Add a reflector or white card on the shadow side and compare.
- Move the subject forward and notice the glow change.
Six steps, and you will know more about high key than hours of reading.
Working with the person in front of the camera
Bright photos feel exposed in more ways than one. Be especially clear and kind during the session. Agree before the shoot on coverage, what will and will not be photographed, retouching and where the photos will be used. A pause or a stop from the person means you pause or stop. Our session preparation checklist walks through the whole workflow.
Gear box: what helps for a bright look
- Reflector with diffusion: A multi-surface disc such as the Impact 5-in-1 reflector at B&H offers diffusion, gold, silver, silver-gold and white surfaces. It does not include a black surface.
- Portable flash (optional): The Godox AD200Pro II at B&H is a compact 200Ws option. The flash-only listing does not include a transmitter, so match one to your camera.
- Backup storage: Samsung T7 Shield 1TB at B&H. Keep at least two copies of every shoot.
- Gallery delivery: SmugMug offers privacy controls, described on their privacy page. No guarantee of confidentiality is implied.
Some links are affiliate links. If you buy through them, we may earn a commission.
Q&A: high-key boudoir photography
What is high-key boudoir photography?
A bright, low-contrast style with a light background and soft shadows. The person is still the focus, and skin should keep its texture.
Does high key mean overexposed?
No. High key is bright by design with detail kept in the highlights. Overexposure loses that detail.
How do I get a white background?
Light the background separately, or use a bright wall or window. Make sure it is brighter than the subject.
Why does my white background look gray?
It is underlit compared with the subject. Add light to it or lift it with a mask in your editor.
How do I avoid blown skin?
Expose for the skin, check the histogram and zoom in on the brightest areas. Back off if details disappear.
What light is best for bright boudoir?
Soft light, like a large window with a sheer curtain or a big diffused source.
How do I keep lace detail in bright photos?
Give the lace tonal separation, use light that grazes the fabric and avoid clipping highlights on shiny parts.
Can I use a reflector for high key?
Yes, white or diffusion surfaces help soften and open shadows. Check what your specific reflector includes.
How should I edit high-key photos?
Set white balance and skin exposure first, then control highlights, use masks for the background and add back gentle contrast.
Is there a single best camera setting?
No. Settings depend on your light and room. Use your histogram and check the highlights.
Final thoughts
Great high-key work looks effortless, and it never is. You separate the background from the subject, protect the highlights on skin, keep the shadows open and soft, and edit with restraint. Do that and the bright feels clean, warm and alive.
Pick a bright room and run the test.
Related reading in this series: window-light boudoir photography, one-light boudoir photography and small-room boudoir photography.
Source note: Histogram and highlight guidance is informed by Nikon’s notes that the camera histogram is JPEG-derived (Nikon histogram support) and on highlight recovery (Nikon histogram guide). Lighting and workflow ideas draw on editorial guidance from Amateur Photographer and Icon Photography School. All photos by Edin Chavez. Photos are illustrative.