By Edin Chavez | Updated October 2026
A big window does not automatically give you a great photograph. You can stand in the most beautiful room on earth and still get bright sheets, muddy skin, and a face lost in the shadows. The fix usually happens before you open Lightroom. Move. Look. Test. Then shoot.
Window-light boudoir photography is about choosing what daylight does inside the room. A few feet can change the direction, contrast, background, and mood. Curtains can tame a hard patch of sun. A white surface can lift a shadow. A dark surface can take some of that bounce away. None of those tools makes the decision for you.
This guide stays with daylight: how to read the window, build a useful working area, and keep the light consistent enough to finish a sequence. You do not need an exposure recipe that pretends every room is the same. You need a way to see why the photograph works.
 Save
SaveSome links are affiliate links. If you buy through them, we may earn a commission.
Start with the person, then choose the window
This is an adults-only workflow. Before shooting, agree on coverage, boundaries, whether any touch is permitted, who may be present, and the person’s preferences for support and retouching. A pause means pause. A stop means stop. Better light never earns you permission to push past a boundary.
Check the window from outside sightlines as well as from your camera position. A curtain that looks lovely on camera may not provide the privacy someone expects. Ask what feels comfortable rather than treating a sheer panel as a privacy guarantee. Have a robe or other agreed cover nearby and a private changing space available.
Separate the lighting test from the participant’s performance. You can map daylight with a chair, a neutral object, or a fully clothed volunteer first. Nobody needs to wait uncovered while you wander around wondering where the shadows went. Find a workable starting area before the session, then refine it with the participant’s agreement.
Read the window as a source, not a decoration
Stand where the subject might be and look toward the glass. How much bright sky can you see? Is direct sun entering? Is a building outside reflecting color into the room? Is part of the window blocked by a wall, blind, or deep recess? The useful light source may be very different from the outline of the window frame.
A large visible bright area can give softer transitions than a small visible patch, but distance matters. A window across the room does not behave like the same window close to the subject. Moving closer changes how large the source appears and can change how quickly the brightness falls across the working area. Judge the result on the face and clothing, not by the room’s real-estate description.
Also look at the room itself. A pale wall opposite the window returns light. A dark wall does much less. Green curtains or a strongly colored bedspread can add a cast. This is why two rooms with similarly sized windows can make very different photographs. Daylight arrives through the window, then the room gets a vote.
Separate diffuse daylight from direct sunlight
Diffuse daylight and direct sunlight are different creative tools. With diffuse light, shadow edges tend to be gentler. With direct sunlight, you may get crisp boundaries, brighter highlights, and graphic shapes across the scene. Neither is automatically the correct choice for every participant or every photograph.
For a softer starting point, look for a part of the room outside the direct beam. If the beam is unavoidable, a suitable sheer curtain or diffusion panel can change the light. Test it instead of assuming that any white fabric will produce the same result. Fabric density, coverage, and the direction of the sun all matter.
For a harder look, decide where the bright patch belongs before asking anyone to enter it. Check whether the sun is uncomfortable, whether someone would need to squint, and whether the planned framing stays within agreed coverage. A dramatic stripe is not worth discomfort. You can choose a different angle or wait for the patch to move.
Make a quick reference frame at the start. If clouds arrive later, you have a visual record of the earlier contrast. That helps you decide whether to adapt the next sequence or wait, rather than chasing a disappearing look with random exposure changes.
Find the angle before changing the exposure
Start with the participant in a comfortable agreed position and move yourself around the safe working area. Compare the side receiving more daylight with the side receiving less. Watch the cheek, the eye area, the fabric, and the background together. A small change in your camera position can alter the balance without changing the light at all.
Next, with permission, change the participant’s orientation slightly toward or away from the window. Give a clear explanation: you are comparing the direction of the light, not correcting their body. Keep the movement comfortable. If the position does not work for them, move the camera or choose a different setup.
Do not treat a particular angle as a law. An approximate diagonal to the window is a useful test, not a universal answer. The window may be beside a deep recess, the wall may return a lot of light, or the frame may call for a nearly frontal look. Read the result. The point is control, not obedience to a diagram.
 Save
SaveUse distance to build a working zone
Compare three safe positions: closer to the window, a little farther into the room, and farther again if space allows. Keep the framing and orientation as similar as practical. Make an exposure adjustment when needed so you are comparing the light’s character rather than simply comparing bright and dark files.
Look for a zone that gives useful shadow detail, manageable highlights, and enough room for the participant to move comfortably. A beautiful test that only works within a tiny patch may be a poor choice for a longer sequence. You want an area where normal breathing and small movements do not wreck the photograph.
Notice what happens to the background as the subject moves. If the background is deeper in the room, it may become comparatively dark. If it is another bright window or a reflective wall, it may stay prominent. Subject distance and background choice work together. Moving closer to the glass is not an automatic solution to every problem.
Mark your chosen area discreetly on the floor if appropriate for the space. Keep any marker out of the walking route and explain what it means. It is a reminder of the tested light zone, not a demand that someone hold an uncomfortable position exactly.
Curtains change more than brightness
A sheer curtain can soften a direct beam, but it can also reduce the available light. A heavier curtain can block part of the source, change its apparent size, and deepen the room’s shadows. Opening one panel while leaving another closed can create a narrower direction of light. Test each change separately.
Avoid judging curtains only by how they look in the finished composition. A bright panel behind the participant can pull attention away from the face. A panel near the edge of the frame can become an accidental white stripe. Step back and inspect the whole image before committing to a long sequence.
Keep curtain adjustments safe and ordinary. Do not climb on a chair to improvise a rig, balance a panel on unstable furniture, or hang material where it can obstruct a door. If the available curtain cannot give the desired look safely, use a different area of the room.
Add fill only when the photograph needs it
A white reflector or neutral white board can return daylight to the shadow side. Start farther away, then bring it closer in small steps. Compare the eyes, the shadow edge, and the fabric. Stop when you have the amount of detail you want. Filling every shadow can erase the depth you chose the window for in the first place.
Silver is not just a brighter version of white in every situation. It can produce a more directional return and stronger highlights. Test for distracting bright patches before using it close to the participant. Make sure a reflector is supported securely and does not lean into someone or intrude on their movement.
Sometimes the correct choice is no reflector. If pale walls are already filling the room, adding more bounce may make the photograph feel flat. Try removing the extra surface first. You do not need another accessory just because there is an empty corner in your kit bag.
Use negative fill when the room washes everything out
Negative fill means reducing some of the light returning from the room. A suitably supported dark surface on the shadow side can make the light-and-shadow separation more visible. It does not create light, and it is not a substitute for choosing a good window angle.
Compare a frame without the dark surface and one with it in a safe position. Keep the window and subject position fixed. If the shadow becomes too deep for the intended mood, move the dark surface away or remove it. Do not solve one washed-out wall by turning the entire image into unreadable black.
The reflector listed in the gear box is not a black flag. Its named surfaces are diffusion, gold, silver, silver-gold, and white. If you need negative fill, choose a separate suitable dark surface and confirm its support. Similar product names are not evidence that a kit contains the tool you need.
 Save
SaveDecide what the background is allowed to do
A bright window behind the participant creates a different problem from a darker wall behind them. Decide whether the background should hold detail, become a simple bright area, or fall into shadow. There may be more contrast than one exposure can preserve exactly as you imagine. Choose deliberately rather than discovering it while editing.
Watch for distracting edges: a lamp intersecting the head, a curtain seam cutting through the frame, or a bright reflection behind a hand. Move the camera first when that is the simplest safe fix. A tighter frame may solve the background without moving the participant into worse light.
If the window itself dominates, try an angle that places a wall or curtain behind the subject while daylight still arrives from the side. If the room becomes too dark, test a modest fill surface. Change one relationship at a time so you know which adjustment helped.
Check highlights where the photograph matters
Use a test frame to inspect bright skin areas, pale fabric, and white bedding. The brightest thing in the room is not necessarily the thing you care most about, but losing important skin detail can limit what you can recover later. Use your camera’s histogram and highlight warnings as aids, then inspect the actual image.
Do not mistake every warning on a specular reflection for a ruined photograph. Equally, do not assume an overall histogram proves every important area is safe. Check the face and the fabric separately. Display brightness can fool you, especially near a bright window.
There is no single exposure setting for this. Choose enough depth of field for the intended frame and enough shutter speed for the actual movement, then balance the remaining controls against the available light. Test again after a meaningful lighting change. This article’s job is to help you build the light, not hand you numbers that ignore your room.
Remove mixed-color distractions before editing
A bedside lamp can make one part of the skin warm while daylight makes another part cooler. Turning a lamp off may be the cleanest fix if it is not needed and the participant agrees. Also check overhead fixtures and colored decorative lights.
If a practical lamp is part of the intended scene, inspect how much it affects the subject rather than assuming it is only background decoration. A neutral reference photographed in the working area can help you judge color later, but it cannot make two different light colors become one source.
Start post-processing with sensible color and exposure decisions. Save detailed cleanup for later. Our portrait cleanup guide covers that separate editing step. Do not use retouching to force a lighting mismatch into submission or change features the participant wanted preserved.
 Save
SaveA daylight exercise that actually teaches you something
Before a session, use a neutral object in the intended subject area. Make one frame with open curtains, one with diffusion, one with a white fill surface, and one with the fill removed. Keep notes about where the source and object were. If you test negative fill, add it as a separate fifth frame rather than changing several things at once.
Compare shadow edges, background brightness, and bright fabric detail. Then repeat the most promising arrangement from a different camera position. You are building a small visual map of the room. That map is more useful than twenty almost identical photographs with no record of what changed.
During the real session, choose a comfortable version of the tested area and check in before adjustments. If daylight changes sharply, pause for a new reference frame. Finish a coherent short sequence in the new light instead of insisting that every image must imitate the earlier cloud cover.
Quick troubleshooting
If the face looks flat, check whether you are shooting almost along the window’s direction or receiving heavy wall bounce. Try a different safe camera angle before adding contrast in software.
If one area is much brighter than the rest, look for direct sun or a strong reflection. Diffuse, move out of the patch, or choose to use it intentionally. If shadows are too deep, test white fill before raising the entire file.
If the background keeps winning, simplify the angle or reduce the visible bright area. If a sequence changes color, inspect practical lamps and changing daylight before blaming the preset. If the participant is uncomfortable, stop the sequence. The technical fix can wait.
 Save
SaveQ&A: window-light boudoir photography
Do I need a large window?
No. A smaller window can work, but its apparent size, direction, and surrounding room will affect the light. Test the shadow transitions and your usable working area rather than choosing by window dimensions alone.
Should I always use a sheer curtain?
No. Diffusion is useful when you want to change a direct beam or soften the result. Direct sunlight can also be an intentional graphic choice. Test both when comfortable and safe, and choose the look that fits the agreed session.
Why do white sheets look bright while the face looks dark?
The sheets and face may receive different amounts or directions of light. Change the relationship to the window or the camera angle, then check exposure. A global editing slider will not necessarily solve that difference cleanly.
Can I use a reflector and still call it window light?
Yes. A passive reflector returns the existing daylight rather than adding an independent powered source. Use only as much fill as the photograph needs, and support it without blocking the participant’s space.
Does a beautiful example photo prove a window-light recipe?
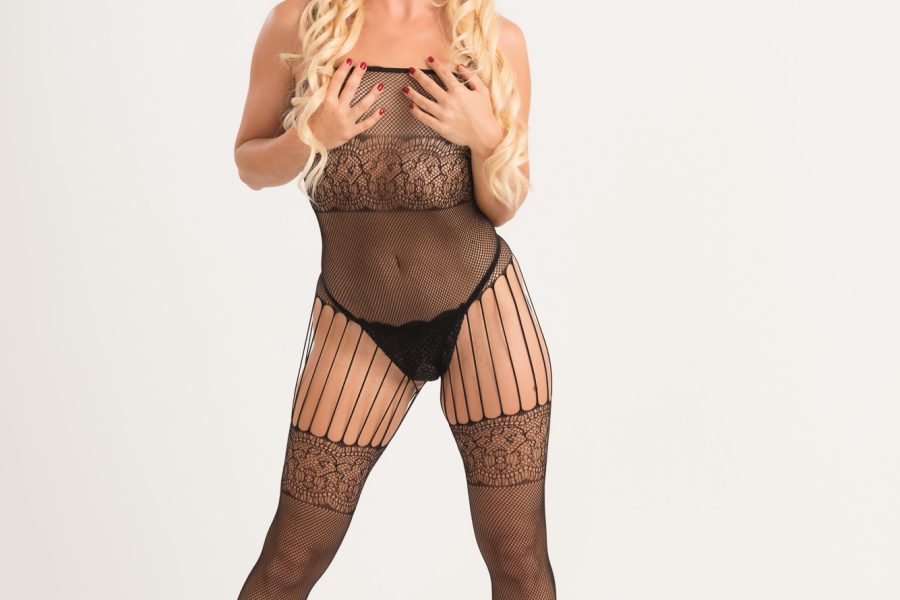
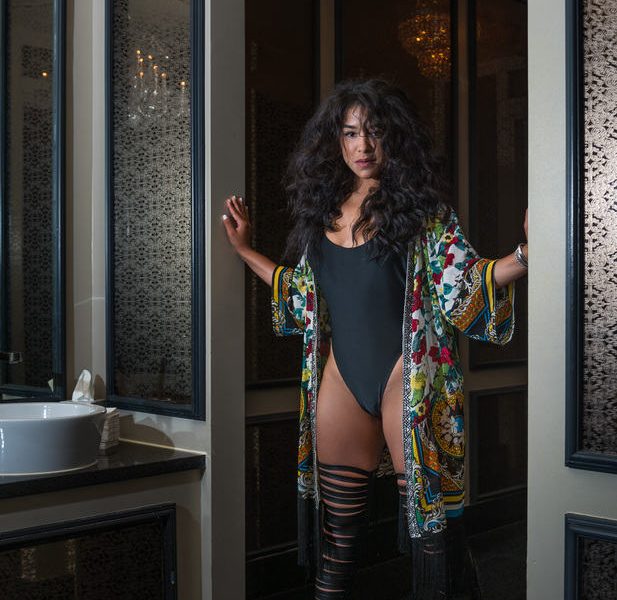
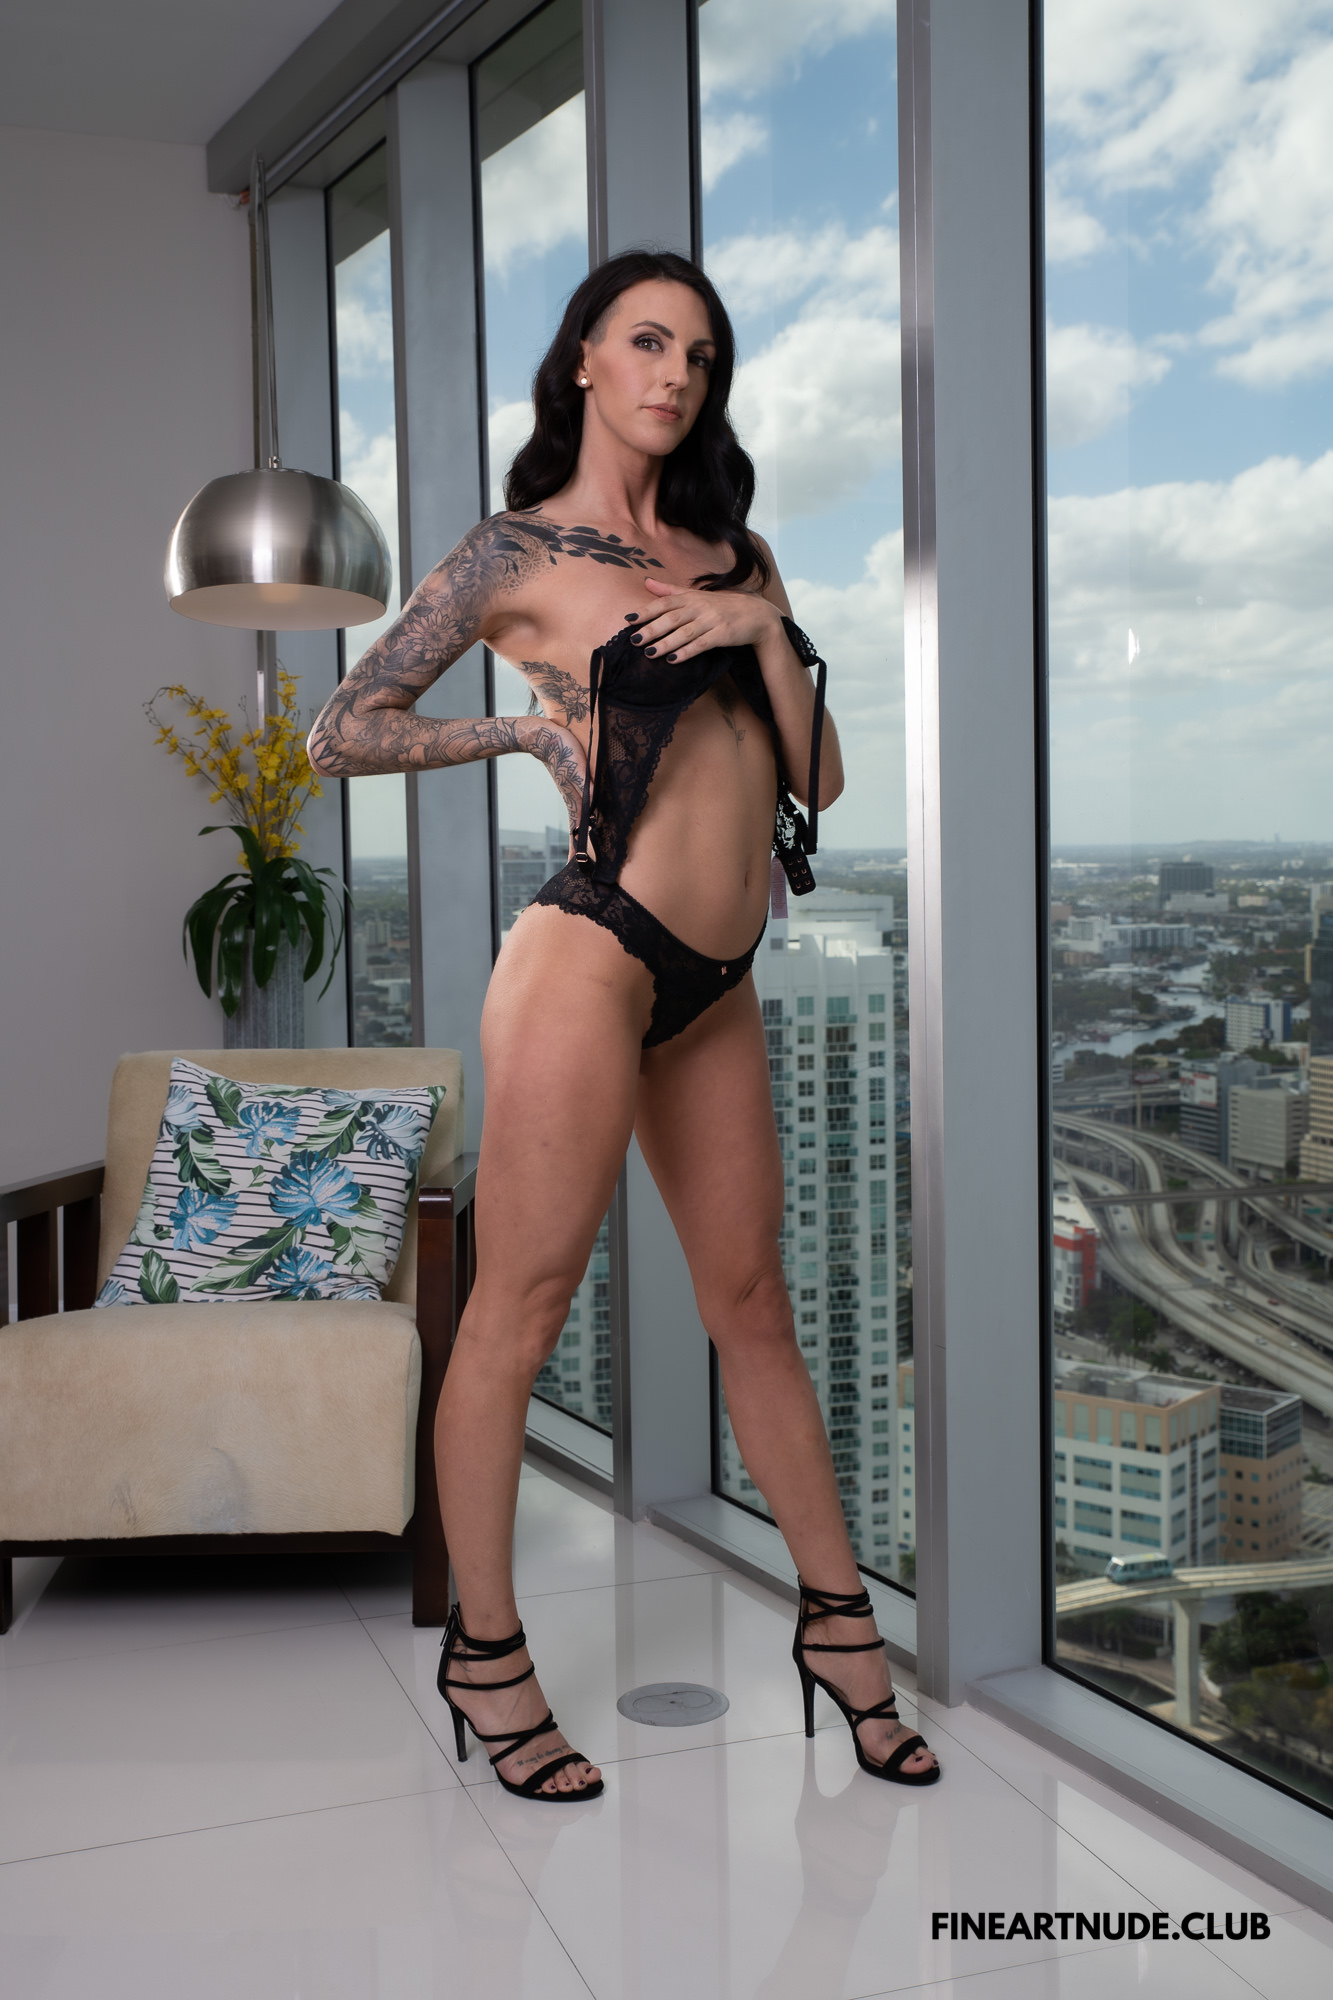
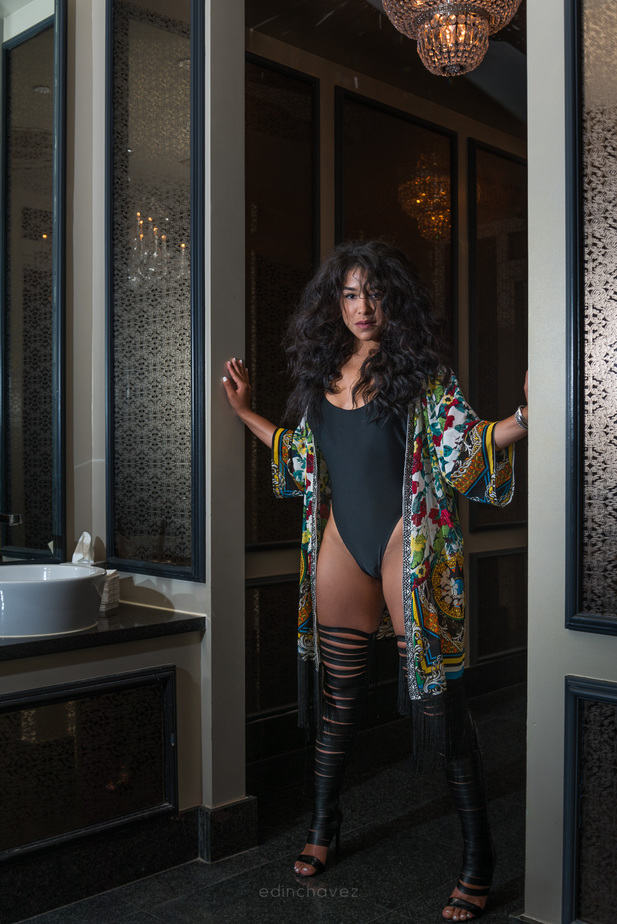
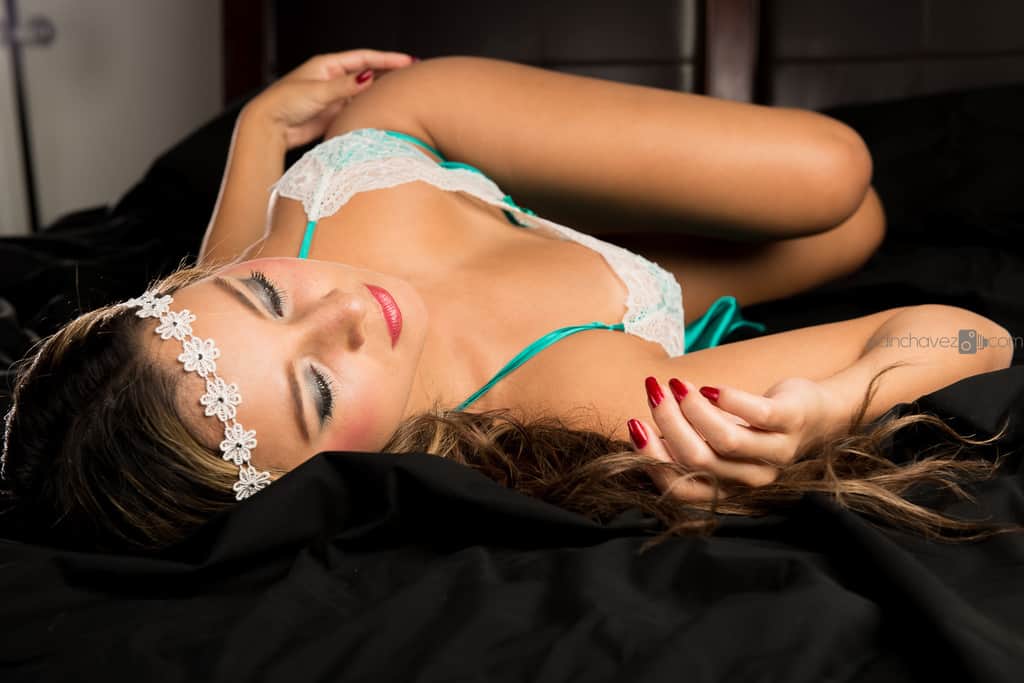
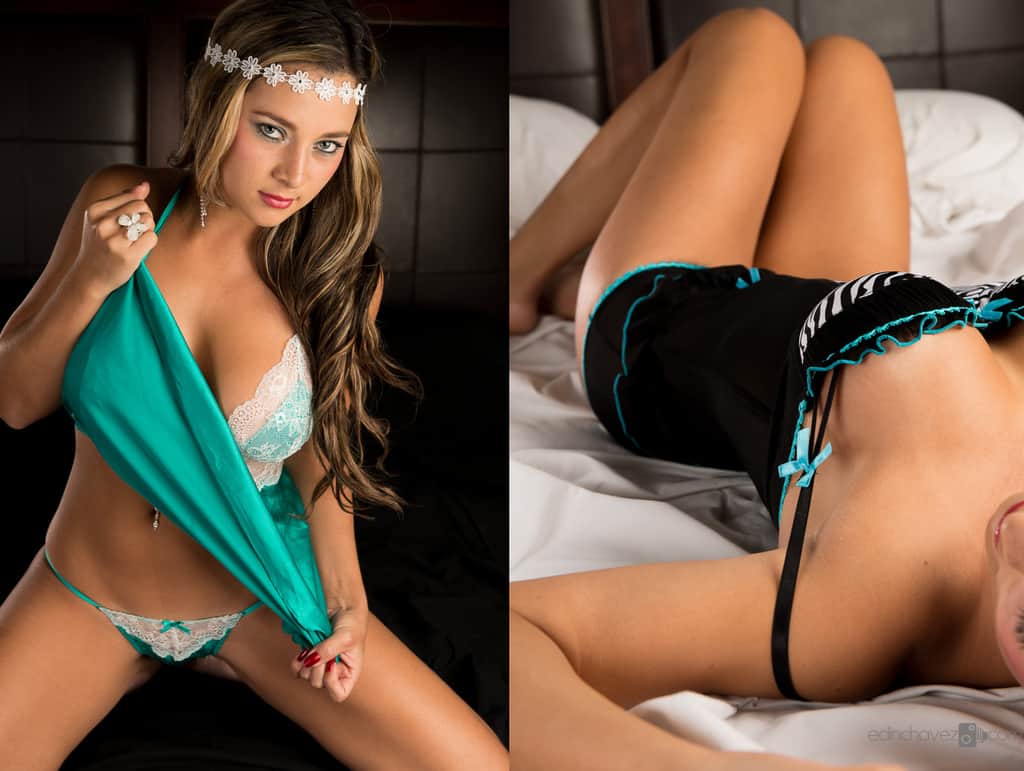
No. These photographs illustrate mood, framing, and visible light relationships. They do not document the source, exposure, or behind-the-scenes recipe used to make them.
For the full session workflow, start with our boudoir photography beginner guide. For the next room decision, read one-light boudoir guide and small-room boudoir guide.
Continue with Dark and moody boudoir, High-key boudoir, Session preparation checklist, Lightroom editing, Black-and-white boudoir, Photo privacy and delivery.
Recommended gear for this workflow
You may already have what you need. Buy to solve an observed problem, not to decorate the room with equipment.
- Reflector or diffusion tool: the Impact R1142 at B&H is a researched option with diffusion, gold, silver, silver-gold, and white surfaces. It is not a negative-fill kit.
- Appropriate stable support: the Impact 8-foot stand and reflector-holder kit at B&H is a researched option. Its stand has a 36-inch footprint; measure that space and check the reflector frame, holder and assembled load before use. A smaller folded package does not mean a smaller working footprint.
- File storage: the Samsung T7 Shield 1TB at B&H is a researched portable-drive option, not a complete backup or privacy system.
For delivery, explore SmugMug and review the actual gallery settings before sharing. A service name is not a confidentiality guarantee. For color, masking, detail, and export, the Lightroom editing course is the next learning step. It is a general editing course, not a boudoir-specific class.
The best window-light photograph starts with a decision you can explain. Know where the light comes from, what the room returns, and what you want the background to do. Get those relationships right and your edit has something worth finishing.
Source note: lighting principles checked against Amateur Photographer’s boudoir lighting guide; participant boundaries informed by Icon Photography School. Product and destination checks are recorded in the editorial ledger. Illustrative photos are not lighting diagrams.