By Edin Chavez
Updated October 2026
A beautiful boudoir session can fall apart in the edit. One frame is warm, the next is green, the next has skin so smooth it looks poured out of a bottle. The photographs might work individually, but the gallery feels like five different photographers showed up.
I want the opposite. A session should feel connected without turning the person into a preset. Good editing keeps the light, the mood, and the little details that make a portrait human. Your job is to remove distractions, make deliberate color decisions, and deliver a set that feels finished. Your job is not to invent a different body.
This workflow is for adult boudoir sessions in Lightroom Classic. It covers the whole set: culling, a reference edit, color matching, selective masks, texture, and exports. If you need a deeper look at one small correction, use our portrait cleanup in Lightroom guide. Here, we are keeping an entire session together.
Start with the agreement, not the sliders
Before editing, write down what the participant actually asked for. Natural skin texture? Temporary blemish removal? No changes to scars or stretch marks? A warmer finish? A few black-and-white favorites? Do not substitute your own ideas about what a person should look like.
Separate technical correction from appearance changes. Removing a sensor spot is a technical fix. Correcting a green cast from reflected light is a color decision. Changing a body shape or removing an identifying mark is a different conversation. If a request is unclear, ask before making the change. No surprise body redesigns.
Keep those notes private, and do not place sensitive comments in filenames or public keywords. Review preferences with care rather than attaching judgments to somebody’s appearance. A request to stop sharing or reconsider an image should be handled before that image travels any further.
For this exercise, choose a small group of files you are authorized to edit and store. Do not upload intimate images to a new cloud service simply because a feature is convenient. First understand what you are sending, who can access it, and whether that use fits the agreement.
Build an organized local starting point
Use a session identifier that means something to you without revealing the person’s full name. Put originals, working files, and final exports in separate folders. That makes it harder to send a raw file by accident when you meant to send a finished JPEG.
Before major work, confirm you have a second usable copy of the originals on separate storage. A Lightroom catalog backup and a photo backup are different things. Protect both, and check what your chosen backup process actually includes. A drive is a place to store data, not an automatic privacy system.
Keep import settings simple. Avoid a strong preset that buries your starting point under heavy color and skin effects. If you use an import preset, know exactly what it changes. You want a stable foundation, not an edit you have to fight across every photograph.
Open several files at full size before committing to the session workflow. Check that they load correctly and that the folder you plan to export into is the correct one. Ten seconds of checking beats discovering a missing source file halfway through the final pass.
Cull for expression, sharpness, and the agreed boundaries
The first pass is not a beauty contest. Look for usable focus, expression, accidental interruptions, and whether the frame stays inside the coverage and boundaries agreed for the session. A technically impressive photograph still does not belong in the selection if its inclusion conflicts with those boundaries.
On the next pass, reduce repetition. Five nearly identical frames do not necessarily give somebody more choice. They can make a strong gallery feel indecisive. Compare the small differences: a relaxed hand, an open expression, a cleaner edge, or a more balanced composition.
Do not delete originals in a hurry just because they are not in the delivery set. Keep the selected group separate, then apply your agreed retention process later. Culling and permanent deletion are separate decisions. So are proofing and permission to publish.
Choose a reasonable final set for the actual agreement. There is no magic number that makes a session professional. A smaller, coherent set can be more useful than a huge folder of near-duplicates, provided it matches what you promised.
Group by light before you match color
A room can contain several color situations. Window light, a warm lamp, reflected color from a wall, and a darker corner may all need different treatment. Do not sync one white balance across the entire session and call that consistency.
Group images by the light that reaches the subject. Within each group, choose an anchor frame with a clear view of skin, useful shadow detail, and an exposure close to the rest. Make that frame your reference for the group, not for every setup in the shoot.
If you photographed a neutral reference under the same light, use it as a starting point. If you did not, avoid declaring that a white sheet must be neutral. Fabrics, wall paint, reflected light, and clipping can all complicate that guess. Judge the person, the room, and the intended mood together.
 Save
SaveWarmth is not automatically a problem. The problem is warmth that changes unpredictably or pulls skin into an unpleasant cast. Keep the feeling of the room while controlling the color that distracts from the portrait.
Make one restrained anchor edit
Start with a profile and overall exposure. Then work through white balance, highlights, shadows, and the black and white points. Move slowly enough to see what each decision is doing. You do not need a dramatic move on every slider.
Look at bright skin and light fabric before pushing exposure. If an area has no recoverable information, pulling Highlights down will not manufacture real detail. Watch the transitions around shoulders, cheeks, and arms so the image does not become flat in the name of recovery.
Give the shadows enough information to read, but let them stay shadows. Boudoir photographs often use darkness as part of the composition. Lifting every corner can expose clutter and weaken the frame. The reference edit should establish a mood, not eliminate it.
Finish the global color before adding small local corrections. Otherwise you may fix a cast in a mask, change the overall white balance afterward, and create another problem. A clean sequence makes the edit easier to understand and repeat.
Sync the foundation, then inspect every frame
Copy only the settings that belong across the group. A shared profile and a similar tonal approach can help. A crop, a spot correction, or a mask positioned for one photograph may not belong anywhere else. Read the synchronization choices instead of accepting everything by habit.
Adobe supports batch application of AI masks in Lightroom Classic, with masks recomputed for the selected images. That saves work; it does not remove your responsibility to check them. A hand near the face, hair against a similar background, or a change in clothing can make the result different from frame to frame.
After syncing, walk through the group one image at a time. Adjust exposure for real changes in light or position. Check white balance against the anchor. Look at the face and the rest of the visible skin, not only one small patch.
Then compare several finished frames together. This catches jumps that are easy to miss when you edit each photograph alone. The goal is a shared visual language, with room for different lighting, framing, and mood.
Use masks to solve a named problem
A useful mask begins with a sentence: “This side has a green reflection,” or “This bright background pulls attention away from the face.” If you cannot name the problem, do not add a mask just because the tool is available.
Use the mask overlay to inspect the selection. Add or subtract areas when the automatic result includes hair, fabric, or background you did not intend to change. Give edges extra attention. A bright outline around a shoulder is a processing mistake, not beautiful light.
Local color corrections should help the image feel believable. Small temperature or tint adjustments can reduce a distracting cast. Do not force all visible skin into one exact color. Different surfaces and angles can reflect light differently, and removing every difference often makes the portrait look artificial.
 Save
SaveIf you brighten a face, compare it with the surrounding skin. If you darken a background, check for a visible boundary around the person. Toggle the mask off and on. The correction should solve the problem without announcing itself.
Keep texture where it belongs
Skin has texture. That is not a technical failure. Pores, fine lines, and small variations are part of what gives a close portrait depth. Heavy smoothing can turn a carefully lit photograph into something strangely lifeless.
Start with the least change that fixes the actual distraction. Review at normal viewing size, then at a closer view. A correction that looks invisible in a thumbnail can be painfully obvious in a print. A correction that looks noisy at extreme magnification may look completely natural at delivery size.
Treat Texture and Clarity as tools, not default skin recipes. Strong negative values can blur transitions you wanted to keep. Strong positive values can make every tiny contrast edge compete for attention. The right decision depends on the file, the light, and the requested finish.
Use our portrait cleanup tutorial for the individual cleanup step. Keep this session pass focused on agreement, consistency, and review rather than repeating a full retouching lesson in every frame.
Watch the background and the frame edges
Color consistency is easier to judge when distractions are under control. Check the entire image, not only the person. Bright bedding, a saturated object, a mirror edge, or a sliver of window can pull attention away from the intended center.
A crop may solve the problem more honestly than aggressive local darkening. But cropping changes the composition, and it can create awkward cuts at joints or remove useful breathing room. Compare the original and the crop before applying that choice across a group.
 Save
SaveReflections deserve a second look before delivery. They may show something you did not notice during editing: background clutter, another person, equipment, or information about the room. Do not assume a clean subject automatically means a clean frame.
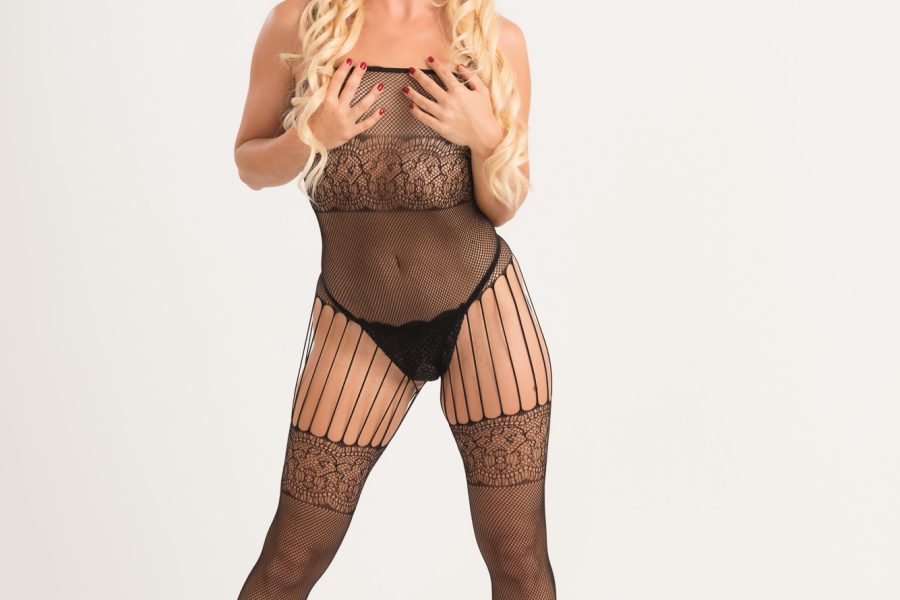
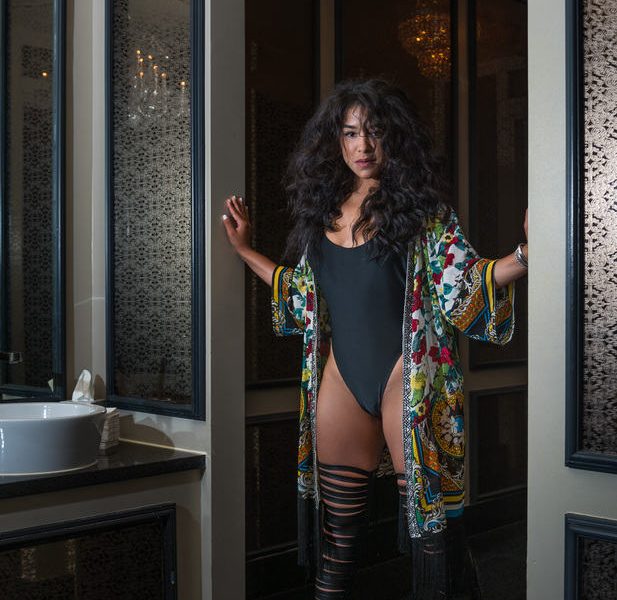
These article photographs are visual examples only. They are not a documented before-and-after sequence, and they do not establish the equipment, masks, settings, or participant preferences used to make them.
Build separate web and print exports
Export a finished copy rather than sending your working original by accident. In Lightroom Classic, export creates files with the format, dimensions, color space, and other settings you choose. Give your presets clear names so “proof,” “web,” and “print” are not interchangeable.
For ordinary browser viewing, a JPEG in sRGB is a practical starting point. Choose dimensions and quality for the intended gallery rather than treating one number as correct for every job. A proof copy and a purchased full-resolution file may have different purposes and permissions.
For print, follow the lab’s actual requirements for file format, color space, dimensions, and sharpening. Do not promise that a universal export preset will work for every lab. If accurate printing matters, use a supported proofing workflow and order a test before a large final run.
Review metadata choices during export. Keep the copyright information you need while excluding location or identifying details that are not needed for delivery. Check the exported file itself; a saved preset is not evidence that the current file contains the right information.
Review the exports outside Lightroom
Open actual exported files in the viewer or gallery the recipient will use. Check orientation, sharpness, color, filenames, and the number of images. A folder full of correct-looking thumbnails is not a final inspection.
 Save
SaveLook for an accidental original, an unfinished variant, a mismatched black-and-white frame, or a duplicate export with an old edit. Compare the beginning and end of the set. Fatigue often makes the last ten images less carefully finished than the first ten.
Delivery is another check, not a button to click blindly. Confirm the intended recipient, access settings, and download behavior. Test with a non-sensitive gallery first. A link hidden from navigation is not necessarily protected from anyone who receives it.
Keep originals and working files out of the delivery folder unless that is explicitly part of the agreement. A polished gallery should contain the intended photographs, not your entire editing history.
A practical ten-frame exercise
Pick ten authorized images from one lighting group. Choose one anchor, make the global edit, and copy only the shared settings to the other nine. Now give yourself one pass to correct exposure and color differences without adding a new style to each photograph.
On the second pass, allow only masks that solve a named problem. Write down the reason for each mask. On the third pass, compare the group at normal viewing size and remove anything that looks like unnecessary processing.
Export the ten frames into a test folder. Open them outside Lightroom, inspect metadata, and compare them as a set. If the gallery feels connected and the person still looks human, you are doing the right work. Repeat with a different light group rather than forcing the same edit onto it.
Questions and answers
Can I apply one preset to an entire boudoir session?
Use a preset as a starting point, not a final verdict. Group photographs by light, establish an anchor edit, and inspect each frame after applying shared settings. White balance, exposure, masks, and crop often need individual attention.
Should I smooth all visible skin?
No. Keep texture unless the participant’s agreed preferences call for a particular change. Even then, work selectively and inspect the result at normal size and close view. Broad smoothing can remove depth and produce obvious edges around untouched areas.
Are AI skin masks safe to copy across the whole set?
They can speed up selection, but inspect the recomputed mask on every image. Check hair, clothing, background, and edges. Automatic selection does not know the participant’s retouching preferences or replace your final review.
Should I send raw files for delivery?
Only when that is part of the agreement. Otherwise deliver the intended finished copies and keep originals separate. Confirm download settings and metadata on actual exports before sharing.
How do I avoid different skin colors across the gallery?
Group by light, use an anchor frame, and compare finished images together. Correct distracting casts without forcing all skin to one identical tone. A consistent session can still contain natural changes in light and color.
Recommended tools for this workflow
Some links are affiliate links. If you buy through them, we may earn a commission.
A second storage device is useful when your backup plan gives it a clear job. The Samsung T7 Shield 1TB at B&H is one storage option. It does not make intimate photographs private by itself. Use appropriate access controls, protect the computer and drive, and test your backup.
For the editing skills behind this workflow, the Shut Your Aperture Lightroom course covers general color, masking, detail, and export. It is not a specialized boudoir course.
Tools and interface details follow Adobe’s Lightroom Classic documentation; the photographs are illustrative examples, not edit-result proof.
Continue through the boudoir series: Complete boudoir guide, Black-and-white boudoir, Photo privacy and delivery.