By Edin Chavez | Updated October 2026
One light is enough to make a powerful photograph. It is also enough to make a mess if you aim it at everything in the room and hope the camera sorts it out. More equipment will not fix a decision you have not made.
For one-light boudoir photography, I would start with a simple question: what should the light reveal, and what should the room leave alone? That question leads you to the key position, the modifier, the spill, and the background. It is a better starting point than buying a second flash.
This workflow uses one artificial source with optional passive fill or flags. It is built for an intimate indoor session, where a stand footprint, a changing area, and the participant’s comfort matter as much as the shape of a shadow. The examples show mood and composition. They are not evidence that a particular picture used one light.
 Save
SaveSome links are affiliate links. If you buy through them, we may earn a commission.
Define the room before defining the light
This is an adults-only workflow. Agree on coverage, boundaries, any permitted touch, who will be present, support-person preferences, and retouching before the session. Nothing about the lighting plan changes those agreements. When someone asks to pause or stop, pause or stop.
Have a private changing area and an agreed cover within easy reach. Keep the route between that area, the set, and the exit open. The participant should not have to squeeze between a modifier and a stand to reach a robe. A smaller setup that leaves room to move is better than a bigger one that boxes someone in.
Test the equipment before asking the participant to enter the set. Use a chair or a fully clothed volunteer to establish the light position and camera framing. You can refine a good starting point together. You should not need someone to hold a difficult position while you figure out why the trigger does not fire.
Choose one powered source and account for everything else
One-light does not mean the room stops reflecting. Pale walls, sheets, and ceilings can return your flash to the subject. Windows and lamps can add separate illumination. Start by deciding how much ambient light you want in the finished image.
Make a test frame with the flash disabled using the intended camera settings. If the room is bright in that frame, ambient light will contribute when you add flash. That can be intentional, but it changes the problem. If you want the artificial source to dominate, reduce the ambient contribution using safe room controls and suitable exposure choices.
Do not make the space unsafe simply to make the ambient test black. Keep enough visibility for movement between sequences, and use ordinary room lighting when adjusting equipment if needed. A technically tidy demonstration is not worth a trip hazard.
The useful definition is one active lighting source shaping the photograph, plus passive surfaces you deliberately include. Know what each surface is doing. If a bedside lamp is visible but barely affects the subject, it may be a background choice. If it casts a second color across the face, it needs its own decision.
Start with direction, then choose softness
Place the key in a position where it can illuminate the intended face and clothing without blocking the participant’s space. A slightly sideward direction is a practical test, not a compulsory angle. Compare the result with the light moved more frontal and then farther to the side, keeping the movement safe.
Look for shadow placement rather than a rule about which body should have which light. Check whether both eyes carry the detail you want, whether a hand falls into an unwanted bright patch, and whether the light is spilling onto the background. Explain adjustments as changes to the photograph, not corrections to the person.
Softness depends on the apparent size of the source from the subject’s position. A modifier’s label alone does not settle it. Bringing an appropriate modifier closer can change the shadow transition, but it also changes the working space and brightness. Do not bring it so close that someone cannot move comfortably or a stand becomes crowded.
A broad soft source is a useful first test. A narrower source can make a more defined result. Neither is automatically better. Choose the modifier’s character to fit the agreed mood, then build a setup that the room can hold safely.
 Save
SaveSet height by reading the shadows
Light height changes where shadows land. Raise or lower the key in small, safe adjustments and inspect the eye area, nose shadow, and fabric. A light that looks impressive towering over the set may leave important details dark. A source too low may create a direction you did not intend.
Keep the stand within its rated configuration, and check the combined load of the light, bracket, modifier, and accessories. Extending a stand changes the leverage. A published load rating is not a promise that every height, angle, and floor surface is safe.
Avoid hanging a large modifier over the participant with an improvised support. If the shot would need a boom or other specialized rig, that is a different equipment and safety problem. For this workflow, choose an ordinary supported placement outside the participant’s movement area.
Once the height works, take a reference frame. Then compare a small direction change without altering the height. Separating those decisions makes it much easier to understand why a shadow improved.
Feather the source instead of blasting the whole set
Feathering means changing the direction of the modifier so the subject receives a different part of its beam. Instead of aiming the center straight at everything, turn the source a little and observe the result. Some modifiers change gradually; others produce a more obvious falloff.
Watch the face first, then the clothing and background. A small turn may reduce unwanted brightness on a wall while keeping useful light on the subject. Another turn may leave the face uneven. There is no exact rotation that works with every softbox and room.
Keep the source-to-subject distance steady while comparing the aim. Otherwise you are changing two variables and may misread what helped. Once the direction works, adjust output if needed. Output changes brightness; it does not undo the directional change you just made.
A grid, if compatible with the chosen modifier, can help limit spill. It does not automatically create soft light, eliminate room bounce, or turn a large modifier into a tiny stand footprint. Verify the accessory and its fit before treating it as part of a complete kit.
Separate subject exposure from background brightness
A common mistake is turning down the flash because the wall looks too bright, then discovering the face is now too dark. The wall and face are related, but they are not the same problem. First check where the key is aimed and how close the subject is to the background.
If the room permits, create some subject-background separation without shrinking the walking route. Compare a frame before and after the move. A background farther from the source can receive less illumination, but the actual outcome depends on the source position and reflective room surfaces.
If moving the subject is not comfortable or practical, try a camera angle that sees less of the bright wall. You may not need to rebuild the set. A darker curtain, a less reflective section of the room, or a simpler composition can give the photograph a quieter background.
Do not promise a black background simply because you use one light. White walls in a small room can return enough light to lift almost everything. Control the geometry before reaching for a heavy darkening edit.
 Save
SaveUse passive fill with a specific job
A white reflector can lift a shadow without introducing a second powered source. Start with it far enough away that its effect is modest, then bring it closer in safe steps. Compare a frame with it and one without it. If you cannot explain what changed, you may not need it.
Use fill to preserve the detail that matters for the chosen image. Do not assume every shadow must be bright. If the look is intentionally low-key, a small amount of detail may be enough. If the participant prefers a lighter mood, that is a different creative direction, not a failure to be dramatic.
Support the reflector properly. A board balanced against a chair may slide, and a loose disc can spring into the set. Keep the support outside the participant’s movement area and confirm that it stays put while you work.
Silver fill can create a stronger, more directional return. Check for localized highlights and discomfort before using it close to someone. White is often an easier starting point, but the test frame, not the accessory’s reputation, should decide.
Flags and negative fill solve different problems
A flag blocks light from reaching an area. Negative fill reduces reflected light returning to the subject. A suitable dark surface can sometimes do either job depending on placement, but the two goals are different.
For spill, locate the path from the key to the bright wall and test whether a safely supported flag can interrupt it without entering the frame or blocking movement. For washed-out shadows, test a dark surface on the shadow side to reduce bounce. Keep the key unchanged while evaluating the result.
Avoid attaching improvised panels to a stand already carrying a load it was not designed to support. Do not drape material over hot equipment or block ventilation. Follow the equipment’s instructions and choose another arrangement when a safe support is unavailable.
If the flag makes a hard unwanted edge across the participant, it is in the wrong relationship for that frame. Move it, change the light aim, or remove it. A cleaner room angle can be the better answer.
Prove the sync before the session
Read the camera and trigger instructions for the supported flash operation. Do not assume another photographer’s shutter speed is your camera’s sync speed. Mechanical, electronic, and special sync modes can behave differently, and compatibility depends on the actual equipment.
Make a test series before the participant enters the set. Check for bands, inconsistent firing, and missed frames. If a dark band appears, return to a supported conventional sync setup and test again. Change one thing at a time so the problem has a name rather than becoming a pile of guesses.
Use a trigger version intended for your camera system and confirm compatibility with the flash. The Godox AD200Pro II flash-only purchase is not a camera-specific complete lighting kit. A transmitter, modifier, bracket, stand, and safe support need separate verification.
Check batteries, attachment locks, and the actual recycle behavior at your chosen output. Do not assume that every fast press of the shutter will deliver the same illumination. Build a shooting pace the equipment can sustain, and keep conversation and breaks part of that pace.
Build a decision tree you can repeat
If the subject is too dark and the direction is right, adjust output or exposure and retest. If the face has the wrong shadow shape, move or aim the key before changing output. If the background is too bright, inspect spill, distance, and room bounce before lowering the whole exposure.
If the shadows are too deep, test white fill. If they are too pale, remove unnecessary fill and inspect reflective walls. If you see two different colors across skin, inspect ambient sources. If the light does not fire consistently, return to the equipment test instead of directing a longer sequence.
If a safe light position does not fit, reduce the setup or choose another room. That branch belongs at the top of the tree, not the bottom. A photograph is never a reason to ask someone to sit under an unstable rig.
Write a short note after each successful test: key direction, approximate distance, modifier, fill choice, and background. Record what you actually used rather than a name such as “dramatic look.” That is how you repeat a decision without pretending every room is identical.
 Save
SaveA useful practice session without a client
Use a neutral object, mannequin, or consenting fully clothed volunteer. Make a baseline frame with one source and no added fill. Keep the source distance fixed and compare three directions. Choose the most useful direction, then compare two different aims to test feathering.
Only after that should you add a white surface. Compare fill and no fill. Then, if safely supported, test negative fill as its own change. Finish by altering the background relationship without changing the key. You now have a series that explains direction, spill, contrast, and distance separately.
Inspect the results at a sensible viewing size and close enough to check important detail. Do not pick the winner only because it looks darker on a phone. Look for deliberate shadows, readable highlights, and a background that supports the subject.
For editing, keep this lesson separate from skin cleanup. Our Lightroom portrait cleanup guide covers that next stage. The black-and-white guide helps with a monochrome finish without pretending color conversion repairs poor lighting.
 Save
SaveQ&A: one-light boudoir photography
Does a reflector count as a second light?
A passive reflector returns light from the existing source. This workflow uses one powered source with optional passive fill or flags. Check ambient lamps and windows because they can still contribute illumination.
Can I get a dark background in a white room?
Sometimes, but white surfaces can return substantial light. Test key direction, feathering, subject-background distance, and the camera angle. One light alone does not guarantee a black background.
What should I change first when the face is too dark?
Check whether the light direction is correct. If the shadow shape works, adjust output or exposure. If the light is aimed past the face or blocked, fix that relationship first rather than simply adding power.
Why is there a dark band in my flash photo?
An unsupported shutter or sync setup can be a cause. Check the camera and trigger instructions, return to a supported conventional setup, and make test frames. Do not assume a generic shutter-speed recommendation applies to your equipment.
Do the example photos document one-light setups?
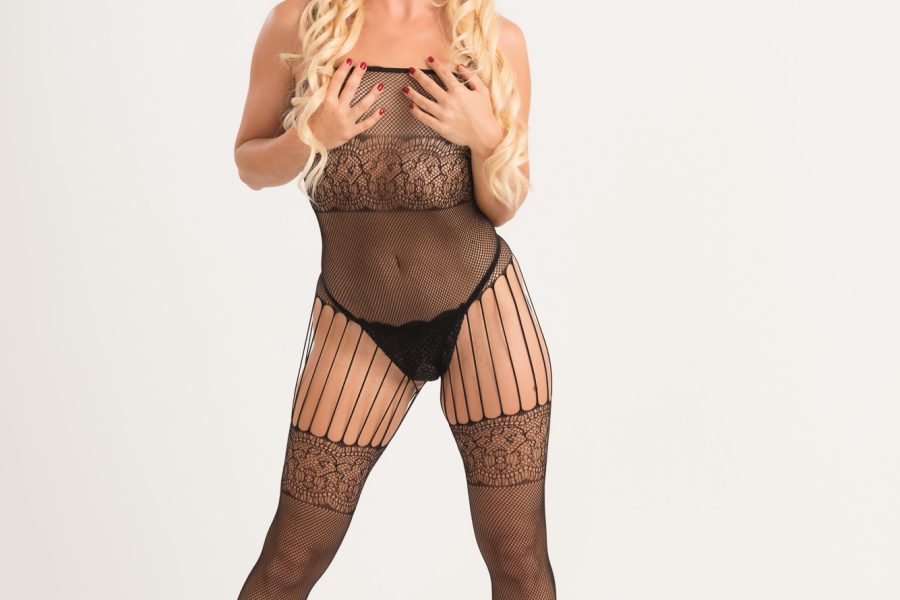
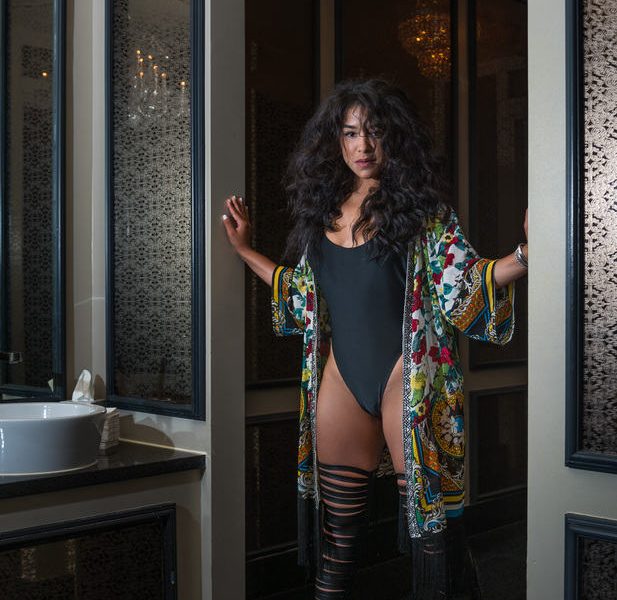
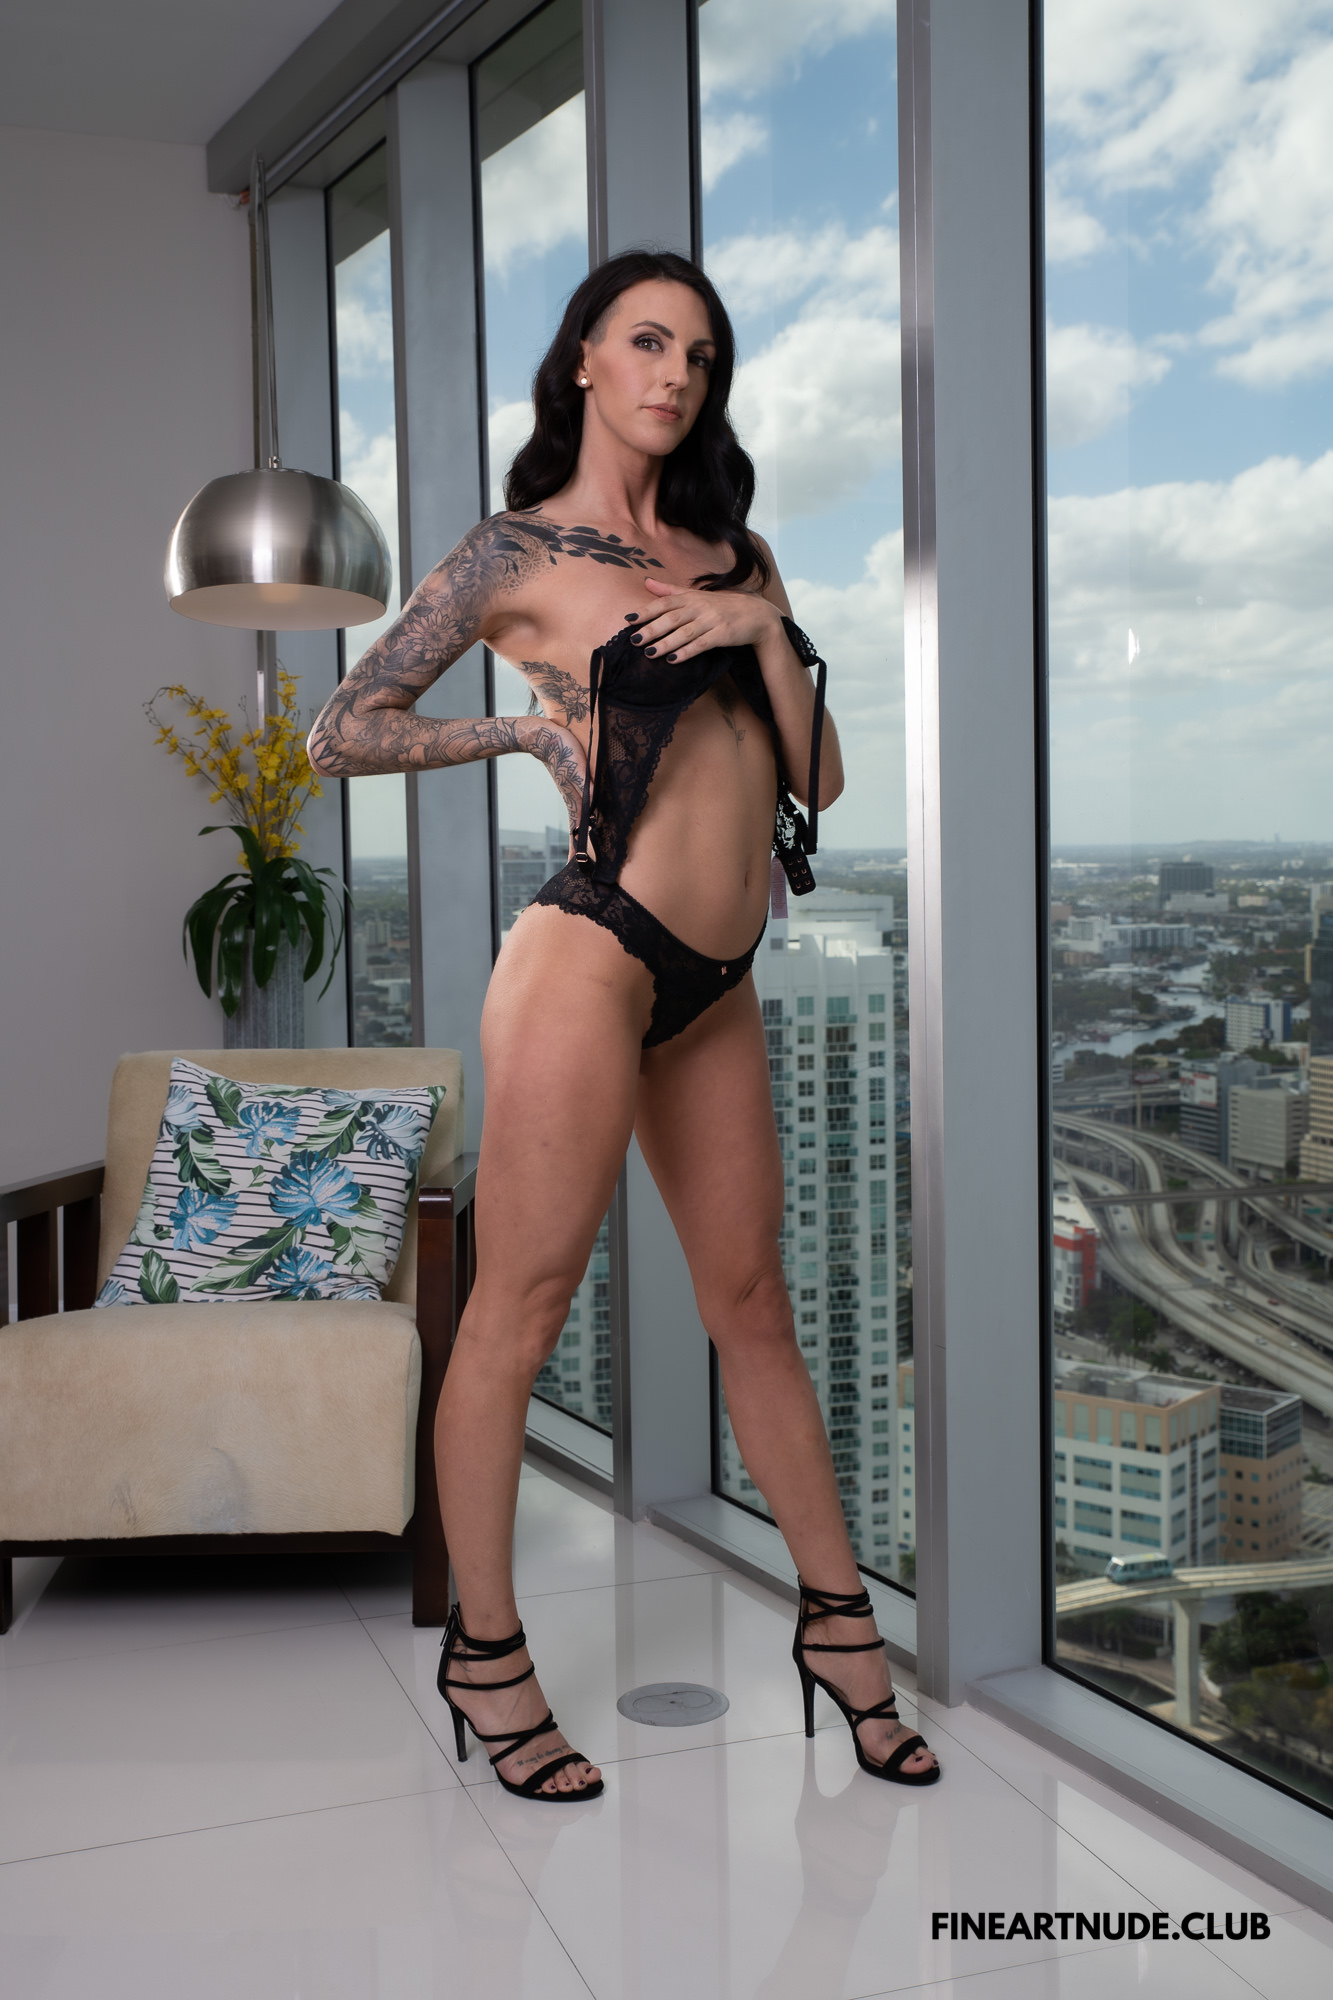
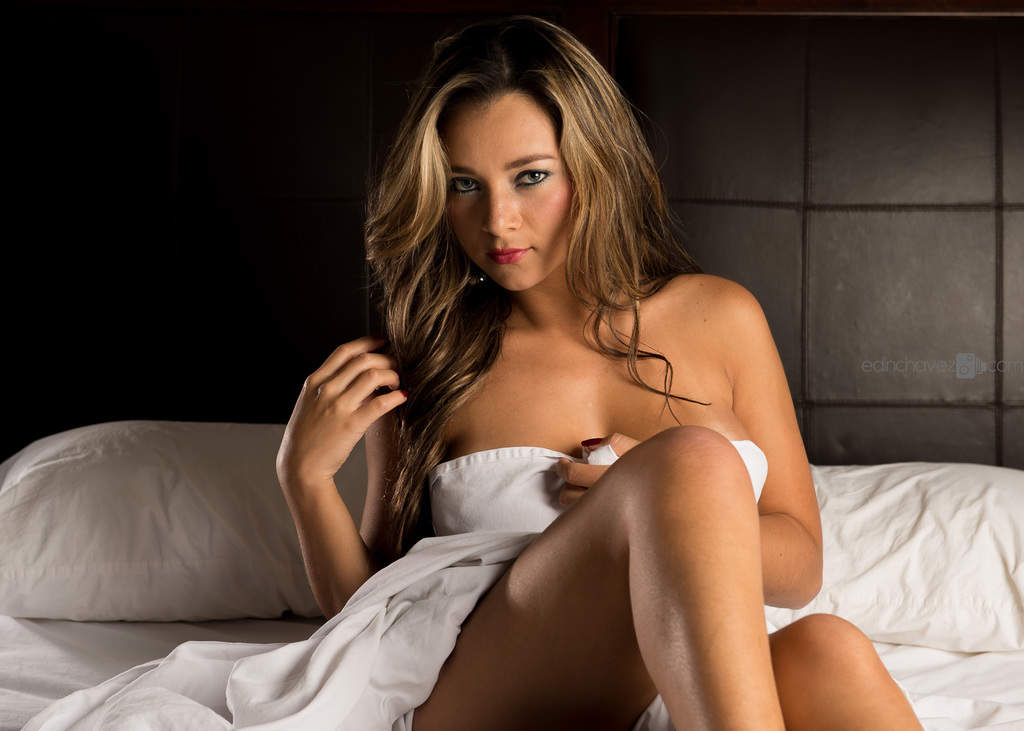
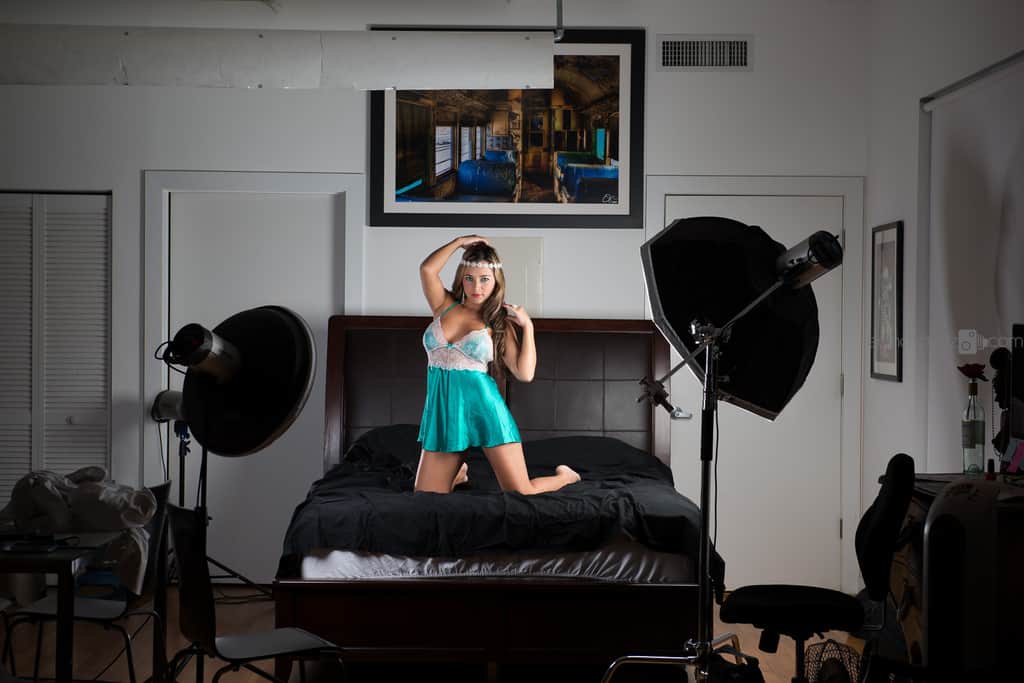
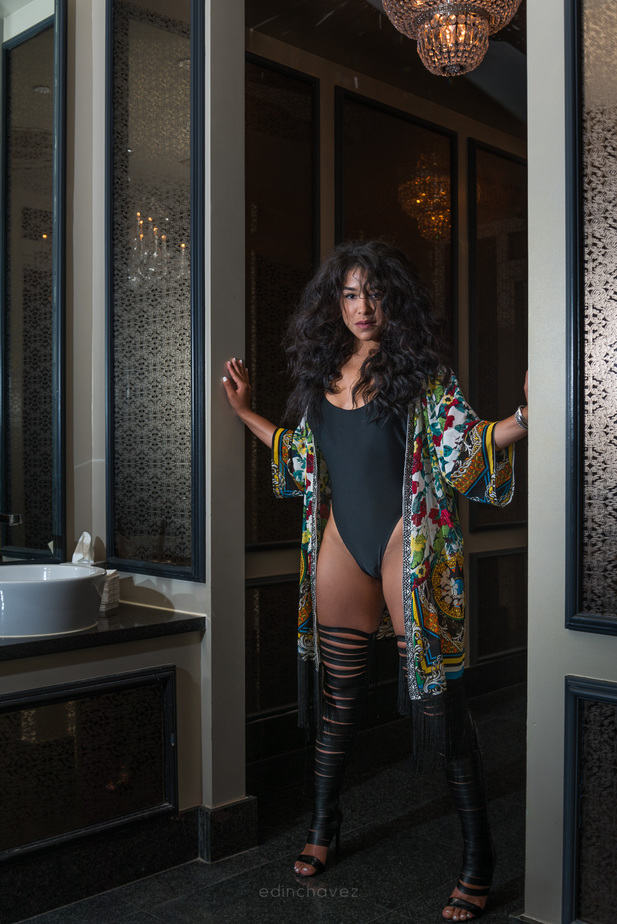
No. They illustrate framing, contrast, and mood. The behind-the-scenes photograph explicitly shows a multi-light room for comparison. None of these examples proves this article’s recipe.
For the full session workflow, start with our boudoir photography beginner guide. For the next room decision, read window-light boudoir guide and small-room boudoir guide.
Continue with Dark and moody boudoir, High-key boudoir, Session preparation checklist, Lightroom editing, Black-and-white boudoir, Photo privacy and delivery.
Recommended gear for this workflow
Build a complete, compatible system around the room you actually have. Buying a flash alone does not finish the setup.
- Powered source: the Godox AD200Pro II at B&H is a researched 200Ws option. The flash-only SKU does not include a body-specific transmitter.
- Trigger: the Godox X3-C at B&H is the Canon-specific version, not a universal transmitter. Godox lists X3 support for the AD200Pro II. Choose the version that matches the actual camera and check the supported body and firmware.
- Modifier and mounting bracket: the Godox SGUV6060 S2 bracket and 23.6-inch softbox kit at B&H is a researched option. B&H lists AD200Pro support; confirm fit with the exact AD200Pro II head and mounting arrangement before buying. A stand is not included. Do not treat this as a camera-ready complete kit.
- Stand and ballast: the Impact LS-8AI stand at B&H has a 36-inch footprint and a listed 7.9-pound load capacity. Match those limits to the complete flash, bracket and modifier setup, not just the flash body. The Impact filled 15-pound saddle sandbag at B&H is a ballast candidate, not a stability guarantee or a substitute for correct support.
- Passive fill: the Impact R1142 at B&H has a white surface and diffusion option. Use it only when your test frames show a need, and support it without blocking movement.
For the finish, the Lightroom editing course covers color, masking, detail, and export. It is not a specialized boudoir course. For gallery delivery, review the available controls on SmugMug and verify the actual settings before sharing.
One light works when every other decision has a job. Put it somewhere deliberate, control what it hits, and leave room for the person in front of it. That is how a simple setup makes a photograph with real punch.
Source note: lighting principles checked against Amateur Photographer’s boudoir lighting guide; boundaries informed by Icon Photography School; flash specifications checked against Godox and the recorded B&H product check. Examples are illustrative, not setup evidence.