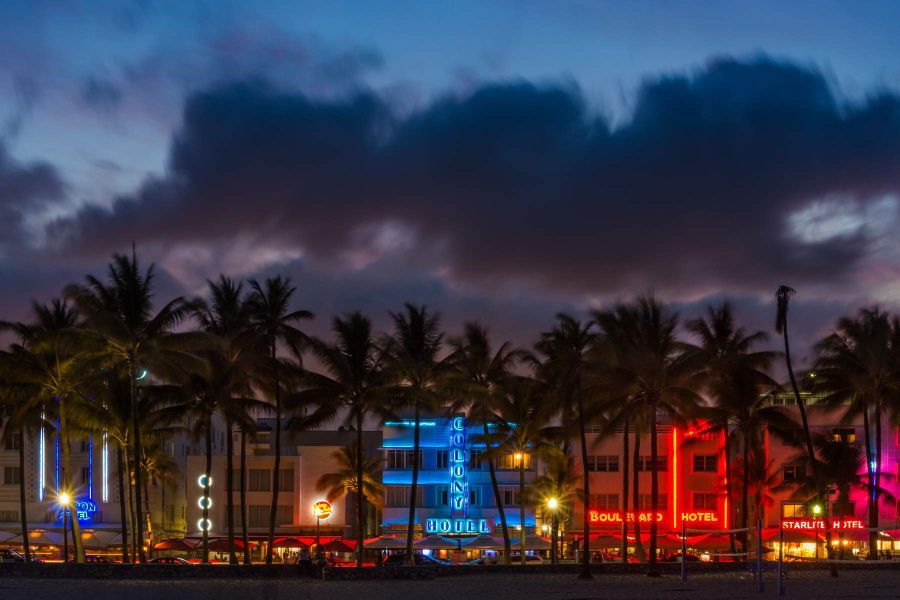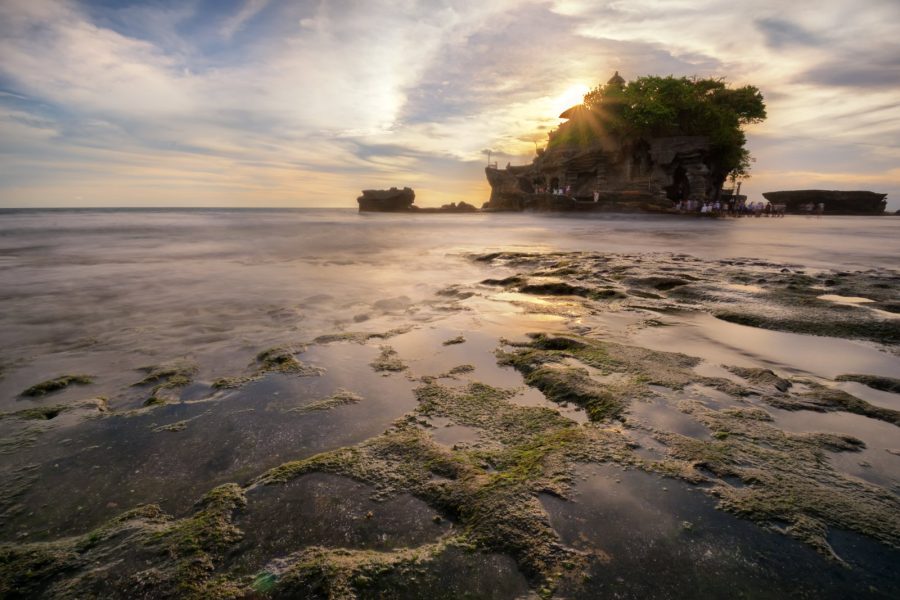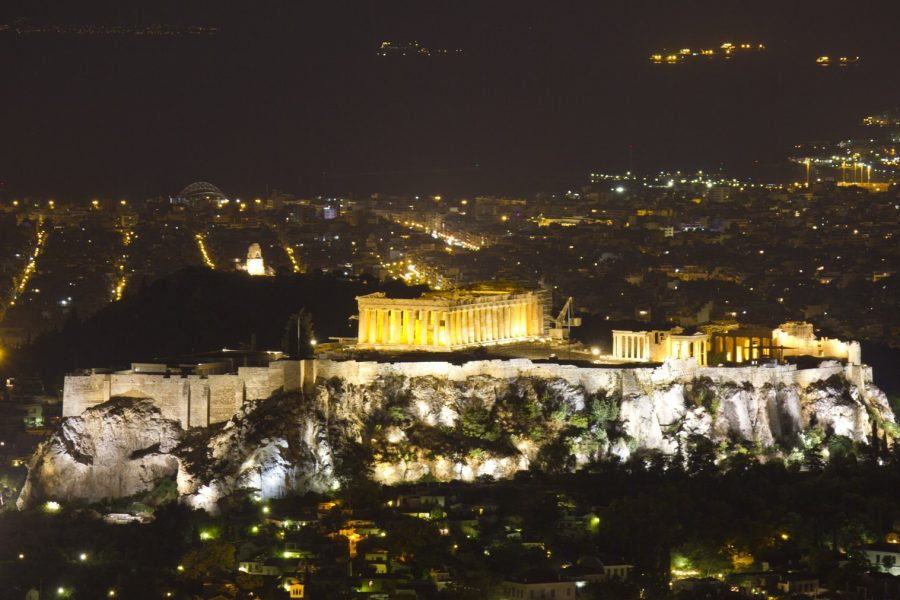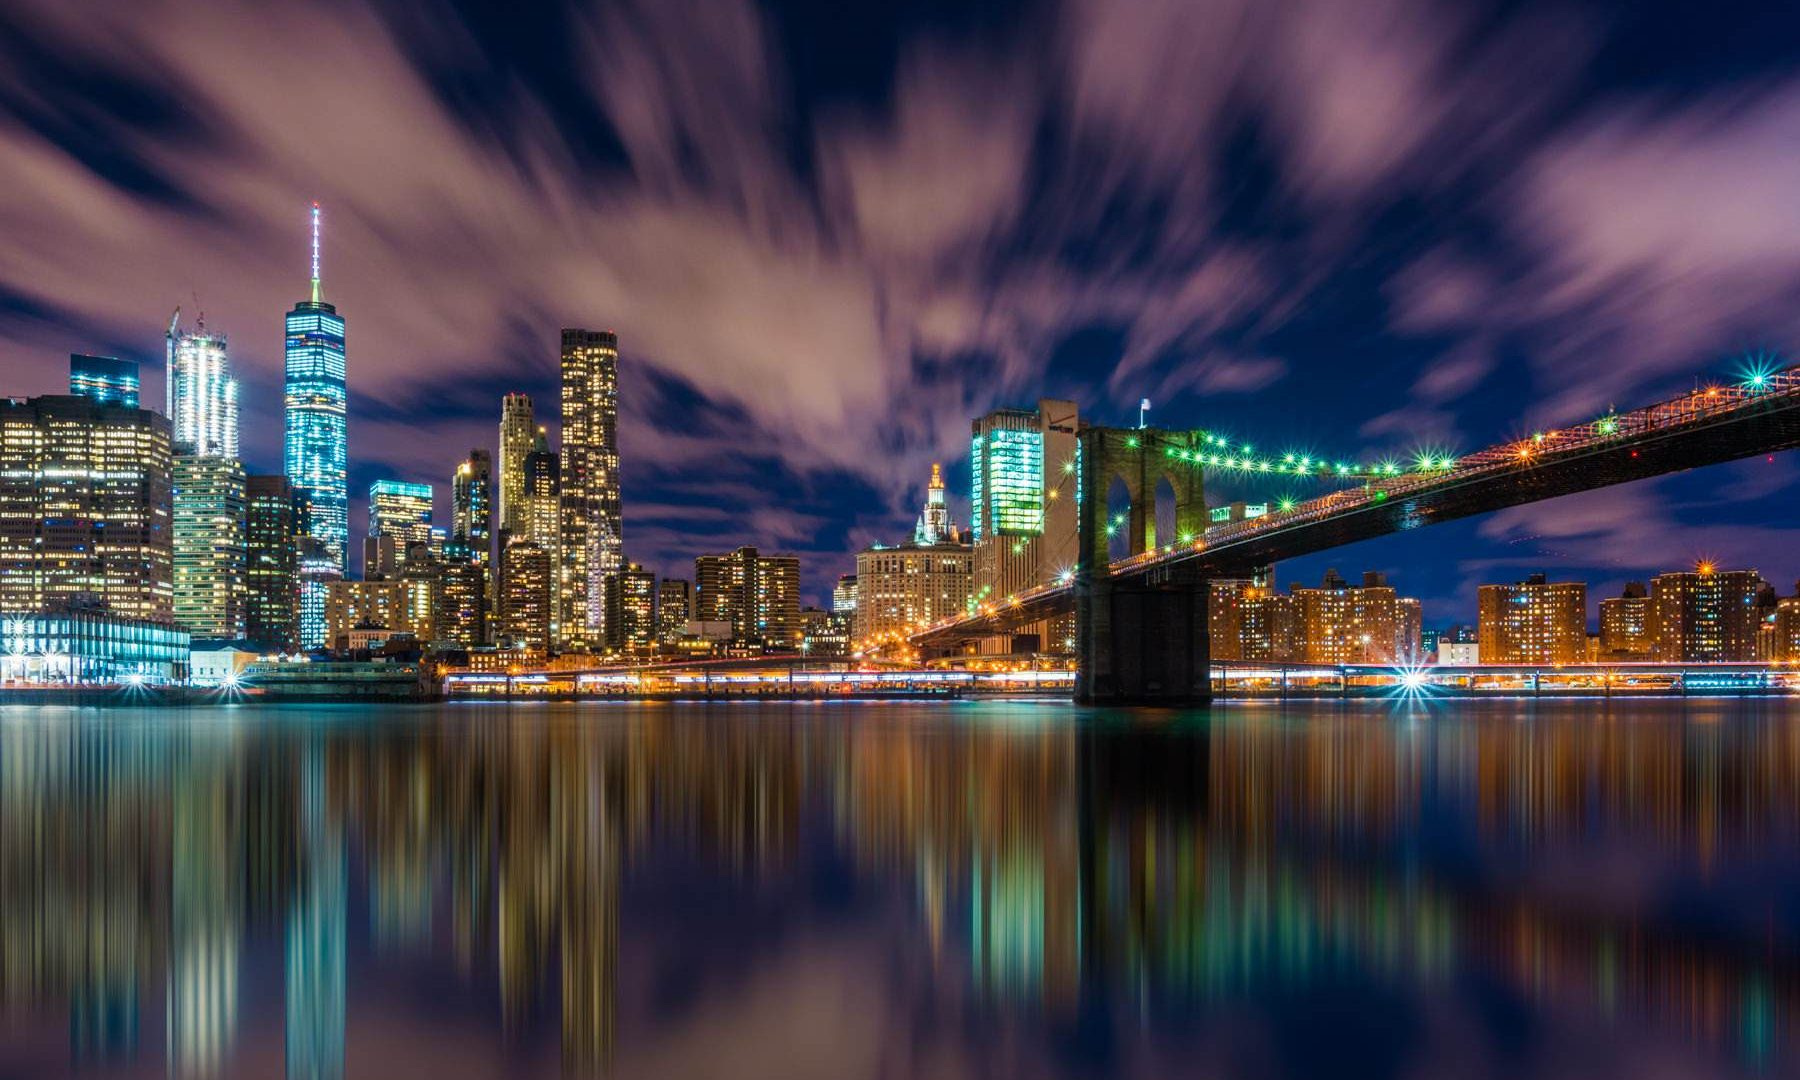
New York City gives you several different photography trips inside one destination. A paid observation deck, a working transit terminal and a public waterfront do not have the same equipment rules. Choose a subject first, check its access, then build a short route with enough time to photograph rather than spend the best light in transit.
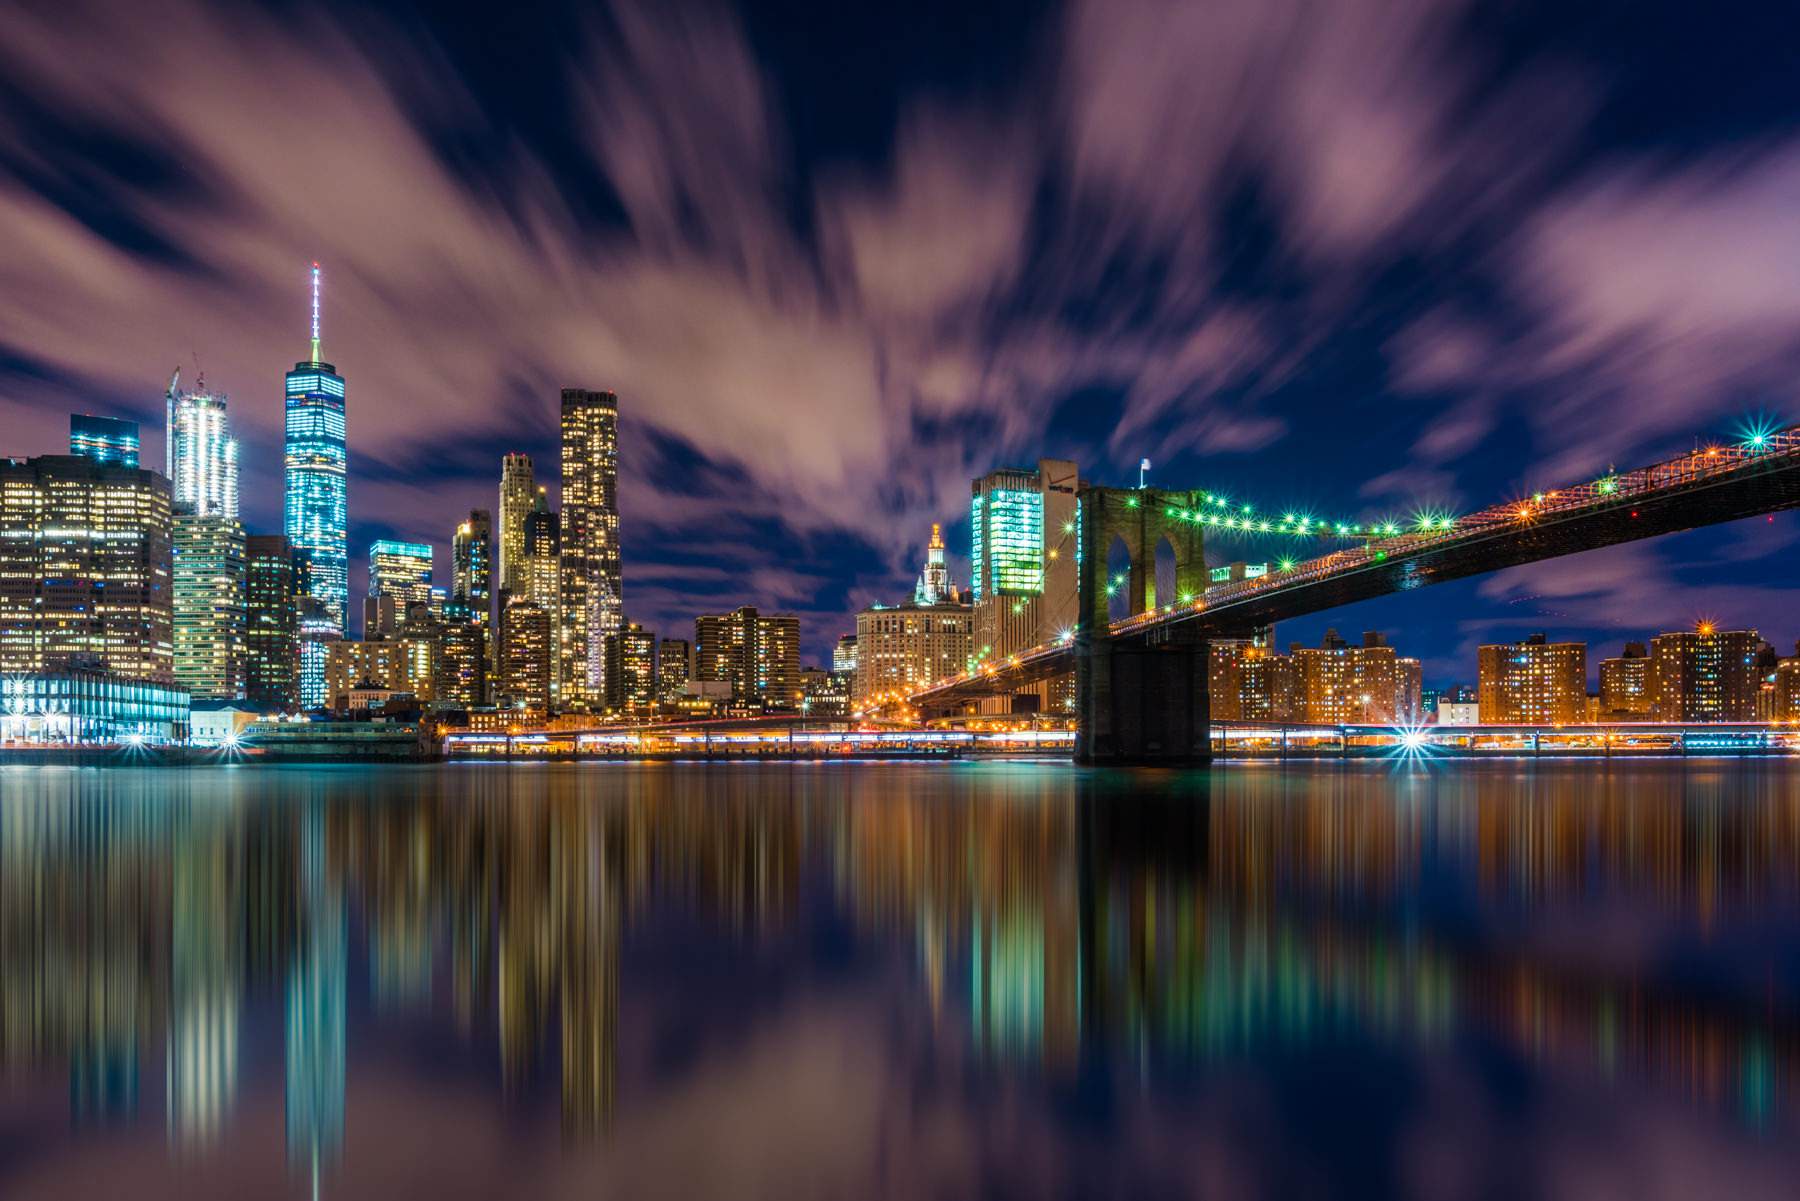 Save
SavePlan by area, not by the length of a checklist
These are researched planning notes paired with Edin Chavez’s own photographs. Conditions, prices and access can change. The examples show how a place can photograph, not a guaranteed alignment or exact camera position. Check the linked operator before visiting. Admission, permits, transport and third-party costs are separate.
Start with one main subject and a backup. Allow time to find the open route, compare compositions and return before a park or venue closes. A smaller session often leaves more time for useful photographs than a list of distant stops. Check sunrise, sunset and sun direction for your actual date rather than copying the time of another person’s image.
Choose exposure for the scene
Set shutter speed for movement and camera stability, aperture for the depth you need, and ISO to support those choices. Check focus and important highlights at full magnification. No single aperture guarantees sharpness everywhere. A tripod is useful only where it is permitted and where it leaves a safe route for others. At restricted venues, plan handheld rather than hoping a small support will be overlooked.
1. Top of the Rock
Top of the Rock is the Rockefeller Center observation-deck visit. Its south-facing skyline composition includes the Empire State Building rather than placing you on it. Choose this visit for that relationship between Midtown and the distant downtown skyline.
Composition: Use a standard zoom for the skyline and a telephoto lens for compressed building layers where your equipment meets current visitor rules. Keep the camera level to control leaning verticals. Make a wider context frame before looking for a tighter cluster.
Light and timing: Sunset into blue hour can bring warm sky and illuminated windows together, but clouds and visibility matter more than a fixed minute. Book an entry time with margin for security and elevators. Do not assume a sunset ticket means an unobstructed place at the rail.
Access: The operator requires admission and publishes changing ticket options. Its official FAQ says tripods are not allowed. Do not assume a tiny tripod is exempt. Plan handheld, check prohibited items and confirm the actual ticket, price and hours before purchase.
Rockefeller Center: Top of the Rock
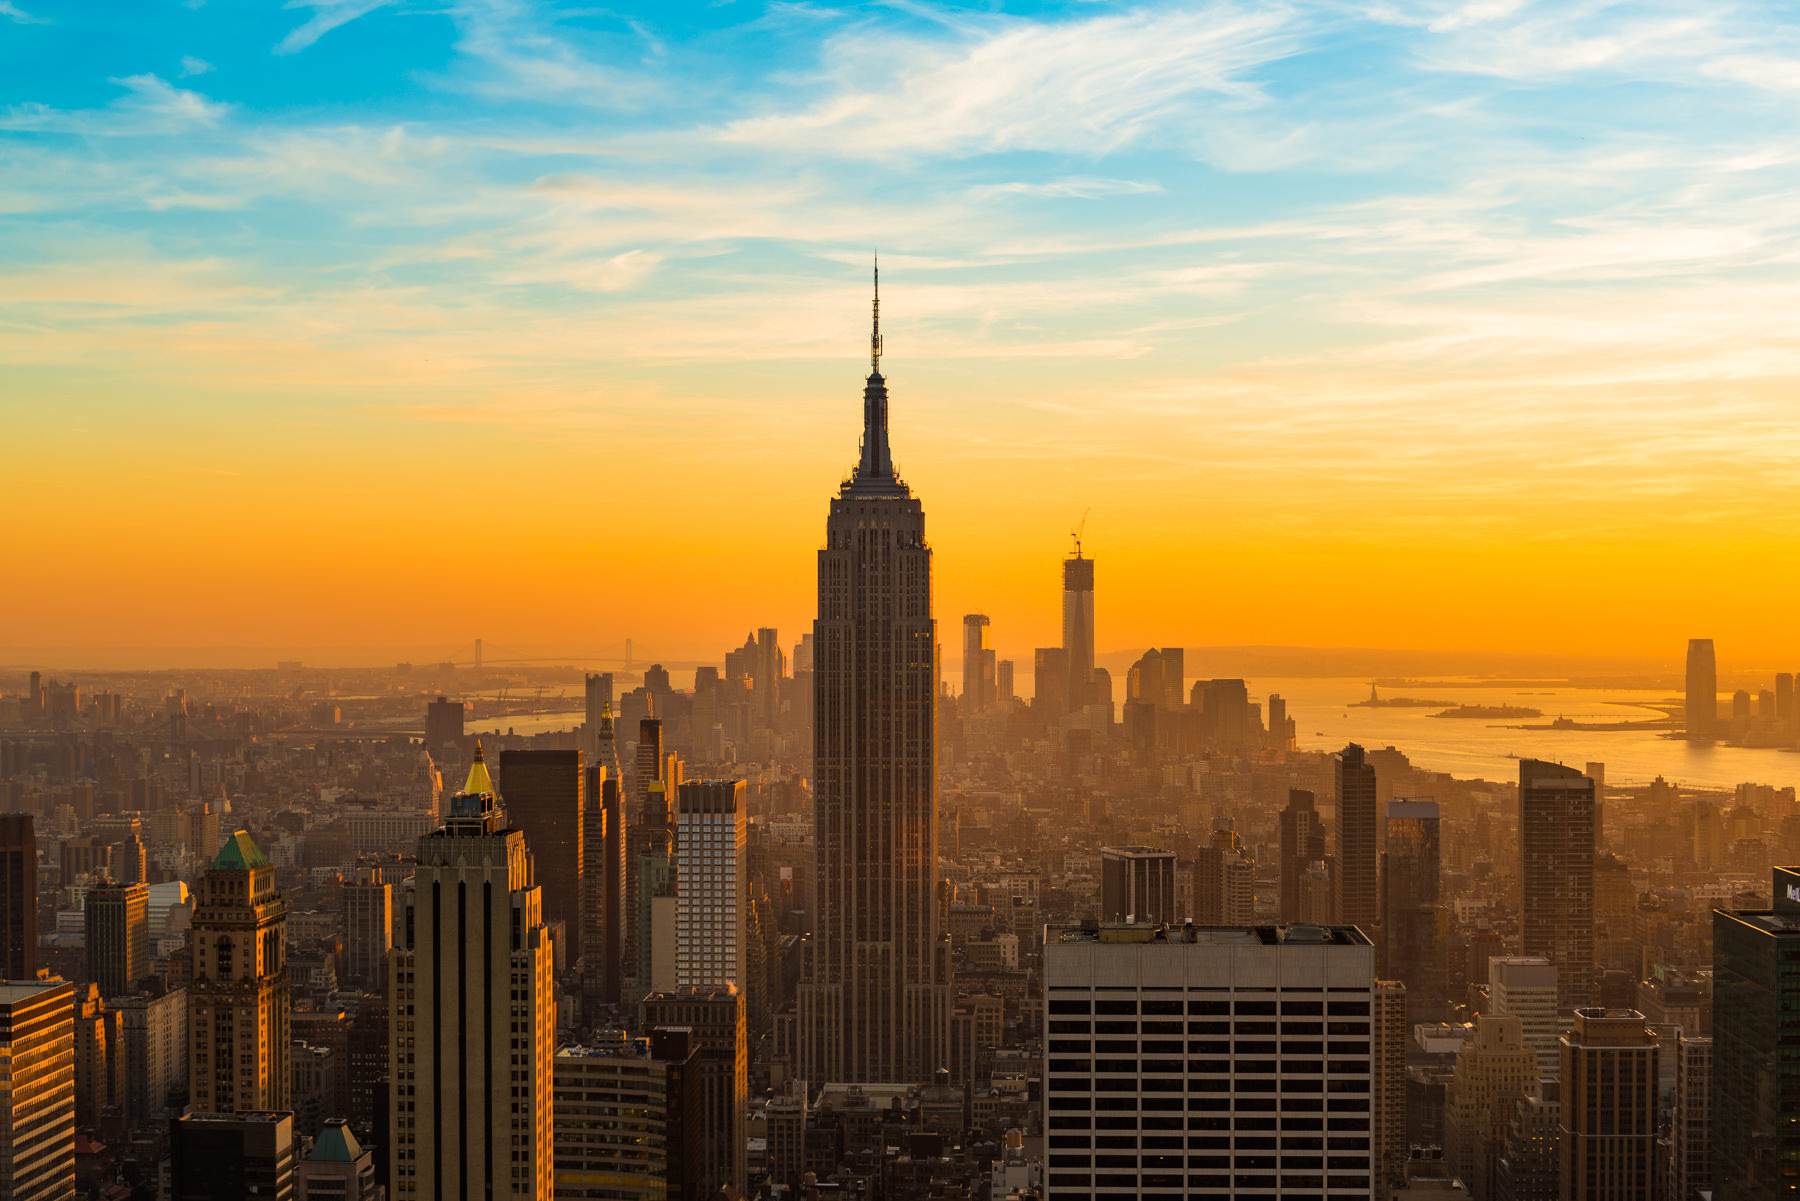 Save
Save2. Central Park
Central Park is too large to treat as a single camera position. Edin’s photograph uses wet paths, trees and lamps as a night scene. Choose a small area for one session rather than trying to cover the whole park after dark.
Composition: Let a path lead into the frame and keep lamps from merging with tree trunks. Reflections after rain can connect foreground and background. A wide lens works when the path has shape; a normal lens can isolate one pool of light. Check for flare around bright lamps.
Light and timing: Dusk gives separation in the sky while lamps are visible. Full darkness can also work, but it changes both contrast and the practical route home. Rain may improve reflections while making stone and paving slippery. Do not enter closed areas to recreate a view.
Access: The Conservancy lists park hours as 6 a.m. to 1 a.m. every day. Its visitor photography guidance allows handheld equipment or a tripod without a permit; additional equipment and organized shoots need separate checks. Keep paths clear and plan your exit before closing.
Central Park Conservancy: visitor help
3. Times Square
Times Square is a subject of light, movement and scale. Edin’s image uses a near-ground viewpoint, but you do not need to occupy a busy walking route to make it work. Look for a safe edge with a clear view into the scene.
Composition: Expose for the important illuminated signs, then decide how much shadow detail matters. Try a standard lens before an ultra-wide view. A short exposure can hold gestures; a slower one can turn passing people into motion. Avoid leaving a bag or support unattended.
Light and timing: Blue hour can balance signs with the sky. At night, the signs themselves become the key light. Rain adds reflections but also slick pavement and crowded umbrellas. A dense crowd can be part of the subject rather than a flaw to remove.
Access: Use open pedestrian space without blocking flow, entrances or traffic. Organized productions and setups that claim public space need permit checks. A personal camera does not authorize barriers, cables or exclusive use of a plaza. Follow on-site security directions and temporary event restrictions.
4. Empire State Building
This is the observatory visit, not a street-level photograph of the Empire State Building. Edin’s image is an elevated city-grid view. Expect to work around the actual deck, barriers and other visitors rather than assuming a long-exposure setup.
Composition: Use a normal or wide lens for the city grid and a tighter frame for building patterns. Keep the lens clear of railings without leaning over them. Check sharpness at full magnification and adjust shutter speed before accepting a blurred frame.
Light and timing: Clear visibility is important at this height. Sunset sessions can be busy and the price varies with the admission time and experience. Blue hour may give a more balanced sky, while full darkness emphasizes the street grid.
Access: The official FAQ says reservations are required and lists professional camera equipment and stands, including tripods, monopods and bipods, as prohibited. Review your equipment with the operator if unsure. Ticket prices vary, so use the current booking page instead of a fixed price in this guide.
Empire State Building: visitor FAQ
5. World Trade Center and Oculus
The Oculus interior offers repeated structural lines and activity below them. These photographs are architectural studies inside the World Trade Center campus, separate from an observation-deck visit.
Composition: Use a wide or standard lens to compare symmetry with a diagonal composition. Keep vertical lines deliberate. A higher view can turn people into scale markers, while a lower one emphasizes the ribs. Do not block stairs, escalators, concourse routes or shop entrances.
Light and timing: Daylight gives a different interior than evening lighting. Watch bright skylight areas and white surfaces for clipping. A handheld frame may need a faster shutter speed than expected because commuters are moving even when the building is still.
Access: The World Trade Center operator says a tripod or a crew of five or more requires a permit, including for non-commercial use. Treat commercial work separately and ask the operator about the exact setup. Photograph respectfully near memorial areas; their rules are not interchangeable with the shopping concourse.
World Trade Center: visitor FAQ
6. Grand Central Terminal
Grand Central Terminal is a working railway terminal. Edin’s photograph uses the Main Concourse clock and high windows as anchors. The space rewards patient handheld work that does not interrupt commuters.
Composition: Find a viewpoint that separates the clock from the background. Use a wide or standard lens and check the ceiling and windows at the frame edge. Compare a moment with fewer people against one that uses movement to show the scale of the hall.
Light and timing: Daylight through the windows can produce strong contrast; evening shifts the balance toward interior lighting. Raise ISO when needed to keep the architecture sharp handheld. Do not prop a camera on a ledge or rail where it could fall or obstruct others.
Access: The terminal allows personal, non-commercial photographs with a phone or handheld consumer camera without a permit or fee. Professional equipment such as a tripod, light or stabilizer requires a location agreement or permit even for non-commercial work; commercial photography needs its own approval.
Grand Central Terminal: photography
7. Flatiron Building
The sample street photograph uses the Flatiron Building’s wedge shape and surrounding roads. Construction, scaffolding and the current street arrangement may change what can be seen. Plan for a building study rather than a guaranteed recreation of the sample.
Composition: Use a standard lens to keep the building substantial and a wider lens only when the street supplies a useful foreground. Keep the upper tip away from the frame edge. Compare a symmetrical view with an oblique angle that explains the wedge.
Light and timing: Dusk can balance building detail with vehicle lights. Overcast conditions can reduce harsh facade contrast. Light trails require a safe, unobstructive support position and lawful use of the public space; they are not a reason to stand in a traffic lane.
Access: Stay on open sidewalks or pedestrian areas. Do not step into an active street, fenced worksite or private doorway. Check current construction and on-site instructions. This guide supplies no fixed camera pin or permission to occupy the road.
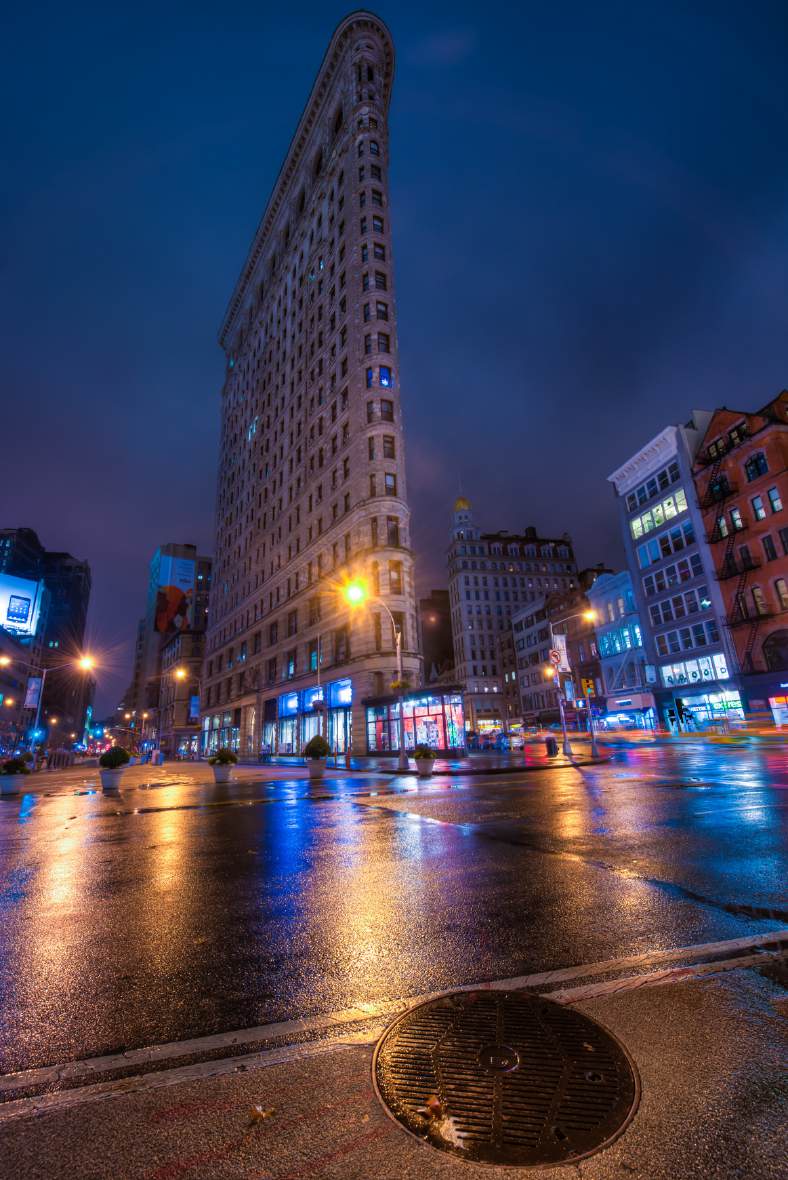 Save
Save8. Empire Fulton Ferry
Empire Fulton Ferry is a waterfront section of Brooklyn Bridge Park. Edin’s frame puts the Manhattan Bridge over the skyline and water. It works as part of a DUMBO walking session rather than a separate distant destination.
Composition: Use a normal lens when the bridge needs weight in the frame. A wider lens can include the shoreline, but watch empty water and distorted edges. Keep the bridge line from merging with the top of a distant tower. Compare a frame with a strong bank edge against one dominated by reflections.
Light and timing: Blue hour can separate the dark bridge from the sky. Wind and passing boats affect the water, so test both shorter and longer exposures when support use is permitted. The sample very long exposure is not a setting to copy blindly.
Access: Brooklyn Bridge Park generally opens 6 a.m. to 1 a.m., with some areas on shorter schedules. Commercial or professional shoots require the park’s own permit process; city permits are not substitutes. Respect barriers, lawns and event closures and keep a small personal setup out of the path.
Brooklyn Bridge Park: visitor FAQ
9. East River waterfront below Brooklyn Bridge
The sample “East River Bikeway” chapter refers to a Manhattan-side waterfront view below Brooklyn Bridge. The broad label does not verify a present-day camera location. Shoreline construction and detours can interrupt a continuous river walk.
Composition: Use the bridge tower as the anchor, then decide how much river belongs below it. Keep foreground railings intentional rather than accidental. A standard lens may simplify the view better than an ultra-wide frame. Do not enter an active cycle lane for a cleaner angle.
Light and timing: Dusk and blue hour can give bridge detail against the sky. Wind can make a waterfront session colder and shake a support. Take a shorter exposure as insurance before attempting motion effects.
Access: Use only currently open paths and signed access. The East Side Coastal Resiliency project has changing closures and detours farther along the waterfront; check the relevant official notices before connecting this stop to a longer river route. This guide does not promise a continuous greenway or endorse the old map pin.
NYC: East River project notices
10. Pier 16 and the Seaport waterfront
The sample Pier 16 photograph shows a Manhattan waterfront composition toward Brooklyn Bridge. Piers may host vessels, museum activities, maintenance and events. An old clear view is not a promise that the far end will be available.
Composition: Use a standard or short telephoto lens to make the bridge substantial. Include waterfront texture only when it adds a useful line. Check that a boat mast or railing does not cut through the tower. A wider view can tell the story of the pier rather than isolating the bridge.
Light and timing: Late light and blue hour can balance the bridge with the sky. Wind, vessels and changing activity can alter the frame between visits. Try a second composition from an open landside path if the pier itself is crowded or restricted.
Access: Use posted visitor routes and observe gates, event areas and vessel boarding zones. Do not assume the entire pier is open at all hours or that museum access is included. Check the current visitor schedule, and obtain permission for a staged commercial shoot.
11. Brooklyn Bridge walkway
The pedestrian walkway gives a different subject from the waterfront: towers, cables, planks and people share the frame. Edin’s series includes rain, blue hour and vehicle trails below. Build a compact setup that leaves room for passing walkers.
Composition: Keep a tower centered only if the cable symmetry supports it. A wide lens emphasizes the cable web; a standard lens reduces stretching at the edges. Wait for a gap rather than asking people to move. Check that tripod legs, if lawfully used, cannot trip someone.
Light and timing: Blue hour separates the cables from the sky. Rain can add reflection but makes the deck slippery. Wind and bridge vibration can soften long exposures, so make a sharper short-exposure alternative as well.
Access: Stay on the open pedestrian route and follow current signage, works restrictions and staff directions. Do not climb, attach equipment to the structure or enter vehicle lanes. An old photograph with an empty walkway does not grant an exclusive position or a guaranteed quiet hour.
12. Brooklyn-side bridge lookout
This Brooklyn-side waterfront view combines a foreground below the bridge with the city beyond. Work it into a park session rather than treating it as a separate attraction with a fixed camera position.
Composition: Use the near shoreline to lead toward the bridge tower. Keep the bridge separate from the skyline where possible. Snow, stones or an open path can provide foreground, but never step beyond a fence to add one. A standard lens can remove distracting edges.
Light and timing: Blue hour gives a cool foreground against warm windows. Snow changes footing and can hide uneven surfaces. Protect highlights in snow and avoid making it gray simply to hold every shadow.
Access: Follow Brooklyn Bridge Park hours and closures where the viewpoint is inside the park. Commercial and professional work requires the park’s own permit checks. Do not assume that the precise foreground in the old photograph is still accessible.
Brooklyn Bridge Park: visitor FAQ
13. Manhattan skyline from Brooklyn
The sample skyline lookout image combines Manhattan, water and bridge structure. It is a composition category within the Brooklyn waterfront, not an independently verified lookout facility.
Composition: Use a standard zoom to adjust the skyline’s size without losing its context. Make a clean horizon and check that the tallest building has room above it. A longer exposure can simplify water, while a shorter one may preserve useful reflections.
Light and timing: Blue hour often balances city lights and sky more gently than full darkness. Clouds can create a strong background, but fog may conceal the skyline. Keep a second frame with different water texture.
Access: Use open Brooklyn Bridge Park paths and signed public waterfront areas. Respect shorter area hours and event restrictions. Keep personal equipment compact and seek the appropriate park approval for commercial or professional shoots.
Brooklyn Bridge Park: visitor FAQ
14. The Battery and harbor views
The sample Battery photograph uses a telephoto view toward the Statue of Liberty. This is a harbor-view chapter, not a ticket to Liberty Island or permission to enter a closed waterfront promenade.
Composition: A telephoto lens can make the statue visible against the sky; a wider view may tell the story of the harbor instead. Keep passing boats from merging with the statue unless they add scale. Check distant focus and atmospheric shimmer.
Light and timing: Low light can create a silhouette while clearer daylight may show more detail. Weather across the harbor can differ from the immediate park. A long lens needs a shutter speed that keeps the subject sharp despite wind and hand movement.
Access: The city’s Battery Coastal Resilience FAQ says construction is phased and anticipated to finish in 2027, while much of the park remains open. Follow current fences and notices; a particular promenade view may be unavailable. Ferry service is a separate paid visit, not included with this guide.
15. Old pier pilings
The old pilings near the Brooklyn waterfront turn a skyline into a study of rhythm. Edin’s sample images show both cool evening light and warm sun. The shoreline viewpoint is the subject; the pilings are not structures to climb or walk onto.
Composition: Look for clear spacing between rows and let the skyline remain readable. Try a standard lens first, then a tighter frame that reduces unrelated shoreline. Place the horizon deliberately and compare centered symmetry with an offset arrangement.
Light and timing: The sun’s position changes through the year. The sample orange disc is not a promise that it will align with the same buildings on your date. Check an ephemeris, but protect your eyes and sensor when working toward direct sun.
Access: Use open park paths and respect fenced shoreline. Water level and maintenance may change the foreground. Follow Brooklyn Bridge Park rules and permit requirements; do not step down into a closed shore area to match the sample frame.
Brooklyn Bridge Park: visitor FAQ
16. The River Cafe exterior
The River Cafe is a private restaurant beside the Brooklyn waterfront. The guide includes its lights and planting as an exterior subject. A photograph of the restaurant does not include restaurant access, a reservation or permission to use its grounds.
Composition: Use a wide or standard lens from an open public route. Let trees and warm lighting provide the frame without blocking an entrance. Avoid including diners at close range when the building and atmosphere are the intended subject.
Light and timing: Evening can balance the warm exterior with a cool sky. Bright lamps may produce flare, so inspect the frame and make a second exposure if needed. Do not move planters or furniture to clear a composition.
Access: Remain in open public space unless staff grant access. Respect private property and avoid obstructing arrivals, deliveries or restaurant operations. Any interior or commissioned shoot needs direct permission from the venue.
Brooklyn Bridge Park: visitor FAQ
17. Jane’s Carousel
The glass pavilion gives a lit subject against the waterfront. Edin’s photograph is an exterior view; a carousel ride and an organized photo session are separate activities.
Composition: Use a standard or short telephoto lens to place the pavilion against the skyline or bridge. Watch reflections and keep nearby bright lights from competing with it. A wider frame can show its waterfront setting, while a tighter one emphasizes the illuminated horses.
Light and timing: Dusk helps the glass building read against the sky. Lighting and operation may differ when the carousel is closed. Do not promise the sample’s lit appearance on every evening.
Access: Use the park’s open paths and confirm carousel hours if a ride is part of your plan. Do not enter a closed pavilion or block the queue. Commercial and professional park shoots require the park’s approval, and any special access to the carousel requires venue permission.
Brooklyn Bridge Park: visitor FAQ
18. Manhattan Bridge from Main Street Park
The sample bridge series is photographed from Brooklyn near Main Street Park. One frame emphasizes the underside of the bridge; another shows more waterfront context. These are different compositional choices within the same walking area.
Composition: Keep the bridge’s diagonal deliberate and give its nearest edge room. A wide lens emphasizes the span; a normal lens can isolate a tower and skyline. Avoid a near object that cuts across an important line unless it is part of the composition.
Light and timing: Blue hour or night can separate illuminated details from the sky. Long exposures can smooth the water but may lose texture that helps the foreground. Test a shorter version before committing to one treatment.
Access: Follow open park routes, waterfront barriers and posted hours. Check the park’s permit process for professional or commercial work. Do not climb embankments or stand on restricted structures for an angle beneath the bridge.
Brooklyn Bridge Park: visitor FAQ
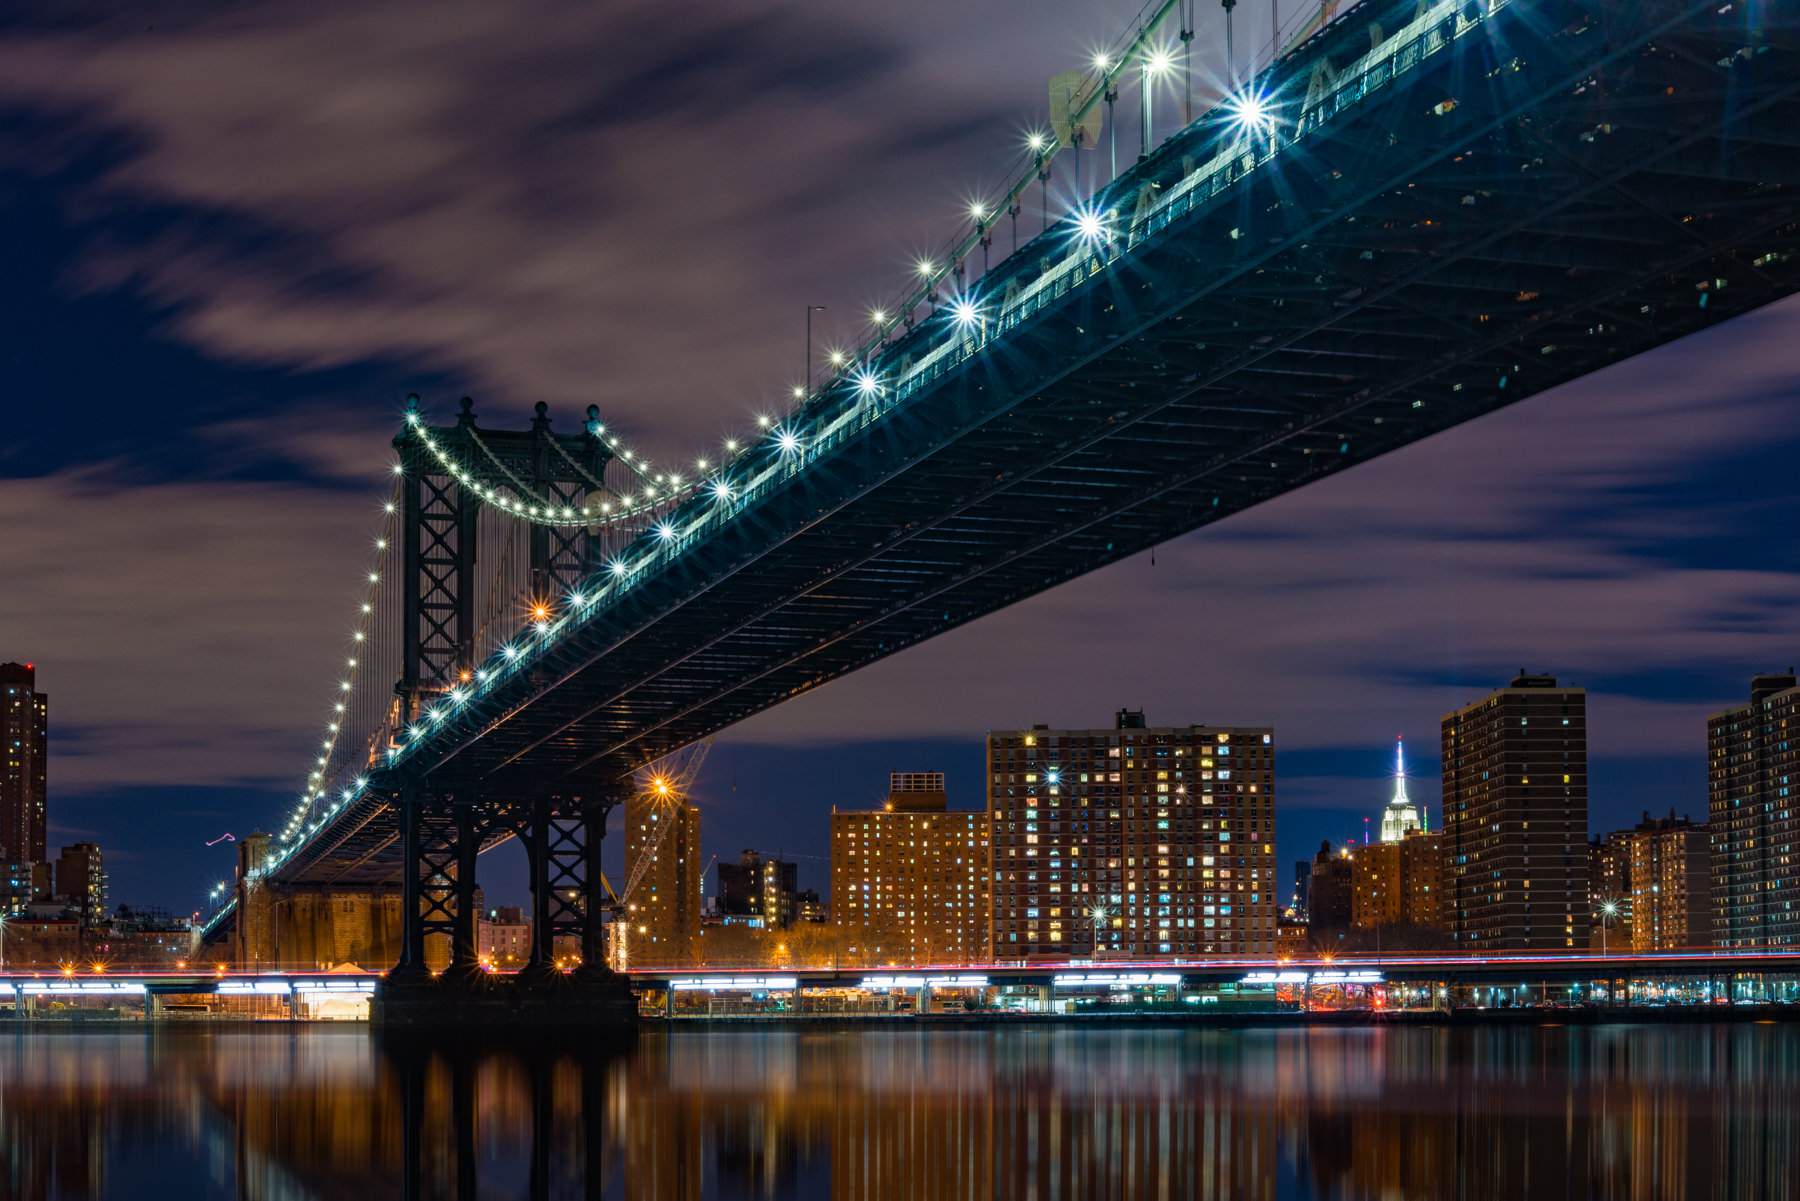 Save
Save19. Manhattan panorama from Main Street Park
This wider Manhattan panorama uses the Brooklyn-side waterfront to connect foreground, bridge and skyline. It is a composition within a park session rather than a separate attraction.
Composition: Use a wide lens when rocks or the open shoreline make a useful foreground. Let the bridge and skyline occupy distinct bands. A stitched panorama can work from a permitted stable position, but check moving people, boats and changing water before assuming the frames will align.
Light and timing: Blue hour gives a short window when sky and city lights may balance. The duration changes by season. Make a single-frame alternative before trying a multi-frame sequence, especially if the light is changing quickly.
Access: Use open Main Street Park paths and observe Brooklyn Bridge Park rules. Waterfront access may be affected by maintenance or events. Do not treat exposed rocks or a low water level as permission to leave a signed public route.
Brooklyn Bridge Park: visitor FAQ
20. DUMBO from Washington Street
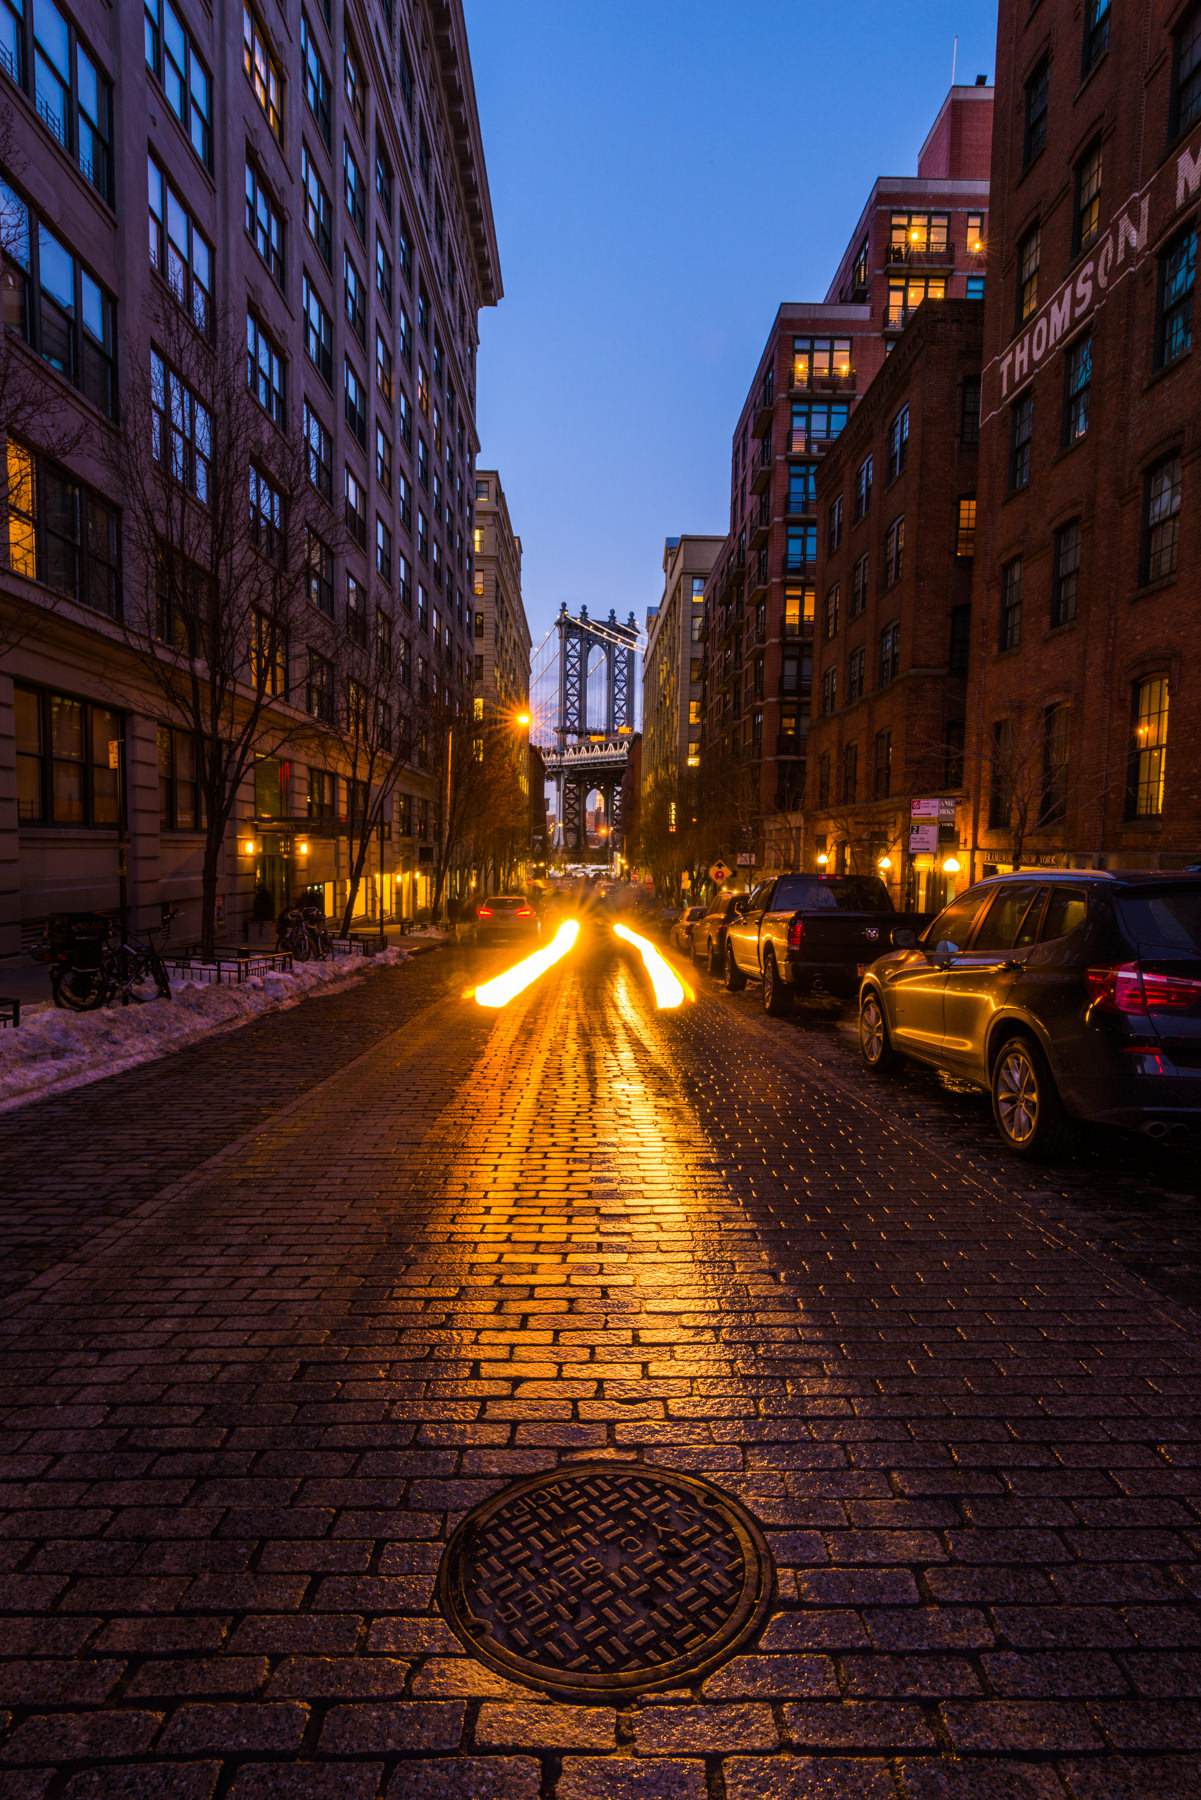
The Washington Street view is a street composition of the Manhattan Bridge framed by buildings. It is popular, but the roadway still serves traffic and local businesses. Edin’s sample light-trail photograph is not a reason to stand in a live lane.
Composition: Use a standard lens to hold the bridge’s size or a wider lens for more street context. Keep the tower separate from the building edges. A lower viewpoint can exaggerate paving texture, but choose one from a safe pedestrian position.
Light and timing: Blue hour can retain detail in the buildings while street lights become visible. Rain may add reflections and increase vehicle glare. Make a handheld frame that preserves movement if a supported long exposure would block the walkway.
Access: Stay on open sidewalks and public pedestrian areas, obey crossings and do not block loading or entrances. Do not put a tripod in traffic or ask vehicles to wait. This guide supplies no traffic control, closed-street permission or guaranteed empty-road time.
 Save
Save21. Subway stations
New York subway stations offer movement, reflections and artificial light. The sample photograph is a composition reference, not directions to a specific station or platform.
Composition: Work handheld and keep the camera close to your body. Frame a train, doorway or reflection without stepping toward the platform edge. A short shutter speed can freeze a gesture; a slower one can show motion only when your own position remains safe.
Light and timing: Artificial light varies between stations and can produce color casts. Set a workable shutter speed first, then use ISO and aperture to support it. Respect passengers and avoid confronting or following people for a photograph.
Access: MTA guidance exempts personal, non-commercial work with a phone or small handheld camera from prior registration or fees when it does not disrupt operations. Additional equipment such as tripods, lights or reflectors requires approval. Commercial work requires a location agreement or permit. Stay behind the platform edge, follow staff instructions and never enter tracks or restricted areas.
MTA: filming and photography policy
The New York City Photography Guide
The New York City Photography Guide brings these 21 photo-led chapters into a black-and-gold PDF, with Edin Chavez’s photographs, composition teaching, light notes and source-linked access checks. The guide is $47. It does not include admission, permits, tours, presets or Academy membership. No exact GPS or exposure guarantees are offered.
Get the New York City Photography Guide – $47
Keep learning
For photography lessons beyond this destination, visit Shut Your Aperture Academy. Academy access is separate from the guide.
Questions photographers ask
Can I bring a tripod to Top of the Rock or Empire State Building?
Top of the Rock says tripods are not allowed. Empire State Building lists professional camera equipment and stands, including tripods, monopods and bipods, as prohibited. Check your exact equipment before visiting.
Do I need a permit at Grand Central Terminal?
Personal non-commercial work with a phone or handheld consumer camera is allowed without a permit or fee. A tripod, light, stabilizer or commercial shoot requires approval.
Can I use a tripod at the Oculus?
The World Trade Center operator says a tripod or a crew of five or more needs a permit, including for non-commercial use.
Is every waterfront path open?
No. Construction, events and maintenance can interrupt access. The Battery has phased coastal-resilience work, and East River project notices describe changing closures and detours. Follow current signs.
Can I return to Empire State Building later on the same ticket?
A standard ticket is valid for one entry. Multiple visits require a ticket option that explicitly allows them, such as the AM/PM Experience. All visits require a timed reservation; check current terms before buying.
Does the guide include deck tickets or presets?
No. The $47 guide is a PDF with 21 photo-led chapters. Deck tickets, permits, transport, presets and Academy membership are separate.
Affiliate disclosure: This post includes Amazon and B&H affiliate links. If you buy through them, Shut Your Aperture may earn a commission at no extra cost to you. As an Amazon Associate, I earn from qualifying purchases.