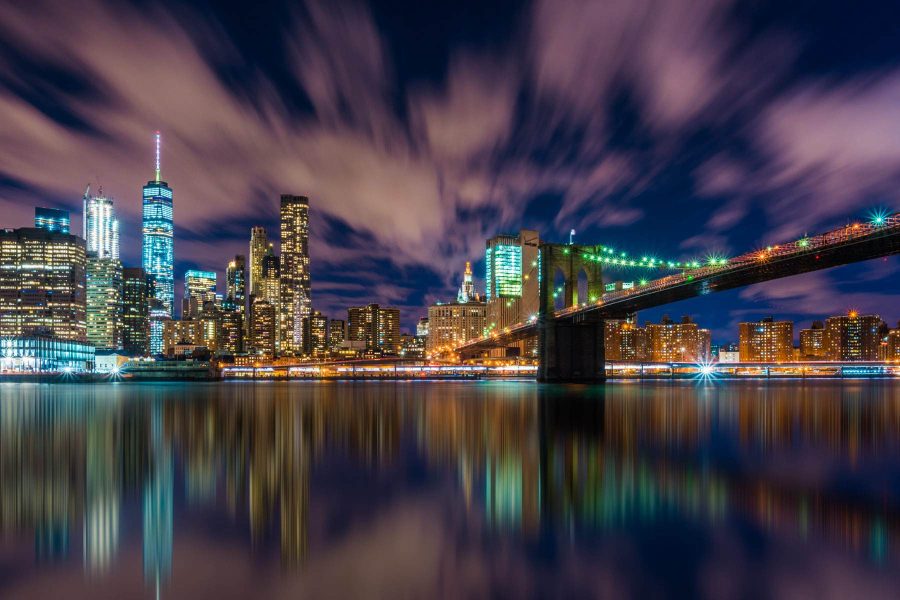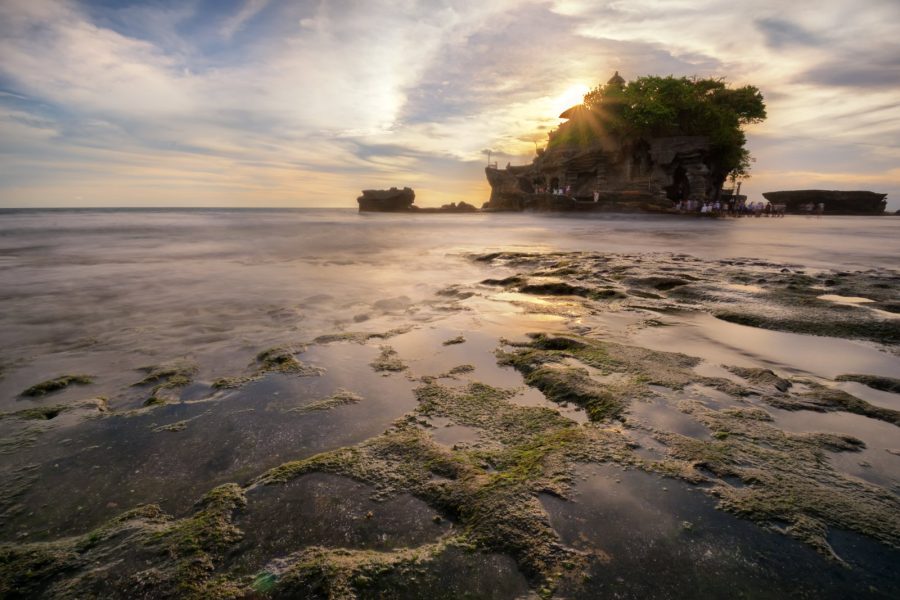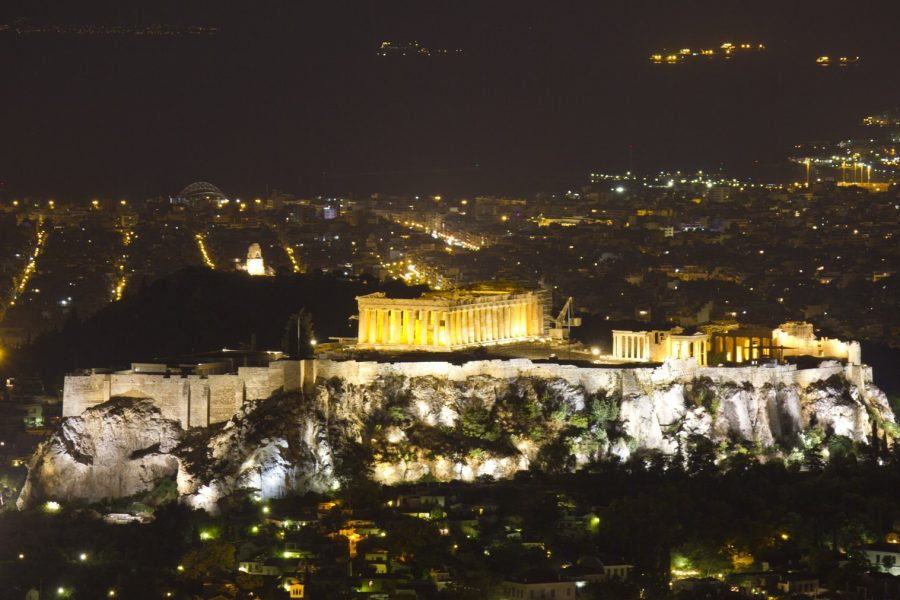
Miami offers very different photographs within a short-looking map distance: illuminated Art Deco facades, ship-channel movement, river reflections, dense towers, quiet palms and Calle Ocho street scenes. The strongest trip is not the one that covers the most neighborhoods. It is the one that gives a good subject the right light and enough attention. These six Miami photography subjects are a starting point for that trip, illustrated with photographs by Edin Chavez.
This article introduces six subjects from the 62-page Miami photography guide. The paid PDF goes further with 12 photo-led chapters and 20 original photographs, alternative compositions, shot lists and access planning. Start with the light and the kind of picture you want, then choose a route that fits the time and access you actually have.
Plan a session, not a checklist
Choose a beach evening or a downtown evening, not both at the last minute. Ocean Drive is a street subject; South Pointe is a park-and-water subject with its own hours. The river and Brickell buildings support a different kind of walk. Matheson Hammock needs a separate drive and a current park check. Little Havana works as its own street session. Plan parking and a return route, leave time to walk safely and do not promise yourself a private waterfront viewpoint because it appears in an old photograph.
1. Ocean Drive: Art Deco after dark
 Save
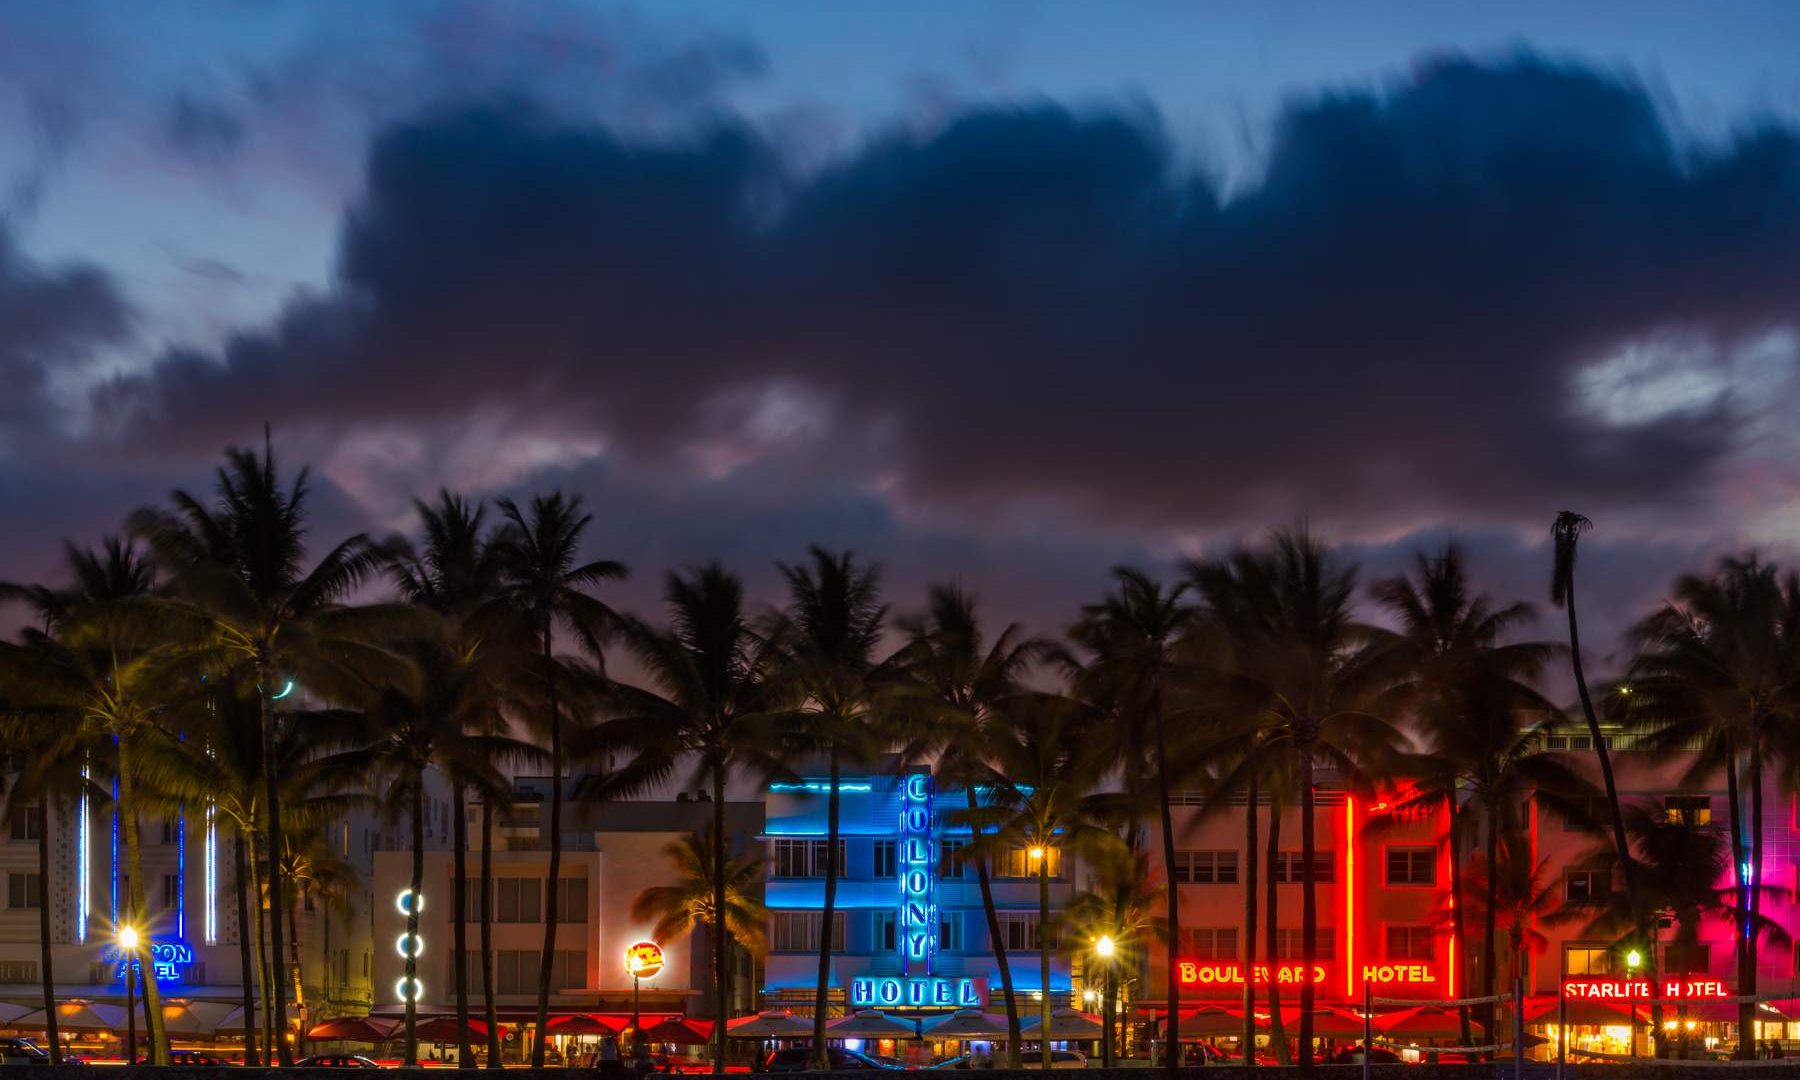
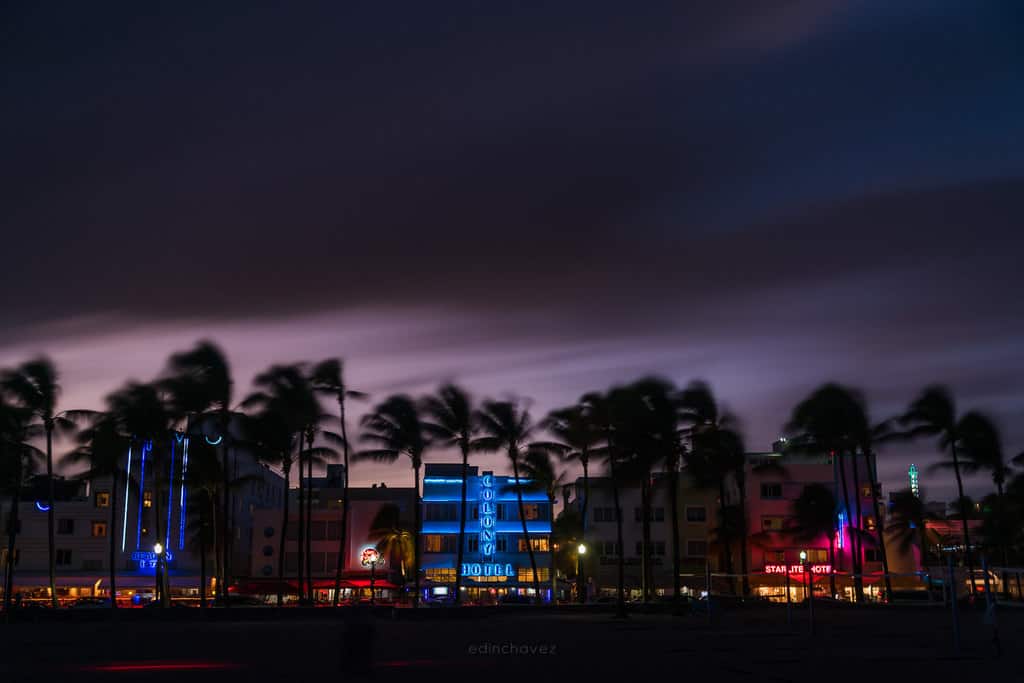
SaveOcean Drive is where a Miami Beach photograph gets its identity. Start from a lawful public sidewalk or park path opposite the hotels. The Colony and Avalon examples in the original book show recognizable facades and moving traffic in the same frame. Cars, signs and lighting change; the image teaches a composition rather than promising an unchanged scene.
Arrive while the sky still holds detail. Make your composition before the signs become the brightest parts of the frame. Keep shooting as the sky darkens, but compare exposures rather than assume one fixed blue-hour duration. Wind can blur palms during a long exposure even when the buildings stay sharp.
Keep verticals deliberate. A level camera and a little distance usually give cleaner geometry than tilting an ultra-wide lens upward. Use palms as a frame without covering the hotel name. Wait for a clear gap in pedestrians. Include a traffic streak only when it supports the facade, not simply because a long exposure is possible.
Expose for illuminated letters before they disappear into clipped color. Check the RGB histogram if available. Make a shorter insurance exposure for a static scene. Brighten dark building detail only when it helps; lifting every shadow can flatten the neon atmosphere.
A starting setup for blue-hour facade: f/8, ISO 100-400, 1-8 sec trial, 24-50mm. These recommendations are not a claim about the original photograph’s EXIF. Check a test frame and change the settings when motion, focal length or light require it.
Access before the photograph
Keep pedestrian routes clear and obey street closures. Miami Beach requires commercial film/photography permits under its published rules. Check its Film & Print office before a paid production. Hotels, lobbies and rooftops are private; this chapter does not grant interior access.
2. South Pointe: pier and harbor light
 Save
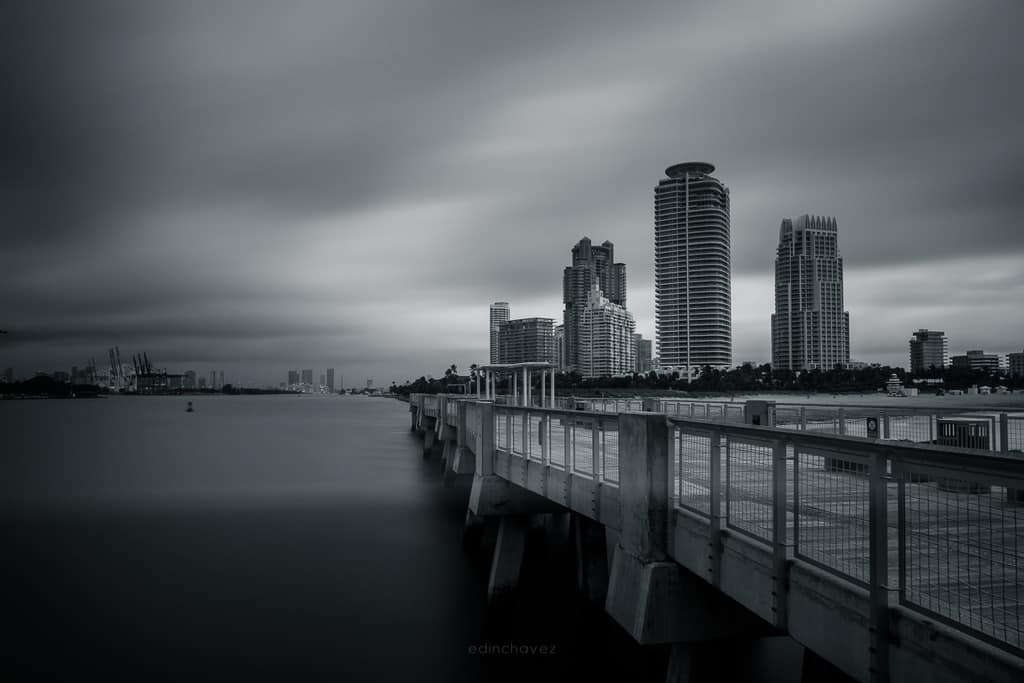
SaveSouth Pointe combines an Atlantic-facing pier and a harbor-facing park. Treat them as separate subjects. The pier image uses supports as a diagonal; the park image layers harbor shapes under a colored sky. Current barriers and hours decide where you can stand, not an old photograph.
An Atlantic view can work near sunrise; harbor angles suit other parts of the day. Choose the side that matches the light. The city lists the park as sunrise to sunset. The old book’s instruction to arrive on rocks before sunrise does not override today’s hours.
Keep the pier diagonal pointed toward a clear end point and the horizon level. Work from stable lawful ground, not wet rocks. On the harbor side, separate ships from cranes and buildings. Leave room ahead of a moving vessel.
Water and concrete call for different shutter choices. Confirm sharpness with a shorter test, then lengthen for water texture only if allowed support is practical. A passing ship will smear at a shutter that smooths the sea. Decide which subject matters.
A starting setup for pier and sky: f/8-f/11, ISO 100-400, 16-35mm. These recommendations are not a claim about the original photograph’s EXIF. Check a test frame and change the settings when motion, focal length or light require it.
Access before the photograph
Park hours are listed as sunrise to sunset; individual pier/facility access may differ. Stay behind rails, off jetty rocks and out of rescue areas. Obey current closures. Skip a view that requires unstable footing or a closed gate.
3. Miami River: reflections and movement
 Save
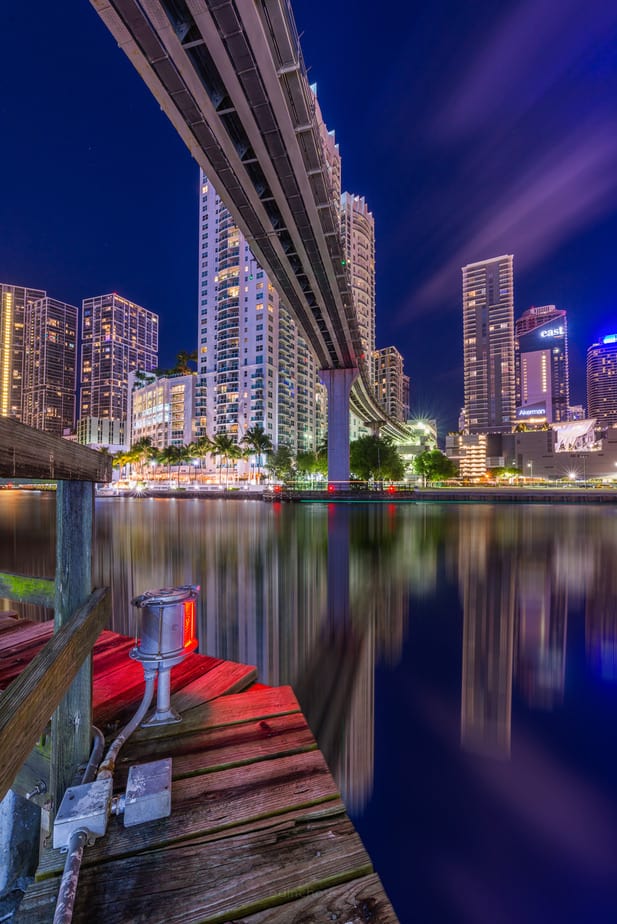
SaveThe source article identifies this portrait image with the Miami River downtown walk. A railing, reflection and building group can make a strong scene without the entire skyline. Public and private river sections differ; no continuous unrestricted route is promised.
Twilight can connect foreground detail to bright windows. Make a clean frame before nearby lamps and signs overpower it. Boats, wakes and pedestrians change the scene: this is a working urban corridor, not a studio.
Let a railing lead to one building group without covering all reflections. Compare a portrait and horizontal version. The better one is whichever removes clutter while keeping useful foreground and a clear subject.
A reflection is moving light. Lengthen shutter to smooth water, shorten it if a vessel matters. Watch nearby lamps as well as distant windows. Focus on a building edge and check the foreground when its texture is central.
A starting setup for river geometry: f/8, ISO 200-800, 24-50mm. These recommendations are not a claim about the original photograph’s EXIF. Check a test frame and change the settings when motion, focal length or light require it.
Access before the photograph
Use signed public routes and respect hotel, restaurant and dock boundaries. Scout exits in daylight, keep gear close and avoid isolated stretches after dark. Commercial location shoots need the applicable city permit.
4. Downtown Brickell: look up with purpose
 Save
SaveEdin’s source photograph turns the space between downtown buildings into the subject. Work from a public sidewalk where you can stop safely. The image does not certify a rooftop or a repeatable window-light pattern.
Night separates warm windows from the sky. Blue hour retains more facade texture. Clouds reflect urban light and may look gray or orange; work with real conditions rather than force a deep-blue sky.
An upward view has converging lines by design. Center the gap for symmetry or offset it when one building dominates. Check corners for distracting partial facades. Change position and focal length before accepting stretched wide-angle edges.
Use enough shutter speed for your stance. Choose aperture for edge quality instead of automatically f/16. Focus on a lit building edge and check corners across several frames.
A starting setup for handheld upward view: f/4-f/8, 1/60-1/125 sec or faster, ISO to suit. These recommendations are not a claim about the original photograph’s EXIF. Check a test frame and change the settings when motion, focal length or light require it.
Access before the photograph
Keep sidewalks and driveways clear. An open lobby or garage door is not permission to enter. Rooftop, balcony and interior access require operator permission. City permits and private-property permission are separate checks.
5. Matheson Hammock: calm water and palms
 Save
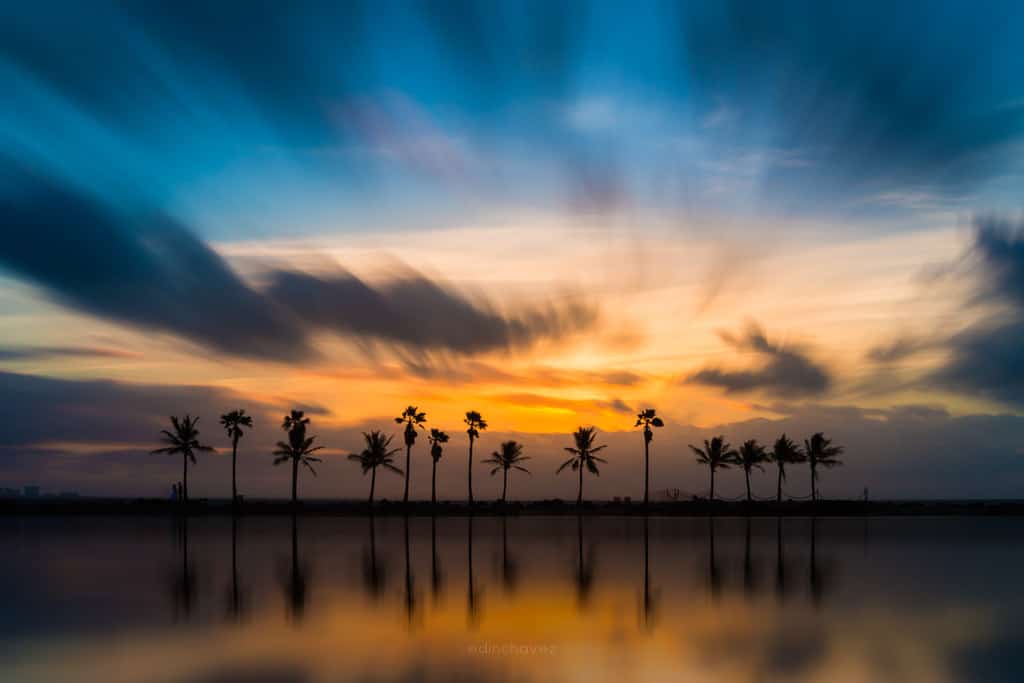
SaveThe owner’s article identifies this scene with Matheson Hammock Park. It is a low-palm and lagoon subject, not another skyline. The exact shore position is not tested; use current public paths and allowed edges.
The county lists sunrise-to-sunset hours. Late-day color can work if you can finish and leave within them. Water quality, facility schedules and weather may change access. A park listing does not grant entry before opening or after closing.
Let palms form a rhythm rather than a tangle. Keep the horizon level and give reflections room. A low angle can lengthen them, but only from dry stable ground. Switch to sky and silhouettes if the water is choppy.
A longer shutter smooths ripples but can blur palms. Compare a shorter frame before adding ND. A polarizer may remove the reflection you want; watch its effect instead of assuming it helps. Keep gear out of wet sand.
A starting setup for lagoon and palms: f/8-f/11, ISO 100-400, 16-35mm. These recommendations are not a claim about the original photograph’s EXIF. Check a test frame and change the settings when motion, focal length or light require it.
Access before the photograph
Follow park, pool, marina and parking rules separately. County facility restrictions and water-quality notices can change. Stay out of closed areas and do not enter the lagoon for a camera position.
6. Little Havana: Calle Ocho after the sun drops
 Save
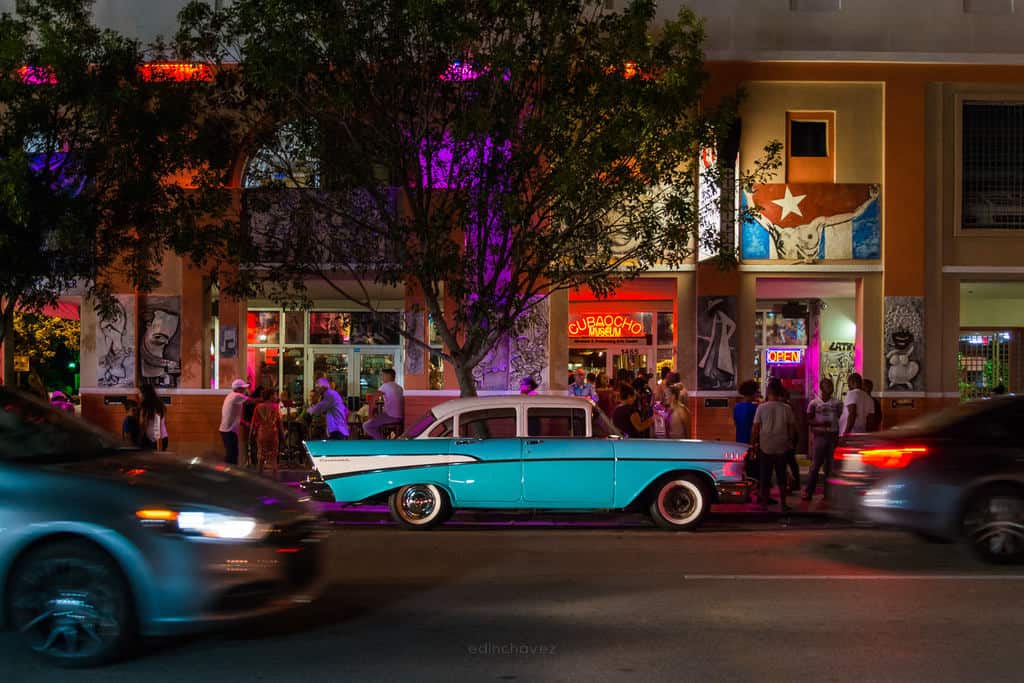
SaveCalle Ocho adds people, cars and warm storefronts to a guide full of water. The source photograph shows a passing car in a street setting. Historic vehicles are an opportunity when present, not a promised attraction.
Late afternoon into evening can connect street life to illuminated businesses. Choose a background and wait for a moment instead of chasing strangers. A tighter frame often works better than a crowded wide one.
Decide whether the car, storefront or person leads the image. Keep lamps and trees from cutting through that subject. Ask before close portraits and accept a refusal. A traffic streak should explain movement rather than cover the street in glare.
Shutter choices for a face and a car streak differ. For a street moment, raise ISO to keep shutter speed. For a static facade, a supported motion trial may work if it does not obstruct. Preserve warm light without turning skin orange.
A starting setup for street moment: 1/250-1/500 sec, f/2.8-f/5.6. These recommendations are not a claim about the original photograph’s EXIF. Check a test frame and change the settings when motion, focal length or light require it.
Access before the photograph
Public sidewalks do not grant shop or courtyard access. Ask before interiors, keep crossings and exits clear, and check city permits for commercial shoots. No festival, performer or business schedule is promised.
Build a small, useful Florida camera kit
A wide-to-normal lens covers most landscape and architectural context. Add a longer lens only when you need reach, background separation or wildlife detail. A familiar camera with a clean lens and a spare card is more useful than a heavy bag of gear you never take out. Choose footwear and drinking water before another filter. Carry a spare battery, a lens cloth, sun protection and a cover for brief rain or spray.
A tripod is a tool for a deliberate picture, not a required badge of seriousness. It can slow you down in a good way when water texture or night exposure matters. It can also block a narrow path, attract attention or violate a site rule. Make a handheld insurance frame first. If a moving subject matters, prioritize shutter speed and accept a higher ISO rather than bringing home a clean-looking file with no sharp subject.
Before buying accessories, check your actual camera, lens and bag dimensions. Card formats and recording speed requirements vary by camera. A filter fits a lens or holder, not a city. The guide does not ask you to replace a functioning setup just to photograph Florida. Work out which limitation you hit in real pictures before spending money.
Three decisions that make the frame stronger
First, choose the subject. Say what the picture is about before changing a setting. Is it the bird’s eye, the shape of a bridge, the color of a sign or a reflection? A frame that tries to give everything equal importance often has nothing to look at. Make one wider picture for context, then remove distractions until the intended subject feels clear.
Second, protect the important motion. Buildings can stay sharp while palms move. A boat can drift while the skyline is still. A bird can turn its head even when its feet never move. Stabilization can help with your own movement; it cannot freeze the subject. Choose shutter speed from the thing that must be sharp, then use aperture and ISO to support it.
Third, inspect before leaving. Enlarge the useful detail, look for clipped color, inspect the edges and check your horizon. A little review while the light is still there is cheaper than an hour of editing later. Make one simple alternative without the risky filter, complicated foreground or long exposure. That backup is often the photograph you keep.
Weather, safety and access belong in the plan
Florida weather can change during a short session. Check current warnings and do not treat dramatic storm clouds as permission to remain beside exposed water. Lightning, heat, slick surfaces and sudden rain can make a familiar location unsafe. Build a retreat into the route and leave when conditions stop supporting the photograph. No sunset is worth being trapped at a closed gate or unstable shoreline.
A historical photograph shows what the photographer saw, not a public right of entry. Structures, park edges, businesses and posted rules change. Public paths do not give access to private docks, hotels, roofs or closed areas. A ticket does not necessarily cover professional production. Check the operator for your actual activity and keep pedestrian and emergency routes clear.
Miami photography questions
What is the best time for Miami photography?
Match timing to the subject. Evening and blue hour can suit buildings and neon, while low light can shape palms and water. Park hours may make a preferred dawn or night idea unavailable. Check the location first, then choose the light rather than assuming every park opens before sunrise.
Can I use a tripod everywhere?
No. A wide sidewalk, a public park, a private shopping center and a professional shoot are different situations. Check current rules for the actual site and activity. Keep the walking route clear and make a handheld backup when support is not allowed.
Is the photo guide an access pass?
No. It is a planning and teaching PDF. Admission, parking, transport, permits, tours and Academy membership are separate. A named landmark is a starting reference, not a guarantee of an exact open camera position.
Do I need a very wide lens?
A wide-to-normal lens is a useful start for city context. A longer focal length can simplify a skyline or separate one street detail. Avoid forcing every scene into the widest view. Choose focal length from the frame you want and work within lawful access.
Should I plan a Miami sunrise session?
Only after checking the actual access point. A beach session and a park session can have different restrictions, and city park listings often run sunrise to sunset. Older photo advice about early entry is not current permission.
Can I make good Miami photographs with a phone?
Yes. Choose a clear subject, keep the horizon and building edges deliberate and avoid relying on digital zoom for distant details. Low light and fast movement can be harder, so make a daylight or early-evening backup. The composition and access decisions in this article still apply.
Go beyond these six subjects
The full PDF adds Miami Beach, Maurice Gibb, Venetian Causeway, Watson Island, Alice Wainwright, Miami Beach surf. Each chapter has a real photograph, a reason to shoot the scene, light and composition decisions, recommended starting settings, four shot ideas, common mistakes and an orientation reference. The guide is built for choosing a workable session, not promising an identical photograph.
62 pages. 12 photo-led chapters. 20 original source photographs. $47 for the guide PDF only. Admissions, transport, permits, tours, presets and Academy membership are separate.
Get the Miami photography guide – $47
Understand the decisions behind your settings
A location guide helps you choose where and how to work. Understanding exposure makes that plan adaptable. If aperture, ISO or shutter speed still feels like a recipe to memorize, start with one variable and a repeatable assignment. Photograph the same scene with two shutter speeds or two apertures, then compare the result rather than assuming one number is correct for every photograph.
Explore the FRAMEHAUS Photography Academy for structured fundamentals and genre lessons. Academy access is not included with the guide PDF.
Current planning references
Plan the shoot
A Little Havana food-and-culture walk can add context to a separate street session. This is not a photography workshop; ask the operator about pace, access and your equipment.
Check guided trip options on GetYourGuide
Affiliate disclosure: this article contains affiliate links. If you buy or book through them, Shut Your Aperture may earn a commission at no extra cost to you. Tours and gear are not included in the guide PDF.