Updated October 2026.
A wide lens can put a whole room into the photograph and still miss the point of the room. The trick is choosing what matters, then keeping everything else from competing with it. Move your feet, watch the edges and give the foreground a job. A bright aperture is useful, but it does not make those decisions for you.
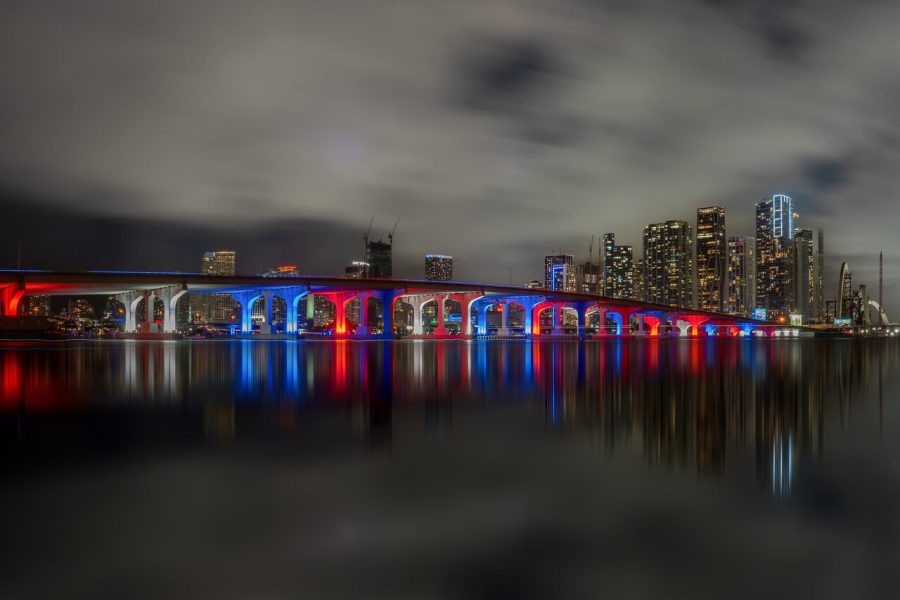
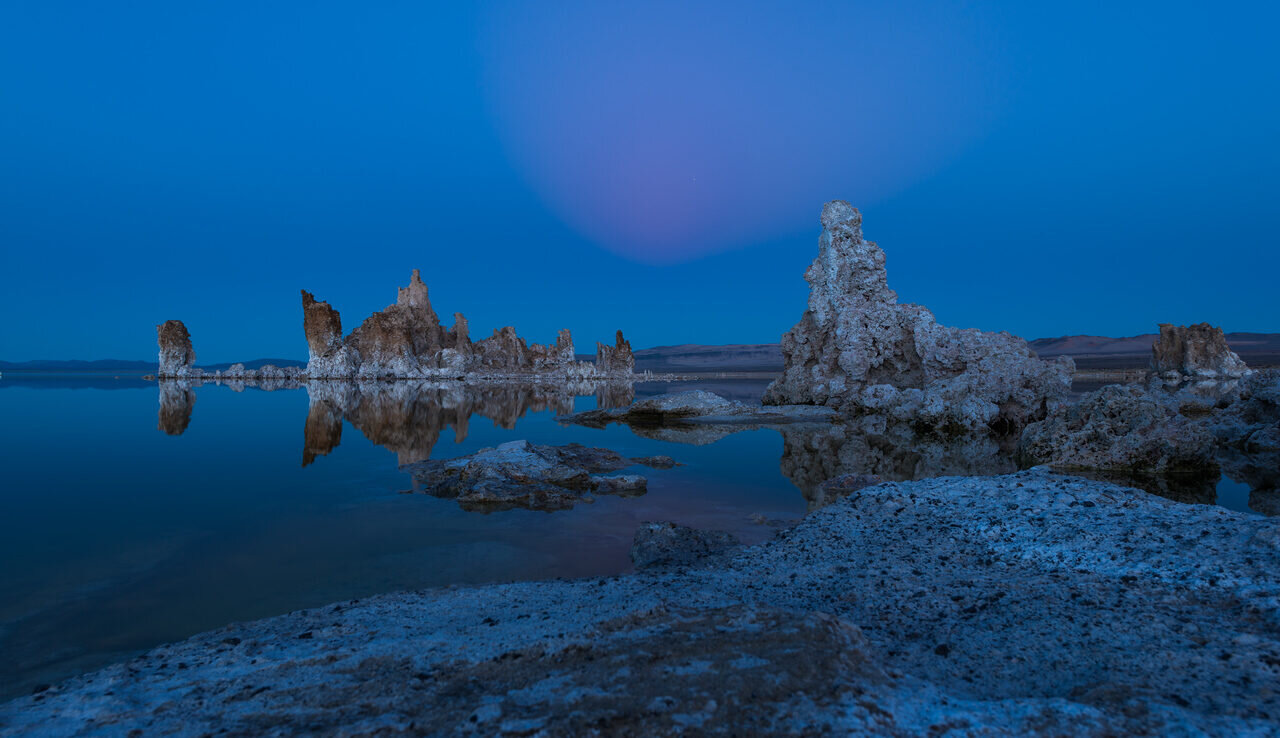
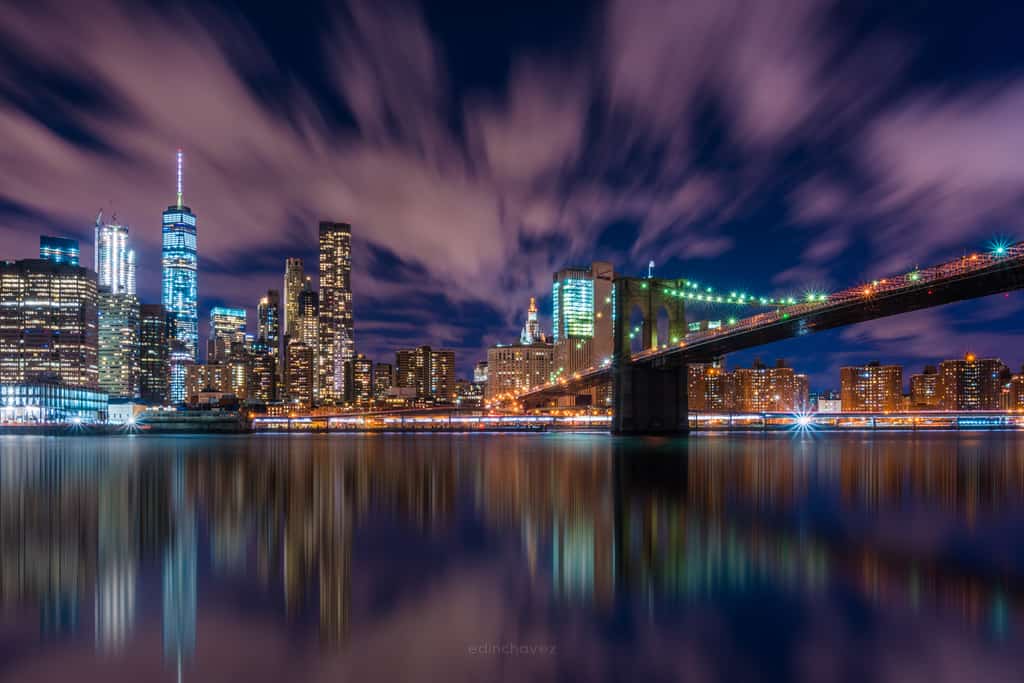
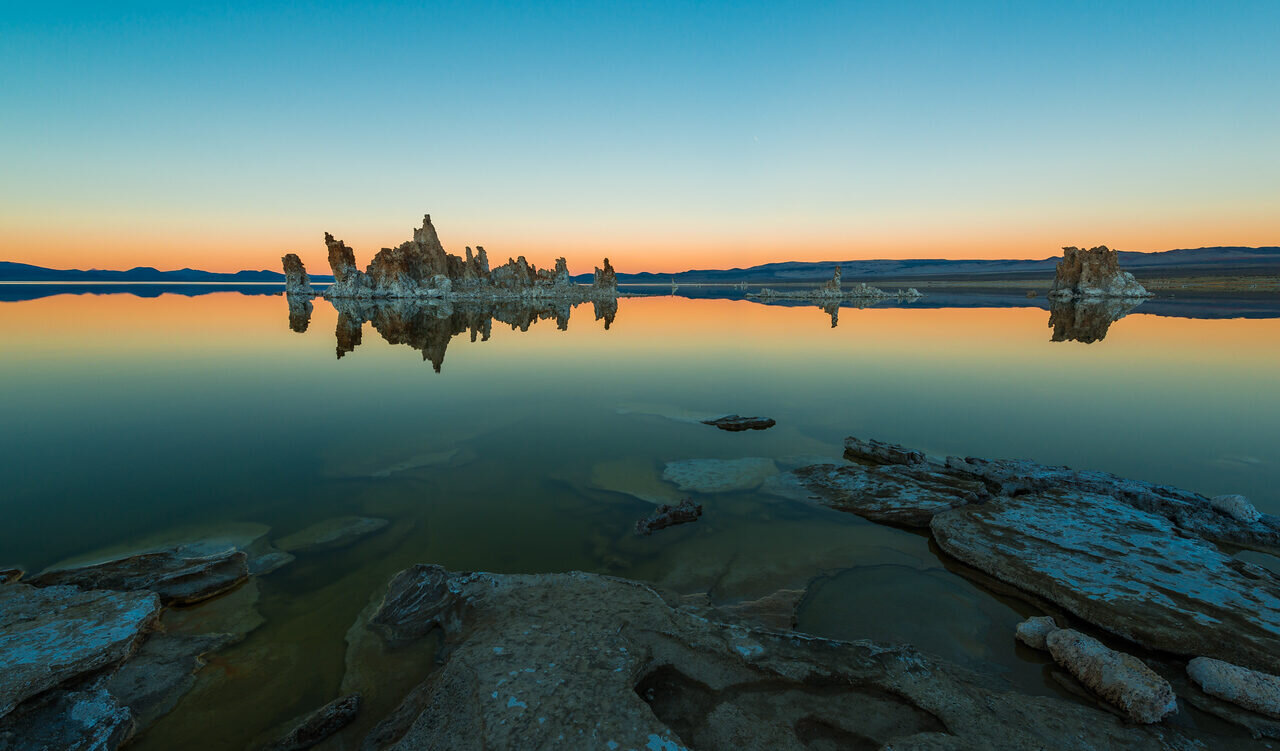
This guide covers the original Sigma 24mm f/1.4 DG HSM Art in Canon EF mount, the A015 design introduced in 2015. It is not the newer 24mm DG DN Art or a Canon RF-mount lens. The photographs illustrate composition and light; they are not claimed as test photographs from this lens. Use the exact model and mount when checking compatibility, firmware, accessories or a used listing.
What the original 24mm Art is for
On a full-frame Canon body, 24mm gives a wide view that suits landscapes, interiors, city scenes and portraits that include a person’s surroundings. The f/1.4 maximum aperture gives you a useful option when light is limited or you want a close subject separated from the background. It is still a prime lens. Changing the framing means changing position or cropping, not turning a zoom ring.
On a Canon APS-C camera with a 1.6x crop factor, the angle of view is similar to a 38.4mm lens on full frame. The lens remains 24mm and its maximum aperture remains f/1.4. The smaller sensor records less of the image circle. That can make it a useful everyday focal length, but not the same wide interior view you get on full frame.
Sigma’s official specifications list 15 elements in 11 groups, a nine-blade rounded diaphragm, a 25cm minimum focus distance measured from the sensor plane and a maximum magnification of 1:5.3. The filter thread is 77mm. The published 665g weight is specified for the Sigma SA version, so do not treat it as an exact measured weight for every mount. Check the actual listing and kit weight if you are balancing a rig.

Confirm the mount before anything else
Canon EF is the DSLR mount. The EF version does not attach directly to Canon RF or Sony E. An adapter adds another compatibility question, including autofocus, aperture control and firmware. Do not buy a lens because a seller says it is for Canon without seeing the mount and exact model. EF, EF-M and RF are different systems.
The original DG HSM design also appeared in other mounts. A photograph of the front barrel may not identify which version is for sale. Ask for the rear mount, model identification and included accessories. An adapter advertised for one version is not necessarily suitable for another. Confirm the camera, adapter and lens together, especially if dependable autofocus is part of the purchase.
The global Sigma page currently marks the listed mount versions discontinued. That is product status, not a claim that no shop has remaining stock or that every repair option is gone. Check the seller’s actual condition, warranty and return terms. A sealed box, a used bargain and a serviced copy are different offers. This guide makes no live stock or price promise.
Use f/1.4 for a reason
A wide aperture can let you keep a faster shutter speed or lower ISO in dim light. It also narrows depth of field, especially close to the subject. Put focus on the detail that must be sharp. With a person, that will often be the nearer eye. Make a test frame enlarged and check it before assuming that a wide lens keeps everything in focus.
For an environmental portrait, get close enough that the person matters but not so close that the camera position exaggerates facial proportions. Keep faces away from the extreme edges when you want natural-looking proportions. Wide-angle perspective is mostly a consequence of where you place the camera. Cropping later cannot undo the relationship between a very close nose and more distant ears.
Start by deciding how much context the photograph needs. If the room tells the story, stop down enough to keep its useful details readable. If the surroundings are cluttered, simplify the angle or move the person before relying on blur. An open aperture is a tool, not a rule that every photograph should follow.
Bright daylight can exceed the shutter speed available at f/1.4 and your chosen ISO. Watch the exposure instead of accepting blown highlights as the price of shallow depth of field. A suitable neutral-density filter can help when you need that aperture, particularly for video. Test the filter for color shifts and vignetting, and remove it when it no longer serves the shot.
Build a stronger wide-angle composition
The first question is what the foreground contributes. A shape, reflection, texture or line can lead into the frame. An empty patch of pavement usually does not deserve half the photograph. Lower the camera or move to one side, then look again. Small changes are powerful because nearby objects change size and position quickly relative to the background.
Check all four edges before pressing the shutter. Look for clipped objects, a bright sign, half a person or a line that runs out of the frame awkwardly. With a wide lens, distractions can hide far from the main subject. A deliberate edge check is more useful than assuming you can erase everything later.
For buildings, keeping the camera level helps control converging verticals. Tilting upward changes the geometry, and software correction may crop away part of the scene. Leave room when you expect to correct perspective. Lens-distortion correction and perspective correction are different operations; one addresses the optical mapping, while the other addresses how the camera viewed the subject.
Focus carefully on a DSLR
Set AF for the subject. For a stationary detail, single-shot autofocus with a deliberately placed point is a good starting place. For a moving person, use the camera’s continuous focusing mode and practice the sequence. The body’s autofocus system and the lens work together; a fast motor label is not a guarantee that every camera will track every subject.
If a DSLR repeatedly focuses in front of or behind a still target through the viewfinder, compare it with a carefully focused Live View image. Use a stable support, consistent light and several repetitions. One missed frame can come from movement or a badly chosen target. A repeated offset deserves a controlled check before you change settings.
Sigma’s compatible USB Dock and Optimization Pro software can support firmware updates and focus adjustment for the appropriate lens and mount. Camera autofocus microadjustment, where supported, is another tool. Neither should become random trial and error. Record the baseline, change one thing and repeat the same test. Save the original adjustments so you can return to them.
Check focus at more than one distance, including the distance you normally use. A lens that looks fine across a room can behave differently close to its minimum focus distance. If you use an adapter, test that exact setup as well. Reliable focus on one DSLR does not prove identical performance on an adapted mirrorless camera.
Firmware and Canon correction settings
Use Sigma’s A015 firmware page and select Canon EF, not Sony E, Nikon F or another mount’s instructions. The page contains several mount histories. A version number at the top of the page may belong to the wrong system. Confirm the selected mount, installed version and required update method before starting.
The Canon EF update history includes changes for in-camera Lens Aberration Correction, autofocus-area behavior and exposure or diaphragm operation with particular cameras and configurations. That history is a reason to check firmware on an older used copy. It is not a blanket promise that every Canon body, correction setting or third-party adapter is supported.
If you see abnormal images or an error after enabling in-camera corrections, turn those corrections off for a controlled test and check Sigma’s exact-model support notes. Do not diagnose an optical defect solely from one heavily corrected JPEG. Compare an uncorrected file and check the camera’s own compatibility guidance. During an update, follow Sigma’s instructions and do not interrupt power or communication.
Landscape sharpness and the limits of stopping down
For a landscape with useful detail from foreground to background, f/1.4 is rarely the obvious starting point. Choose an aperture that gives the depth of field you need, then inspect the nearest and farthest important details. Moderate apertures are worth testing before closing to the smallest opening. Diffraction can reduce fine detail, so a bigger f-number is not always a sharper photograph.
A tripod helps with camera movement, but it does not freeze wind-blown plants or people. Choose the shutter speed for the moving parts of the scene. If the light is fading, decide whether to raise ISO, open the aperture or accept movement. Each changes the picture. A clean composition with the movement you intended is better than a technically tidy frame with the wrong subject.
This lens has no optical stabilization. A camera or adapted system may offer its own stabilization, but that is not a feature of the lens. Use a suitable shutter speed, stable support and careful technique. For tripod exposures, a timer or remote release can reduce movement from touching the camera. Check the actual file instead of trusting the rear-screen thumbnail.
Night scenes need a corner check
A bright 24mm lens is attractive for night skies and city light. Sigma describes design work to reduce sagittal coma, but that does not justify promising perfect stars in every corner at f/1.4. Independent reviews examine wide-open behavior under their own conditions. Test your copy, focus and framing rather than treating a marketing phrase as an optical guarantee.
For stars, magnify a bright point and focus carefully. Take a short test, enlarge the center and corners and look for elongated points. If you stop down, compensate exposure deliberately and watch for star trails. The usable shutter time depends on the sensor, framing, sky position and how the image will be viewed. A single fixed rule cannot certify every result.
For city scenes, point lights may reveal flare, ghosting and color fringes that were hard to see in daylight. Use the correct hood and keep the front element clean. Shade a light outside the frame when you can do so safely without entering the photograph. Check the highlights and leave room for editing rather than letting every bright sign clip.
Inspect a used copy as a complete kit
Check the glass for haze, fungus, scratches and signs of separation. A little internal dust is not automatically a ruined lens, but cloudiness and damage deserve closer inspection. Examine the mount, contacts, filter thread, autofocus switch and focus ring. The hood should fit securely without forcing it. Ask about drops, repairs and exposure to moisture.
Photograph a flat, detailed subject with the camera carefully aligned. Compare the left and right sides at the same distance and aperture. Uneven softness can come from alignment, focus or the lens itself, so repeat before drawing a conclusion. Then test a normal scene and a close subject. A chart test alone does not tell you whether the copy works for your photography.
The specified hood is LH830-03 and the filter thread is 77mm. Verify replacement parts by model, not just diameter or a vague Art-lens label. Avoid stacking thick filters without checking the corners. Do not assume the original body is weather sealed or treat it as waterproof. Protect it from rain, blowing sand and condensation, and allow a cold kit to warm gradually in its bag.
Choose the copy with a clear return path and working autofocus on your camera, not simply the cheapest listing. Test aperture control, file exposure and focus before the return window closes. A small, known-good kit is easier to use than a collection of parts with uncertain compatibility. Learn what the lens does well, then use it to make a photograph with a clear subject.
Frequently asked questions
Is this the newer 24mm DG DN Art?
No. This guide covers the original A015 DG HSM Art in Canon EF mount, not the later DG DN design.
Does it attach directly to a Canon RF camera?
No. The EF version needs a suitable adapter. Check the camera, adapter, lens and firmware together.
Does this lens have optical stabilization?
No. Any stabilization offered by the camera or adapted system is separate from the lens.
What filter size does it use?
The original DG HSM Art uses a 77mm filter thread and the LH830-03 hood.
Is its 25cm minimum focus distance measured from the front glass?
No. It is measured from the camera sensor plane, and 1:5.3 maximum magnification does not make this a 1:1 macro lens.
Will f/1.4 make every corner perfect for stars?
No. Check your copy and the actual files. Wide-open point lights can reveal coma and other aberrations; test focus and a smaller aperture.
A practical 24mm Art kit
Check exact model, mount, condition and return terms. These links are shopping starting points, not stock or price promises.
- Original Canon EF 24mm Art listings: distinguish DG HSM from DG DN.
- Sigma USB Dock for Canon EF: verify lens and software support.
- 77mm neutral-density filters at B&H: choose strength for the exposure and test color.
- Tripods at B&H: support the whole kit safely.
Affiliate disclosure: Some links are affiliate links. If you buy through them, Shut Your Aperture may earn a commission at no extra cost to you. As an Amazon Associate, we earn from qualifying purchases.
Find practical photography tips at Shut Your Aperture Academy. Build your understanding of light and framing alongside your lens technique.
References: Sigma A015 specifications and exact-model firmware notes. Select Canon EF on the support page.