Updated October 2026
Aurora HDR 2019 arrived with a new Quantum HDR Engine and a familiar promise: get more usable detail from a difficult scene without turning the photograph into a glowing cartoon. The launch also came with preorder discounts and bonus packs. Those offers belonged to 2018. They are not current checkout advice, and this updated guide does not recommend an old coupon code as a working deal.
The useful question now is what the software can teach you about HDR capture and editing, and whether an existing copy still fits your workflow. A sunset skyline, dark interior with bright windows, or night scene can push beyond what one exposure records cleanly. Bracketing can help, but the merge is only the middle of the process. Good exposure choices, subject movement, restrained tone mapping, and careful output checks still determine the result.
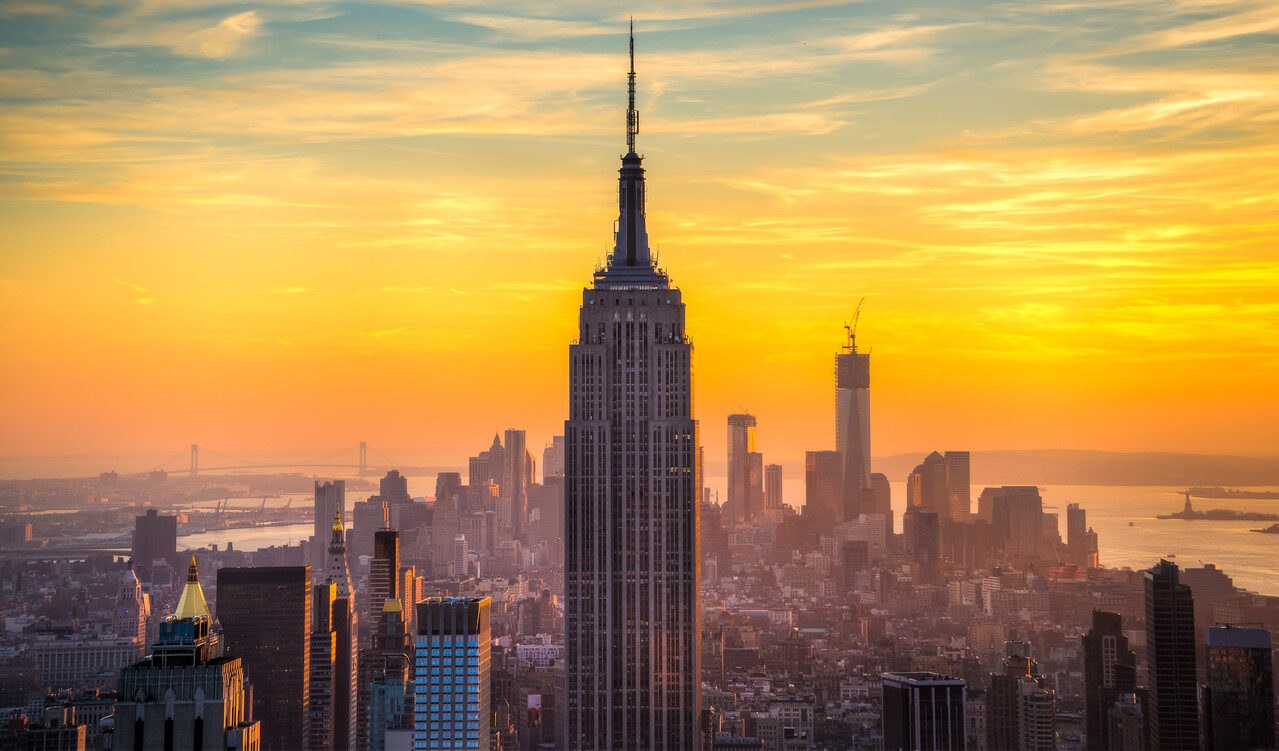
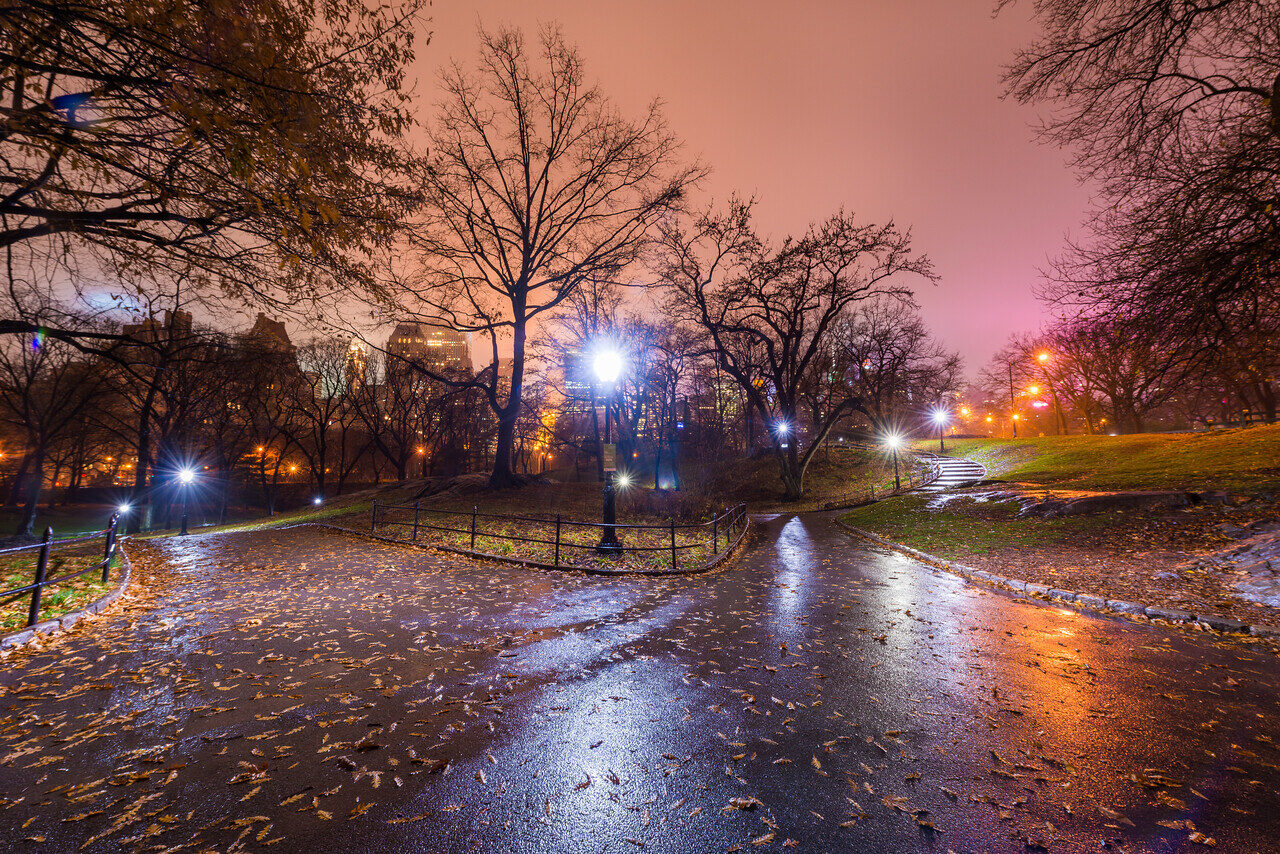
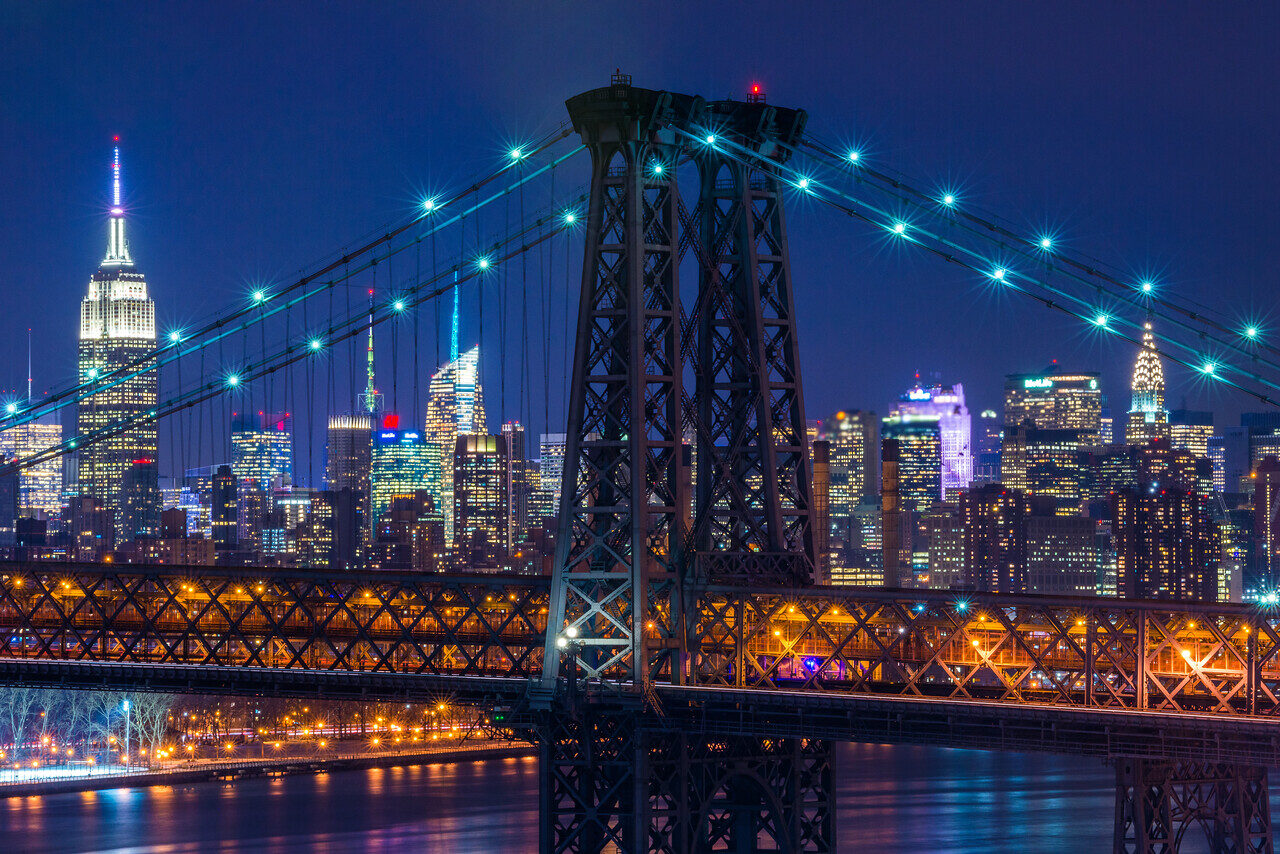
I would start with the files, not the sliders. If the highlights are missing from every frame, no preset brings them back. If a person moves through the sequence, a merge may make the problem worse. The photographs below are my New York illustrations of challenging light and contrast. They are not Aurora HDR 2019 test results, before-and-after examples, or proof that a particular application processed them.
What changed in Aurora HDR 2019
Contemporary reporting described Aurora HDR 2019 as the fourth major version, released in October 2018. Its main addition was the Quantum HDR Engine, an AI-assisted tone-mapping and merging system. Skylum said it was intended to reduce common HDR problems such as halos, unnatural colors, noise, and unstable deghosting. Treat that as the design aim, not a guarantee that every difficult bracket becomes a clean photograph.
The release also introduced LUT mapping, Aurora HDR Looks in place of the earlier preset naming, and HDR Smart Structure. These addressed different parts of the edit: the merge and tone mapping establish the image, structure affects local detail, and a LUT or Look changes the rendering. None of those controls makes exposure planning unnecessary. A dramatic style applied to a weak merge can hide problems at first and make them more obvious later.
This is a legacy-software guide, not a claim that Aurora is a current product receiving regular upgrades. Skylum places Aurora in its legacy support area and says it no longer receives updates or upgrades. Existing owners should use their official account and support route for downloads and license recovery. Do not download a cracked installer or trust a random site offering the old preorder bonus package.
 Save
SaveForget the old discount codes and bonus deadlines
The original announcement listed launch-period prices, a coupon, and extras such as tutorials, Looks, LUTs, a membership, and a tour discount. Those were time-bound offers. They do not establish a price, entitlement, availability, or refund policy today. A search result can keep an old deal alive long after the offer itself ends. Do not make a purchase decision from an archived paragraph.
For a current product, check the vendor’s own checkout and the exact package before paying. For an existing Aurora license, check what you already own first. A license-recovery page is different from a sales page. Avoid buying a second product simply because a historical article says the newer version is available for preorder. The sensible next step depends on your actual operating system, camera files, and editing needs.
Decide whether the scene needs a bracket
HDR merging combines exposures to represent a scene with more usable tonal information. It is most useful when a single practical exposure cannot hold the highlights and shadows at the quality you need. Start by checking the brightest important area and the darkest area that must show detail. A black silhouette may be intentional. Not every shadow needs to be lifted until it resembles daylight.
Compare a carefully exposed RAW file with a bracket before assuming the bracket is better. If the single file retains the important highlights and opens the shadows cleanly, a merge may add time without improving the photograph. This matters with moving people, trees, water, traffic, and clouds. More frames create more opportunities for changes between exposures. Capture only what the scene and final use require.
A single-image HDR treatment is not the same as recording additional exposure information. It can remap tones and change local contrast, but it cannot recover detail that was never captured. Keep that distinction clear when judging a result. An image that looks punchy at thumbnail size may still contain clipped windows, rough shadows, or artificial edges when opened large.
Capture brackets with a clear exposure plan
Keep composition and focus stable through the sequence. Use a fixed aperture when possible so depth of field does not change between frames. Let shutter speed supply the exposure differences, and keep white balance consistent. Check your camera’s bracketing controls rather than copying button instructions from another model. Confirm how many frames are made, their spacing, and whether the sequence finishes with one press or requires several.
There is no universal requirement to shoot five or seven frames. Make enough exposures that the highlights are preserved in at least one frame and the necessary shadows are clean in another. A modest scene may need little separation; a bright window and dark room may require more. Look at the actual files and histogram. Do not confuse a fixed recipe with evidence that the scene was covered.
Use a tripod when the light, shutter speeds, or precision demand it. Keep it stable, avoid nudging the camera, and check that nothing loosens during the sequence. A remote release or timer can reduce handling. Auto alignment can help with small differences, but it is not permission to ignore camera movement. Large shifts can cost edge area and leave details that never line up cleanly.
 Save
SaveUse support that fits the complete setup
The tripod is part of the capture system, not a cure for every merge problem. Wind, a loose head, a raised center column, or people brushing past the legs can move the camera. Choose support for the total camera and lens weight, working height, travel burden, and conditions. Keep a clear pedestrian route and follow location rules rather than putting equipment wherever the composition looks best.
Inspect alignment and movement before styling
Open the source files as a set and confirm that they belong to the same sequence. Similar-looking frames from another composition can slip into a selection. Check focus and framing before merging. A soft source frame can undermine the result, and a cropped or rotated file may create a different alignment problem from a small handheld shift.
Preview the merge at a size that shows fine detail. Look along rooflines, poles, windows, leaves, and the edges of moving subjects. Deghosting can reduce artifacts, but a stronger setting is not automatically better. It may substitute one exposure in an area where the scene changed. Check whether that area remains sharp, naturally exposed, and consistent with nearby detail.
A moving car or person may be better handled by using one source exposure for that area, or by choosing a different sequence. Do not spend an hour forcing a flawed merge to work when a clean single frame communicates the scene. Keep the original files so you can return to the capture instead of repeatedly editing a flattened export.
Tone map for believable light
Start with overall exposure and white balance. Then decide how much shadow detail is needed and where the brightest important highlights should sit. The goal is not an equal brightness level everywhere. An interior, city at night, and backlit landscape need a sense of light direction and contrast. If every surface is equally bright, the picture can lose depth even when more detail is visible.
Watch for halos around buildings, trees, and hills. Strong local contrast can make a bright rim around a dark object against the sky. Reduce the control that creates it rather than trying to hide it with saturation. Inspect both a fit-to-screen view and a close view. A small preview may make an aggressive edit look convincing while the full file reveals rough transitions.
Keep structure and sharpening separate in your judgment. A structure control can make texture feel stronger, but it also emphasizes noise, skin detail, and messy foliage. Use it with restraint and local control where available. Output sharpening belongs near the end, after the final size and use are known. Sharpening an oversized file does not predict how the web version will look.
 Save
SaveUse Looks and LUTs as starting points
Aurora HDR Looks and LUT mapping can help explore different color and contrast directions. They are not substitutes for a sound base edit. Apply a style after the merge makes sense, then compare it with the unstyled version. Pay attention to neutral surfaces, skin, sky gradients, and artificial lights. A style that works on a landscape may distort an interior or night photograph.
Reduce the effect when it overwhelms the subject. The strongest preview is not always the strongest photograph. If a Look makes the shadows muddy or pushes every lamp to the same orange, fix those issues before exporting. Save versions with meaningful names so you can compare choices without relying on memory. Do not overwrite the only finished file each time you try another style.
Test a legacy application before relying on it
Owning Aurora does not prove that it works with your present computer, RAW format, or host application. Test one normal file and one difficult bracket on the exact setup you intend to use. Check opening, merging, saving a working document, reopening it, and exporting. Plugin compatibility can be a separate question from whether the standalone application launches.
Keep installers, account records, source files, and finished exports organized. Back up your work before changing the operating system or replacing an application. Do not assume that a legacy working document will open in every newer editor. A rendered TIFF or JPEG can preserve the finished appearance, but it does not preserve every editable adjustment or the original exposure information.
Compare the workflow, not only the feature names
Lightroom desktop offers exposure merging with alignment and deghosting controls and produces an HDR DNG. That makes it a practical comparison if it is already part of your workflow. Skylum now directs Aurora users toward its current Luminar offering, but a vendor’s replacement claim is not proof that every old document, plugin, or habit transfers unchanged. Test the work you actually do.
Compare the same bracket set across the tools you can access. Judge edges, movement, noise, color, and time to a useful result. Include export and reopening in the test. A one-click preview is only one stage. If a current tool gives you clean merges inside an editor you already know, that may matter more than having a longer list of named effects.
 Save
SaveHDR merging is not the same as HDR display output
Exposure merging and HDR display output solve different problems. You can merge several exposures and deliver an ordinary SDR JPEG. HDR display editing uses a wider display brightness range and requires a compatible viewing and delivery path. The term HDR alone does not tell a client or viewer what file they will receive. State the format and intended use.
For a normal website or social delivery, inspect the actual exported file in the intended viewing context. Check color profile, dimensions, compression, and sharpening. Do not assume the editor preview and the browser match exactly. For HDR display delivery, confirm the application, file format, display, and viewer support rather than expecting every device to show the same brightness.
Build a repeatable final check
Before delivery, review the complete photograph and then inspect likely failure points closely. Look for ghosted people, doubled edges, halos, noisy lifted shadows, clipped colored lights, and uneven sky gradients. Check that the crop still works after alignment. Open the export itself and confirm the file is readable and named correctly. A successful export notification is not a visual quality check.
For guided work on exposure, composition, and editing, the Shut Your Aperture Academy provides a place to build the fundamentals that make software decisions easier. Choose from the current catalog for your goals. Practice with a small set of demanding scenes, compare your source files with the result, and learn when a bracket helps and when one clean exposure is the better photograph.
Frequently asked questions
Are the Aurora HDR 2019 discount codes and bonuses still current?
The original offers were launch-period promotions from 2018. This guide does not verify them as current. Check the official vendor checkout or account for present terms.
Does Aurora HDR still receive updates?
Skylum classifies Aurora as a legacy product and says it no longer receives updates or upgrades. Existing owners should use official support for downloads and license recovery.
Does a single-image HDR edit recover clipped highlights?
No. Tone mapping can redistribute tones, but it cannot recover detail that was never recorded. Check the source file before relying on an effect.
How many exposures should I use for HDR?
Use enough to preserve important highlights and record needed shadows cleanly. The right number and spacing depend on the scene, movement, and camera, not one fixed recipe.
Is an HDR merge the same as HDR display output?
No. A merge combines exposure information; HDR display output uses a wider display brightness range and requires compatible output and viewing support. A merge can be delivered as an ordinary SDR file.
References: Skylum legacy support and version information, contemporary Imaging Resource reporting, Adobe HDR workflow documentation, and B&H tripod specifications. New York photographs are illustrative, not software test samples.