Updated October 2026
Istanbul is a city of layers. A dome rises above a ferry wake. A narrow street stacks colorful facades beneath a steep hill. At the water’s edge, a mosque and a bridge share the same frame. The challenge is deciding what to leave out.
This photography guide starts with seven of the fourteen places in our Istanbul PDF. Use them to practice a different skill at each stop: clean silhouettes, straight architecture, layered streets, moving subjects and exposure control. Camera settings below are starting points, not the recorded settings of the photographs.
 Save
SaveMake a plan for Istanbul: 14 subjects across 53 pages.
1. Hagia Sophia: Give the Silhouette Room
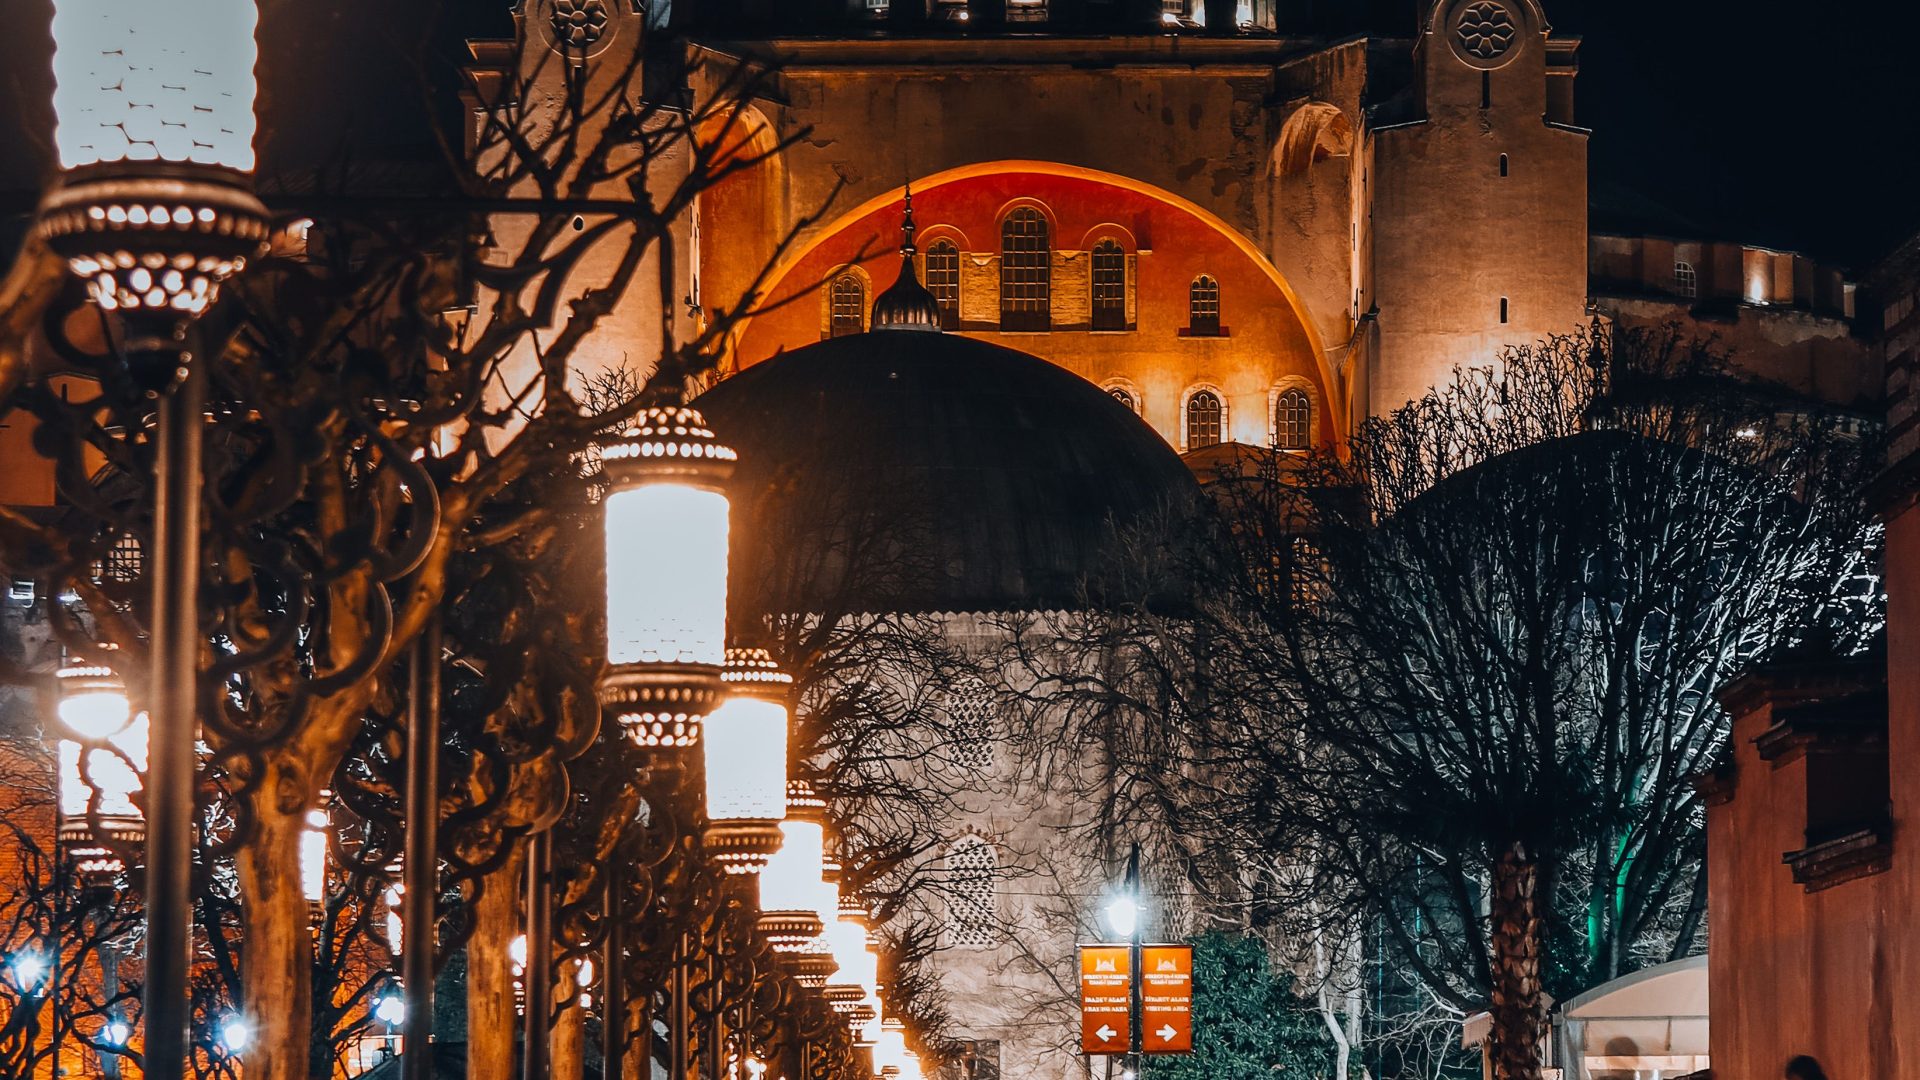
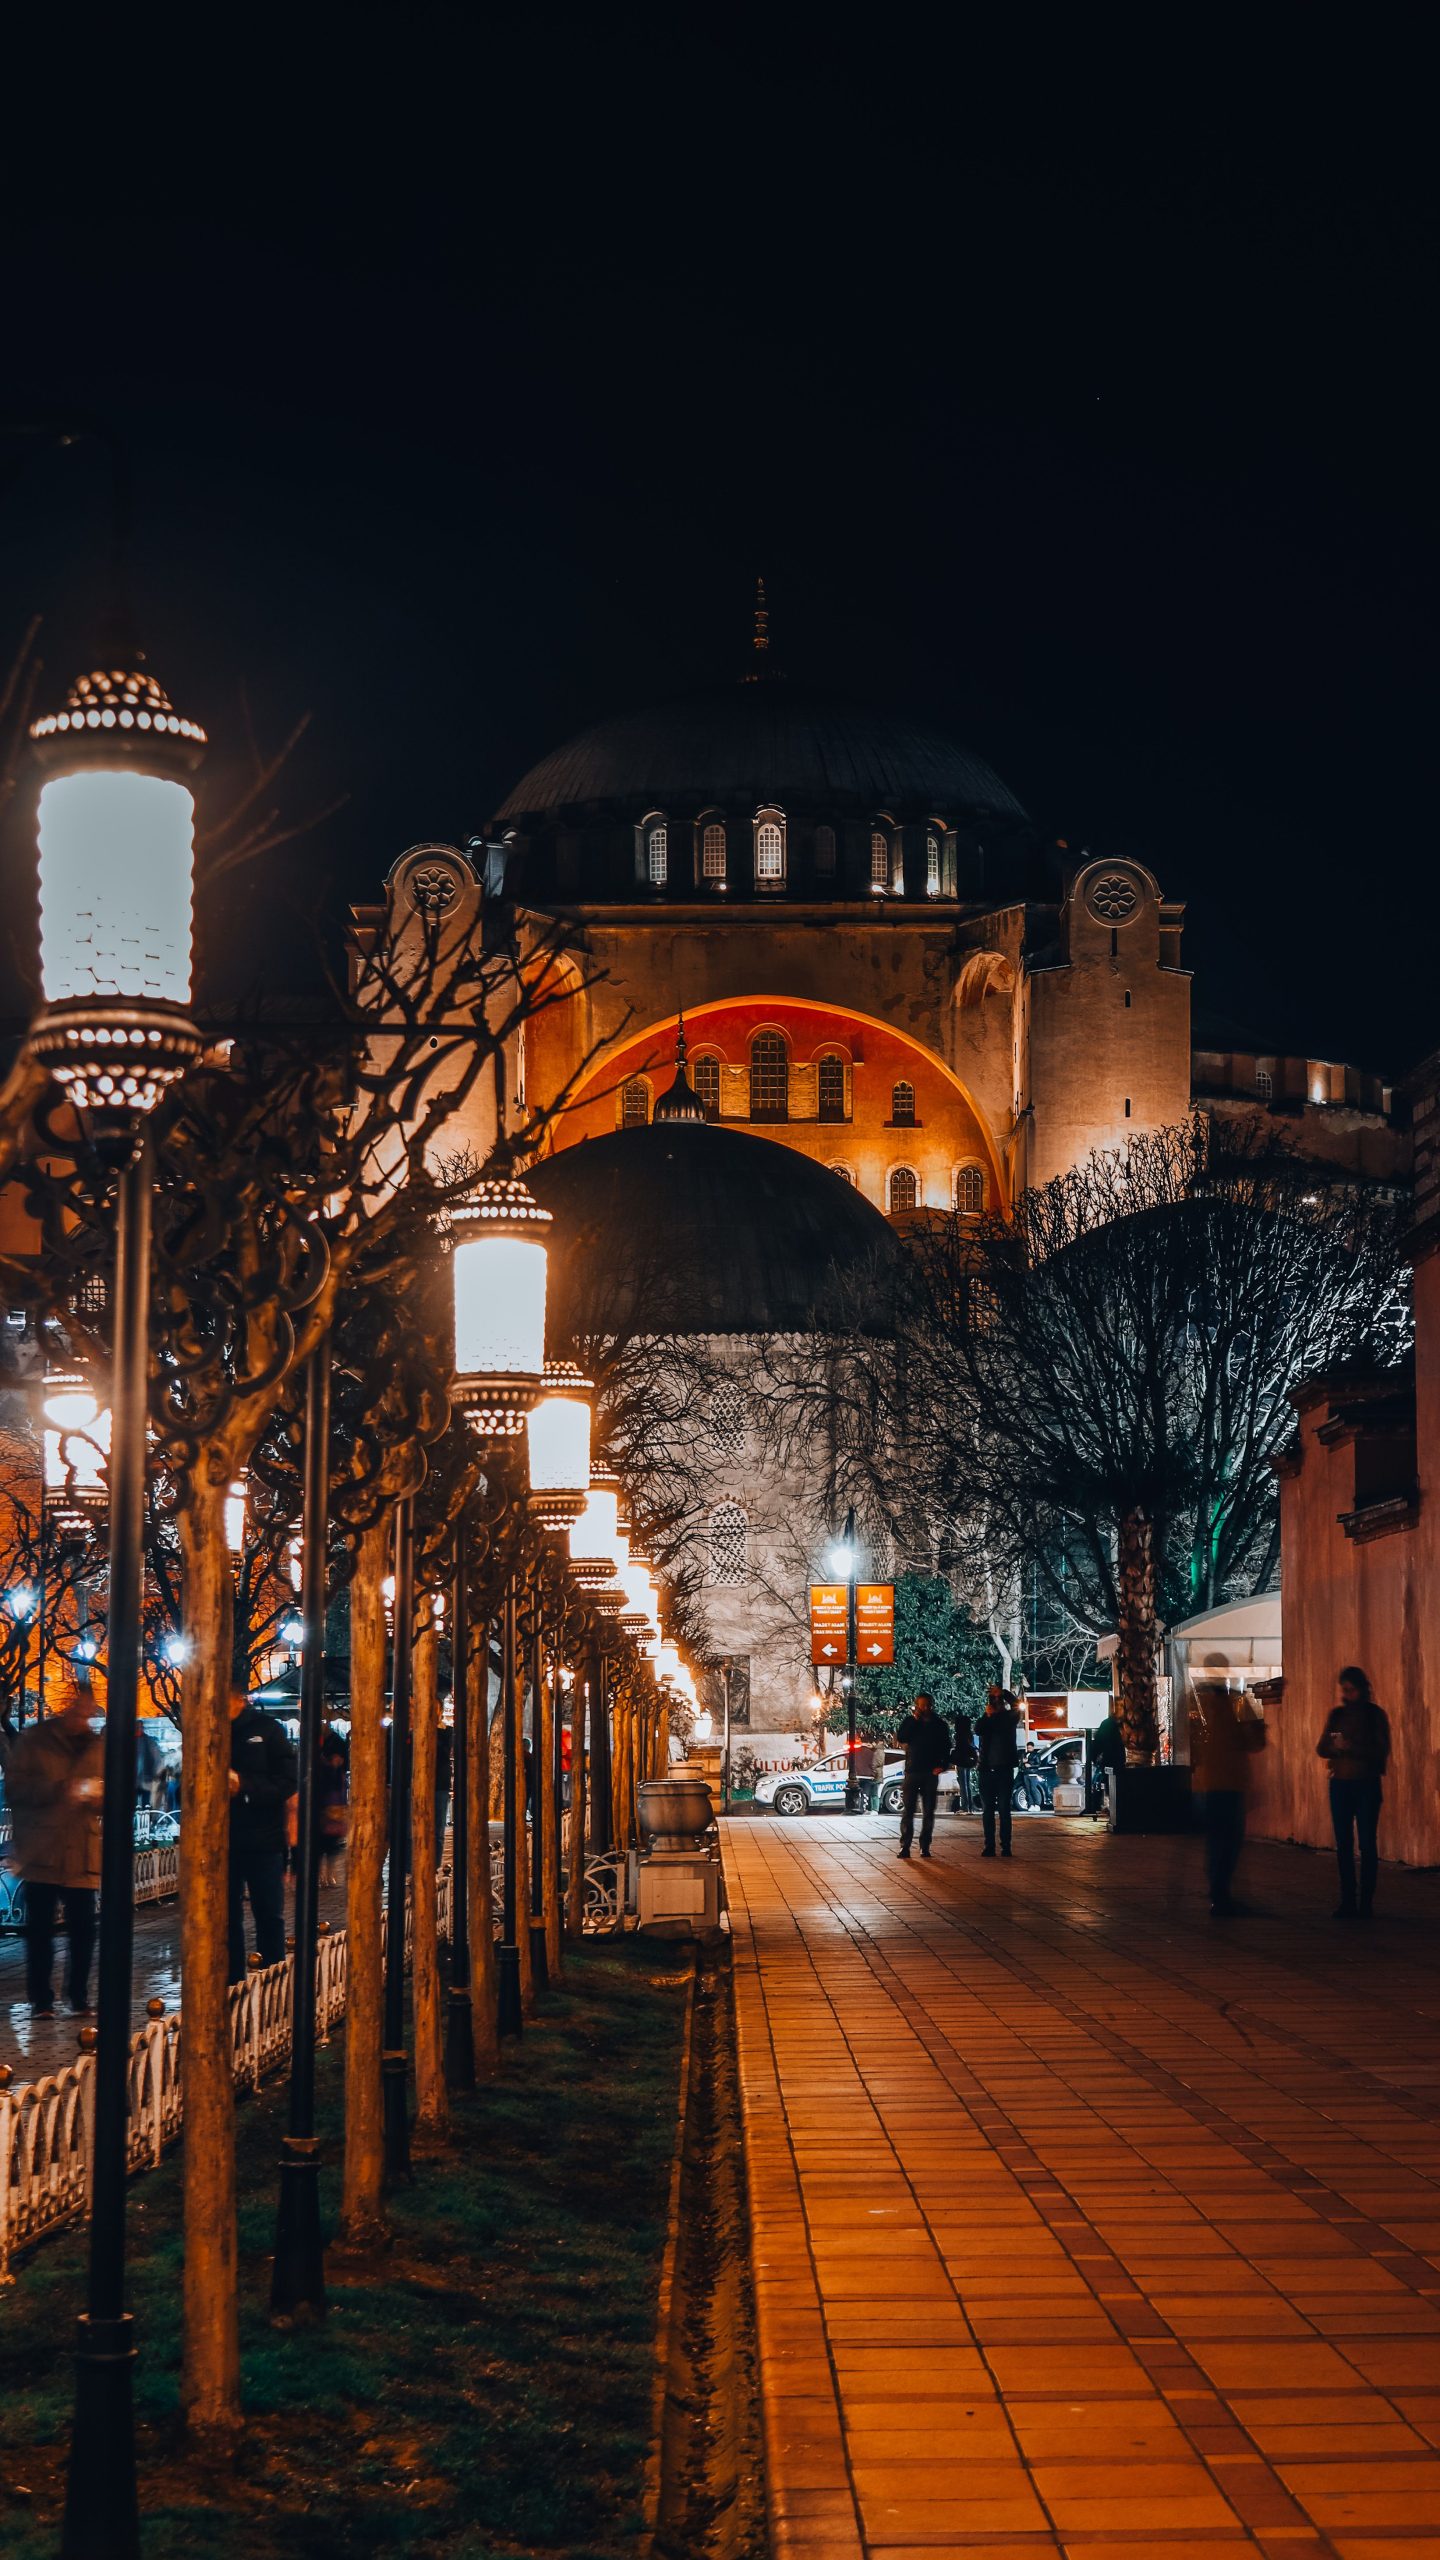
Start with the exterior. Frame the dome and minarets against a sky that still has color, rather than waiting until everything beyond the lights turns black. Look at the edges of the frame before taking the shot. A clipped minaret or a bright object at the bottom can undo a strong composition.
Try a wide or standard zoom. Keep the camera level when you can; correct the remaining verticals with a modest crop rather than stretching the architecture. Make a wide frame first, then a tighter study of domes and rooflines.
For a handheld evening shot, start around f/4-f/5.6 and raise ISO until the shutter is fast enough for your focal length. Check the bright stone in the histogram. Lower exposure if it loses detail. Visitor access and photography inside are separate questions: confirm current rules before planning an interior session.
2. Blue Mosque: Make Symmetry Deliberate
A symmetrical subject needs a deliberate camera position. Before shooting, compare the left and right margins and check whether the center of the frame really matches the center of the architecture. A small step sideways often matters more than changing lenses.
For an exterior in daylight, f/8 and a low ISO are useful starting points. Do not stick with low ISO if the shutter falls too far for a steady handheld shot. If people enter the frame, decide whether they add scale or distract from the structure. Wait for separation between figures rather than demanding an empty scene.
Treat worship as the priority. Do not block entrances or photograph people closely without consent. If a visit includes an interior, check the posted rules, dress requirements and prayer-related access restrictions first.
3. Galata Tower: Let the Street Lead the Eye
The tower is the subject, but the approach can be the photograph. Use a street or a building edge to guide the eye toward it. Move until signs, parked vehicles and poles no longer cut into the tower’s outline.
Try a standard zoom before reaching for your widest lens. A longer focal length can make the tower feel larger within the street; a wider view tells more of the neighborhood story. Neither is automatically better. Choose the relationship you want, then find a safe position that gives it to you.
If people are part of the frame, try 1/250 second as a starting point and adjust ISO for the light. Work from a pedestrian-safe position. The strongest street frame does not require a tower ticket or a promised rooftop viewpoint.
4. Spice Bazaar and Yeni Cami: Shoot Two Different Moods
Inside the Spice Bazaar, look for the rhythm of arches and the way warm light falls over repeated shapes. Keep the center line straight. When a display or a person becomes the subject, ask before making a close photograph. Do not stand in a busy passage to wait for a perfect frame.
A wider aperture and a higher ISO can help keep the camera handheld indoors. Start around f/4 and 1/125 second for a quiet scene; use a faster shutter for moving people. Check bright shop lights as well as the darker ceiling.
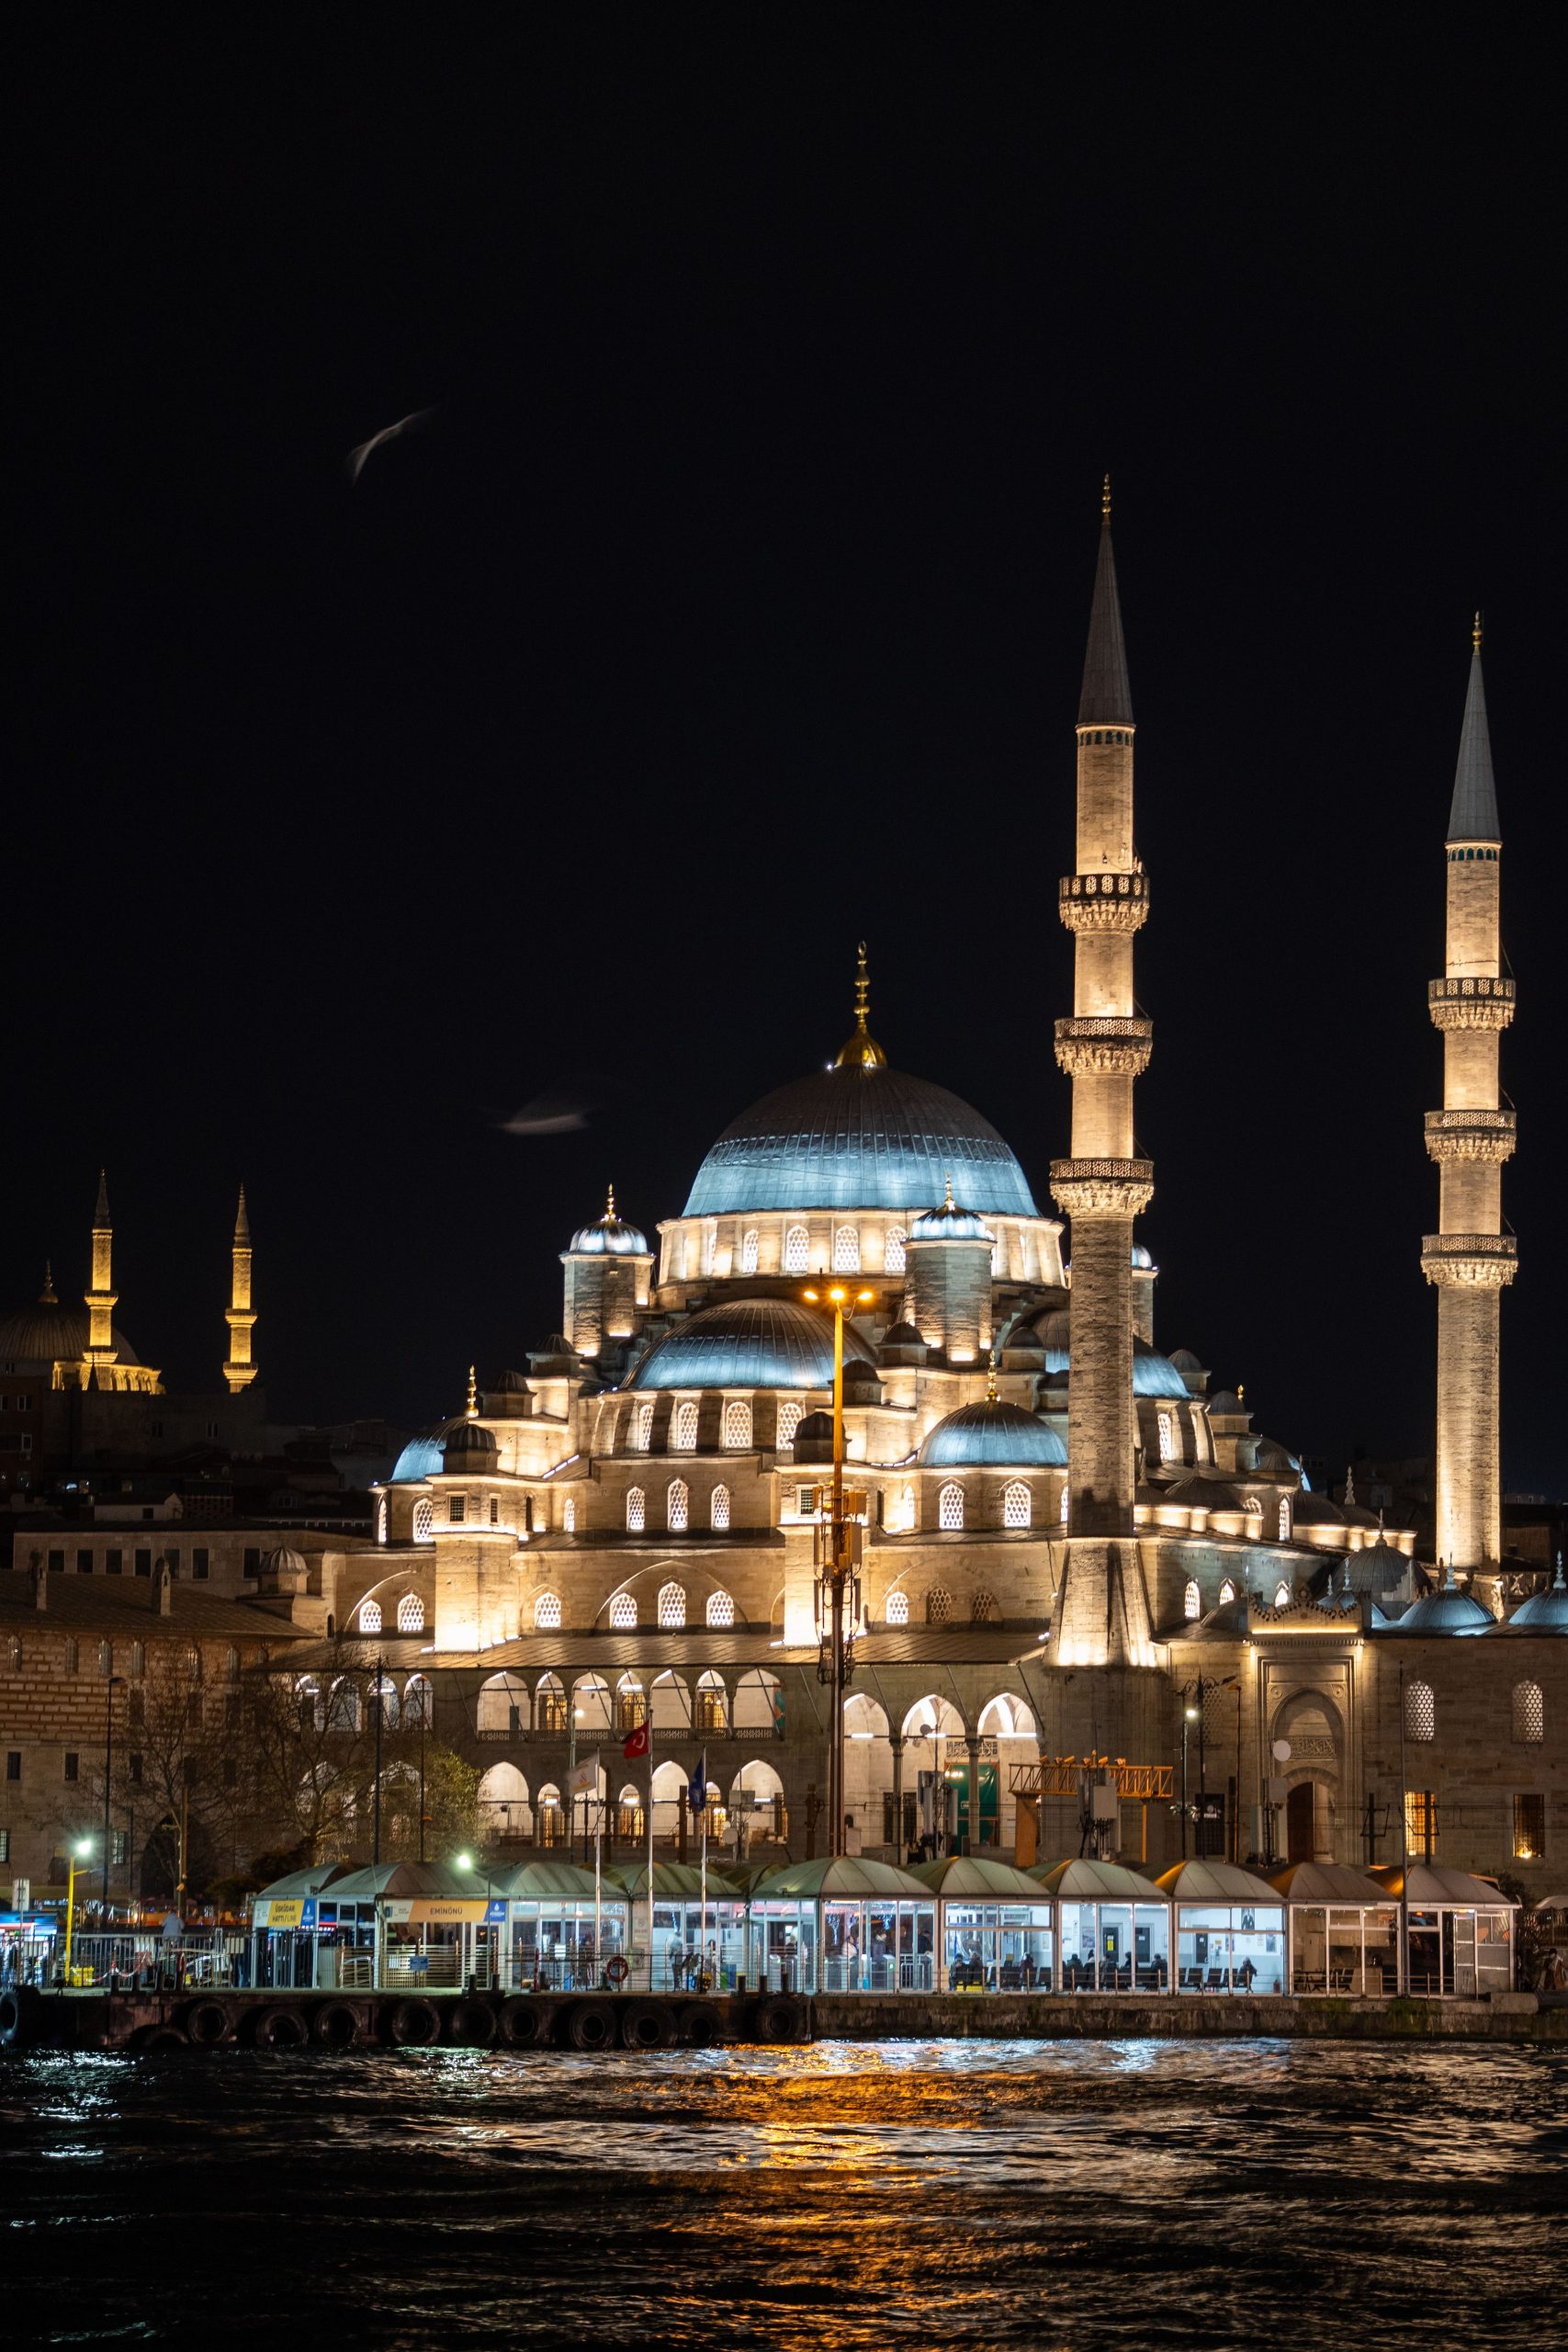
Yeni Cami offers a different scene outside: lit domes, minarets and a waterfront setting after dark. Keep some water or sky in the frame to give the lights space. This is a separate mosque exterior, not a night photograph of the bazaar interior. Plan the market and the exterior as different sessions; check opening and access rules rather than assuming both are available at the same hour.
 Save
Save5. Eminonu Waterfront: Build the Frame in Layers
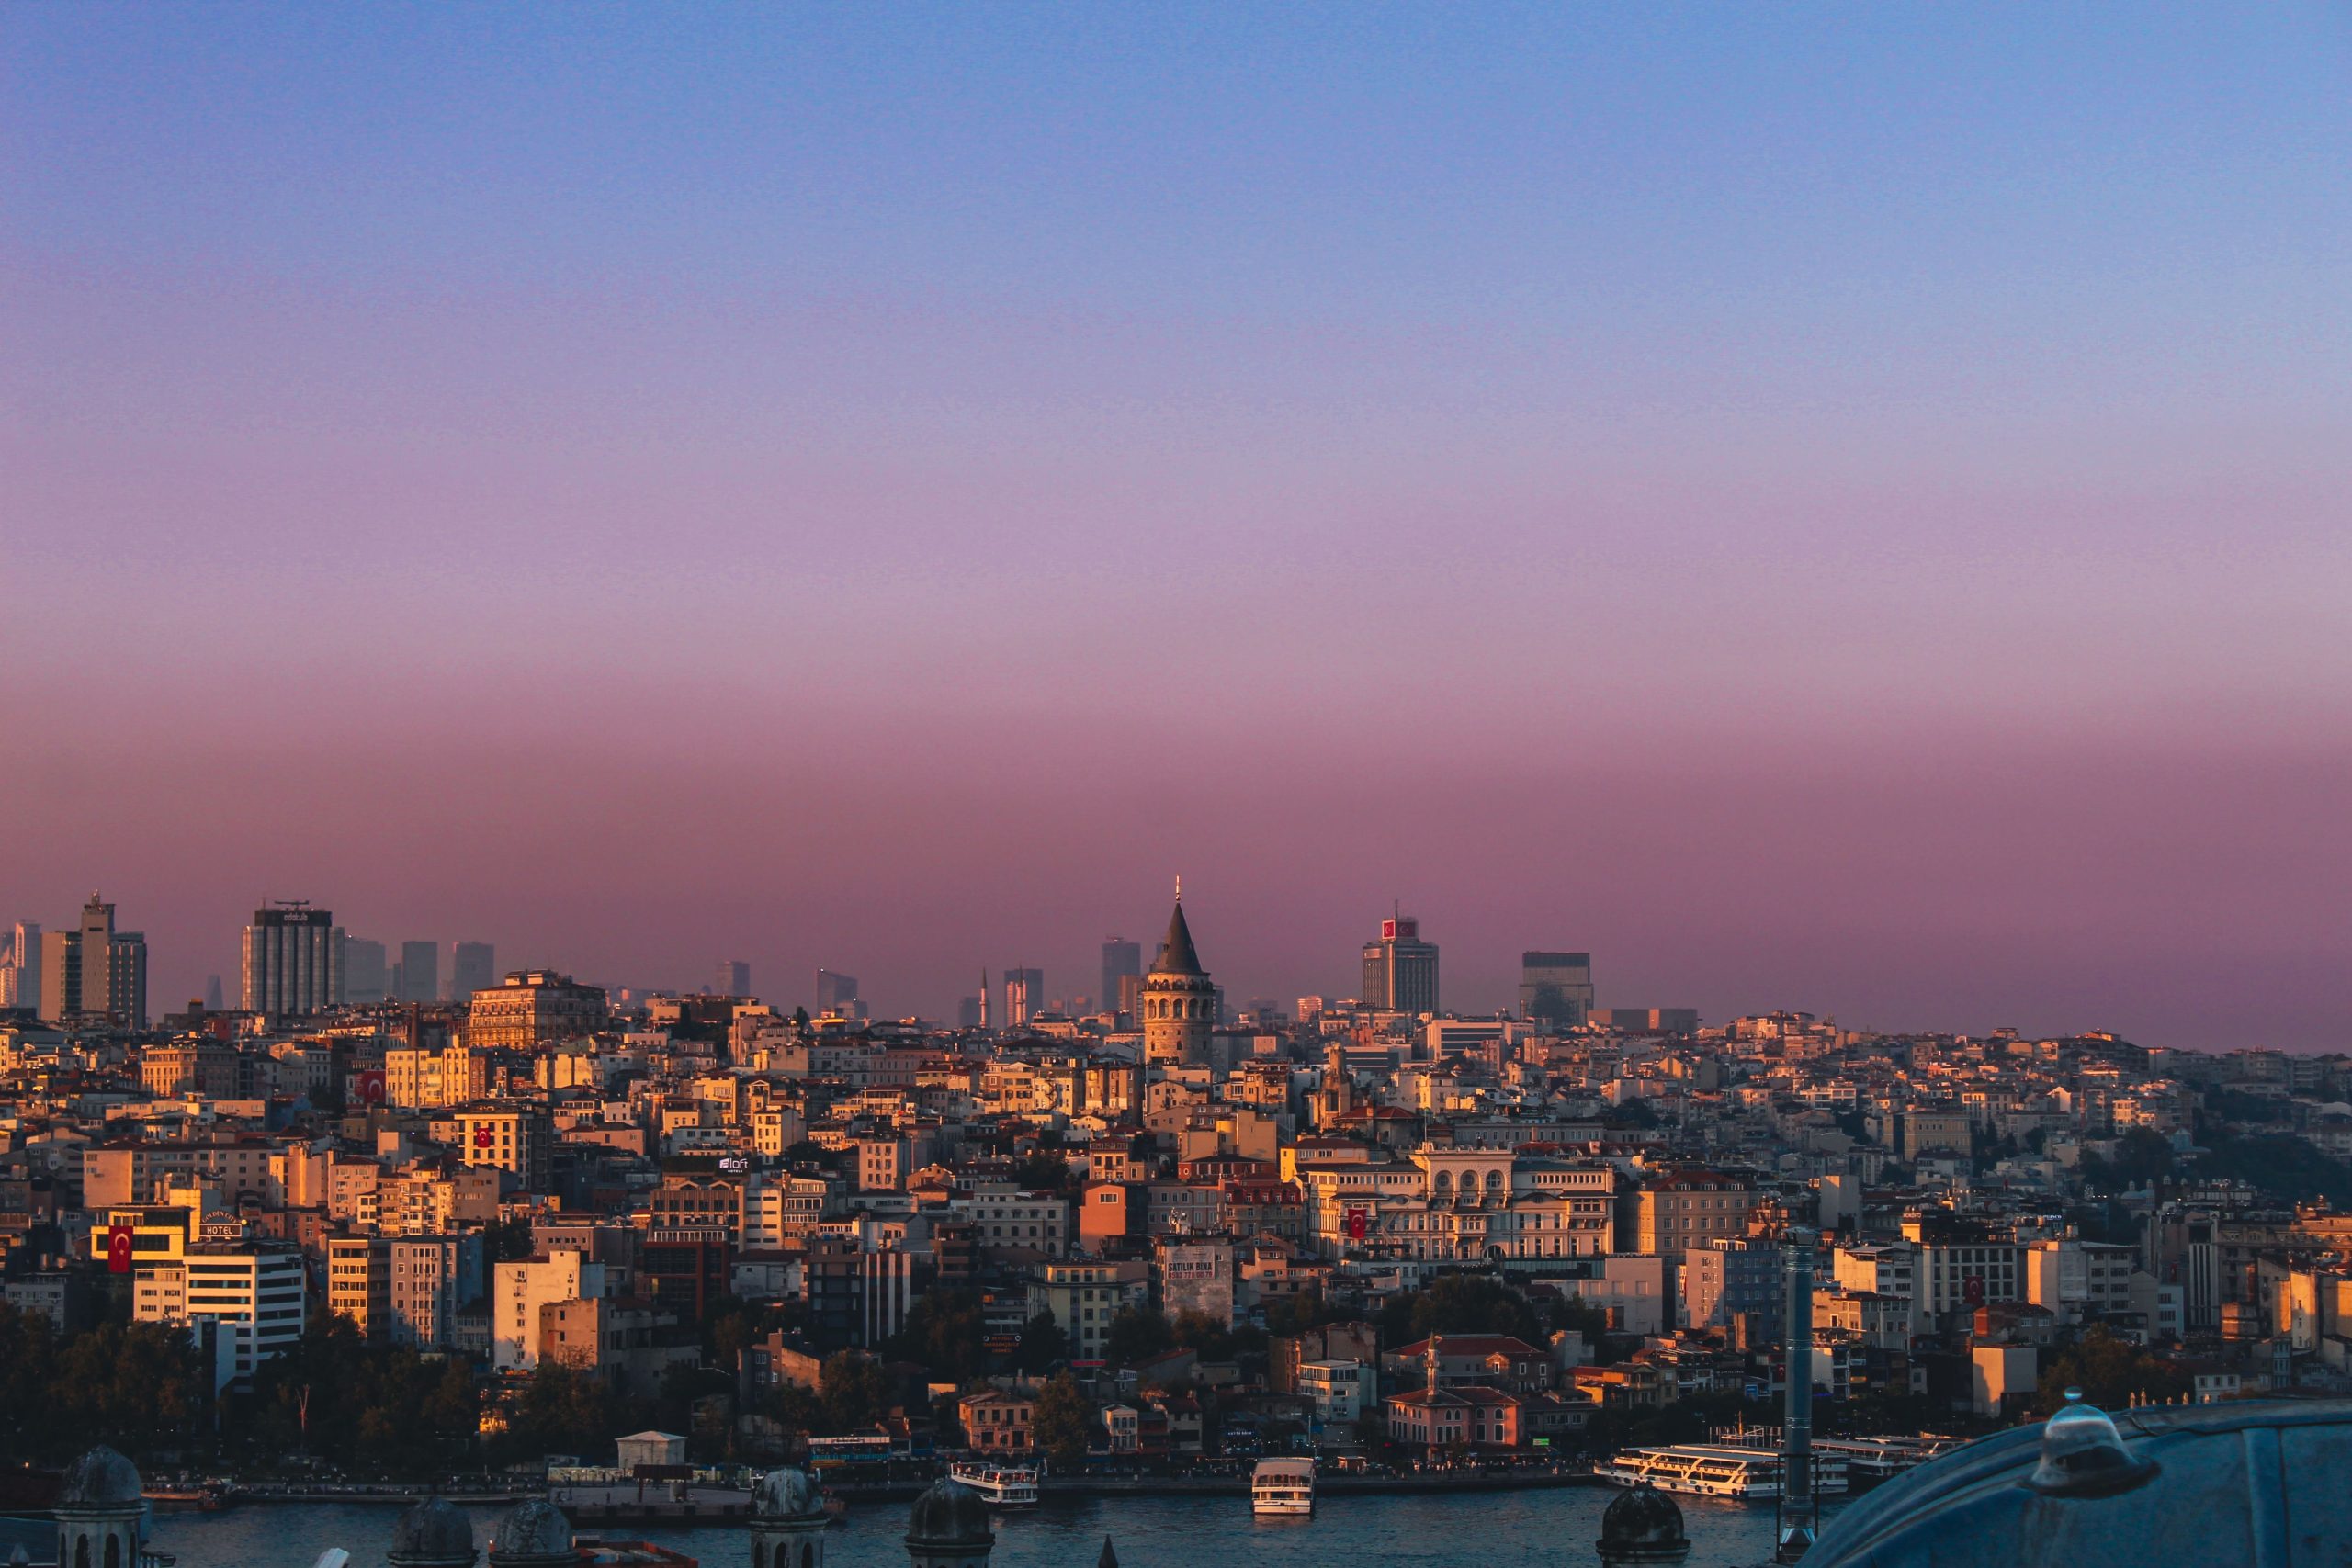
Water, boats and the skyline give you a useful foreground-to-background sequence. First decide which layer carries the picture. If a ferry is the main subject, wait until it separates from the buildings. If the skyline is the subject, give the water enough room without letting an empty foreground take over.
At sunset, compare a frame exposed for the sky with one that keeps detail in the waterfront. A silhouette can be deliberate, but a muddy middle ground usually is not. Check the result on the screen rather than assuming the sunset has solved the photograph for you.
From a moving ferry, use a faster shutter instead of relying on a tripod or an ambitious long exposure. Try 1/500 second for a moving viewpoint and adjust as needed. On shore, a slower shutter can soften water where a support is allowed and does not obstruct people.
 Save
Save6. Ortakoy Mosque: Balance Architecture and Water
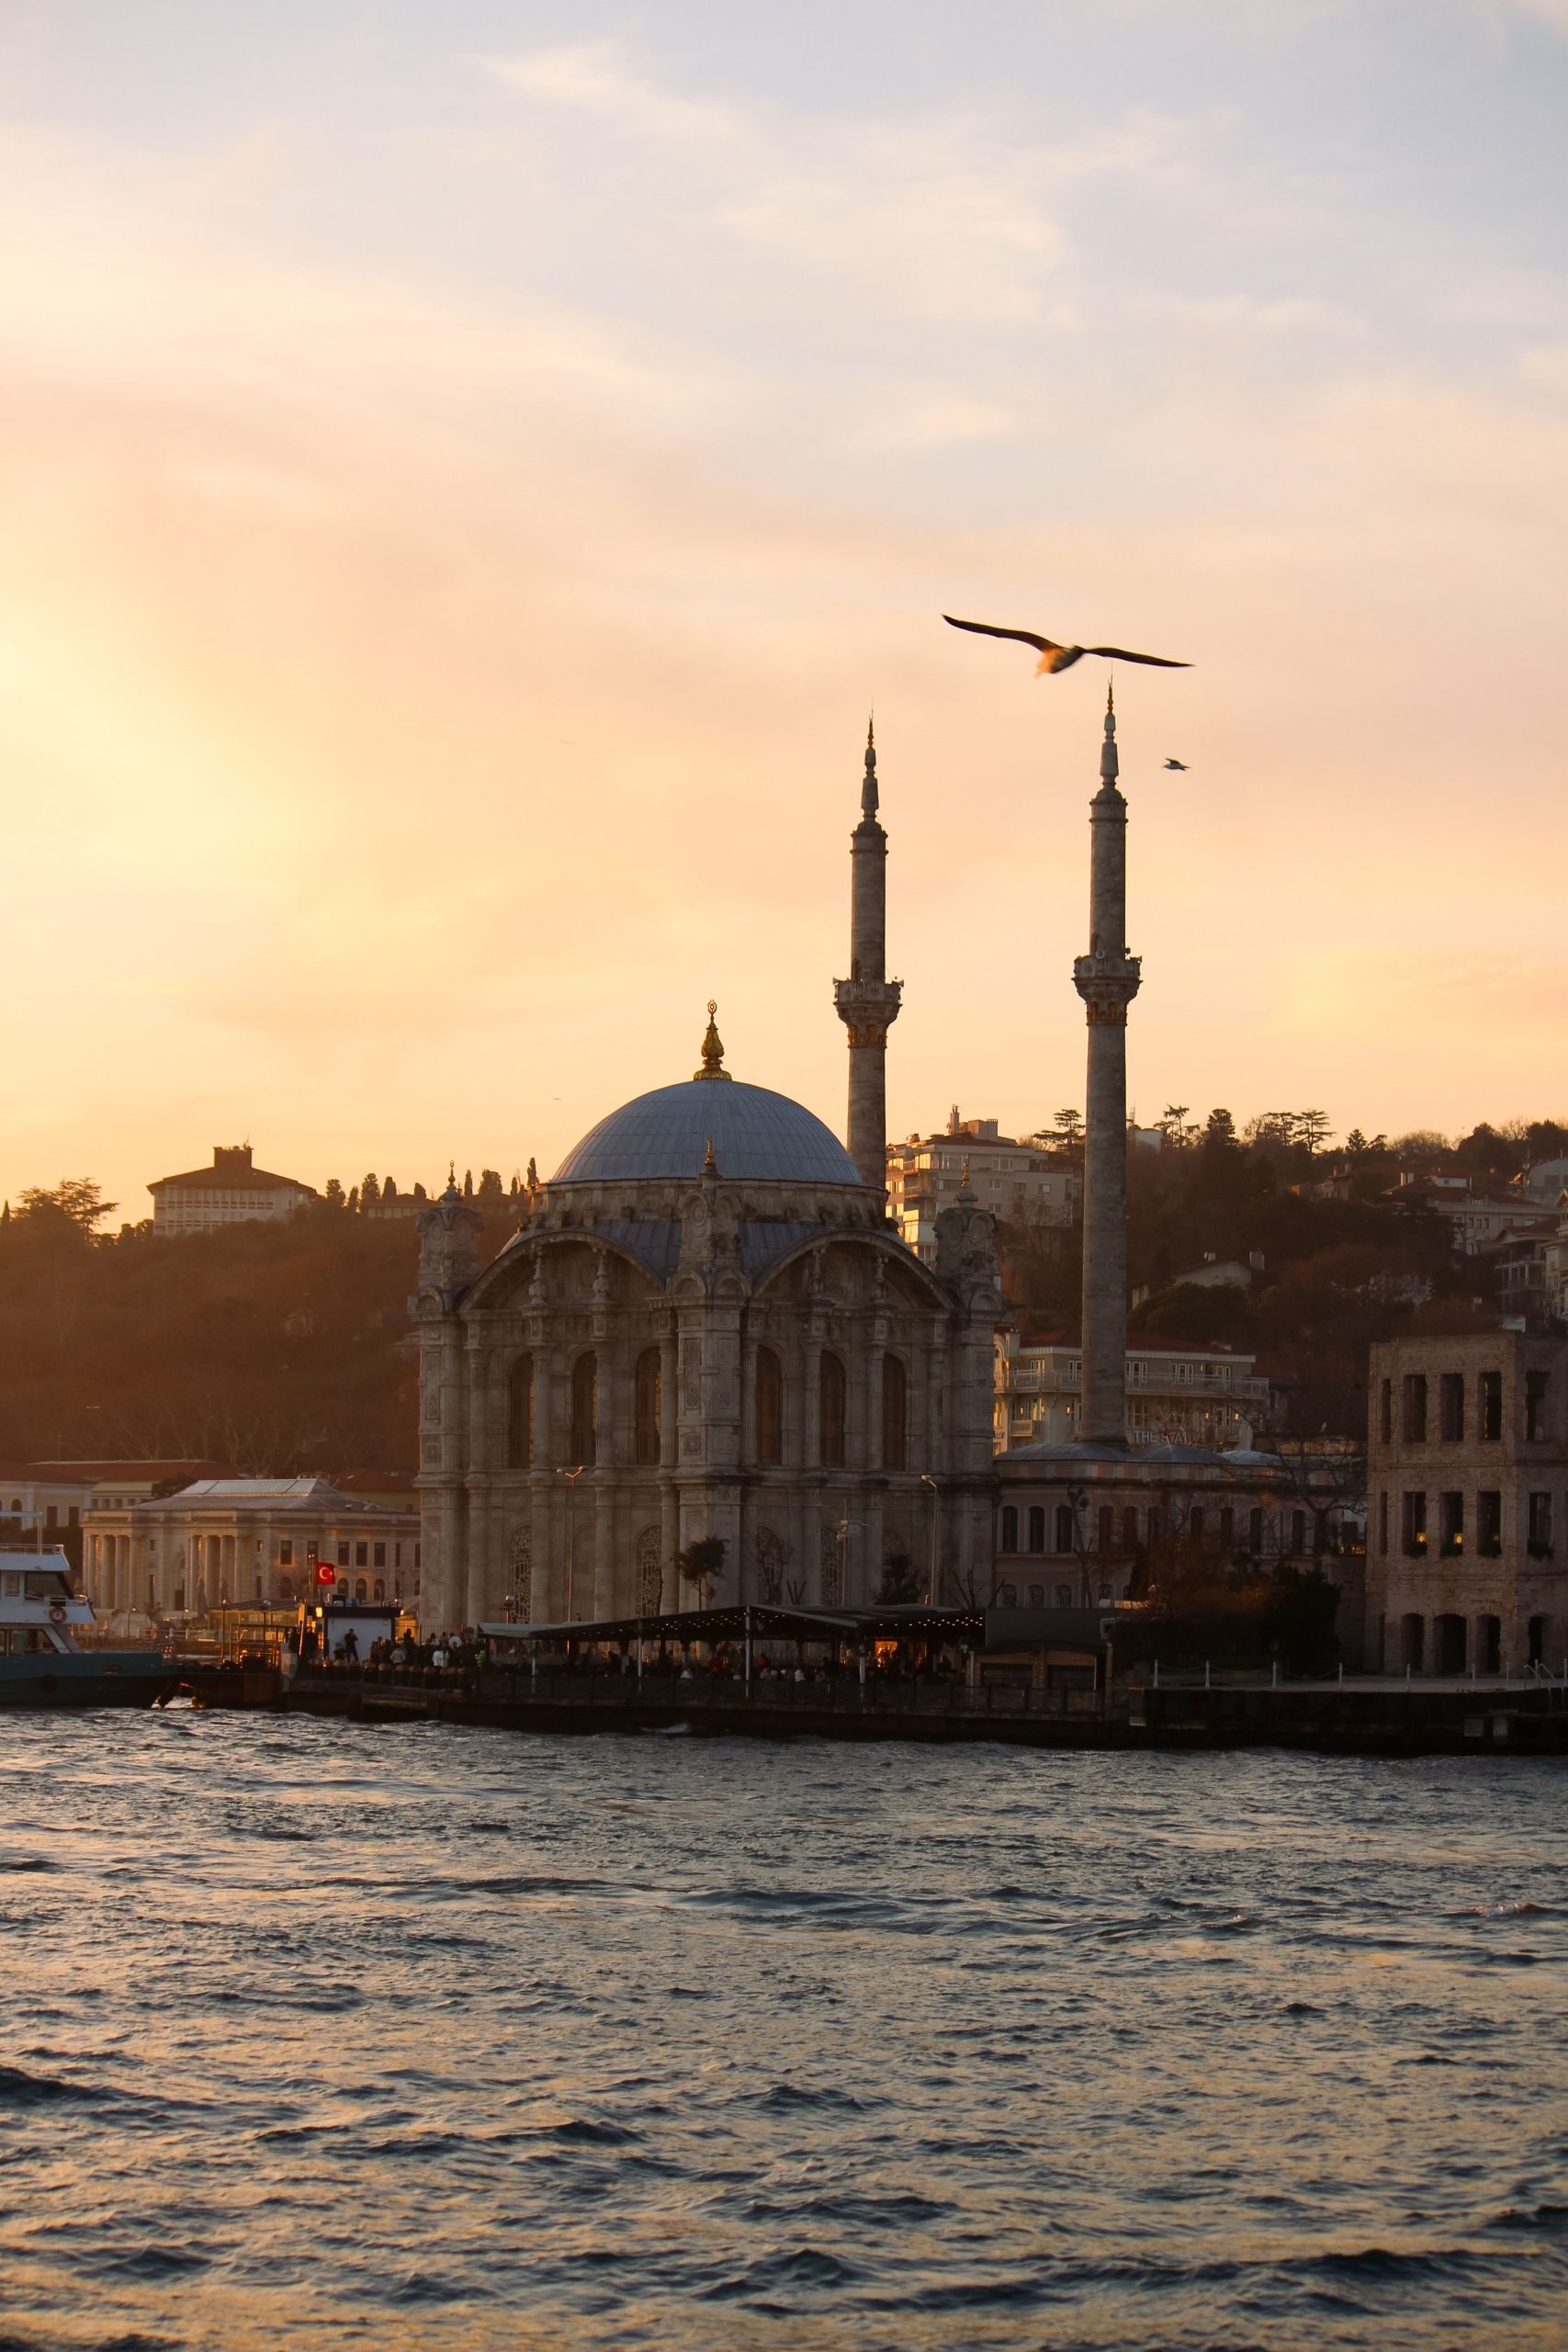
The waterfront lets the mosque, Bosphorus Bridge and water share a composition. Keep the horizon straight and leave breathing room around the mosque. If the bridge competes with the building, shift your position or change focal length until one becomes the lead and the other becomes context.
Blue hour can balance the sky with artificial light. Make the first frame before the sky becomes fully dark, then compare the color and contrast as the light changes. For a static scene, begin around f/8; raise ISO if shooting handheld, or use a support only where it is allowed and out of the way.
Watch the water. A reflected highlight can strengthen the frame, but an overly bright foreground can pull the eye away from the mosque. Take a tighter version as well as the wide view.
 Save
Save7. Balat and Fener: Edit the Frame Before You Press the Shutter
Colorful facades are only the start. Look for a clear arrangement of doorways, windows and street lines. Check the top edge for a bright patch of sky and the bottom edge for cars or clutter. A tighter crop may be stronger than a wider view that includes everything.
Warm light can deepen the color and separate the buildings. Flat daylight is useful for detail, but do not expect it to produce the same mood. Take a wider street frame, a medium composition and a close texture study rather than repeating the same shot.
Try f/5.6-f/8 for a street with several layers. If someone walks into the picture, increase shutter speed and wait for a clean position. These are lived-in neighborhoods: avoid doorways, keep noise down, and ask before close portraits.
Plan Around Light, Not a Checklist
Do fewer stops well. Group nearby subjects, leave time to find a safe composition, and return when the light suits the picture. A skyline, a mosque interior and a moving ferry do not share one exposure recipe.
Pack a standard zoom, a spare battery and a cloth for the lens. Add a wide lens or a small telephoto only if it solves a frame you actually want. Before each session, check current venue rules and weather. Do not assume a map pin marks a tested tripod position.
The Istanbul PDF Companion
The Istanbul photography PDF covers fourteen named places with scene ideas, starting camera settings and approximate landmark map links. The guide contains 53 pages, including the seven subjects introduced here and seven more for a longer trip.
The download is meant to help you plan and adapt on location. It does not promise unrestricted access, surveyed camera stations or the same light shown in every image.
Get the Istanbul Photography Guide – $47
Take a street photography walk
If you want help seeing the backstreets rather than rushing between landmarks, consider the Istanbul Street Photo Tour. A local photographer guides this private walk and helps with street photographs and composition. Discuss the route and your camera experience before booking.
Tour links are affiliate links. I may earn a commission if you book through them, at no extra cost to you.
What to Pack
A landscape kit built around wide views, steady support, and changing light is a useful starting point. Compare the gear and choose what fits your camera, budget, and conditions. These links lead to B&H Photo Video and Amazon.
| What & Why | B&H | Amazon |
|---|---|---|
Wide-angle zoom (14-35mm range) The single most important lens for sweeping vistas. Pair with a circular polarizer for skies and water. | Shop B&H → | Shop Amazon → |
Sturdy travel tripod Carbon fiber, packs to 15 inches, holds steady in wind off the coast. Essential for blue-hour and long-exposure work. | Shop B&H → | Shop Amazon → |
Circular polarizer (77mm or 82mm) Cuts haze, deepens sky, reveals texture in water. Non-negotiable for landscape work. | Shop B&H → | Shop Amazon → |
10-stop ND filter For 30-second exposures that turn moving water and clouds into silk. | Shop B&H → | Shop Amazon → |
Extra batteries (3 minimum) Cold weather and long exposures eat batteries. Carry triple what you think you need. | Shop B&H → | Shop Amazon → |
Fast SD/CFexpress cards V90 or CFexpress depending on your body. Two cards minimum so a failure mid-trip is recoverable. | Shop B&H → | Shop Amazon → |
Microfiber lens cloths Salt spray, mist, and dust will ruin every shot if you don't carry a cloth. | Shop B&H → | Shop Amazon → |
B&H and Amazon links are affiliate links. We earn a small commission on purchases at no extra cost to you.