

Updated October 13, 2026. This guide has been revised with new text and photos; the original publication date is retained.
You do not need a bag full of expensive gear to make strong photographs. Light, timing, composition and editing do far more for a picture than another lens. Most of the best tricks cost nothing or close to it, and they work with whatever camera you already own, including a phone.
This guide covers twelve of them, plus ways to save money on the gear you do decide to buy. The example photos show what each idea looks like in practice. I am using them to show composition and light, not to suggest any particular kit.
 Save
Trick 1: Chase better light, not better gear
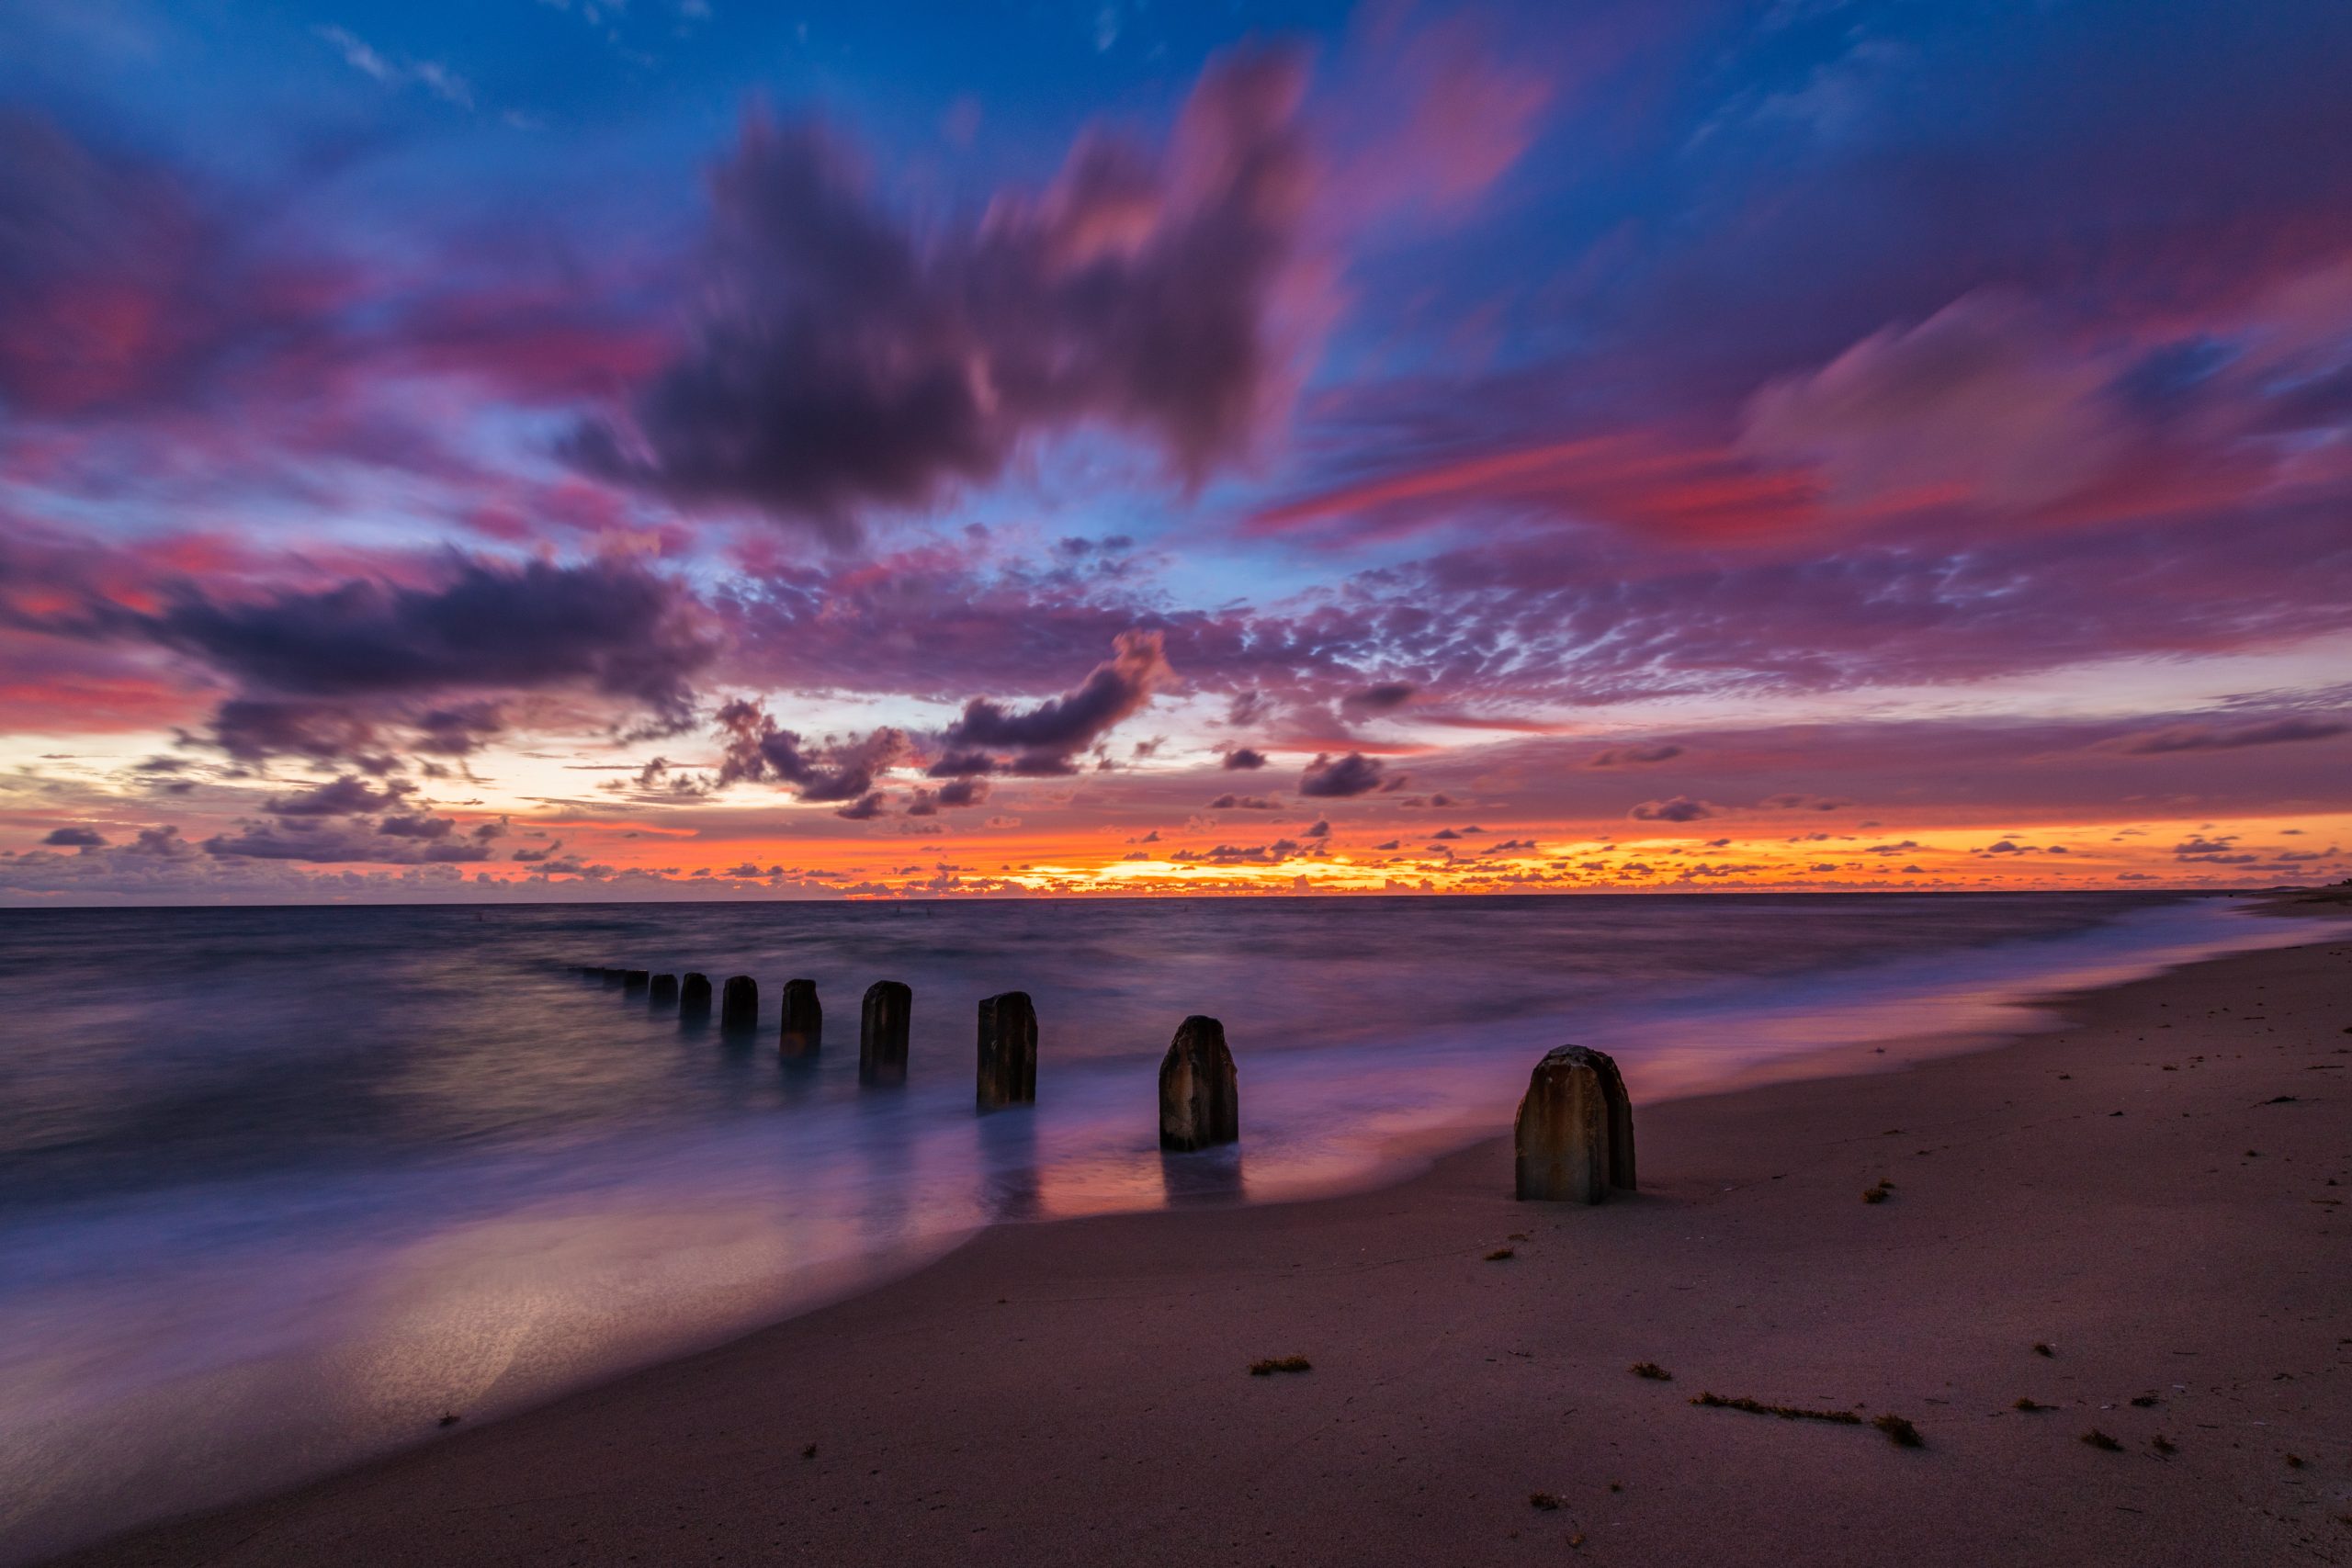
Light changes a photograph more than any equipment. The hour after sunrise and the hour before sunset can give warm, directional light that suits many subjects. Golden hour is not always soft: on a clear day the low sun can still be contrasty, so watch where the shadows fall. Overcast days give gentle, even light for portraits and details. Harsh midday sun is the hard one, so save it for shadows, patterns and black and white.
Make a habit of checking sunrise and sunset times and planning one short outing around them each week. It costs nothing, and it improves your photos faster than almost any purchase.
Trick 2: Shoot silhouettes
A silhouette turns a plain subject into a bold graphic shape. Put your subject in front of a bright sky, expose for the sky and let the subject go dark. Choose subjects with a clear outline, like trees, people or buildings, and keep the background clean so the shape reads. Phones can do this well if you tap on the bright part of the sky to set exposure.
Trick 3: Use reflections
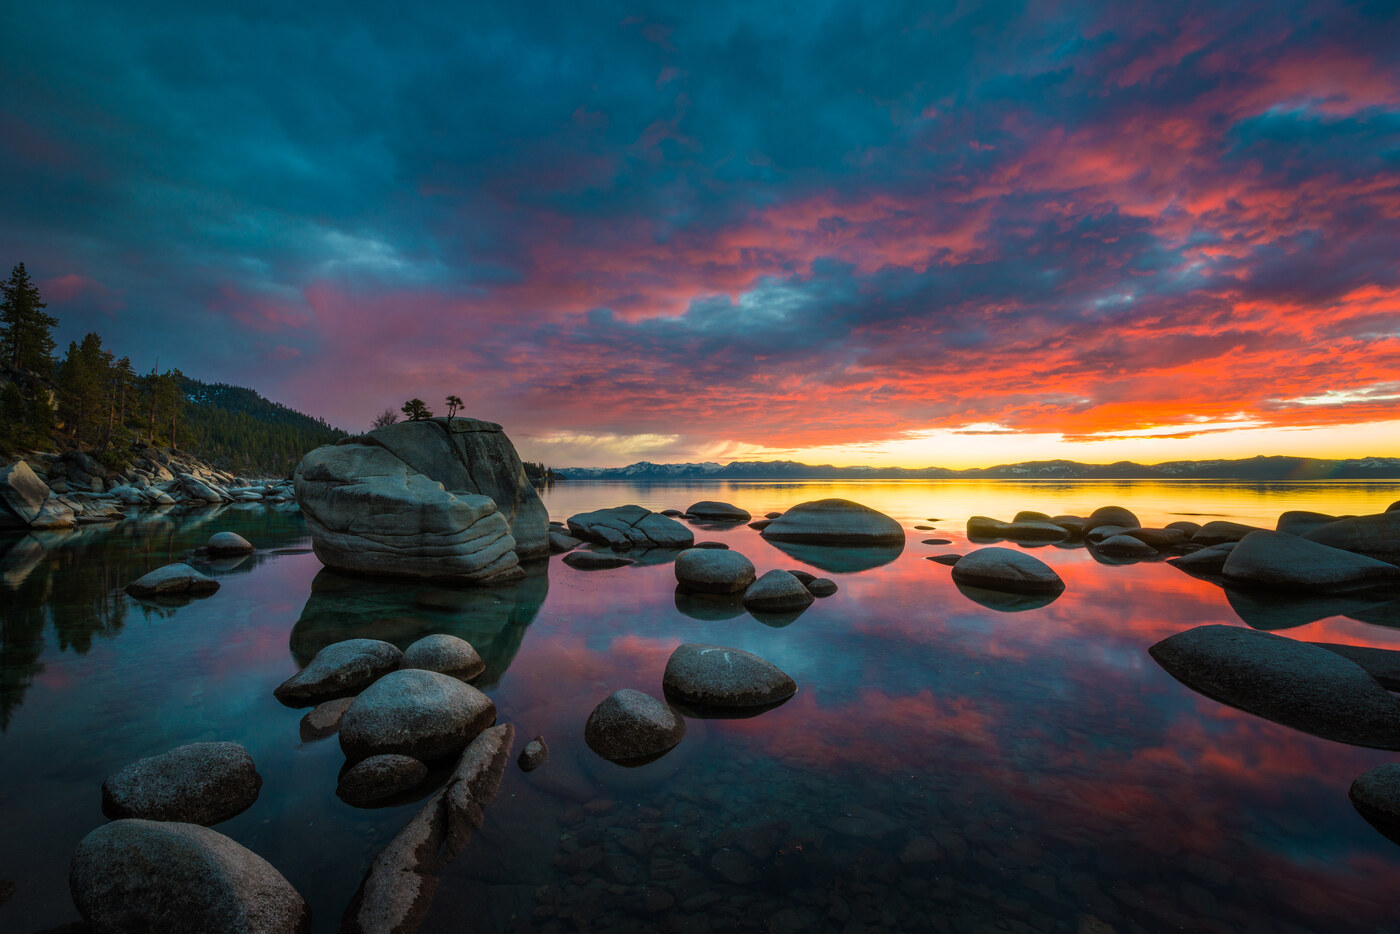
Still water, puddles, wet pavement and windows give you a second picture for free. Get low, wait for calm air and include something solid in the foreground, like rocks or grass, so the reflection has an anchor. Sunrise and sunset color doubles in water.
 Save
Trick 4: Find leading lines
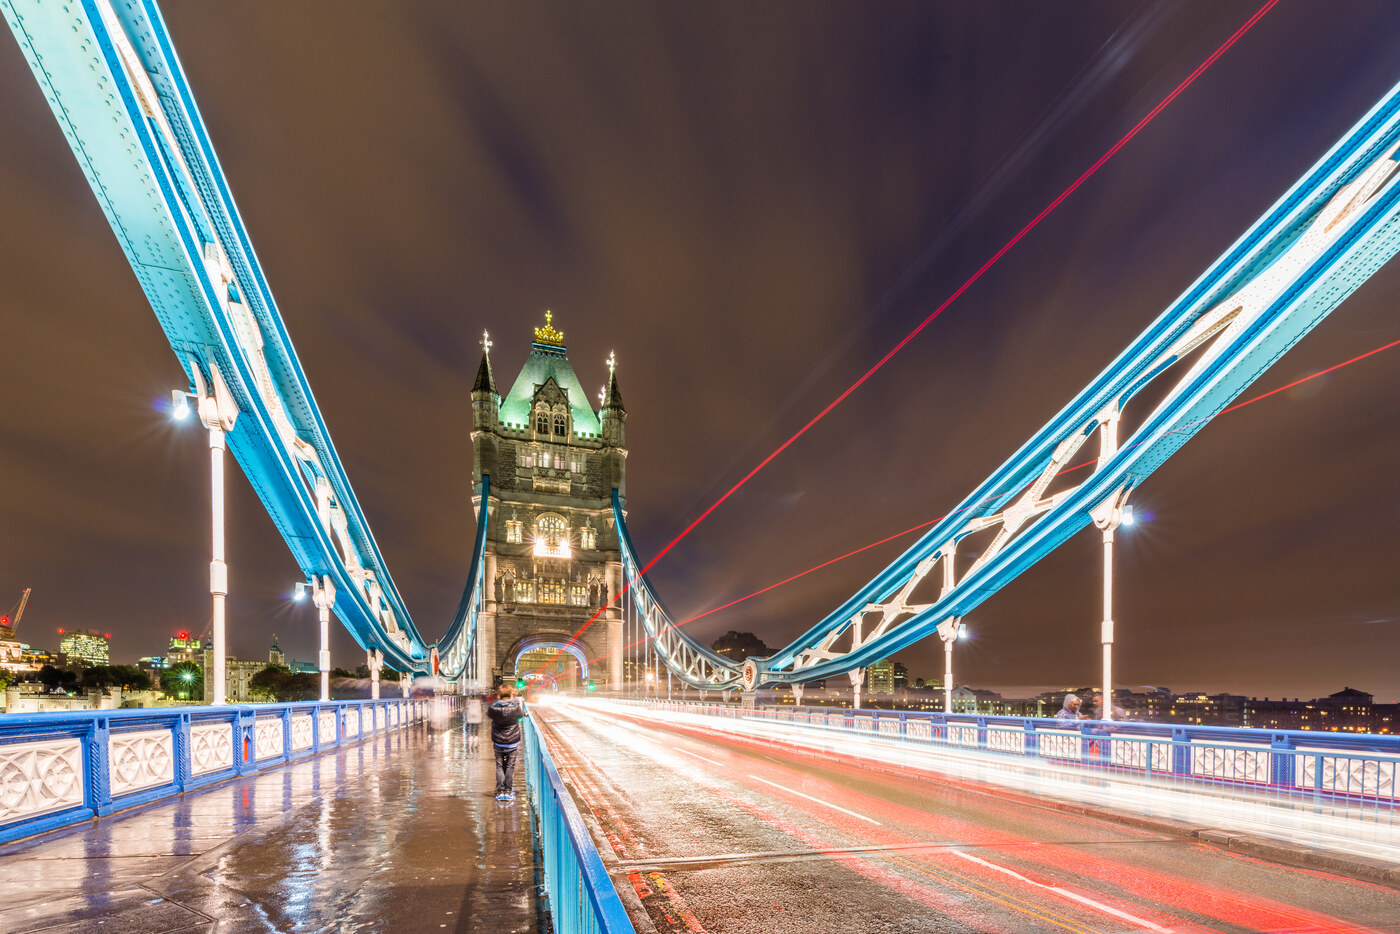
Roads, rails, fences, bridges and shorelines pull the eye into a picture. Look for lines that start near the bottom corner of the frame and travel toward your subject. You can find them anywhere, and they make a plain scene look planned. Stay safe while you look: never stand on or beside railroad tracks, keep clear of traffic and road edges, and watch for property boundaries and no-trespassing signs.
Trick 5: Keep one clear subject
Budget gear forgives a lot, but a messy frame does not. Decide what the picture is about, then remove everything else by moving, cropping or changing angle. A single strong subject with space around it reads better than a busy scene.
 Save
Trick 6: Use a steady surface instead of a tripod
A tripod helps, but you can improvise. Rest your camera on a wall, a fence post, a bag or the ground. Use the 2 second timer so you do not shake the camera when you press the button. This lets you shoot long exposures and low light scenes of static subjects without buying anything. Moving subjects, like people, blur at slow shutter speeds, so for them you need a faster shutter as well as support.
Trick 7: Try color blocking
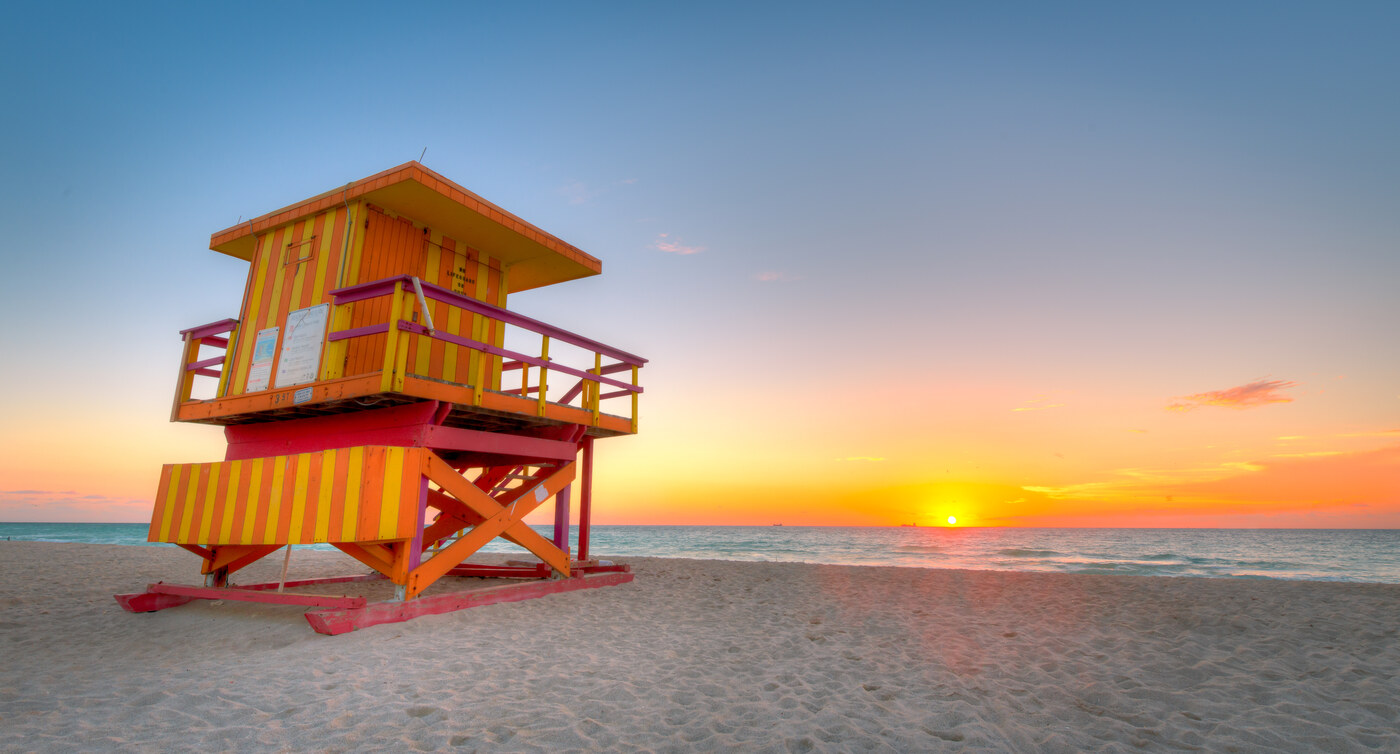
Bold, simple color makes photographs feel designed. Look for one strong color against a plain background: a red door, a yellow chair, a bright wall under a blue sky. Keep the frame simple and the color does the work.
 Save
Trick 8: Shoot after the rain
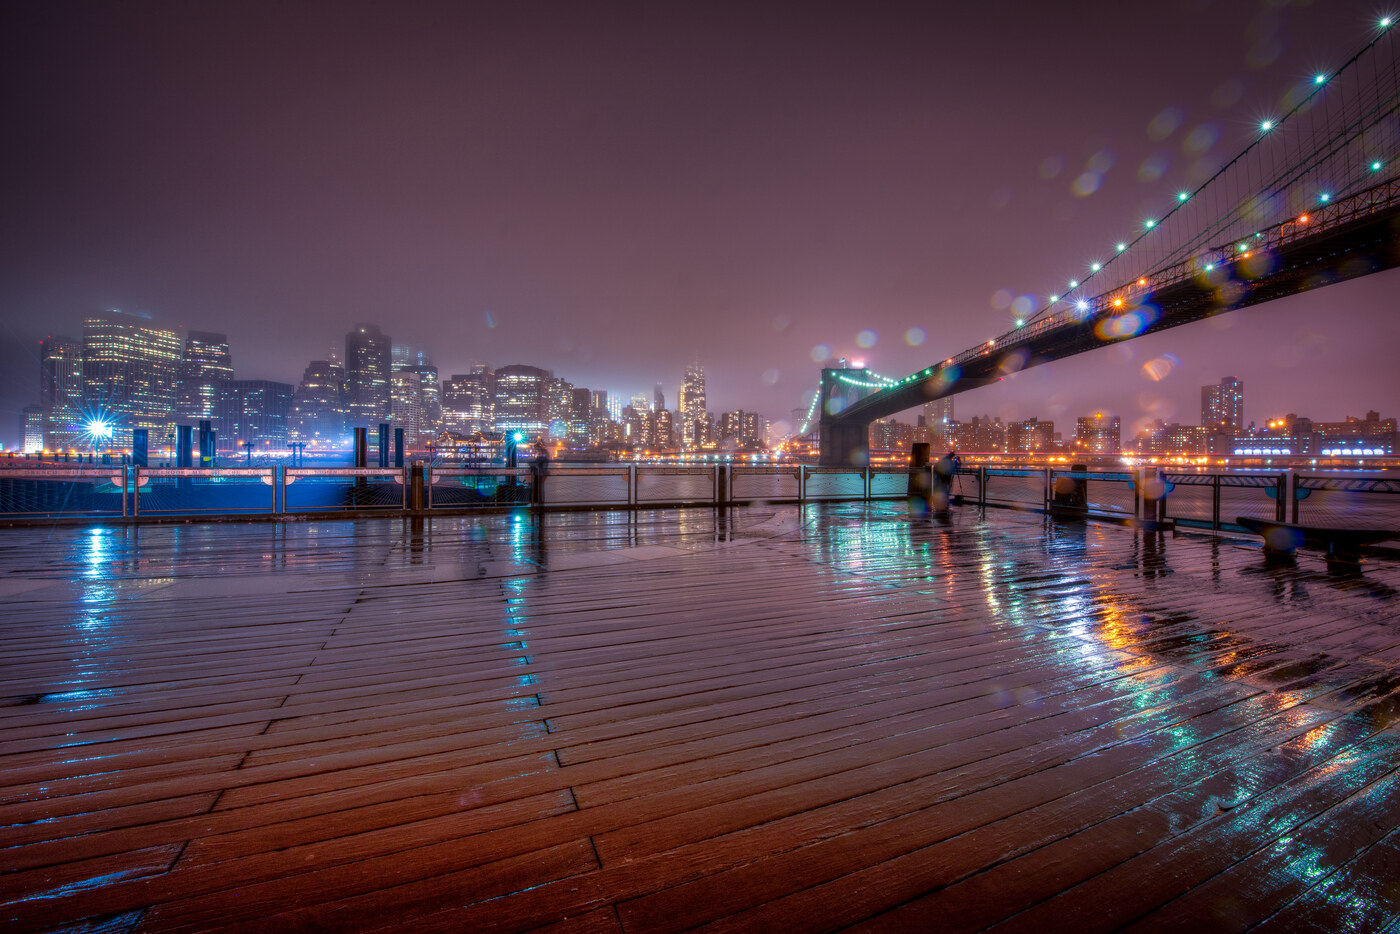
Wet streets and boardwalks turn dull places into mirrors for city lights. Night or dusk after rain is one of the best free setups in photography. Look for puddles, wet paving and shiny surfaces, and shoot the reflected lights. Take care: wet stone, wood and metal are slippery, so slow down and keep your footing, and stay away from open water edges. Never shoot outdoors with lightning nearby; go indoors until the storm has passed.
 Save
Trick 9: Learn manual basics on the camera you own
Understanding shutter speed, aperture and ISO matters more than owning a better body. Practice with one setting at a time. Shoot the same scene at three shutter speeds. Shoot a portrait at wide and narrow apertures. Raise ISO until you see where noise gets ugly. A weekend of practice teaches you more than any upgrade.
Trick 10: Edit with free tools
Editing is where most photographs are finished, and you can do it for free. Free tools can handle exposure, contrast, color, cropping and sharpening. For RAW files on a computer, darktable and RawTherapee are free, open-source editors. darktable’s install page lists Windows, macOS and Linux builds; its macOS bundles need macOS 13.5 (Ventura) or newer and it says there are currently no official releases for Intel Macs. RawTherapee describes itself as cross-platform (Linux, macOS, Windows); its 5.12 download page lists macOS requirements of macOS 15.4 or newer on Apple Silicon or macOS 12.3 or newer on Intel. Check the install page for your system before you download. On a phone, Adobe Lightroom’s core editing is free, with some features sold as in-app purchases. Learn a simple order: fix exposure and white balance, shape contrast, adjust color, crop, then sharpen.
Trick 11: Crop with purpose
A higher-resolution file lets you crop in without a long lens. Look for tighter frames inside your wide shots, and try a different aspect ratio like 4:5 or 16:9. Cropping also fixes distractions at the edges.
Trick 12: Practice a project
Pick a small project and stick with it for a month: reflections, doors, one street, a single color, a daily window shot. Limits make you creative, and a set of related pictures teaches you more than a random pile.
Where it makes sense to spend money
Once you know what limits you, a purchase can help. A few places where money tends to go far:
- A fast prime lens. A 35mm or 50mm prime is usually small and affordable, and gives better low-light performance and a softer background than a kit zoom.
- A sturdy tripod. Even a modest one opens up long exposures, night shots and sharp landscapes.
- Extra batteries and cards. They keep you shooting.
- A circular polarizer. It cuts glare on water and foliage. Its effect on skies depends on the angle to the sun, and on very wide lenses it can leave uneven bands, so it is not a blanket sky-deepener.
- A reflector. A cheap folding reflector shapes light for portraits.
How to save on gear
- Buy used from reputable sellers and check return policies.
- Consider the previous generation of a camera. The newest model is rarely a big step up for most people.
- Rent a lens before you buy it, so you know you will use it.
- Skip bundles full of accessories you will not use.
- Wait for seasonal sales and manufacturer refurbished stock.
- Sell gear you no longer use to fund the next step.
Free and cheap DIY helpers
- White card or foam board as a reflector.
- A sheet of black fabric to block unwanted light or make a dark background.
- A thin white curtain as a window diffuser for portraits.
- Clear glass or a plain mirror for creative reflections in still life.
- A bag of rice or beans in a sock as a steady camera rest.
Getting more from your phone
A phone is a capable camera, and most of the tricks above work with it. A few habits help:
- Clean the lens. A smudge softens every picture.
- Tap to focus, then slide to adjust exposure before you shoot.
- Use the grid to keep horizons straight and place subjects on thirds.
- Prefer the phone’s main lens or a built-in optical zoom lens over digital zoom, which only crops the image. Moving closer is not the same as zooming, because it changes perspective, but it keeps full image quality.
- Shoot in the highest quality setting and use a RAW option if your phone offers one.
- HDR controls vary by phone model: some phones apply it automatically and others have a setting. Where you can control it, try it on high contrast scenes and check that it does not flatten the look.
Free composition ideas that always help
- Rule of thirds. Put the subject on a third line instead of the center.
- Frame within a frame. Use a doorway, a window or branches to frame the subject.
- Get low or get high. Changing height changes the picture more than changing the lens.
- Fill the frame. Move closer where it is safe to do so, and always stay clear of hazards and property boundaries.
- Mind the edges. Scan the borders of the frame for stray objects before you shoot.
- Use negative space. Empty areas give the subject room and add calm.
A checklist for buying used gear
- Ask for the shutter count on a camera body when it is available, and compare it with the manufacturer’s rated shutter life for that model if one is published. A rated life is an estimate, not a guarantee in either direction.
- Look at the sensor for dust or scratches and test the autofocus.
- Check lenses for fungus, haze, scratches and smooth zoom and focus rings.
- Test every button, dial and port.
- Look for repair history and ask why it is being sold.
- Prefer sellers with a return window and clear photos of the actual item.
- Keep the receipt and original packaging if provided.
Common budget photography mistakes
- Buying gear to fix a skill problem. A new lens will not fix weak light or a messy frame.
- Chasing megapixels. Most people never use the extra resolution.
- Skipping the learning. Reading, practicing and reviewing your pictures beats any purchase.
- Not backing up. Lost photos cost more than any gadget. Keep a second copy.
- Over-editing. Heavy filters hide problems instead of fixing them.
- Comparing yourself to people with bigger kits. Compare your pictures to your own from last month.
Photography rewards curiosity more than spending. Keep a notebook of what you try and what works, and your skills will grow with every outing.
Shooting in bad weather and low light
Weather is free drama. Fog simplifies a scene, rain adds reflections, and storm clouds make skies interesting. Protect your gear with a plastic bag or a cheap rain cover, and wipe the lens often. In low light, raise ISO as far as your camera allows before noise gets distracting, open the aperture, rest the camera on something solid and slow the shutter only for static subjects. Moving people and vehicles may still need a faster shutter. A slightly grainy sharp picture beats a clean blurry one. Blue hour, the stretch of dusk after the sun drops, gives deep color and lets city lights glow without a flash.
Make prints and share your work
Seeing a picture printed teaches you about exposure and sharpness in a way a screen cannot. Order a few small prints from a local shop and pin them up. Share your best work online with a short note about what you tried, and ask for honest feedback. A small, friendly group of photographers will teach you faster than any gadget.
A one week plan to try it all
- Day 1: Shoot golden hour and compare it to midday.
- Day 2: Make three silhouettes.
- Day 3: Find a reflection and shoot it three ways.
- Day 4: Shoot leading lines in your neighborhood.
- Day 5: Shoot one bold color against a plain background.
- Day 6: Go out after rain or at dusk and shoot reflected lights.
- Day 7: Edit your best five photos with free software and compare them to the originals.
Related reading on Shut Your Aperture: natural light versus artificial light, low light photography tips, macro photography techniques.
Frequently asked questions
Can I take professional looking photos with a cheap camera?
Yes. Light, composition, timing and editing matter more than the camera. A basic camera or a phone can produce strong pictures when you work with good light and a clear subject, although a better lens or sensor does help in low light and at long range.
What is the cheapest way to improve my photography?
Shoot at better times of day, simplify your composition and learn basic editing. All three are free.
What gear is worth buying first on a budget?
A fast 35mm or 50mm prime lens and a sturdy tripod usually give the biggest improvement per dollar. A polarizer and a reflector are inexpensive and useful too.
Is used camera gear a good idea?
Yes, if you buy from a reputable seller with a return policy and check the condition carefully. Used gear can save a large part of the cost.
What free software can I use to edit photos?
darktable (https://www.darktable.org/) and RawTherapee (https://www.rawtherapee.com/) are free, open-source RAW editors for desktop computers. Platform support differs by version, so check each install page for your operating system. On phones, Adobe Lightroom has a free core with some paid features. All of these cover exposure, contrast, color, cropping and sharpening, which is most of what you need.
How do I get sharp photos without a tripod?
Brace the camera on a wall, a bag or the ground, use the 2 second timer, and keep shutter speed fast enough for the focal length.
Great photography is mostly about seeing. Use the light that is free, simplify your frames, practice with what you own, and spend money only when a real limit shows up. Do that, and your pictures will improve long before your gear does.

