

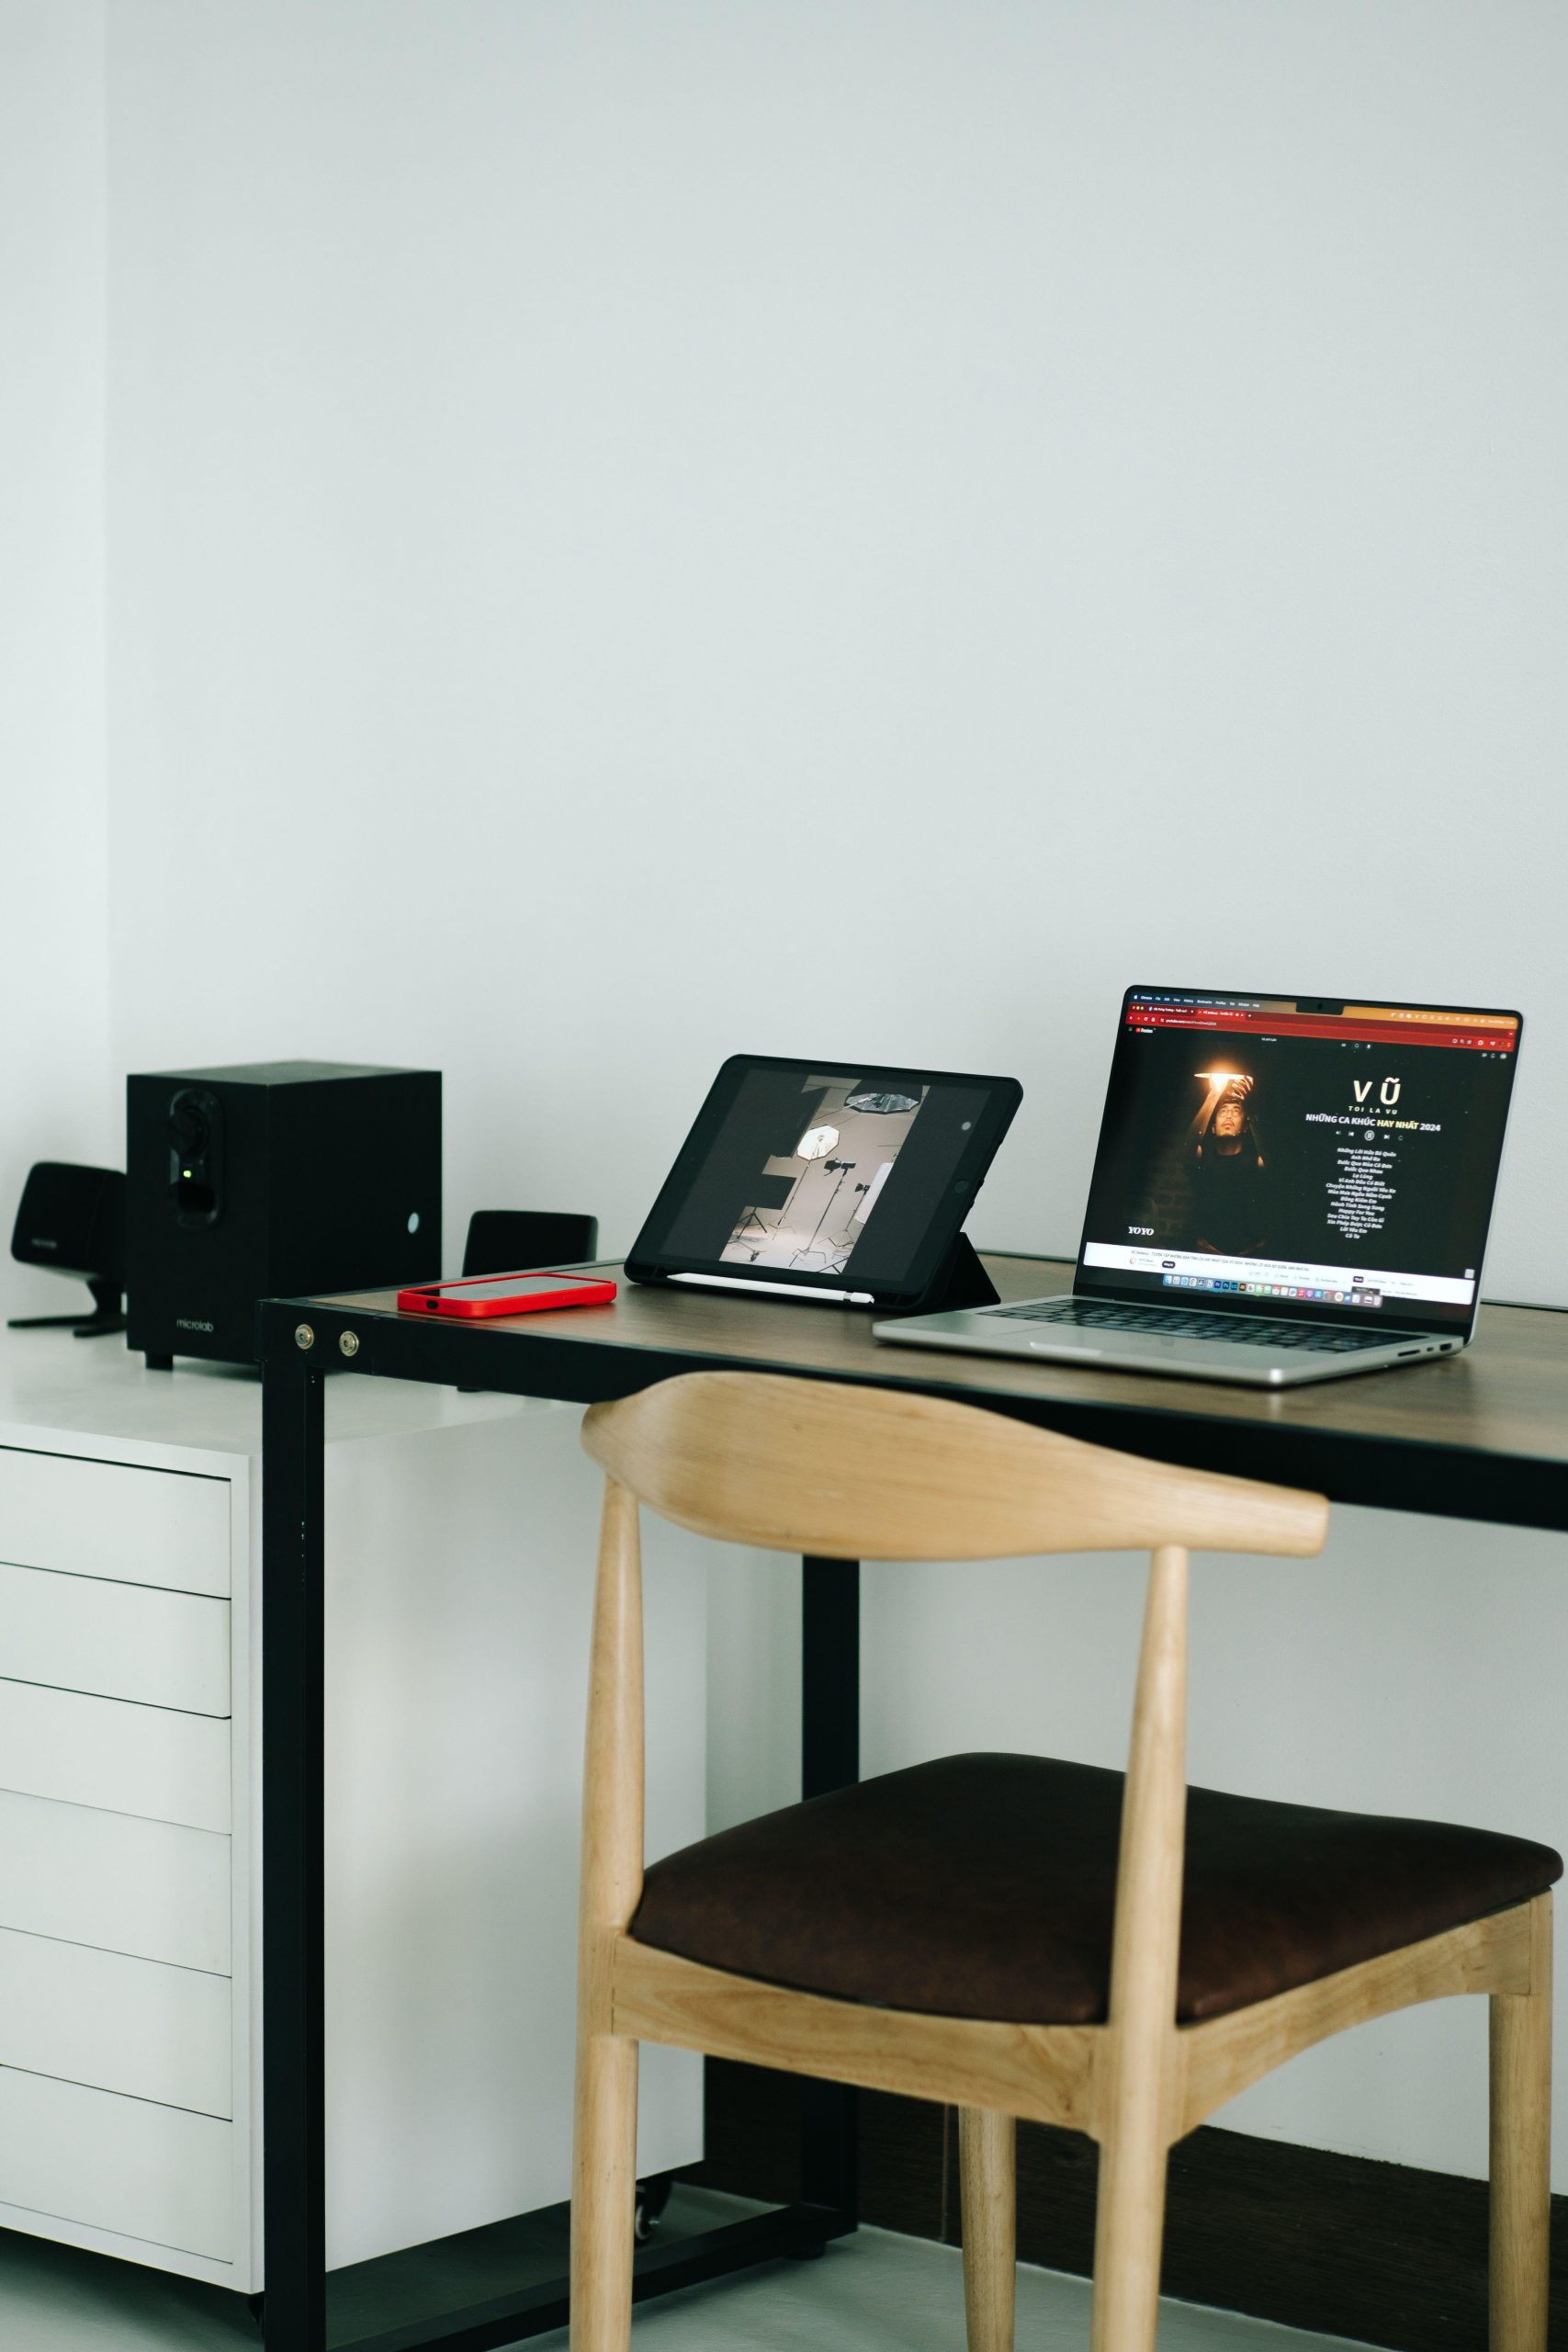
Featured photograph: Photo by Szymon Shields via Pexels (source; Pexels license). (Stock photo, illustrative.)
Your photography website has one job before anything else: make your work easy to understand and easy to reach. A dramatic opening image does not help if the gallery will not load on a phone or the visitor cannot find a way to contact you. Build the site around the person who needs to use it, then let the photographs carry the presentation.
Start smaller than you think. A clear portfolio, a useful introduction and a working contact route are a stronger foundation than a large collection of unfinished pages. You can add features when you have a reason for them. You do not need to launch a store, a blog and several client systems at the same time just because a template includes them.
Decide who the website is for
Write down the main visitor and the action you want that person to take. Someone considering a portrait session needs different information from an editor reviewing documentary work or a collector looking for a print. You can serve several audiences, but they should not have to work out the structure for themselves.
Describe your actual offer in plain language. Name the kind of photographs you make, the service or collection you are presenting and any area you truly serve. Avoid filling the introduction with claims about being the best or making unforgettable experiences. Show the work and explain what the visitor can do next.
Choose a manageable first set of pages. A home page can introduce the work and point to the relevant gallery. A portfolio page can present the edit. An about page can explain your approach and actual experience. A contact page can provide the next step. Add another page only when it answers a real visitor question.
Before choosing a design, sketch the route between those pages. If a visitor lands directly on a gallery, can they understand whose work it is and find the contact route? If they arrive at the home page, can they reach the intended work without opening a series of vague menu items? Test the route with words first.
 Save
Choose a platform around the work you will maintain
Compare platforms by the tasks you need to do after launch. Can you replace a photograph, change a caption, reorder a gallery and update a contact detail without rebuilding the page? Try those actions in a trial or demonstration where available. A good-looking sample does not prove that the editing workflow will suit you.
List the features you actually require. A public portfolio is different from a password-protected client gallery, a booking system or a print shop. Check the provider’s current documentation for the exact feature and plan. Do not assume that a feature in a promotional screenshot is included in the option you intend to use.
Consider what you can take with you if you change platforms. Keep your original photographs, final exports and page copy outside the website. Investigate the platform’s export and domain arrangements before committing. The practical question is whether you can move the material you need, not whether a service uses the word flexible.
Compare the total current terms, including any hosting, domain, storage or selling requirements relevant to your plan. Record the terms you verified and when you checked them. This guide does not rank providers or quote plan prices because those details need a fresh comparison at the time you decide.
Build a portfolio edit before arranging the gallery
A website does not fix an unfocused selection. Choose photographs that support the direction you want the site to communicate. Remove weaker repetitions and separate unrelated work when that gives visitors a clearer route. Keep a private record of the selected files so that future updates do not depend on remembering which export went where.
Order the photographs with the whole sequence in mind. Check whether similar subjects cluster unintentionally and whether an abrupt change in color or format distracts from the work. You do not need every image to look alike. You need each one to earn its place and the sequence to make sense to its intended viewer.
Use context where it helps. A short project description can explain what the viewer is seeing and your role in making it. Label self-directed work honestly. Do not present a practice project as a client assignment or imply you provided styling, production or other contributions that belonged to someone else.
The photography portfolio workflow covers selection and sequencing in more detail. Make the edit first, then choose a gallery layout that respects it. Changing the template repeatedly is not a substitute for deciding which photographs belong in the set.
 Save
Prepare images for the presentation
Keep the full-resolution originals separate from website exports. Check the platform’s guidance for image dimensions and formats, then make a small test upload. Inspect the result on the actual page. A file can look good in the editing application and look different after the website has resized or cropped it.
Balance detail against download size. Google notes that images often contribute heavily to page size and recommends image optimization and responsive image techniques. That is a reason to test the delivered page, not to compress every photograph to the smallest possible file regardless of how it looks.
Compare the same image at several export settings if necessary. Look at fine texture, smooth gradients and high-contrast edges. If compression introduces distracting blocks or halos, adjust the export. If an image loads slowly, investigate its delivered dimensions and file size rather than assuming that all the other photographs need the same change.
Responsive images let a page offer different image resources for different display conditions. Google documents the picture element and srcset attribute, with a fallback src URL. Many platforms handle the markup for you, but you still need to check that the page delivers a usable result on both a smaller screen and a larger display.
Write image descriptions for readers, not a keyword counter
Use filenames that describe the subject where practical. Google says filenames provide light clues about an image and recommends short, descriptive names. A useful name is better than a long string of search terms. Keep your private archive naming system organized separately if the website needs a different export name.
Write alt text that describes the image in its page context. It should help someone understand the picture when they cannot see it. Google warns against keyword stuffing in alt attributes. Do not repeat the same location and service keywords across every photograph regardless of what each one actually shows.
Use a caption when visible context would help the reader. A caption and alt text have different jobs, so they do not need to duplicate each other mechanically. Only name the location, person or technical method when you have the information to support it. A beautiful photograph is not proof of an unrecorded capture setting.
Keep titles, headings and surrounding text useful too. A gallery called recent work may be meaningful in your own workflow but give a new visitor little context. Choose an accurate title that explains the project or service, then write enough supporting copy to orient the viewer without burying the photographs.
 Save
Check the mobile experience with actual photographs
Open the finished page on a phone-sized screen. Look at the navigation, opening image, body text and contact controls. Do not stop at the template’s mobile preview before your own content is in place. A long title or a different image shape can reveal problems that the sample content never showed.
Check every important crop. A wide photograph may be cropped tightly in a hero area while the same image appears uncropped in a gallery. Make sure the chosen presentation does not remove the subject or create a misleading composition. If the platform gives you a focal-point control, test the saved result rather than trusting the marker alone.
Read the copy at the delivered size. Look for text that runs off the screen, buttons that overlap or captions that become difficult to follow. Try the menu and contact route. Ask someone who has not seen your plan to find the intended gallery and explain what they think you offer.
Test a larger screen as well. A layout that works on a phone can leave images too small, captions detached or lines of text too long on a desktop. The goal is a clear presentation across the sizes your visitors use, not a perfect screenshot at one carefully selected width.
Make the contact route complete and testable
Give the visitor a clear next step near relevant work. If you use a contact form, ask for the information you actually need to begin the conversation. Explain what the form is for. Do not promise a reply time you cannot maintain or add fields solely because the template included them.
Run a real test submission through your own form before launch. Check whether the message arrives at the intended inbox and whether you can reply through the expected route. Look at the confirmation the visitor sees. A form that looks finished but sends nowhere is not finished.
If you use an email link, check the address for typing errors and test it on a device with an email application configured. Offer another appropriate contact route when it helps your audience. Keep the public details accurate and avoid posting personal information that does not belong on the site.
Review any booking, payment, privacy or client-delivery features against the actual service and applicable requirements before enabling them. These add responsibilities beyond displaying a portfolio. Use the provider’s current documentation and qualified advice when needed instead of copying another photographer’s policies as if they automatically fit your business.
 Save
Launch with a short quality checklist
Check the public site while signed out. Follow the main links, open each gallery and confirm that the images load. Verify the page titles and descriptions you configured. Check that any private client material is not included in the public presentation. A working editor view is not proof of the visitor’s experience.
Use a page-speed test as a diagnostic, then inspect the actual page again after changes. An improved score is not a reason to accept a blurred photograph or broken layout. Google recommends PageSpeed Insights for analyzing speed. Treat the findings as specific tasks to evaluate rather than a promise of search placement.
Keep a copy of the final page text and export list. Record which platform features you have enabled and what you need to maintain. If you depend on a form, shop or external gallery service, include it in your checks. The website extends beyond the home page.
A launch does not require pretending that the site is permanent. Publish a coherent, working first version and improve it when new work or visitor feedback gives you a reason. Avoid changing several things at once if you want to understand which change actually helped.
 Save
Maintain the site as part of your photography workflow
When you add a project, review the edit, descriptions and contact route together. Remove stale claims and fix broken links. Check the new page on a phone and desktop, including its uploaded images. Keep the original files and page copy organized so that a website problem does not become an archive problem.
If the site no longer explains the work you want to make, revisit the audience and offer before choosing a new template. The photography niche project guide can help you test the direction first. A clear site grows from clear work and a useful visitor route, not a growing collection of effects.
Sources and further reading
Image search, descriptions and responsive-image guidance checked against Google Search image best practices and web.dev image guidance. Platform features, terms and requirements need checking against the provider you choose. Illustrative photographs use the Pexels license; individual sources are credited with each image.
Frequently asked questions
What pages does a photography website need first?
Start with the pages that help the intended visitor understand the work and take the next step. A home page, focused portfolio, useful introduction and working contact route can be a manageable first version. Add pages when they answer a real audience need rather than filling every template section.
How do I choose a photography website platform?
Compare the editing tasks and features you actually need. Test replacing photographs, reordering galleries and changing text. Check current plan documentation, domain and export arrangements before committing. A public portfolio has different requirements from a shop or private client-delivery system.
Should I upload my full-resolution originals to my website?
Keep the originals safe outside the website and check the platform requirements for uploaded images. Make a test export and inspect the delivered page. Balance visible detail against download size rather than assuming the largest file or the smallest compressed file is always appropriate.
What should photography website alt text say?
Describe the image in its page context so someone who cannot see it can understand the subject. Google recommends useful descriptions and warns against keyword stuffing. Only include names, places and technical claims when you have the information to support them.
How can I check my website on mobile?
Use the actual finished page with your own text and photographs. Test the menu, gallery crops, captions and contact route at a phone-sized width, then check a larger screen too. Look for clipped text, overlap and important subjects cut out by automatic cropping.
What should I test before launching a photography website?
Check the public site while signed out, follow the important links and verify that the images load. Run a real contact-form submission and confirm it reaches the intended inbox. Review titles, descriptions and any private material, then save a copy of the page text and export list.
Equipment references for the workflow
Start with the files and equipment you have. These storage references are optional tools for capture and file handling, not a requirement for building a website or the equipment used in the illustrative photos. Check current specifications and compatibility on the linked pages.
- SANDISK 128GB Extreme PRO UHS-II SDXC Memory Card: An optional capture-media reference for a practice project. Confirm the card type and recording requirements in your exact camera manual before buying.
- Samsung 2TB T7 Shield Portable SSD (Black): A portable storage reference for organizing or copying project files. Check your computer connection and actual capacity needs. A single drive is not a complete backup plan.
Affiliate disclosure: if you buy through these B&H links, Shut Your Aperture may earn a commission at no extra cost to you.

